Introduction
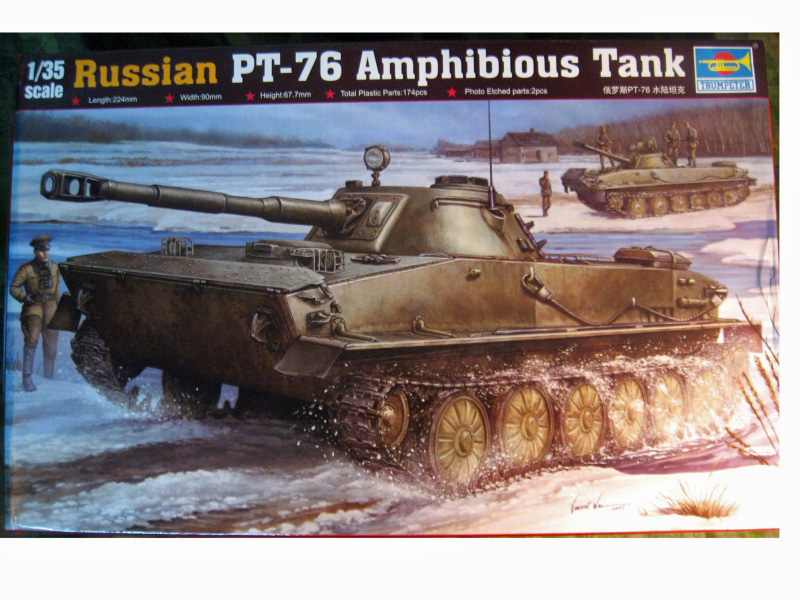
This is an out of the box build review to accompany my
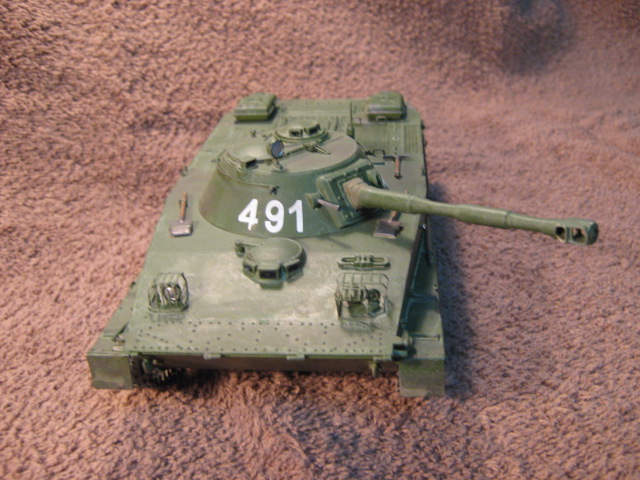
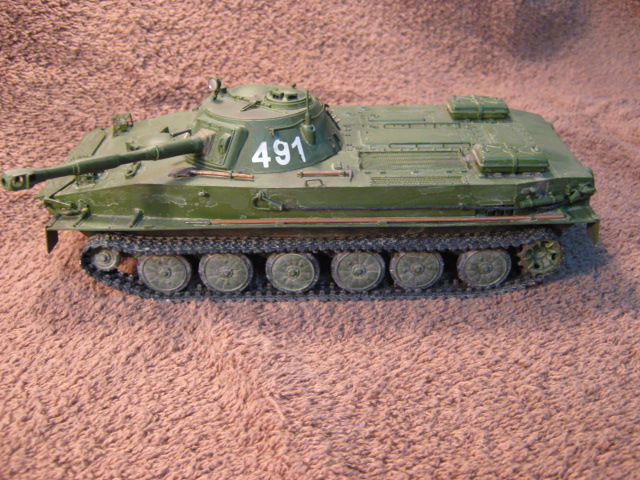
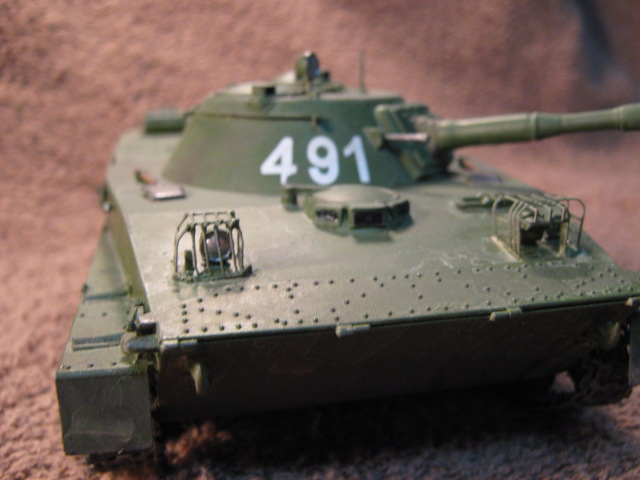
In-Box Review of this same great kit. I will go over each step of the instructions to give a blow-by blow of how it went. Unfortunately, I had an issue with my camera and lost all of the in-progress shots. You can see the completed pictures here though to get an idea how it can look.
Step by Step
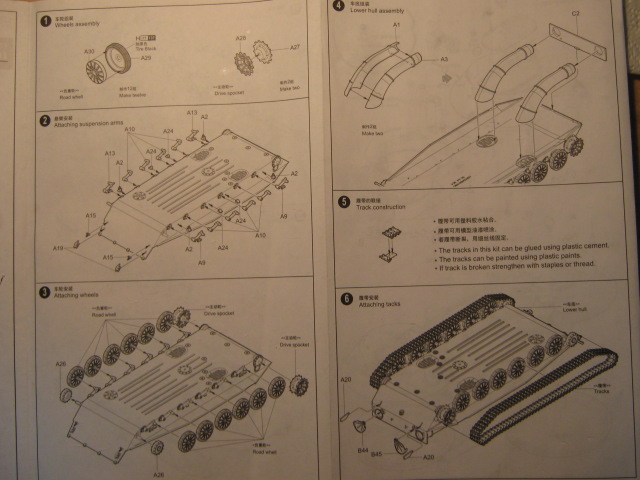
Step 1-3: Road Wheel and Suspension Assembly: The first 3 steps are pretty standard fare with armor models, assembling the suspension and road wheels. There are no surprises here. It is your basic, straightforward construction. You do have to be careful of the road wheel arm positioning though since they are keyed to give proper alignment and angle, but are a little loose. I placed a couple popsicle sticks under the hull to put it at the right height while the arms dried to get them all at the proper angle. I left the road wheels on the sprues at this point though and I added the back halves to complete the wheel. I will paint them on the sprue using a circle template, and then add them to the model after it is painted.
Step 4: Water intake tubes: This step deals with assembling and installing the water intake tubes and the rear hull plate. The only modifications I made were to carve off the alignment pins on the inside of the intakes at the lower end. If you leave them, they can be seen as a big bump right in the intake screen under the hull. It probably wont be noticed easily if left alone, but it is an easy correction to make.
Step 5-6: Track: This step has you gluing the track together now. I waited to assemble and install the track until after painting the hull.
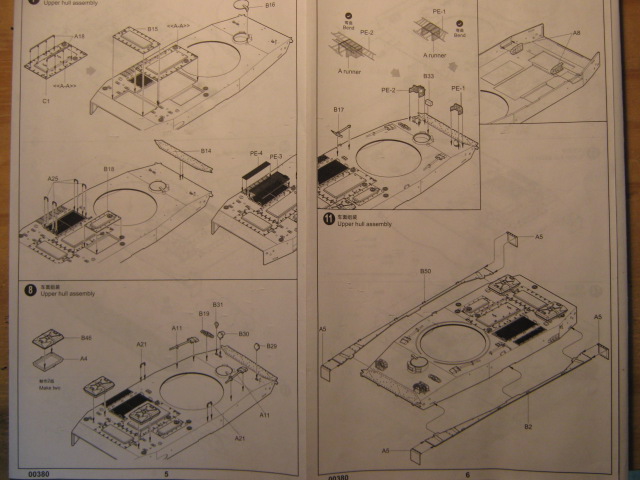
Step 7-16: Upper Hull: I deviated from the instructions once again here in Step 7. Trumpeters methodology seems to be to build the upper and lower hulls completely, then join them. I dont like this method. It leaves lots of smaller parts to be broken when handling and joining the hull halves. I joined the hull halves here before putting the engine panels and other small parts on.
Step 8 calls for tools and the rear fuel tanks to be added. Again, I leave the tools off until after painting. The rear fuel tanks are very nice though and fall into place easily. Also, with their split design at the weld seam along their central axis, the seam is invisible. I did find one issue here with the blackout drive light (B30). There is a gaping hole on its reverse side. I filled it with a length of 0.040 plastic rod, then sanded smooth once dry.
Step 9 includes a few more tools (again left off until later) and the awesome PE light guards. The guards are nicely cut and scored at the bending points. Trumpeter put some forethought here by including bending guides on the sprue. You simply cut the guards off the PE fret and bend them to shape over the forms. The come out looking great. I did have to fiddle with the larger left side one though to get the correct rounded shape. It wanted to bend square. Steps 10-11 add the side exhaust vents and fenders. There were no problems with either assembly. They practically fell into place. Steps 12-16 adds all the smaller fittings to the upper hull. One nice detail is separate retaining clips for the tow cable hooks. They really add a nice touch. The rest of the details are nicely rendered with fine engraving and details.
Step 17: Gun Assembly: Here, you assemble a pretty detailed gun breech to go into the turret. I assembled it, and then cut it off behind the mounting pins. It is nice and Ill keep it for another project. The issue is the roof hatch is huge and shows off the whole interior if left open. The gun just looked empty in there by itself and I decided I would close the hatches.
Step 18: Turret Assembly: Step 18 is a marathon step. In it, you assemble the turret in its entirety. It is broken down into 5 smaller drawings to show where to put what parts. You also bend and glue the wire grab handle here. Again, Trumpeter added a nice feature to help you out and includes a full-sized bending guide for the wire. All you do is lay the supplied wire over it and match the curves. It was quite simple and comes out looking great. The rest of the step is pretty straight forward with no real issues. There is one place that another bending guide would have been nice and that's with PE part 5 which is a circular guard that goes around the vent cover. It has to be bent into a circle from a flat strip of PE. To get a perfect circle is a pain. Another simple round bending template would have been nice here too.
Step 19 and 20: Main Gun and Final Assembly: These two steps finish the model off. Step 19 has you assemble the gun tube halves and then attach it and the mantlet to the turret, along with a co-axial gun barrel. Step 20 simply shows placing the turret onto the hull. I left the turret loose for ease of painting and to pose it later.
Paint and Decals
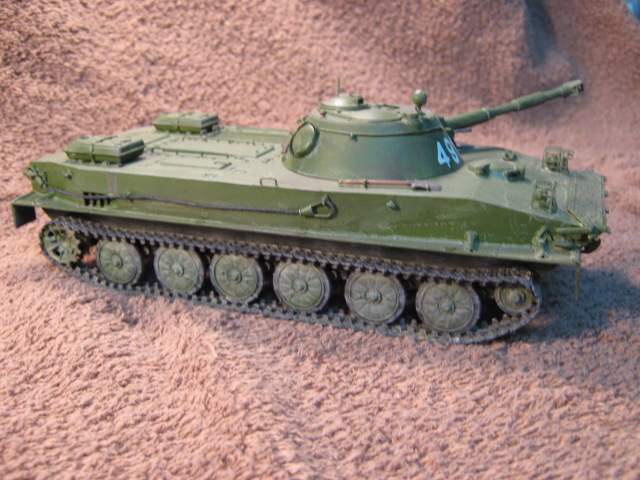
The only paint and decal placement guide is the color plate included. I chose to build a Russian tank and I painted the hull and turret using Testors Model Master Medium green. It is pretty close to Russian Green and looks right to me. As I said earlier, I leave the road wheels on the sprues as this makes them easier to paint for me. I first spray the whole sprue flat black. Next, I use a circle template that is the same size as the inner metal part of the wheel. I spray through the template and paint the metal portion the same color as the hull. Once dry, simply remove them from the sprue, clean up and touch up the attachment point and add them to the painted hull.
Once the painting was complete and dry, I added the decals. I prepped the area to apply them to with a coat of gloss to give them a good surface to adhere to. The included decals are very nice. With most decal sheets, all three numbers would be on one piece of carrier film. Here, each number is separate and has very little carrier film around it. Even the inner circle of the 9 had no carrier film. This allows the numbers to disappear into the paint and look painted on them with practically no carrier film to silver or show up as a ridge. They lay down very nicely. After they were dry, I gave them a shot of dullcote to seal them and take away the shine from the gloss coat.
Tracks
At this point I installed the tracks. They were a little tight when I first test-fitted them. I gently pulled and stretched them along their length and got nearly another half-inch out of them. After this stretching, they fit fine. I weathered the track using different shades of earth tones and a little steel on the parts that come into contact with the ground and sprockets. I installed them and glued the ends together with superglue. The instructions say they can be glued with model glue, but I like to use superglue to make sure they stay together. Next, I glued the upper track down to the road wheels with superglue again. I held them in place with popsicle sticks wedged between the track and hull. Once dry (usually overnight), I removed the popsicle sticks and the track is done.
Finishing
The final step was to finish and weather the tank. I painted the tools that were left off earlier and added them first. Then I weathered it all. I wanted to achieve a look of the tank just having come out of a muddy river or stream; one that was not covered in mud, but in muddy water that is quickly drying on it. To achieve this, I started with a light tan acrylic paint watered down to as thin as water. I liberally brushed this all over the tank, letting it pool in low areas and around details. I repeated this process with a little darker tan you give it some depth and the illusion of drying muddy water. Lastly, I used some dark brown acrylic thinned not as much to add some mud on top of the front slope, sides around the turret, and turret top to represent where the crew walked and dragged mud on it. I did the same treatment to the tracks, only not thinning the paint as much to represent thicker mud. I also drybrushed some silver on the side wall under the hull to show where the track had polished it from scraping. Lastly, I used some darker green along high wear areas to represent worn and chipped paint. I also added a few chips along the turret numbers to show wear. Finally, I dribbled some old brush cleaner around the fuel filler caps and fuel tanks to represent fuel spills.
Conclusion
Overall, I am very pleased with the way my PT-76 came out. Now it just needs a base with a Naval Infantryman on it to complete the presentation. I found no issues in the construction or finishing. It went together very easily and it didnt even need any filler putty anywhere. I highly recommend it for a good out of the box build or a base for some super detailing.