Introduction
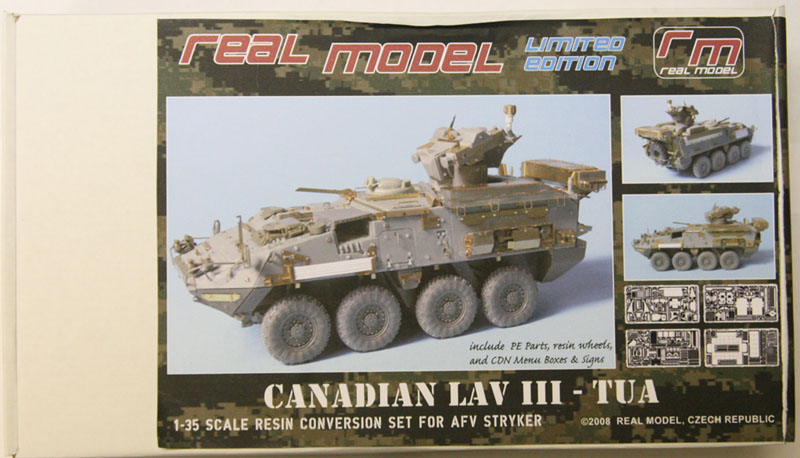
The LAV III TUA (Tow Under Armor) was designed as a replacement for the Canadian M113 TUAs. The idea was to take the Kvaerner (Eureka) TUA turrets and add them onto a LAV III hull. As part of this upgrade the turrets were also modified with the Improved Target Acquisition System (ITAS) which also included an improved fire control system. This new system would allow the turret to fire all current and future versions of the TOW missile system. Then in the early 1990s disaster struck and Canadas Department of National Defense (DND) slashed the purchase of the original LAV III order in half and the first casualty of this was the LAV III TUA. The story doesnt really end here as Canada then decided to purchase the Mobile Gun System (MGS), which made additional LAV III hulls available for the Eureka TUA turrets.
Canadas plan for the LAV III TUA was to make it part of a three-part fire support plan which would consist of the LAV III TUA, MGS and the Multi-Mission Effects Vehicle (MMEV) which was to be based on the LAV III hull and utilize the Air Defense/Anti-Tank missile (ADATS), but the MMEV and MGS vehicles were cancelled in 2006.
With the cancellation of MGS and MMEV the new plan now called for building 71 LAV III TUAs which were to be fielded to the Canadian Infantry Regiments.
Testing was conducted by Lord Strathconas Horse (Royal Canadians) or LdSH(RC) during the spring of 2006. Eventually this plan also changed (we all know that no plan survives first contact) based on experiences gained in Afghanistan and the need for heavy armor (Leopard C2 tanks). DND now decided that only 38 LAV III TUAs would be built and the remaining 33 chassis would be converted to LAV III TUAV which will mount a remote weapon station (RWS) made by Rheinmetall of Canada. The 33 LAV III TUAs are meant to be fielded evenly between the following three Canadian Infantry Regiments, The Royal Canadian Regiment, Princess Patricias Canadian Light Infantry and the Royal 22e Regiment.
contents
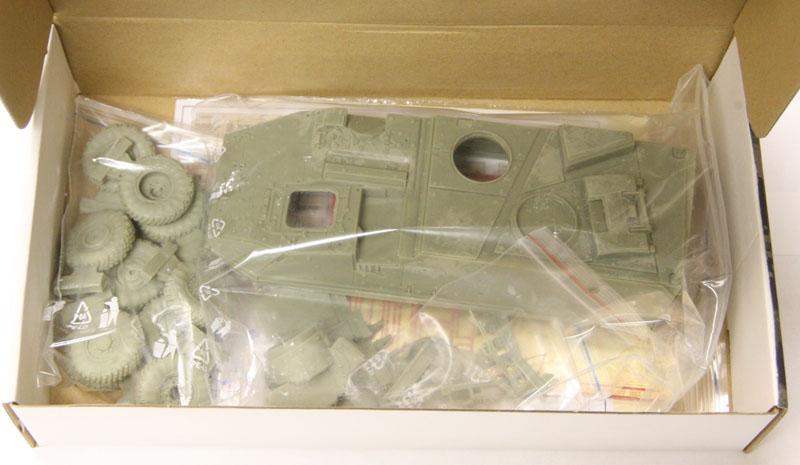
The Real Models LAV III TUA kit arrives packaged in a sturdy cardboard box that measures 6 1/2 x 11 1/4.
The contents are packed in six plastic zip lock bags and include:
Five sheets of photo etch
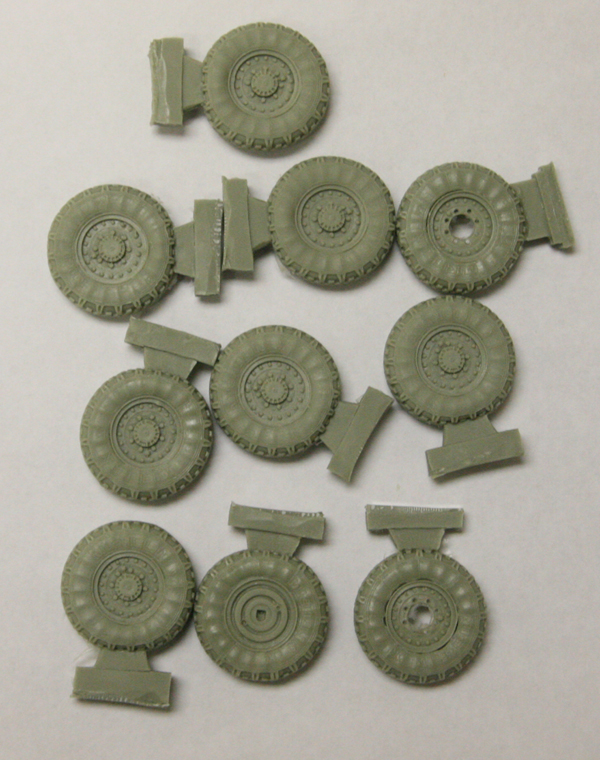
Ten resin Michelin XL tires
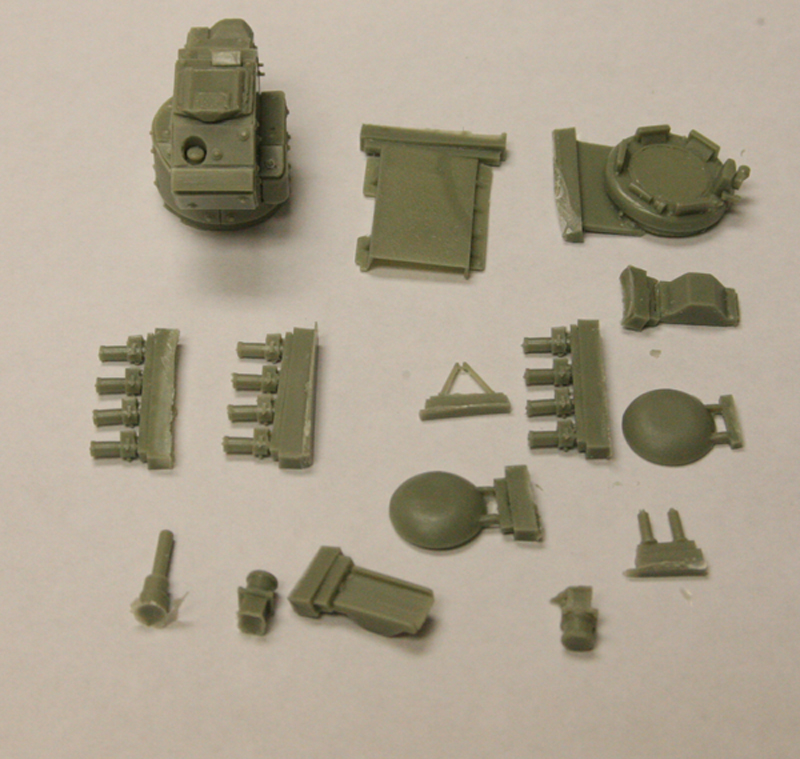
Bag of assorted hatches and parts
Machine gun parts and antenna mount
Two sheets of Canadian ration boxes and water boxes
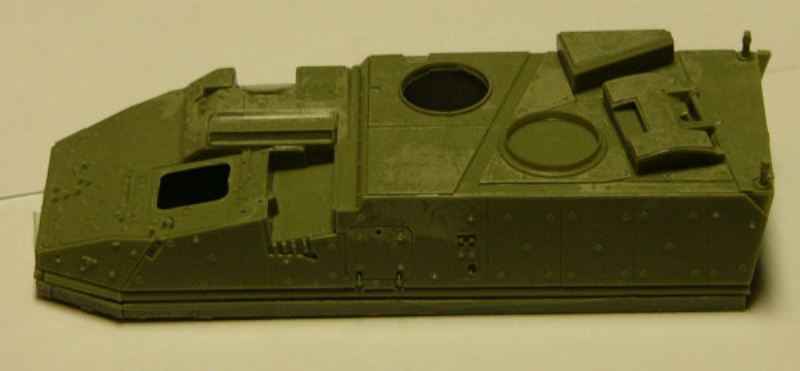
Large resin upper hull
Five lengths of two different size brass rods.
Instructions
Overall the packaging follows the same layout as previous versions of Real Models LAV IIIs.
review
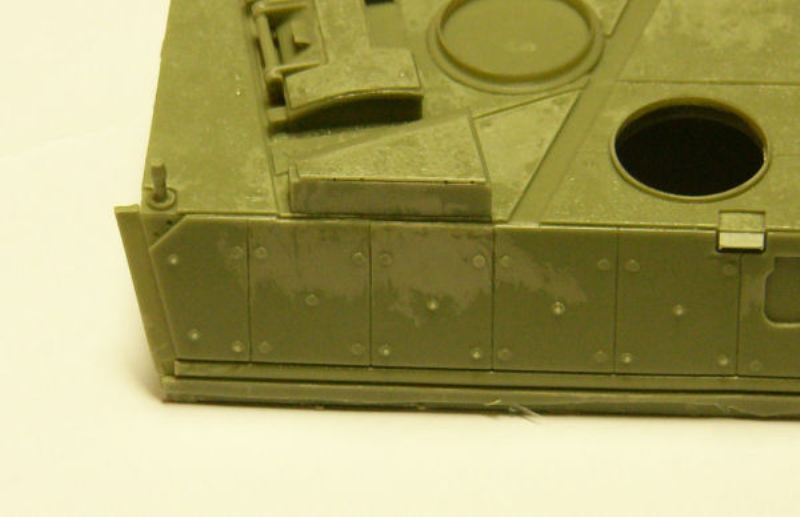
Upper Hull:
The main resin upper hull piece is a high quality green resin with no noticeable bubbles. Something that could be improved on the upper hull is the bolt head detail for the add-on armor. The detail of the bolt heads for the add on armor is weak, in places missing all together. If the modeler wants to improve the detail you will need to replace whats there with hex rod and sheet styrene. The other issue with this kit is that it depicts the LAV III TUA with add on armor mounted. Only one vehicle had the add-on armor test fitted to see if it could be done, fielded versions dont have this modification. This essentially leaves the modeler with a one off version of the kit.
TUA Turret:
The Kvaerner (Eureka) TUA turret is represented as one resin piece with just a few minor burrs that need sanding. Each TOW swing arm and launcher is composed of three pieces of photo etch and two pieces or resin. Various other photo etch parts make up the access panels, laser warning device, brackets and wire cutters. The turret is also covered with the add-on armor which shouldnt be present. Since the main part of the turret is one resin piece it can only be displayed with the turret in the stowed/traveling configuration.
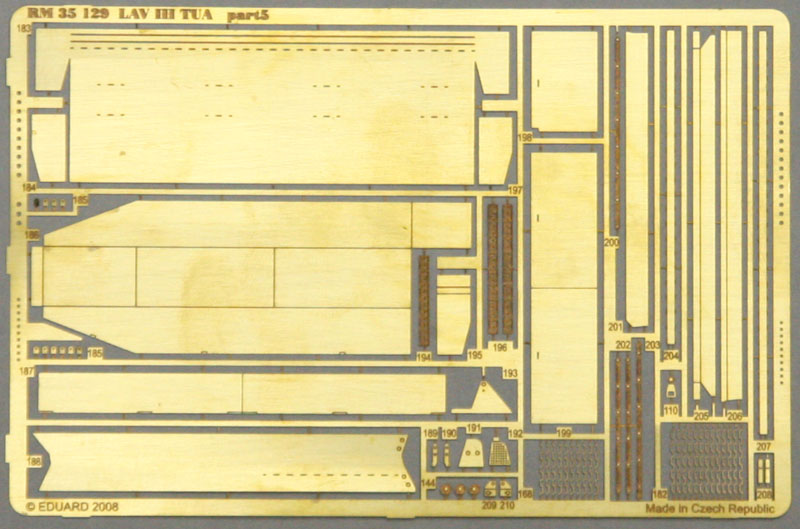
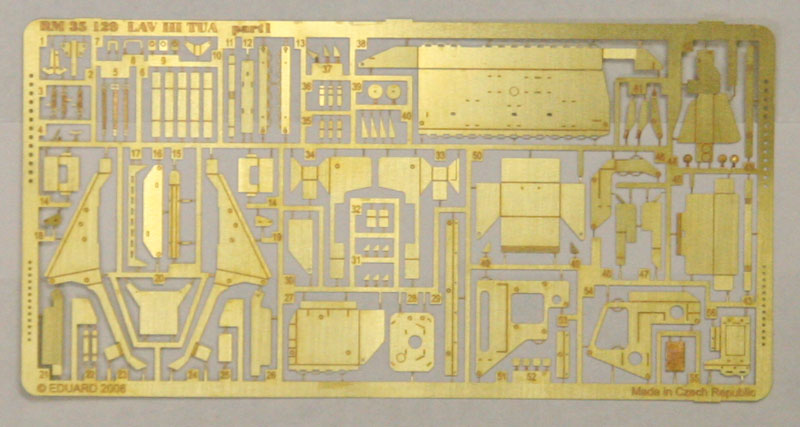
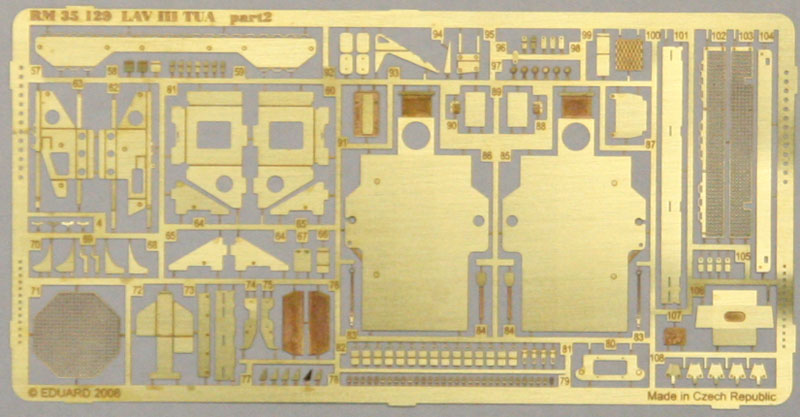
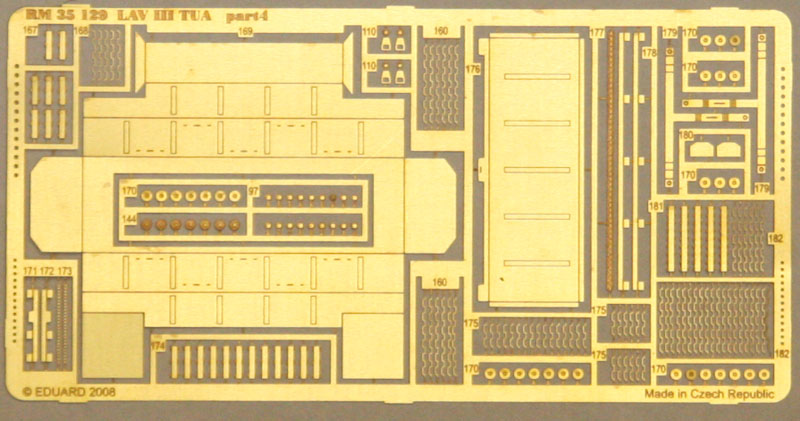
Photo Etch:
There are five high quality Eduard photo etch sheets that make up the majority of items needed for the upper hull. The largest and most prominent and complex piece is on sheet four part 169. Study this part and plan your folds carefully or you will be left with some unsightly gaps. Once completed it does make for a large and striking assembly. Those that built either the Canadian LAV III or NZLAV will be familiar with this part. The rest of the photo etch isnt too complicated and are straight forward in their assembly instructions.
Other Details:
There are two sheets containing Canadian style ration and water boxes.
Decals & Painting Guide:
Another item that is noticeably missing is any kind of decal sheet for this vehicle. Making a few phone calls to friends in the Canadian Armed forces I was told that the only makings on the vehicle are the Tactical Number and the Canadian maple leaf however, there are tons of markings for tie down straps, equipment locations and parts nomenclature which need to be sourced from other decal sheets or after market companies. These markings need to be in both English and French.
Instructions:
One weak point of the assembly instructions is the lack of identifying donor parts from the AFV club kit. There is only one mention of a donor kit part to use for this build and that is on the first page of the photo etch instruction guide to parts. According to this guide the only donor kit part used is E8 (Rear Ramp). By carefully scrutinizing the instructions you can pick out which parts need to come from the donor kit.
Conclusion
This should build into a fine rendering of a modified LAV III TUA used by the Canadian Forces but not an accurate example of whats actually being used. The resin one piece upper hull will make for an easy assembly, but then is lost correcting the bolt head detail. We now have a resin conversion of a limited production vehicle filling a unique niche for the Canadian Army. Real Models conversion is a must for those looking to build all the different variants of the LAV III/Stryker series of vehicles.
Andreas has started a
Build Log on the Forums to evaluate the kit construction.


Comments