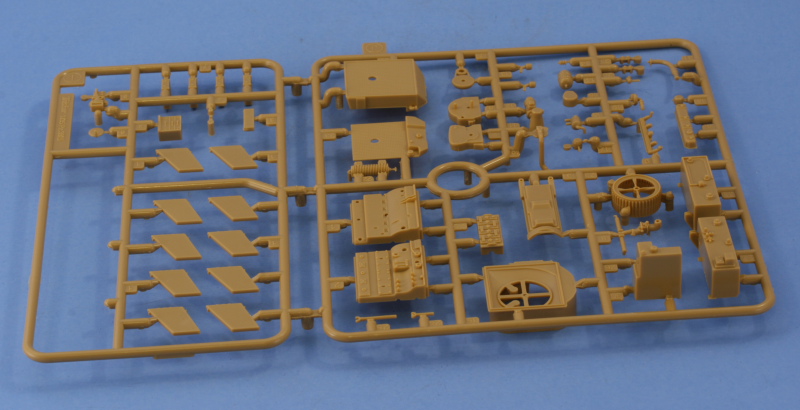
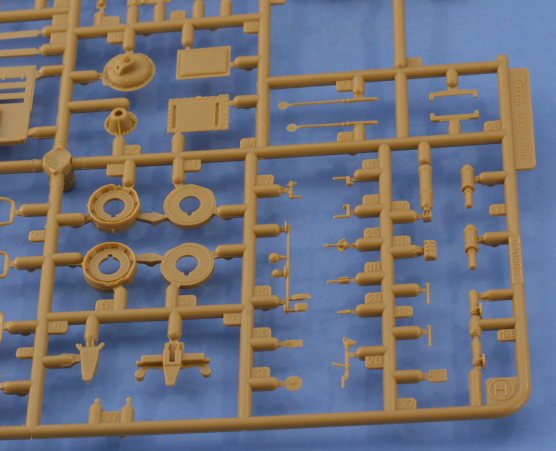
Tristar has made available a separate interior kit designed for their Pzkpfw 38(t) family of vehicles. Since many of their 38(t) gun tank kits were issued without any real interior for either the lower hull fighting compartments or engine bays, this set is aimed at addressing that and is designed with the pre-existing Tristar lower hull parts arrangements in mind. The kit consists of the following:
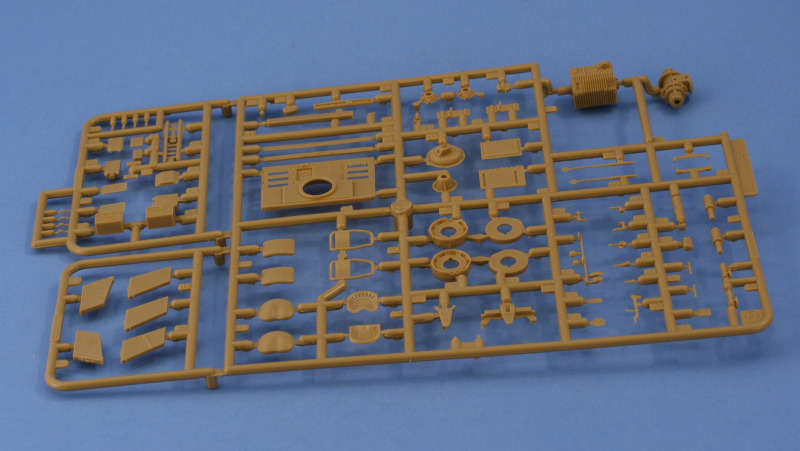
3 sprues of tan styrene
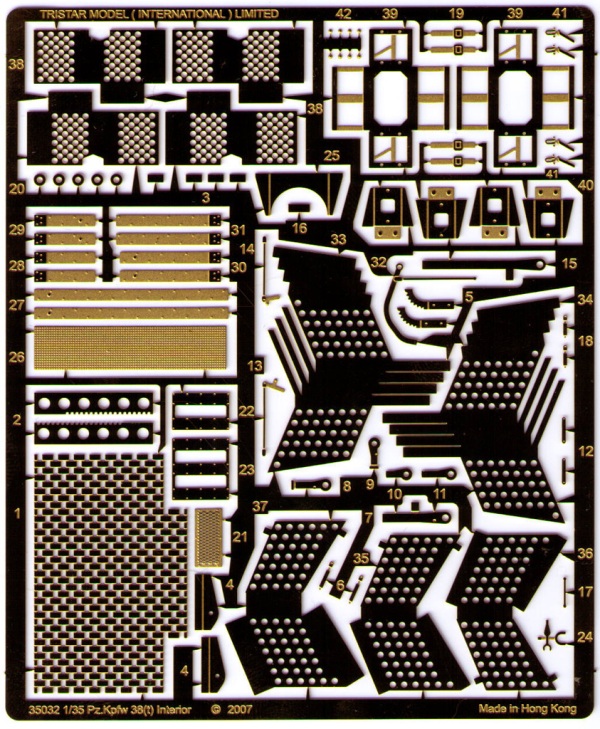
1 PE fret
Instruction booklet
Review
The total parts count on this upgrade set is quite impressive with 86 parts on Sprue H, 19 on Sprue I, and 37 on Sprue J, for a total of 142 parts. Sprues H and I deal primarily with the lower hull and turret fighting compartment details while Sprue J deals with the engine compartment. The PE fret is also fairly detailed with over 70 parts as well. The instruction booklet is laid out in the usual exploded diagram style and consists of 7 different steps addressing the various areas. Since this set is primarily aimed at upgrading existing Tristar kits, the diagrams do include parts that are not included in the Interior set such as the lower hull floor and side panels, turret parts, etc. so if intending to use this set with a non-Tristar kit some items may not be present and/or parts will have to be modified for use.
The level of detail on the various parts is very high and up to the modern standards expected with no flash. Some of the smaller parts will require care in removal due to the size of their connection points to the sprue and there are some mold seams present that will require attention depending. The kit is also a multi-media kit with some parts provided only in PE, so the appropriate skill set will be required there to get the most out of this set.
Lower Hull:
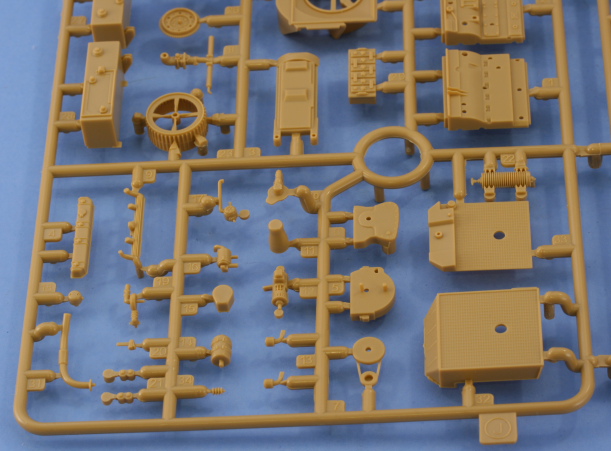
The set includes a highly detailed transmission gear box and brake assembly along with the distinct Pz 38(t) control levers consisting of multi-part PE and styrene assemblies. Detail for the final drive and brakes involve PE strips that will need to be annealed and bent to shape around the styrene parts but will provide excellent detail once in place if showing the glacis access hatch open.
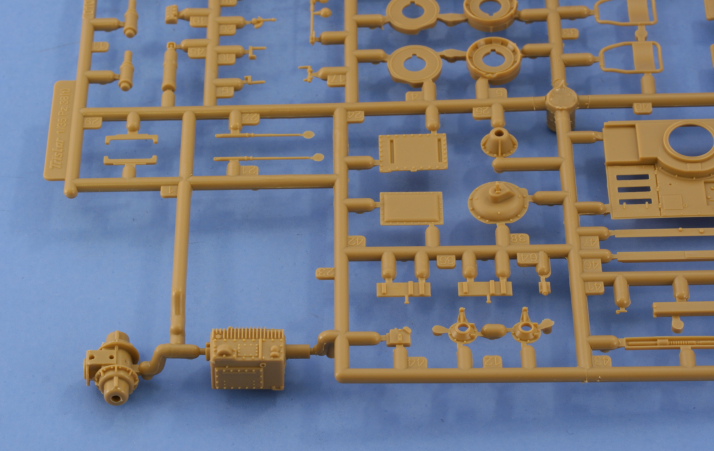
The driver and radio operators seats are also finely detailed including separate parts for the seat and back cushions that have a finely molded fabric detail to them. The ratchet-style seat adjustors are included in the form of PE parts, and separate PE straps securing the top cushions to the backrest frames are also provided. Additional details for the hull sides include the drivers side crash pad, communication light panels, instrument panels, and fire extinguisher.
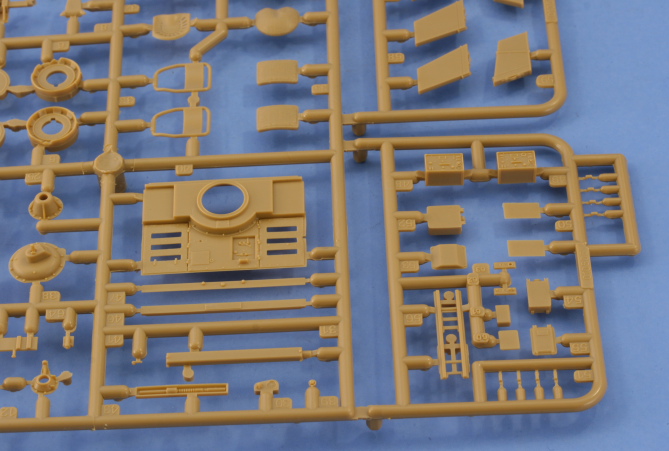
Ammunition cases for the 3.7cm main gun are also provided with molded on straps and trays for the right side, but with perforated PE holders for the left side as seen on the gun-tank versions. The raised wooden surface for the middle of the compartment is provided as a one-piece PE piece that is a little lacking in depth/detail, but with creative painting and weathering will look the part. Additional PE racks and ammunition to populate them for the hull and turret MGs are also provided. The radios and transformers are also finely rendered in styrene, with the radio racks consisting of multiple separate PE parts which ought to make painting and detailing easier. The instructions dont clearly show where the radios should be installed, just their assembly, so be sure to have your references handy to place them properly on the drive shaft covering. The bulkhead separating the fighting compartment from the engine bay is also finely rendered with PE parts provided for the screens and options of posing the vents in either the open or closed position.
Engine Compartment:
The engine compartment is packed with detail as well with most of the parts going to the engine itself. All of the engine compartment assemblies utilize styrene parts, the PE fret deals strictly with the fighting compartment and turret details. Separate parts are provided for the radiator and cooling fan with the fan drum featuring a seam around its outside circumference that will pose a challenge to clean up properly. The compartment details also include the fuel tanks and battery box which provide a lot of detail in their own right as a foundation for those looking to super-detail with wiring or hoses as the case may be. The cap on the engine which connects to the drive-shaft is designed to protrude through the firewall and connect up with the drive-shaft in the fighting compartment, something to be aware of if you plan on using the engine separately, or not installing the engine at all.
Turret:
This set also adds missing details to the turret on the 38(t). The Tristar kits provided options to pose the commanders hatches in the open position but aside from the gun breech, very little detail was included. This set addresses this by adding the ammunition cases as styrene and PE combos for the turret rear and turret roof. It also adds the ammunition holder for the turret MG and the commanders turret traverse and light communication box.
Conclusion
An excellent and relatively inexpensive upgrade option for those looking to add interior detail. The set allows for a wide range of detail to be added to either the lower hull, the turret, the engine compartment or all of the above. The complexity of some of the PE assemblies requires a good comfort level there.
SUMMARY
Highs: Very well detailed set that addresses all of the main areas of the interior fighting compartment, turret, and engine compartment. Lows: PE complexity for some details will require advanced skills. Some minor mold seams to clean up. Verdict: Highly recommended for those looking to add detail to the 38(t) family of vehicles.
About Bill Plunk (wbill76) FROM: TEXAS, UNITED STATES
Like many, I started out in the hobby as a kid building airplanes to hang from my bedroom cieling. I took a long break from the hobby, returning in 2001 with an interest in armor inspired mostly by online gaming. WW2 armor, 1/35 scale, is my preferred genre with a special taste for the stranger vehi...
Thanks Bill for the heads up about this item. A quick question is there any painting instructions included? I've got the Dragon 38 t kit , and even though a couple of the people on the network have given me interior painting ideas, which I greatly appreciate, I just want to do this fine little kit up right. Thanks again.
Ivanhoe, Rick, there's only a very rudimentary painting guide provided on the bottom of the last page which lists three colors as A-B-C for Tamiya and Mr.Color paints. The colors are called out as A: XF-11 Chrome Silver, 8/H8 B: XF-10 Gun Metal, 214, and C: XF-70 Dark Green, 123. The only places where those call-outs are used is with the engine compartment pieces, so it's not a lot of help there I'm afraid.
Interior color shots of the Pz 38t are hard to come by, I used the Pz Tracts no. 18 but the photos there are black-and-white (and also a bit doctored as they used a Slovak LT-38 for the manual photos) but that's the best references I know of.
Thanks Rob, it's a pretty good set. Now that I've built it up for use in a Marder III there are some areas where it's got some tricks up its sleeve...the instruction diagrams are no help at all in placing the radio and rack, just showing their construction but not their installation...but aside from that it's pretty solid. Definitely a good compliment to the detail provided in the standard Tristar Pz38t kits for those looking to add the interior goodies to the turret, the hull, the engine compartment or all three.


Comments