This kit has not been reviewed on this site. Considering how commonplace it was, and how many were produced, and the fact that it is a great kit, I hate to see it overlooked.
history
It seems like softskin vehicles in general, and allied in particular, are overlooked with the exception of the Jeep and 2 1/2 ton truck. There were nearly 250,000 WC series vehicles built in WWII and they were used in every theater by everyone through the benefits of lend lease. Although called a weapons carrier, they were used primarily to transport personnel, although they could carry just about everything else. They weren't fast or pretty, but they were rugged, dependable and well liked.
The 3/4 ton WC series was produced in several variants. They were:
WC51: Open cab and body, basic cargo/crew bed. WC52: Same as the 51, but equipped with a powered winch assembly. WC53: Fully enclosed hard body with rear windows, provisions for radio installation. WC54: Ambulance version. WC55: The 51 with a 37mm anti-tank gun mounted in the rear. Called the M-6 GMC WC56: Command car version, rear bench seat, folding top, provision for radio. WC57: Command car version with the powered winch assembly. WC58: Dedicated radio command car. WC59: Telephone maintenance truck, tool box bed and extension ladder on side. WC61: Light maintenance truck, replaced the 59. WC62: 6X6 1 1/2 ton variant. Extended frame and bed with additional axle. WC63: 6X6 1 1/2 ton with powered winch assembly. WC64: 6X6 1 1/2 ton knock down ambulance
The AFV Club BEEP WC51 kit can be built into either the WC51 or WC52 and is one of my favorite kits. If I had the resources, I would own the actual vehicle, but as things stand, this is the closest I can come.
The Kit:
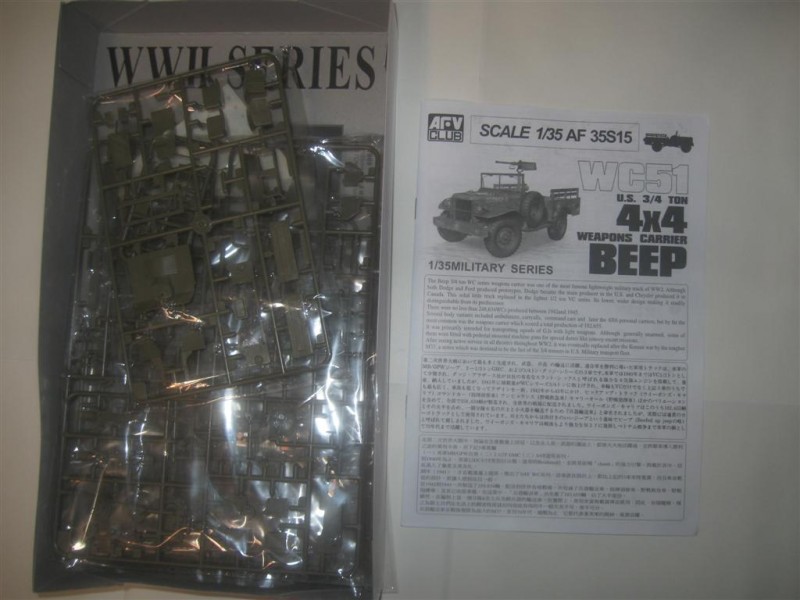
My box arrived from Luck Model of Hong Kong with a minor dent (from shipping) but the contents intact. There are 202 parts on 8 olive green colored sprues, four clear parts, six vinyl hubs and a length of spring. Decals are provided for three vehicles. Several of the sprues are identical to those from the WC 62 I build recently and most of the instructions from the two are identical. I will provide comments from that build where applicable.
The sprue breakdown is as follows.
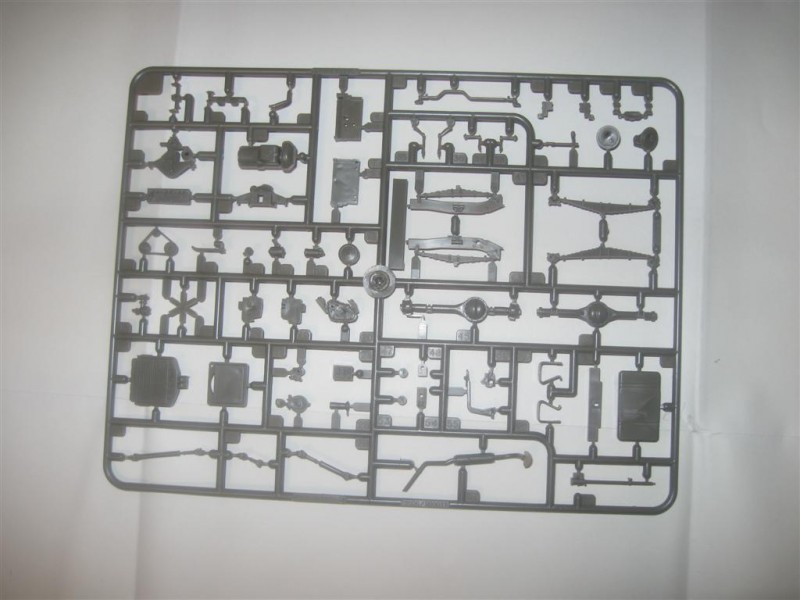
Sprue A: Marked WC 57 1999. The engine assembly, transmission, frame attachments, drive shaft and exhaust/muffler. Molding is excellent. Ejector pin marks are minimal and primarily on non exposed surfaces. The others will clean off with minimal effort. There is one small sink mark on one axle. The exhaust pipe has a small half moon shaped bit of flash on the engine mount end (same as in the WC 62 kit). It comes off easily.
Sprue B: Marked WC 57, 1999. Bumpers, winch assembly, dashboard, control levers and pedals, steering wheel, fenders and engine cowling. There is a windshield on this sprue. Many of these parts are very small and delicate and the plastic is brittle. Side cutters will break the parts. A new, sharp blade is best to get them off intact. Molding is again excellent with very little cleanup.
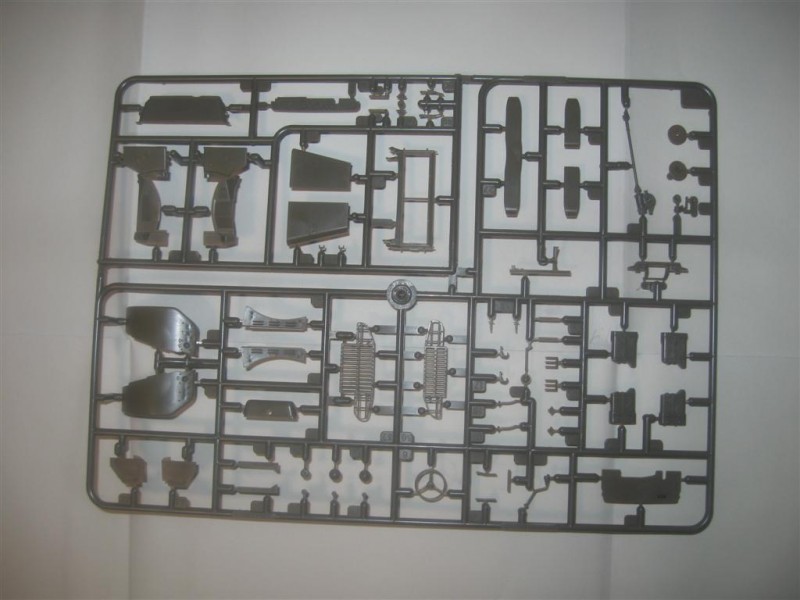
Sprue C: Marked WC 51, 1999. Cargo bed assembly and a frame for the canvas cover. There is good wood grain detail on the boards on the bed frame. Some ejector pin marks are visible and will need to be carefully removed. Most are slightly raised.
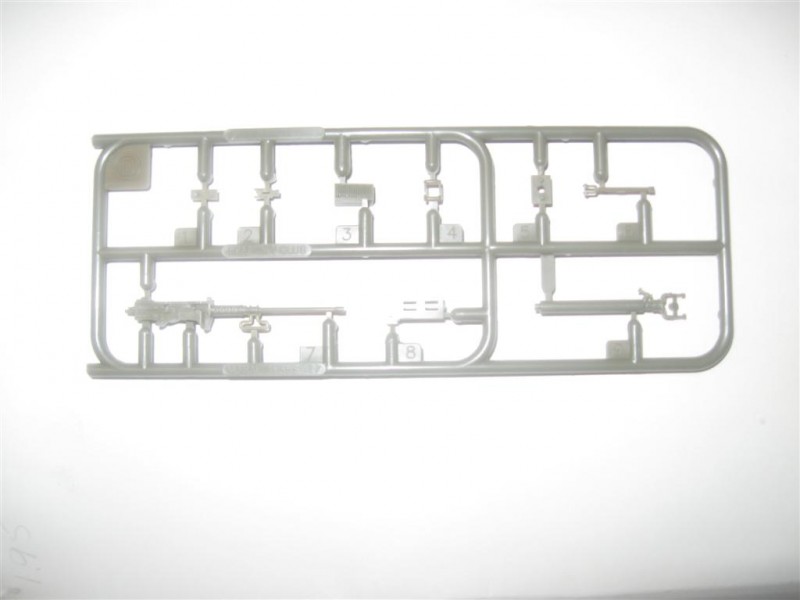
Sprue D: Marked M38A1, 1999. M2 50. cal MG and stand. The gun is nicely detailed and looks very good. Mine has a small sink mark on the left side.
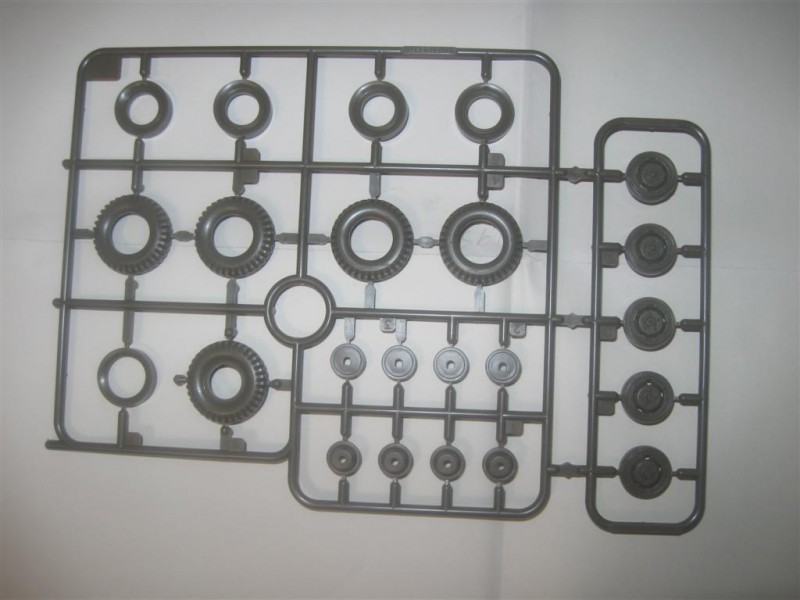
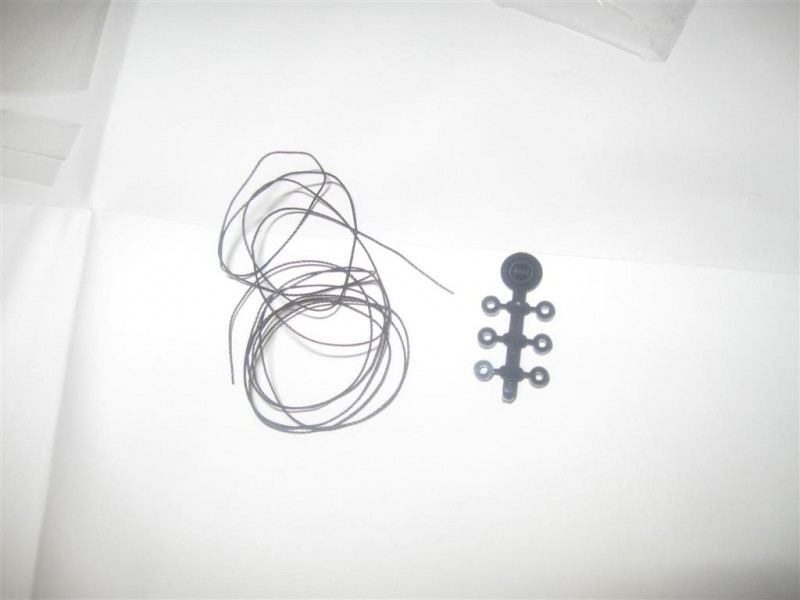
Sprue E: Marked 1999. Wheels and hubs. The hubs have excellent crisp detail. The wheels are cleanly molded with the mold seam running down the center of the tread. there is a bit of cleanup on the inner part of the tire where it meets the rim. One spare is included.
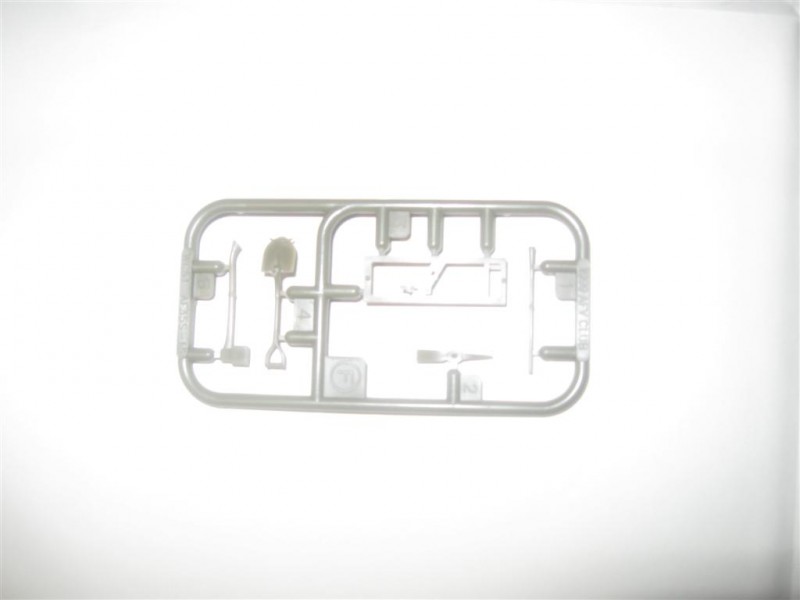
Sprue F: Marked WC51, 1999. Tools and mounting rack. The tools appear crisp and well detailed. Only small mold seams to remove. There are no straps but they can be made easily from paper or foil, or aftermarket.
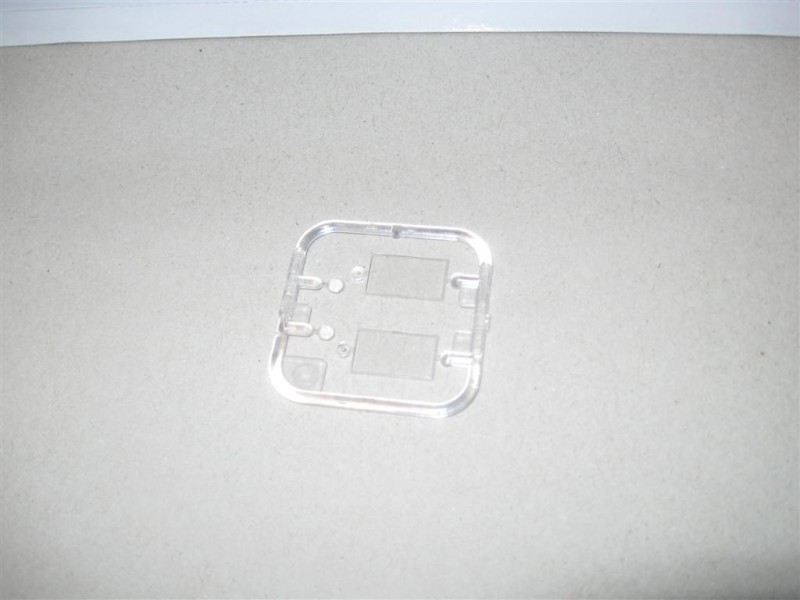
Sprue G: Marked WC51, 1999. Clear parts for the windshield and headlights. The parts are clear and clean.
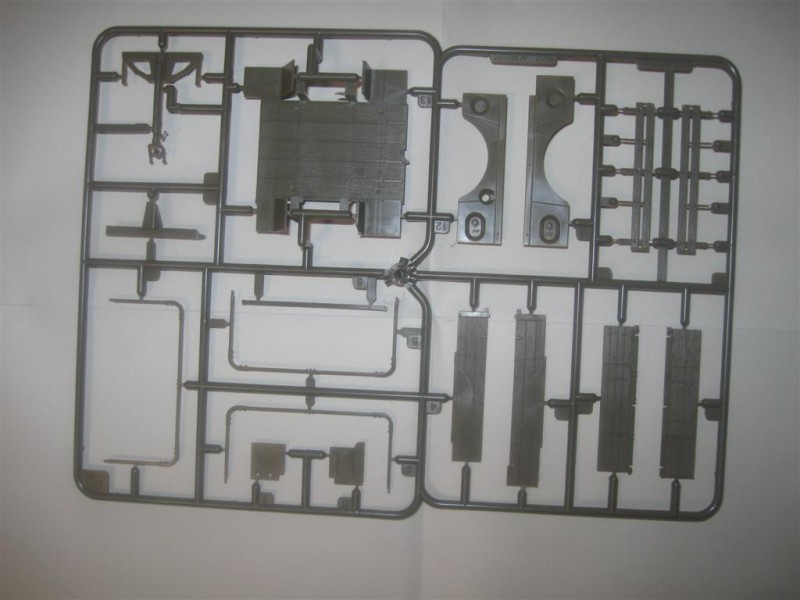
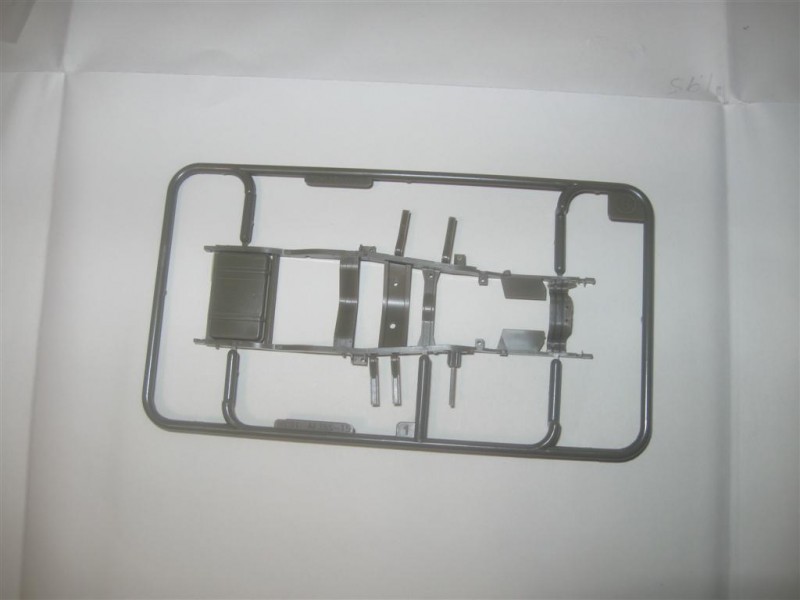
Sprue H. Marked WC51, this is the frame. Because of the complex mold there are some seam lines to clean up around the frame extensions. It will be a little difficult to remove them but they may be hidden after assembly. The mold line also runs across the top of the frame to some dry fitting before assembly is critical to ensure proper fit.
Sprue I: 6 vinyl hubs. They allow you to remove the wheels for finishing or transport (or allow it to roll freely while you play with it on the floor).
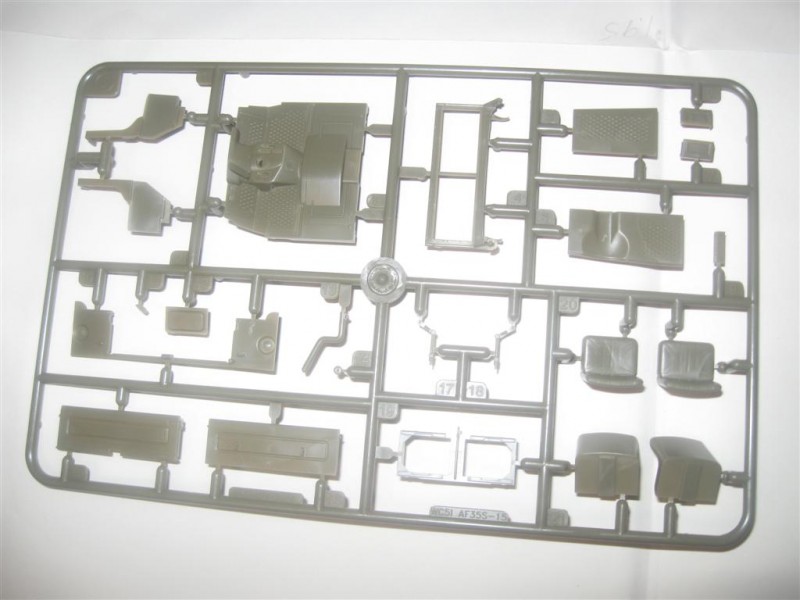
Sprue J: Marked WC51, 1999. cab interior, seats, running boards. The seats have nice detailing and are separate from the frame. The gas pedal is molded in place and is quite thick but can be thinned carefully. Another windshield is provided. It has some flash present (identical to the WC62) but will clean up easily.
A length of string is provided as the cable for the winch but appears overly thick for scale.
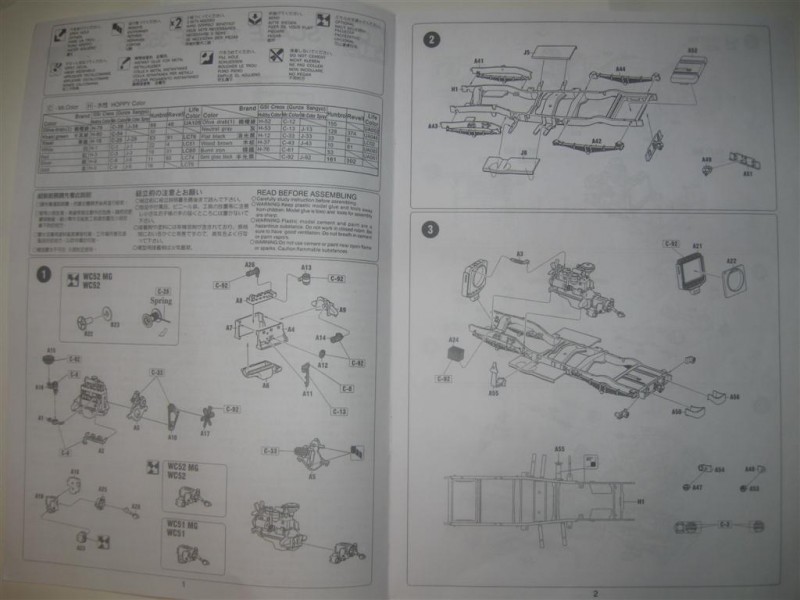
The instructions are visually clear and detailed. Painting instructions are called out by number for GSI Mr. Color, with reference made to Hobby color, Mr. Color spray, Humbrol, Revell and Life Color. Step one shows the winch with "spring" being wound around it. This should read "string" instead. The same error is in the WC62 (and I would presume the WC57 as well). I hereby volunteer to proof read the English portion of AFV Clubs instructions to make sure they are clear.
Assembly
The instructions call out assembly in 22 steps. The different assembly directions for building the two different variants are clearly defined. Steps 1,2 and 3 show assembly of the engine, lower frame and engine to the frame. Painting the engine is easiest before final assembly. Step 4 is the front bumper or optional winch assembly, which can be tricky as the parts are delicate. If you are going to add the winch, do it when you add the engine and dry fit carefully.
Steps 5, 6 and 7 deal with the drive train and exhaust and are fairly straightforward. 8 and 9 are the assembly of the cab and mounting it to the frame. 10, 11, and 12 finish off the cab body and engine cowling. Do these steps carefully and together as parts fit is critical. If any part is off, the entire front assembly will be off. Also, when the cab is attached to the frame, dry fit carefully. If it is forced, it will warp the frame and the wheels won't sit square. One nice touch with this kit is that decals are provided for the placards on the dashboard. I missed having them with the WC62.
Steps 13, 14 and 15 deal with the front grill, windshield, fuel cans and wheel hubs. The wheel hubs and tires are specific to position so attention is needed.
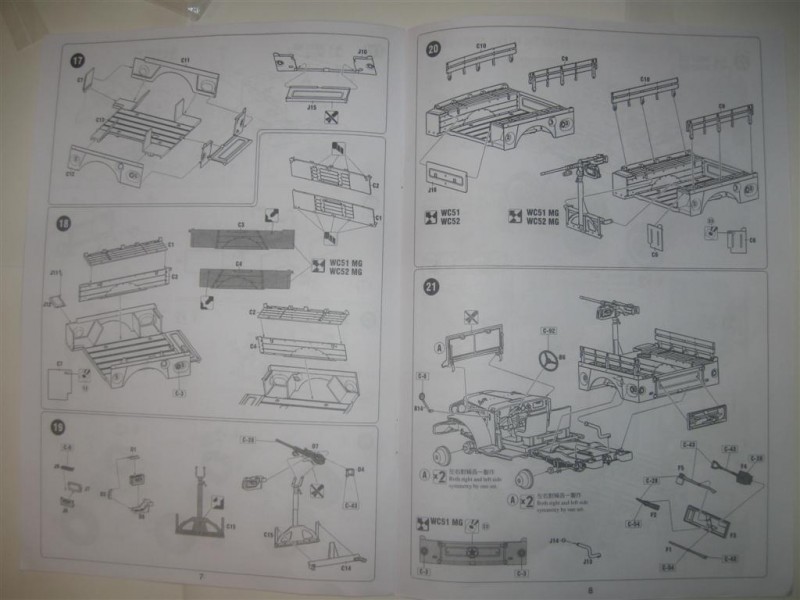
Steps 17-20 deal with the bed assembly. There are small parts to remove and if the MG is going to be mounted small changes in the assembly are called out. The bed will assemble easily but watch for the small pin marks.
Step 21 attaches the completed bed to the frame. Again, watch the fit so you don't warp the frame. Step 22 attaches the wheels and optional canopy frame.
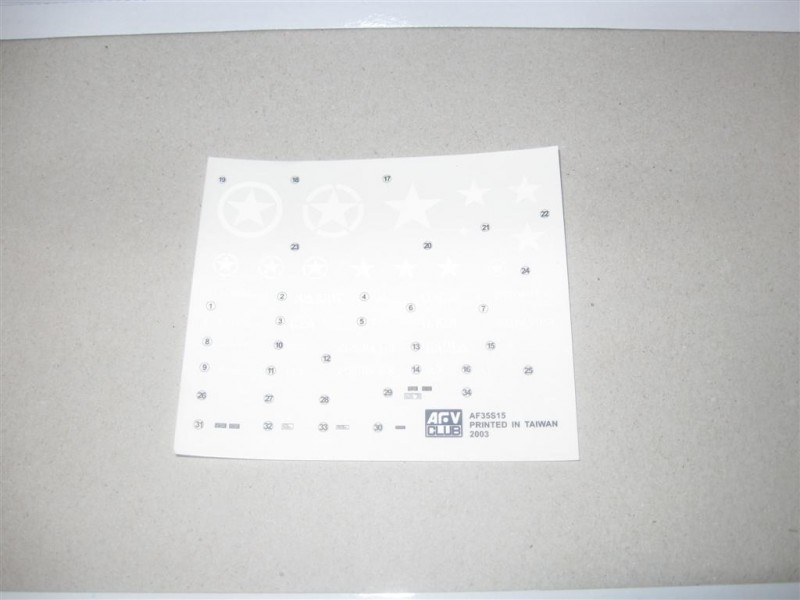
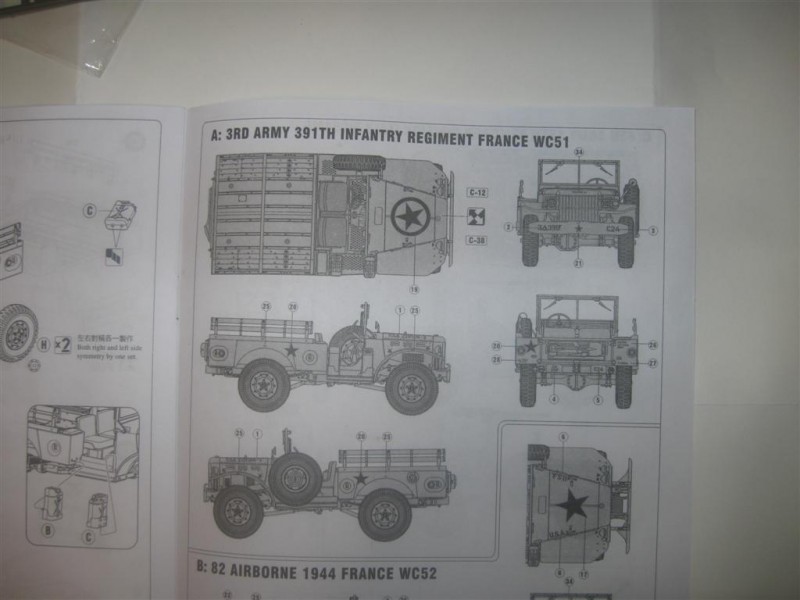
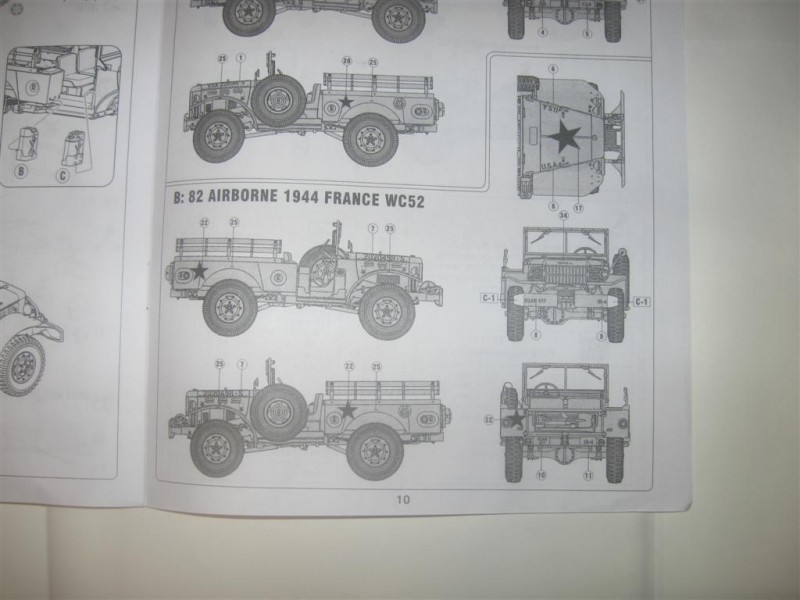
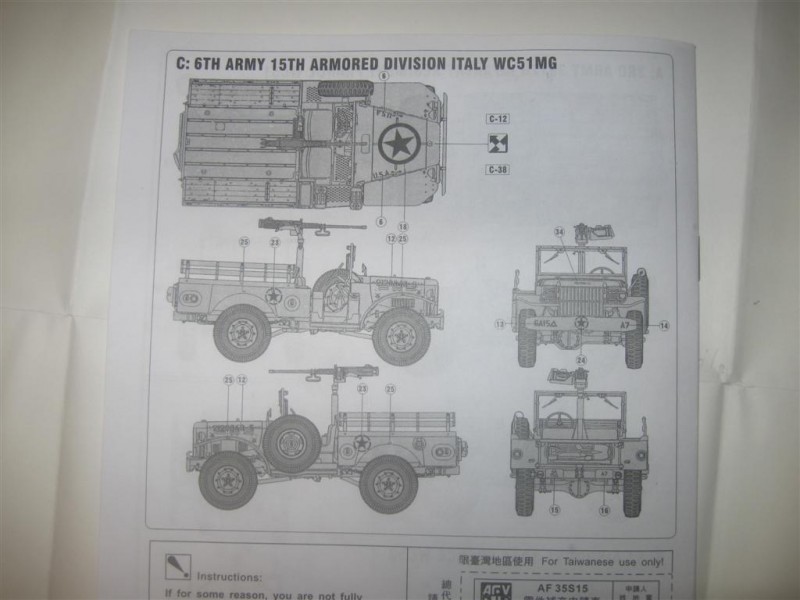
Decals for three vehicles are provided. A: 3rd Army 391st infantry regiment, France, WC51 B: 82nd Airborne France, 1944, WC52, and C: 6th army, 15th armored division, Italy WC51 MG. All vehicles are painted in olive drab.
Conclusion
Overall, I think this is an excellent kit with tremendous detail. The molds are 10 years old and could stand a little cleanup and tweaking but still look great. It is a fairly easy build and with care (same as with any other kit) will produce an outstanding model. With a generic decal set it can be made up as a vehicle on any front at any time. The only thing I think it really needs is a set of figures in plastic. This would also make the perfect build for getting out of a "modeling rut". I highly recommend this kit.
Kit purchased from Lucky Model.
SUMMARY
Highs: Excellent detail and instructions to make a great representation of the WC 51 or 52. The price is perfect. Lows: Some tricky assembly, seams to clean up.Verdict: If you are looking for a change, or a fun build, this is the kit.
About Russ Amott (russamotto) FROM: UTAH, UNITED STATES
I got back into the hobby a few years back, and wanted to find ways to improve, which is how I found this site. Since joining Armorama I have improved tremendously by learning from others here, and have actually finished a couple of kits. I model to relax and have fun, but always look to improve. ...
I took a couple of photos of the flash around the exhaust pipe and windscreen, as it was the same on both the WC51 and WC 62. Consistency.
It really is easy to remove. Anyone else notice this on their kits?


Comments