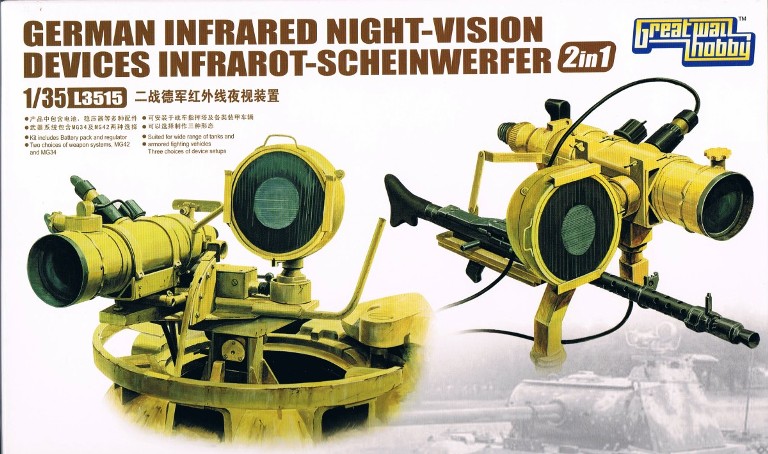
In 1942, the Germans began experimenting with an infrared system made by the firm AEG. These were initially tested on a 7.5cm Pak 40, but were later tested on a Marder II, a Panther Ausf. A & G, as well as the Sd.Kfz 251/1. The more commonly known examples being on the Panther G, the Sd. Kfz. 251/1 Falke and the Sd. Kfz. 251/20 with the large searchlight. This set is meant as an accessory, but based off the designs used on the Panthers and the 251/1.
The Kit
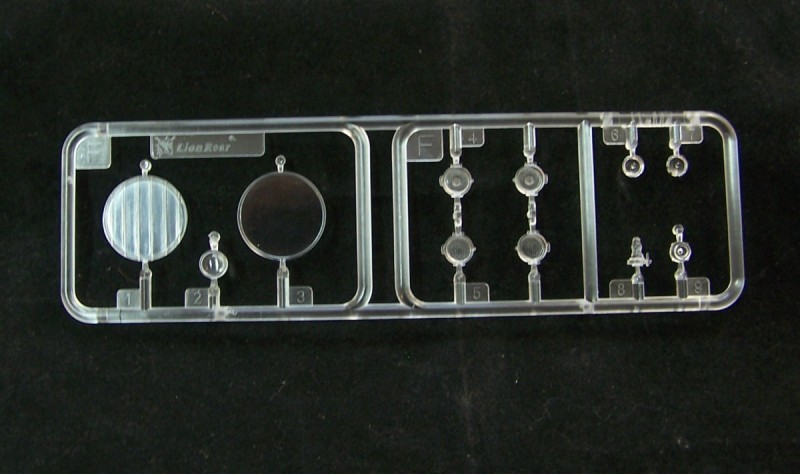
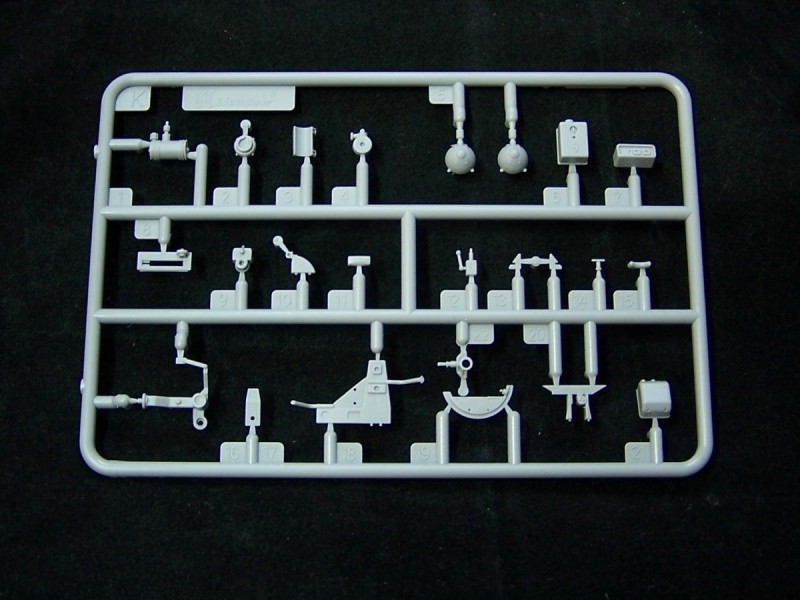
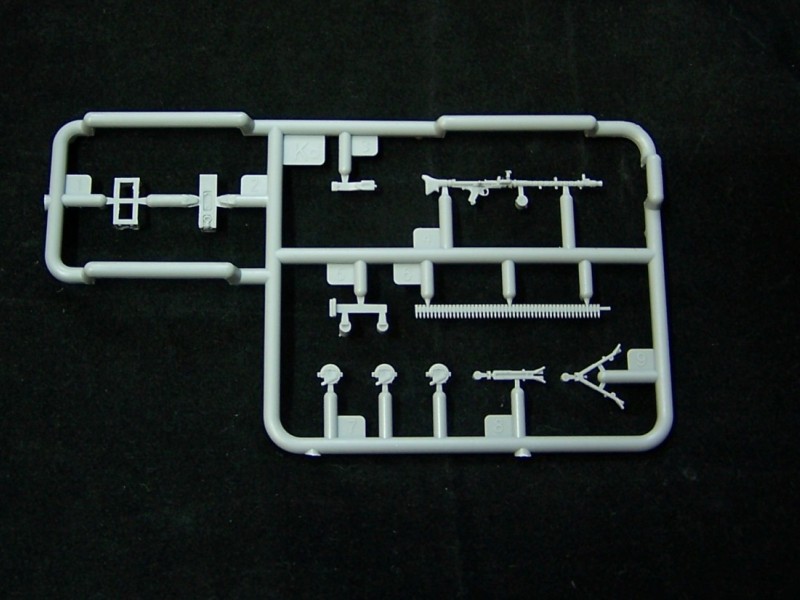
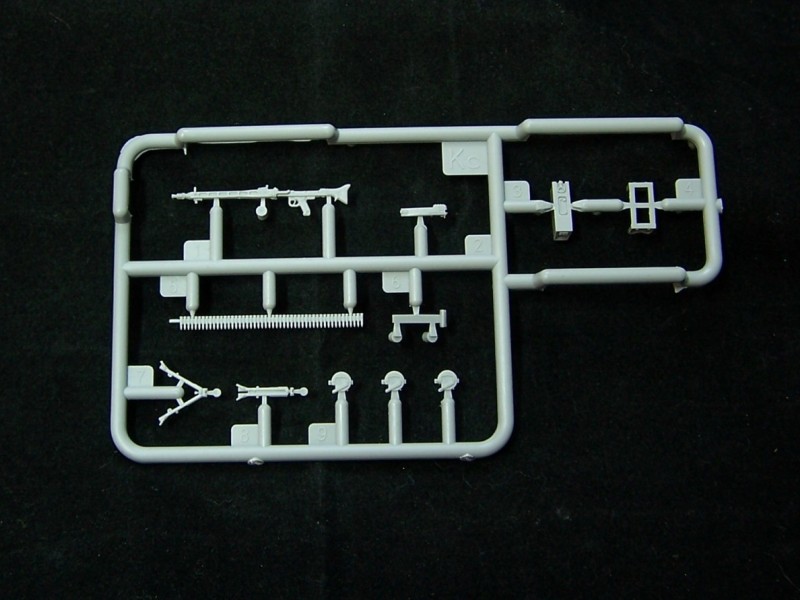
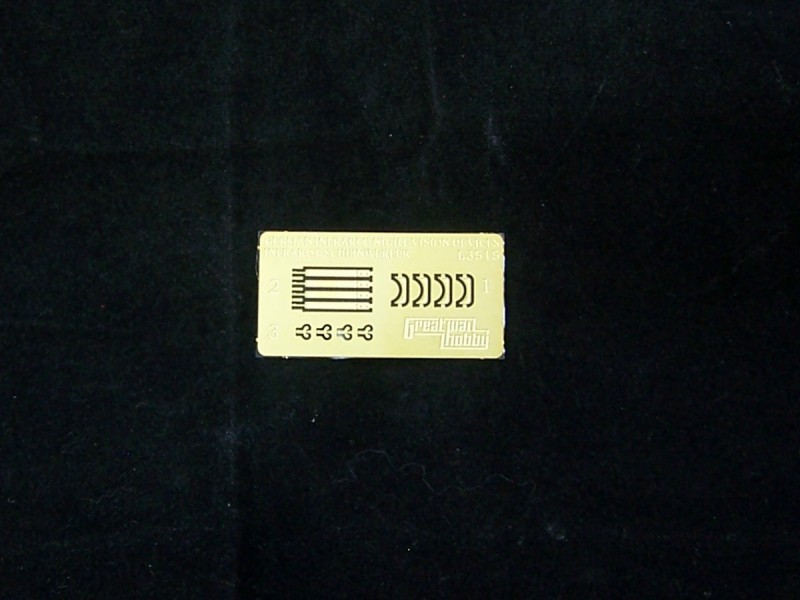
The kit consists of 6 sprues (2 clear and 4 styrene) and 1 small photo etch fret, for a total of 90 plastic parts and 12 photo etch parts. These are the same sprues included in Great Walls sWs UHU kit, which you do get the lenses for the searchlight, not needed for this kit, so in the spares box they go. The supplied parts are enough to make one of each of the IR devices shown on the box art, or you can make 2 of Solution A or 2 of Solution B. The kit of Solution A would be considered complete, as this is all that was mounted for this type.
However, if you want to make Solution B, then this set isnt quite complete. You do get the assembly for the commanders cupola, but not enough image devices to arm the tank (Panther) as it was intended. You would still need the imaging devices that were mounted for the driver as well as the ones mounted on the gun mantlet. If you intended to make the Sd. Kfz 251 Falke version, you do have enough of the IR equipment for one model, however the mount for the drivers set is not included in this kit. It does include the power converter boxes seen in the 251, which were also mounted in the Panther, but I cannot find any photos as to their arrangement in the turret.
I'll break down the devices in their assemblies per the kit instructions for more details. The molding is very clean and well detailed. Very little flashing is present, and almost not worth mentioning as there is so little of it.
assembly
Step A:
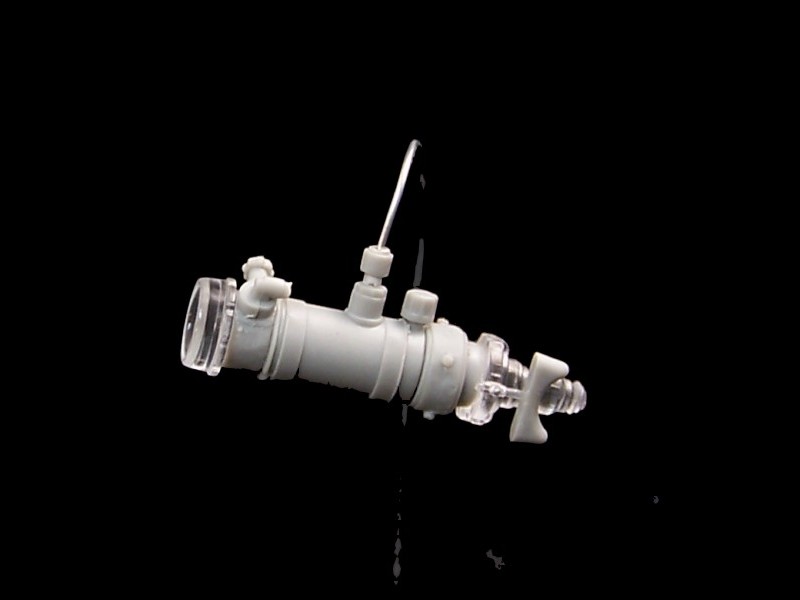
The first step is the assembly of the FG 1250 night vision scope and its cradle. You have a choice with the scope lens (F6-F7), with or without the anti-glare rim, though I havent seen one without it. Parts K1, K2, and K4 make up the main body of the scope. Parts K1 & K4 both have a wire coming from them, which requires drilling the hole, do this before assembly, (check references or box art for wiring). When assembling these 3 parts pay attention to their orientation. They are different according to the type of mount you choose. Part k2 has a small tab on one end for mounting part F8, use caution here as to how you orientate this part as well, checking the position of part K15. Once you have the scope assembled, set it aside, mounting it later in Step E.
Part K3 is the cradle for the scope, which consists of 6 photo etch parts and 1 plastic part. I chose to assemble this later in Step E.
Step B:
This is the assembly of the searchlight. It is straightforward, but you do have a choice in lenses, one having the focusing lens in the middle, and one without. It does have the handle molded on, I chose to replace it with one made from fine copper wire.
Step C:
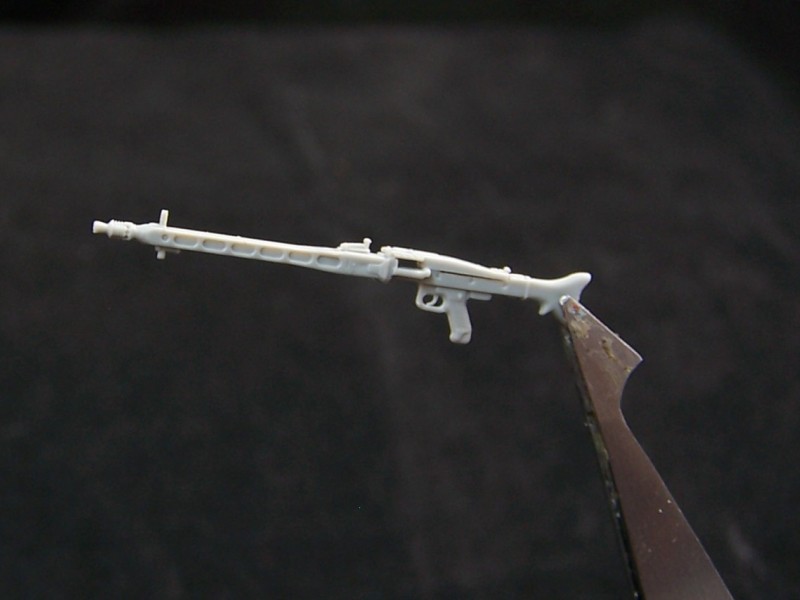
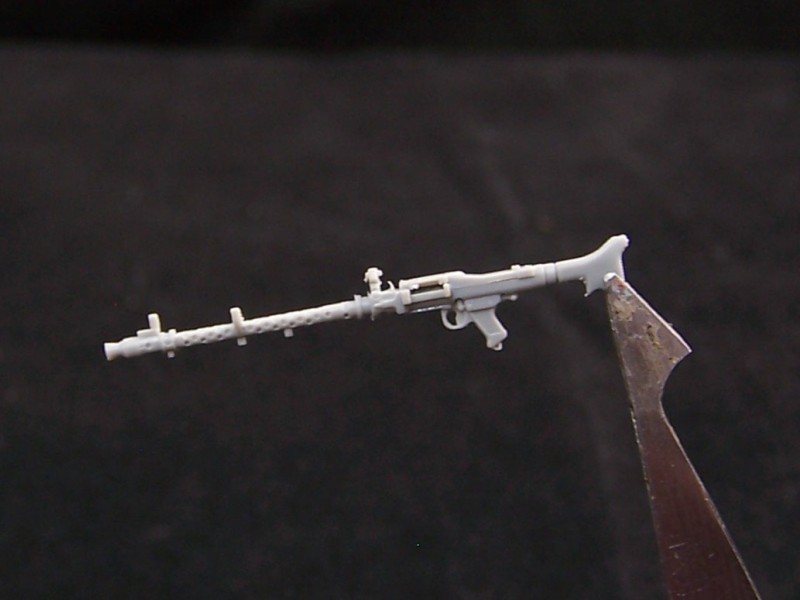
This is the assembly of the Mg-34 and MG-42. Its your choice which one to use, depending on what your mounting it on. Both MGs look to be accurate and are very detailed with exception to the muzzles, they look a bit undersized. They come as a two part assembly, just like the Dragon offerings. Also included are two ammo belts for the canisters. Once the MG is assembled, youre directed to install it to the gun cradle, part K8, which I chose to leave it off until after painting. The MG cradle itself looks to be incomplete. According to photos of the real thing, there should be two bars attached to the rear of it , these would have been used to aim the device. I added these using .025 styrene rod, but they should be tubes. You could use needles from a syringe for an accurate look.
Step D:
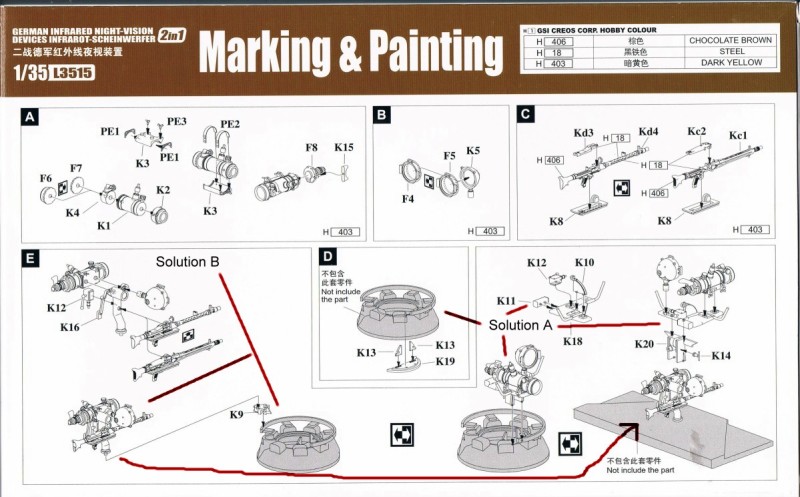
This step is for adding the mounting plate if you were modeling Solution A. This mounts in the Panther cupola (not supplied in the kit).
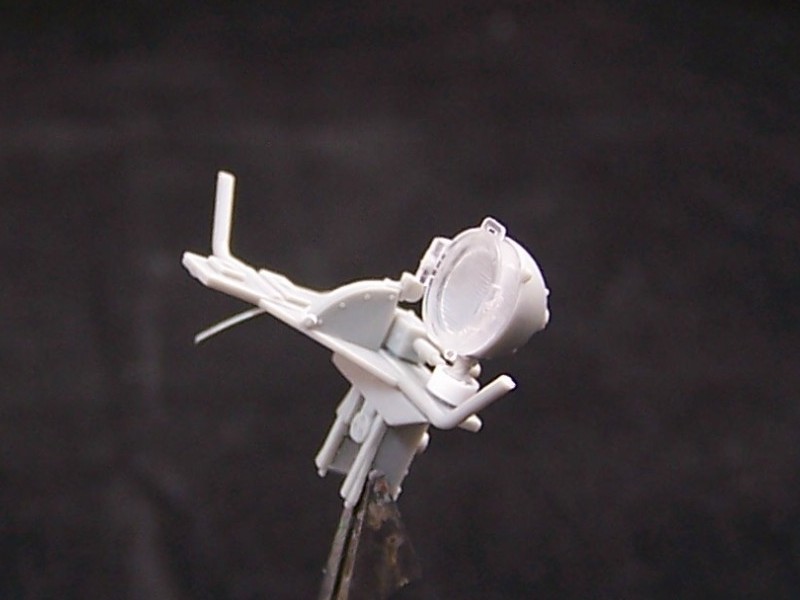
Step E; Solution A:
This step is where it all comes together, and is shown in two parts, one for Solution A and one for Solution B.
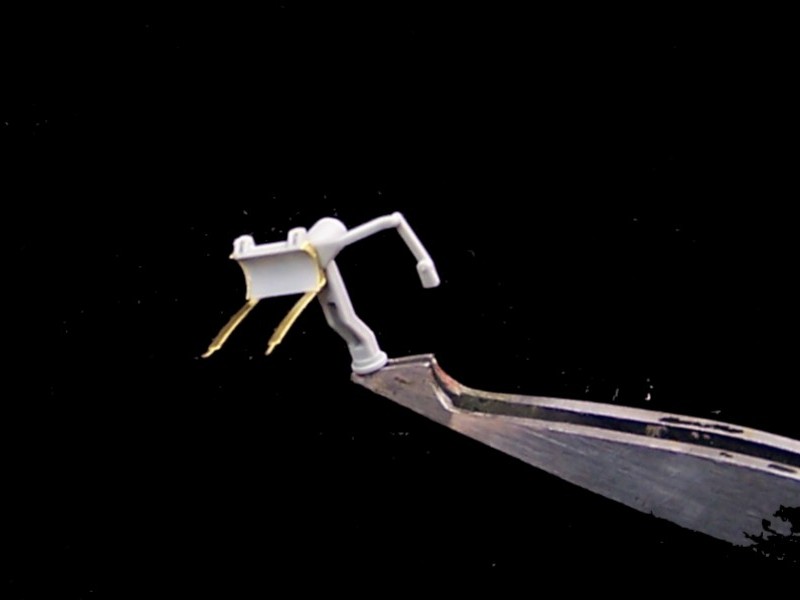
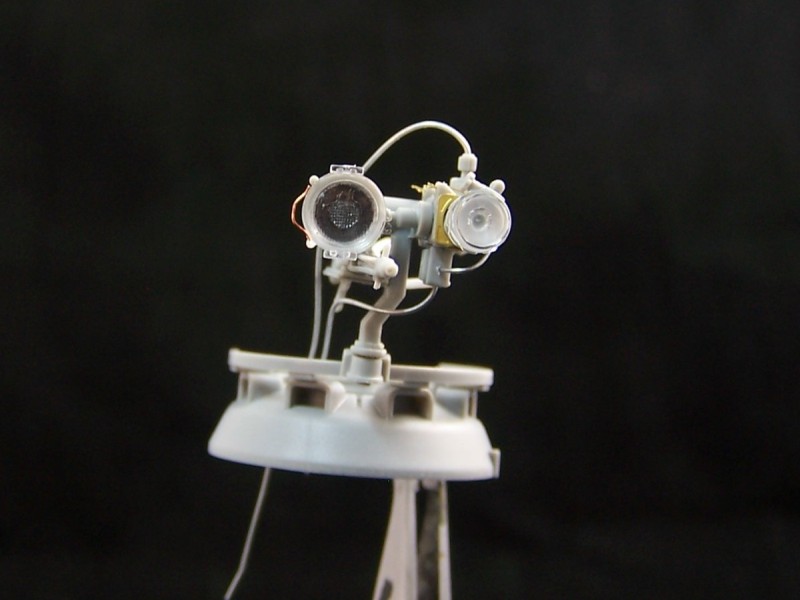
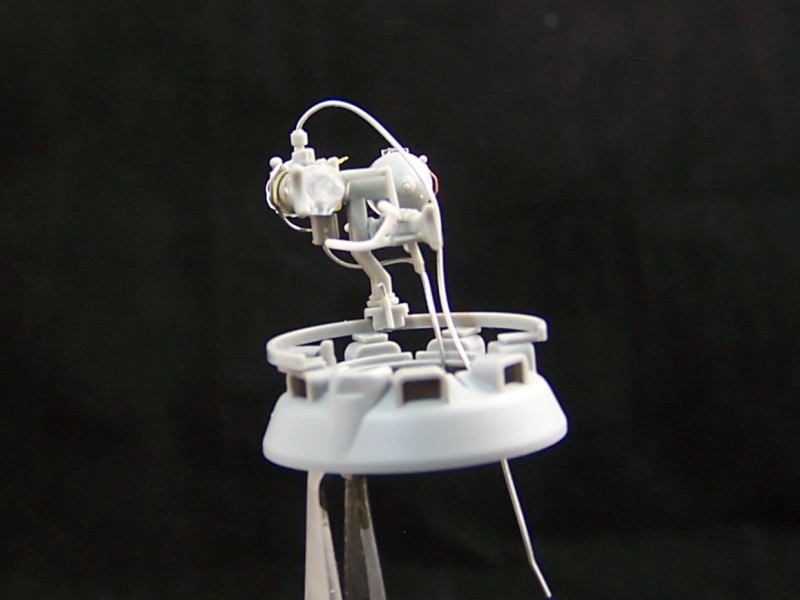
I'll start with Solution A. Part K18 is the main base for the mount. I started by adding the head rest part K11 and the elevating band part K10. You will need to refer to your references for part K10. This is where a metal band was attached and went into the Panther turret, just in front of the commanders cupola. The Dragon Panther G has the guard for this already. Next I mounted the searchlight, which mounts directly to part K18, but there should be a thick 'socket' for it to set in. I added this by thinning out some 3/32 styrene tubing cut to proper length, about 3 mm. Next comes the power box, part K12. Pay attention to the molded on 'wire', this end connects to the searchlight base. However, its mounting hole on part K18 is too far from the light base, so you'll need to correct this by filling in the hole, and moving part K12 closer to the light base. Next is to attach this assembly to the mounting 'tower', part K20, which looks to be accurate and nicely molded.
Now we'll take a step back to the scope assembly mentioned in Step A. This is a fragile assembly, which is why Im doing it here in the last step. Start by attaching the photo etch parts PE1, one on each end, then attach the cradle, part K3 onto your final assembly. Now you can add the night scope, assembled in Step A, to the cradle, checking its alignment with your reference. Once dry, you can add the photo etch straps (PE2) and wing nuts(PE3). Now you are ready to paint your assembly and attach it to the base (Part K19 Step D). Once installed, you can add the wiring if you havent already done so.
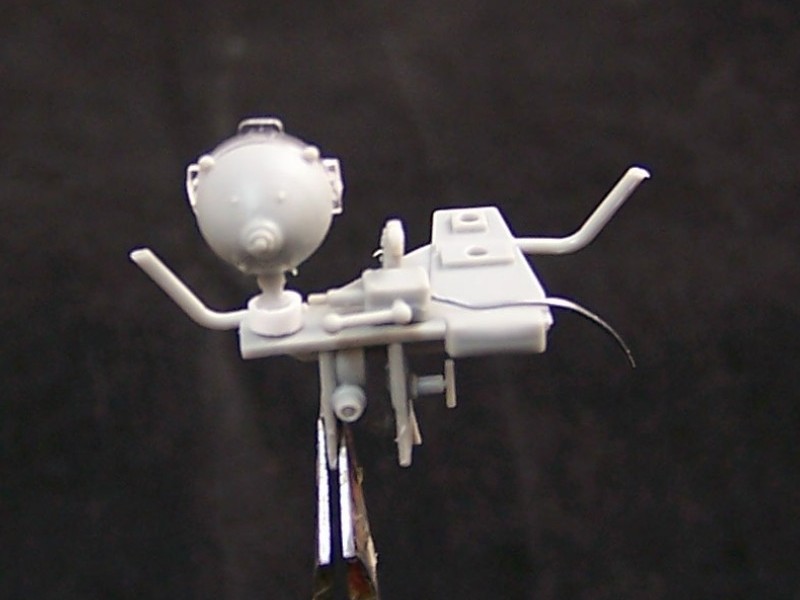
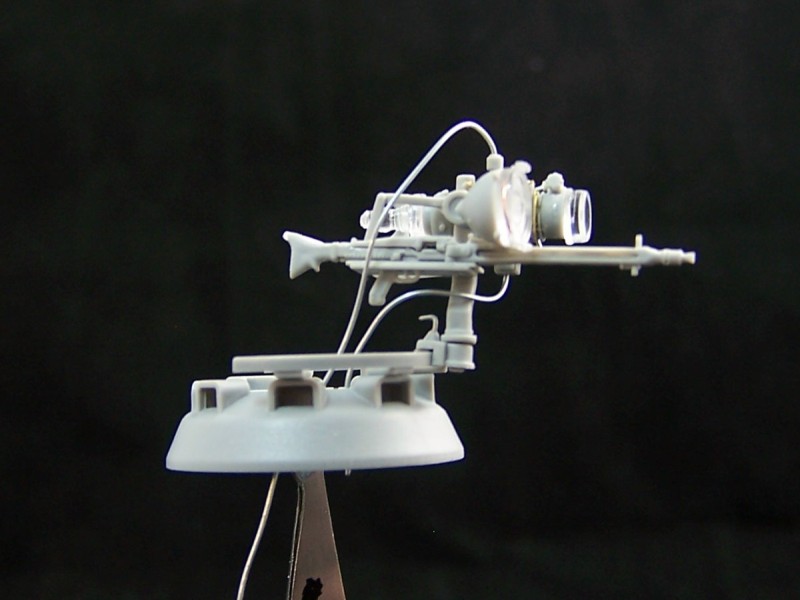
Step E; Solution B:
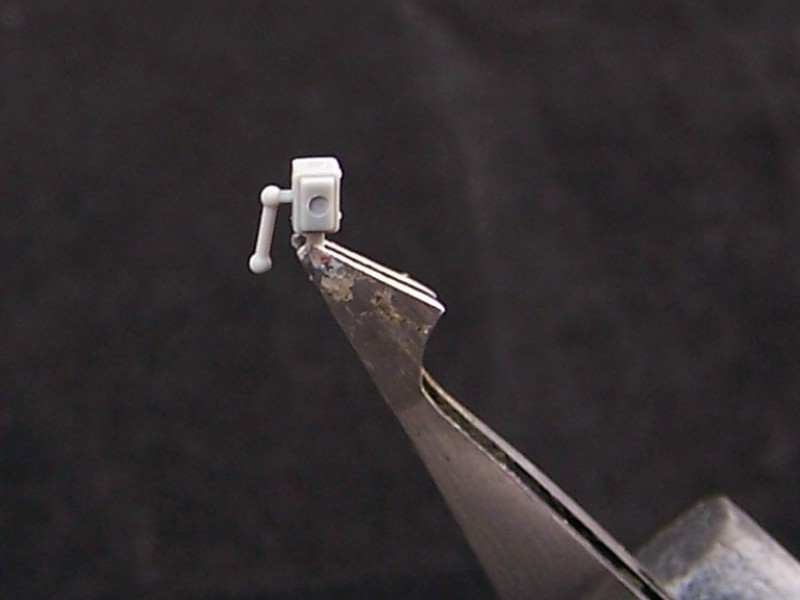
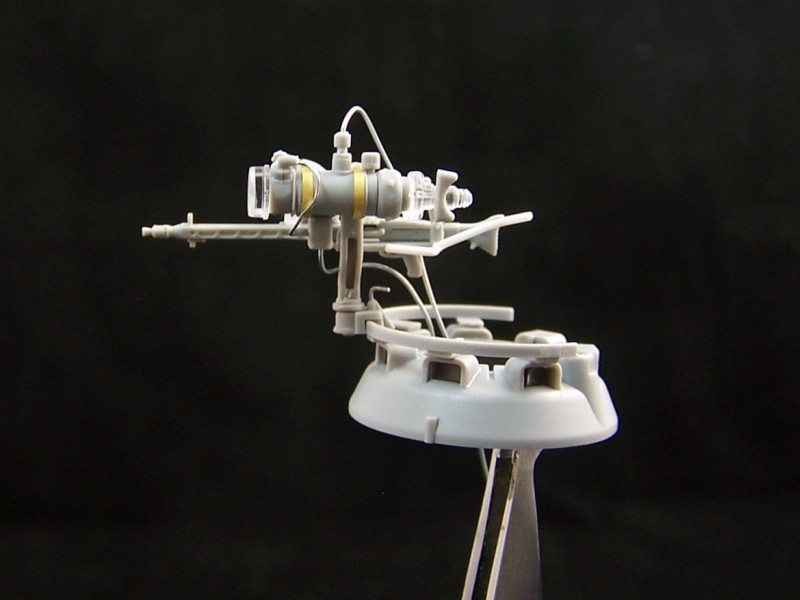
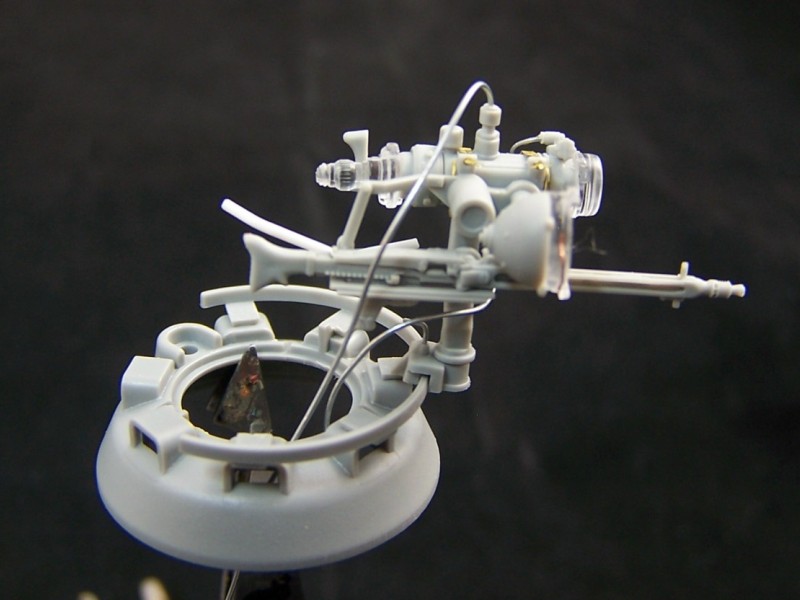
Begin this assembly with Parts K16 and the scope cradle, part K3. This will go on just like above, by attaching the cradle, then the scope, followed by the straps and wing nuts. Again, pay attention to the scopes orientation before gluing in place. Next I will add the power box, part K12. This part has a small handle molded on which is only used for Solution A, you need to cut this off for Solution B. The instructions are not quite clear where to attach this. Looking at the real thing, it should be attached to the bottom of the scope cradle, Part K3. The wire should be pointing down, and a smaller wire added to the front face which goes to the scope itself.
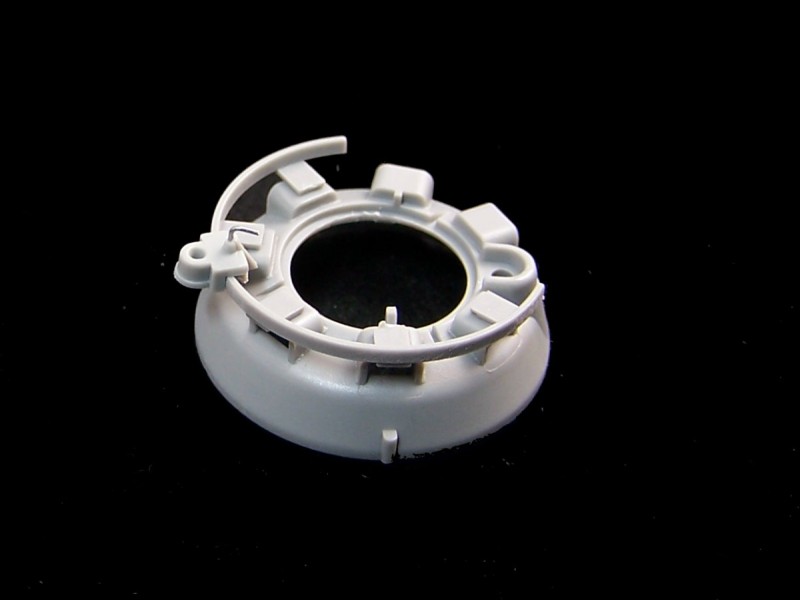
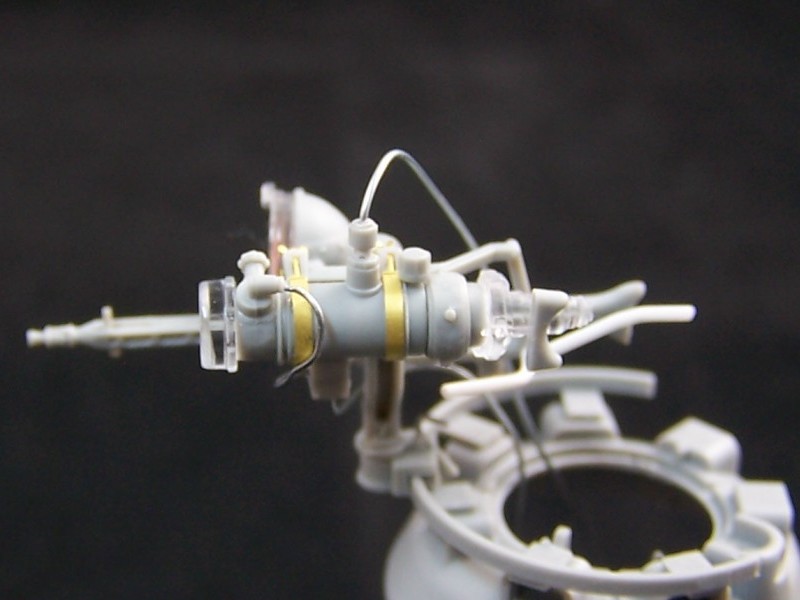
Next I attached the MG cradle from Step C. Again, its your choice of which MG to use, but for the Panther I would use the MG34. Next you can add the searchlight which was assembled in Step B. You have the choice of using this assembly on the Sd.Kfz 251, or the Panther. If using the Panther, an MG ring mount is provided, part K9, which looks to be accurate in details, but is a little on the thick side, and is missing the locking bar on top. A small piece of bent wire will fix that.
CONCLUSION
When I first learned of this set coming out I was quite excited. Now that I have it, not so much. This is a basic set, giving you only a portion of the real system in order to add it to one of your existing models, perhaps a paper panzer. If you want to do an experimental Panther A, you have what you need, or even the Sd Kfz 251/1 Falke isnt out of the question, though as mentioned requires scratch building the mount for the drivers device. If you want a full IR system, this set will not do it alone.
However, for what you do get, the quality of the molding, fit of the parts and overall details is top notch. For the price, I recommend it to anyone wanting to add some high tech stuff to a paper panzer, but not recommended if youre looking to build a complete IR set-up.
SUMMARY
Highs: High quality molded parts, fine details. Accuracy is very close , with only a few minor details that are easy to fix. low cost makes it quite affordable. Lows: Incomplete if you want a full IR system. some details are missing, no mount for the Sd Kfz 251 driver set-up. Verdict: A nice set for what it is, and very affordable. Highly recommended if your doing a what-if paper panzer, not recommended if you want an accurate IR system out-of-the box, but perhaps with two boxes one could scratch build the needed mounts.
Our Thanks to Dragon USA! This item was provided by them for the purpose of having it reviewed on this KitMaker Network site. If you would like your kit, book, or product reviewed, please contact us.


Comments