Introduction
Napoleon Bonaparte is credited with saying that God fights on the side with the best artillery. Clearly someone on the Ordnance Board took the message to heart as can be ascertained in the development of the M7 HMC (Howitzer Motor Carriage) which had the moniker of Priest hung on it by British soldiers after noting the similarities between the machine gun ring and a priests pulpit. Of course, it could have more to do with the fact that British self-propelled artillery carried on a naming convention derived from the names of churchmen; Priest, Bishop, Sexton, Deacon. You can almost detect a pattern!
Armed with the formidable M2A1 105mm howitzer the Priest proved its worth on battlefields around the globe both during and after the Second World War. Production began in early 1942 based on the proven M3 Lee chassis, the Priest first saw combat with the British at El Alamein in October of the same year. Before production ended nearly 3,500 Priests had been built to help provide the best possible artillery to the Allies; Napoleon knew with certainty that its always a good idea to have God on your side!
Contents
This is not Dragons first dance with the M7, having molded the M7 mid-production version about two years ago. There are a few differences between the two, but really only a few. In this review I will give you my general impressions as well as point out the differences between the two versions. If you want to see a really well written review check out Tom Barkingdigger Cromwells exceptional
review of the mid-production M7 and his follow up
blog that he did over the following year from the release of the kit. His work is first rate and if you are going to build this kit soon I couldnt recommend his work high enough; in short you really need to save yourself some headaches and take a careful look at what he has done for all of us. [Cue your humble Editor blushing with embarrassment! ED]
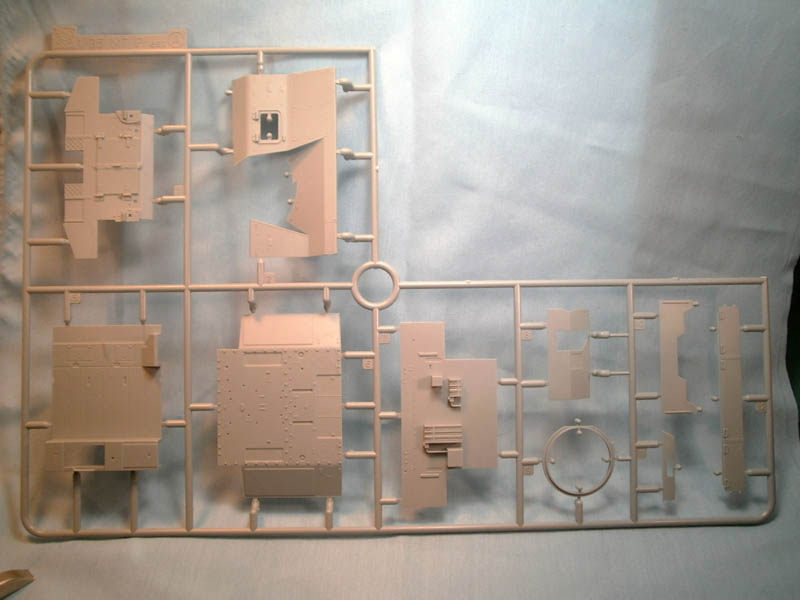
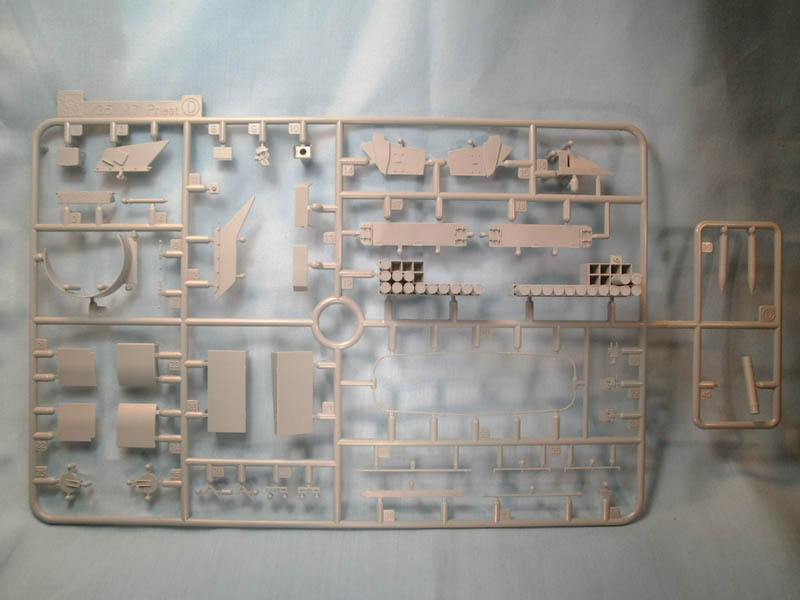
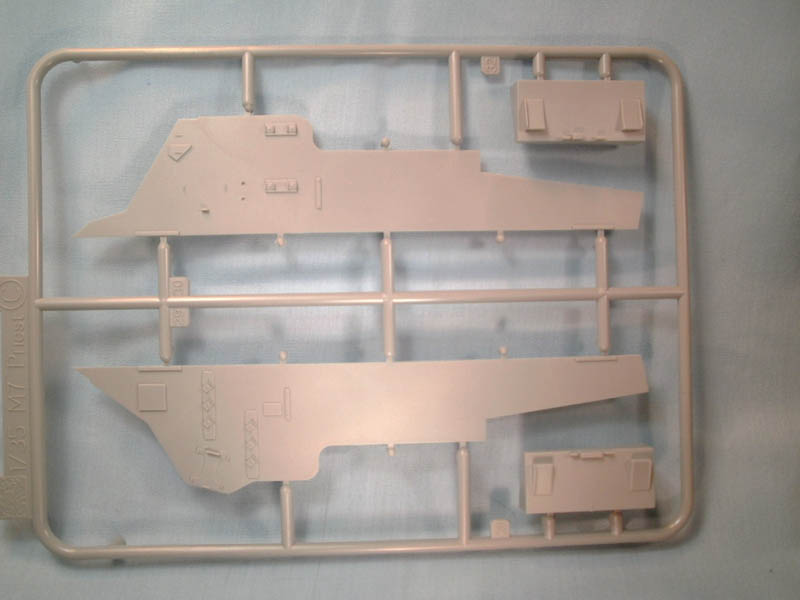
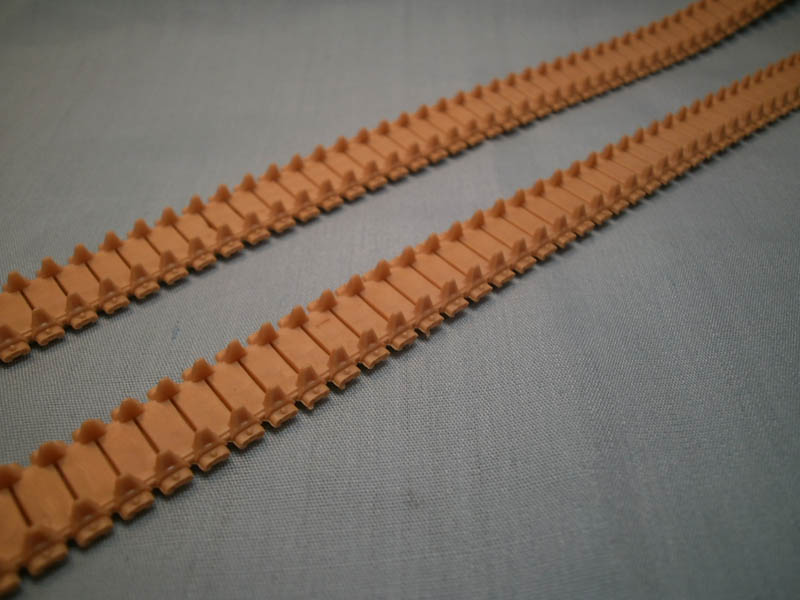
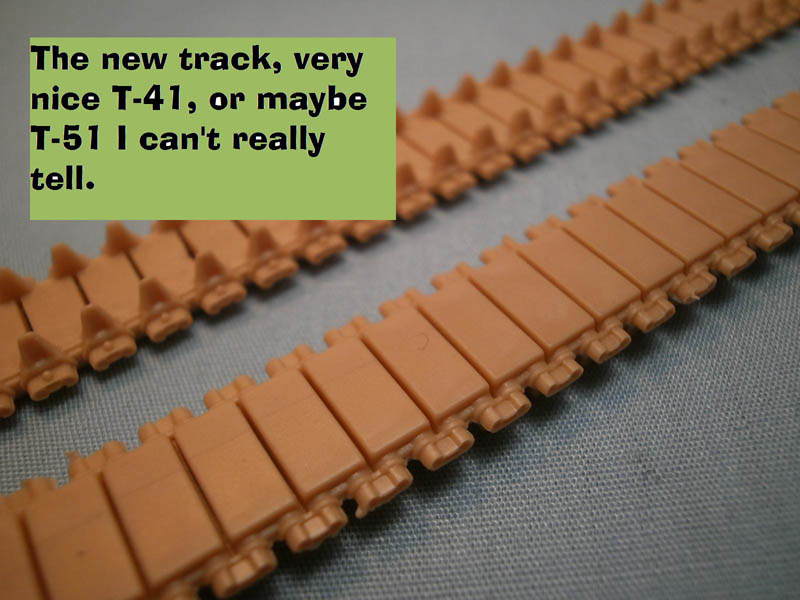
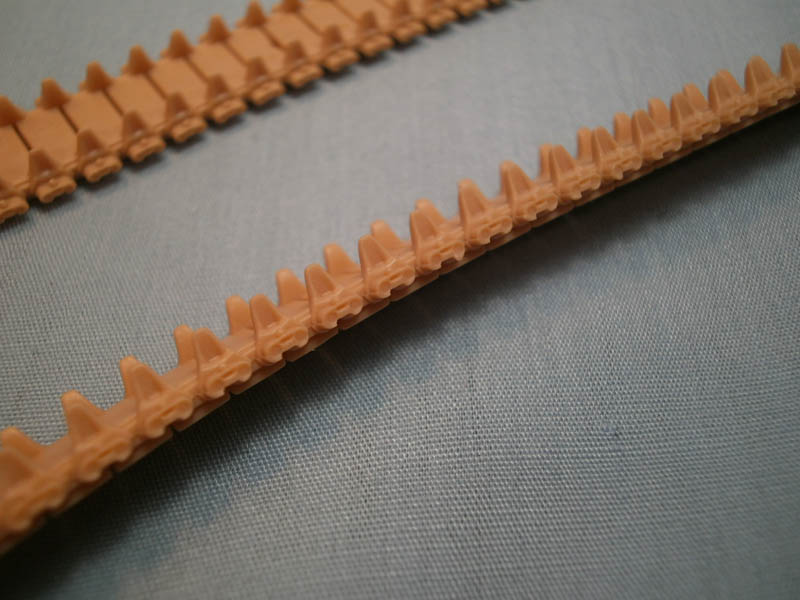
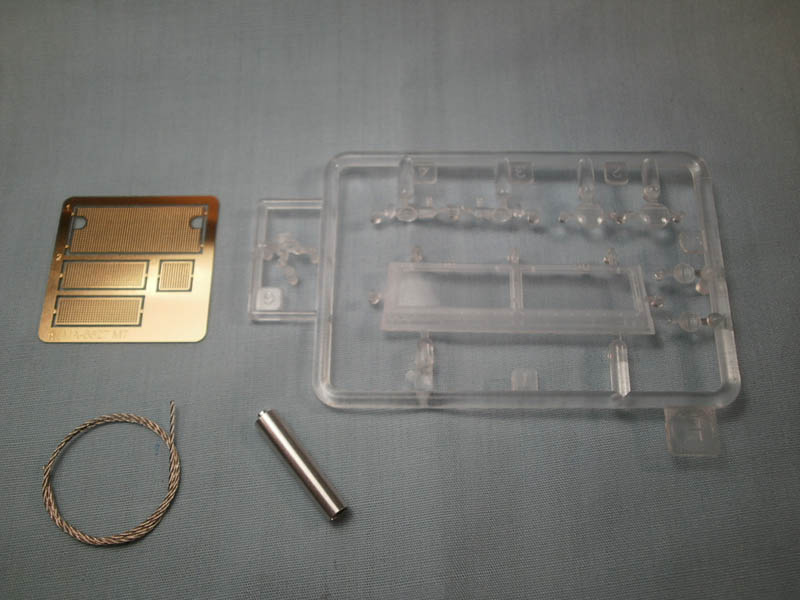
Inside the box you are confronted with 11 sprues of light gray, all but three exactly the same as in the earlier version of the Priest. The inevitable card of goodies includes a small section of PE, a small clear sprue, turned aluminum barrel, and short length of braided cable - all of these are the same as the earlier kit. Also, a decal sheet that is new for this version of the Priest with marking options for six different vehicles. Besides that you get a new set of DS tracks, man, I love these DS tracks, this time around a beautifully rendered set of T-41 track. They are very nice, but according to the American Fighting Vehicle Data Base the M7 never really used these tracks, however the difference between the T-41 and the T-51 is simply a thicker rubber track pad to wear longer. It is possible that Dragon has it wrong and these are T-51 tracks in which case you are set to go. Or you can play it safe and grab a set of AFV Club T-51 tracks.
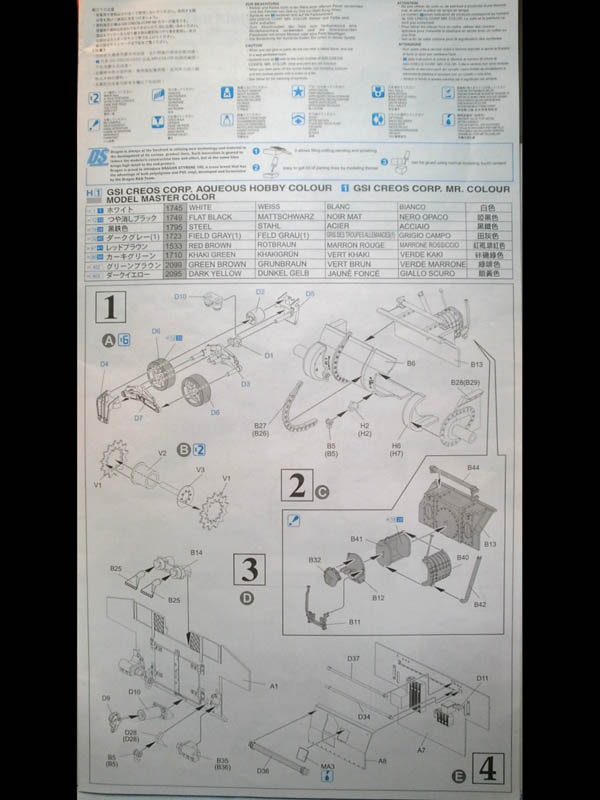
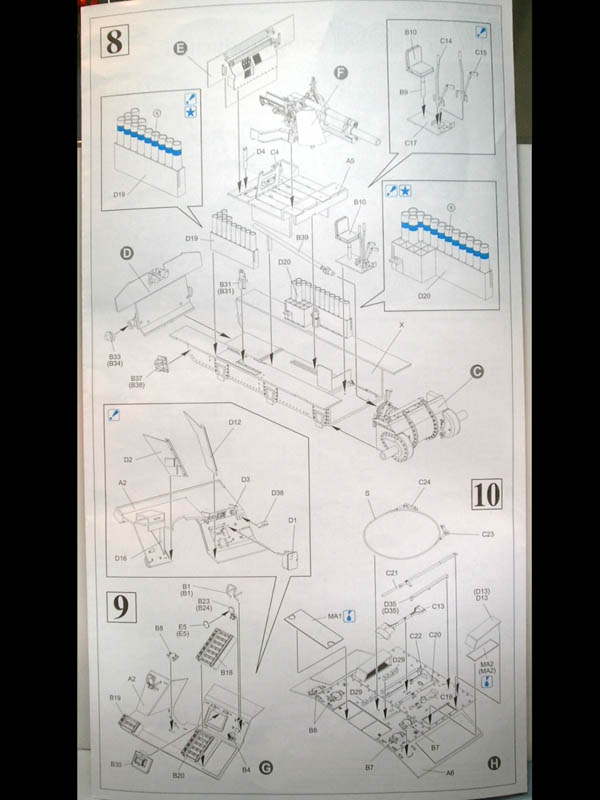
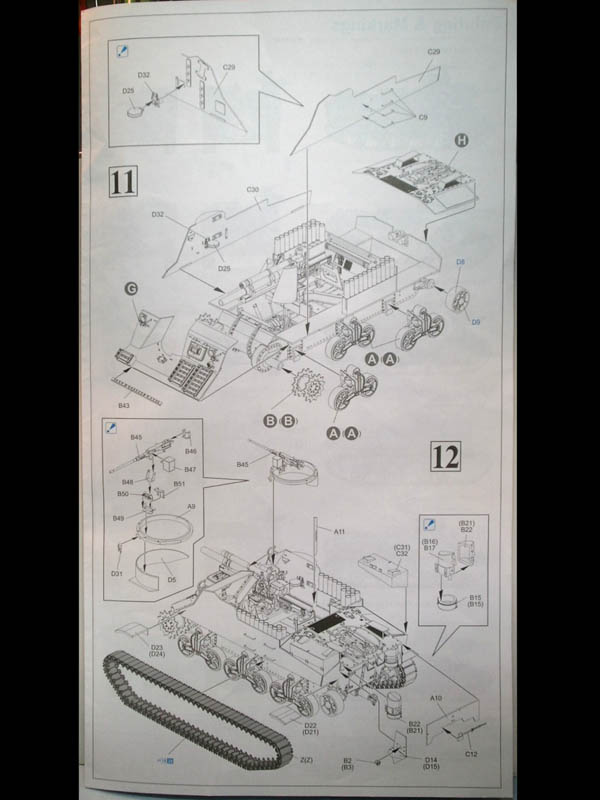
The instructions were the typical Dragon fold-out panel type but seem awful short, just four panels for the 12-step set of instructions. Contrast that with the Dragon kit of the StuG III December production which I recently reviewed that has six panels for a 20-step set of instructions. On top of that the Priest is an open-topped vehicle with a decent interior while the StuG is, well, you get the picture. Weird.
review
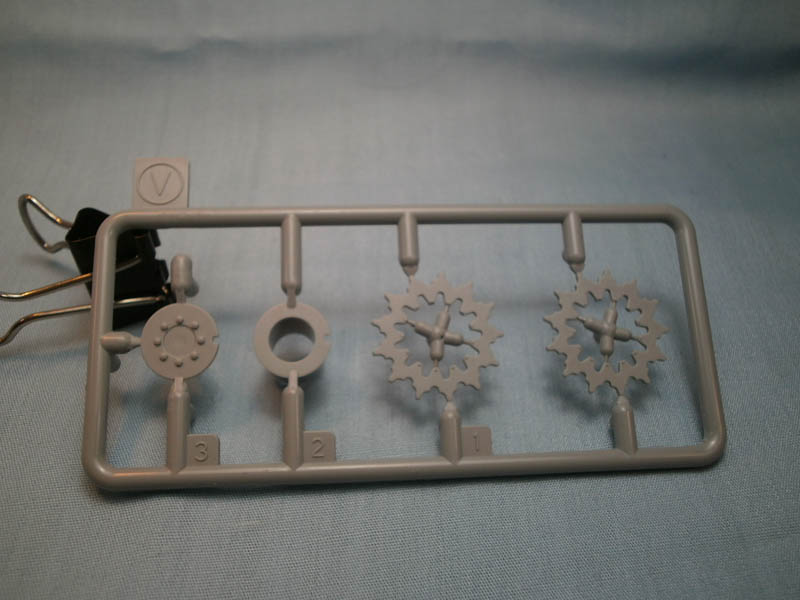
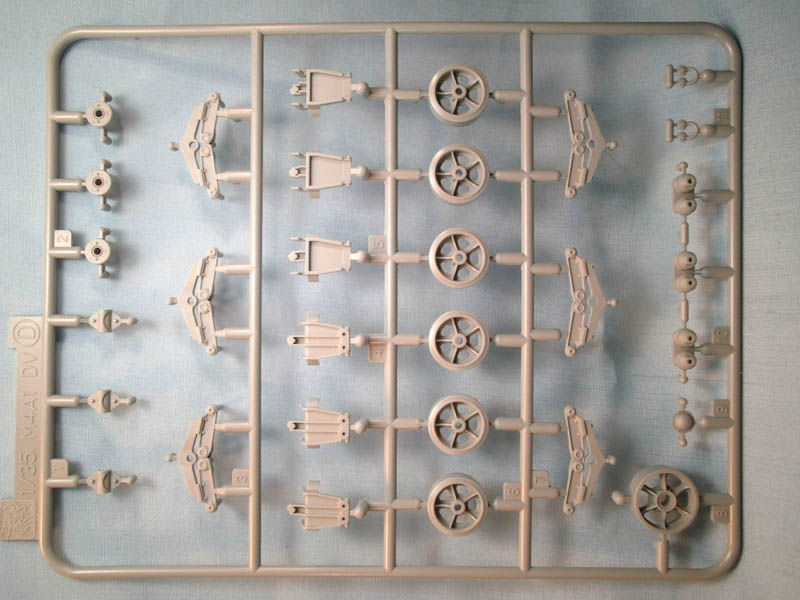
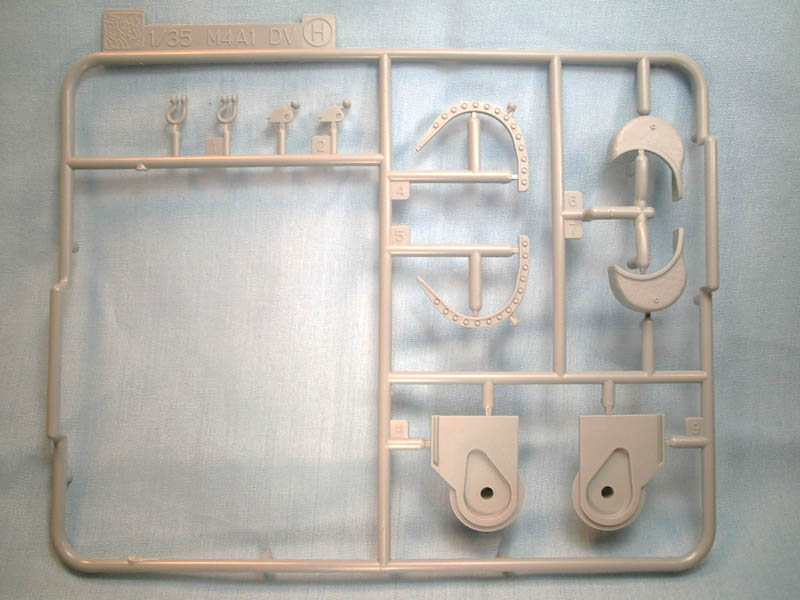
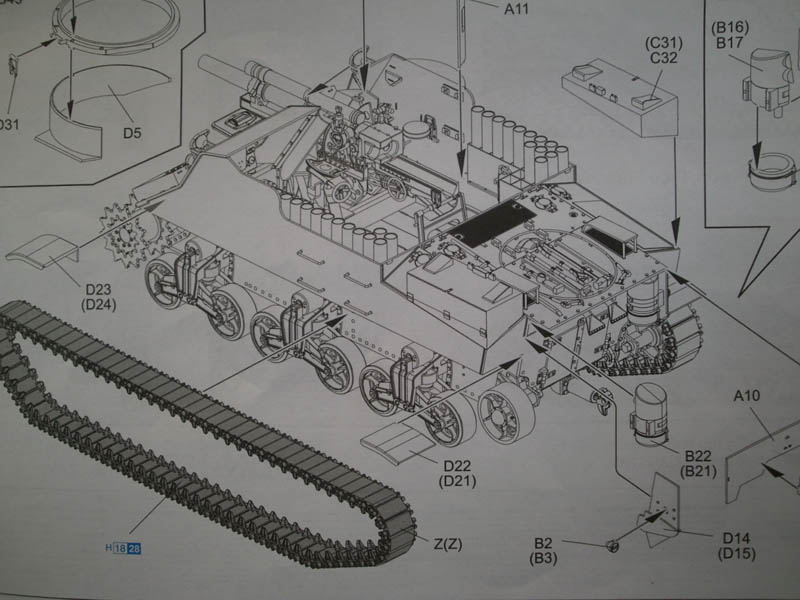
From the ground up, the suspension is from the M4A1 Direct vision kit with the early style M3/M4 bogie with the top-mounted return roller. Tom Cromwell points out that these moldings, while certainly clean and sharp, can trace their lineage back to the Italeri kits. For certain, the four-part drive sprockets appear to be exact copies. The wheels are the welded five-spoke variety as is the idler wheel; it would be fun to replace a few of the road wheels with some of the later pressed-steel type for a more distinctive look.
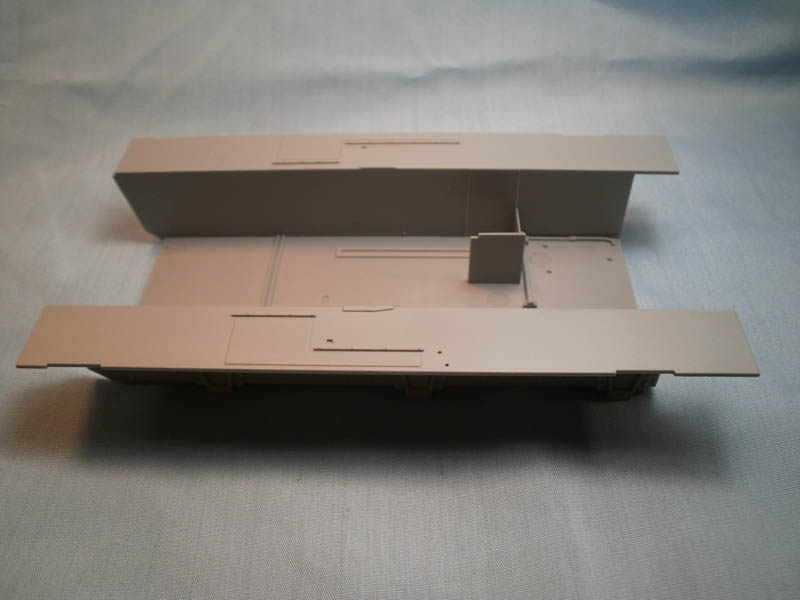
The hull is the same as the earlier release, still loaded with rivets, up, down, left, and right. No mistaking this one for a welded hull, its all rivets, all the time. Great fun for weathering throughout! The transmission housing and final drive housings are also the same as the earlier release but still deserve mention. The whole assembly sports a nice cast texture that is subtle and pleasing, as well as all the drain plugs molded in place. The instructions have you start on the interior when you build up the transmission housing, with the addition of the differential housing and drivers controls on the inside making a fairly complete unit inside and out.
The rear hull is still the same as the mid production M7, in other words its a bit of a mixed bag. It does have very nice rivet and screw head detail but is let down by a solid molded-on engine access handle. It would be one of my first recommendations, to shave it off and replace with a bit of wire or your medium of choice.
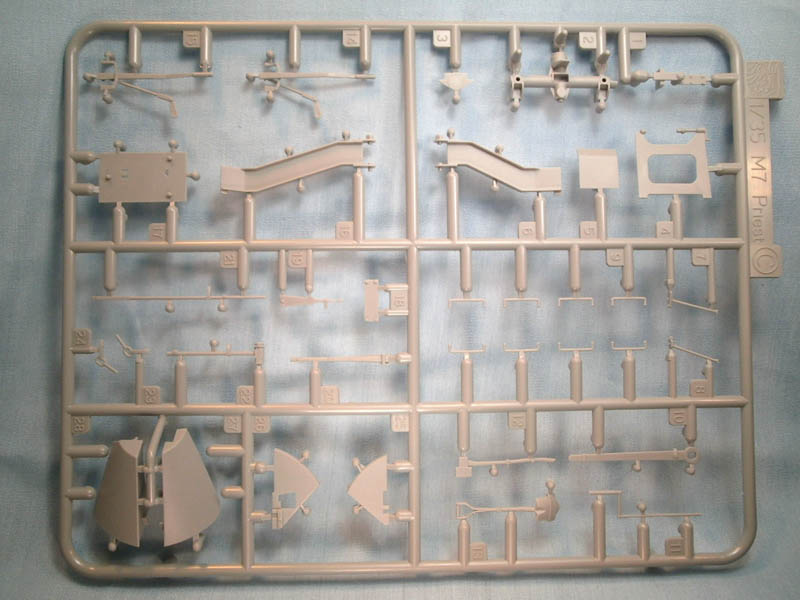
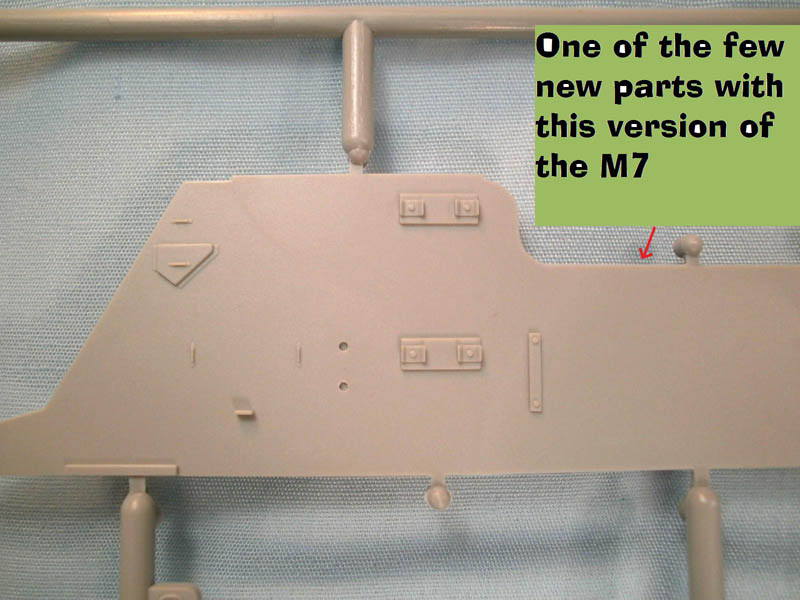
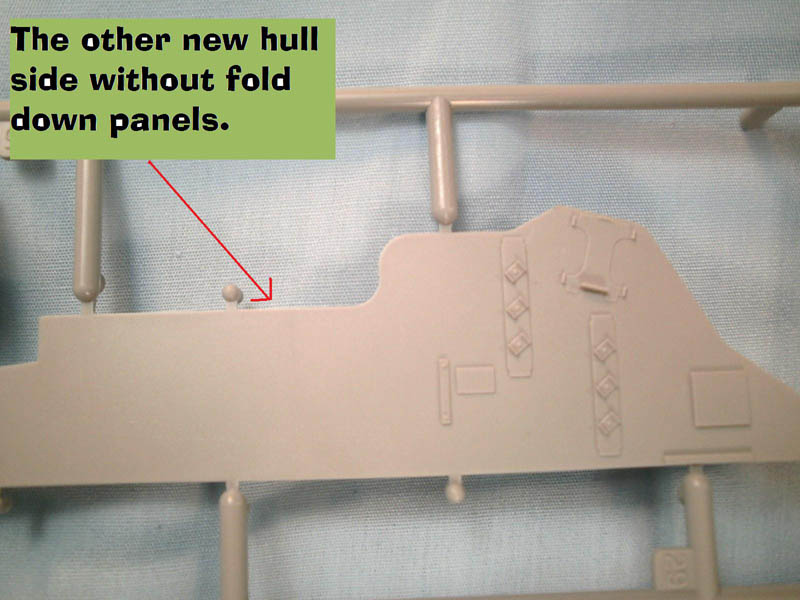
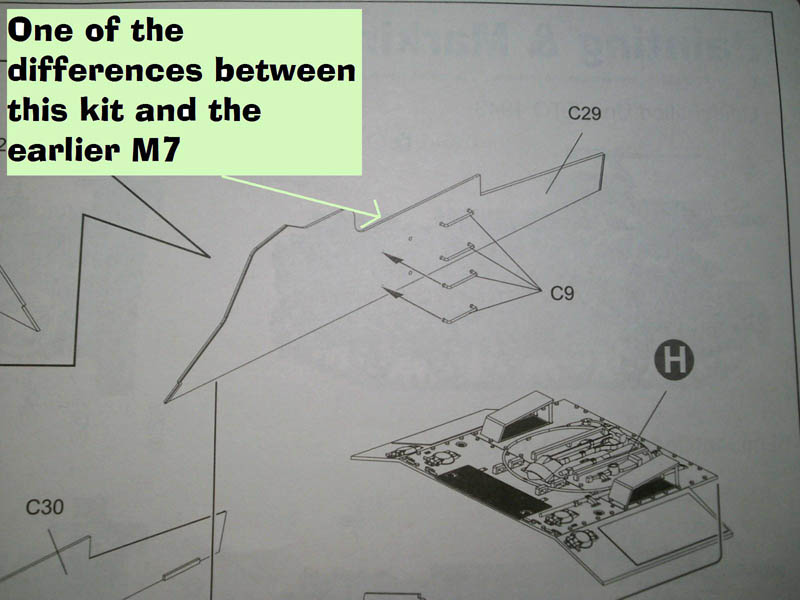
Moving up the hull you will see some of the changes between the early and mid production varieties of the Priest. Two of the three sprues that are different in this version of the M7 make their appearance now. The A M7 Priest sprue has a big chink missing where the original side panels were once part of the sprue. Well, you will need side panels so Dragon has now provided an M7 Priest sprue C which provides the early-production upper superstructure side walls which do not yet have the fold-down panels available to provide a bit more protection for the exposed ammunition bins. As well as that, the molded-on tie downs have been eliminated.
Another prominent difference between the early and mid production vehicle was the machine gun ring pulpit; in the mid production vehicle the outer bulge for the pulpit was extended downward below the top of the side walls, in the early version the pulpit doesnt extend down at all, the vehicle simply had it blanked off below at the very top of the sidewall, a detail that Dragon is spot on with.
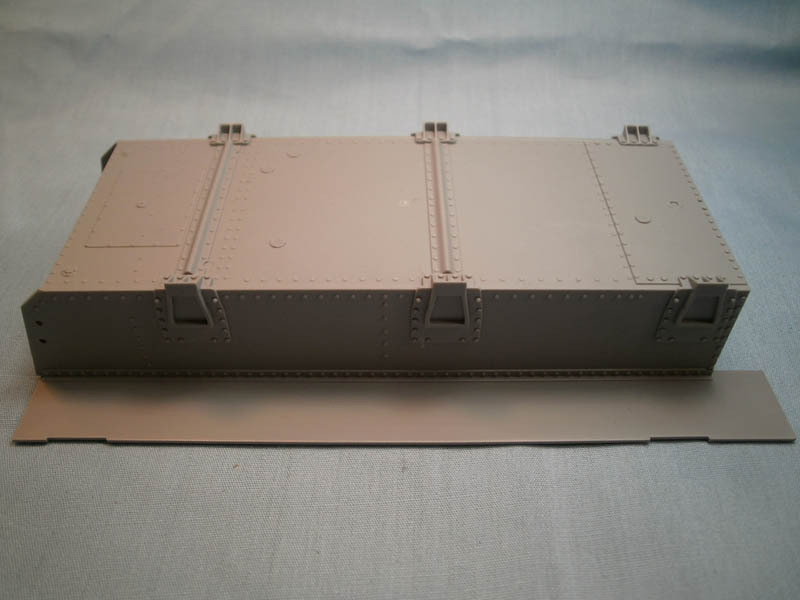
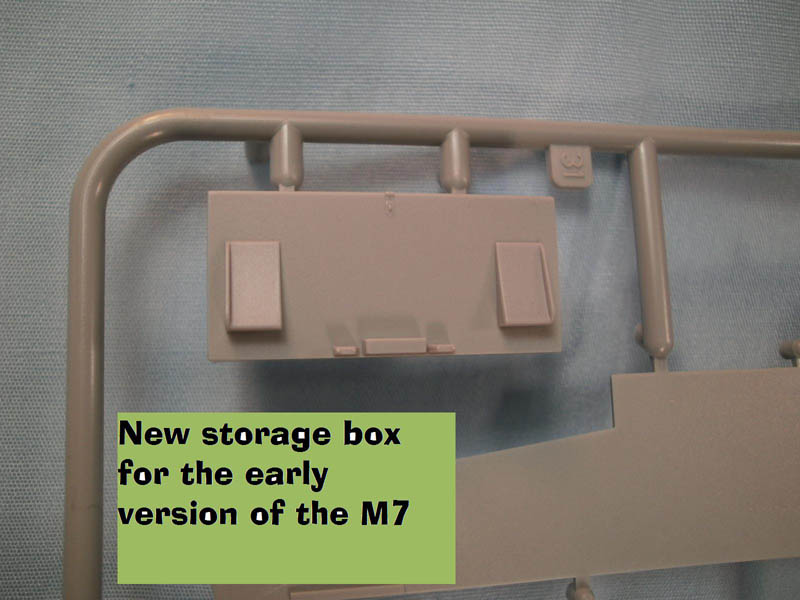
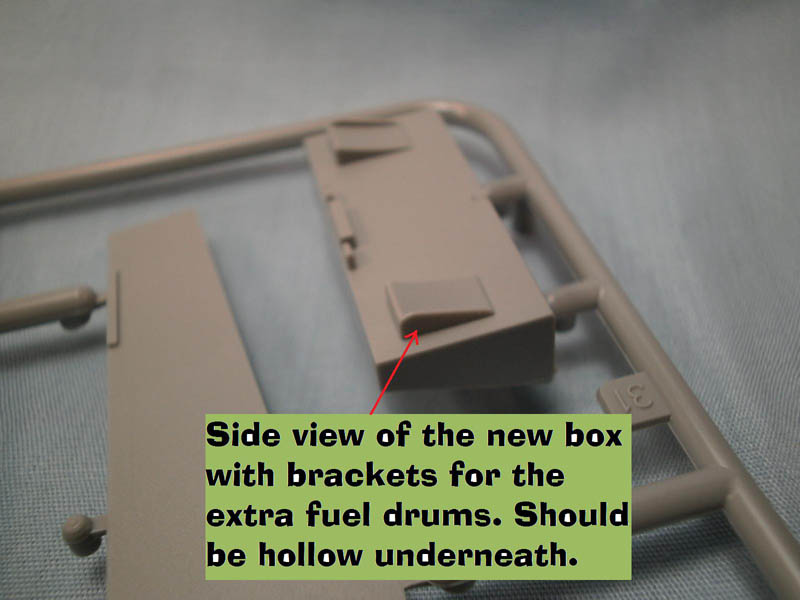
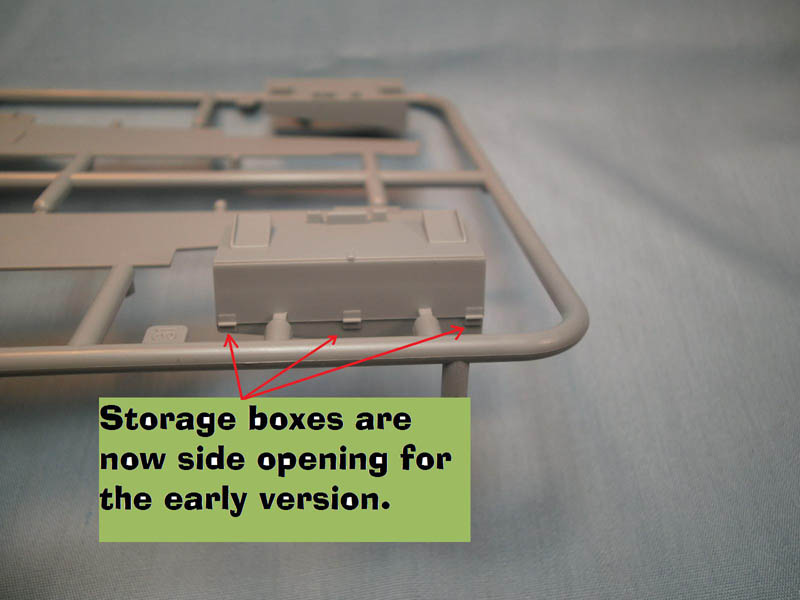
The rear deck is also a bit different with the early version; here the prominent large stowage boxes on the rear deck are hinged for a side opening as opposed to the mid production, and later, top opening boxes. Again, Dragon has got this detail nailed. The only disappointment is the mounting brackets for the additional fuel drums which can be mounted on top of the storage boxes; these should be hollow underneath and would be perfect for a piece of PE, Dragon has instead molded them as solid pieces. One of the aftermarket companies is probably getting ready to release an update set right now! The remainder of the rear deck is the same as before. The onboard tools for the rear deck look adequate, with molded-on retaining straps and buckles but some of the limitations of plastic, even for slide molds, mean that they could use just a tiny bit of dressing up.
The front glacis plate and upper hull are also the same, with nicely done lights, siren, and brush guards. Three grouser boxes are also included; these are one piece moldings and look great, very finely detailed. I havent seen too many photos with a full set of grousers but that is how they are molded,
cest la vie. The remainder of the upper front hull is very nicely done with refined weld beads and molded-on tie downs. The inside of the glacis plate features more of the drivers station, instrument panel and some storage boxes. One small drawback, or maybe just a nitpick, is the thin outlines on the front upper superstructure marking the placement of the grouser boxes, I could easily do without. [Careful here, the short bead segments spaced around the outside of these outlines are meant to be the tack-weld beads when the bins are in place ED.]
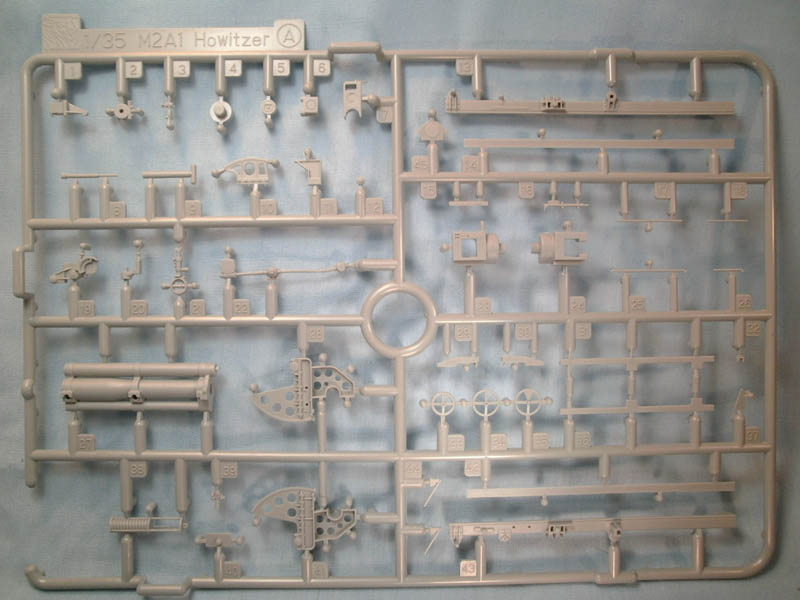
The business end of the vehicle is the 105mm howitzer; it is the same gun sans carriage that Dragon released in a couple of versions earlier. If you are not familiar with Dragons take on the gun check out Mike Del Vecchios
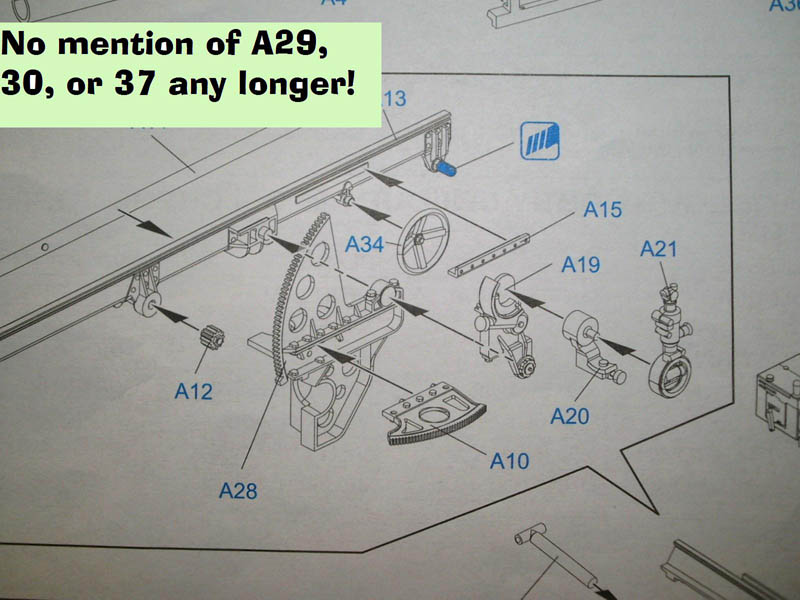
review. This is the same gun as the earlier kit, no changes except in the instructions. Tom Cromwell pointed out several errors in his blog building the mid production version, which Dragon has corrected in this set of instructions to eliminate parts A29, 30, and 37. However, not all of the errors were corrected, particularly if you want some movement in your finished gun. Really, check out his work, it will save you lots of headaches down the road.
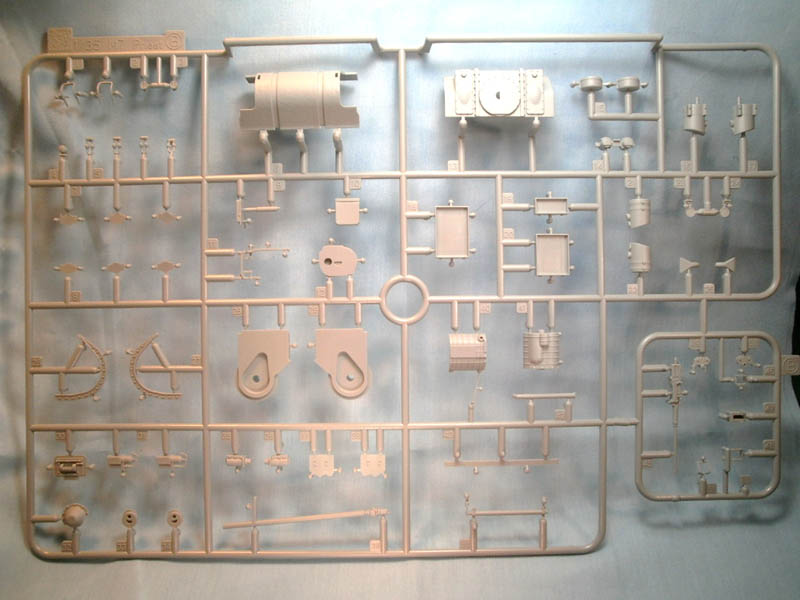
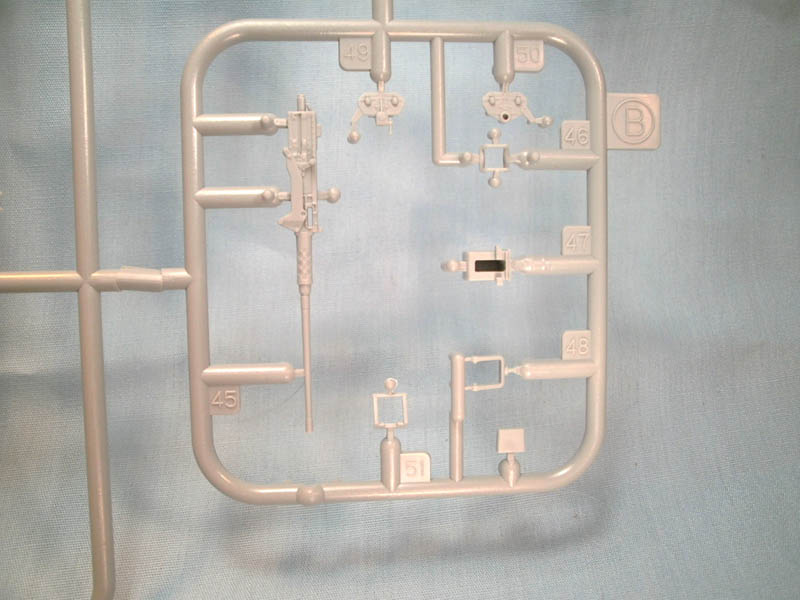
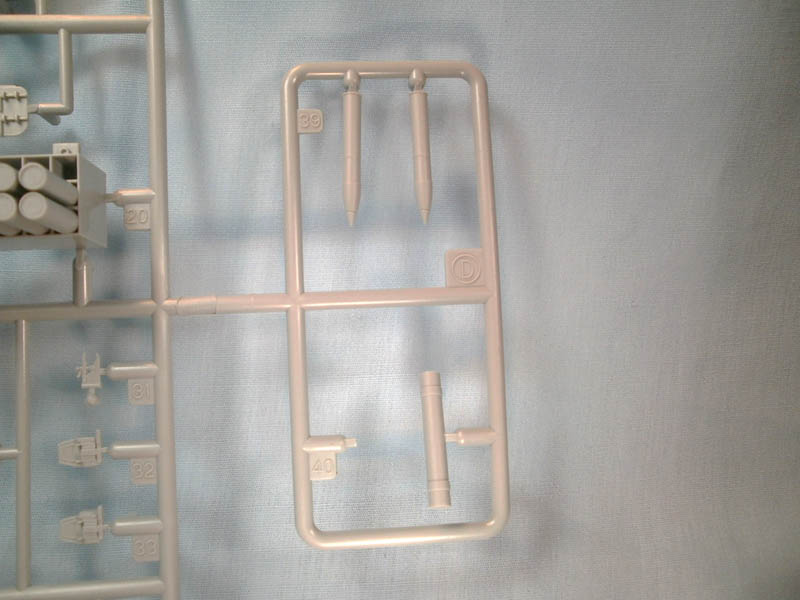
The remainder of the interior is also the same as the earlier release. I really like the detail on the oil cooler on the back wall but alas most of that detail gets partially hidden behind the shroud. The pulpit and machine gun is also top notch, the .50 M2 is a good one with hollow muzzle and refined detail but has been seen before, and its the version with the D40733 gun cradle molded integrally with the receiver and has the D40731 ammo box for all your firing fun. One issue with the ammo can is that it has a hollow back that should be filled and smoothed. The rest of the interior is up to Dragons normal standards; the floor is diamond tread plate and well done with below-floor storage lids molded in. The ready racks for the ammo are the same as the earlier kit and in case you missed it they are very well molded. They leave a few blank spaces for that lived-in look, 4 empty holders on one side and six on the other. They have added two opened rounds and two in the cardboard container as an extension on sprue D (that is all that makes it different from the first M7) but the tubes are a bit different and dont actually fit in the racks anyway. The instructions call out for decals (yellow stripes) to go around the stowed ammo tubes but they are not present on the new decal sheet. I must have looked 5 different times thinking I just missed them, an extra sheet behind the one large sheet, something, anything, but no, they are just not here. Hopefully this is an omission that Dragon will correct soon.
The rest of the interior consists of the drivers station which looks fairly complete with seats and steering and gear levers along with a nice floorboard. The pedals however are molded on to the floor and consist of solid triangular lumps, perhaps a candidate for replacement. The drivers visor is also very detailed although there is no arm to hold it in the open position which appears to be very common. Still no provisions for crew members small arms inside the vehicle so you will need to add your own M3 or M1 depending on time frame of the vehicle you model.
Markings
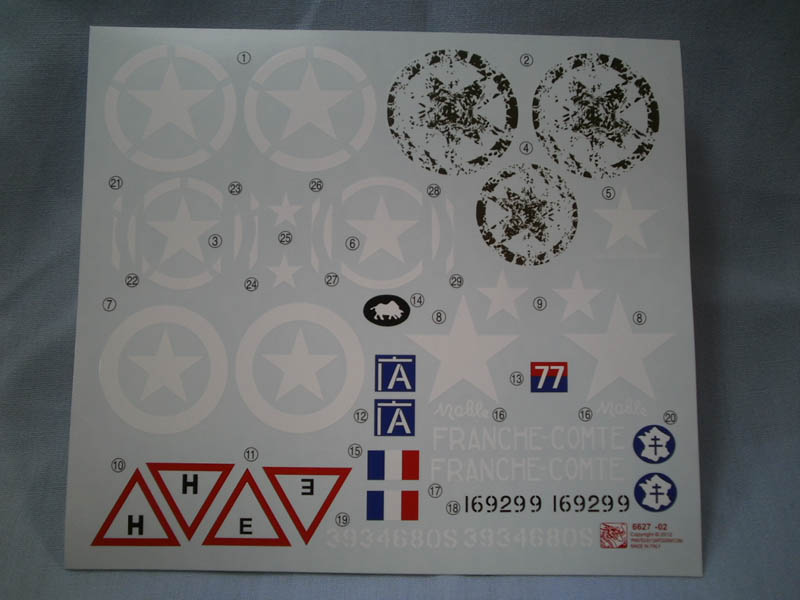
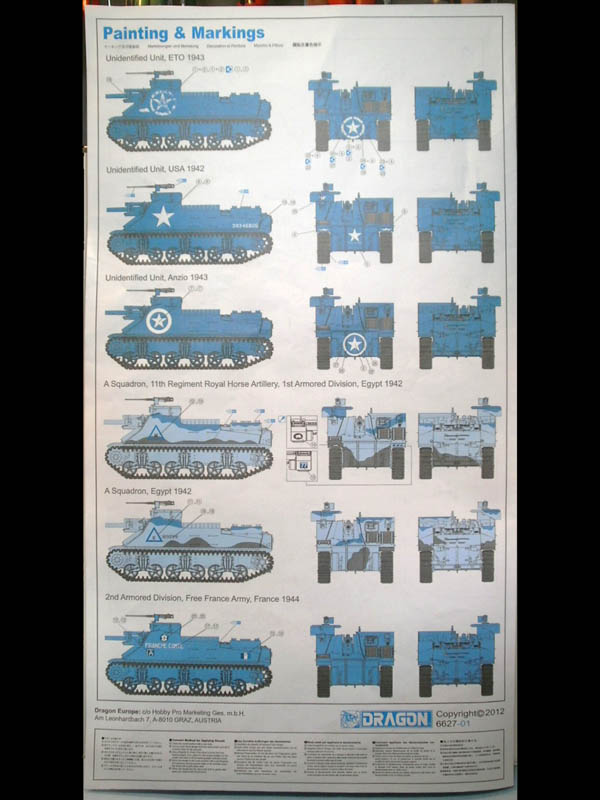
Finally, the decal options that are available to you; three of them are US vehicles, 2 British, and one Free French. The US options are all for that famous group of armored artillerymen known to history simply as unidentified! Unidentified unit from the ETO, stateside, and Anzio are all present. They feature large stars for stateside, medium stars with large surround for Anzio, and my favorite distressed stars with surround for the ETO. The distressed star is a two part decal, the first part is the full star and surround, the second lays directly over it and provides for that painted-out and obscured look. The only tricky part will be in matching your paint to the color on the obscured decal. The two British vehicles, a Royal Horse Artillery M7 and the other just listed as A squadron, are both Egypt 1942 vehicles, however no sand shields are included and I believe they would have worn them at the time so if you are set on one of these you may need to source them from your spares or scratch them out of sheet plastic. The French vehicle is from the 2nd Armored Division, Franche- Comte (named for the area of Burgundy), this is the same decal that is featured in the earlier Academy M7 Priest.
Conclusion
So whats really different from the first release to this second M7 from Dragon? Well, not a lot - the new sides without the drop down armor panel are now included in the kit. The MG ring/pulpit doesnt extend below the level of the side wall any longer, and the large rear stowage boxes have been redesigned to now have side opening lids rather than top opening. The tracks are T-41/T-51 rubber block tracks. Dragon has included two loose cardboard ammo tubes as well as two opened rounds and dropped the ball on the cardboard packing case yellow stripe decals. Some of the errors in construction and in the instructions as pointed out by Tom Cromwell have been corrected.
Thankfully, Dragons first effort with the M7 was very well done, so even though this version doesnt see a lot of changes it was a great kit to begin with. Now we have the option of a slightly different version of this superb kit. I dont know if Napoleon was right or not but it sure seems that the gods of plastic are on our side right now.


Comments