Introduction
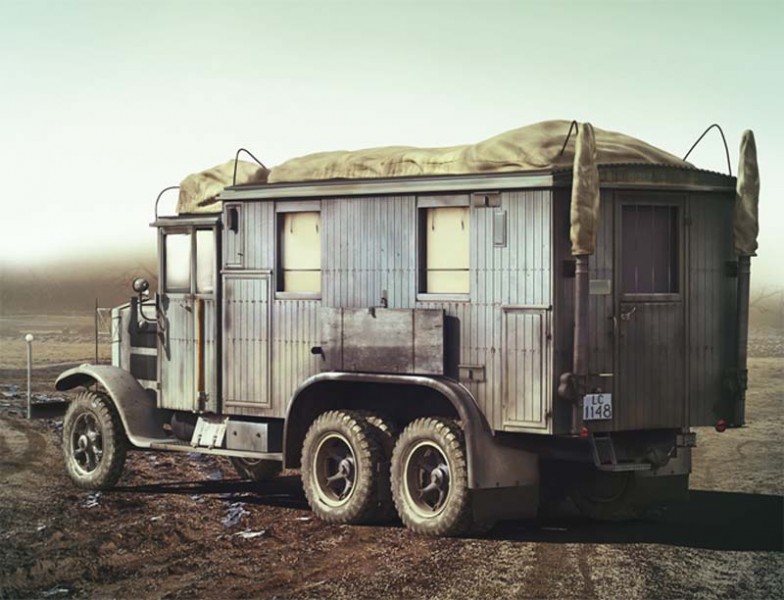
Over 2000 Krupp L3H163 Kfz.72 trucks were built in various forms, including a radio communications version. ICM has been building up a considerable number of soft skinned vehicles over the last couple of years, and one of these is this Krupp WWII German Radio Communications Truck.
Contents
The kit is supplied in a top opening box, the cover featuring an artists impression of the model. Inside you will find:
- 12 page instruction booklet
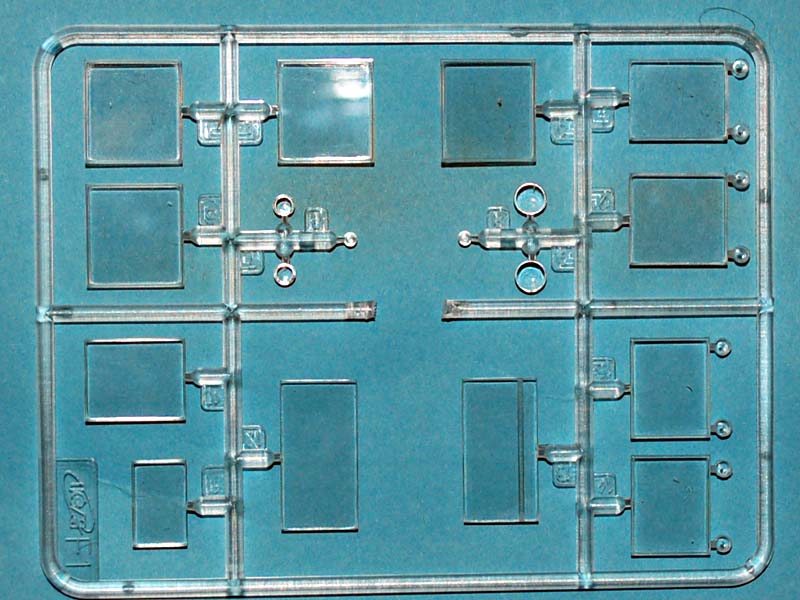
- one clear plastic sprue
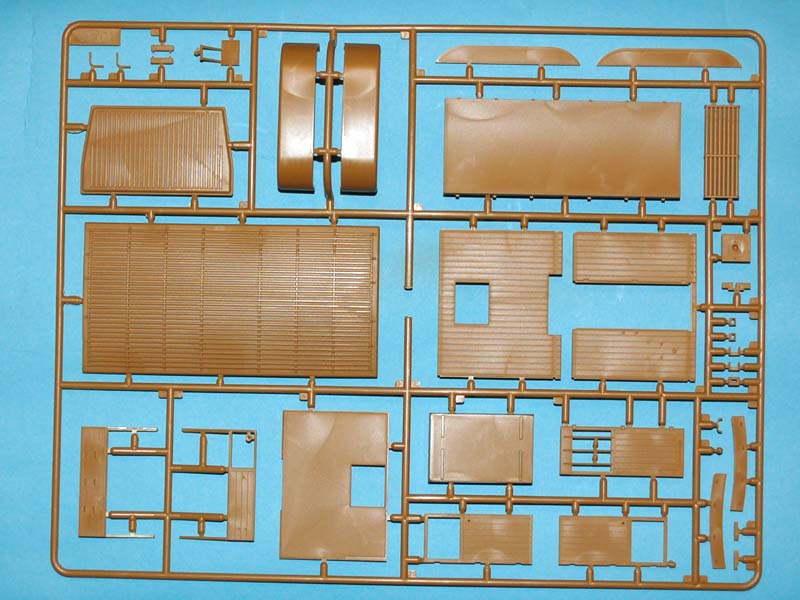
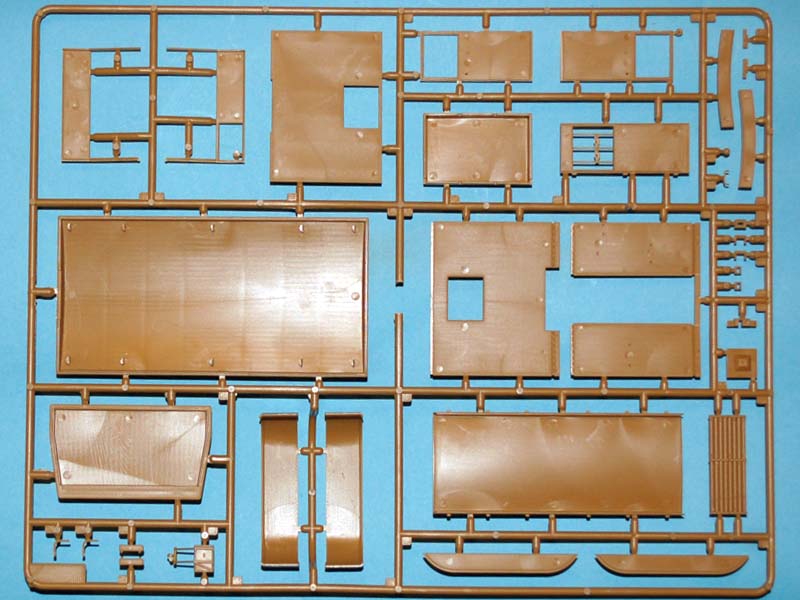
- nine tan sprues
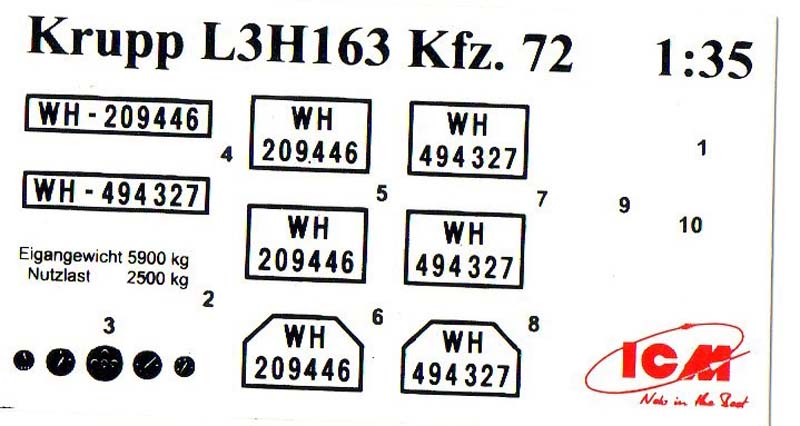
- decal sheet.
Review
Starting with the packaging, the box is adequate for the task and should ensure that damage is prevented during normal handling; this is of course especially important now that so many people purchase their kits online. The sprues are packaged in a single self-sealing polythene bag, the clear sprue being additionally protected from scratches by being double bagged. The decals are packaged loose inside the instruction booklet.
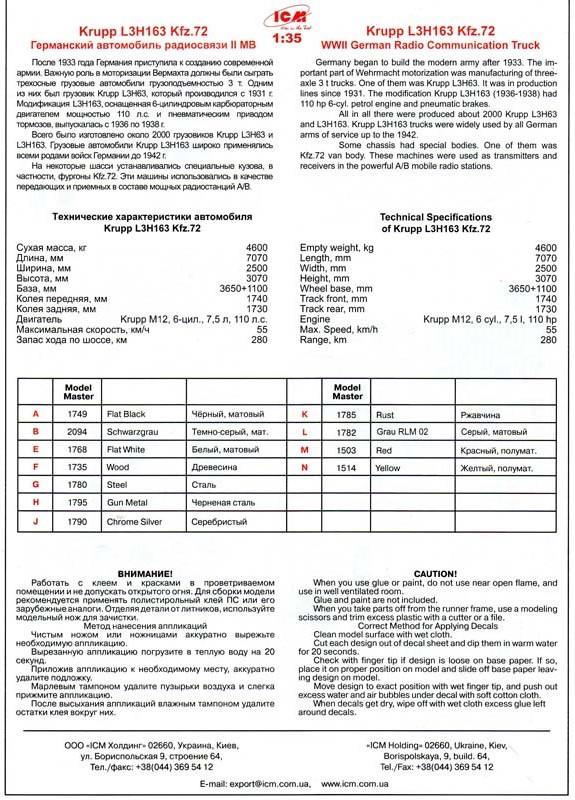
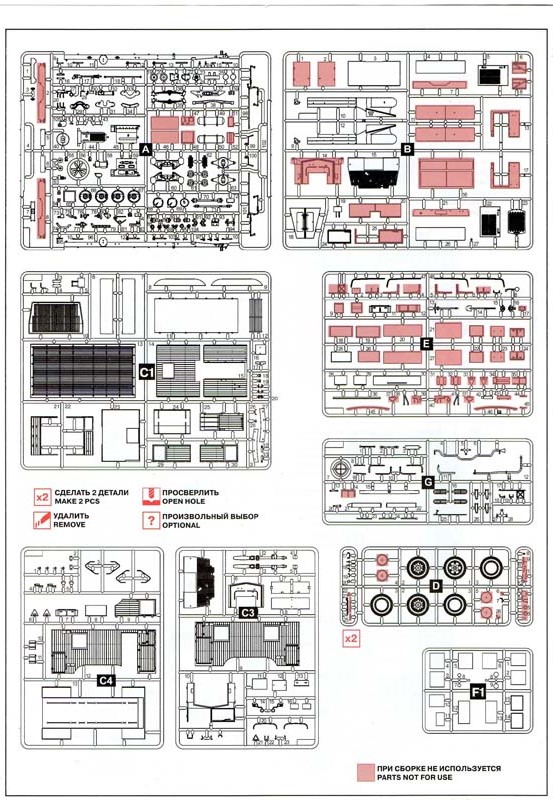
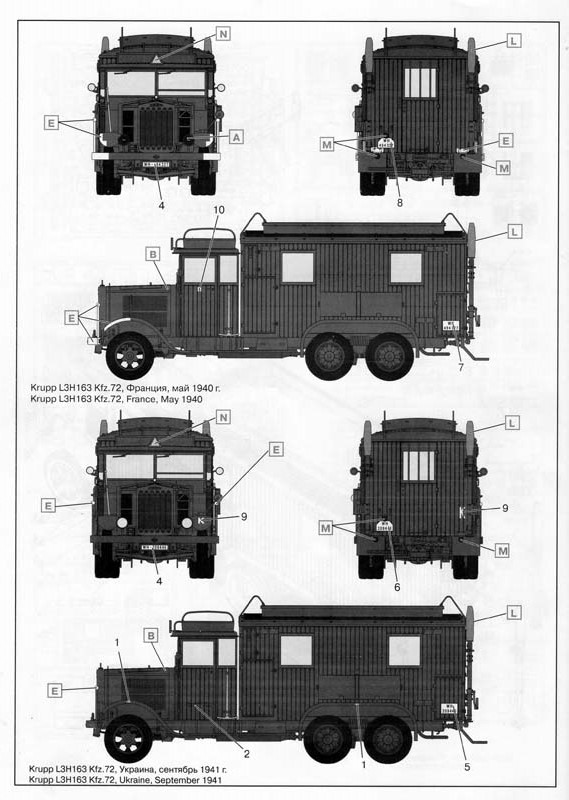
The instruction booklet is printed on thin glossy paper, with the construction steps being illustrated with line drawings to guide you through construction. The front page of the booklet provides a little potted information on the vehicle in two languages; this is followed by painting instructions which feature Model Master paints. The next page includes the sprue layout guide, indicating that a number of the included parts are not to be used. The next nine pages are the construction steps which break down into 37 stages. The last page of the booklet provides painting guides for two different vehicles, each showing the left, front, and rear elevations. The decals include instrument dash details for the cab, and allow vehicles operating in the following two theatres to be represented:
- Krupp L3H163 Kfz.72, France, May 1940
- Krupp L3H163 Kfz.72, Ukraine, September 1942
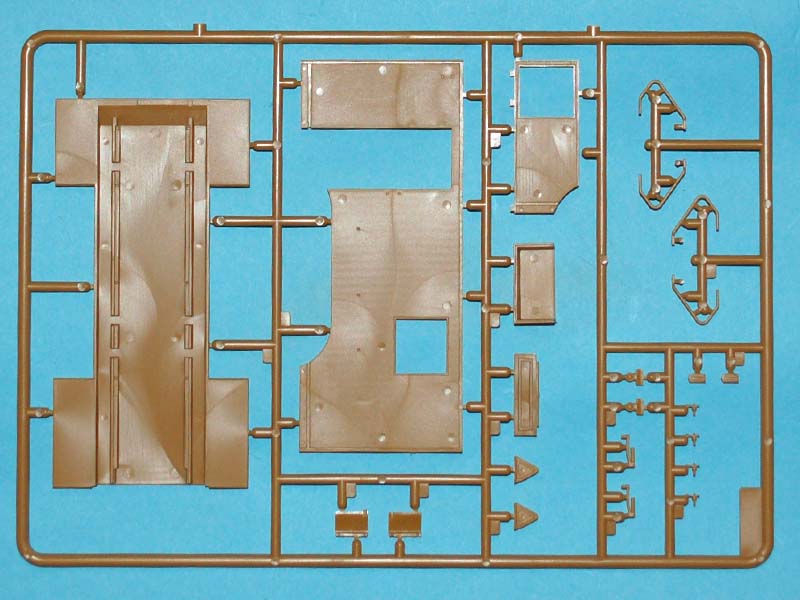
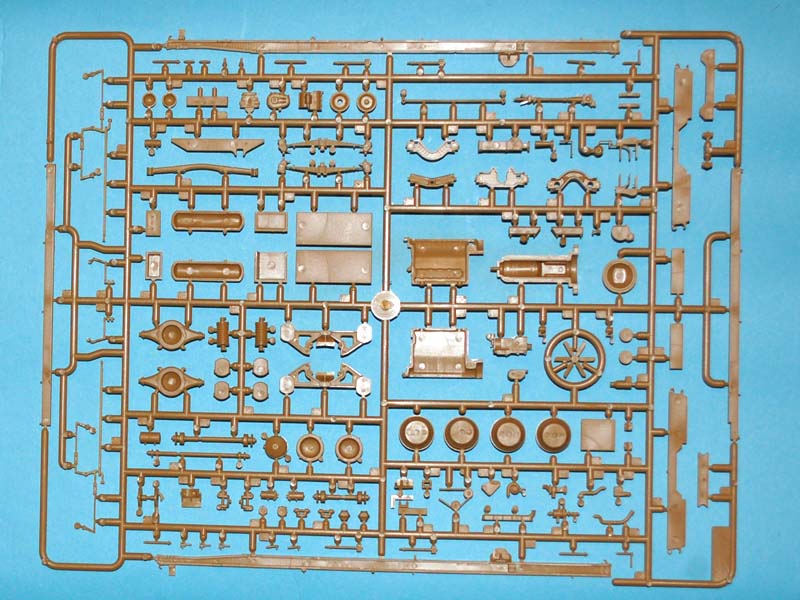
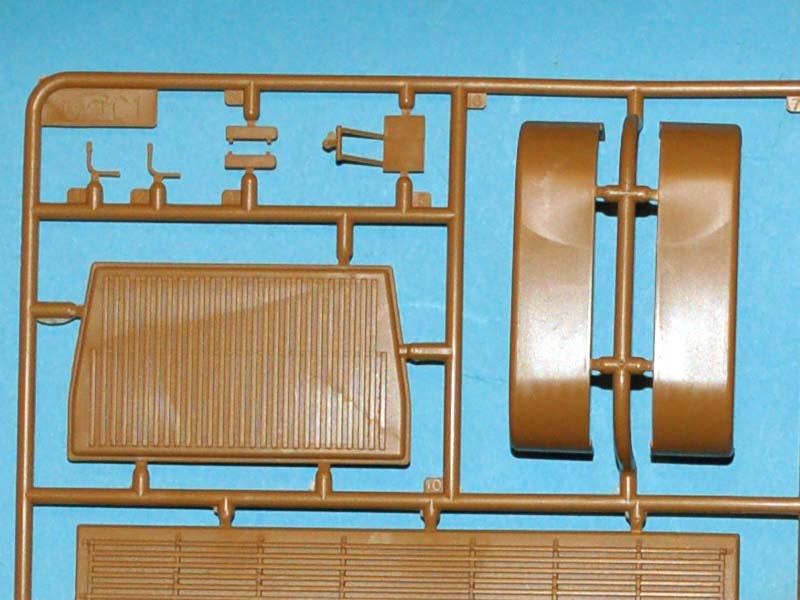
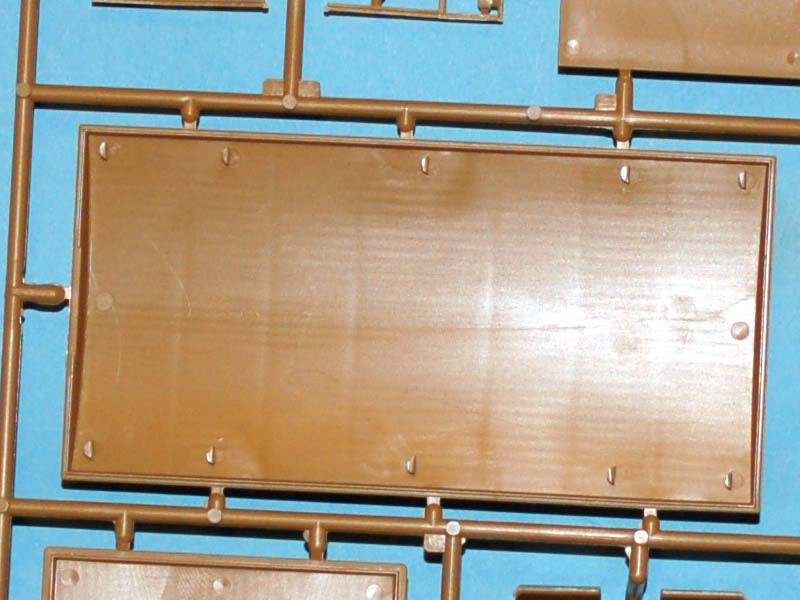
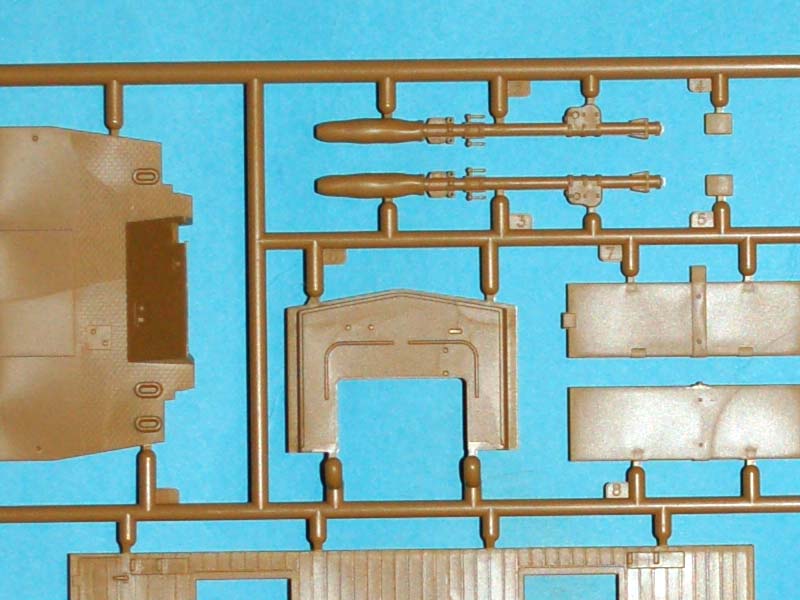
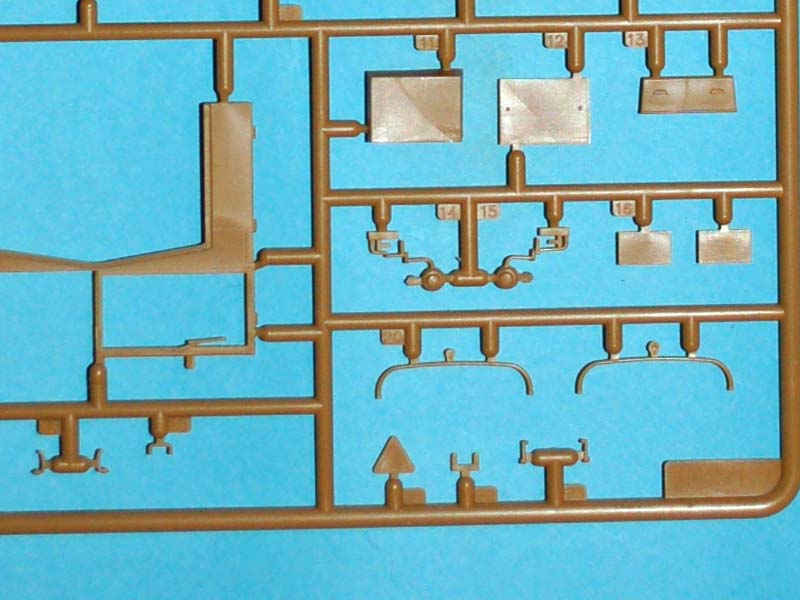
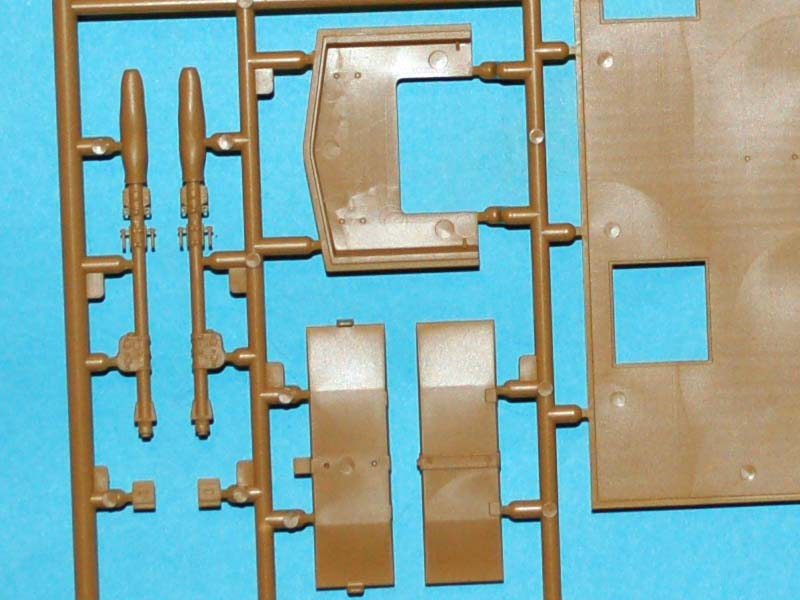
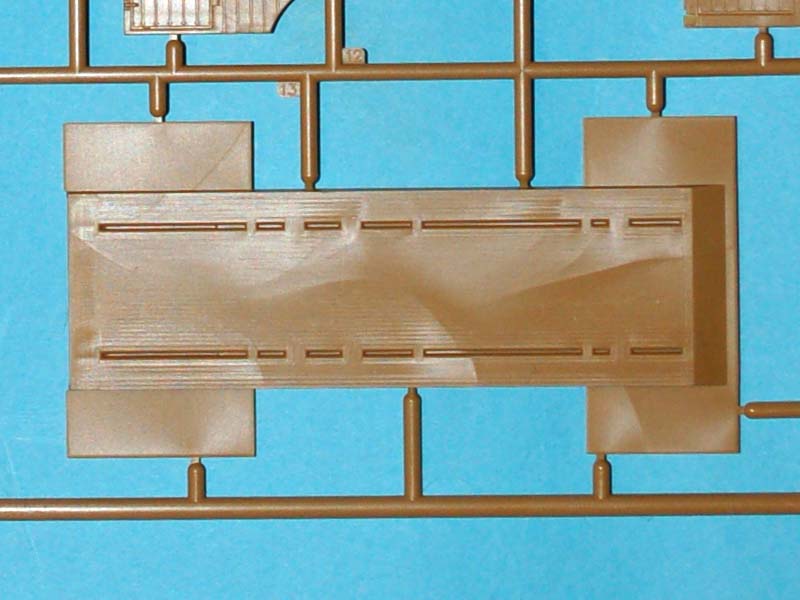
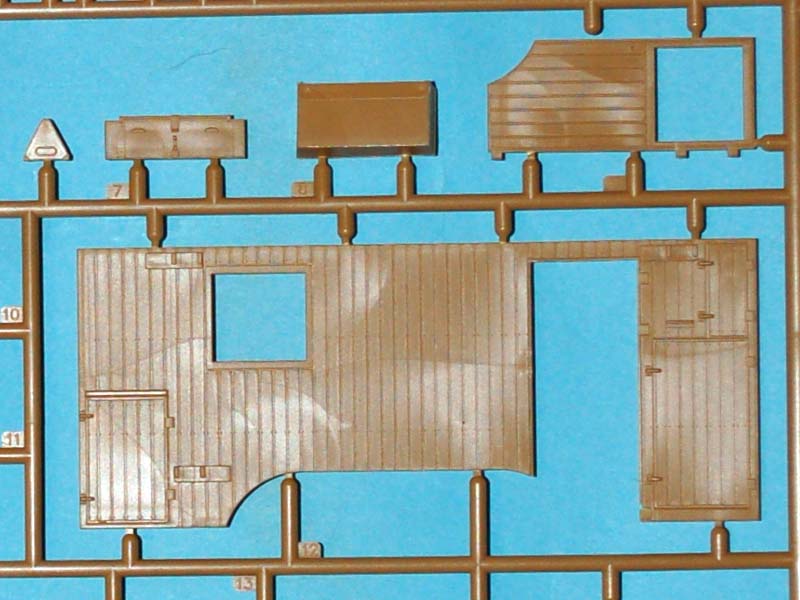
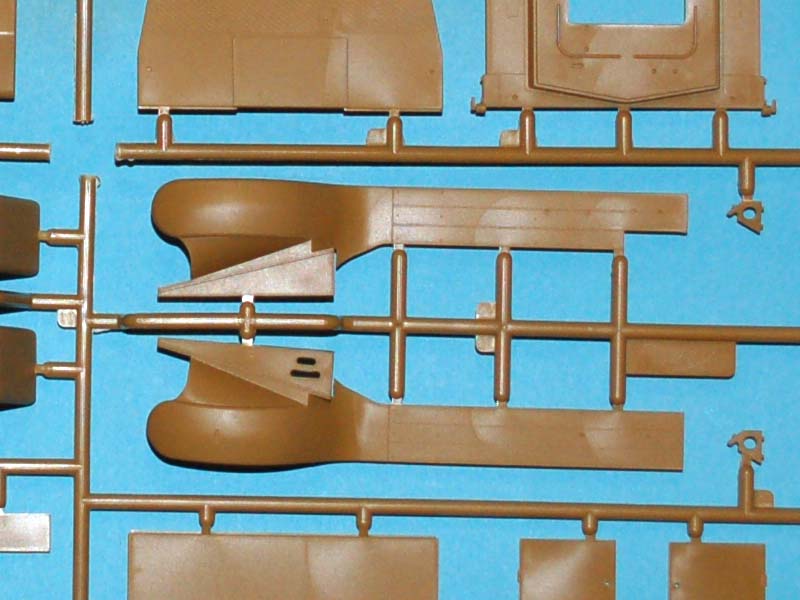
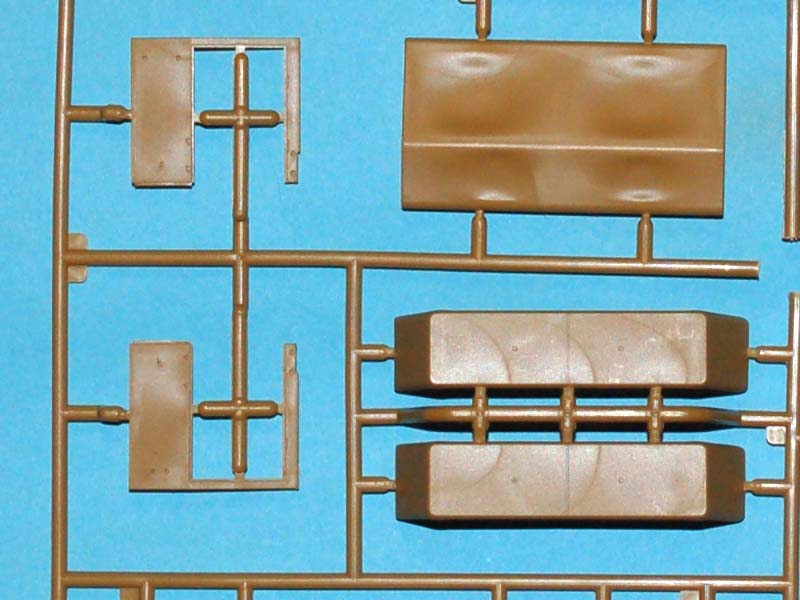
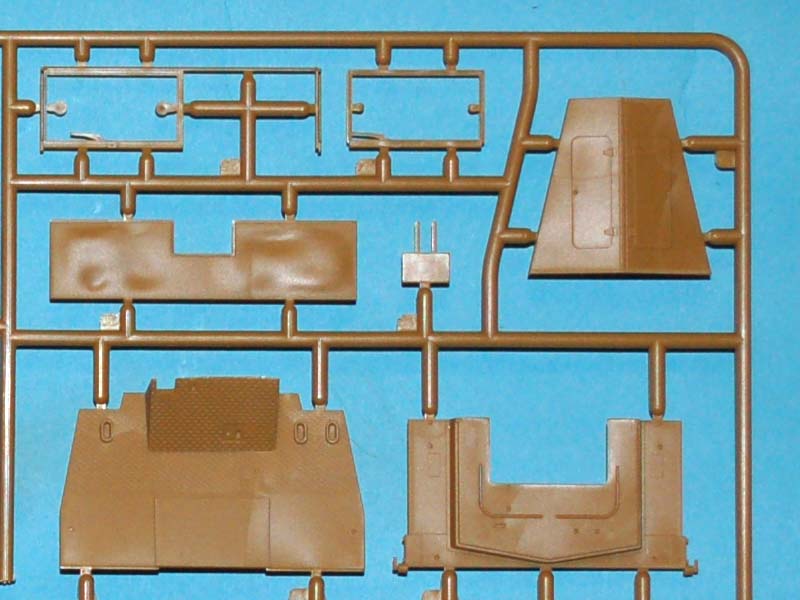
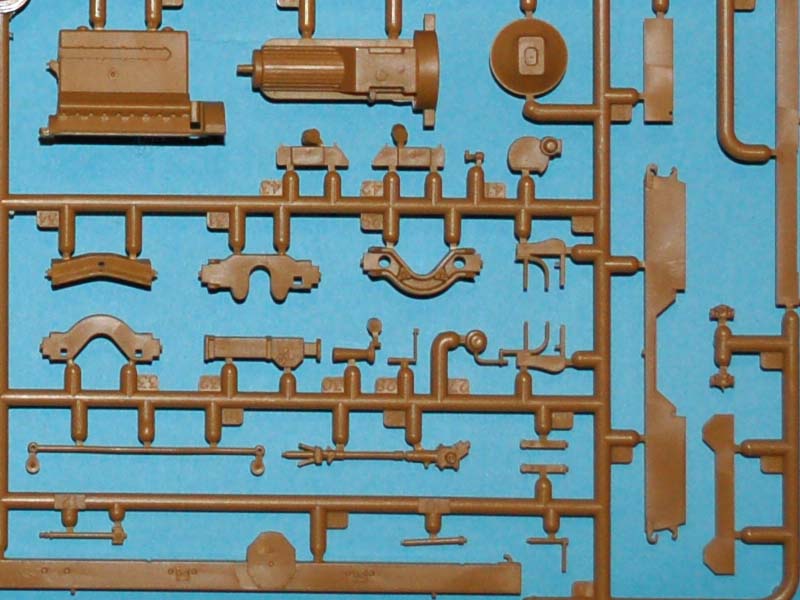
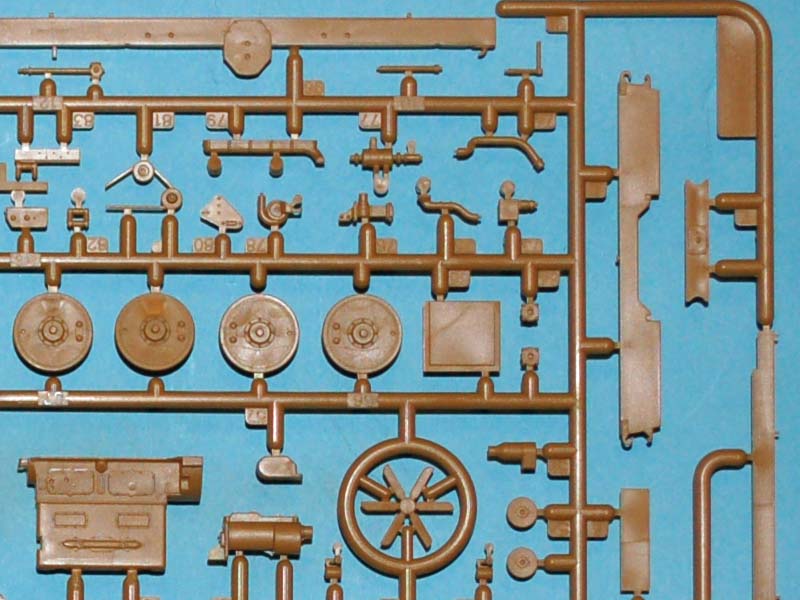
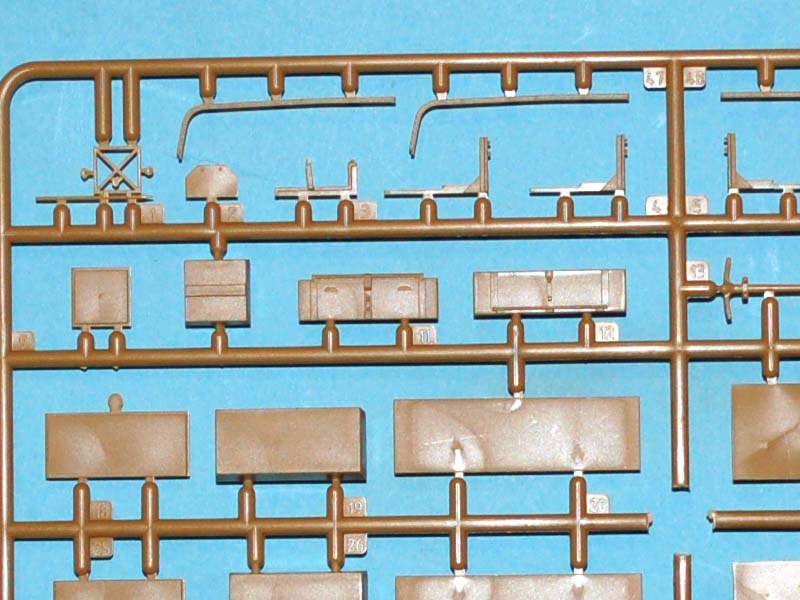
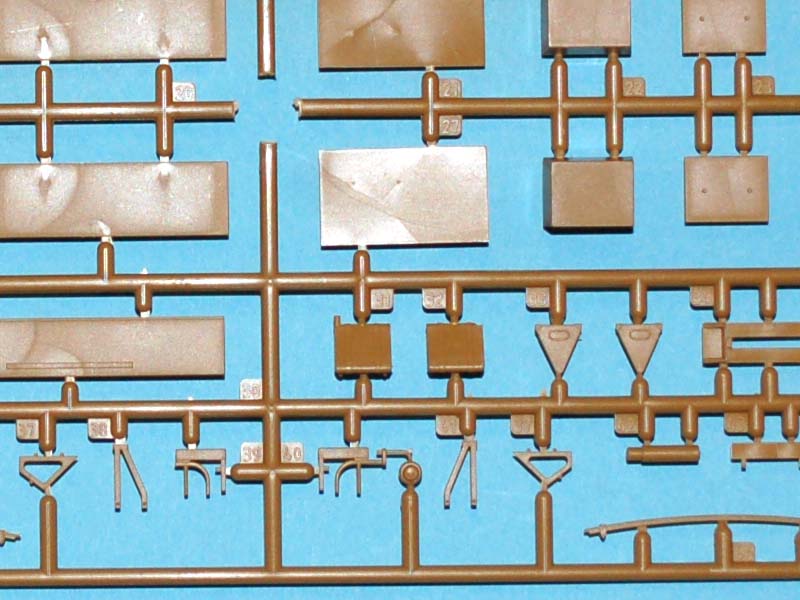
The sprues contain a surprising number of parts that all appear to me to be well moulded and up to the expected standard for modern kits. There is no flash to contend with, but there are a reasonable number of small and shallow ejector pin marks, although the only ones that I believe will have to be dealt with are those inside the cab and the ones on the mudguards and running boards. It should be said that it is good practice to fill and sand any ejector pin marks that you suspect may be visible on the complete model
before construction, since leaving them until later may well prove more difficult. The moulding gates attaching the parts to the sprues are both small in number and size, and there are only a few nodes used during the moulding process, unlike the products from some other manufacturers. The only visible flaws on the parts that could be an issue are flow marks within the plastic, but this does not appear to have caused any deformity in the parts in this sample.
Construction
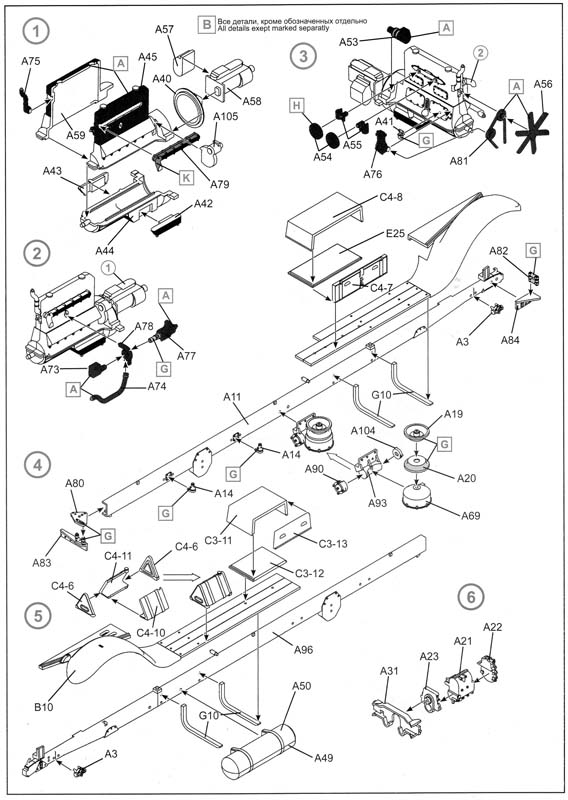
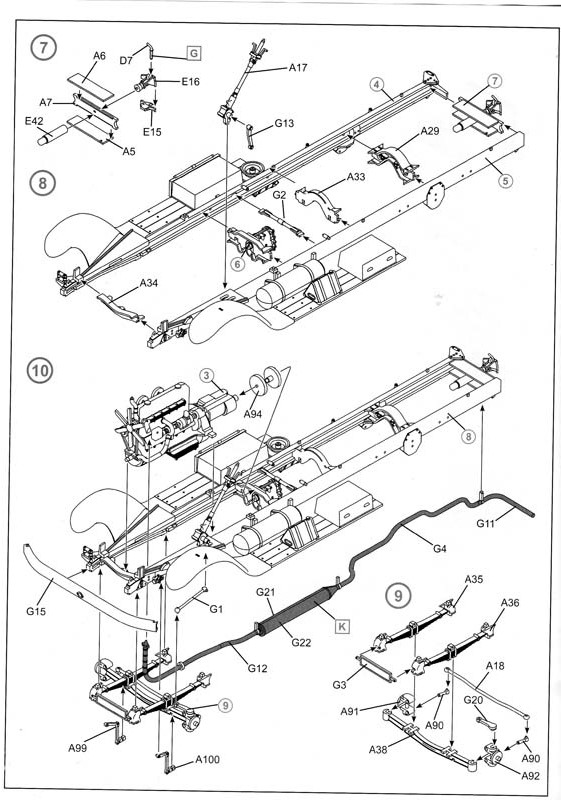
Stages 1 through 3 concentrate on the engine, which has a reasonable level of detail, though it could be improved with the addition of electrical cabling for those that like to go that little bit further. Using just the parts in the box will provide a reasonably busy looking engine which should please most modellers as is.
Stages 4 through 9 commence with the left and right portions of the chassis; please bear in mind here what I said earlier about ejection pin marks, and work on the basis of if in doubt, fill in and sand it flush. The instructions then move onto joining the two halves of the chassis together, and in this model, as with the previous truck I reviewed, the elements of the real truck chassis are, I believe, faithfully reproduced. Just a reminder here to make sure you keep the chassis square to prevent any issues later.
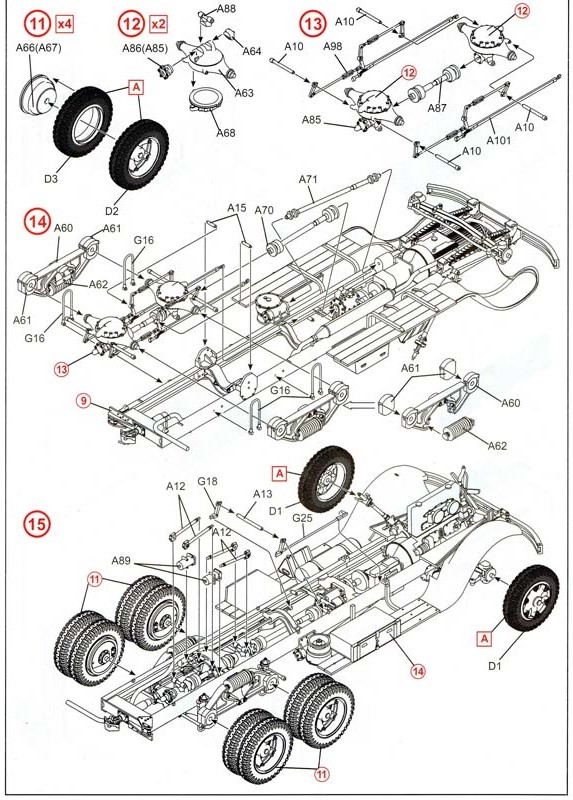
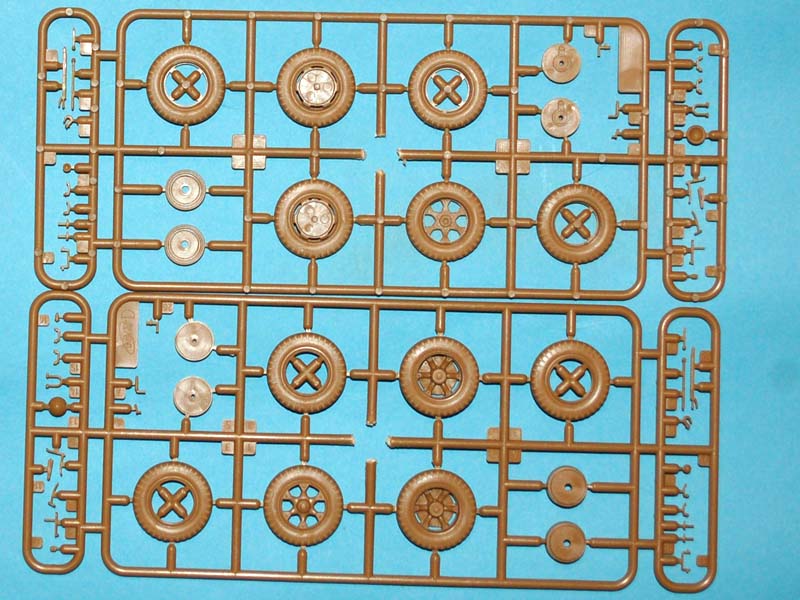
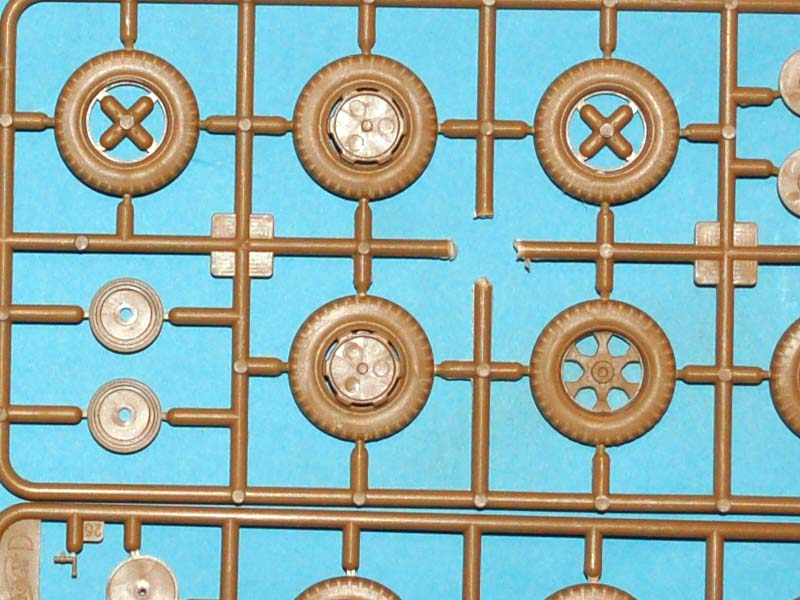
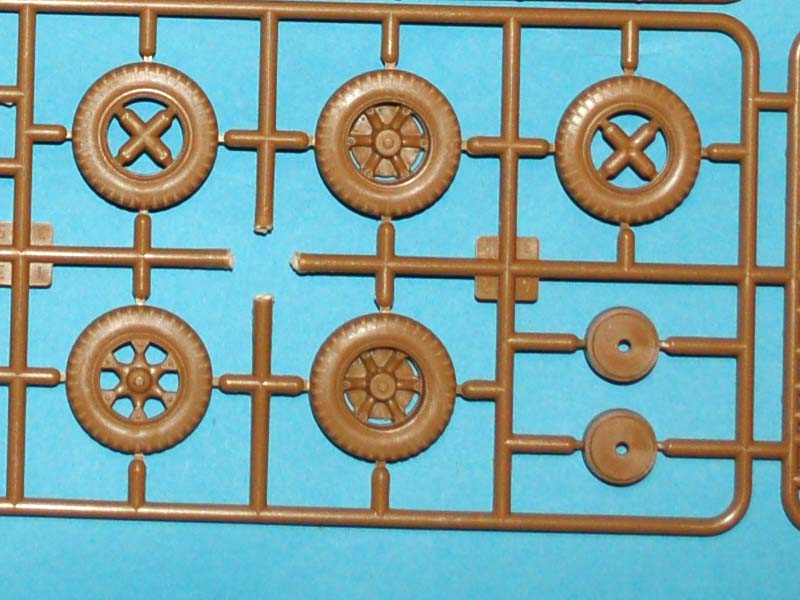
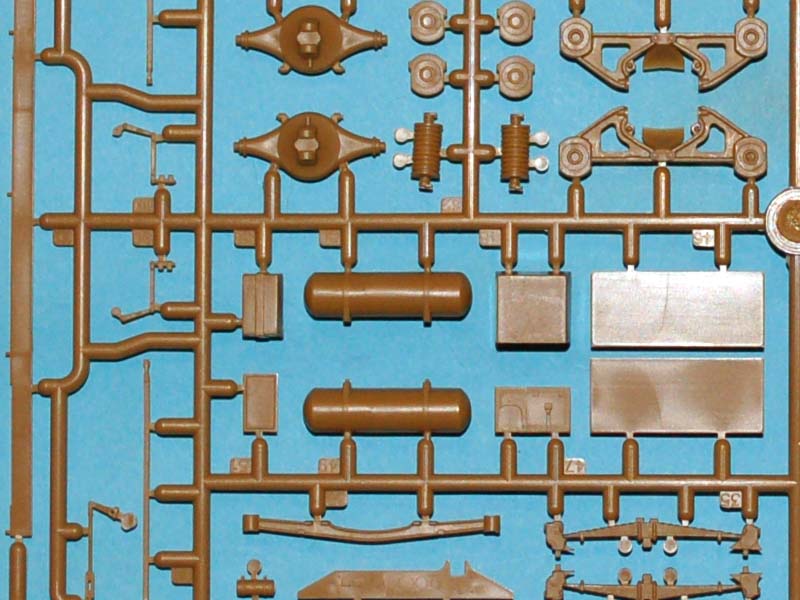
Stages 10 through 15 finishes the chassis construction, including the wheels, engine, and suspension. The wheels on this model look fair, but there are no manufacturers markings on the tyres, which is a detail we modellers have more or less come to expect. That aside, ICM has done an excellent job of reproducing the details of the chassis, and it is a high point of the model, even if, unfortunately, it will mostly not be seen once complete. I suspect modellers such as
scratchmod would appreciate such details, as it would make a great basis for one of his rusting relics at some point in the future. As always there are still further details you could add, such as brake lines and wiring, to enhance the already fine detail.
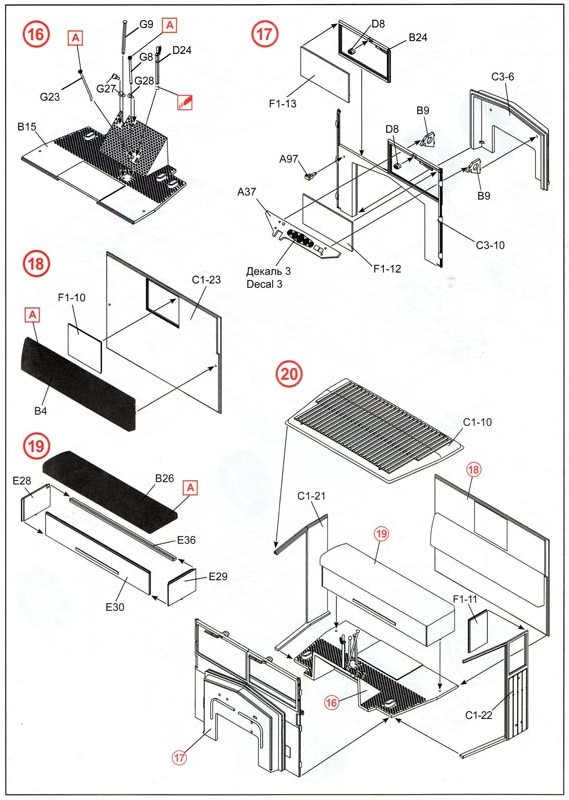
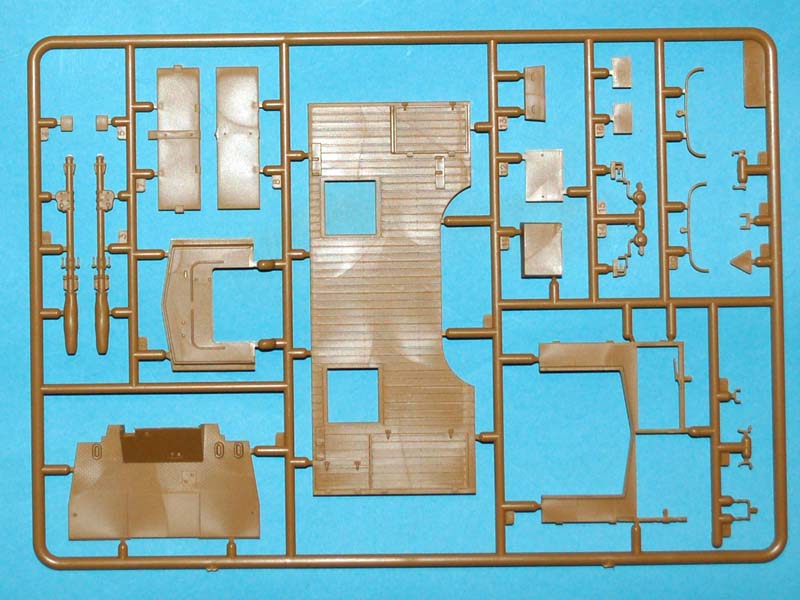
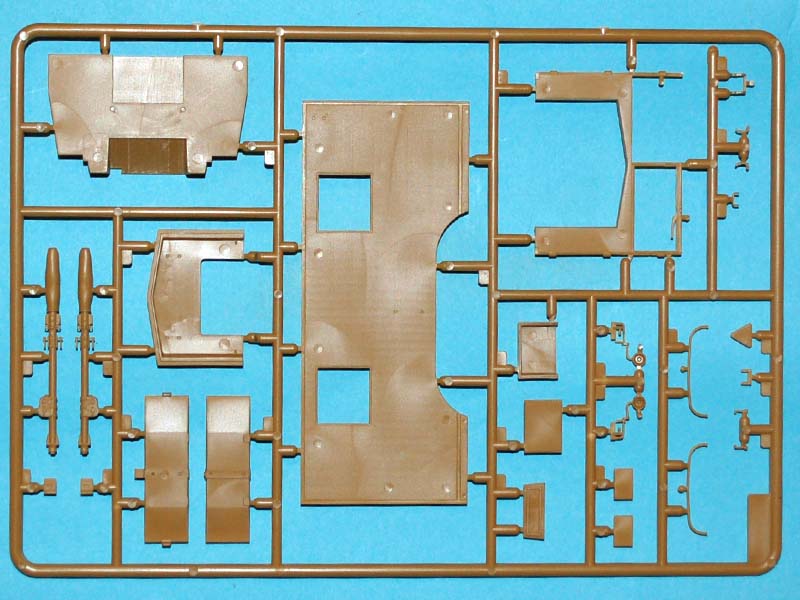
Stages 16 through 23 bring all of the elements of the truck cab together. The exterior cab detail is good, while the interior is adequate, with a good level of detail on the floor pan. The area that could do with some improvement work is the seating, which while I believe it to be accurate, is not particularly realistic looking; by this I mean that the seat surfaces are too pristine, and I have yet to see a military vehicle with pristine seats. The doors of the cab are presented as separate components, so can be displayed open or closed. ICM has also remembered to add the interior door trim, such as the handles. The doors would have been timber, so should, I believe, have a wooden frame visible on the inside, and some planking detail which has not been replicated; this may take some deeper research to reproduce accurately as I was unable to find any decent references for this area. Remember again here what I have said about ejection pin marks.
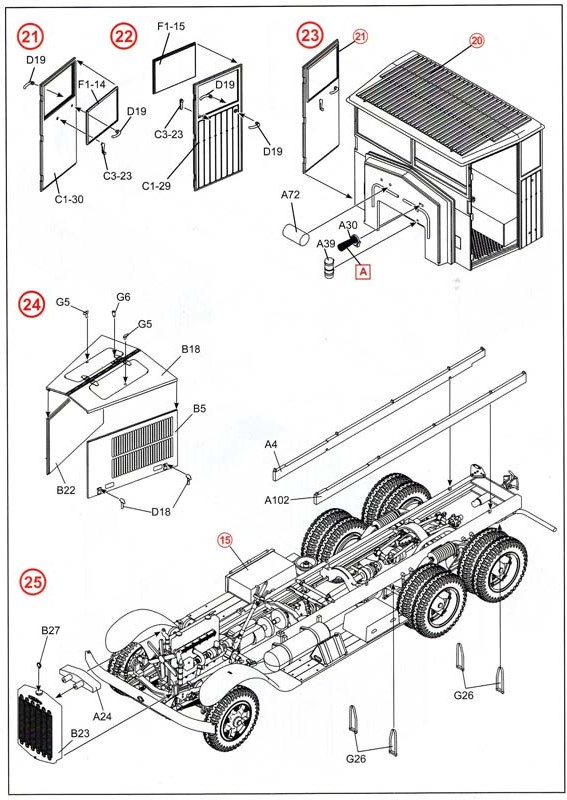
Stage 24 puts the bonnet of the truck together, but disappointingly no option for representing the bonnet open is provided. Hinge detail is present, and leads me to believe that the bonnet is released at the bottom of the side panels, hinged where they meet the top of the bonnet, which is again hinged along the centre line. This is one area where photo etched parts would be a must to get the most from all of that under bonnet detail.
Stage 25 adds the support rails for the rear bed of the truck as well as the radiator grille to the chassis. The front grille looks quite good and has the Krupp name prominently emblazoned on it; the down side is that no radiator is supplied, so one would need to be made, purchased, or found somehow in order to properly show off the engine.
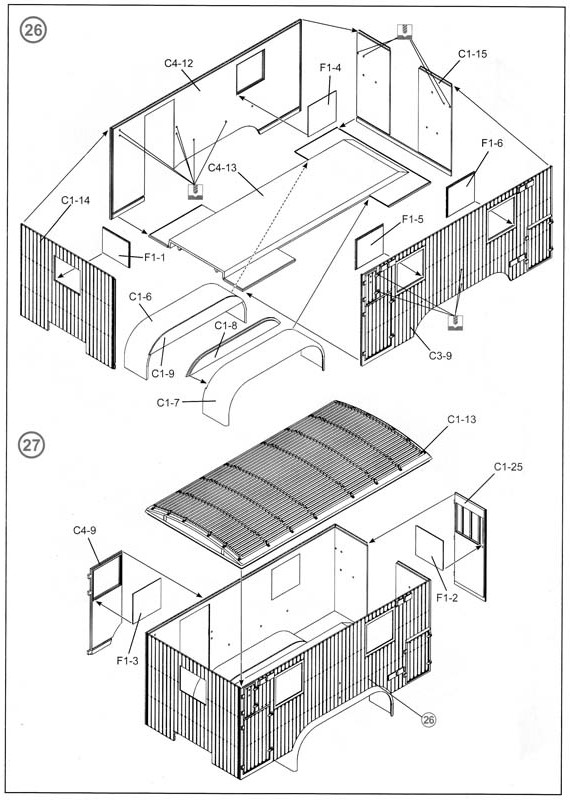
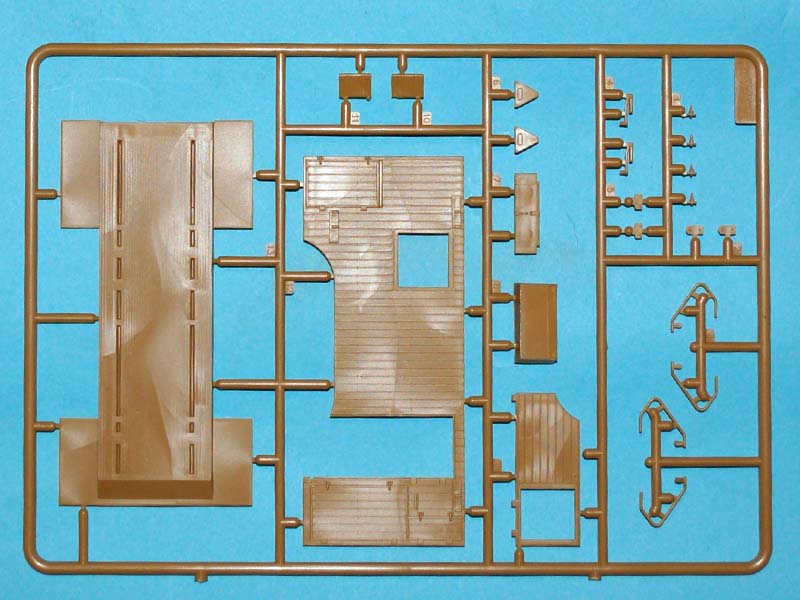
Stages 26 and 27 cover the construction of the rear radio shack, which has very nice external detail but it is completely bare on the inside. The lack of detail on the interior is a shame especially since the doors are separate parts, so can easily be fixed open or closed; on top of that, the four windows will probably let in a fair amount of light, allowing a view of the interior which will I believe expose the emptiness within, even if the doors are closed. The interior void is a bit of a let-down considering ICM went to so much trouble with a chassis which will mostly not be seen, as well as a very nicely detailed engine, which again will normally be invisible due to the bonnet being closed. This lack of interior detail may well of course be something that after-market manufacturers will correct given time.
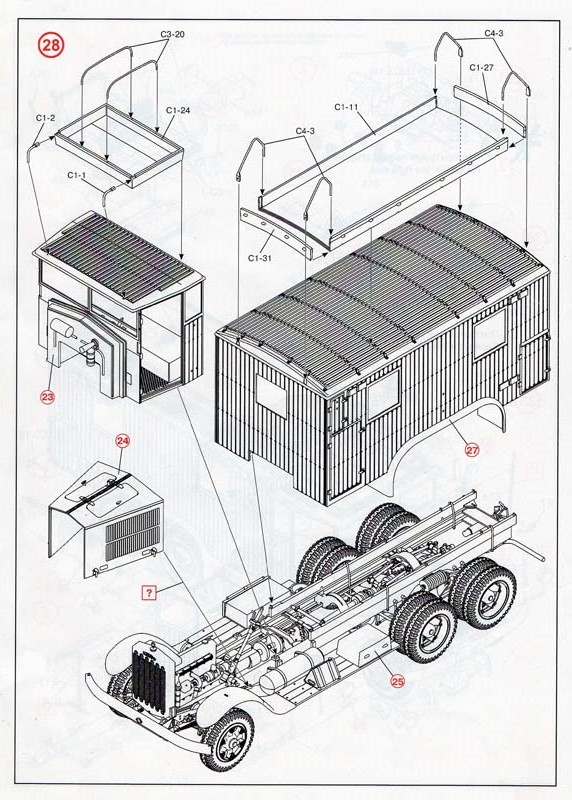
Stage 28 brings the bonnet, cab and radio shack together with the chassis, although personally I would put this off until most of the painting has been done. It is also at this stage that the storage racks are added to both the cab and the radio shack. Apart from a couple of ejector pin marks to fix, I cannot see any issues presenting themselves, so long as the chassis has been built nice and square.
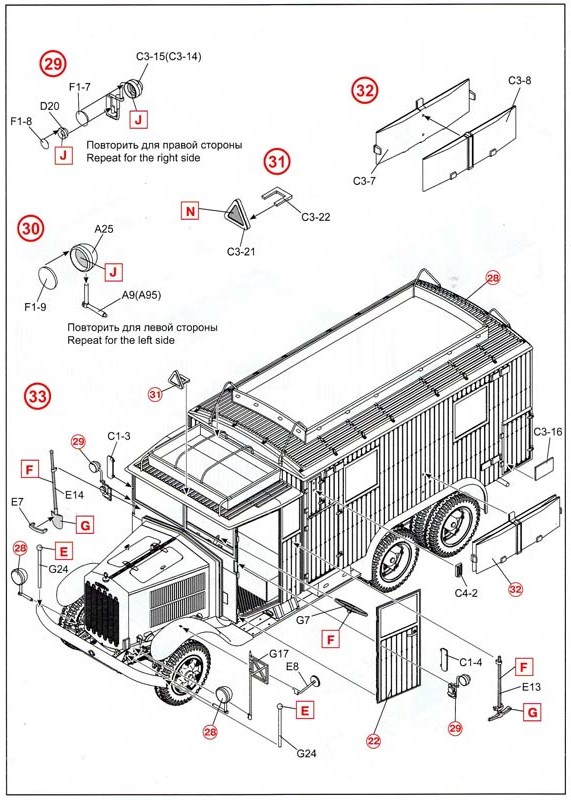
Stages 29 through 34 consist mainly of making and adding external details, such as lights and the tools to the front and left hand side; no obvious pitfalls for the unwary here. Optional photo etched tool clamps would have been nice, although the moulded tool clamps will be acceptable to most. If you are going to add a driver figure, now is the time to do it since the steering wheel also goes in at the end of these stages. For a driver I would suggest taking a look at the mixed driver figures that MiniArt released some time ago.
Stages 34 through 37 take us to the end of the build. The aerials for the rear of the truck are represented in the stowed position with some very nice detail, though it would have been nice to have been given the option of showing the aerials in the deployed configuration. The final stages cover the construction of the rear step and fixing it to the vehicle along with some detail along the right hand side of the truck body.
Conclusion
This kit will build into a nice replica of the Krupp L3H163 Kfz.72 WWII German Radio Communications Truck in travel mode, and with a little application of modelling skills, a very decent model will result. It is a shame that ICM didnt provide the option of representing the Radio Communications Truck performing the role for which it was intended, i.e. with the aerial in operational mode, but perhaps after-market suppliers or ICM themselves will oblige in a future release. The kit has a few issues, mostly around the lack of any choice other than to model a closed-up non-transmitting radio truck; built as supplied however it will still create a good model and make an impressive addition to your shelf or diorama.


Comments