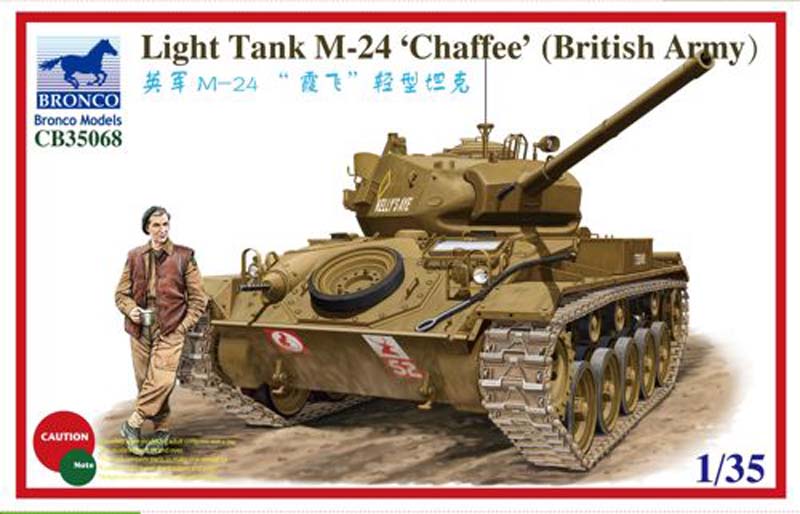
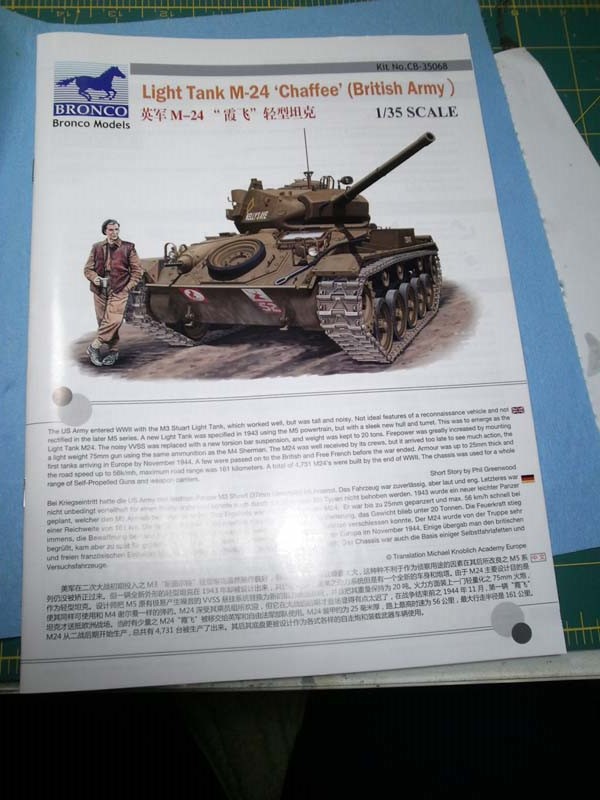
The M-24 Chaffee Light Tank was developed out of a requirement to replace the overly tall and relatively noisy M-3/M-5 family of light tanks with something that was both more powerful and stealthy. The M-24 mounted a 75mm main gun, far outpacing the 37mm its predecessor carried, it also had a lower silhouette, better armor, increased speed, and a smoother suspension; all of which made it much more capable in the reconnaissance role that the Army envisioned for the tank. Recon units were more than happy with the new vehicle and over 4,500 were produced before the end of the war. Among those produced several were passed along to both British and Free French units although never in the numbers that the M-4 Sherman was made available.
Bronco Models has been making a habit recently of releasing different versions of the Chaffee. Last fall they released the British version of the M-24, kit number CB-35068, the subject of this build. It was a build that took me a little bit longer than normal, Bronco Models kits sometimes can seem a bit over-engineered, but it may have been as much a case of me dragging my feet on the build as anything, Not that the kit wasnt an enjoyable build, it was, just lots of things on the schedule.
Im afraid that my photos are a bit sporadic, I always start with good intentions; this time I am going to photograph every little thing I do! Then reality sets in and you forget one or two things, then five or six, you know the drill. Besides, does anyone really want to look at THAT many pictures of a road wheel?
Build Review
I will try to recount my experience with the build without recounting every little thing. I tried to keep notes of each thing that threw me a bit in the hopes that it might make it a bit easier for someone else.
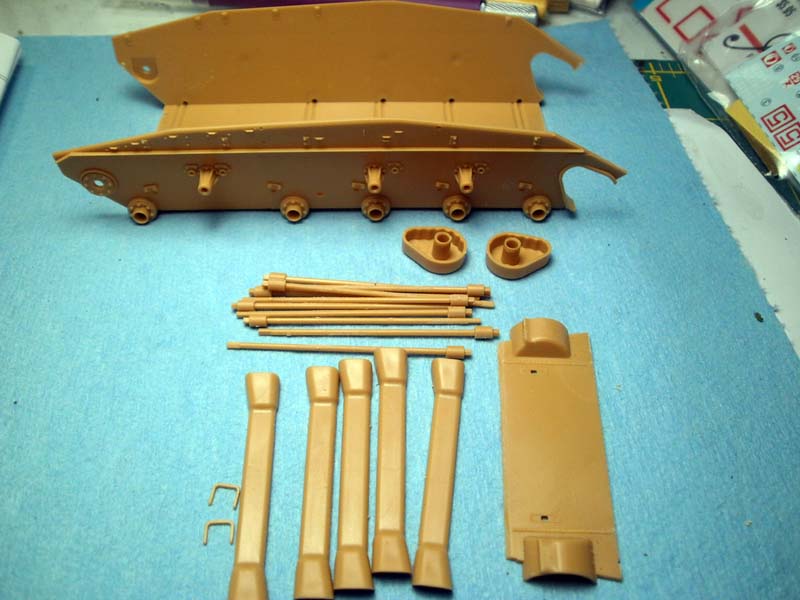
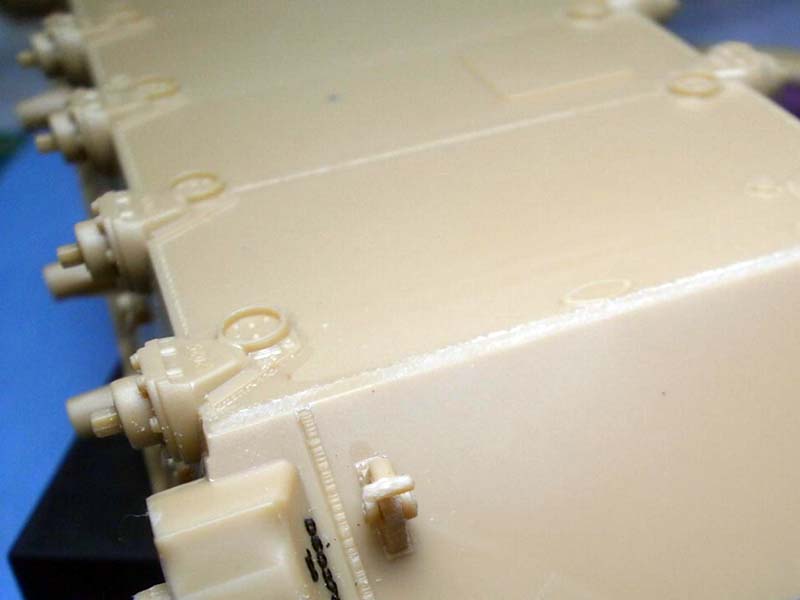
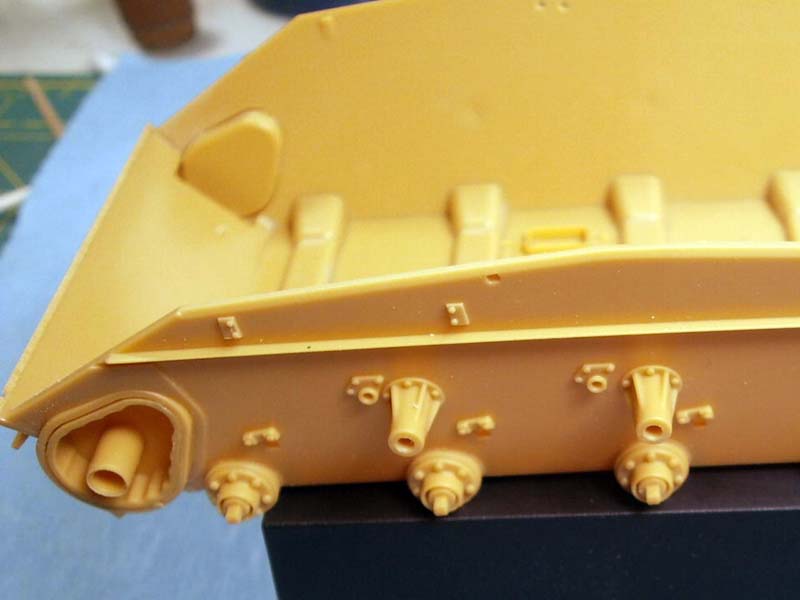
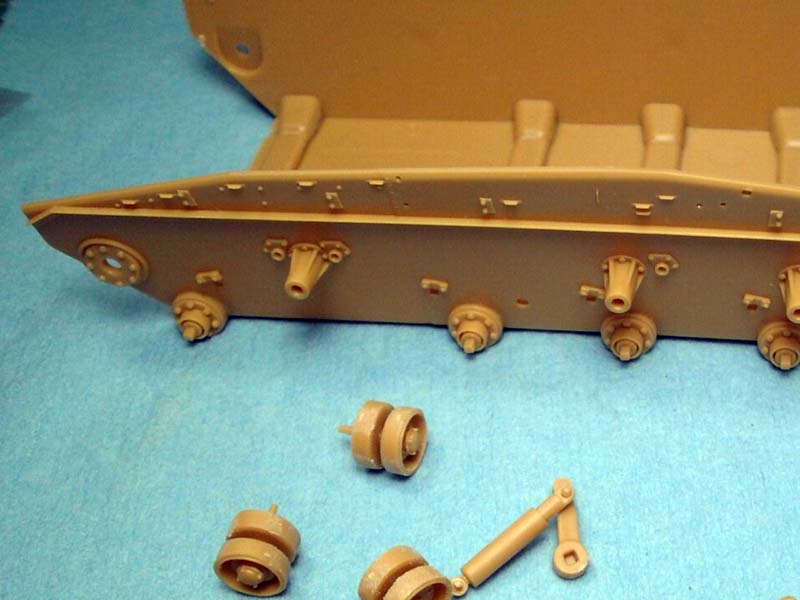
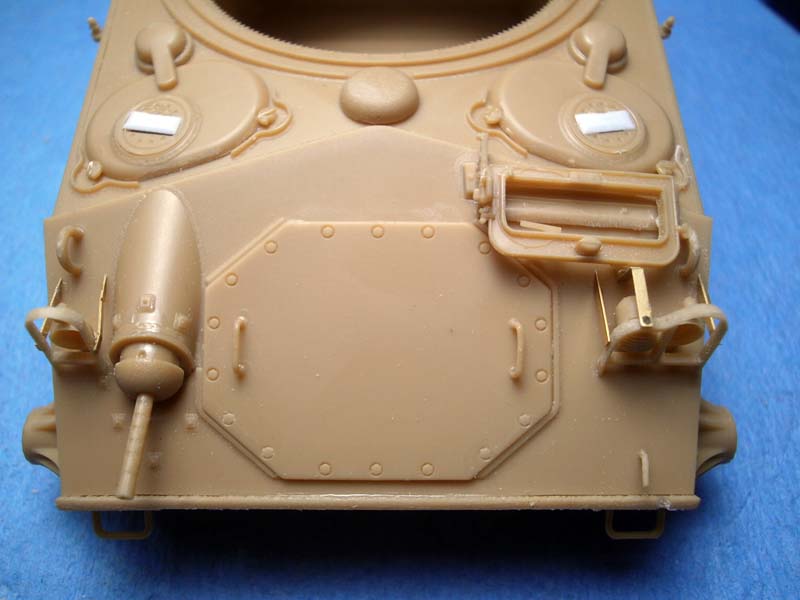
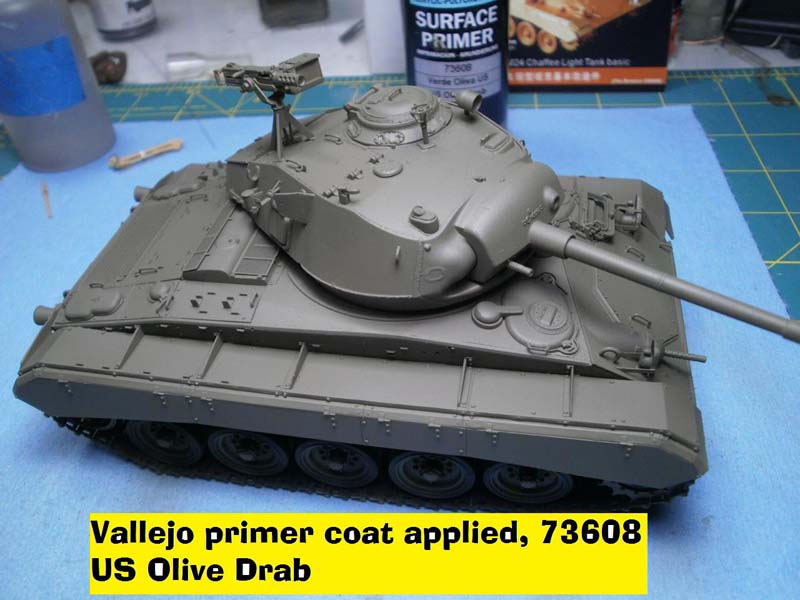
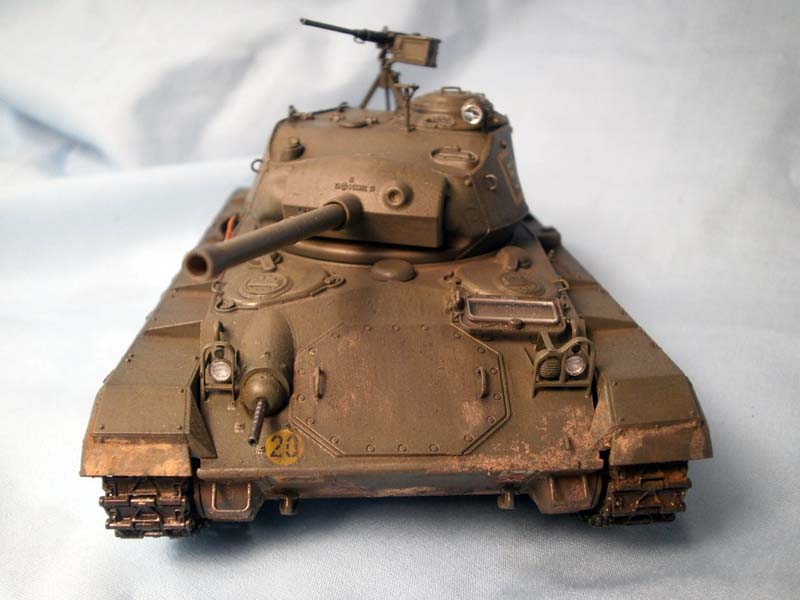
Like most armor builds this one starts out by taking a solid whack at the lower hull and the suspension. Be aware that part G40, the inside of the final drive covers, should be flush with the outer flange on the lower hull side. Bronco Models has you add the lower hull front complete with crew steps, etc. Pretty easy until you see that they want you to cut out individual letters for the embossed detail on the final drive covers; are you kidding me? D60548 10* D1395 to start with; I chickened out and used some Archer raised details that I had hanging around. Looked great and I still had my sanity as well!
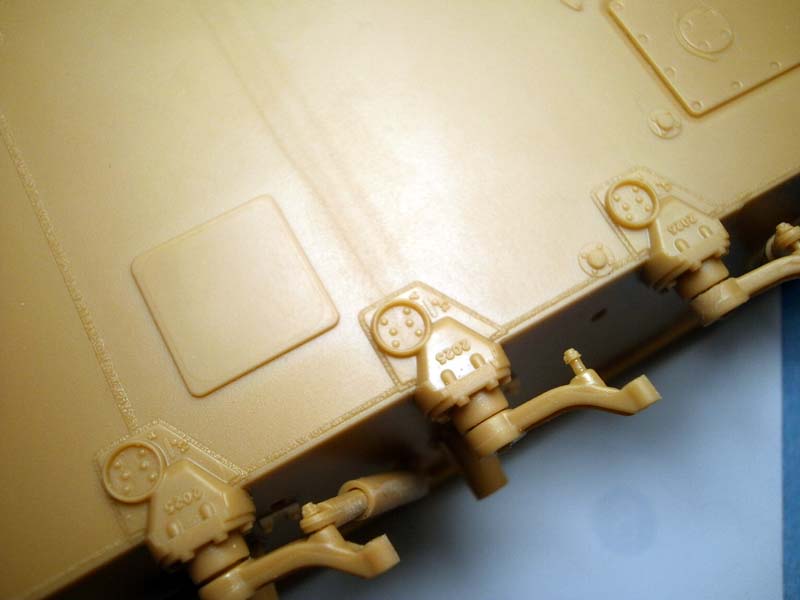
The suspension and torsion bar construction seemed to be where the over engineering bug bit Bronco hard. Some people will call these steps ultra detailed, others ultra tedious. Be careful, different sized pins for the top and bottom of the shock absorber assemblies. Also, if you are not planning on displaying the suspension articulated I would ignore most of the dont apply glue here warnings.
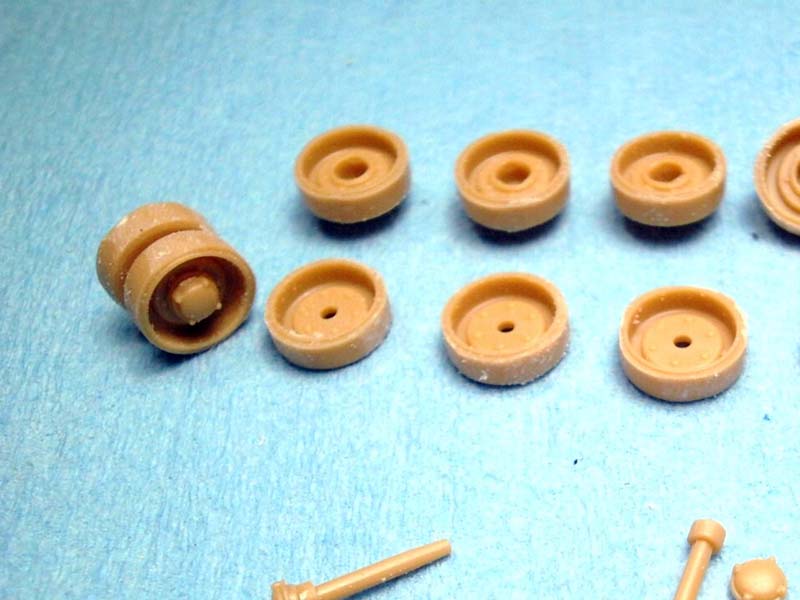
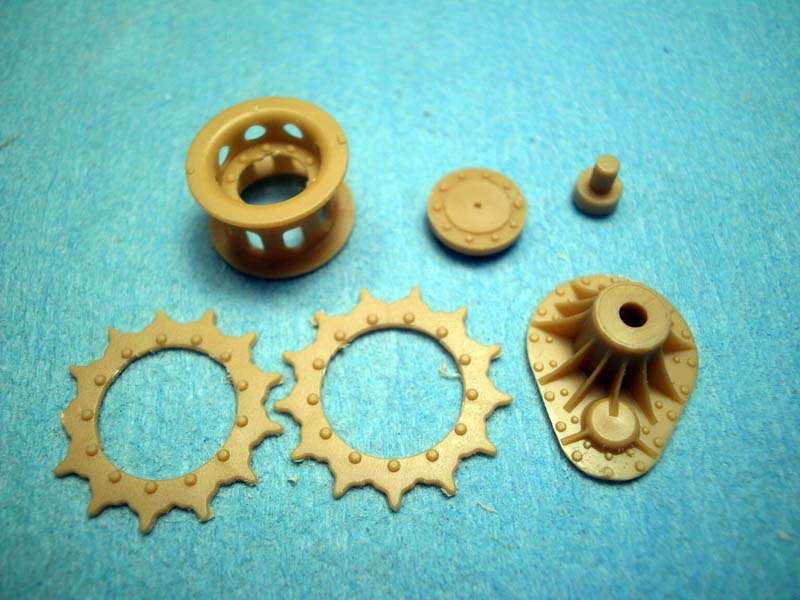
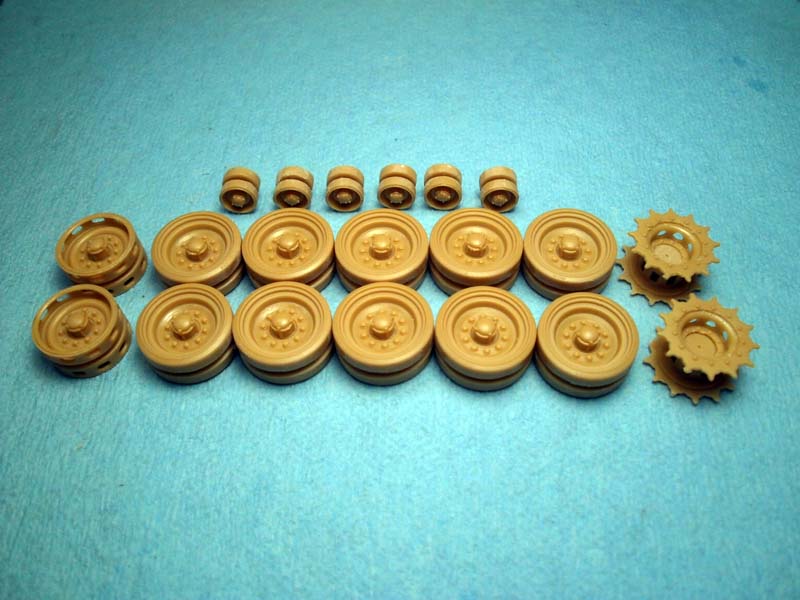
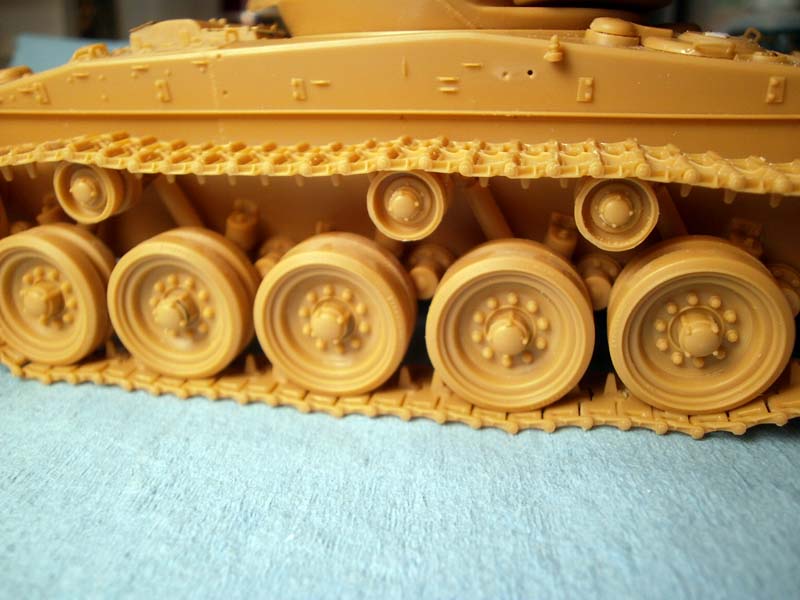
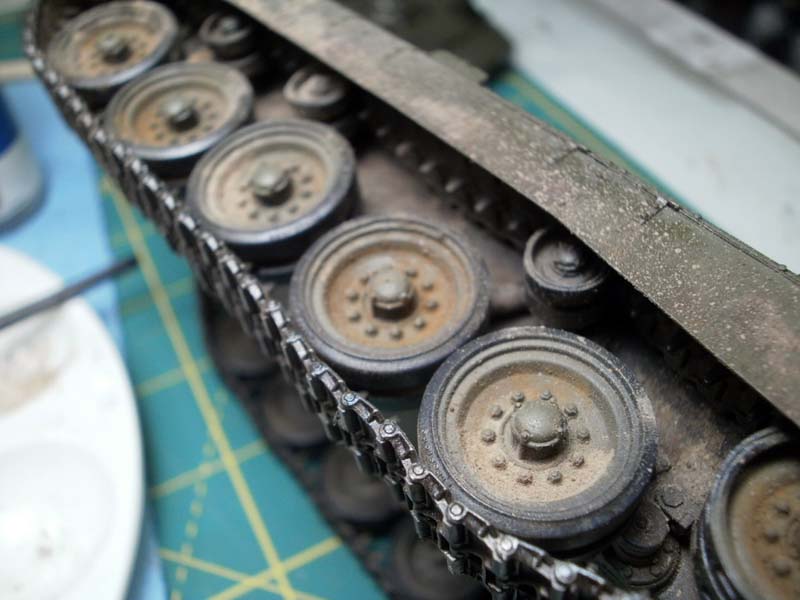
The construction of the road wheels and the drive sprockets was, in my opinion, the low point of the kit. The parts are detailed enough in the manner that we have all become accustomed to, no problems at all there. However, in the actual construction I think that Bronco Models could have put a bit more thought into how these parts all work together as part of the whole. The drive sprockets provide keys for proper alignment except that the keys are so faint and hard to find I would recommend just shaving them off completely and taking a few links of the track and the old eyeball to provide the proper positioning.
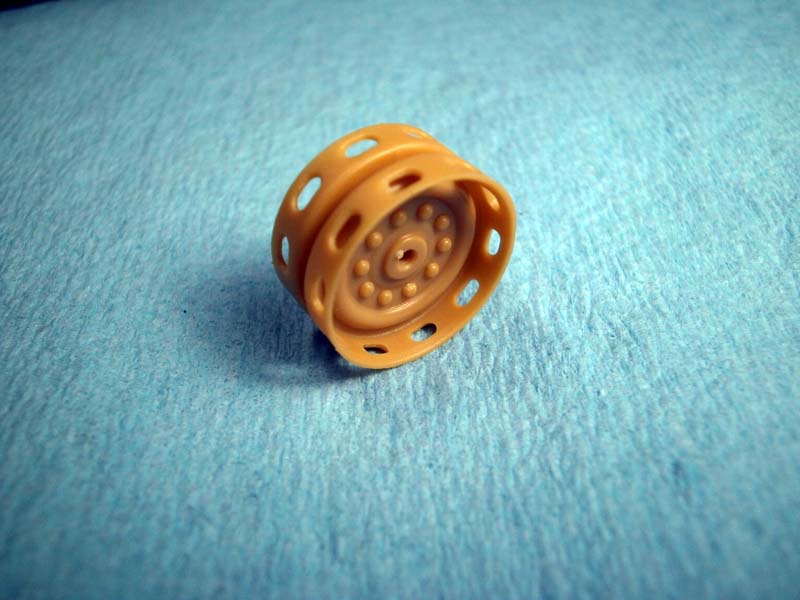
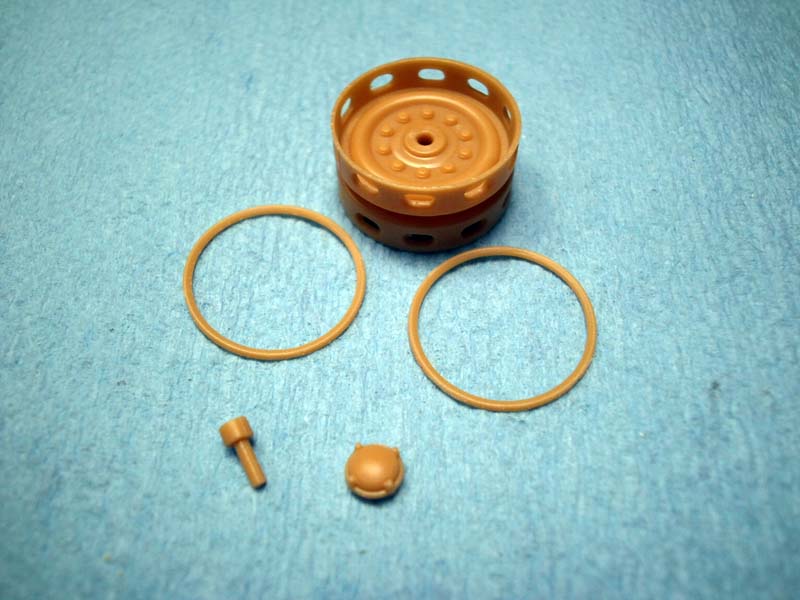
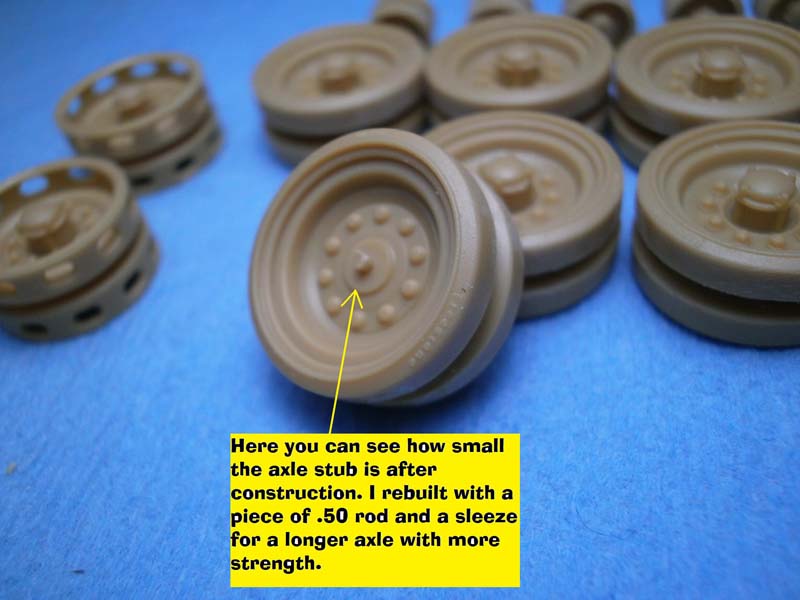
If that were all I wouldnt gripe much but that only gets you going for the next minor issue; the axles for the road wheels. The axle piece, Ga27, is so short that when the inner and outer wheels are put together you are only left with about 1/8 of an inch of the axle stub that stands proud of the inner wheel face. That is, in theory, supposed to fit neatly and snugly into the torsion arm, however the locating hole at the end of the arm is only about 1/16 of an inch deep. The issue is that neither of these provides nearly enough of a gluing surface to really give anything other than a very, very, weak connection. Following the instructions provides nothing at like the somewhat robust construction that you will need when adding tracks or just general handling, even for a static model.
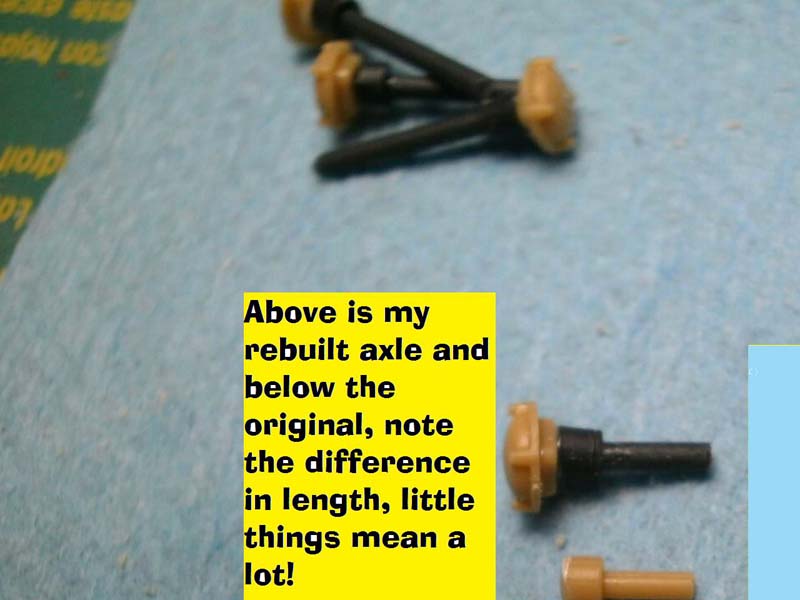
To solve the problem I constructed new axle shafts with some .050 rod and sleeve that I had at hand and deepened the mating hole in the end of the torsion bar. Well, that was my intention anyway; I actually ended up drilling a hole clean through the torsion bar, inserting the axle and cutting it off flush once everything had dried nice and solid. That method meant I didnt need to be as concerned with the length of the axle shaft, I could make them all much longer than needed and trim to fit. It worked for me, you may want to take a different approach but this was a bit simpler to accomplish.
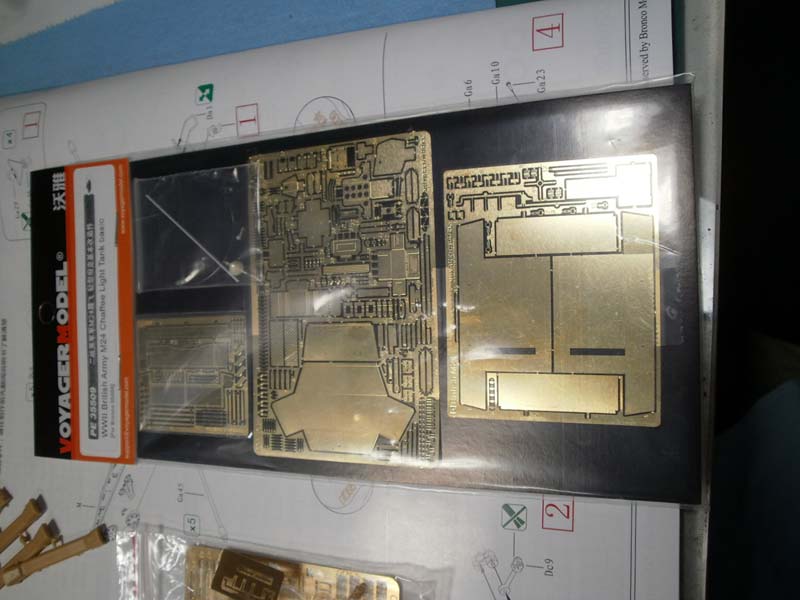
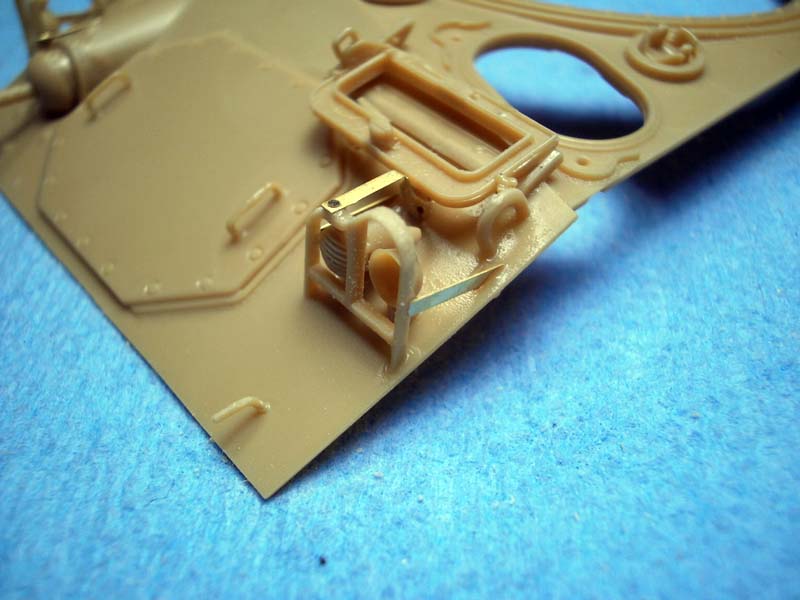
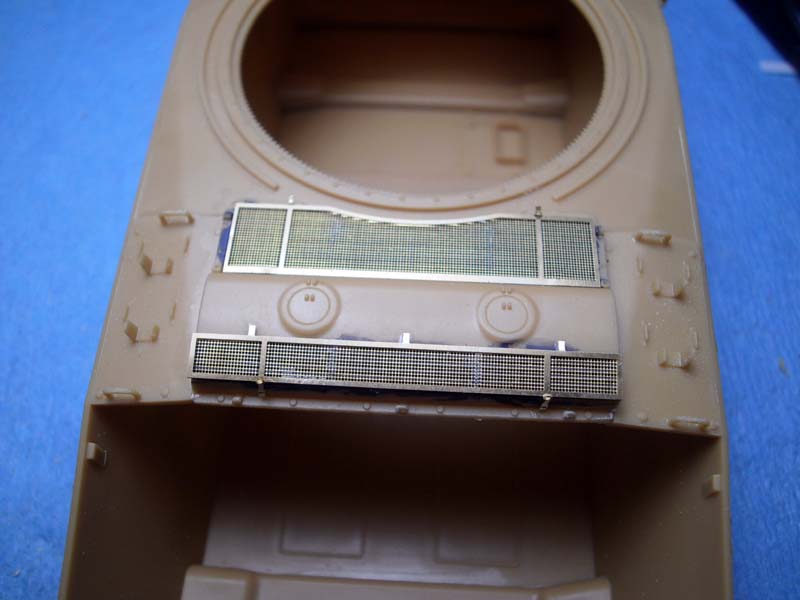
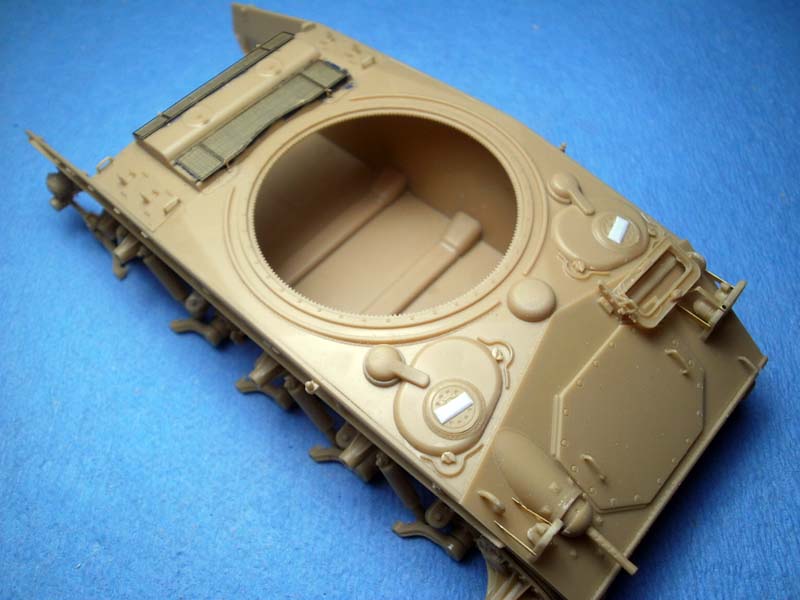
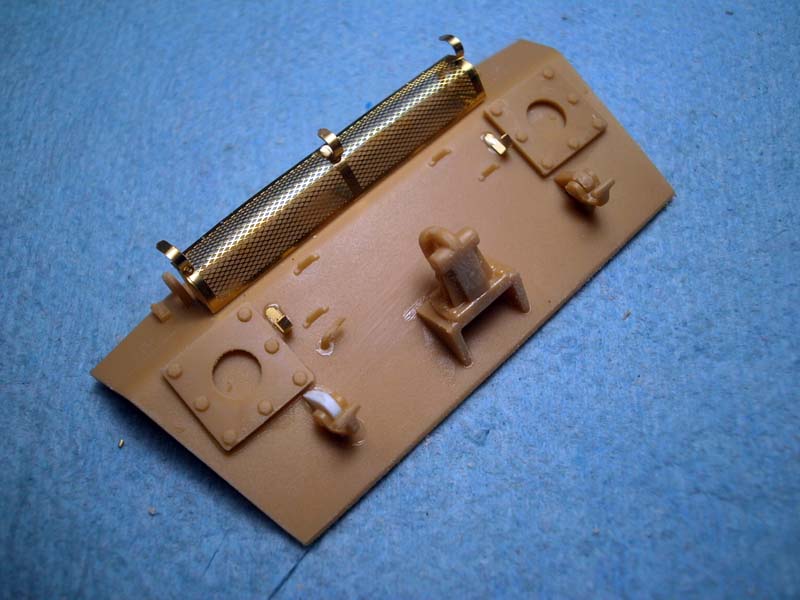
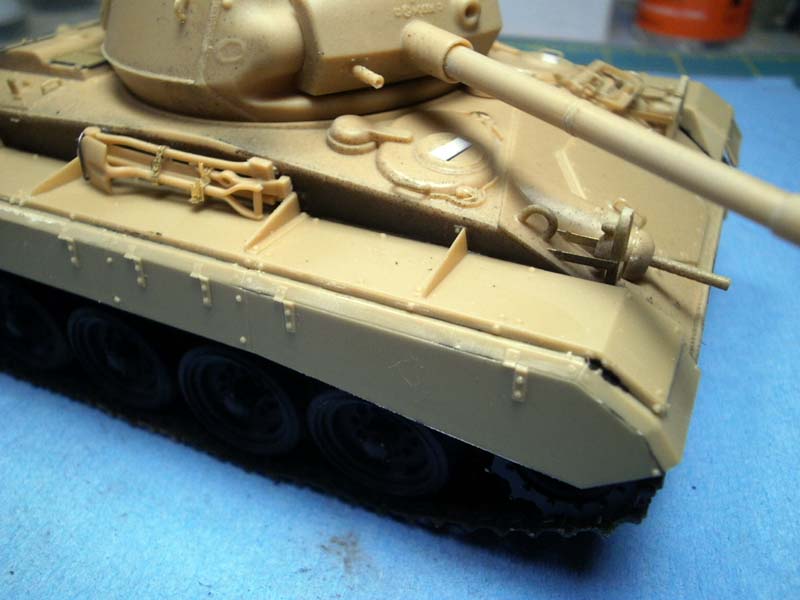
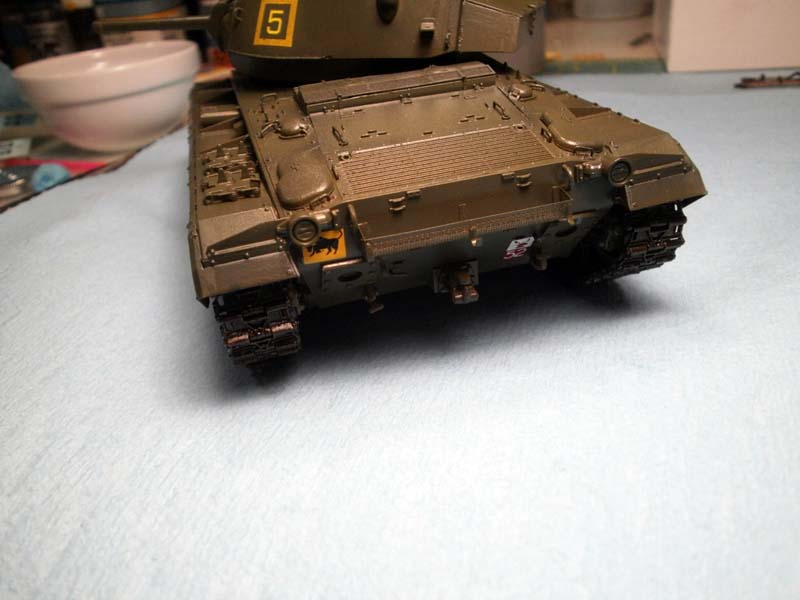
After that the construction moved up top to the upper hull. I had the Voyager photo-etch set available to me but Bronco Models provided a fairly extensive fret of PE as well and I ended up using the Bronco brass almost exclusively. Bronco Models PE was generally easier to work with in that it often involved a more simplified approach to the part. Of course Bronco Models provided the parts in question in plastic as well as PE, so I really often had three choices from which to pick from. I used an old trick I picked up from Steve Zaloga years ago for the light array brush guards where I thinned down the plastic while still on the tree. I used plastic for the main piece in the brush guards, that way I didnt have to deal with the use of a jig for proper bending. To that I added the cross pieces and braces in PE for a nice thin look and a somewhat less fiddly construction. The rear upper hull engine screen was very well detailed, the latches were a bit fiddly but it provides a really nice appearance.
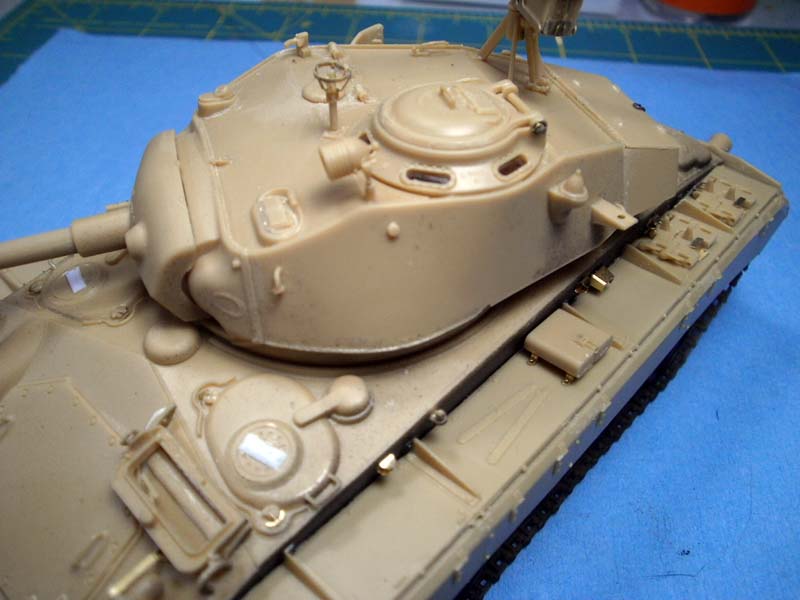
Be aware on the front upper hull, which is also beautifully detailed by the way, that you probably dont want to glue part Ga32 when you first encounter it. Ga32 is the pivoting hinge for the two crew hatches on the front upper hull. You will want to ensure that it is properly positioned to accept the hatch a few steps later so just let it be. It has a nice snug fit so you can easily get away without glue yet. Some of the parts called out on the upper hull are mislabelled in the instructions; you will probably figure it out but the two hull hatch stops/supports are part Ga1, both left and right are mislabelled, one as Ca1 and the other as Ga4. Like I said, you will probably figure that one out quick as it would be hard to fit a rubber tire, Ca1, in that particular spot. But, hey, stranger things have happened in the past!
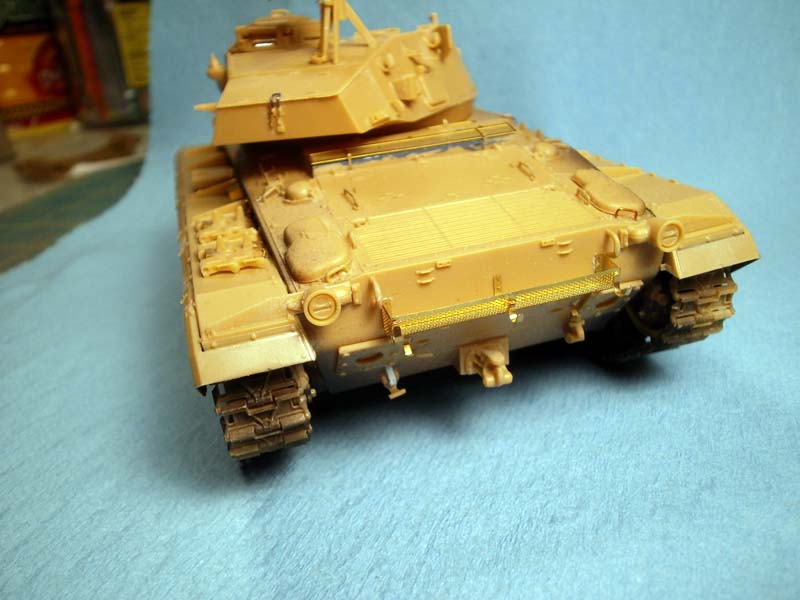
The rear hull has the basket provided in PE only. Again, I used the Bronco Models offering as it seemed easier to work with. The construction appeared a bit daunting what with needed the proper bend and adding PE pieces to PE pieces but it was much easier than it first appeared. It did provide fodder for my first instance of spontaneous tweezers launch when one of the towing eye hard points left the building never to be seen again. Thankfully it is an easy part to shape out of a piece of scrap styrene if you find yourself in the same position.
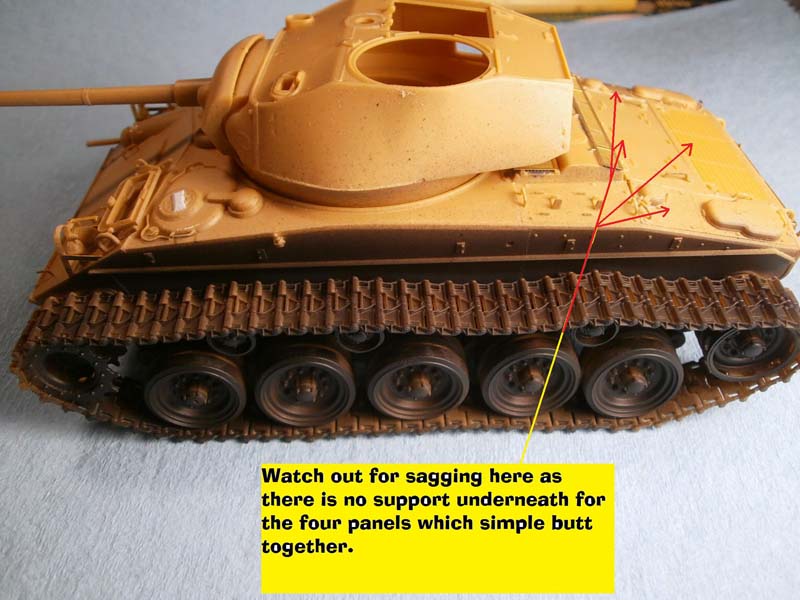
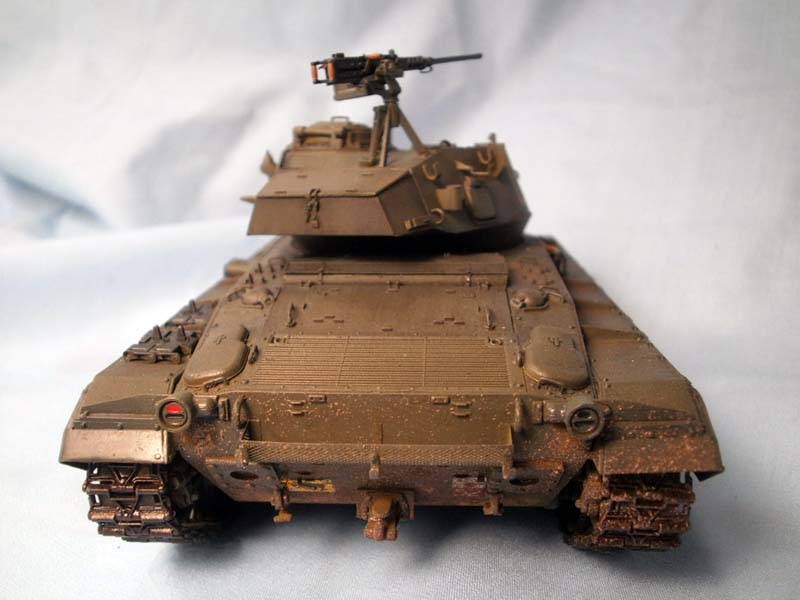
The upper rear hull is also a bit of a challenge. After you have built the four panels you will need to install them; this is where things get a bit sticky. The four pieces, engine access all, have no support from below and all mate up against one another in a somewhat tricky dance. You need to be very careful that nothing sags in the middle. I propped up the parts one by one from below with a mishmash of small items from the model desk that I could wedge up under to provide some semblance of support. You may want to add an interior bulkhead, or even go whole hog and add an engine compartment inside which would probably solve the problem.
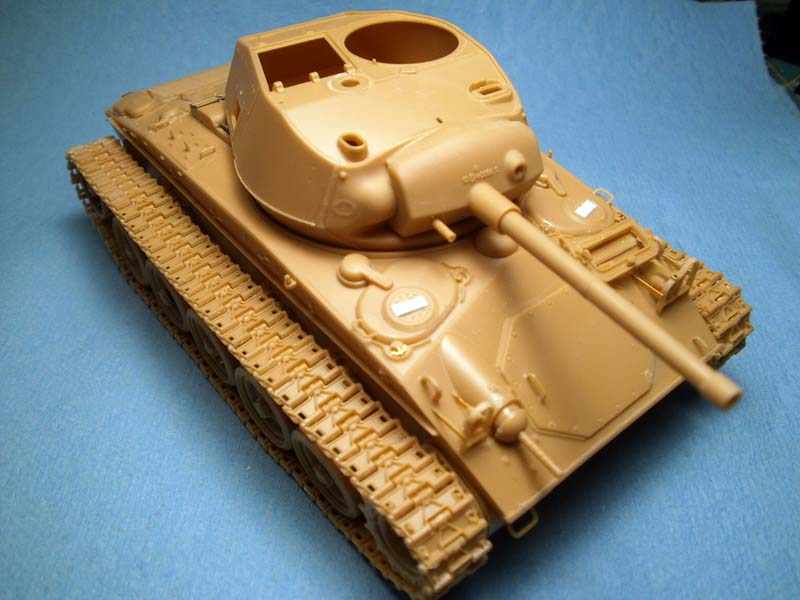
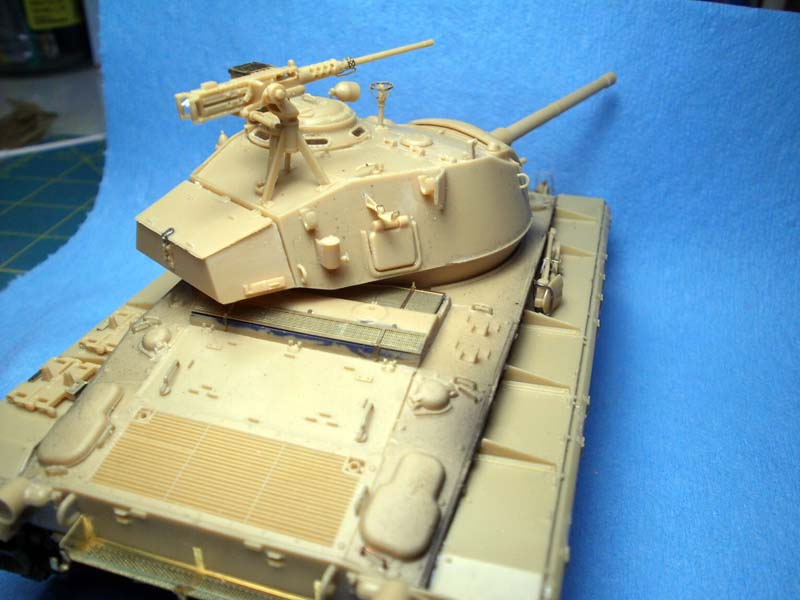
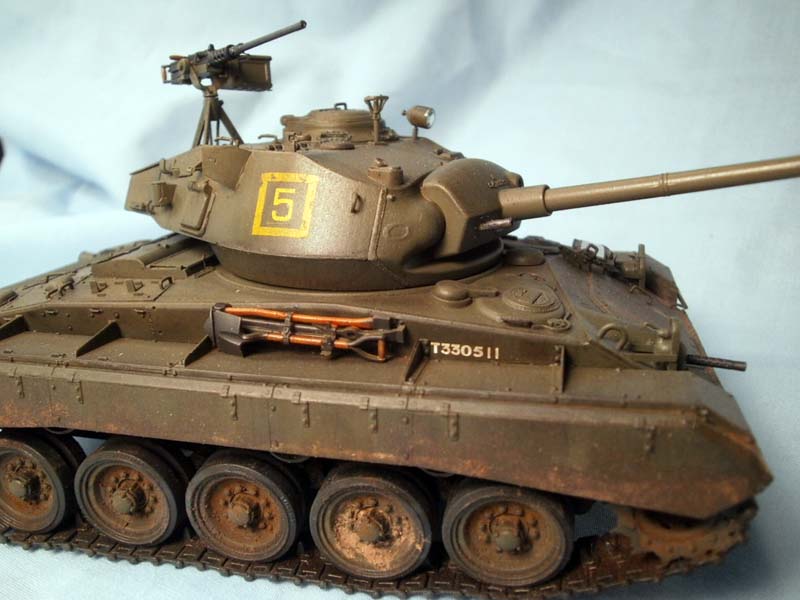
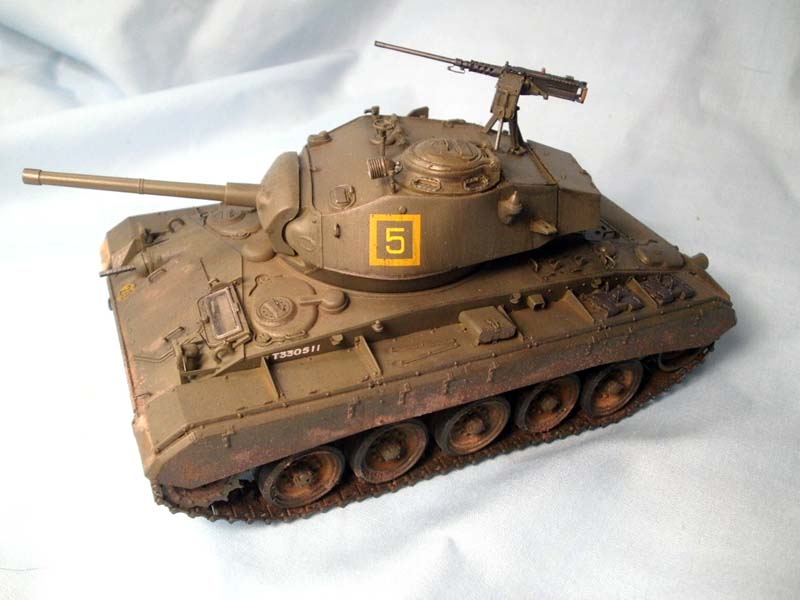
The turret was a jewel; the only issue was the lip below the mushroom cover in front of the commanders hatch which has to be removed for a WWII version of the vehicle. The rest of the turret was a breeze and the myriad of small fittings and details really dress up the entire assembly, particularly the beautiful M2 .50 cal machine gun which is just sublime. I chose to button up everything so I sent pretty much the whole interior of the turret into the spare parts bin, but it looks to be as well done as the outside of the turret. The bonus with doing the spare parts bin direction is you dont have to deal with the silly spring recoil that Bronco provides; really, guys do us all a favor and save that bit of styrene!
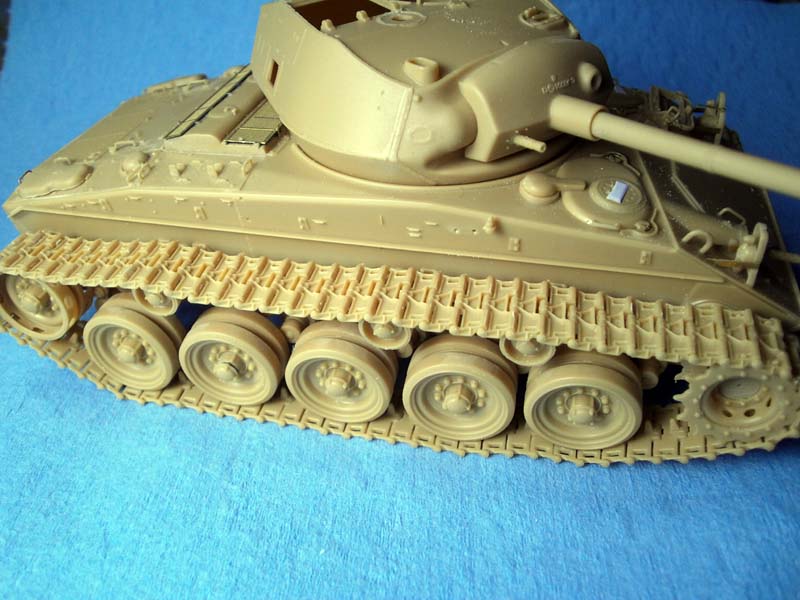
The only thing left for construction was the tracks and the long fenders. Wow, every set of link to link tracks should be this easy. Minimal cleanup and each link snapped into place quickly and easily. It took me about one hour to have both runs completely cleaned up and assembled. I generally lean toward one piece tracks, but if every other manufacturer could make link to link tracks this nice and easy I would be a quick convert.
The fenders are a long, tall, drink of water, take it slow, start on one end and work your way slowly to the other end and everything should turn out fine. They are a bit fiddly, but the fit is perfect which makes the whole process well worth it. Because of the difficulty, nee impossibility, of painting up under the fenders I left them off for a bit to begin the paining process. Do be careful, some of the fittings on the fenders are vehicle specific, so after you choose which version be aware of the differences during construction.
Painting and Finishing
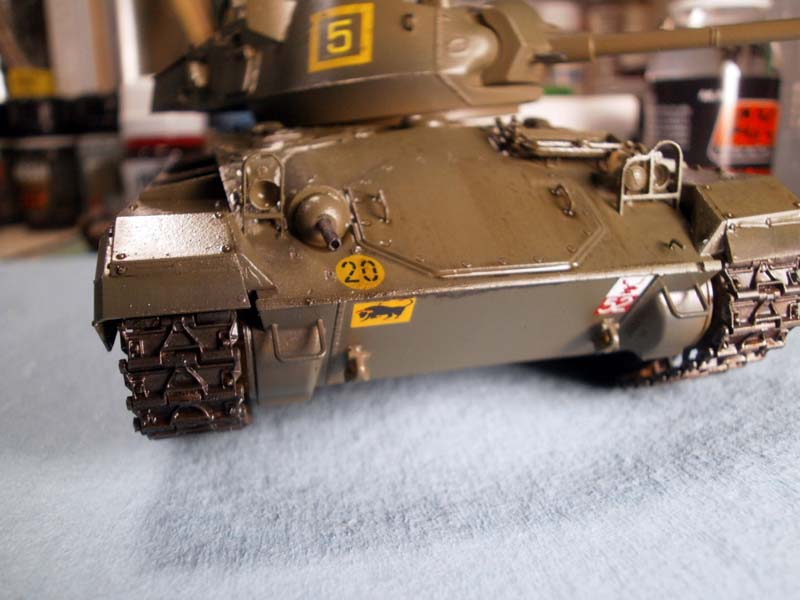
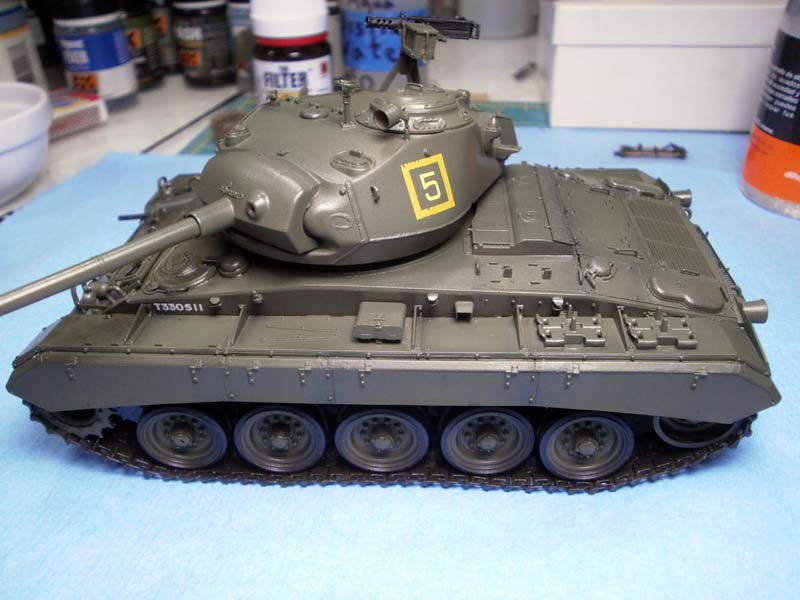
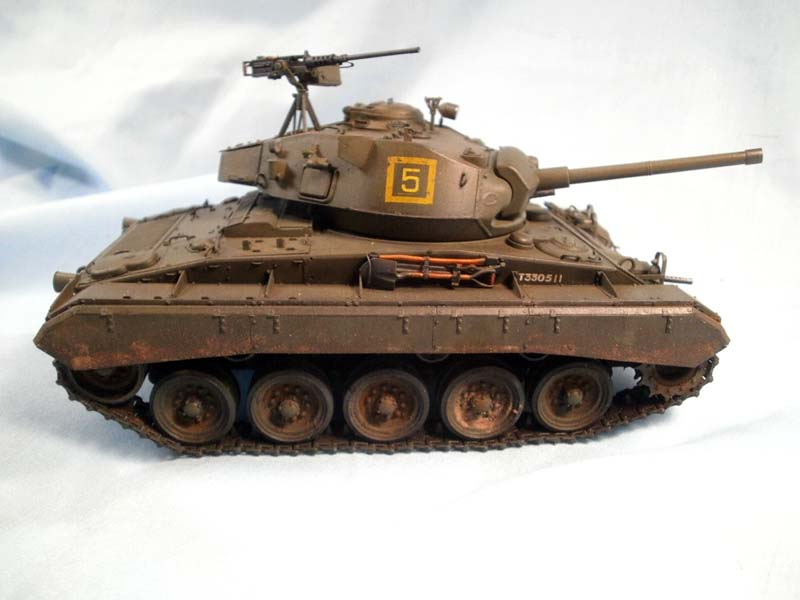
That pretty much finishes off the construction of the kit, now on to the paint, markings, and weathering. Because I had chosen to model the 3rd RTR vehicle I had to make a few changes to correct a few inaccuracies with the markings as provided by Bronco. I piggy-backed onto the earlier review by Darren Baker and the comments by Al Bowie; and changed the Tac number from red to yellow to indicate that 3rd RTR was second senior regiment. In addition, I ditched the 7th Armoured Division jerboa for the black bull of the 11th Armoured Division, again following the work of Al and Darren in determining the correct markings for this particular vehicle. I also changed the census number on the vehicle and while I didnt have an exact number I think I am reasonably close with T-330511 to what the numbers actually were based on the limited number of M-24s that were provided for British service. Without any particular census number I felt like it would be best if I ditched the vehicle name of Annie as well; I dont have anything against any particular Annie, and while Im sure they are all nice girls I didnt think it wise to take any chances!
Before I applied any decals I shot a couple of light coats of Vallejo Air 016 US Dark Green which is supposed to be a pretty good match for British SCC 15. I am not a huge stickler on color, this looked reasonably close and I have used it for years, but if you know a better match, particularly with my favorite, Vallejo, please let me know. After letting that dry for a good day or so I shot two light coats of Vallejo Satin and went away for the weekend. When I returned rested and refreshed I applied the markings as indicated above, sealed them up and gave it all a day to dry before getting out the weathering goodies.
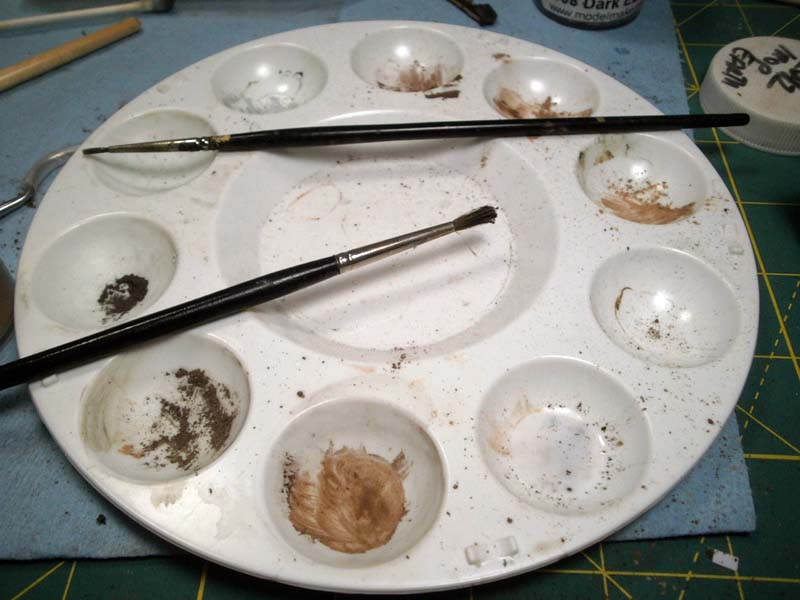
I am essentially lazy, so I like the pre-mixed washes, pigments and such. In particular with this model I used MIG P302 deep Green Wash for dark green vehicles and AK Interactive 024 Streaking Grime, again for dark green vehicles, before I started with the pigments. The tracks were base coated with flat black and treated with AK 083 Track Wash and a very light hand with AK 046 Light Rust just for fun. For the pigment layers I like my old MMP Weathering Powders that I picked up years ago which are still going strong. I use a mix of tap water and white glue to wet the area before I apply the pigments to soak up the mixture which dries with really strong adherence properties. I worked mainly around the lower half of the vehicle until I was happy with the result. I finished up with the old standby of using the worn out toothbrush method and a thick slurry of the water/glue mixture and the leftover pigments from the earlier steps. The last step in the finishing process is the use of my favorite weathering product that I have yet run into, AK-086 Dark Steel pigment. I used the pigment liberally on the .50 caliber machine gun for a pleasing metallic finish. In addition I like the way it looks on the tracks as well as any of the high points on sprockets, idlers, crew access areas, pioneer tools and such.
Finally, the headlamps were picked out in Humbrol #11 Silver before adding the clear glass lens. I cheated on the spotlight using a stick-on lens from a set that I picked up on sale from Michaels a few years ago. I added the clear glass drivers windscreen and picked out the tail lights with one red and three blacks using a sharpened toothpick, called it a good day and found a prominent spot in the model cabinet for the little beauty!
SUMMARY
Highs: Great little kit, light years ahead of the old Italeri offering. Third in the new series from Bronco.Lows: Overly fiddly parts, particularly in the suspension area. Some poor connections that will need extra care for a truly secure build. Verdict: Recommended for modelers with some experience.
Our Thanks to Dragon USA! This item was provided by them for the purpose of having it reviewed on this KitMaker Network site. If you would like your kit, book, or product reviewed, please contact us.
About Rick Cooper (clovis899) FROM: CALIFORNIA, UNITED STATES
I have been modeling for about 30 years now. Once upon a time in another century I owned my own hobby shop; way more work than it was worth. I tip my opti-visor to those who make a real living at it. Mainly build armor these days but I keep working at figures, planes and the occasional ship.


Comments