Armor/AFV: What If?
For those who like to build hypothetical or alternate history versions of armor/AFVs.
Hosted by Darren Baker
1/35 Sturmpanther II
darklen
Visit this Community
Alberta, Canada
Joined: September 16, 2003
KitMaker: 72 posts
Armorama: 70 posts
Posted: Tuesday, March 29, 2016 - 04:20 AM UTC
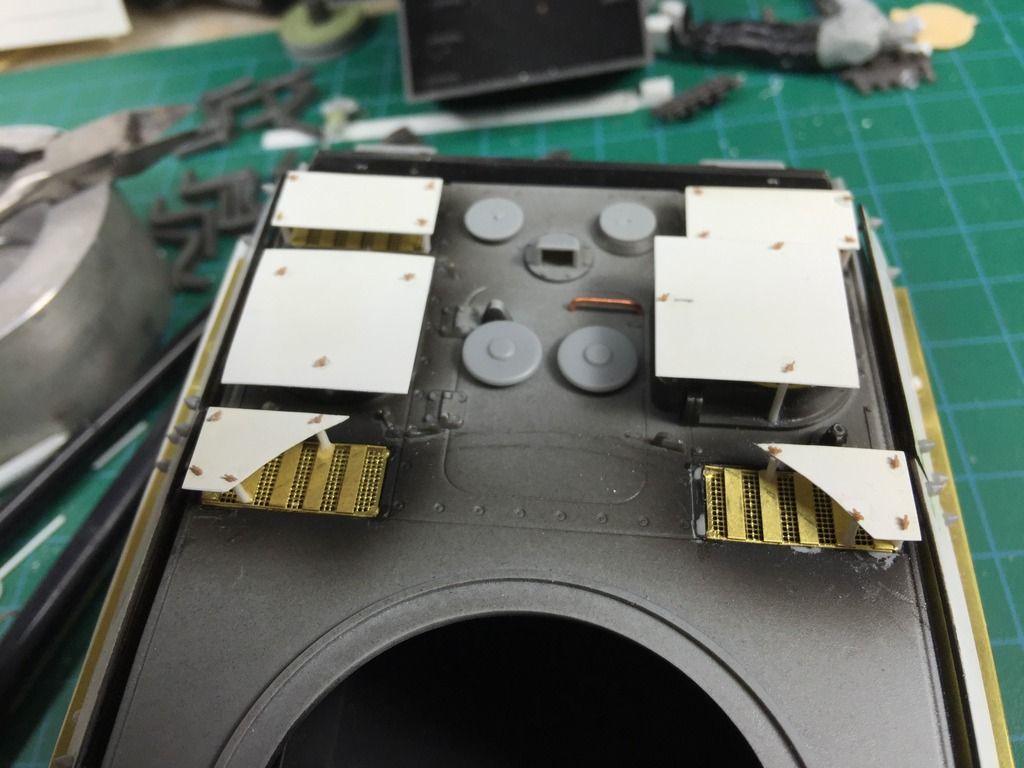
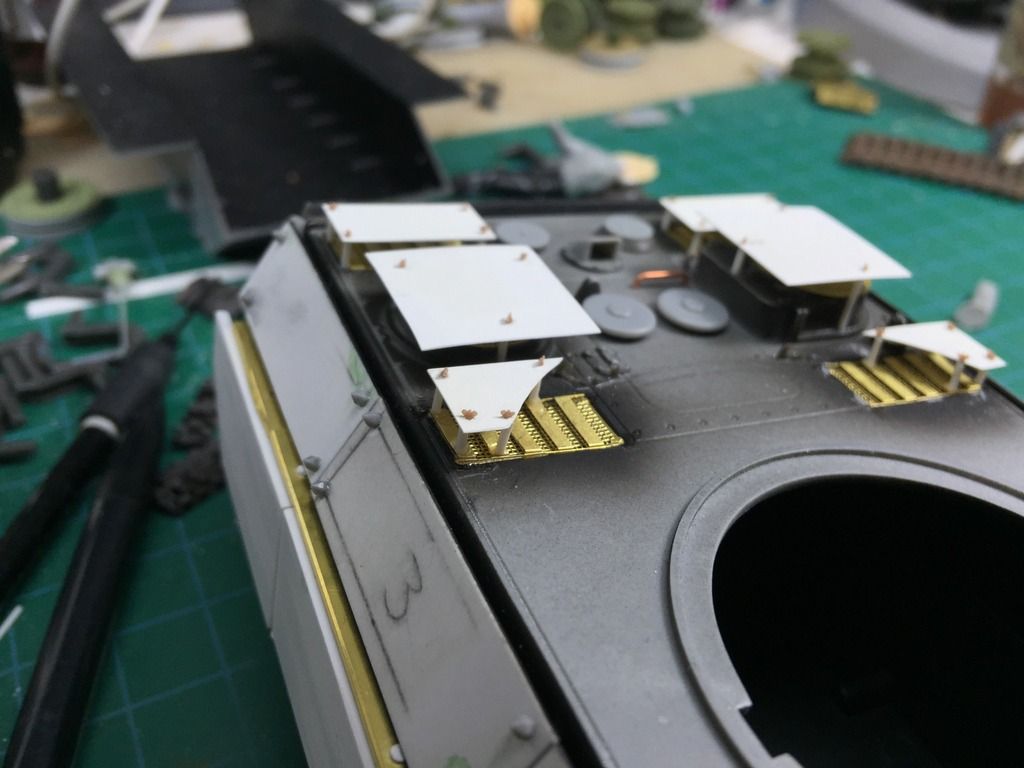
Finished the AA armor on the engine deck. Didn't feel like waiting for a PE set. Next will be the armored box around the outside of the deck.


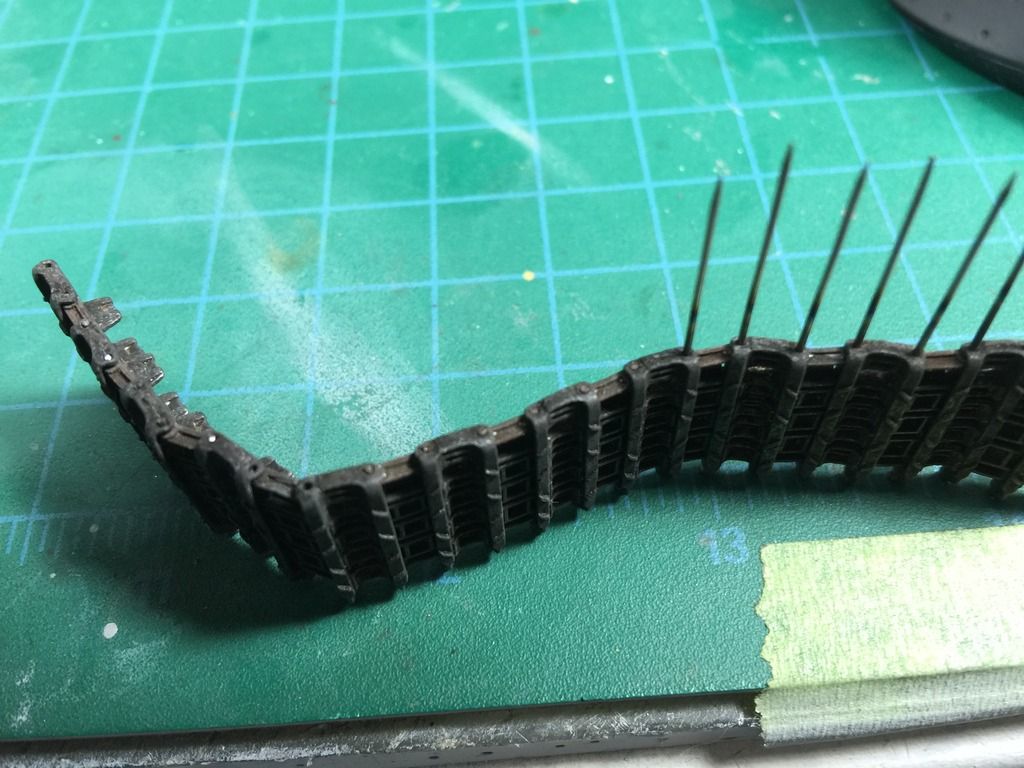
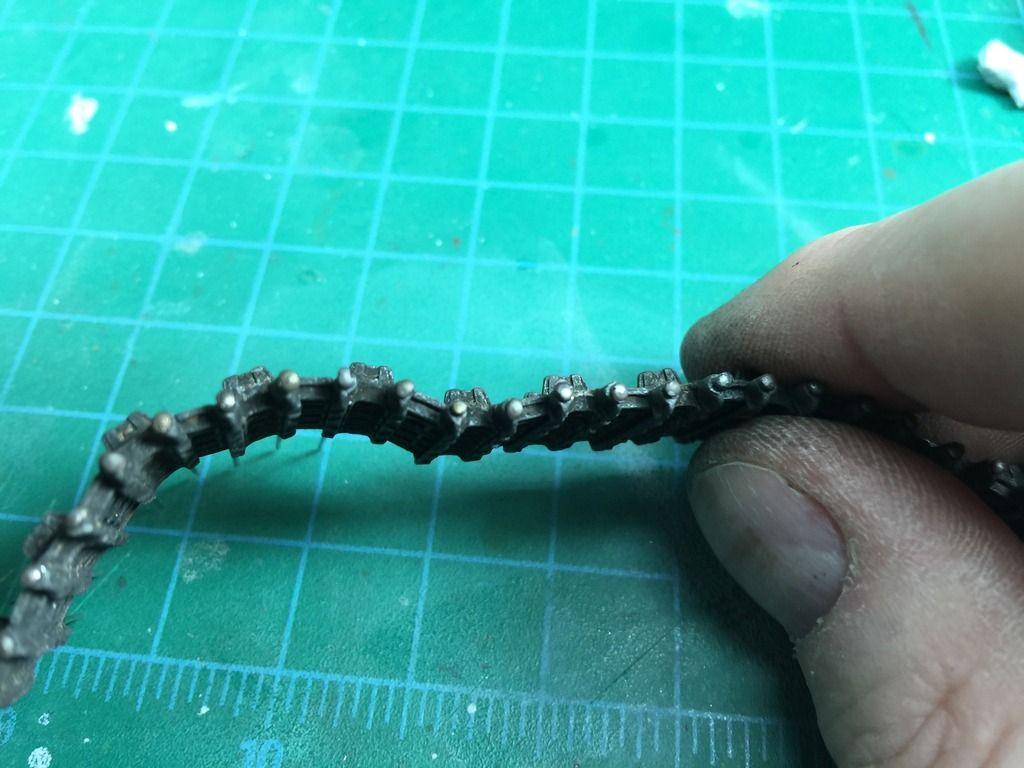
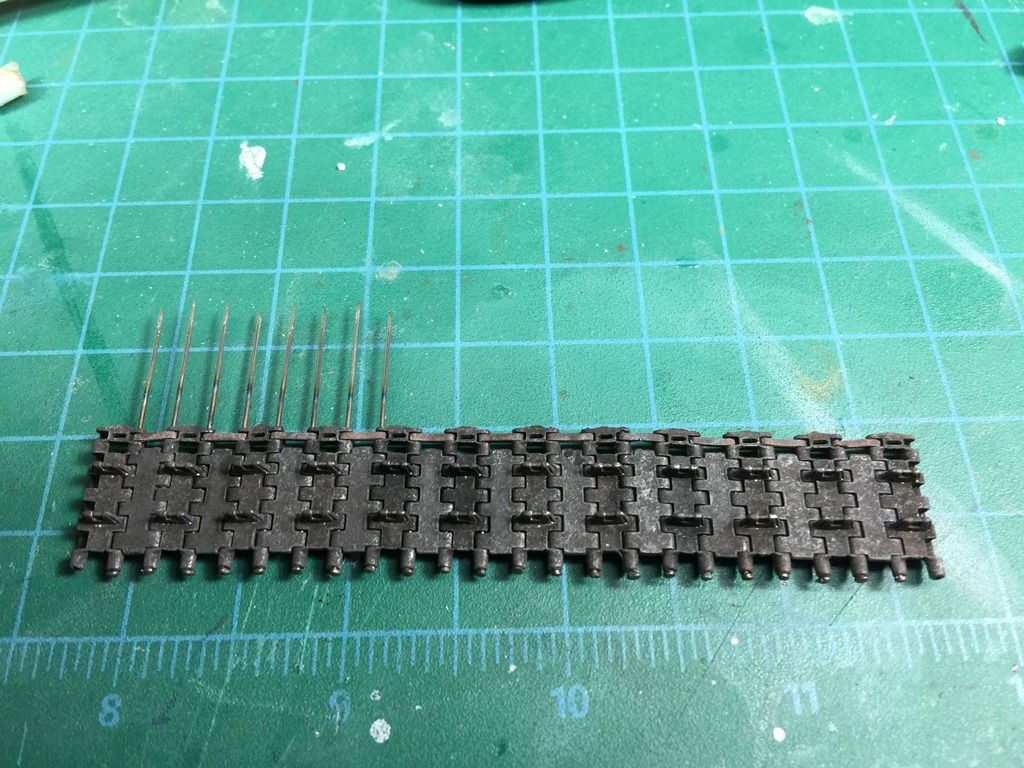
I plan on using the Spade Ace KT/JT/PII transport track set on this one. Drive sprocket teeth don't mesh up properly, so I;ll have to do some modding. The tracks come with a very stiff steel wire. While much stiffer then the brass wire Fruil provide, I find the steel difficult to handle and cut, even after annealing it. It makes it even more difficult as the links are bored all the way through unlike Fruil. I had some sewing pins (use them for door knobs) and they fit perfectly. After annealing the heads and shafts, they slid in great. Though hard to cut, I found using a flush cut nipper could cut a crimp in the pin, then I just snap it off. Results are quite good.


urumomo
Visit this Community
Texas, United States
Joined: August 22, 2013
KitMaker: 675 posts
Armorama: 667 posts
Posted: Tuesday, March 29, 2016 - 07:56 AM UTC

Interesting choice with the wingnuts

So you're cooking the pins ,( with a torch ? ) to make them easier to cut clean ?
darklen
Visit this Community
Alberta, Canada
Joined: September 16, 2003
KitMaker: 72 posts
Armorama: 70 posts
Posted: Tuesday, March 29, 2016 - 08:43 AM UTC

Quoted Text


Interesting choice with the wingnuts

So you're cooking the pins ,( with a torch ? ) to make them easier to cut clean ?


Yes. They are almost as tough to cut as the wire Spade Ace provide so annealing or torching them makes the metal softer it also burns off the chrome on them so they blend in with the tracks better. Just have to remember to put the pin heads on the inside of the tracks.

All the PE sets for the AA armor use wing nuts to appear to have them fastened down. They'd have to come off for maintenance some time.
urumomo
Visit this Community
Texas, United States
Joined: August 22, 2013
KitMaker: 675 posts
Armorama: 667 posts
Posted: Tuesday, March 29, 2016 - 09:12 AM UTC

Quoted Text


All the PE sets for the AA armor use wing nuts to appear to have them fastened down. They'd have to come off for maintenance some time.


I did not know that
I really haven't given those things a good look over .

I don't know if they would really do much against a direct attack from a fighter-bomber . . except for maybe lite MG fire . It's a nice place to sit , though

Ciao
darklen
Visit this Community
Alberta, Canada
Joined: September 16, 2003
KitMaker: 72 posts
Armorama: 70 posts
Posted: Wednesday, March 30, 2016 - 12:19 AM UTC
The AA armor was designed to slow down or break up incoming rounds to limit damage to the radiator system, similar to the side skirts with the larger AP/HE rounds. In an urban environment, I'm thinking it would be protection against MG fire, grenades and Molotov cocktails.

My bigger issue now is the side skirts. I want to make them thicker and bolted on. Problem is the metal tracks stick out farther than planned. Will have to adjust the hanger spacers to accommodate them.
Taeuss
Visit this Community
Manitoba, Canada
Joined: January 03, 2016
KitMaker: 3,791 posts
Armorama: 3,778 posts
Posted: Thursday, March 31, 2016 - 06:21 AM UTC
Hello, First I'd like to say that I find the Panther II "What if" an interesting project that has the possibility of being based in reality, not like some I've seen before. That said, I will say that the turret, also to have been used on the proposed Panther "F", would indeed have been a handful to load rapidly owing to the length of the rounds, and that all ammo would have to be kept in the hull as there simply was no room for a ready rack in the turret. Speaking of which, and I apologize for nitpicking, but the stand-off plate armour seems to be interfering with the steroscopic rangefinders on the turret sides. I'll be watching the rest with considerable interest.
darklen
Visit this Community
Alberta, Canada
Joined: September 16, 2003
KitMaker: 72 posts
Armorama: 70 posts
Posted: Thursday, March 31, 2016 - 07:12 AM UTC

Quoted Text

I'd thought about opening up the armor plate around the optics but I though the vehicle would have been a rebuild of a Panther II and with the range I figured it would be used within, they probably wouldn't be needing the optics other than a simple range finding optic. I might still open them up a bit, maybe by bending. I'll see how it works.


Armor over the optics was address earlier. As for the ammo, who's to say a shorter round wouldn't have been developed as this isn't a long range artillery piece but a short range gun for bunker & building demolition.
darklen
Visit this Community
Alberta, Canada
Joined: September 16, 2003
KitMaker: 72 posts
Armorama: 70 posts
Posted: Saturday, April 02, 2016 - 09:12 AM UTC
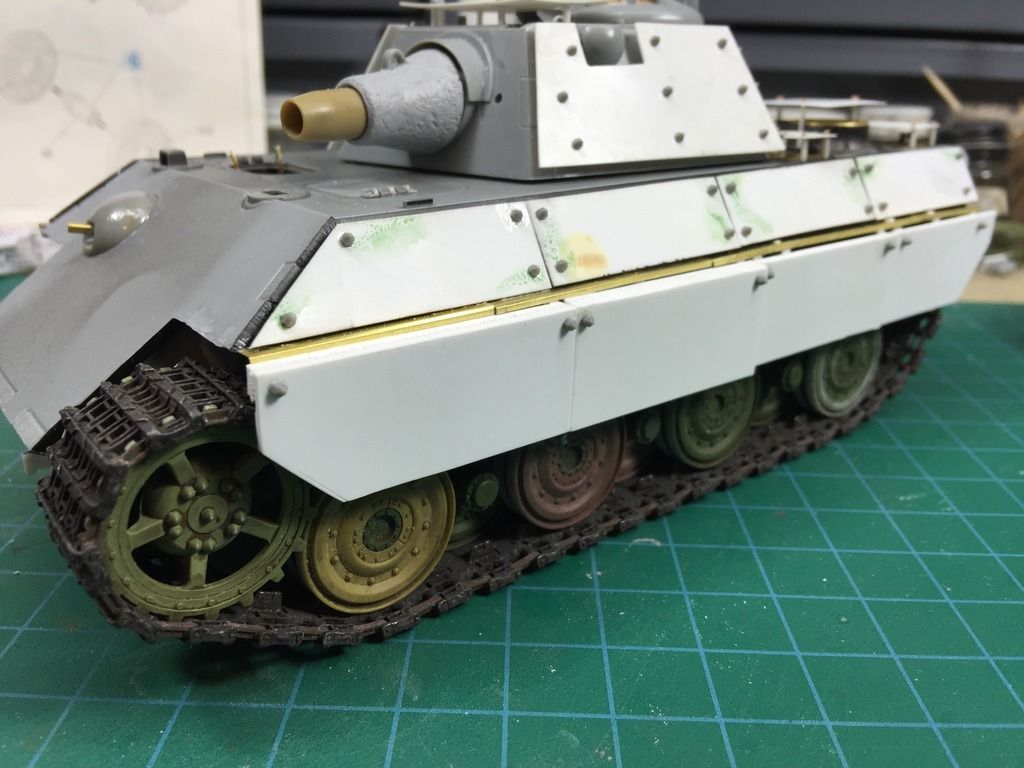
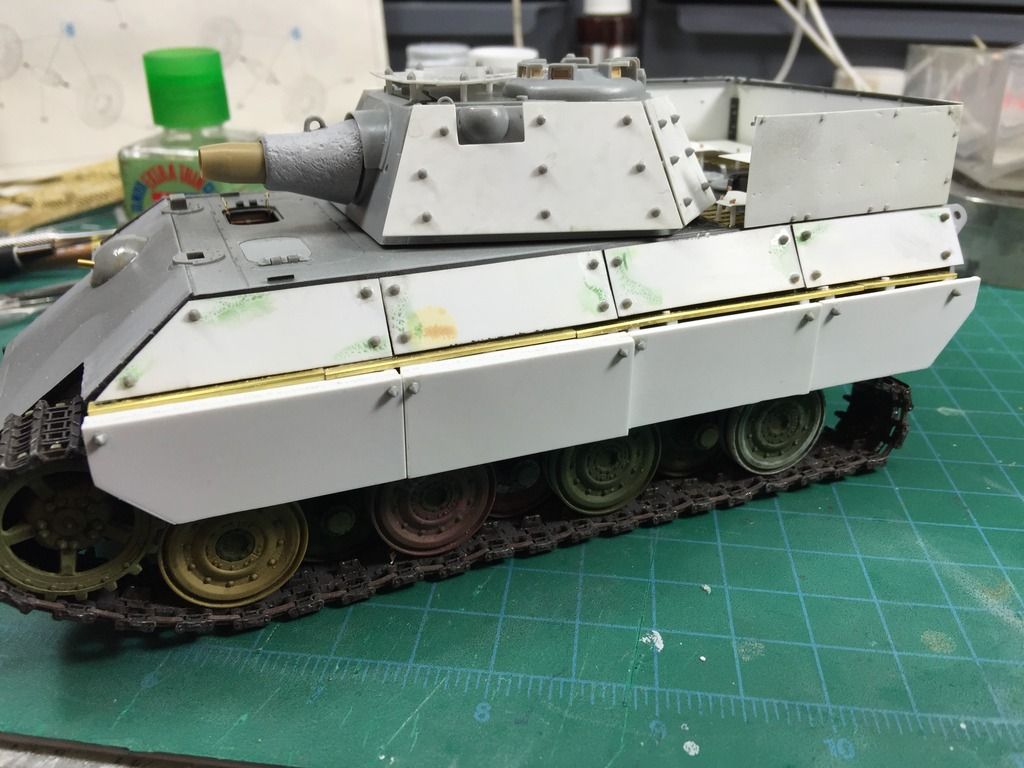
Heavily armored side skirts. Approx 2" thick (1.5mm to scale), secured with the same MENG conical bolt heads. Wheels are not the ones to be installed on this kit.

Armored box to come.
urumomo
Visit this Community
Texas, United States
Joined: August 22, 2013
KitMaker: 675 posts
Armorama: 667 posts
Posted: Saturday, April 02, 2016 - 09:22 AM UTC
Holy Kow !

What's that 2" hanging FROM ?

It's a moving pill-box !


..... PS - I sent you a PM
M4A1Sherman
Visit this Community
New York, United States
Joined: May 02, 2013
KitMaker: 4,403 posts
Armorama: 4,078 posts
Posted: Saturday, April 02, 2016 - 02:07 PM UTC

Quoted Text

I used Evergreen sheet for the stand off armor. 1.5mm I think. I'll have to measure later tonight. I'm thinking of making an enclosure of some type on the rear deck for infantry. I've seen it done on some very late war Panthers but I can't find any picture of actual vehicles where you can see inside the enclosure to see if the deck vents are protected. I could probably come up with something that would work, even if it were along the lines of the AA armor used just over the vents.

I was thinking of putting this in a Leningrad/Stalingrad type scene circa 1946/47 alternate time line idea. Maybe in front of a destroyed clothes shop or department store as a tip of the hat to Enemy at the Gates. This Panther II was from the Cyberhobby white box and has the Volksturm infantry with it, which really aren't Volksturm IMO. They look like healthy military age men, not old men and boys. So I was going to use them in the dio along with a tank commander and bow gunner. I like the idea of the ammo trailer, just have to find one, then make the Panther II tow hitch as Dragon never included it with any of the releases. It's significantly different from the kit provided hitch.


You're right about the Volksstrurm- I think DRAGON confused the Volkssturm with the various Volksgrenadier Regiments- The Volksstrurm was comprised of poorly-equipped "conscripted" old men and young boys; the Volksgrenadier Regiments were actual HEER, and were highly-trained and motivated...

I like how this build is progressing- Most of everything is believable, from a technical standpoint. I say "most", because all that extra armor (especially with the 2"-thick "Side-Skirts"), would weigh quite a bit, which begs the question:

Since Panthers and Tigers I & II were under-powered, (Engine Bay fires were quite common), and were plagued with unreliable Transmissions and Final Drive Units, wouldn't larger, more powerful Engines need to be used, as well as more robust Transmissions and Final Drives..? But since this is a "What If...", I suppose the Germans might POSSIBLY have come up with properly executed Engines, Transmissions, Final Drives, etc, but I seriously doubt that the Germans could have turned the war around to the point of lasting into 1946-'47, since they were already on their last legs by the Winter of 1944-'45. By that time, they were already resorting to "last ditch efforts" such as the aforementioned Volksstrurm...

In any case, this looks like a really nice project!

NICE GOING, Bob!!!

PS, and a question- I forgot to mention in one of my earlier posts in this thread that besides my "Sturmpanzer" E-25, I also built a hypothetical "E-101", which turned out to be a more "refined" E-100, using the old DRAGON E-100 kit. I scratch-built a new Turret, creating a much larger, heavier, more "modern" Turret, with a more "streamlined" shape, a la the earlier Tiger II Porsche-designed, Henschel-built Turret. The Main Gun Mantlet was re-worked, and the unlikely "coaxial" 7.5cm PaK 40 (WITH a Muzzle Brake), was gleaned from a spare TAMIYA PaK 40 kit. I gave the heavy Side Skirts a more "streamlined" shape, and I added Tools, Towing Cables, and Gun Tube Cleaning Rods to the Skirts, as well. I painted this monstrosity in a conjectural "Quad-color" mottled-camouflage scheme of DUNKLE-GELB, OLIVE-GRUN, and PANZER SCHWARTZ-GRAU over RED-BROWN PRIMER, which I incorporated as part of the "Quad-color" camo. I used the Suspension and Tracks staright out-of-the-box...

Anyway, for a "Paper-panzer"", I'm pleased with it...

Question: What are you going to use for Wheels and Suspension, if not the ones you showed in your last pic? Just curious...
darklen
Visit this Community
Alberta, Canada
Joined: September 16, 2003
KitMaker: 72 posts
Armorama: 70 posts
Posted: Saturday, April 02, 2016 - 11:25 PM UTC
I'll still use the kit wheels. The ones shown are for a Panther II late I'm working on (also doing and early version as if it had gone into production as intended but with the 88 mm instead of the 75). I just hadn't done anything with this kits suspension yet. Actually, the entire lower hull shown is from the P2 project.
obg153
Visit this Community
Texas, United States
Joined: April 07, 2009
KitMaker: 1,063 posts
Armorama: 1,049 posts
Posted: Saturday, April 02, 2016 - 11:44 PM UTC
Really interesting what-if!! That stand-off armor & those bolts give it a medieval appearance. Looking forward to how you finish this.
darklen
Visit this Community
Alberta, Canada
Joined: September 16, 2003
KitMaker: 72 posts
Armorama: 70 posts
Posted: Monday, April 04, 2016 - 12:48 AM UTC
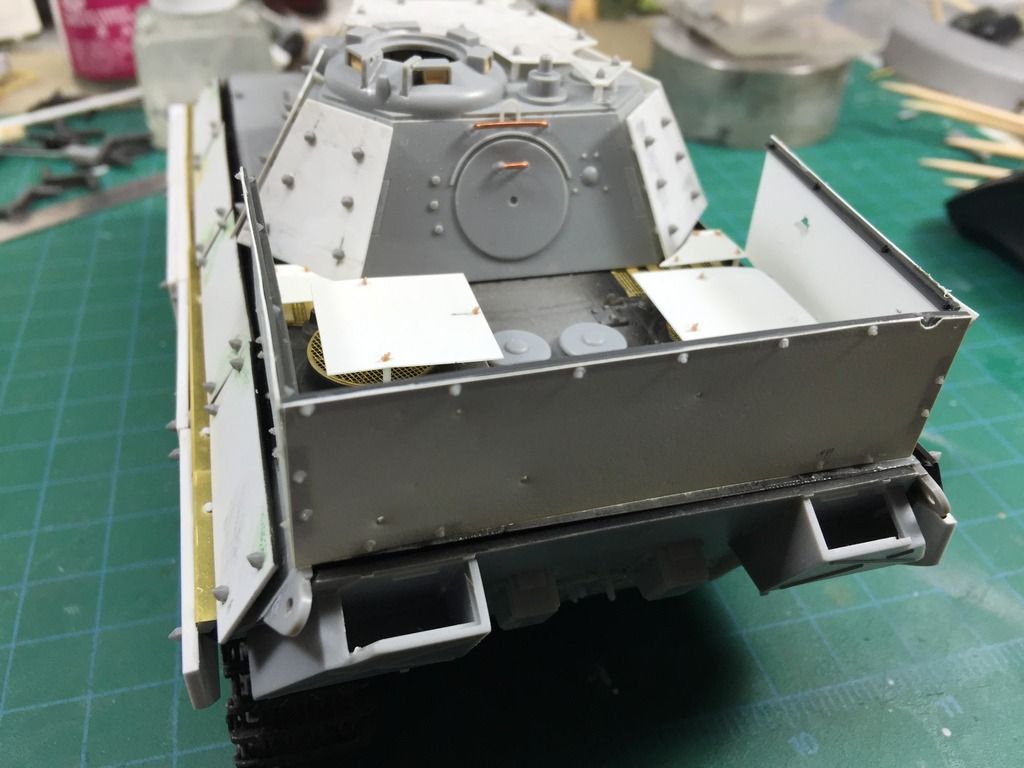
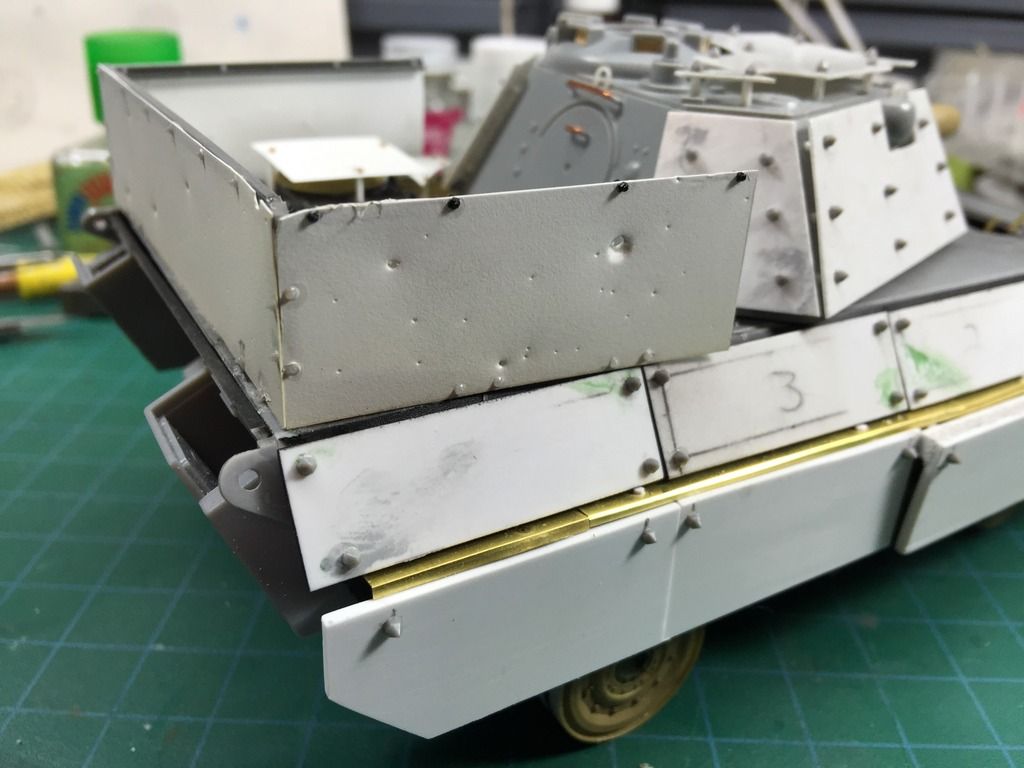
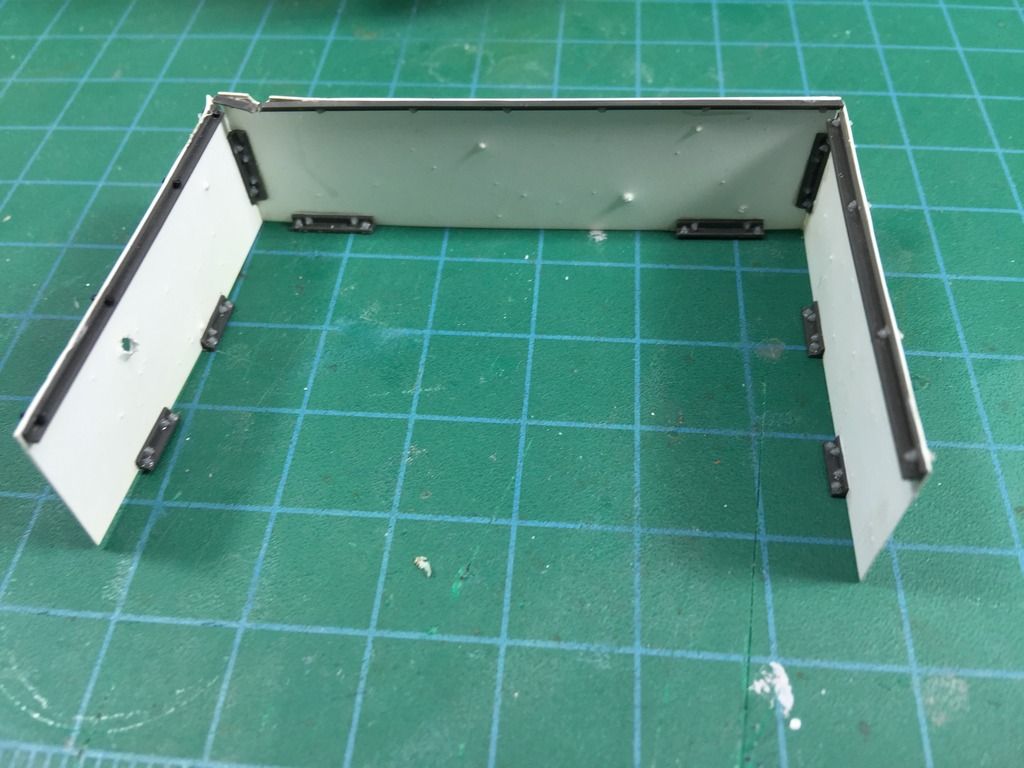
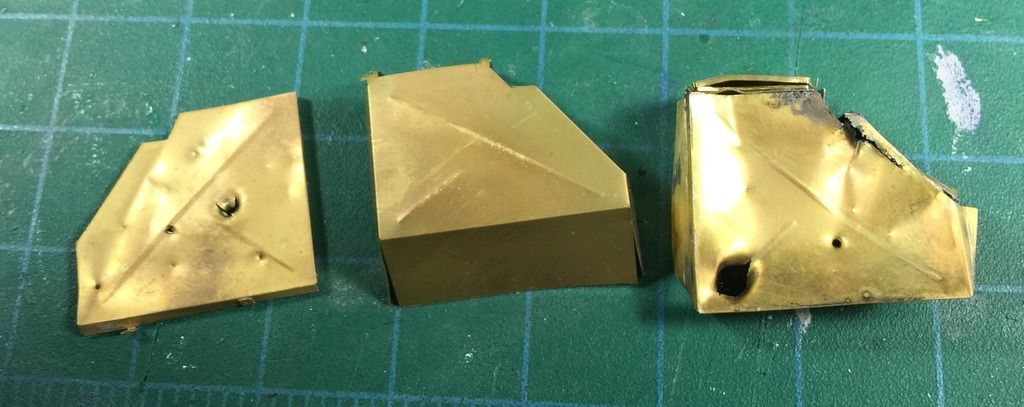
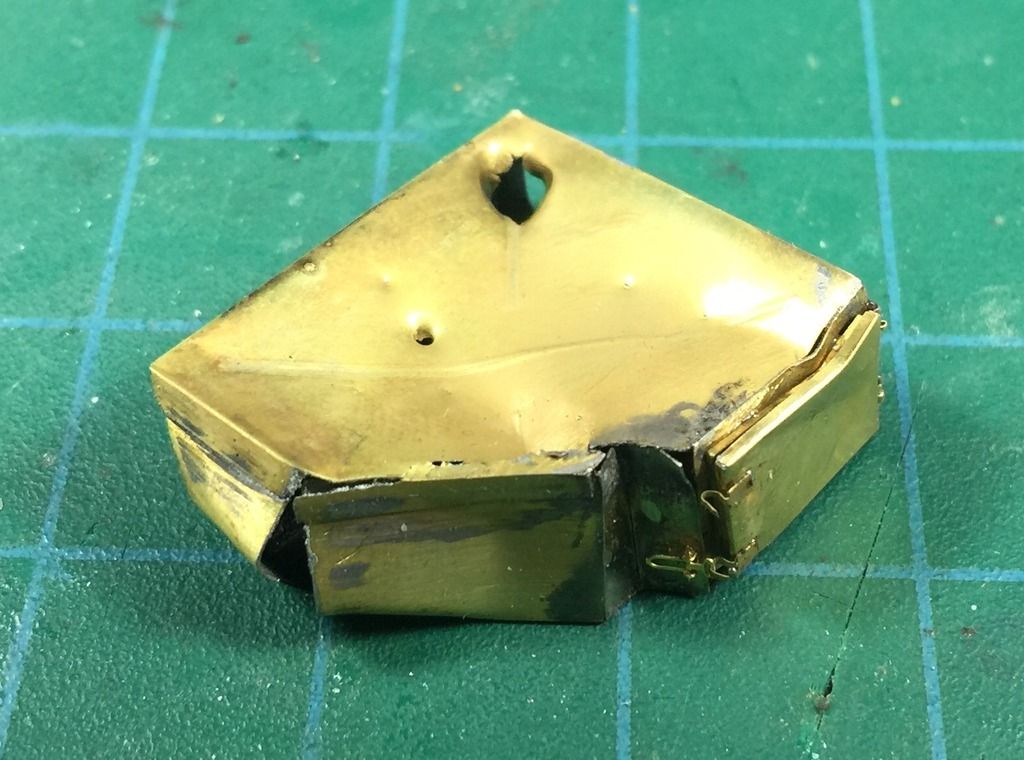
Got the box done. Pretty fiddly considering how simple it is. Just some Evergreen sheet, Plastruct angle and Grandt Line bolts.The right side is splayed out slightly on purpose to help get it around the AA armor stands. It'll be glued straight once the painting is done on the rear deck. Battle damage was done with my trusty Trimaster scribe, tapping it on the sheet styrene on a piece of wood.


Monte
Visit this Community
Rhode Island, United States
Joined: December 08, 2002
KitMaker: 833 posts
Armorama: 601 posts
Posted: Tuesday, April 05, 2016 - 01:51 AM UTC
Wow this is really cool. What are you planning for a paint scheme?
Thirian24
Visit this Community
Oklahoma, United States
Joined: September 30, 2015
KitMaker: 2,493 posts
Armorama: 2,344 posts
Posted: Tuesday, April 05, 2016 - 02:11 AM UTC
Looking awesome. I really like the damage on the plate.
darklen
Visit this Community
Alberta, Canada
Joined: September 16, 2003
KitMaker: 72 posts
Armorama: 70 posts
Posted: Tuesday, April 05, 2016 - 02:42 AM UTC

Quoted Text

Wow this is really cool. What are you planning for a paint scheme?


Overall RAL 6003 but not decided on any type of camo. I might do some tan or maybe even panzer grey in a hard edge geometric camo.
darklen
Visit this Community
Alberta, Canada
Joined: September 16, 2003
KitMaker: 72 posts
Armorama: 70 posts
Posted: Thursday, April 14, 2016 - 04:49 AM UTC
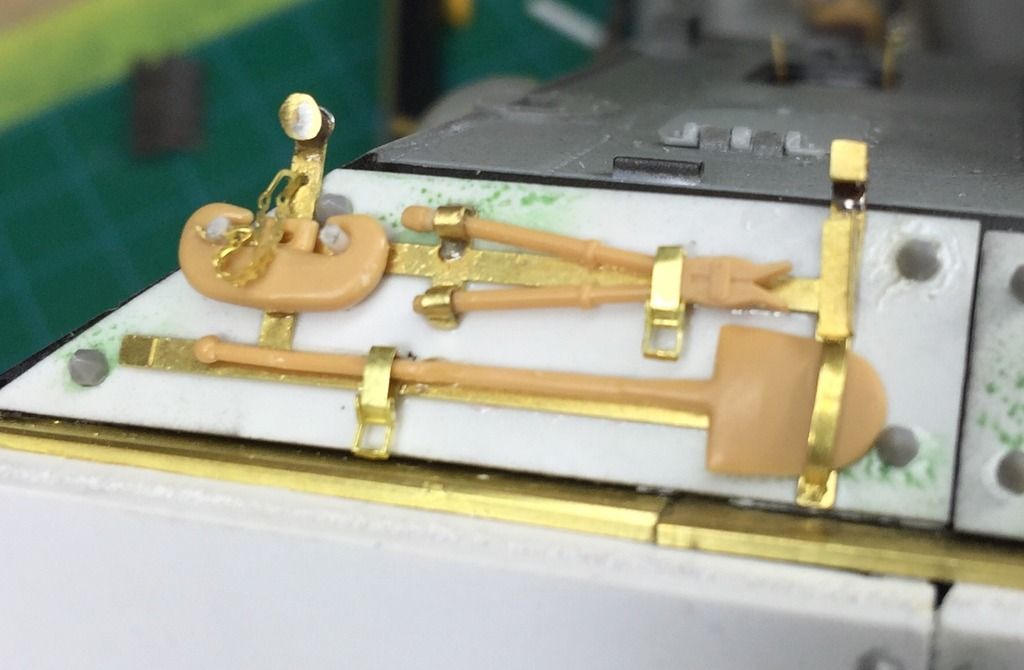
Got the side tool racks done. I'm pretty much stuck here until the rear tool bin PE arrives.


darklen
Visit this Community
Alberta, Canada
Joined: September 16, 2003
KitMaker: 72 posts
Armorama: 70 posts
Posted: Monday, May 09, 2016 - 09:14 AM UTC
A short video update. Finally got all the PE and metal barrels I needed to complete the three Panther II's I'm working on.

https://www.youtube.com/watch?v=VQJWQ9zxoPY
darklen
Visit this Community
Alberta, Canada
Joined: September 16, 2003
KitMaker: 72 posts
Armorama: 70 posts
Posted: Thursday, May 19, 2016 - 11:17 PM UTC
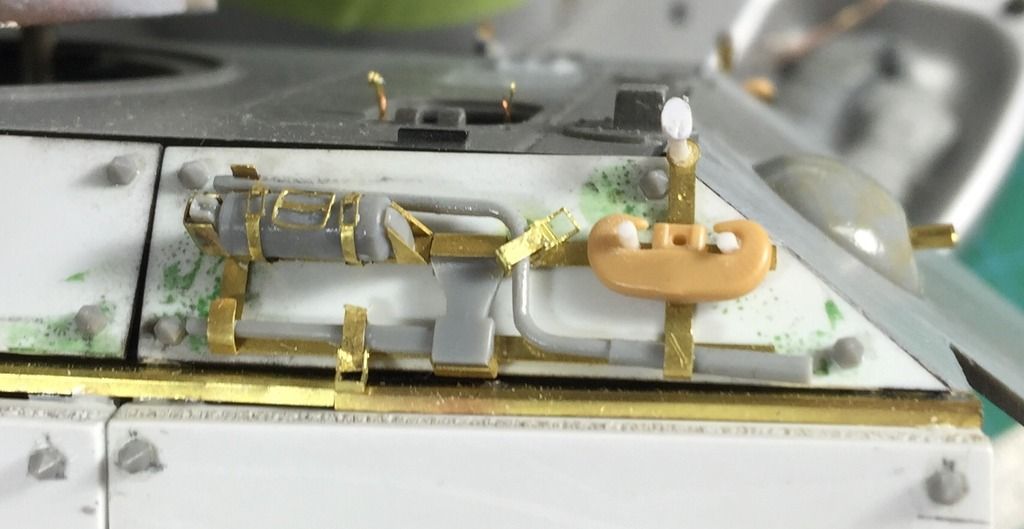
Working on the PE stowage boxes. Mostly soldered but some small parts are GA glued. I hope to have a video up this weekend where I'll show how I solder larger parts. I'm still quite the hack at it but learning.


210cav
Visit this Community
Virginia, United States
Joined: February 05, 2002
KitMaker: 6,149 posts
Armorama: 4,573 posts
Posted: Thursday, May 19, 2016 - 11:41 PM UTC
Awesome! Truly awesome workmanship...very well done, indeed
Thirian24
Visit this Community
Oklahoma, United States
Joined: September 30, 2015
KitMaker: 2,493 posts
Armorama: 2,344 posts
Posted: Friday, May 20, 2016 - 12:11 AM UTC
I'm loving this. Truly awesome.
darklen
Visit this Community
Alberta, Canada
Joined: September 16, 2003
KitMaker: 72 posts
Armorama: 70 posts
Posted: Saturday, June 04, 2016 - 08:33 PM UTC
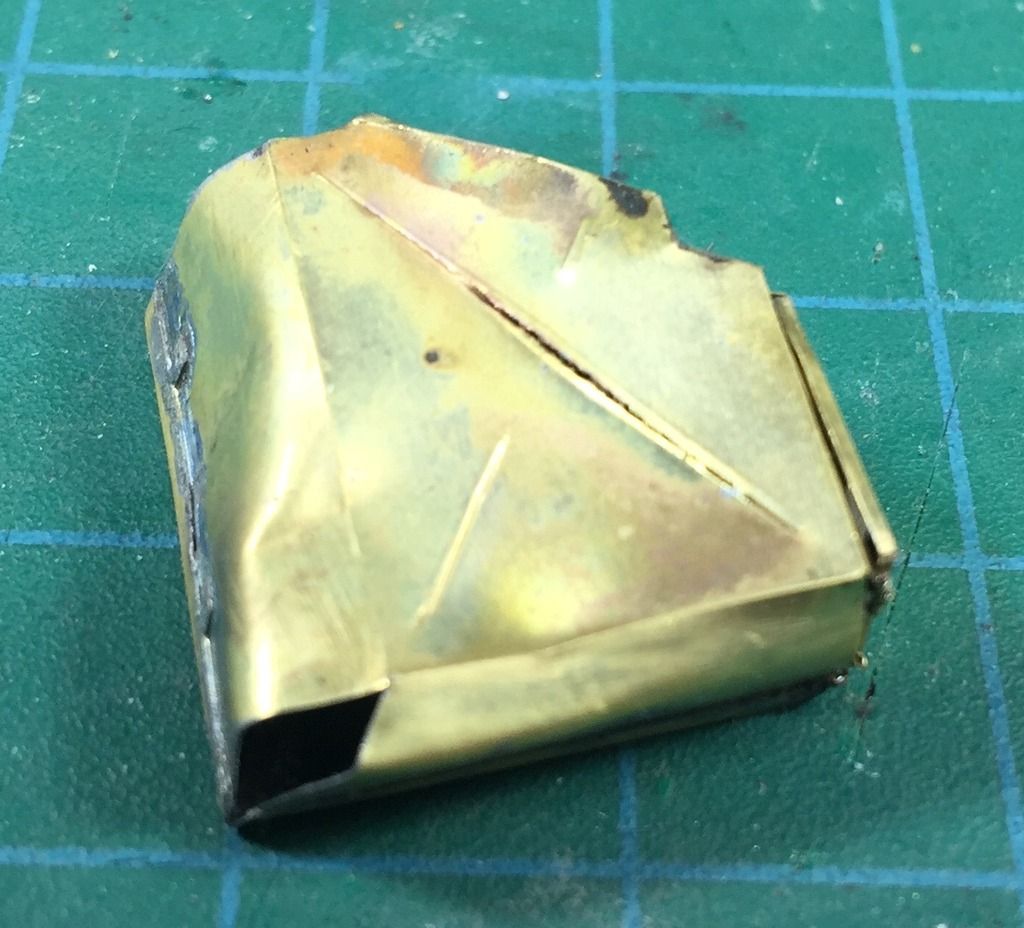
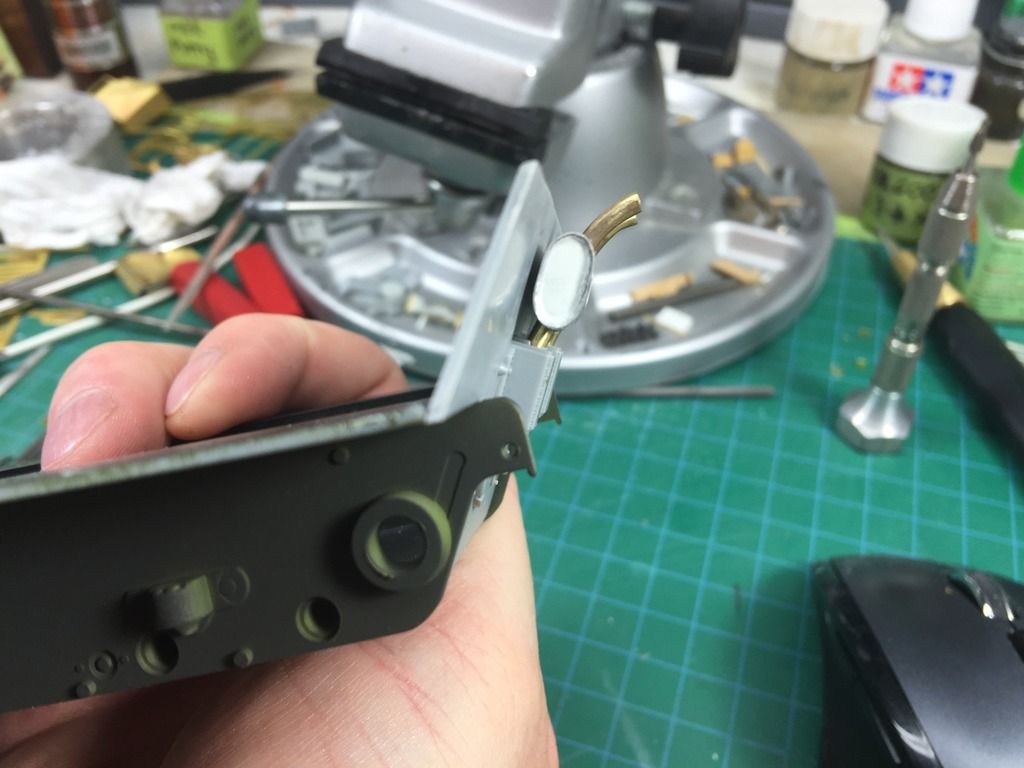
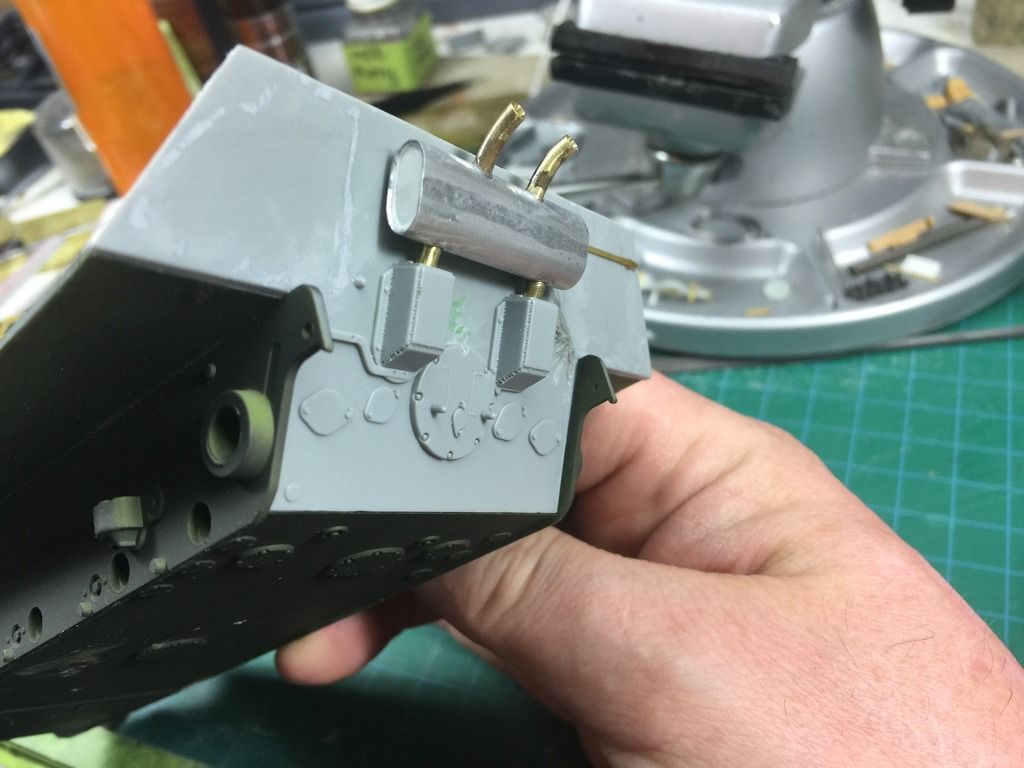
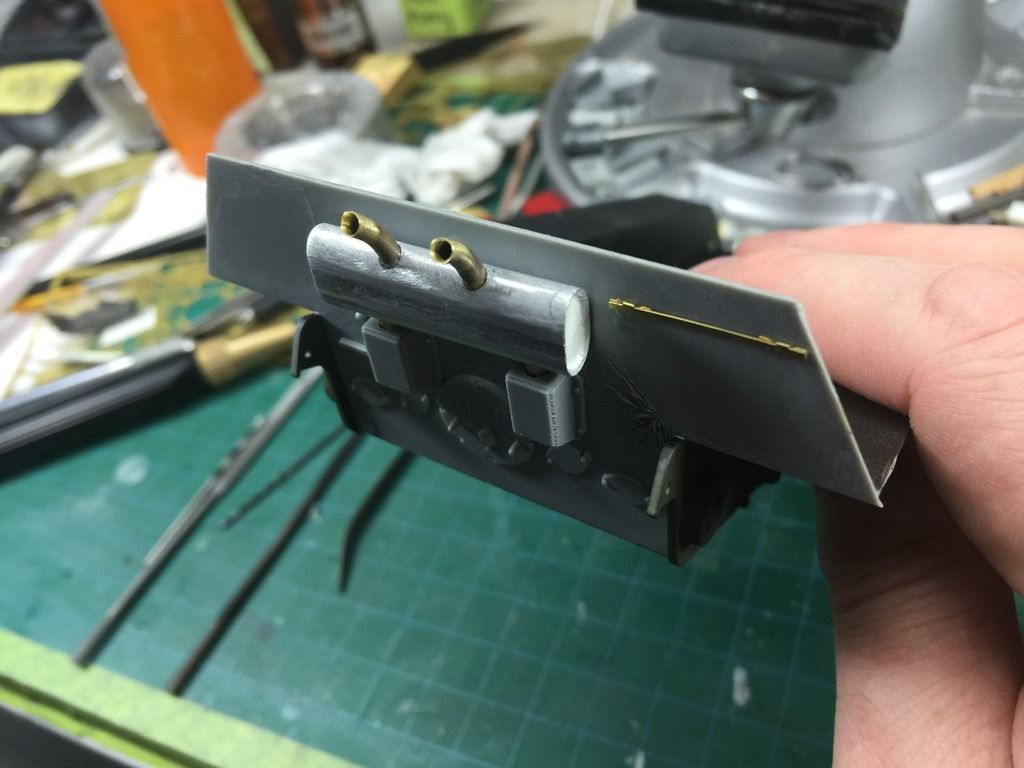
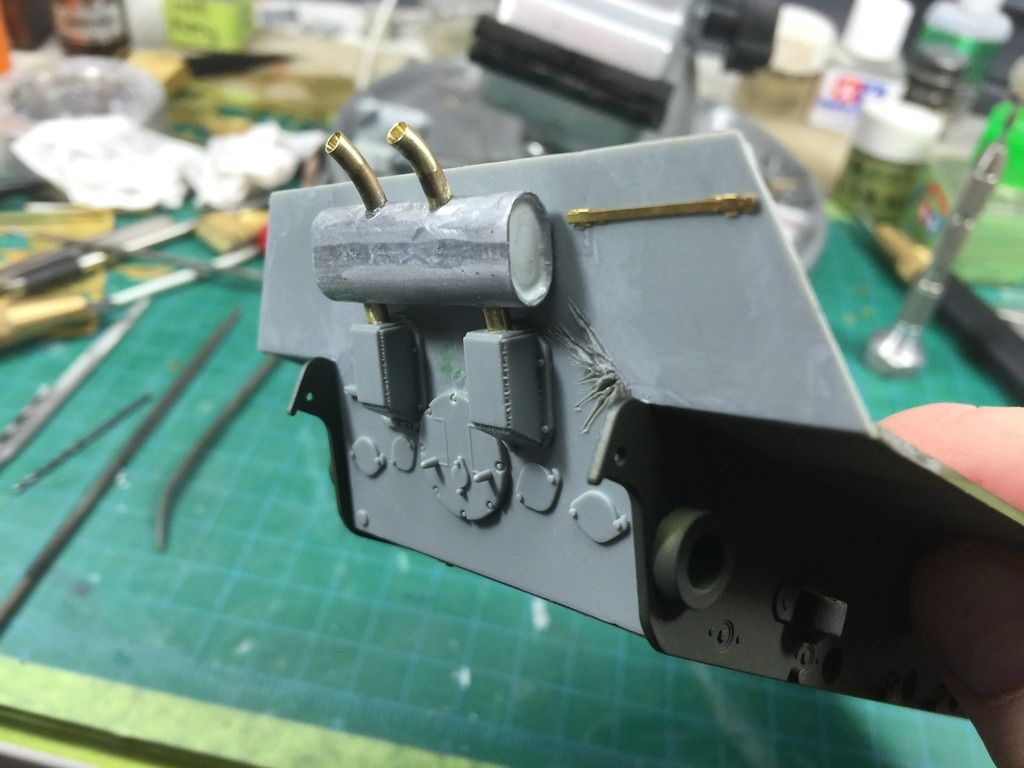
Working on a different muffler for the Sturmpanther II. Liking the looks of it. Needs some "damage" though.

ColinEdm
Staff MemberAssociate Editor
ARMORAMA
Visit this Community
Alberta, Canada
Joined: October 15, 2013
KitMaker: 1,355 posts
Armorama: 1,229 posts
Posted: Saturday, June 04, 2016 - 09:34 PM UTC
Looking real good Bob!
urumomo
Visit this Community
Texas, United States
Joined: August 22, 2013
KitMaker: 675 posts
Armorama: 667 posts
Posted: Sunday, June 05, 2016 - 02:07 AM UTC

What's the exhaust look like from side / top ?
darklen
Visit this Community
Alberta, Canada
Joined: September 16, 2003
KitMaker: 72 posts
Armorama: 70 posts
Posted: Monday, June 06, 2016 - 05:23 AM UTC

Some better pics of the completed and as yet undamaged Sturmpanther II muffler. Made it by squishing an aluminum tube in a vise until it ovaled just right. End caps are some sheet styrene cut and sanded to shape and glued in with a health dose of Tamiya super thin. Brass tubing was used for inlet and exhaust with the exhaust ends bent in a tubing bender before trimming to shape and glueing in with CA. Exhaust ends were reamed with a conical reamer to thin the edges appropriately. Still have to make hanger brackets as well.

Finished it last night. Went to the hobby shop today for something and found they have preovaled brass tubing in this size about a foot long for like $4.00. Oh well. The thin brass would have been much easier to damage than this thicker aluminum but it's done. Know for next time.