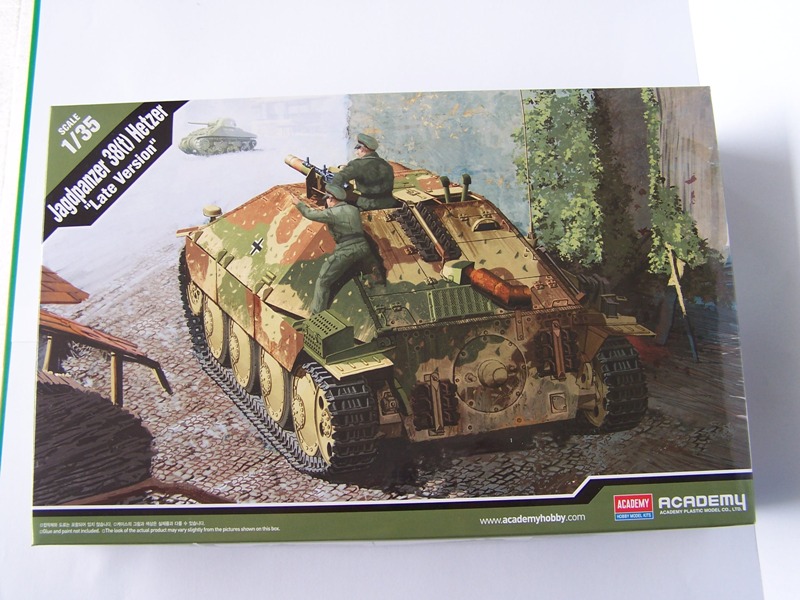
1/35 Jagdpanzer Hetzer Late, Hungary
Minnesota, United States
Joined: July 20, 2004
KitMaker: 1,513 posts
Armorama: 1,449 posts
Posted: Saturday, March 31, 2018 - 06:58 PM UTC
Quoted Text
Quoted Text
Hi! Good Luck with your new project! Does anyone know how the ACADEMY Hetzers compare to the TAMIYA and DRAGON Hetzers? Also TRUMPETER's "Starr" Hetzer...
I see that DRAGON has the "FlaK" Hetzer coming soon, and several other versions coming as well. I'm wondering why DRAGON hasn't chosen to do a new "Bergehetzer"? I think that a PLASTIC kit of this version would find itself in many modellers' collections, including mine! 
I have a Trumpeter Starr but have yet to build it. It comes with individual links and track pins to be inserted during assembly. It has a jig as well. 
I have and it's a fine kit.
Dan
Looking to meet other MN Armor modellers. I live in Buffalo.
Bulgaria
Joined: December 07, 2013
KitMaker: 908 posts
Armorama: 698 posts
Posted: Sunday, April 01, 2018 - 10:19 AM UTC
And last for this weekend-I painted the inside with red primer. Using Vallejo 982 Cavalry brown, IMHO very good match for the primer.


Bulgaria
Joined: December 07, 2013
KitMaker: 908 posts
Armorama: 698 posts
Posted: Sunday, April 08, 2018 - 03:57 PM UTC
North Carolina, United States
Joined: June 26, 2007
KitMaker: 2,116 posts
Armorama: 1,080 posts
Posted: Monday, April 09, 2018 - 09:22 PM UTC
Looks to be a Very Cool Build, and I love those Figures, Great work.
Bulgaria
Joined: December 07, 2013
KitMaker: 908 posts
Armorama: 698 posts
Posted: Tuesday, April 10, 2018 - 11:37 AM UTC
Thanks for stopping by!
Figures are good, but I'll probably replace the heads with resin ones.
Venelin
Bulgaria
Joined: December 07, 2013
KitMaker: 908 posts
Armorama: 698 posts
Posted: Tuesday, May 15, 2018 - 10:58 PM UTC
I decided to replace the exhaust cover by obvious reasons-the plastic one is too thick and you can see the ejector marks inside.
I cut brass strips and soldered them.


Cheers!
Bulgaria
Joined: December 07, 2013
KitMaker: 908 posts
Armorama: 698 posts
Posted: Wednesday, May 16, 2018 - 02:18 PM UTC
Bulgaria
Joined: December 07, 2013
KitMaker: 908 posts
Armorama: 698 posts
Posted: Wednesday, May 16, 2018 - 09:56 PM UTC
This is how the exhaust will look, nothing is glued yet.


Joined: April 25, 2018
KitMaker: 9 posts
Armorama: 9 posts
Posted: Sunday, May 20, 2018 - 04:21 PM UTC
Spectacular job with the escape.
Bulgaria
Joined: December 07, 2013
KitMaker: 908 posts
Armorama: 698 posts
Posted: Sunday, May 20, 2018 - 07:22 PM UTC
Thank you, Josep!
I have several parts left for soldering and will finish with the photoetch
Venelin
Bulgaria
Joined: December 07, 2013
KitMaker: 908 posts
Armorama: 698 posts
Posted: Monday, May 21, 2018 - 01:01 PM UTC
I added two L-shaped brass parts on each of the fender's supports, for better attachment to the hull. Also soldering the jack clasps and the transport stowage for antenna rods.


Cheers!
Bulgaria
Joined: December 07, 2013
KitMaker: 908 posts
Armorama: 698 posts
Posted: Tuesday, May 22, 2018 - 11:16 AM UTC
Pennsylvania, United States
Joined: April 10, 2011
KitMaker: 7,941 posts
Armorama: 7,934 posts
Posted: Tuesday, May 22, 2018 - 06:20 PM UTC
All of this attention to detail is going to add up to a very nice model in the end !
J
Bulgaria
Joined: December 07, 2013
KitMaker: 908 posts
Armorama: 698 posts
Posted: Wednesday, May 23, 2018 - 10:04 AM UTC
Thanks, Jerry!
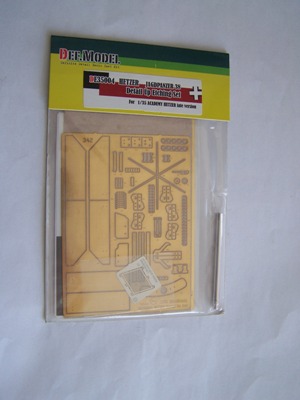
Academy's Hetzer really benefits from this detailing, because some details are rather soft.
Venelin
Bulgaria
Joined: December 07, 2013
KitMaker: 908 posts
Armorama: 698 posts
Posted: Friday, May 25, 2018 - 11:14 AM UTC
Bulgaria
Joined: December 07, 2013
KitMaker: 908 posts
Armorama: 698 posts
Posted: Friday, June 08, 2018 - 06:15 AM UTC
Bulgaria
Joined: December 07, 2013
KitMaker: 908 posts
Armorama: 698 posts
Posted: Saturday, June 09, 2018 - 05:32 PM UTC
I decide to completely rework the exhaust system. I used brass tube 1,8mm for the exhaust pipe, although I have difficulties bending it (if someone knows easy method for bending such small tubes without damaging the bend, please share it

) . Also I did the cover in the beginning of the pipe, by soldering brass pieces.


Cheers!

#490
Sofiya, Bulgaria
Joined: September 22, 2016
KitMaker: 1,432 posts
Armorama: 1,390 posts
Posted: Saturday, June 09, 2018 - 07:14 PM UTC
Impressive work-as usual-Venko!
To your question:
Insert a copper wire through the tube before bending it.
Then bend the tube with the wire in it.
The wire will prevent tube sides to colapse inward at the bending point.
When happy with the curve-remove the wire from the tube.This task might be difficult because the wire will get squeezed at the bend, so applying some oily substance-I use soldering flux- to the wire before inserting it into the tube might be helpfull.
HTH

Bulgaria
Joined: December 07, 2013
KitMaker: 908 posts
Armorama: 698 posts
Posted: Sunday, June 10, 2018 - 04:16 AM UTC
Quoted Text
Impressive work-as usual-Venko!
To your question:
Insert a copper wire through the tube before bending it.
Then bend the tube with the wire in it.
The wire will prevent tube sides to bent inward at the bending point.
When happy with the curve-remove the wire from the tube.This task might be difficult because the wire will get squeezed at the bend, so applying some oily substance-I use soldering flux- to the wire before inserting it tnto the tube might be helpfull.
HTH
I will try it the next time, thanks!
Venko
Bulgaria
Joined: December 07, 2013
KitMaker: 908 posts
Armorama: 698 posts
Posted: Sunday, June 10, 2018 - 09:04 PM UTC
Bulgaria
Joined: December 07, 2013
KitMaker: 908 posts
Armorama: 698 posts
Posted: Saturday, June 16, 2018 - 02:15 AM UTC
Bulgaria
Joined: December 07, 2013
KitMaker: 908 posts
Armorama: 698 posts
Posted: Saturday, June 16, 2018 - 08:23 PM UTC
Bulgaria
Joined: December 07, 2013
KitMaker: 908 posts
Armorama: 698 posts
Posted: Tuesday, June 19, 2018 - 03:04 AM UTC
The tracks arrived, I'm totaly impressed by the quality of Masterclub tracks. They are drilled and the resin pins fit tightly. Minor cleaning is required here and there, but it's minimal
The only issue is that they don't fit the drive sprockets, but this is probably the kit fault, not the tracks.
I have to find replacement sprockets probably, Friul have ones, but I don't know if they will fit those tracks?


Regards!
Bulgaria
Joined: December 07, 2013
KitMaker: 908 posts
Armorama: 698 posts
Posted: Tuesday, June 19, 2018 - 10:04 PM UTC
Bulgaria
Joined: December 07, 2013
KitMaker: 908 posts
Armorama: 698 posts
Posted: Thursday, June 21, 2018 - 03:14 AM UTC