_GOTOBOTTOM
Armor/AFV: Axis - WWII
Armor and ground forces of the Axis forces during World War II.
Hosted by Darren Baker
Sd.Kfz.166 Sturmpanzer IV Brummbar late Produ
gastec
Visit this Community
Auckland, New Zealand
Joined: February 03, 2014
KitMaker: 1,042 posts
Armorama: 871 posts
Posted: Wednesday, October 18, 2017 - 09:26 AM UTC
Given this pre-production kit by my LHS to build for them...


It has been the subject of a review already on Armorama - https://armorama.kitmaker.net/review/13287 - I'll make this a bit more of an in-depth blog.


Looks like it should be a straightforward Tamiya build - simplified by the rubber band tracks. Was also given a zimmerit decal set which will be interesting to try out.

As hard as it will be for me - it will be an OOTB build

Gary
gastec
Visit this Community
Auckland, New Zealand
Joined: February 03, 2014
KitMaker: 1,042 posts
Armorama: 871 posts
Posted: Wednesday, October 18, 2017 - 01:33 PM UTC
No point comemnting on the styrene as I fully expect that to be of a different type for the actual production run.
So far, fit is as you would expect from Tamiya. The zimmerit stickers are far easier to work with than I expected. A nice clean sharp blade works wonders. Decided it would be better to apply the main sections of zimmerit prior to adding futher kit parts and is working well for me at this stage...


I did find the spare track holder to be a little vague in its position so the spare track link is dry fitted to ensure the bar has the correct spacing from the front plate.


Gary
Bravo1102
Visit this Community
New Jersey, United States
Joined: December 08, 2003
KitMaker: 2,864 posts
Armorama: 2,497 posts
Posted: Wednesday, October 18, 2017 - 01:38 PM UTC
I really like the stickers. I tried them on the Panther G and they work well so long as the surface is clean and dry and you buff down the edges. Really easy to battle damage too.
hanb7323
Visit this Community
Daejeon, Korea / 대한민국
Joined: October 06, 2014
KitMaker: 408 posts
Armorama: 407 posts
Posted: Wednesday, October 18, 2017 - 02:04 PM UTC
Looks great.
gastec
Visit this Community
Auckland, New Zealand
Joined: February 03, 2014
KitMaker: 1,042 posts
Armorama: 871 posts
Posted: Friday, October 20, 2017 - 01:53 AM UTC
Application of zimmerit to rear panel...


Just to clarify that the zimmerit is NOT part of the kit and needs to be purchased seperately.


Return rollers...


You essentially get 8 roadwheels with rubber rims and 8 with steel rims. Locations are set out in instructions depending on which vehicle you want to build.
Rear idler wheel and drive sprocket have a few mould lines which need to be addressed.


Exhaust...


Upper deck is one piece and includes fenders....


Forward zimmerit parts....


Needed a little CA gel to help with the transmission access door vent zimmerit parts....


Rear engine deck parts....


Gary
d6mst0
#453
Visit this Community
Texas, United States
Joined: August 28, 2016
KitMaker: 1,925 posts
Armorama: 601 posts
Posted: Friday, October 20, 2017 - 02:00 AM UTC
So this kit is looking like a easy build so far.
gastec
Visit this Community
Auckland, New Zealand
Joined: February 03, 2014
KitMaker: 1,042 posts
Armorama: 871 posts
Posted: Friday, October 20, 2017 - 02:18 PM UTC
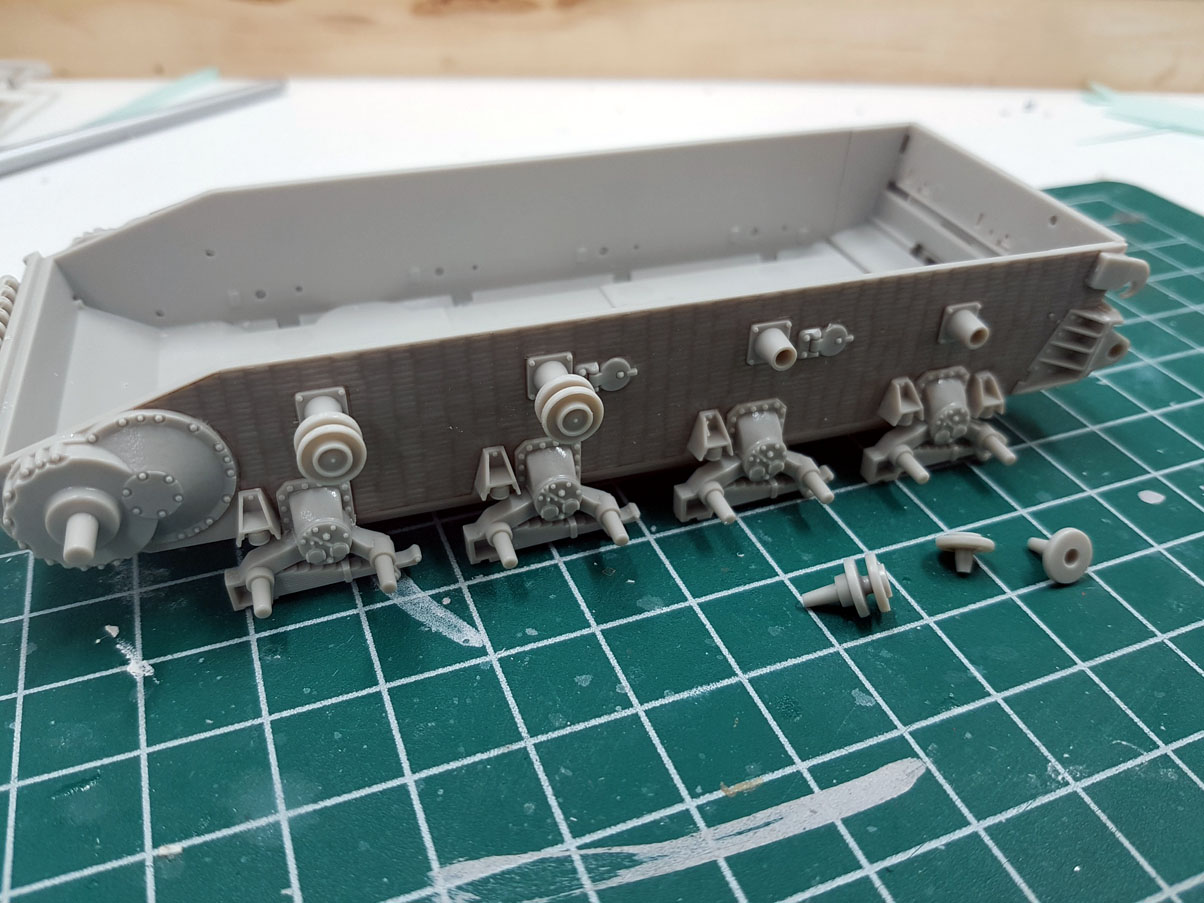
Yep, no fitment issues at all.

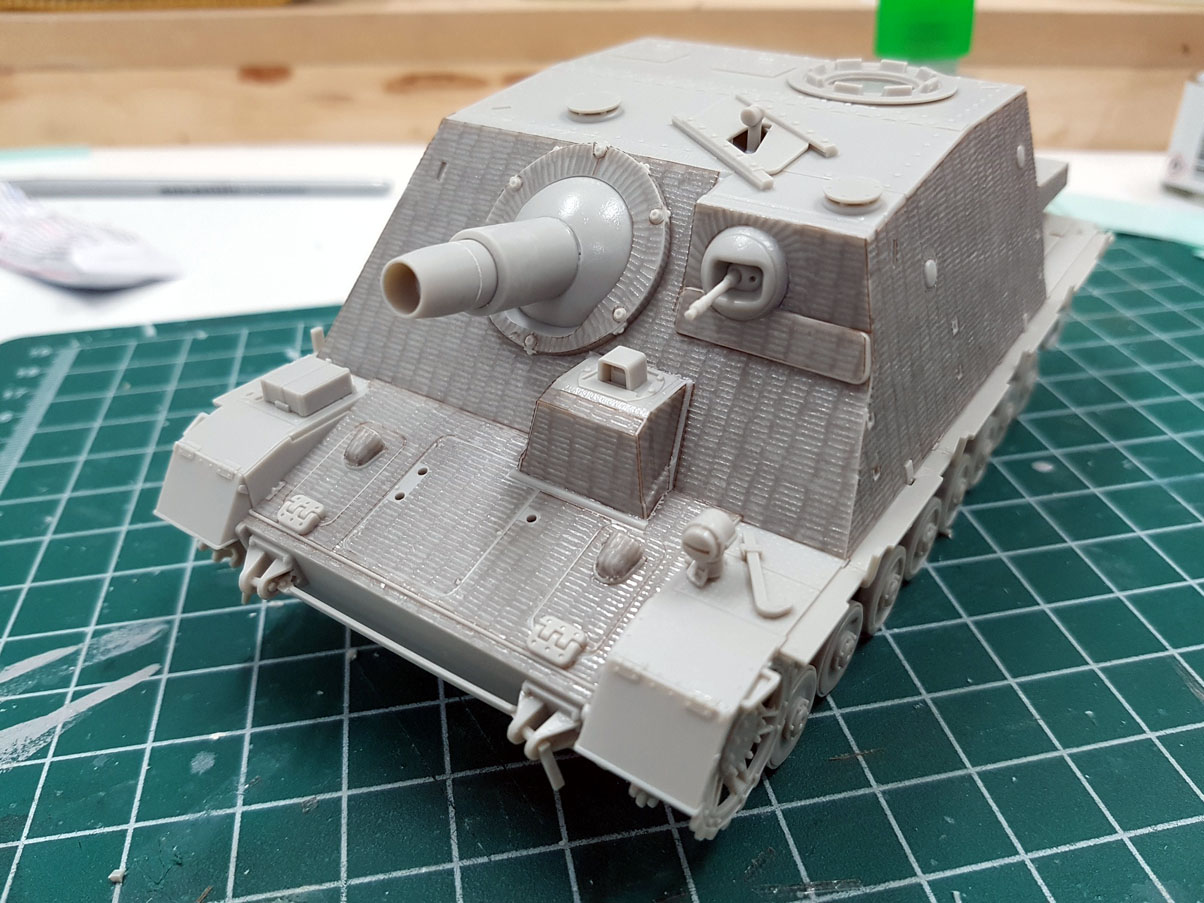
Onto the main gun next - a 15 cm StuH 43/1. Tamiya have certainly tackled the prominant rifling in a very interesting way.


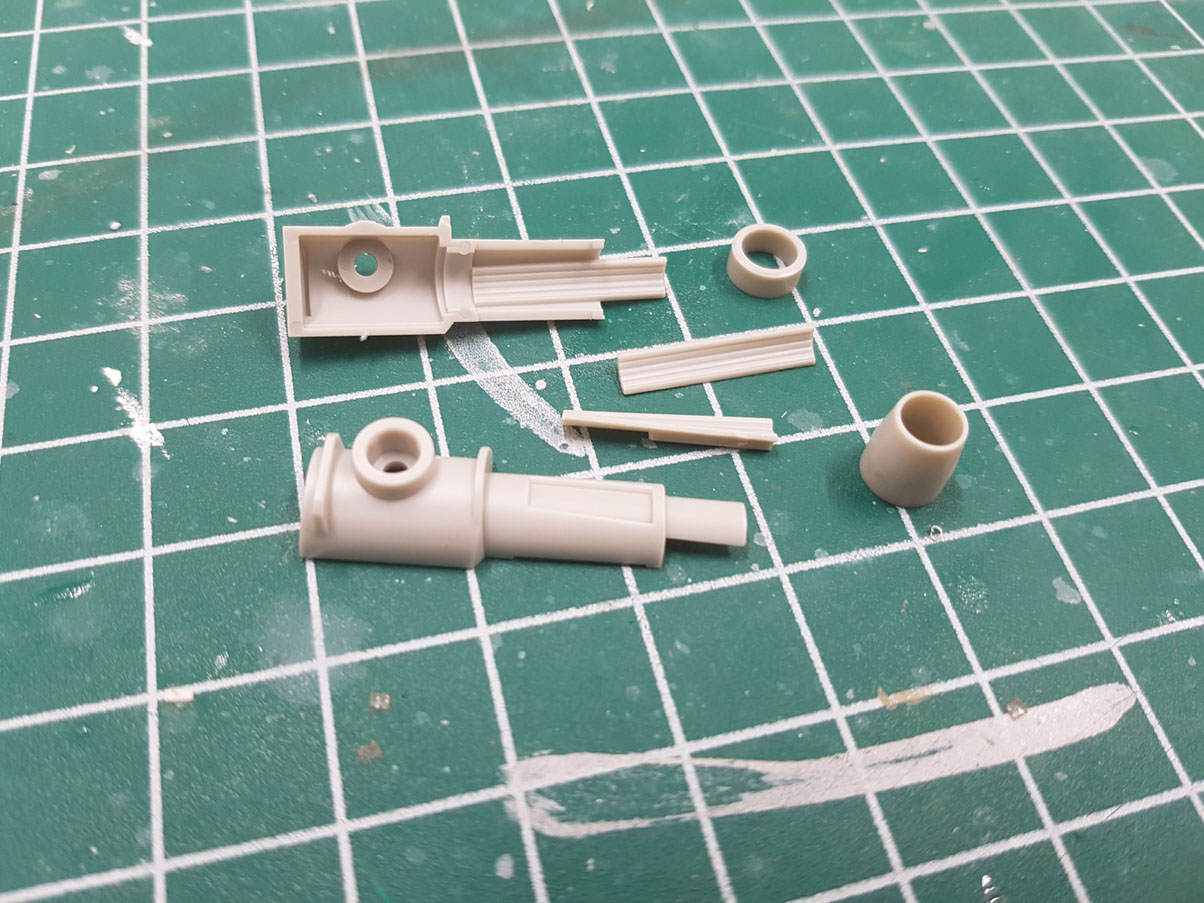
Certainly very effecfive....


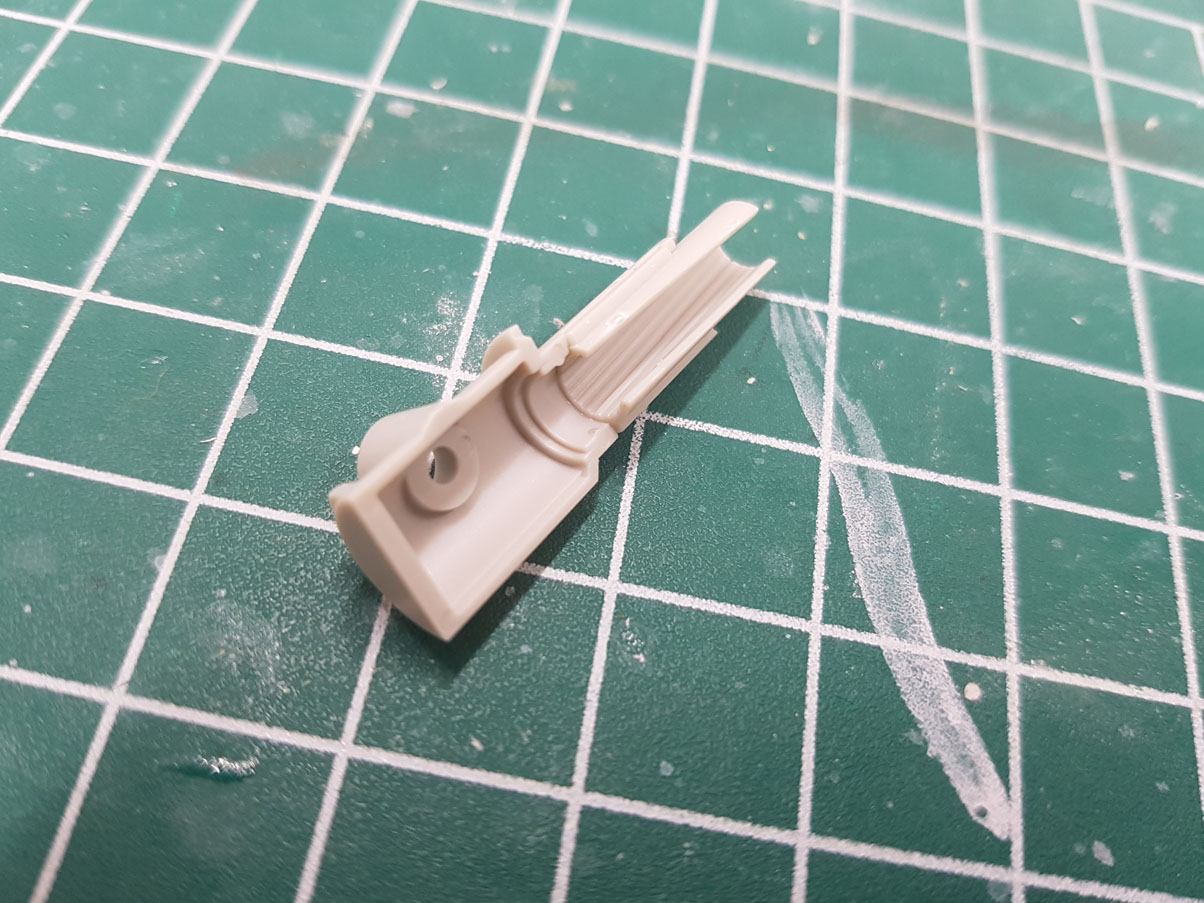
... and far better than having a plain tube!

Elevation of the gun is via Tamiya's polycaps....


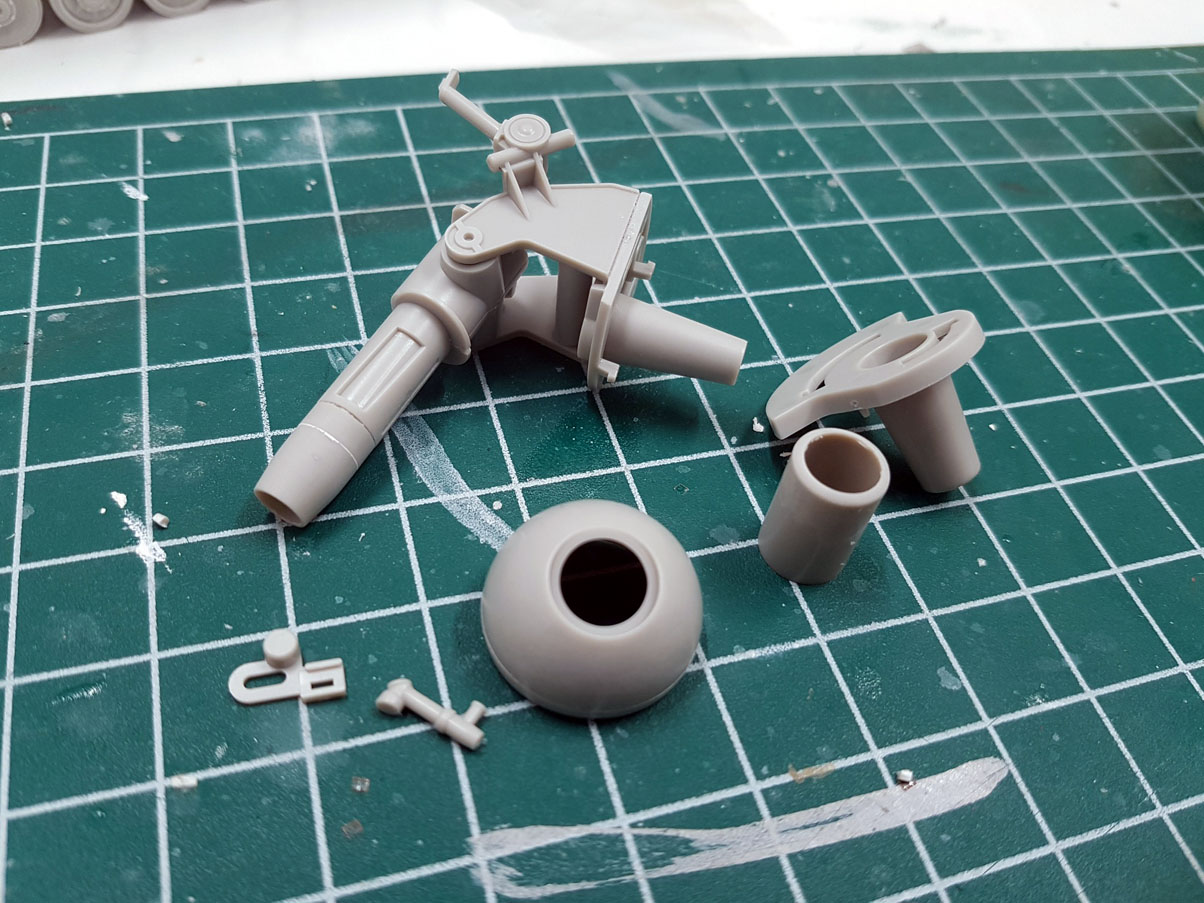
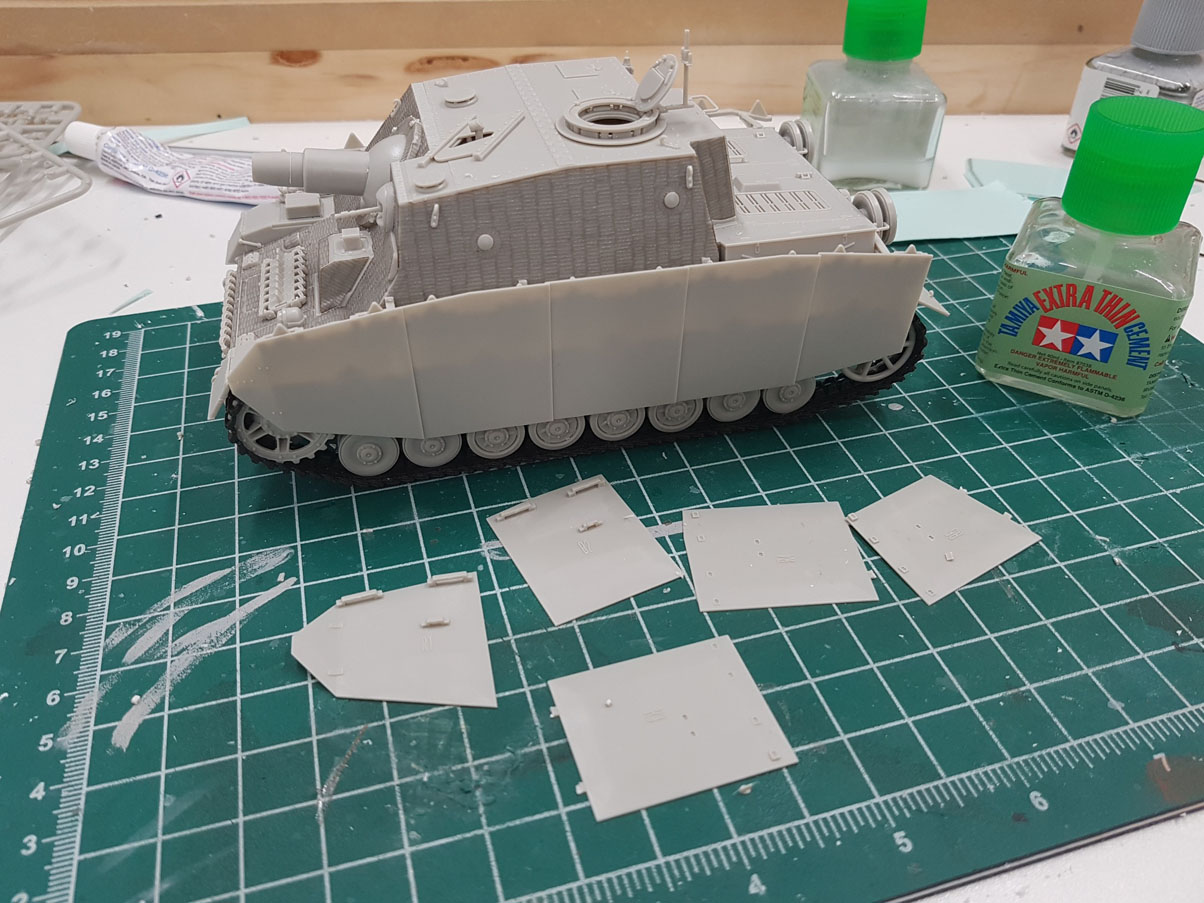
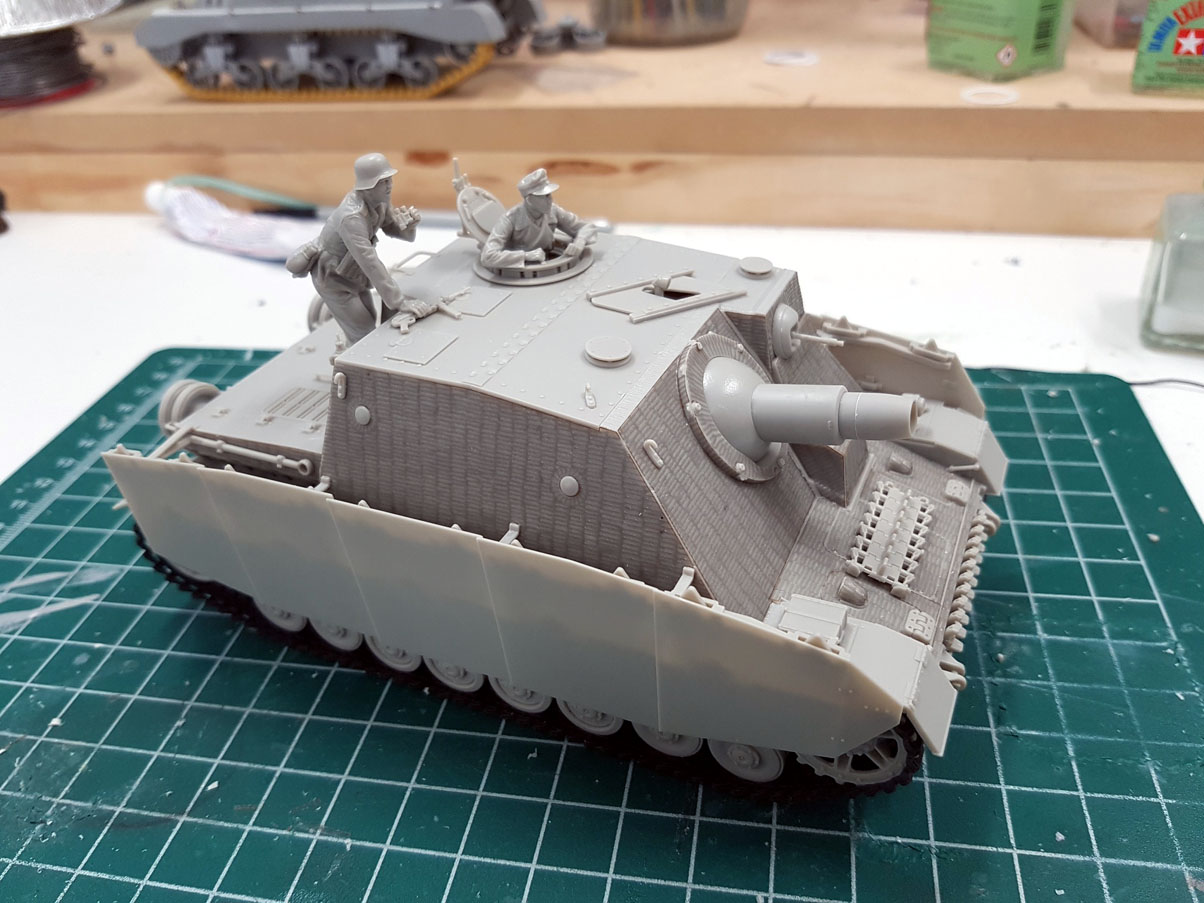
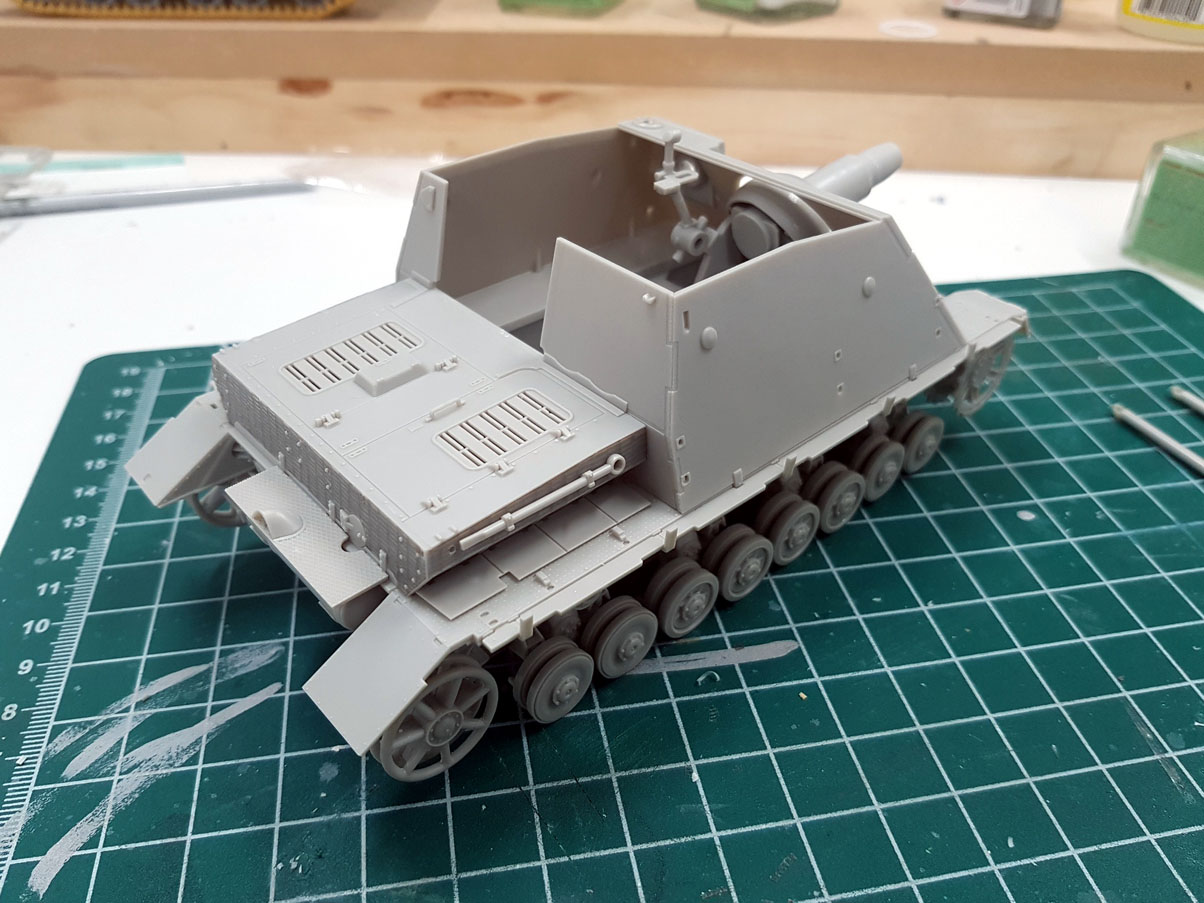
Builds up into a decent rendition of the 150mm gun....


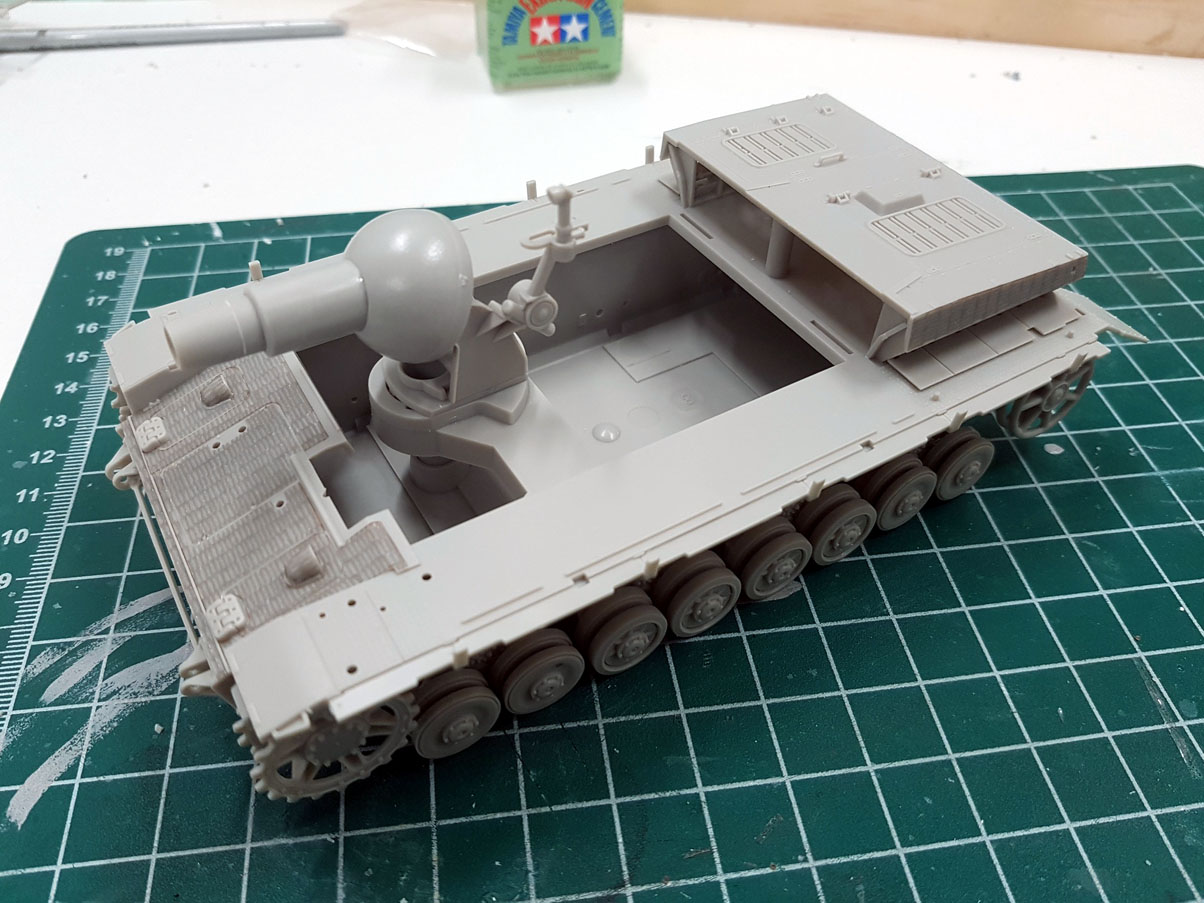
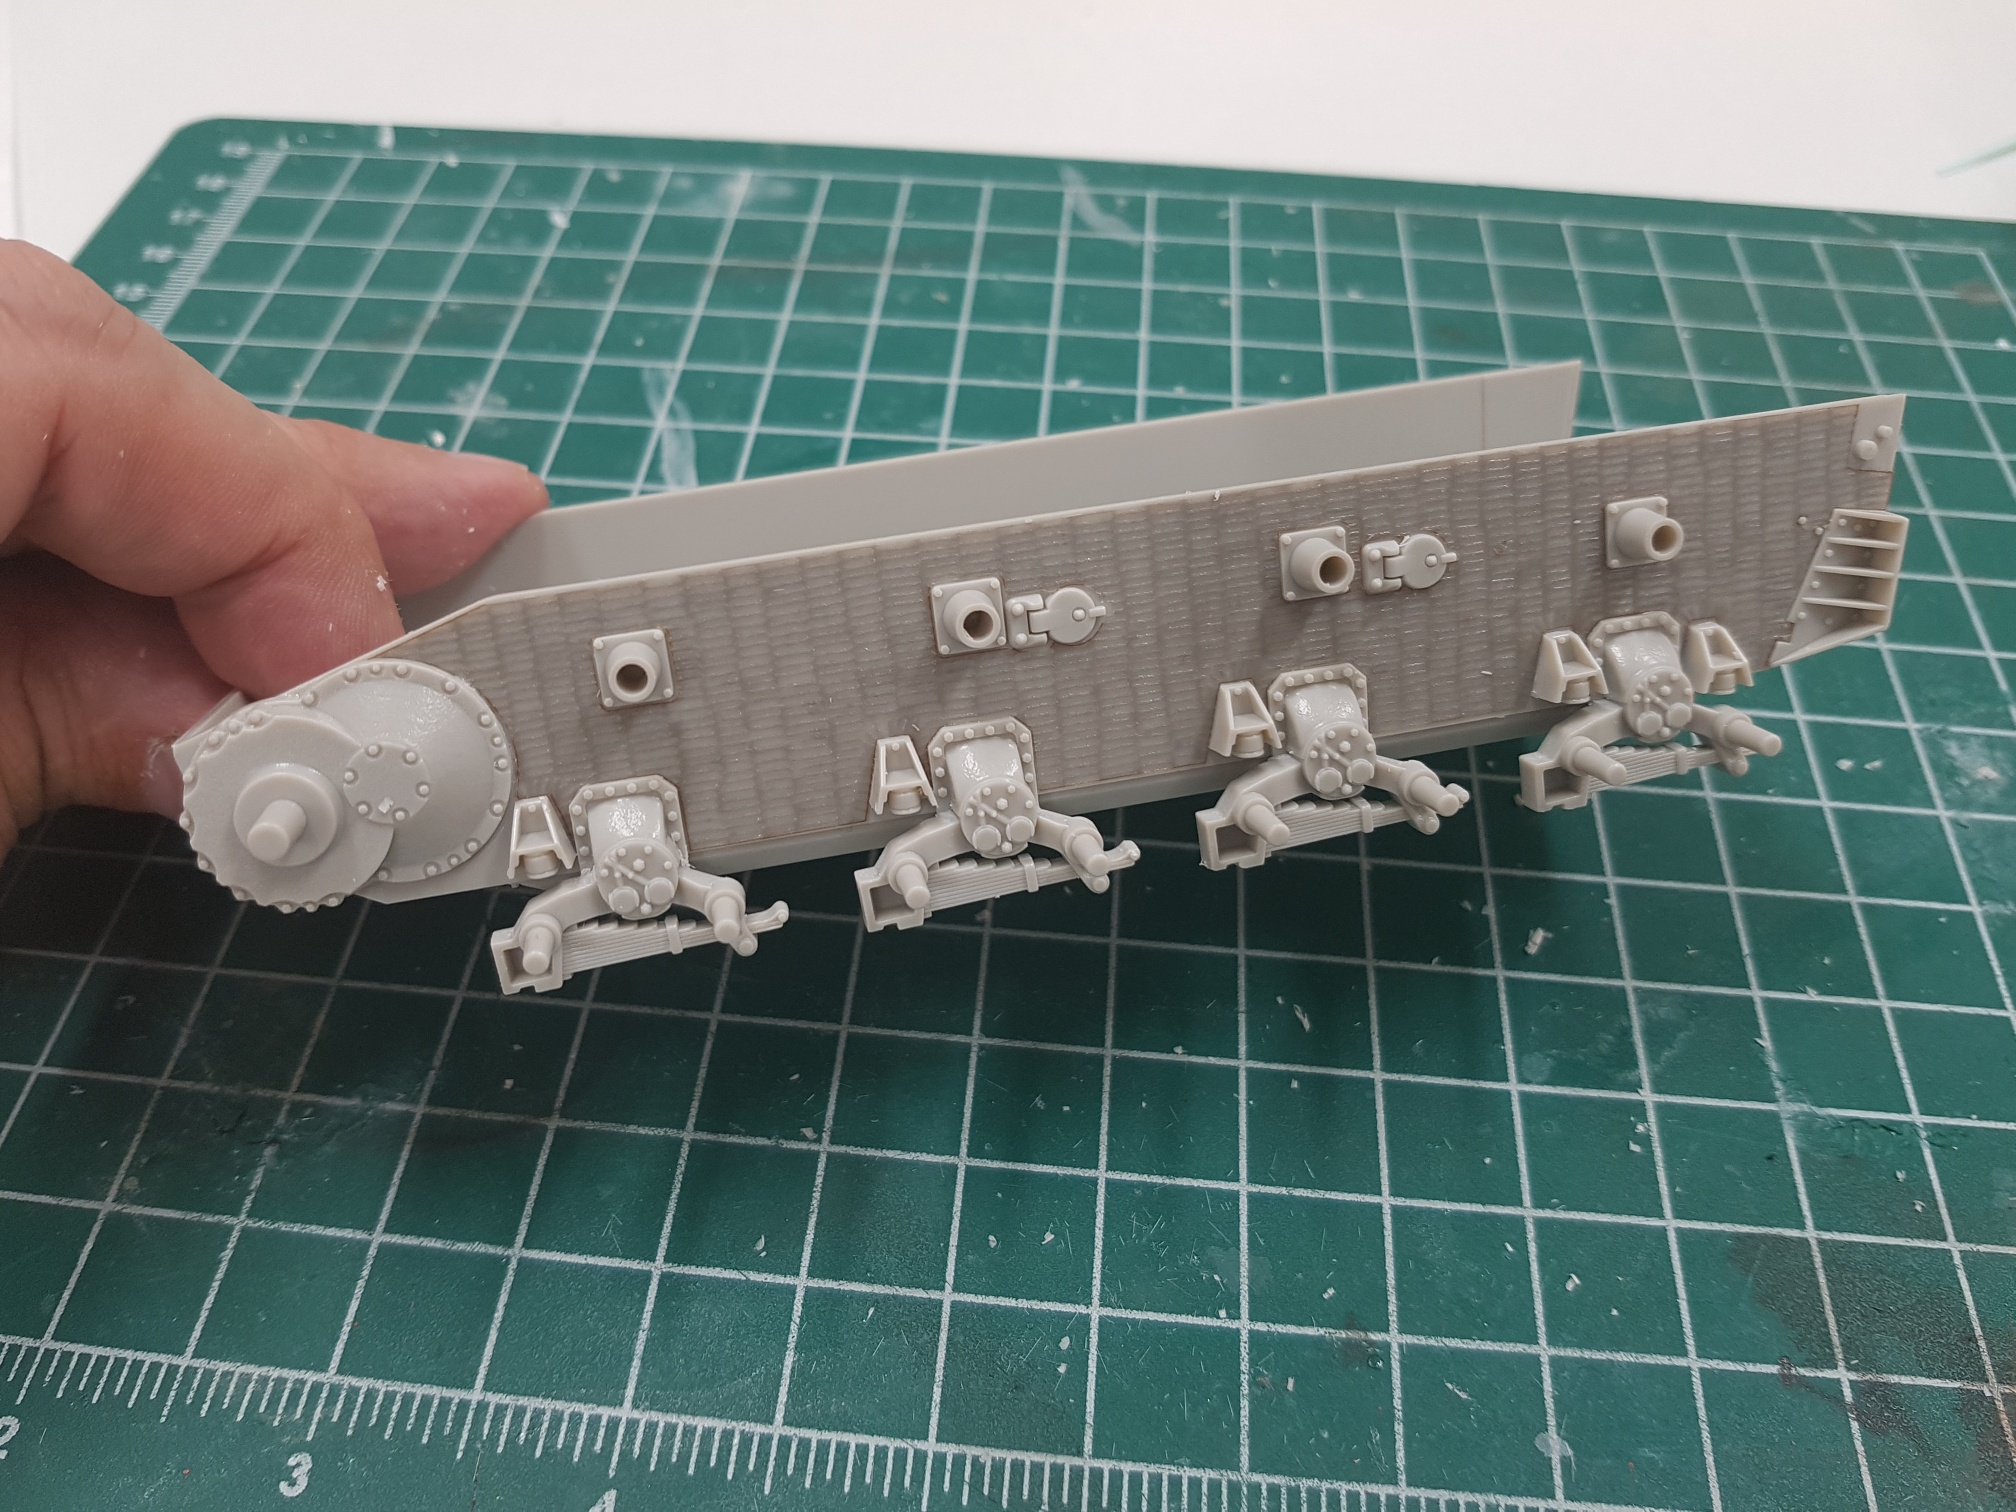
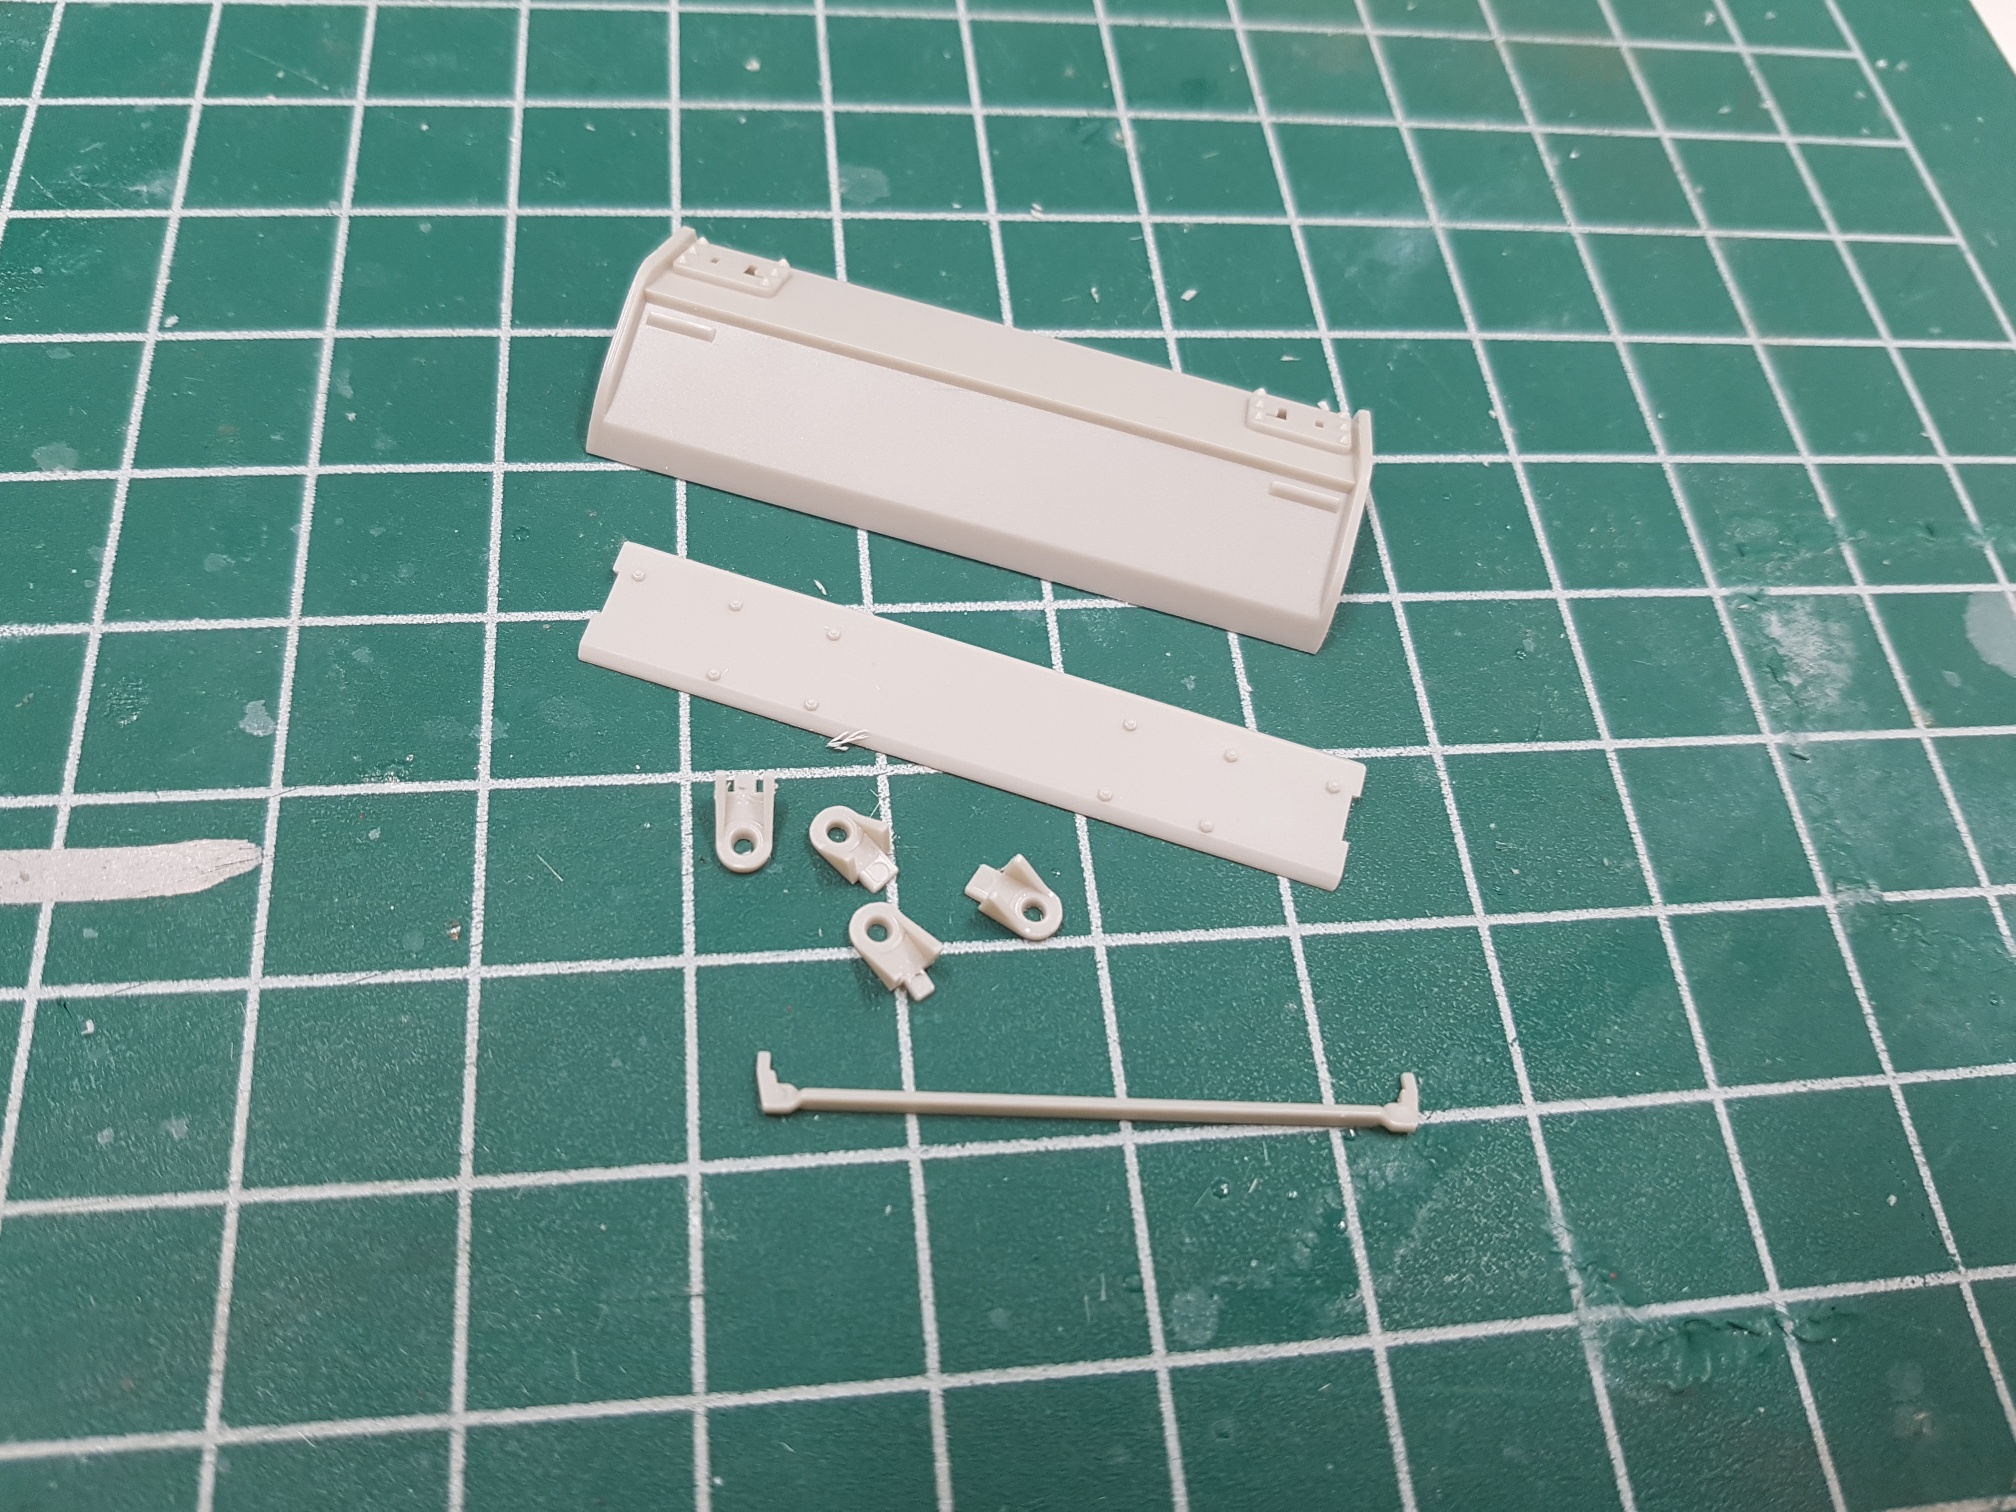
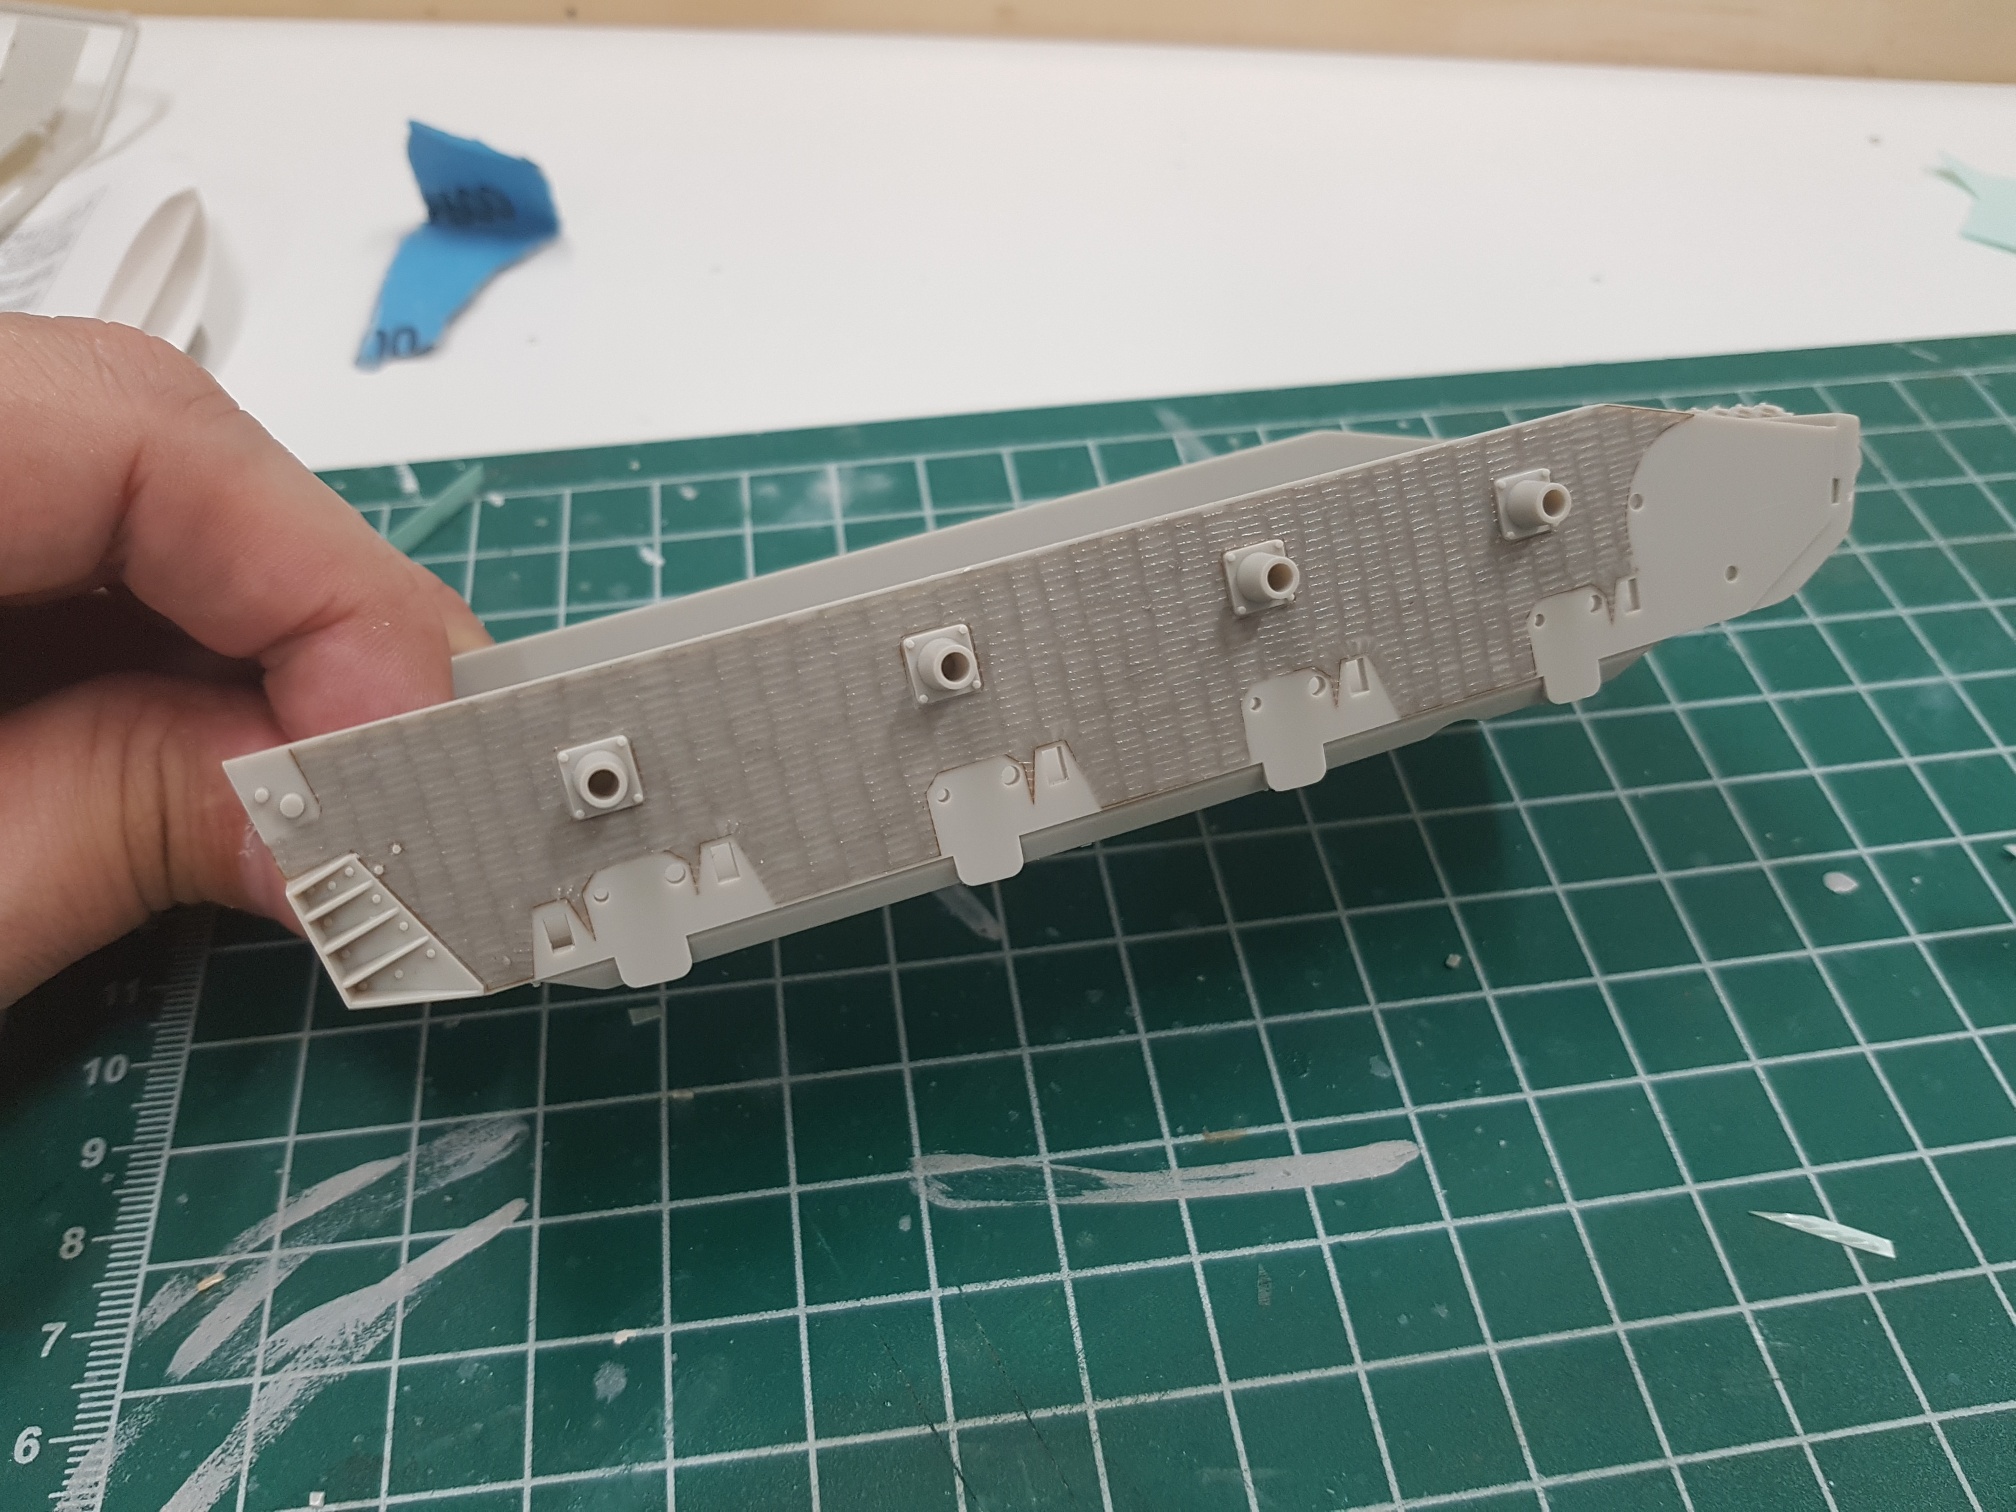
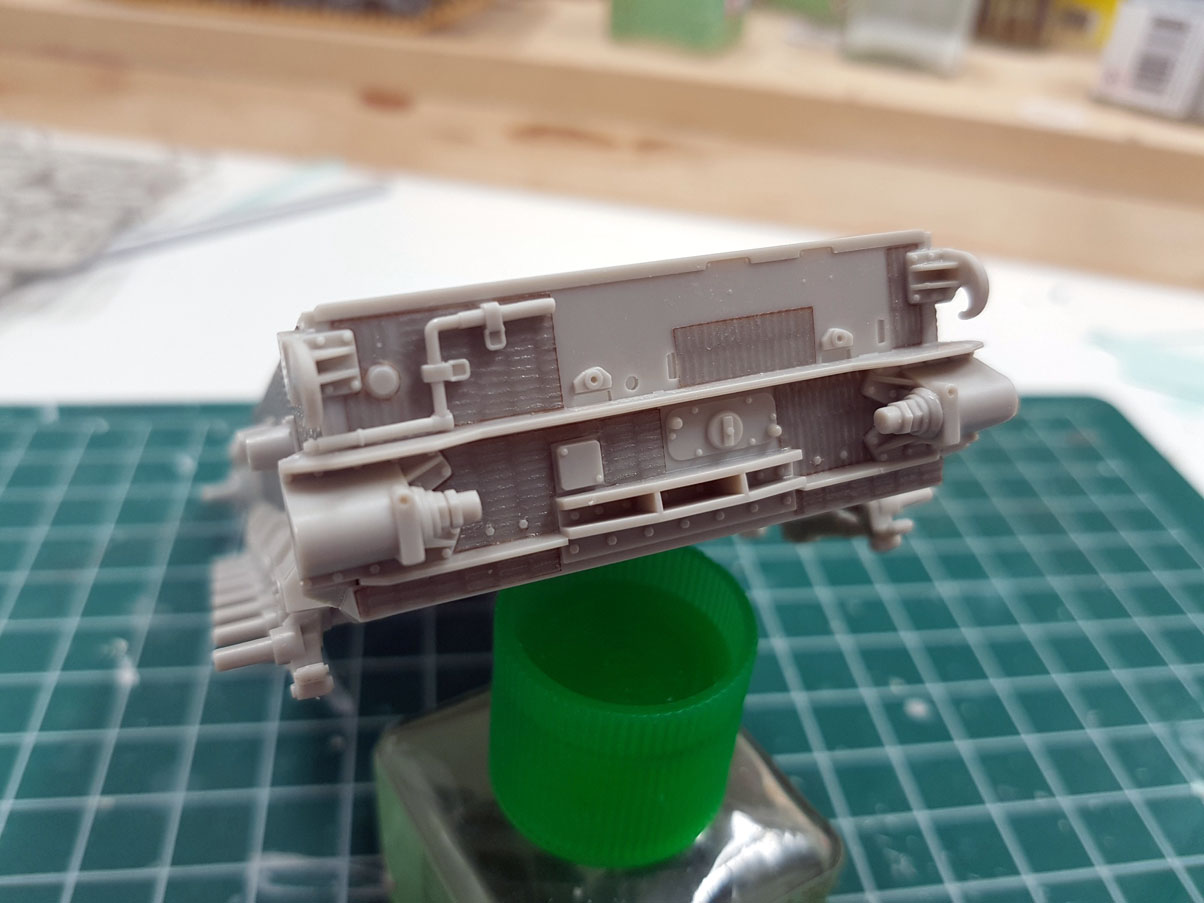
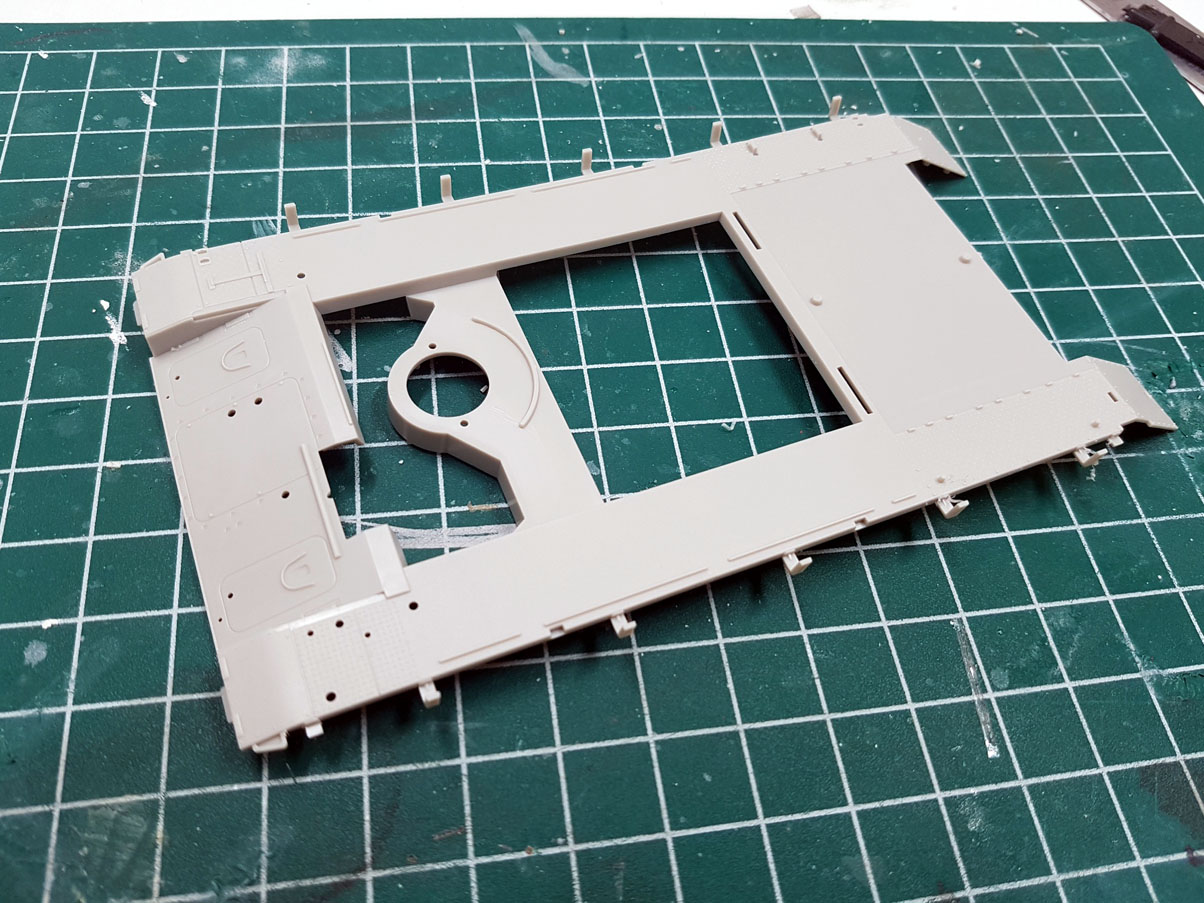
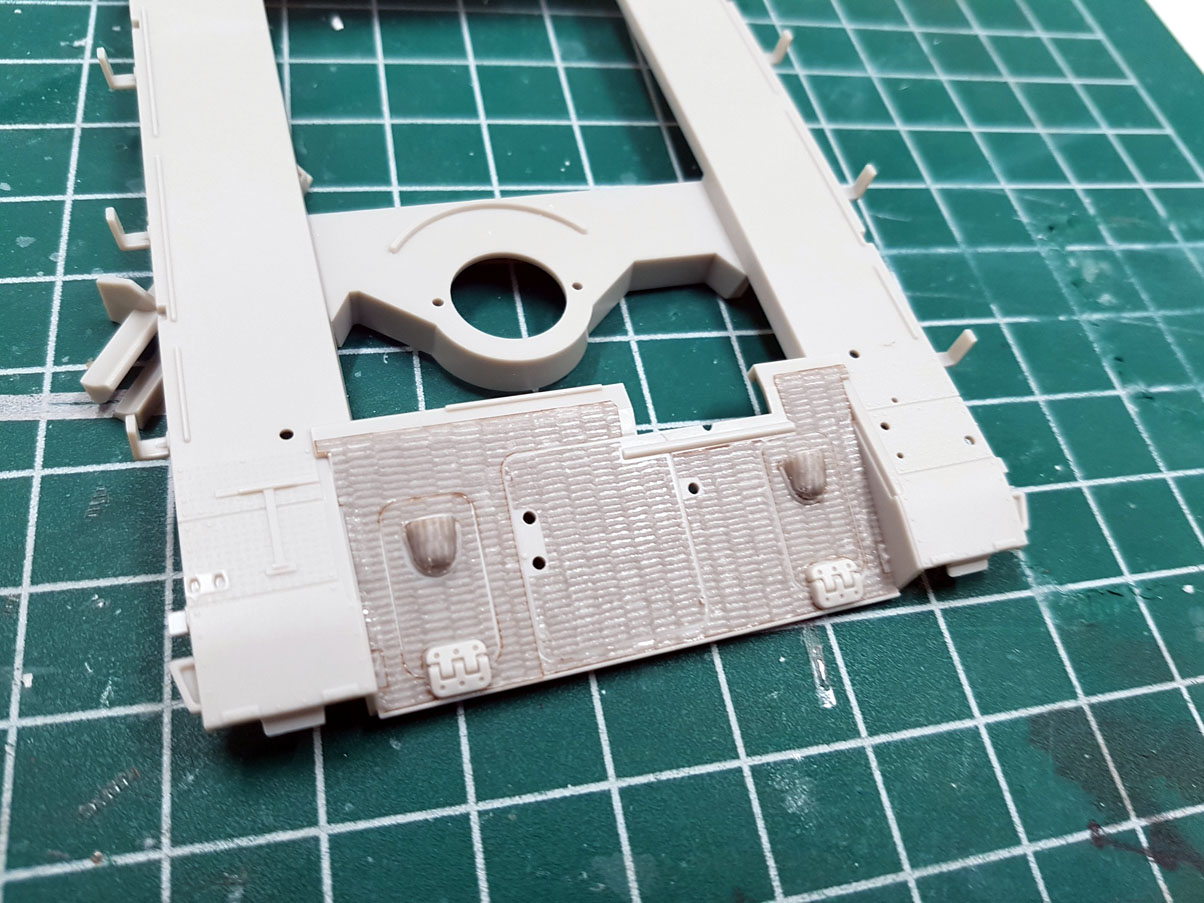
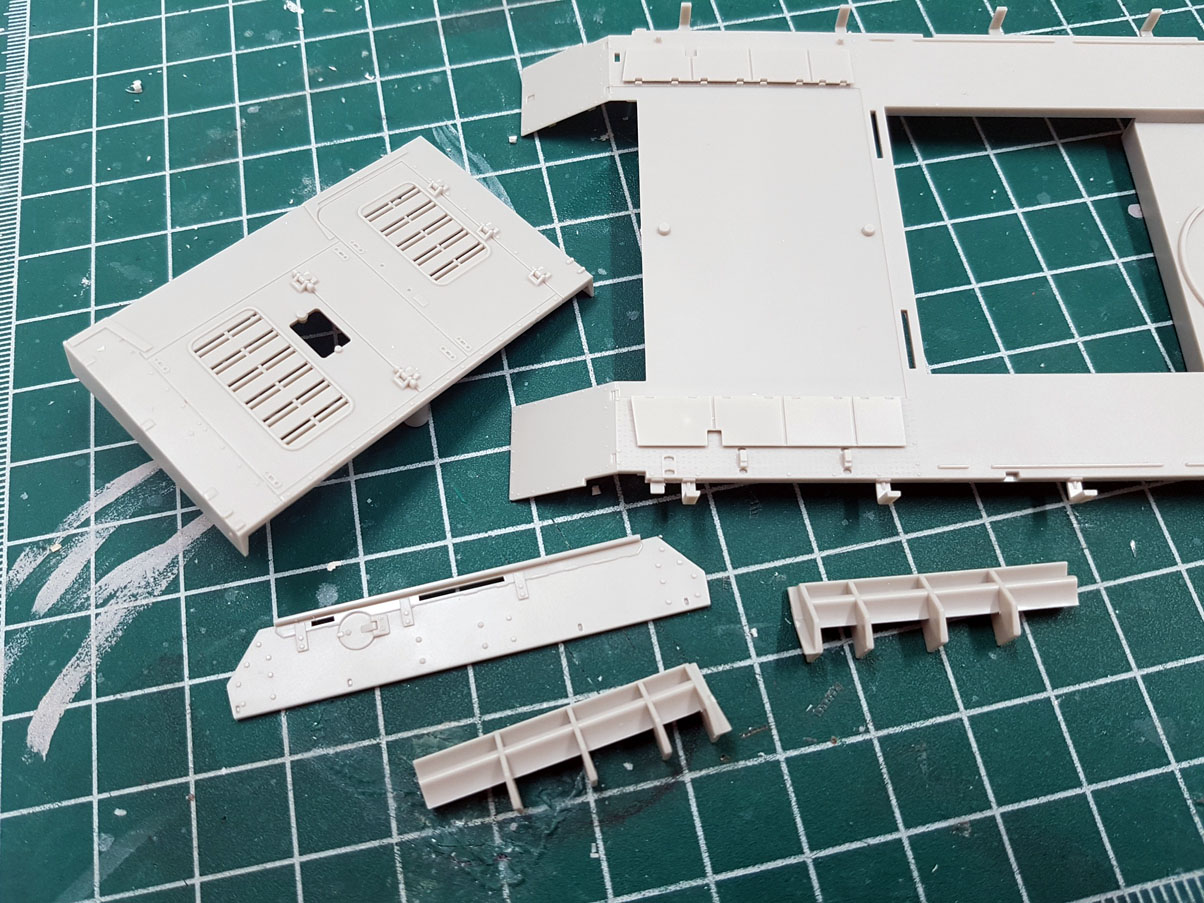
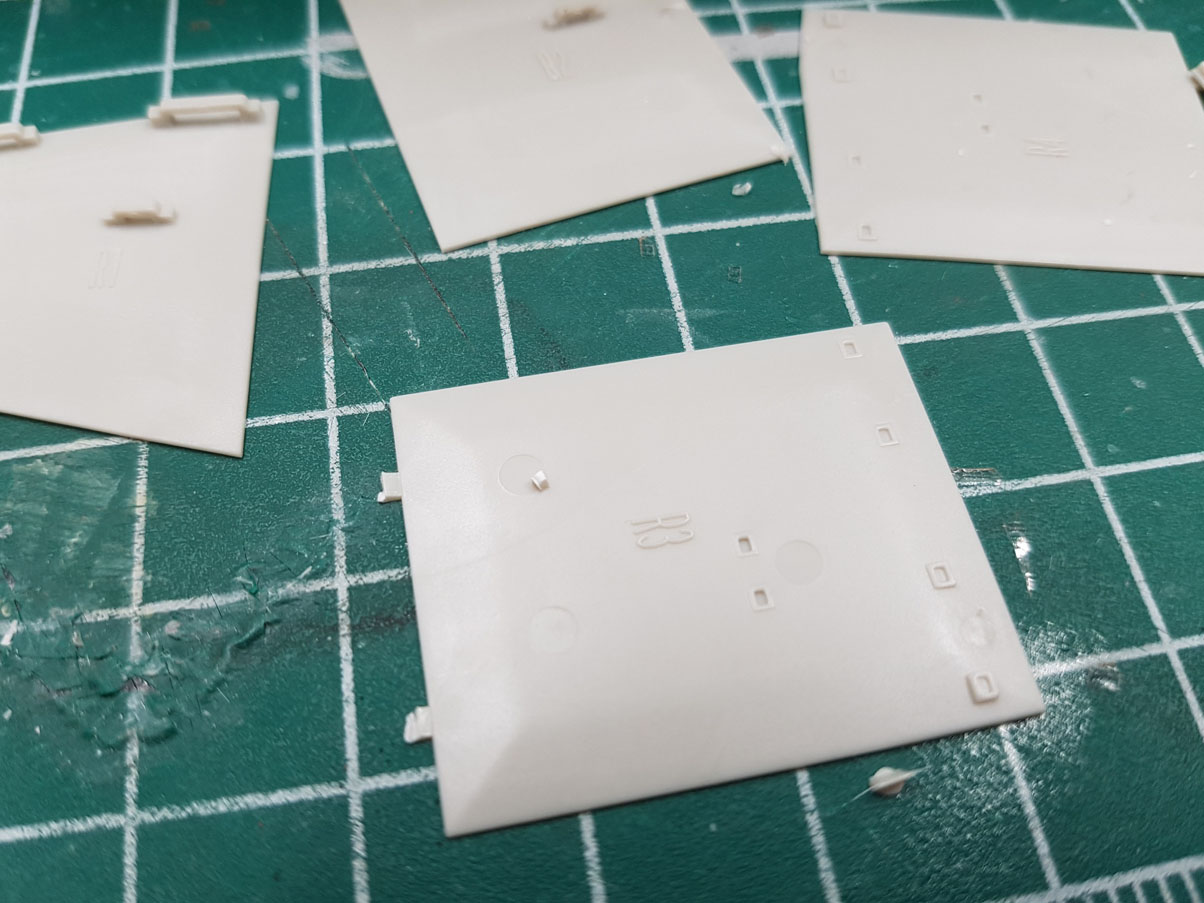
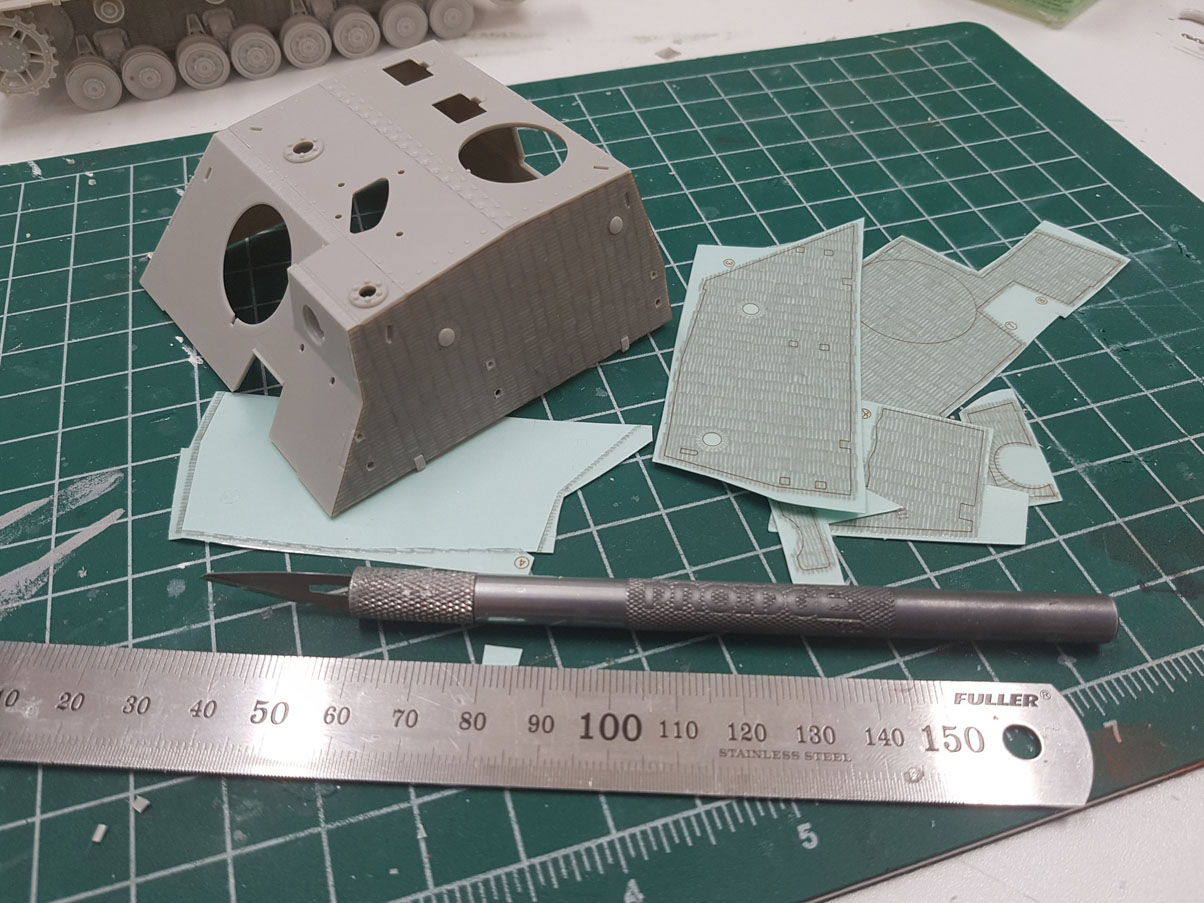
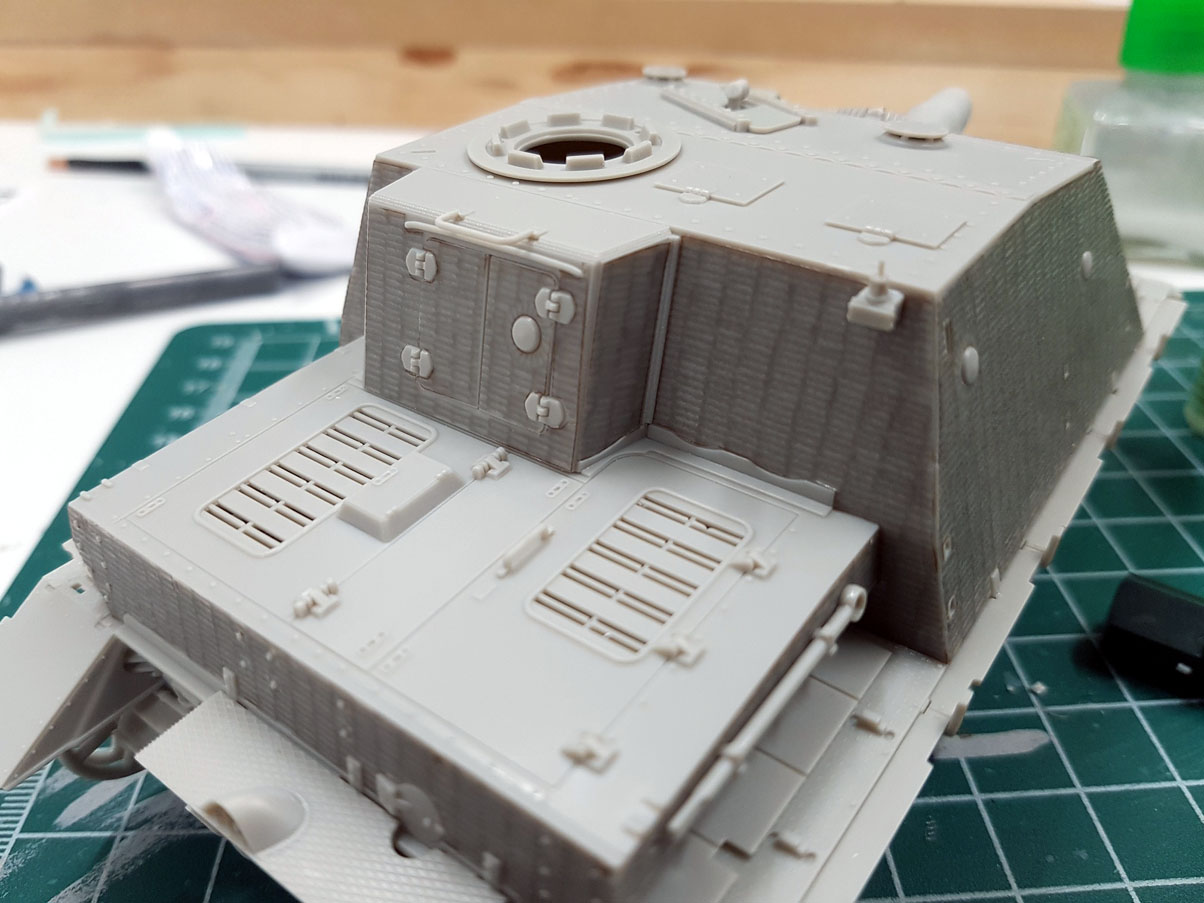
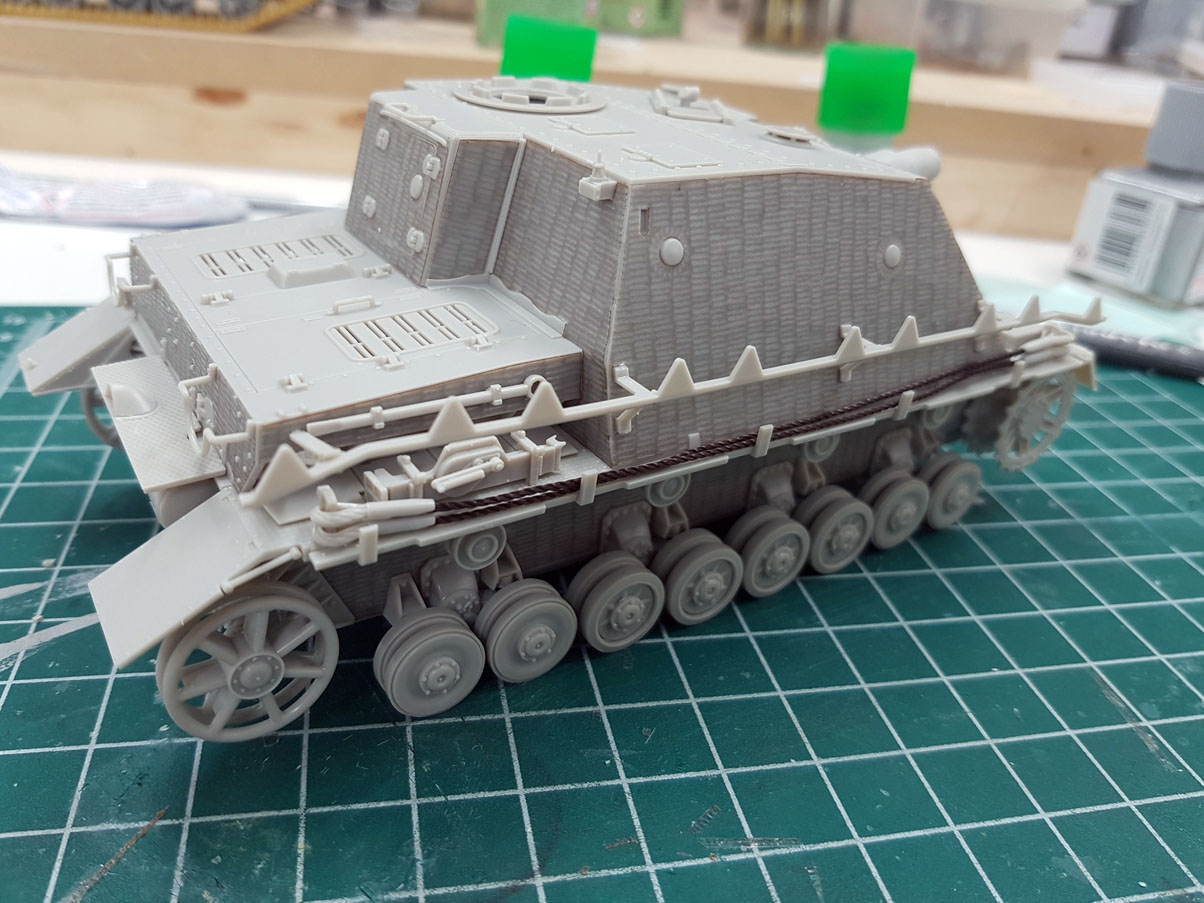
Casemate style superstructuire. Extremely nice texture on the armour plates and great interlocking detail...


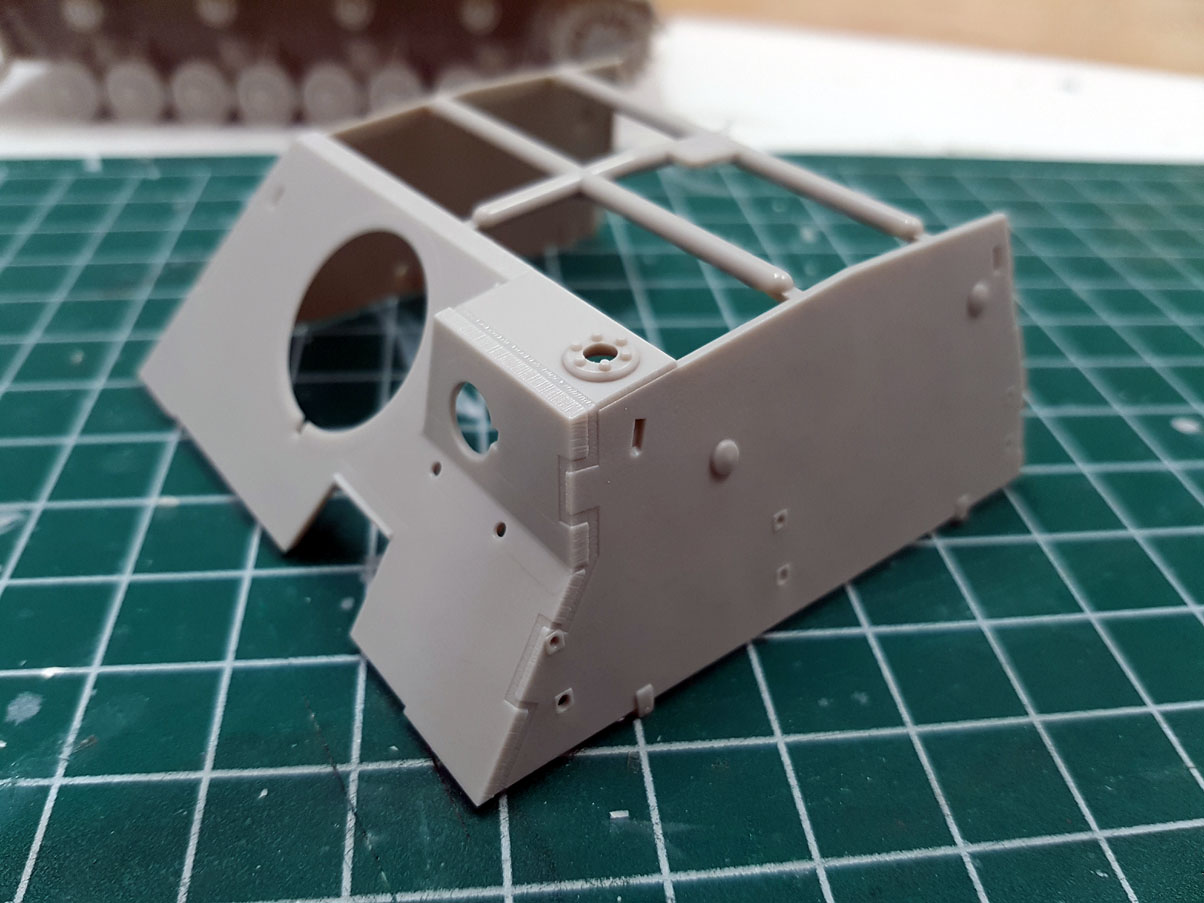
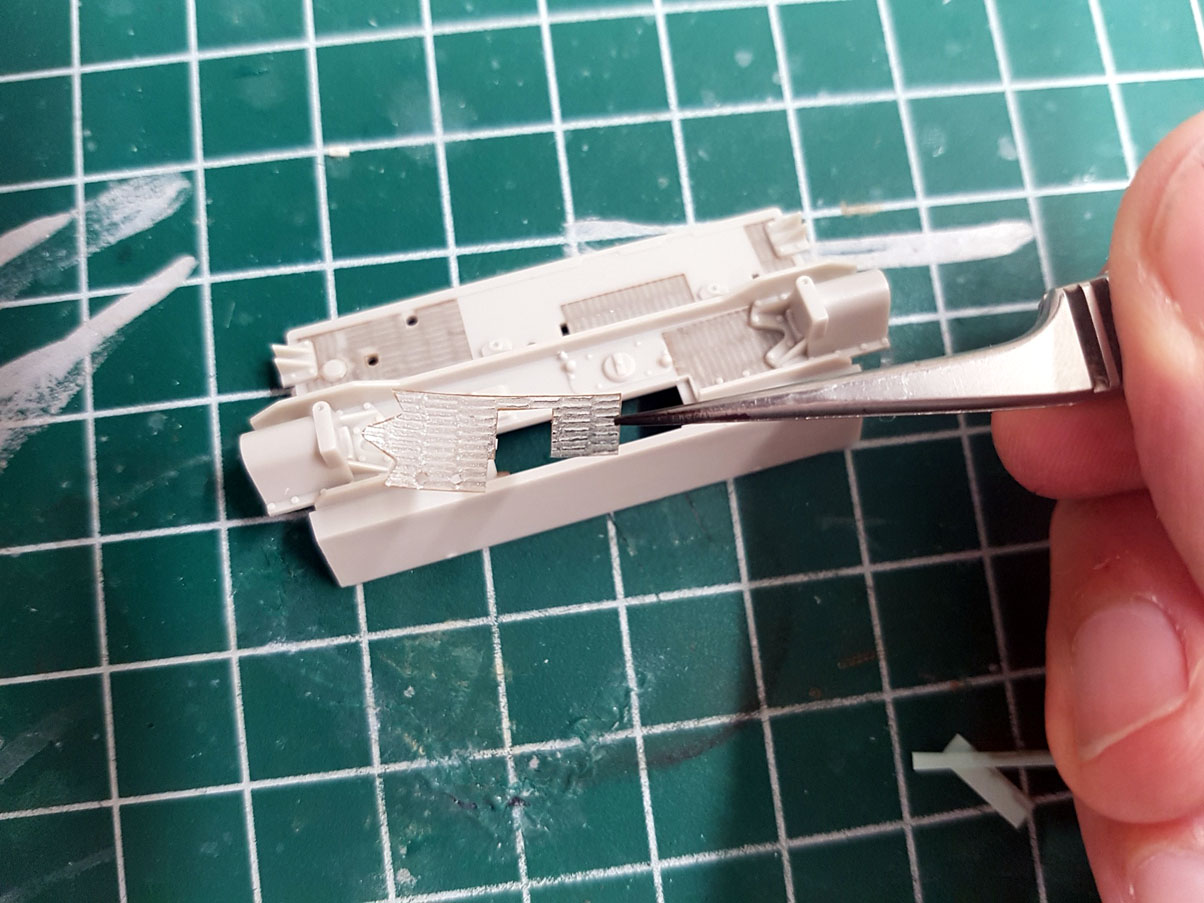
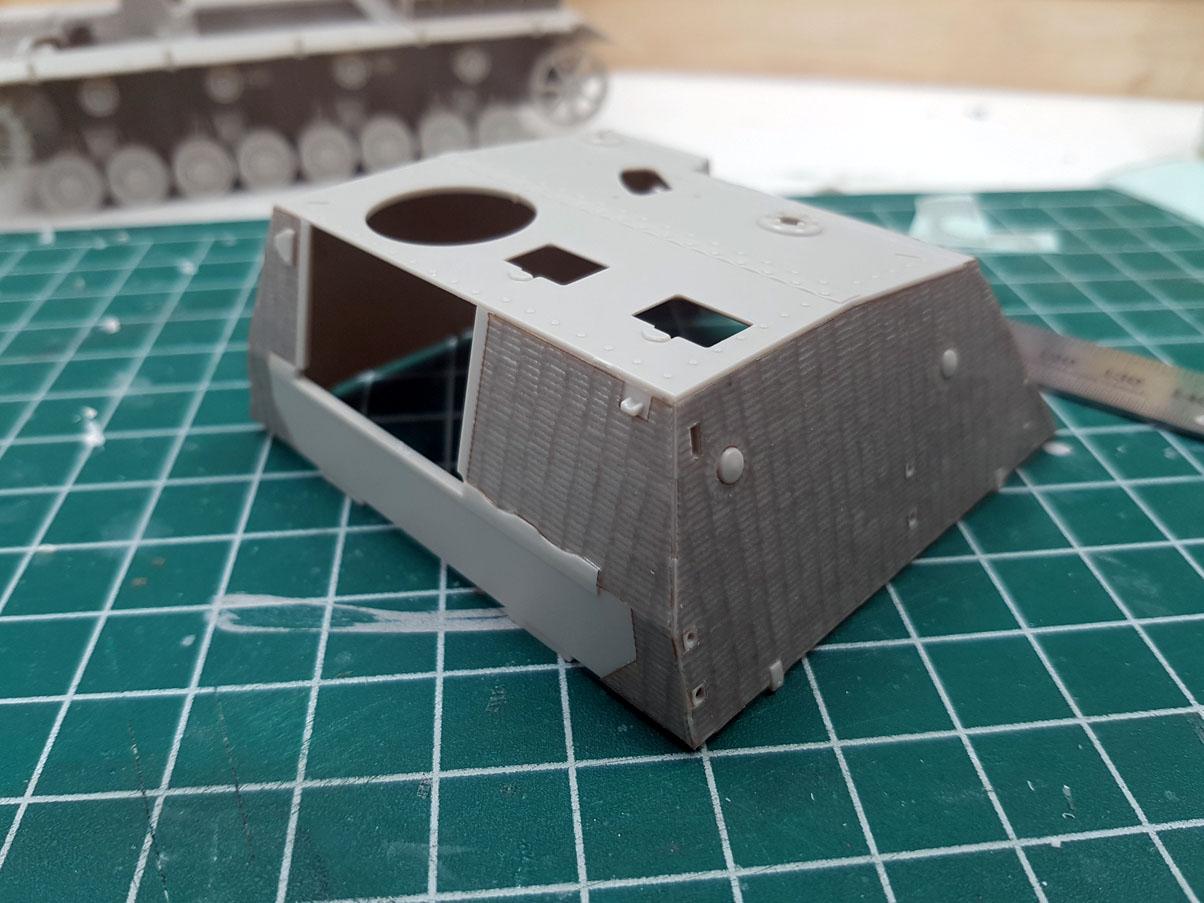
The rear panel fits perfectly (even if the edges are chamfered - Takom are you watching!!!!) Dry fitted to lower hull...
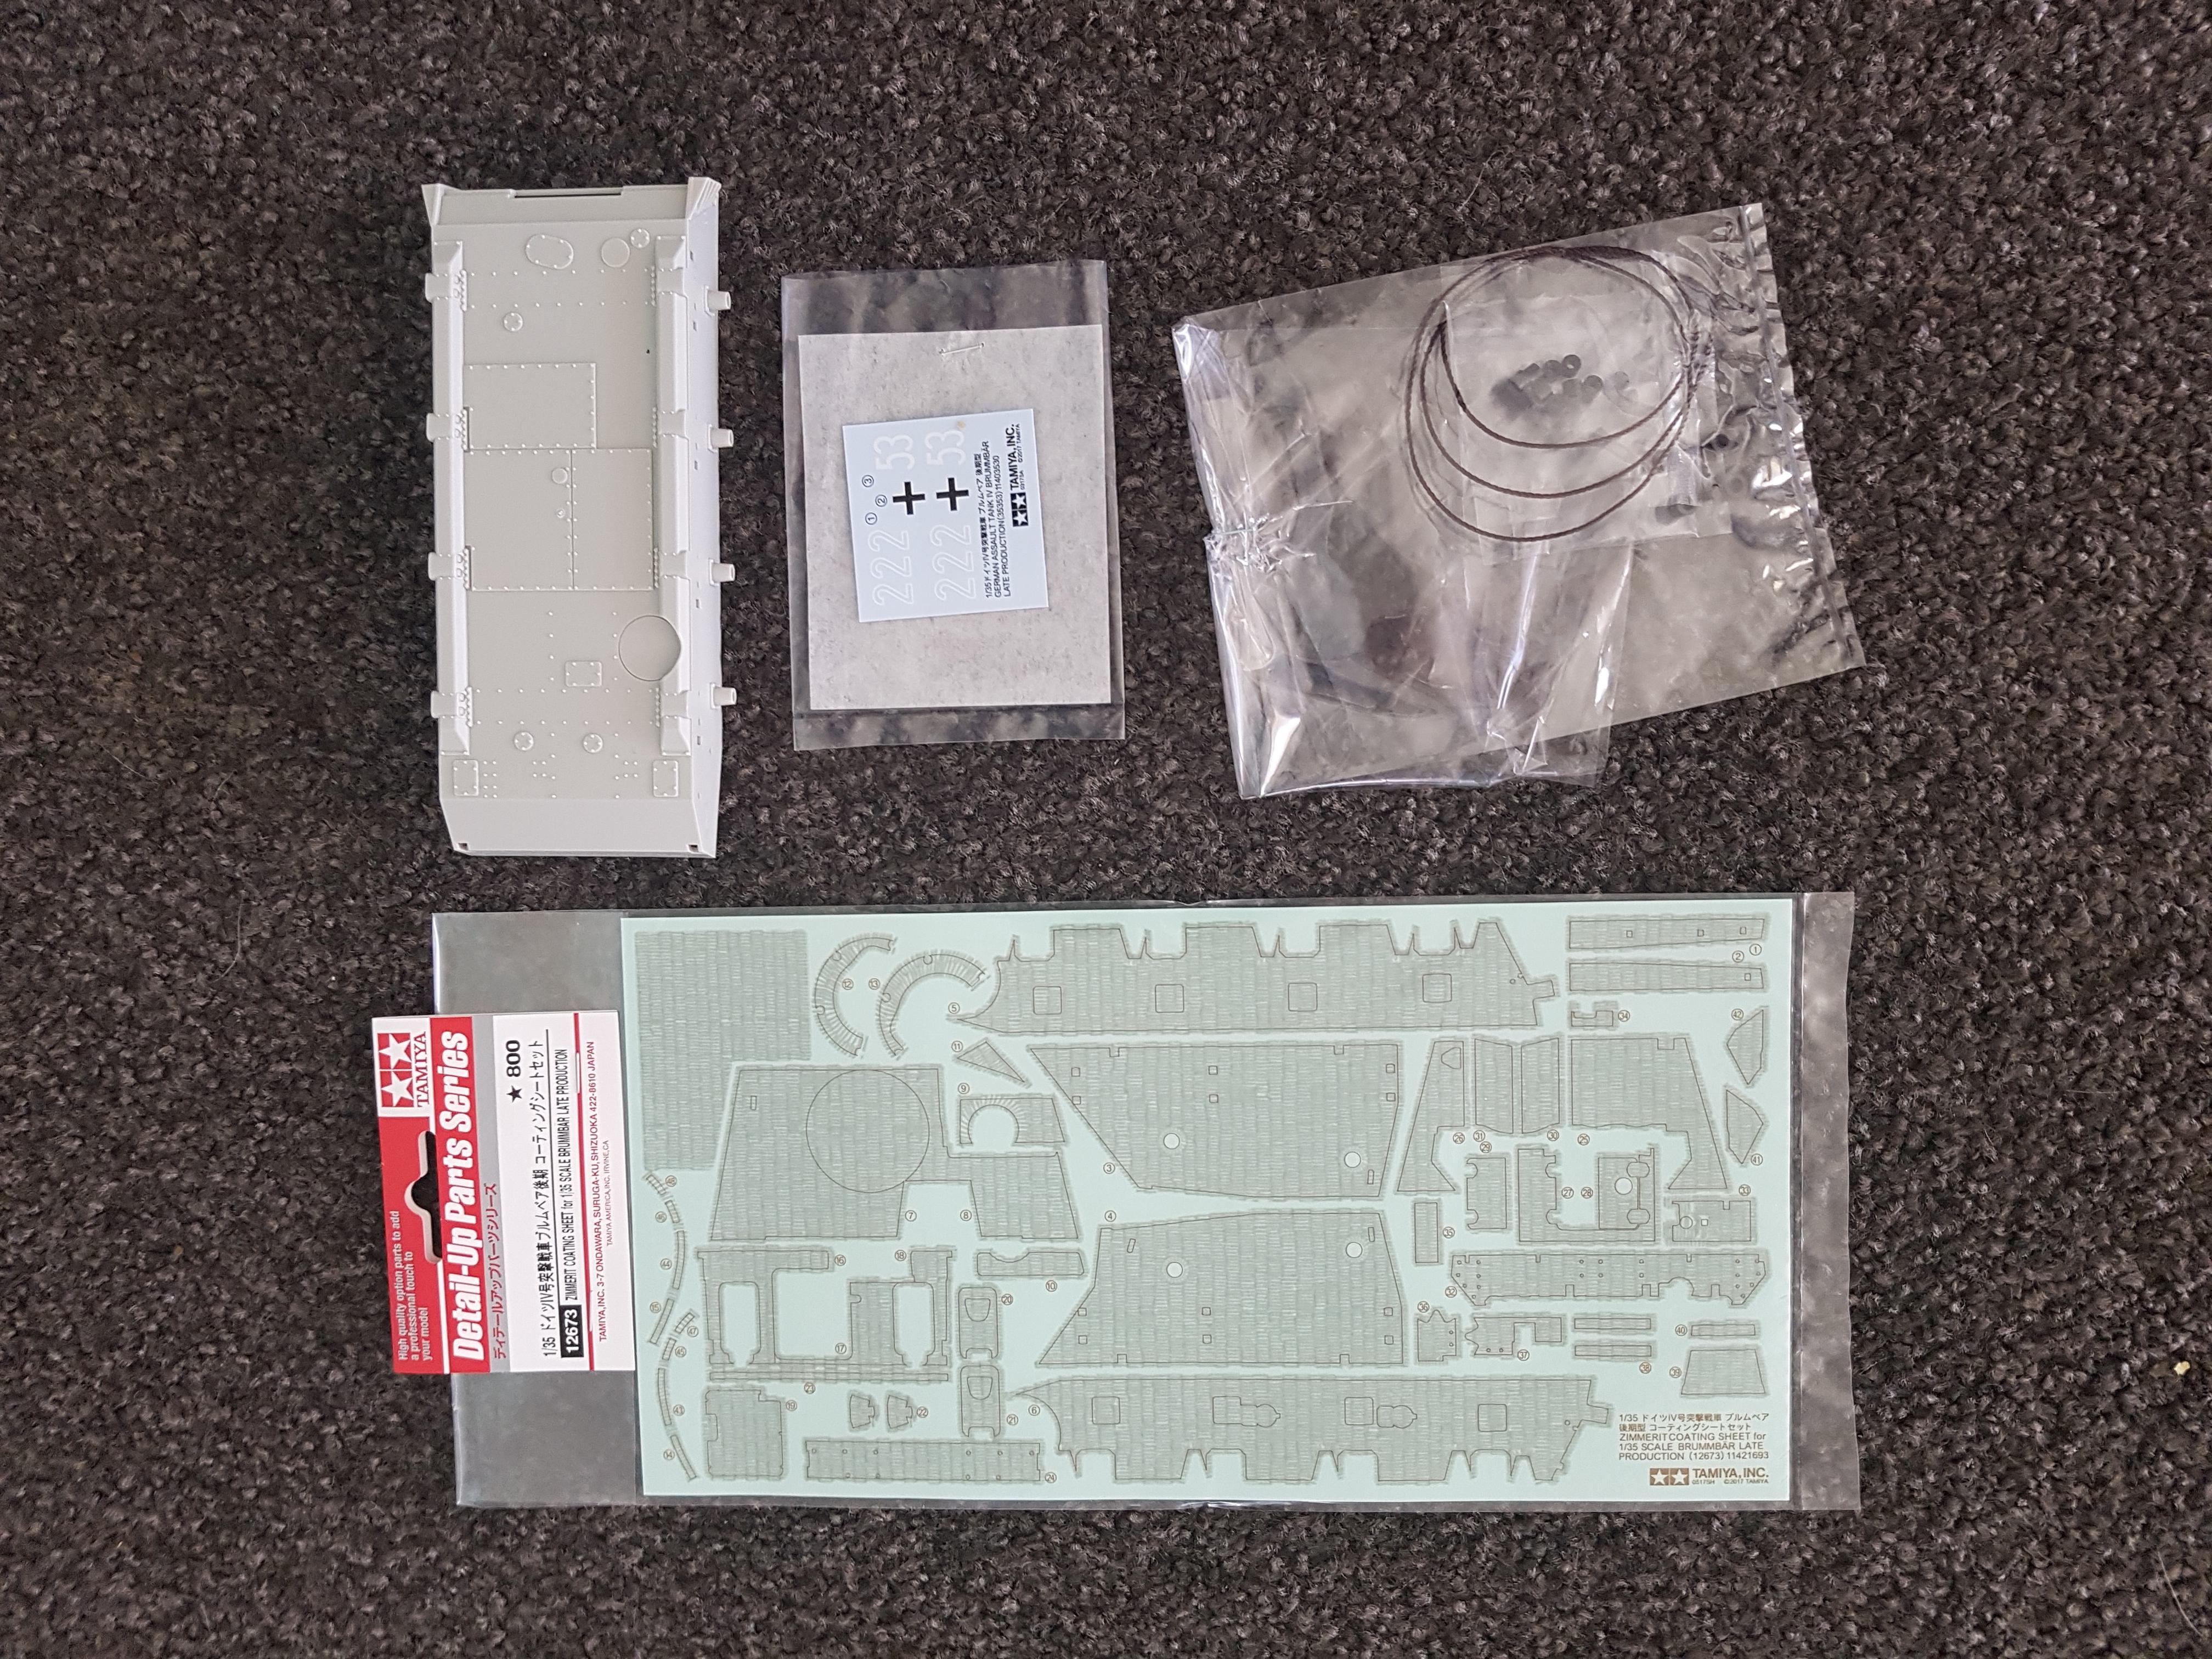
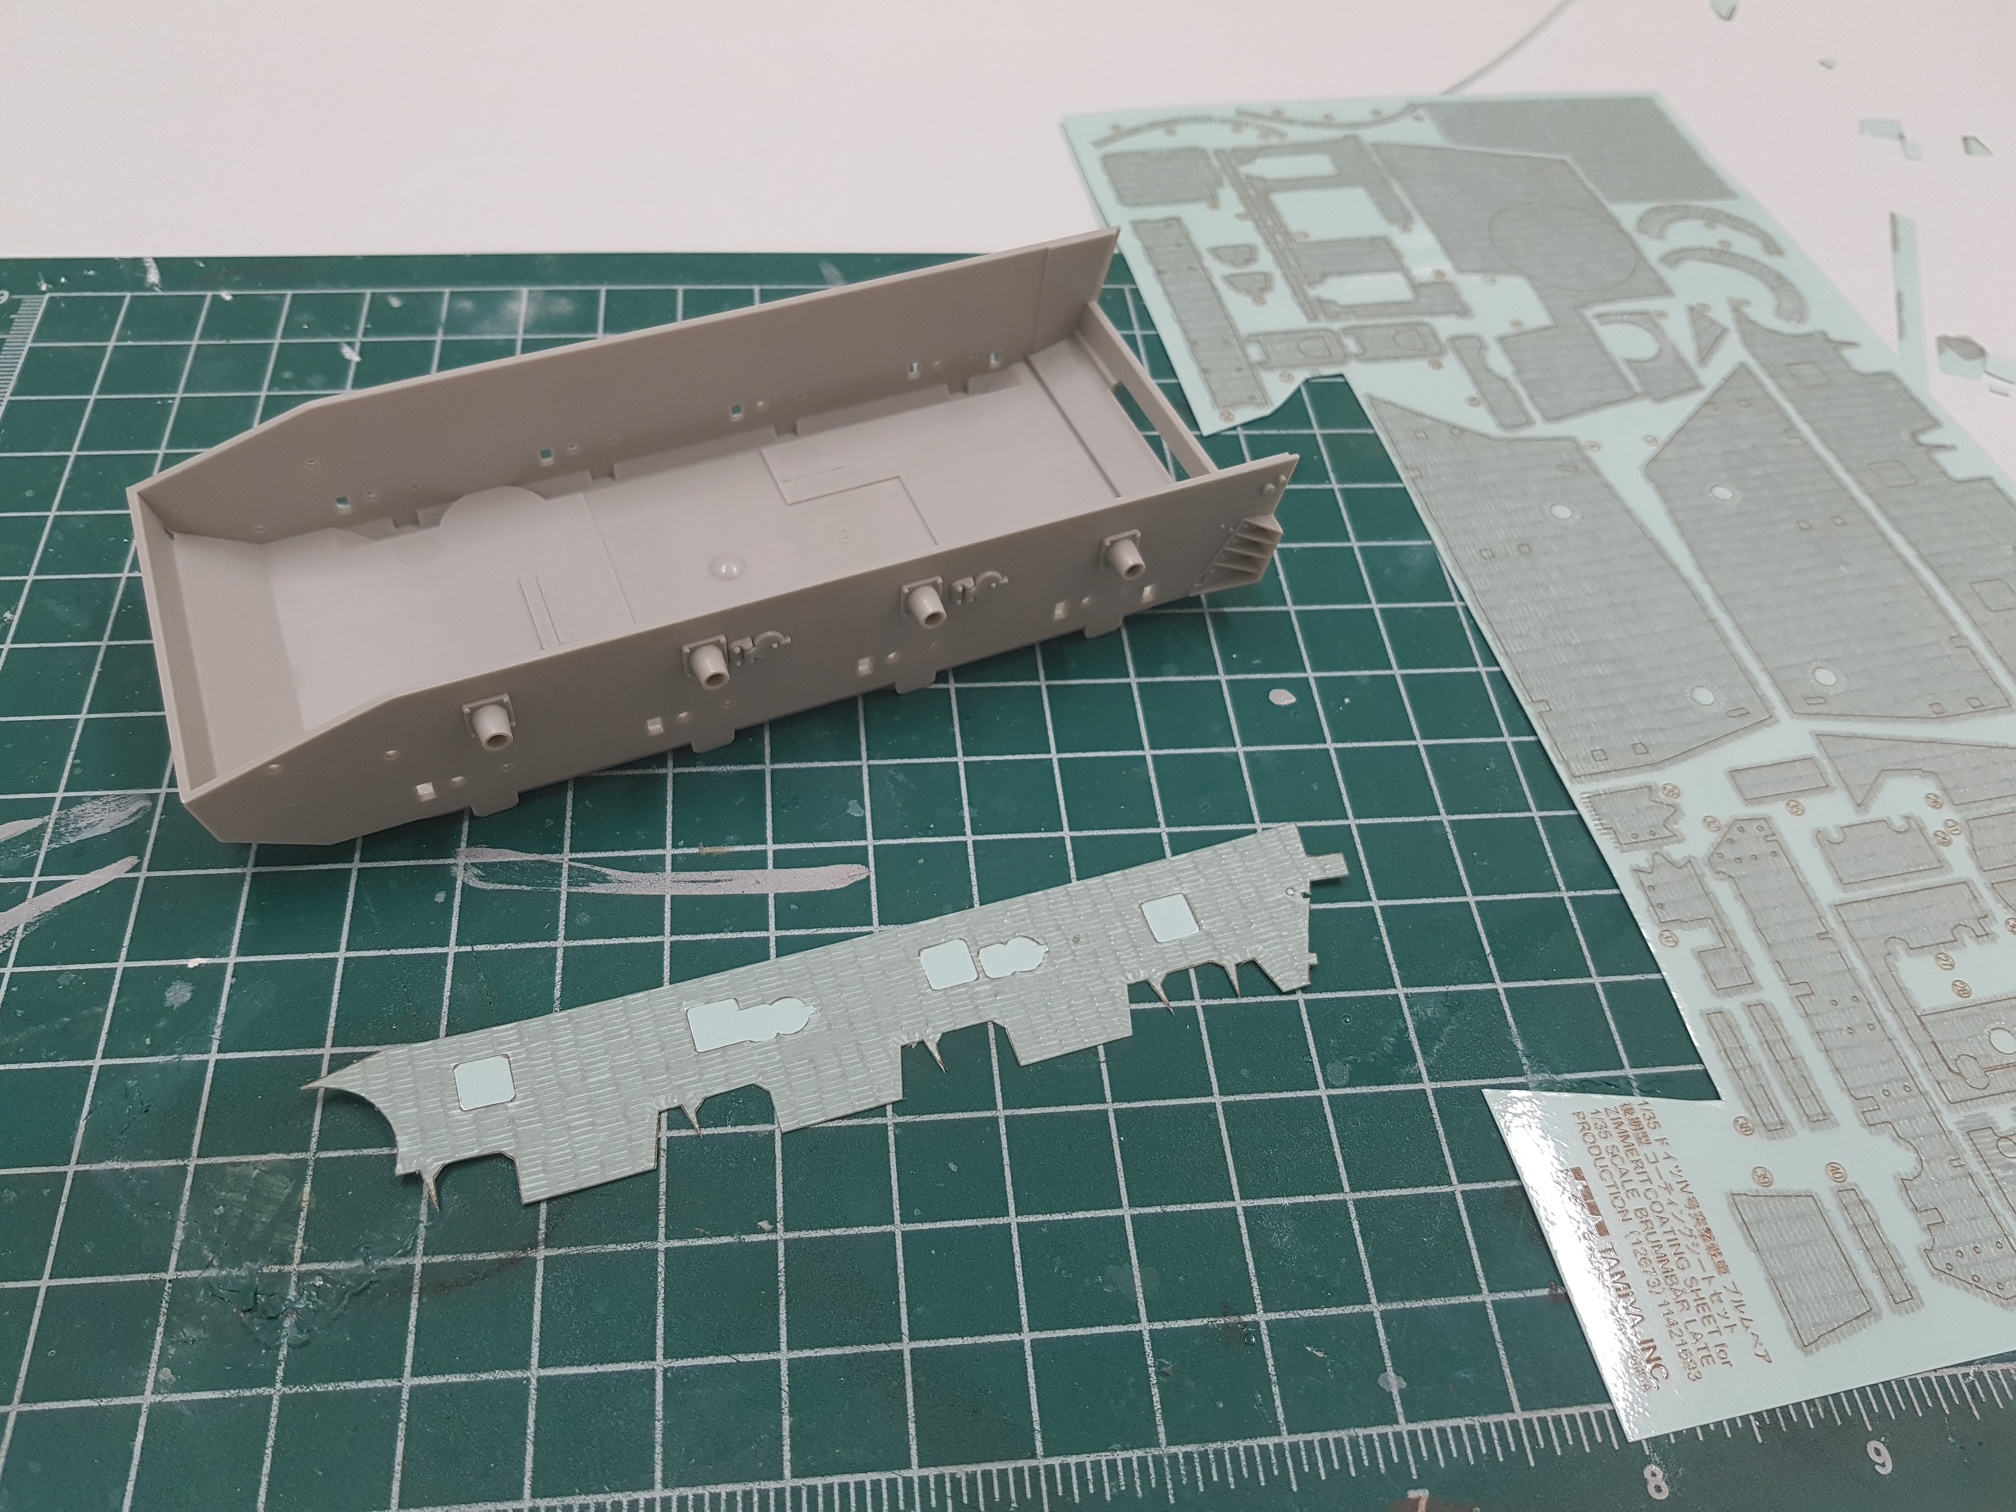
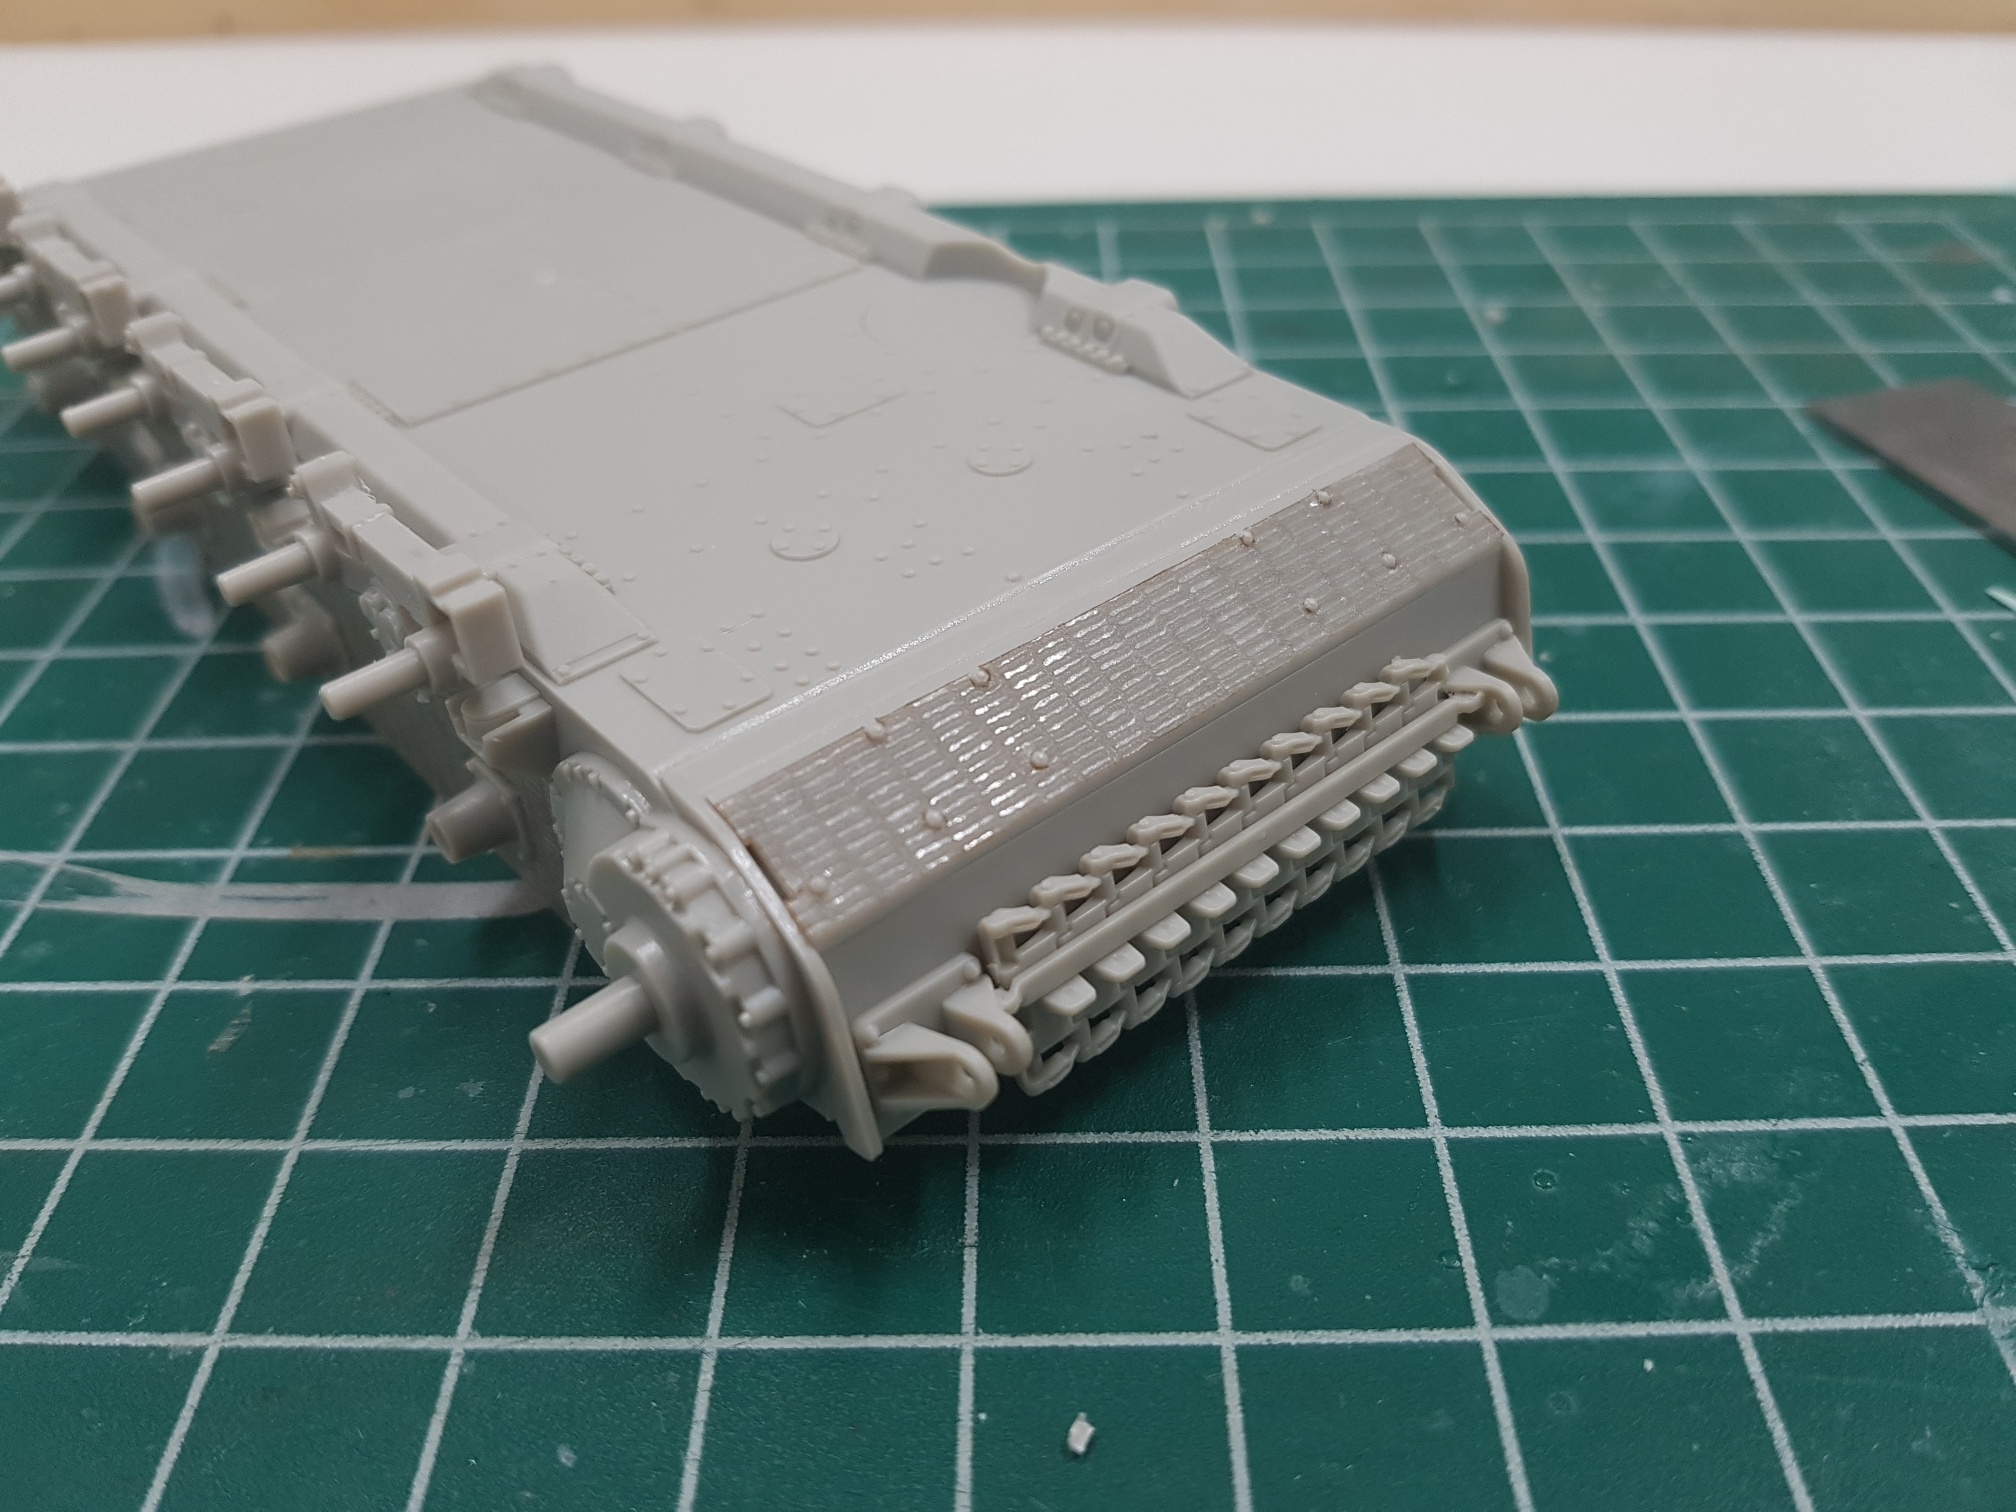
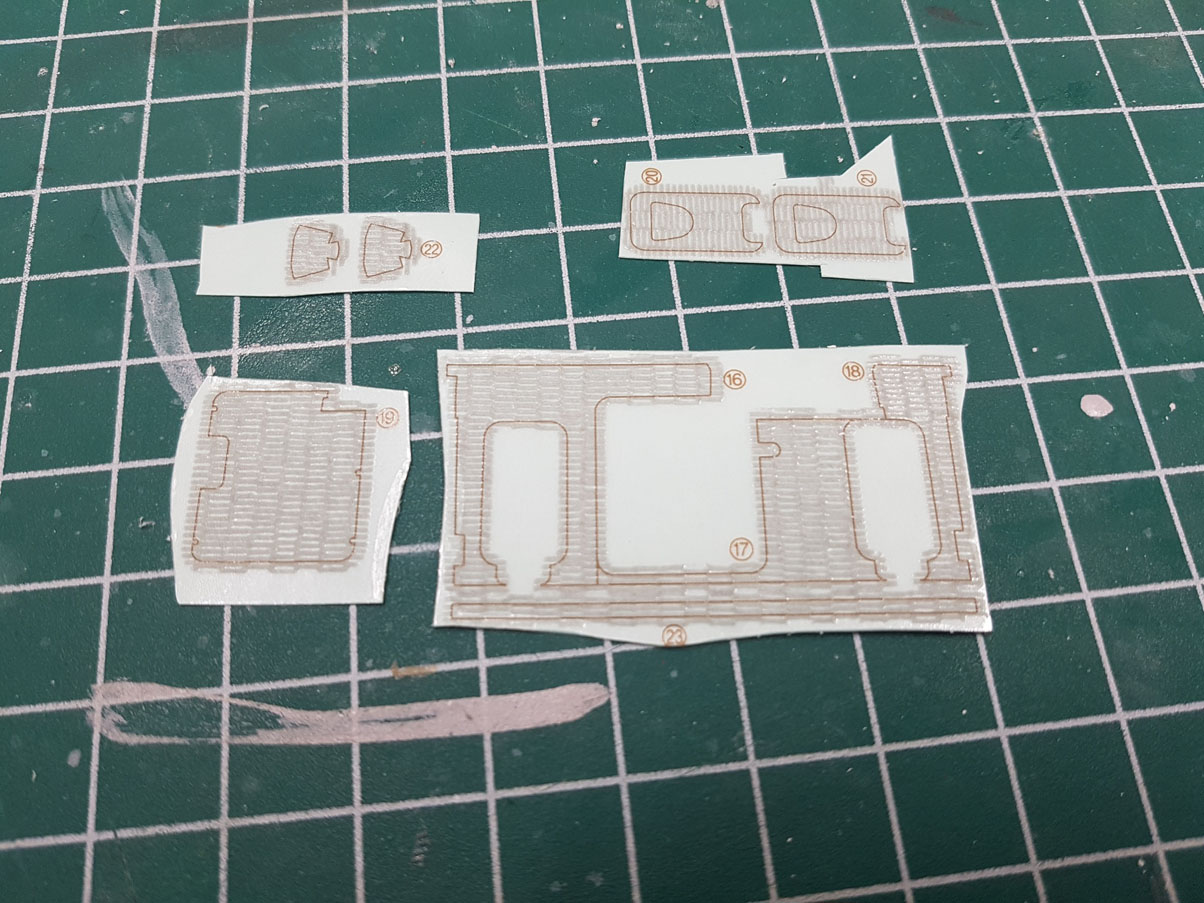
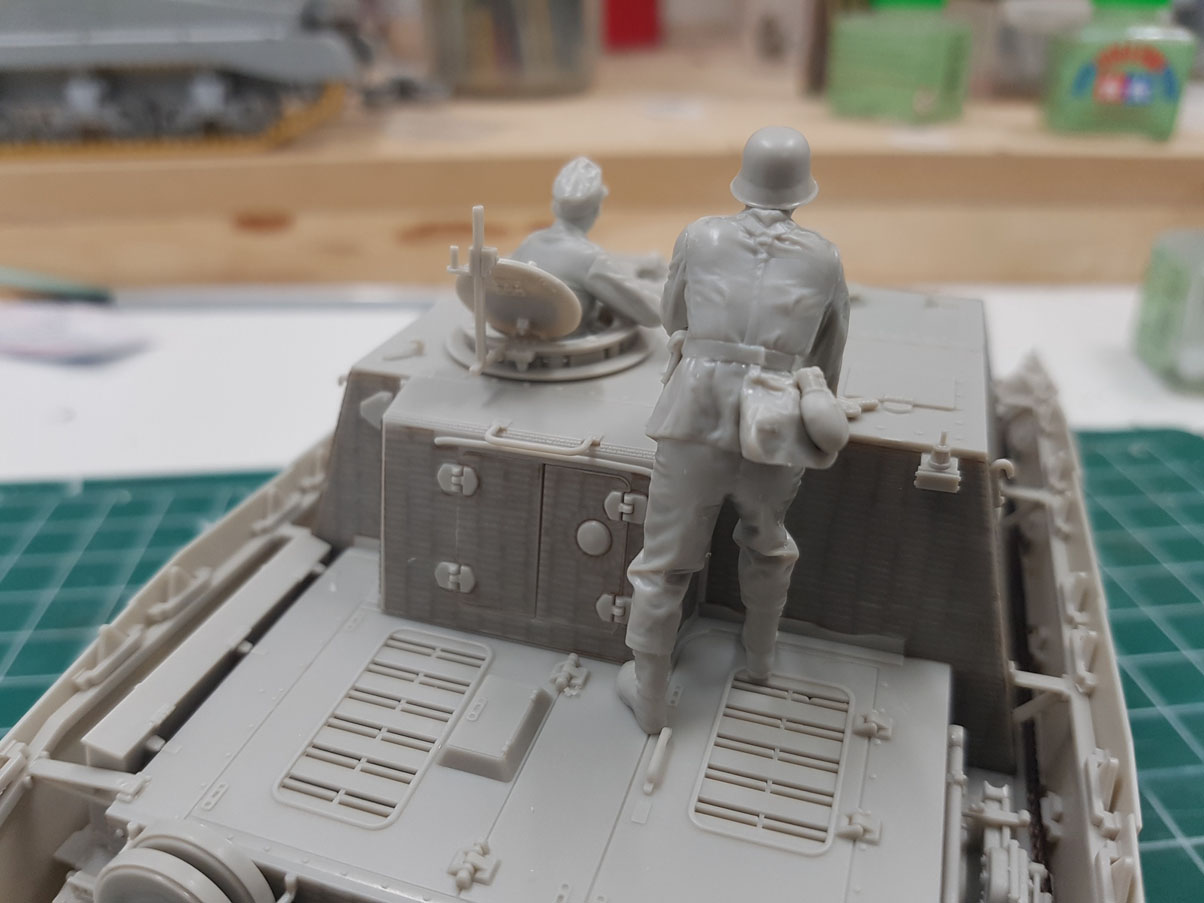
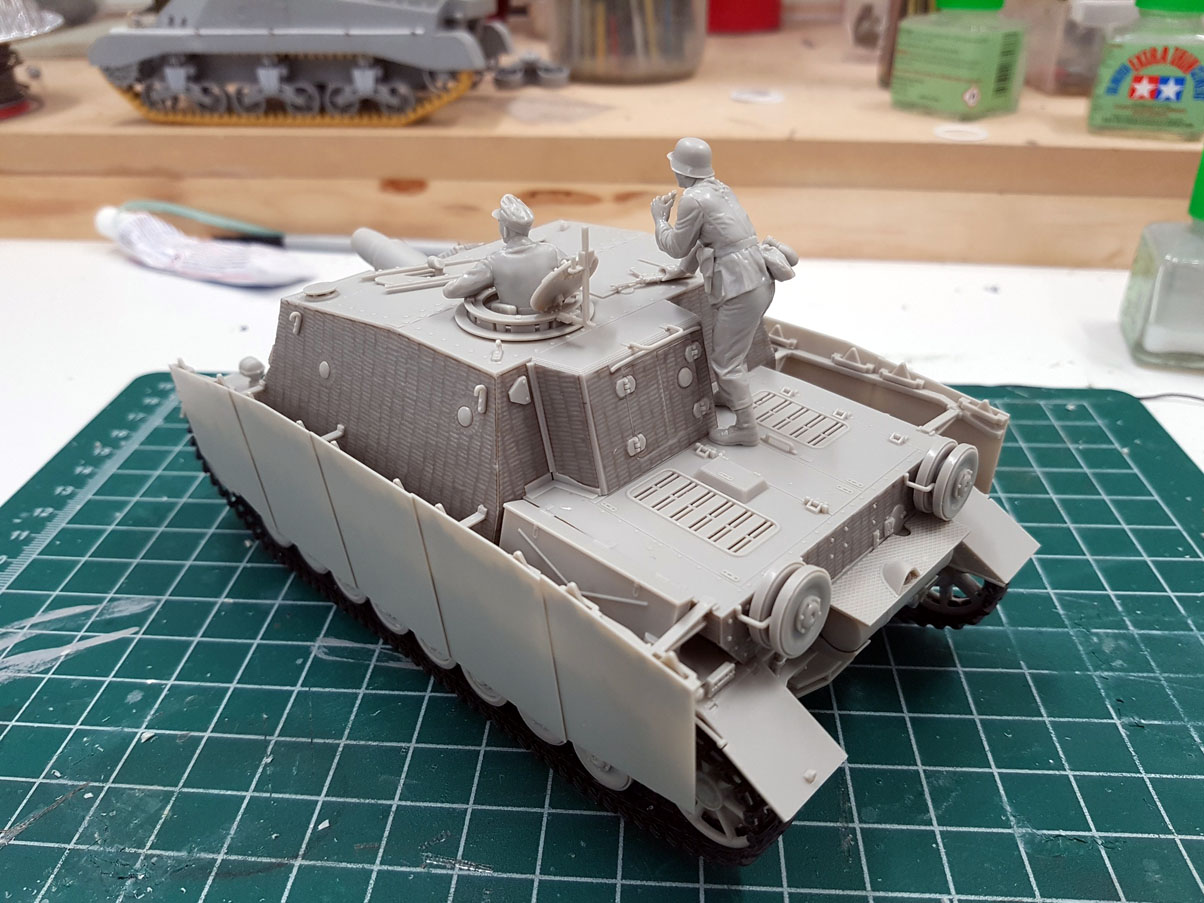
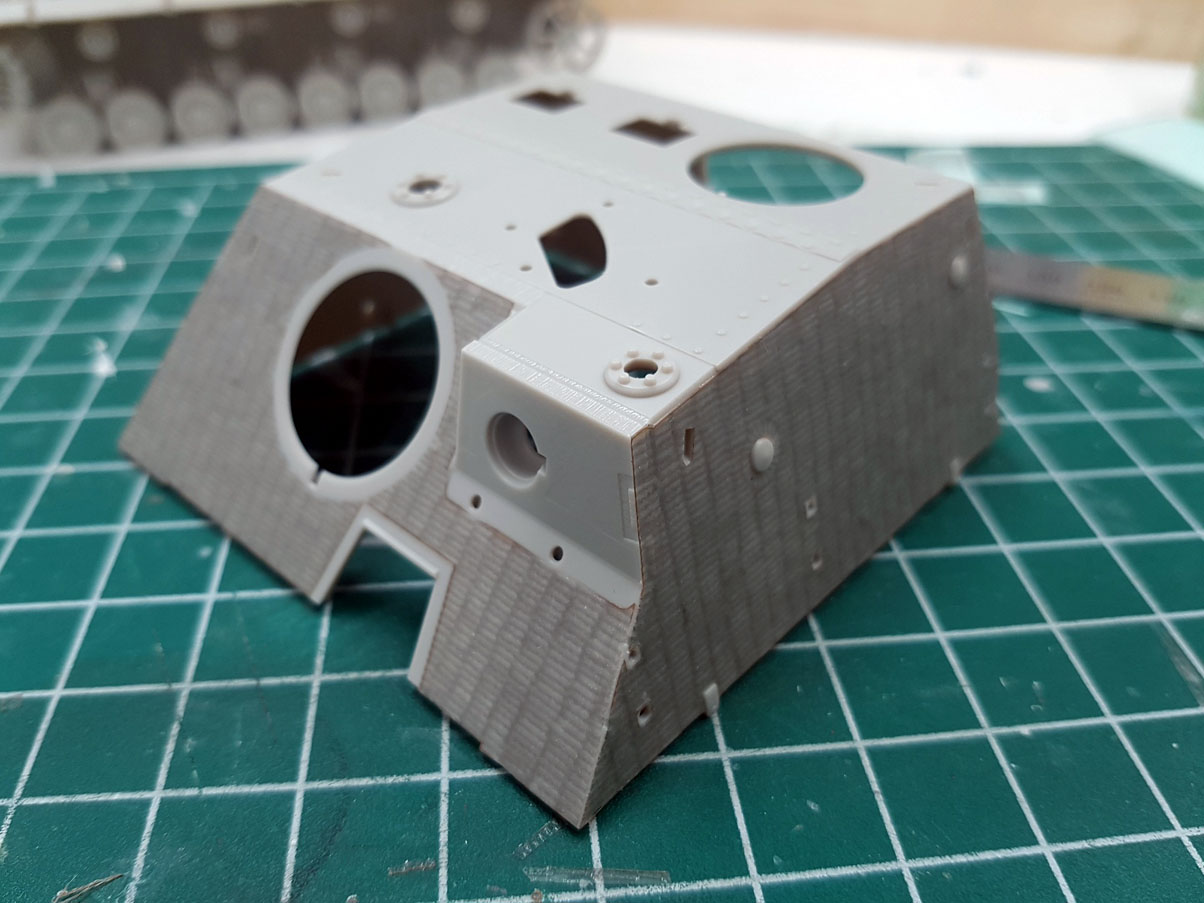
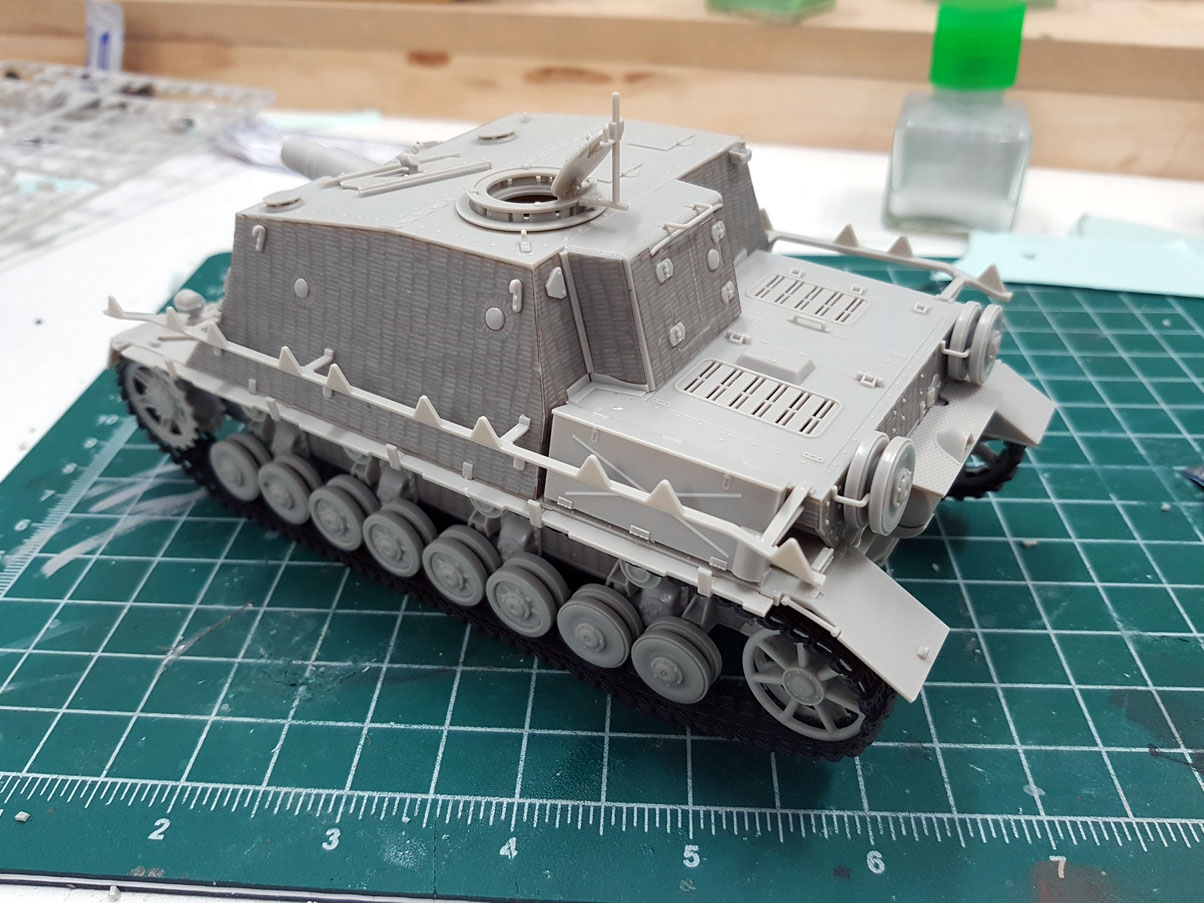


More zimmerit....


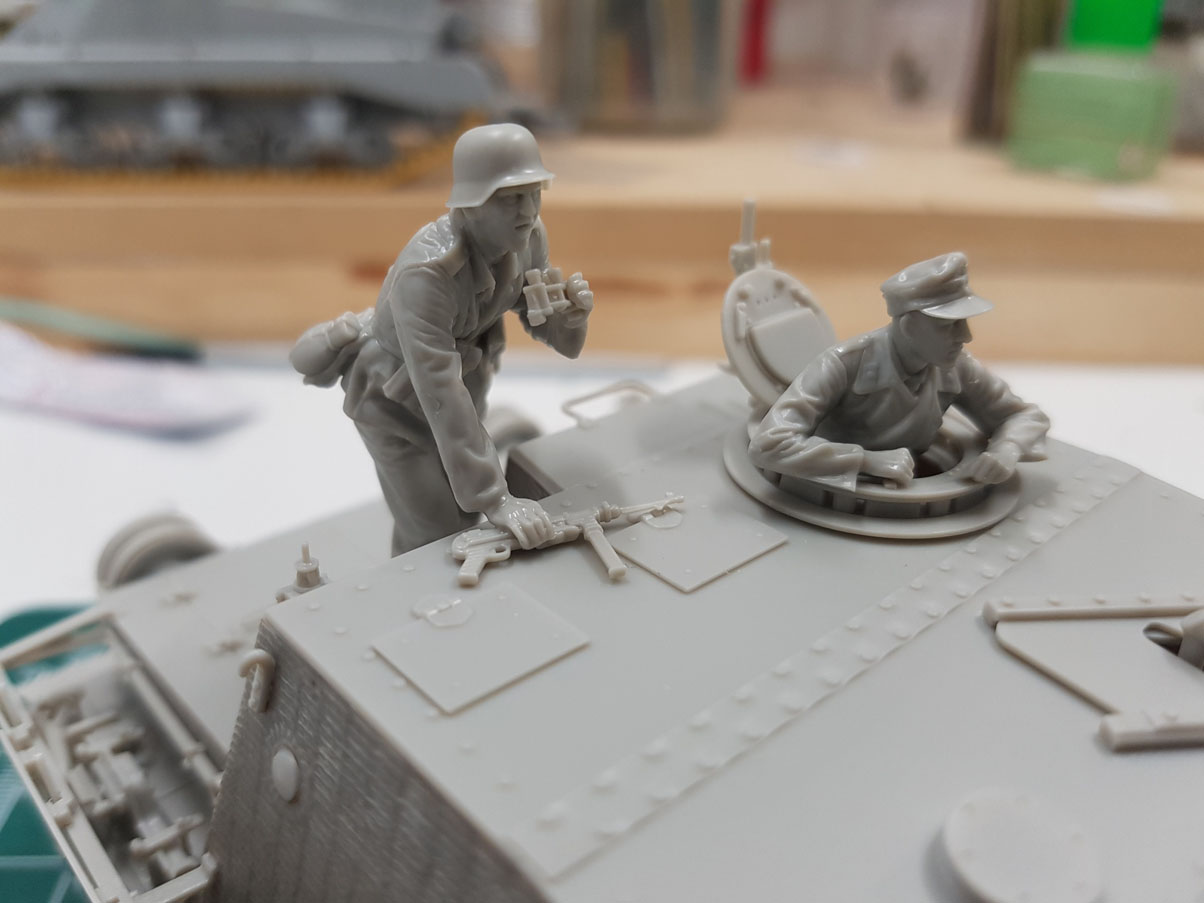
No slide mold technology for the MG34....


Sfl.Zf. 1a sight moves with the gun - nice touch.


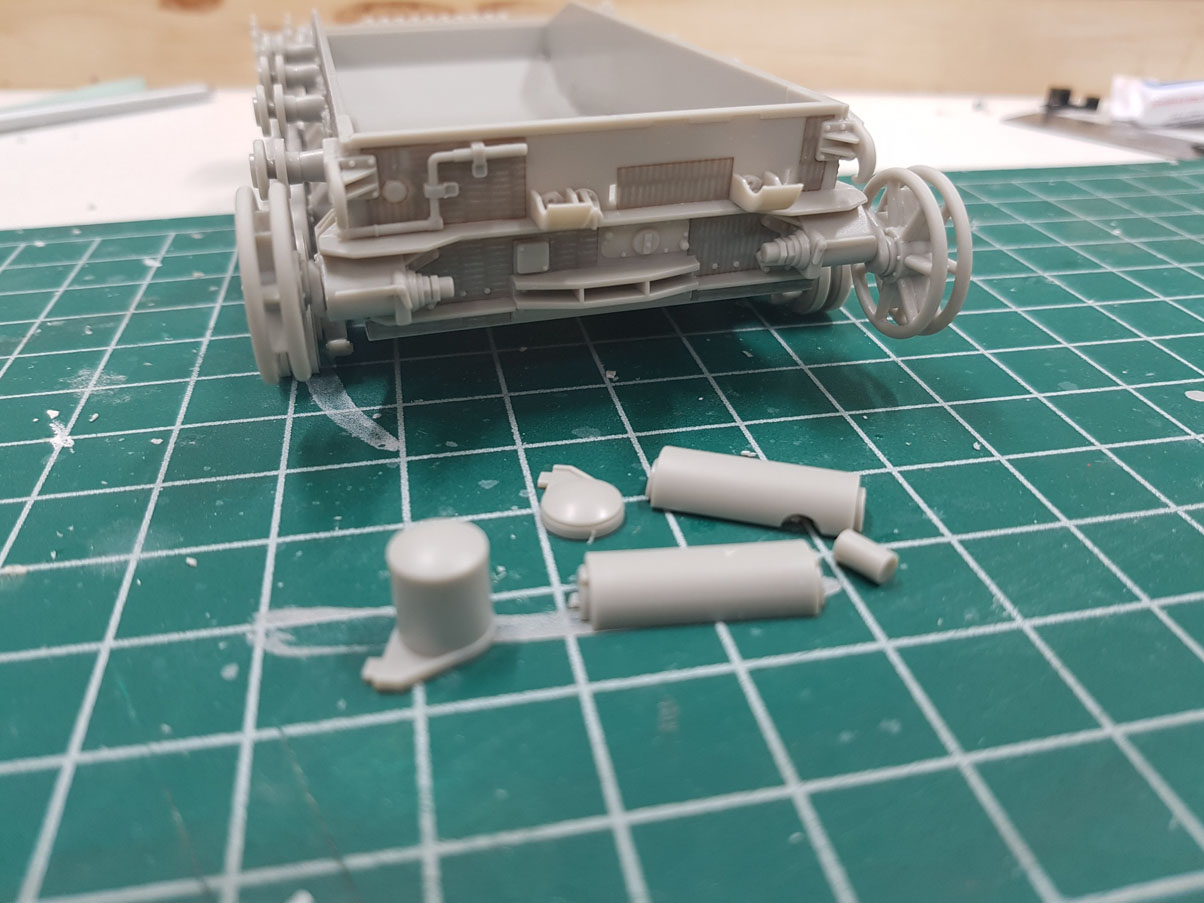
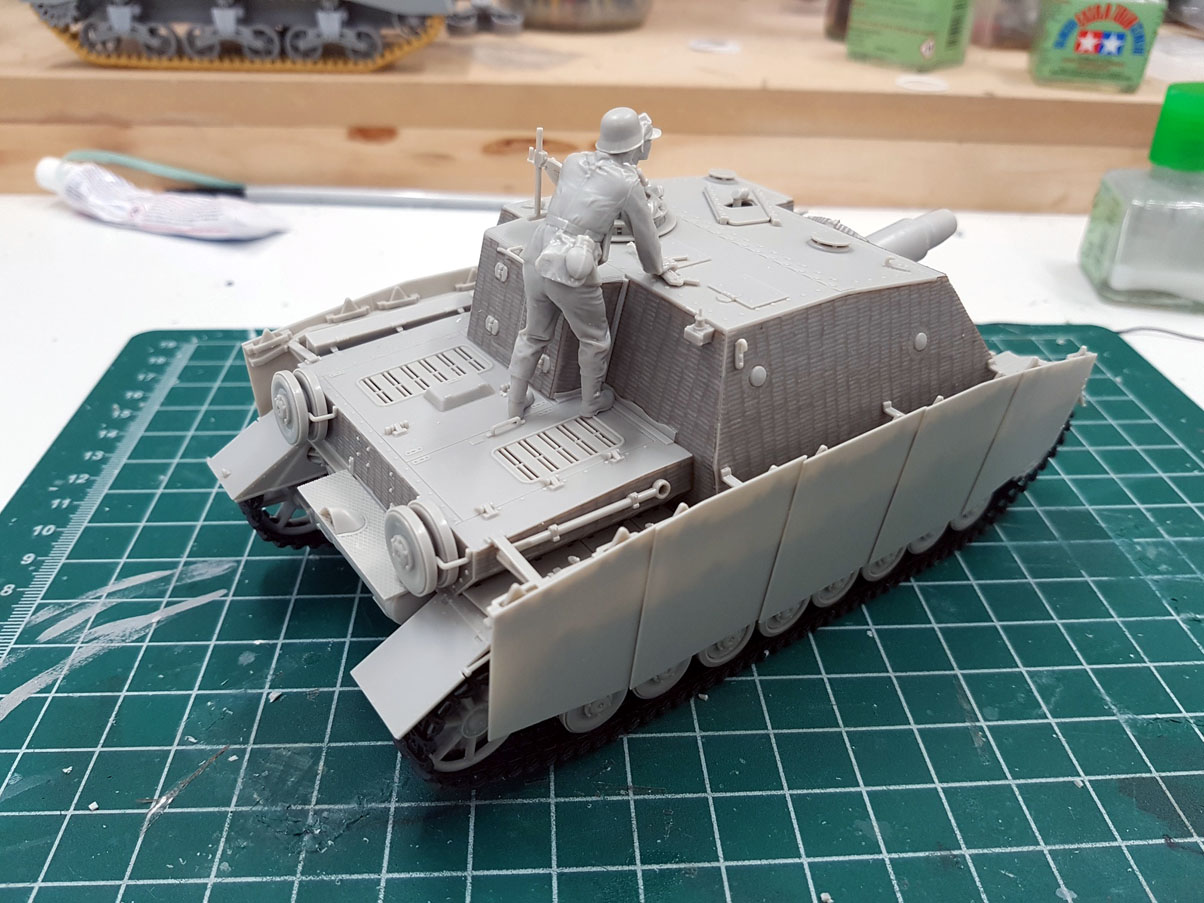
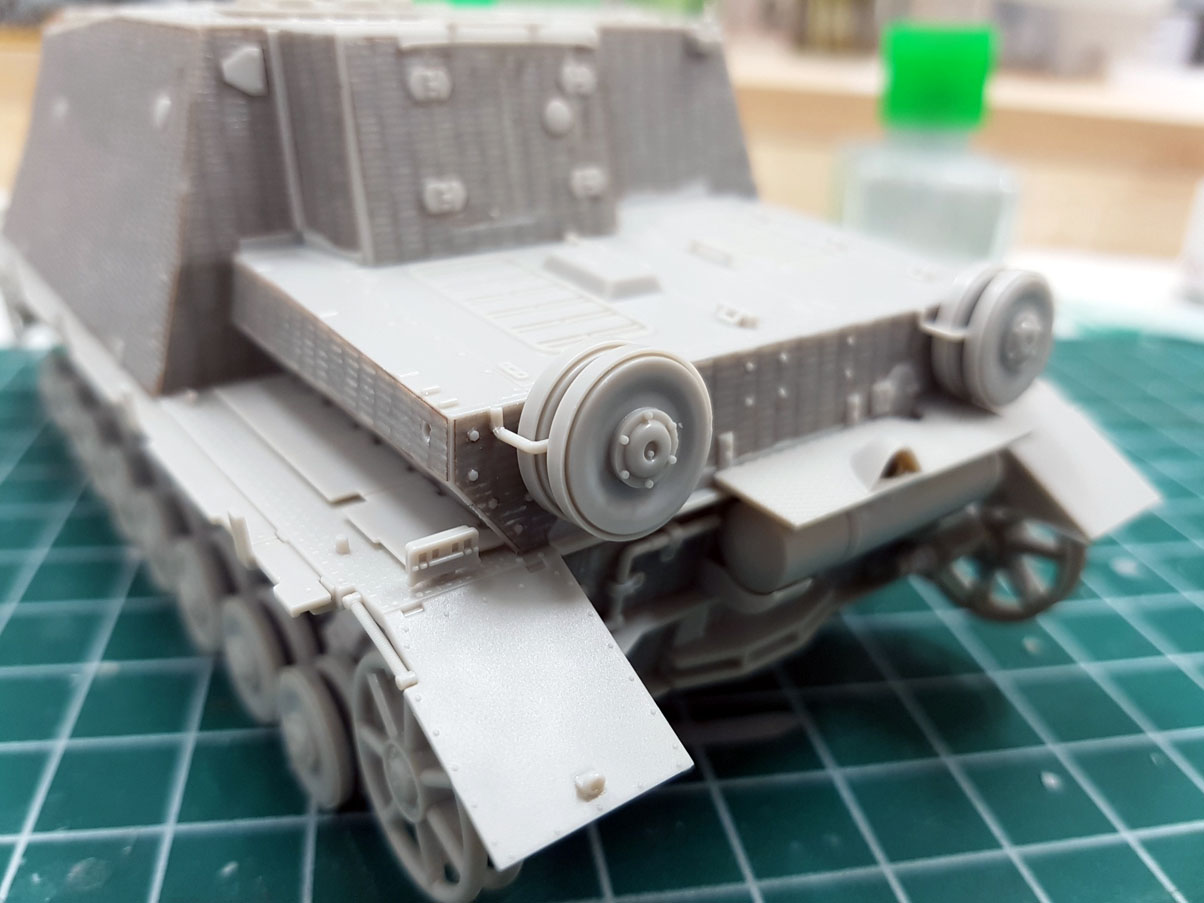
Jack and spare wheels added....


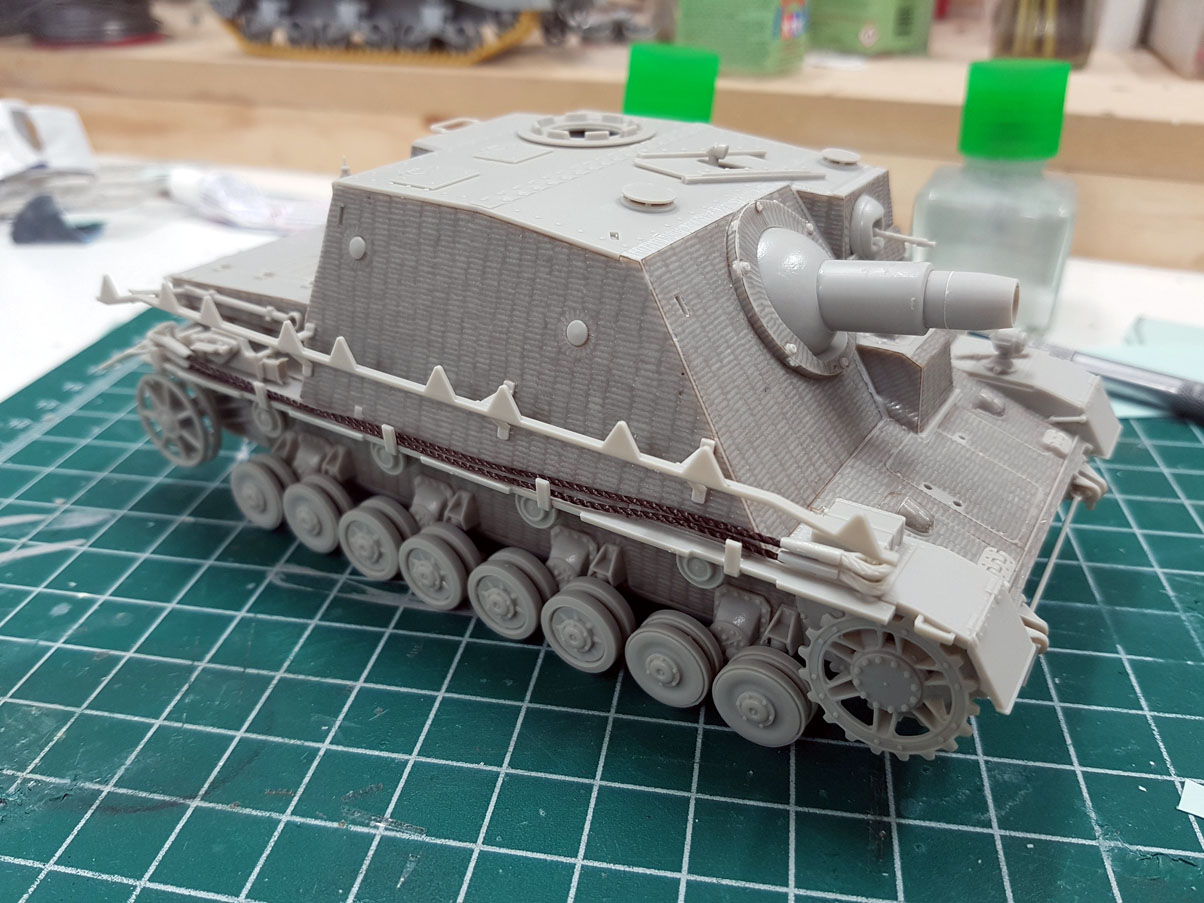
Tow cables. String provided but no slide molding for the tow cable ends. Schürzen hangers go together easily enough....


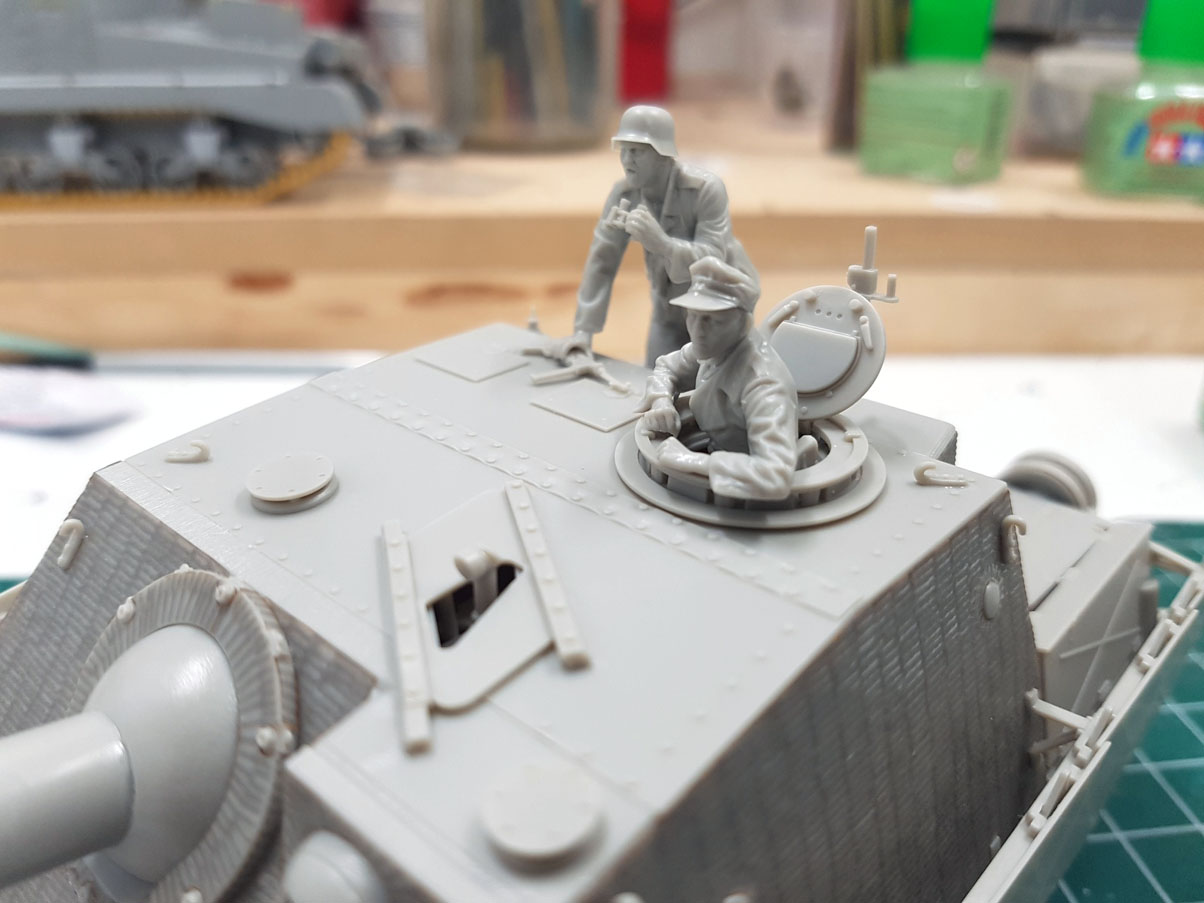
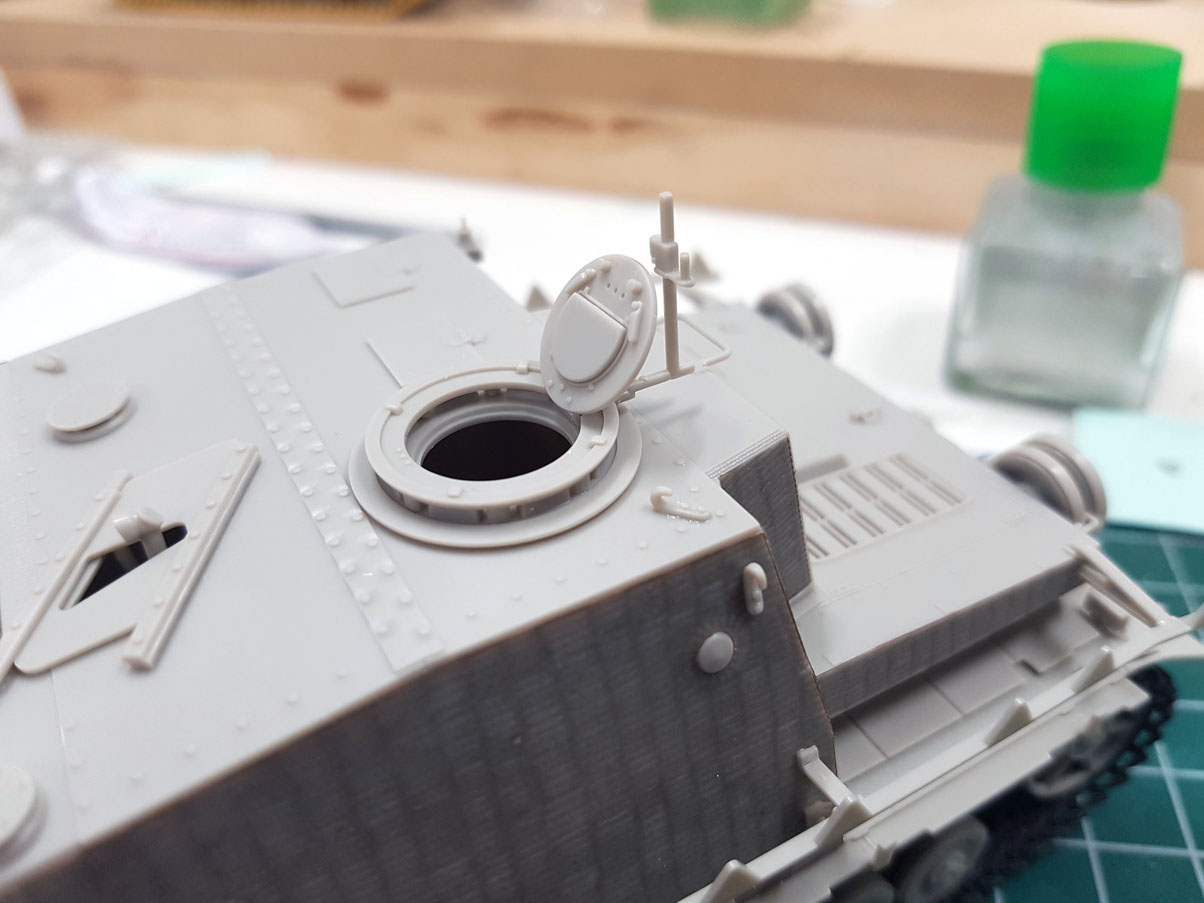
Commander's hatch assembly...


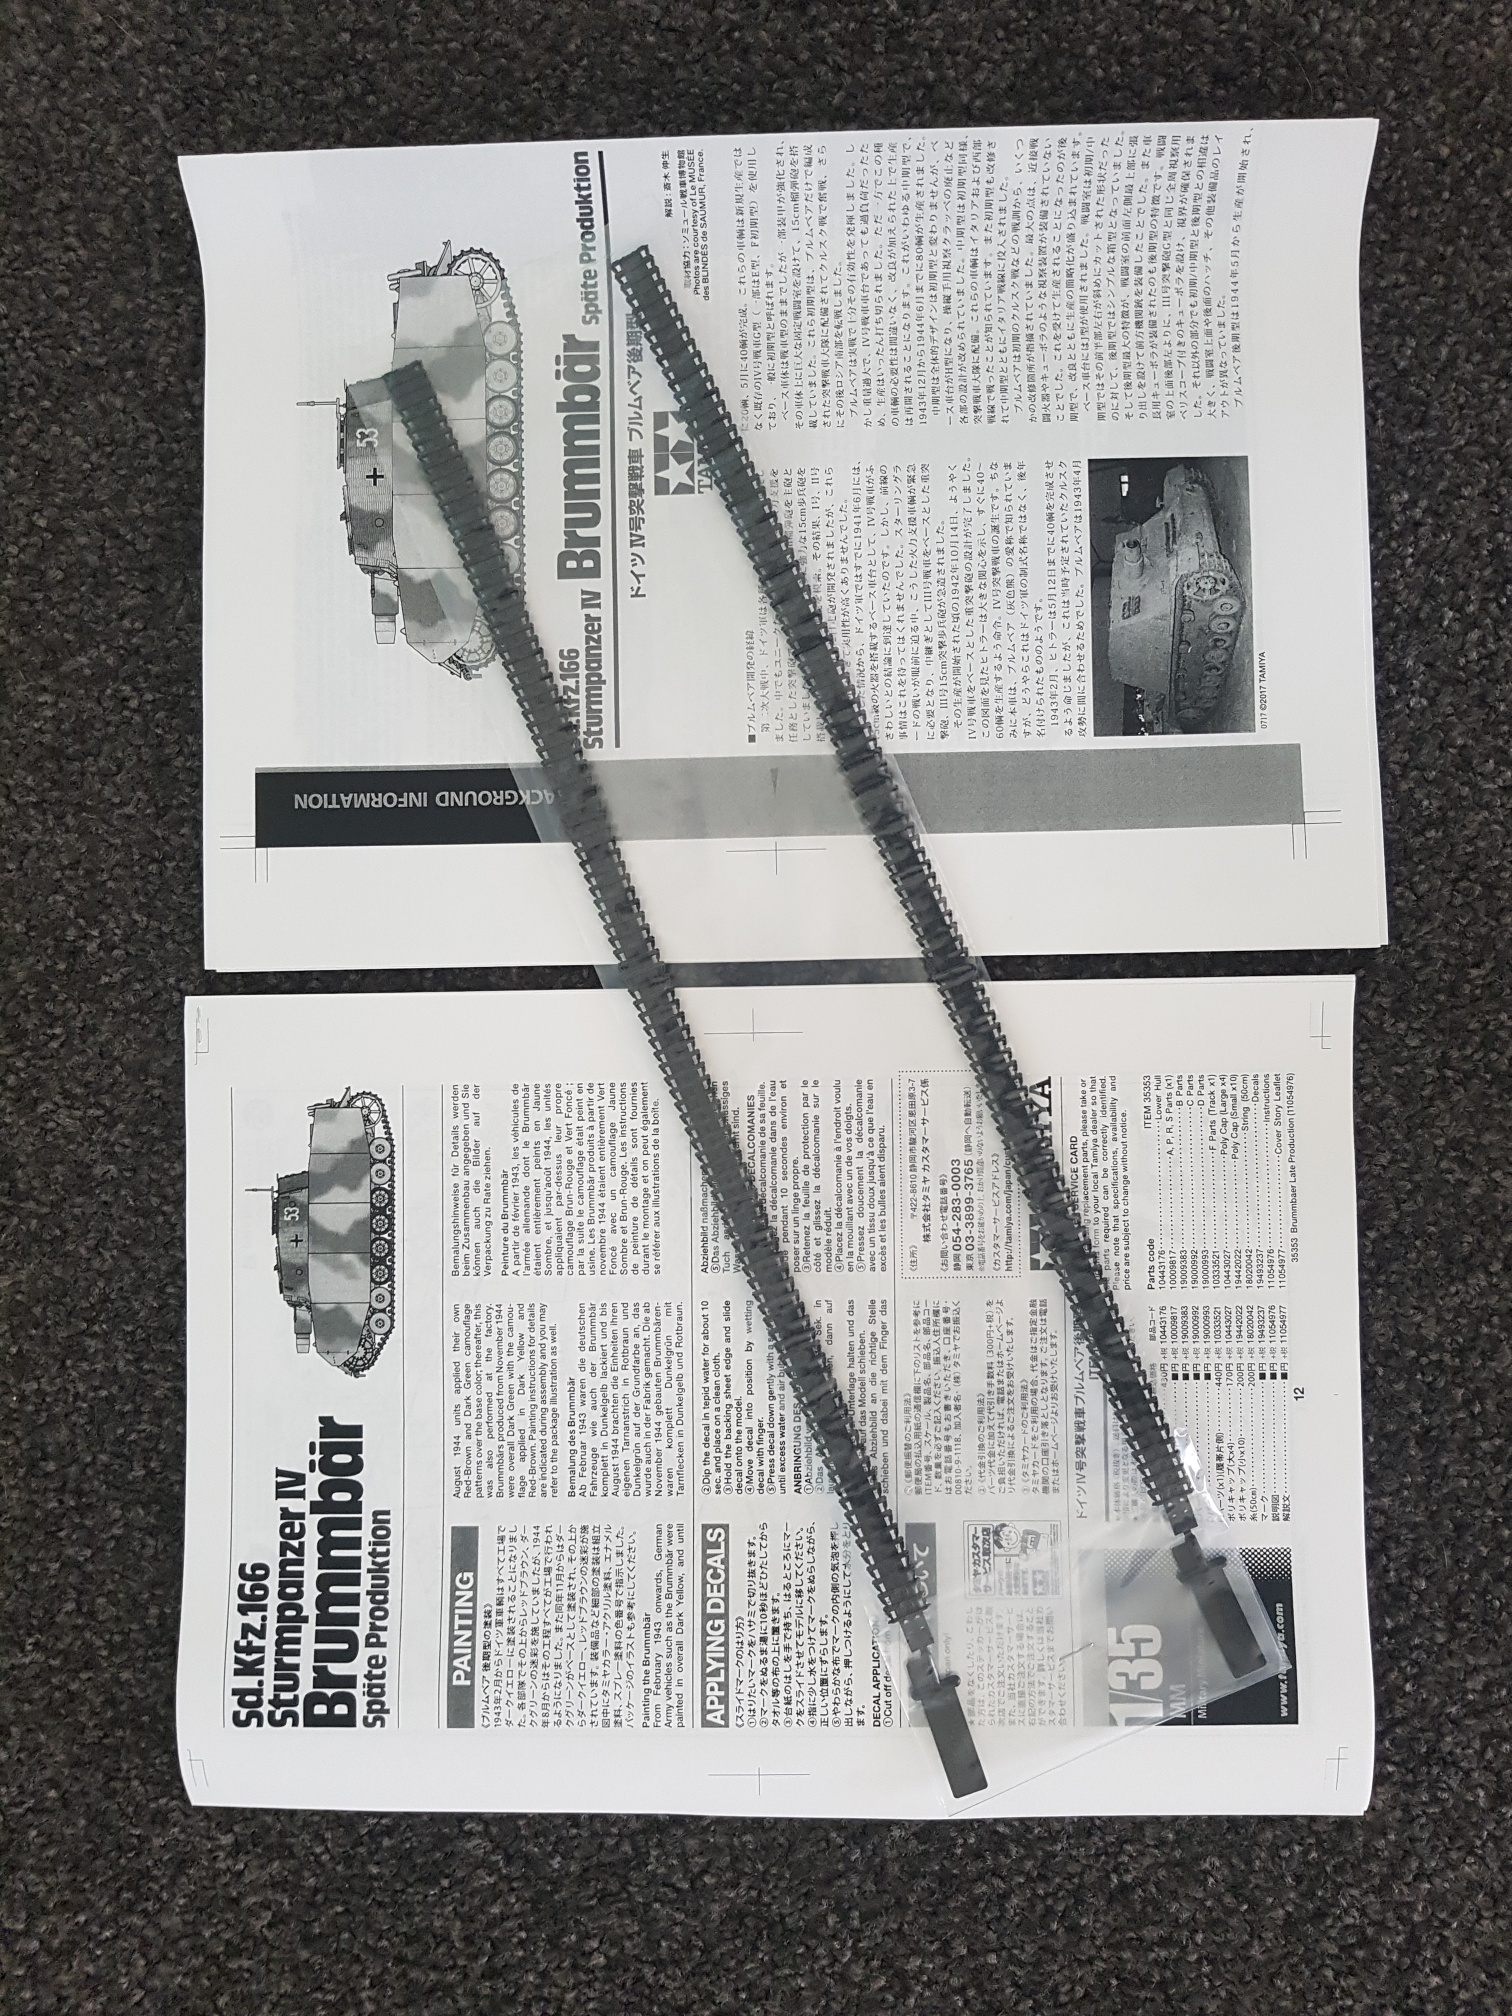
Tracks on. Vinyl type which can be cemented together with styrene glue. I did leave the cement to cure over night before fitting them....


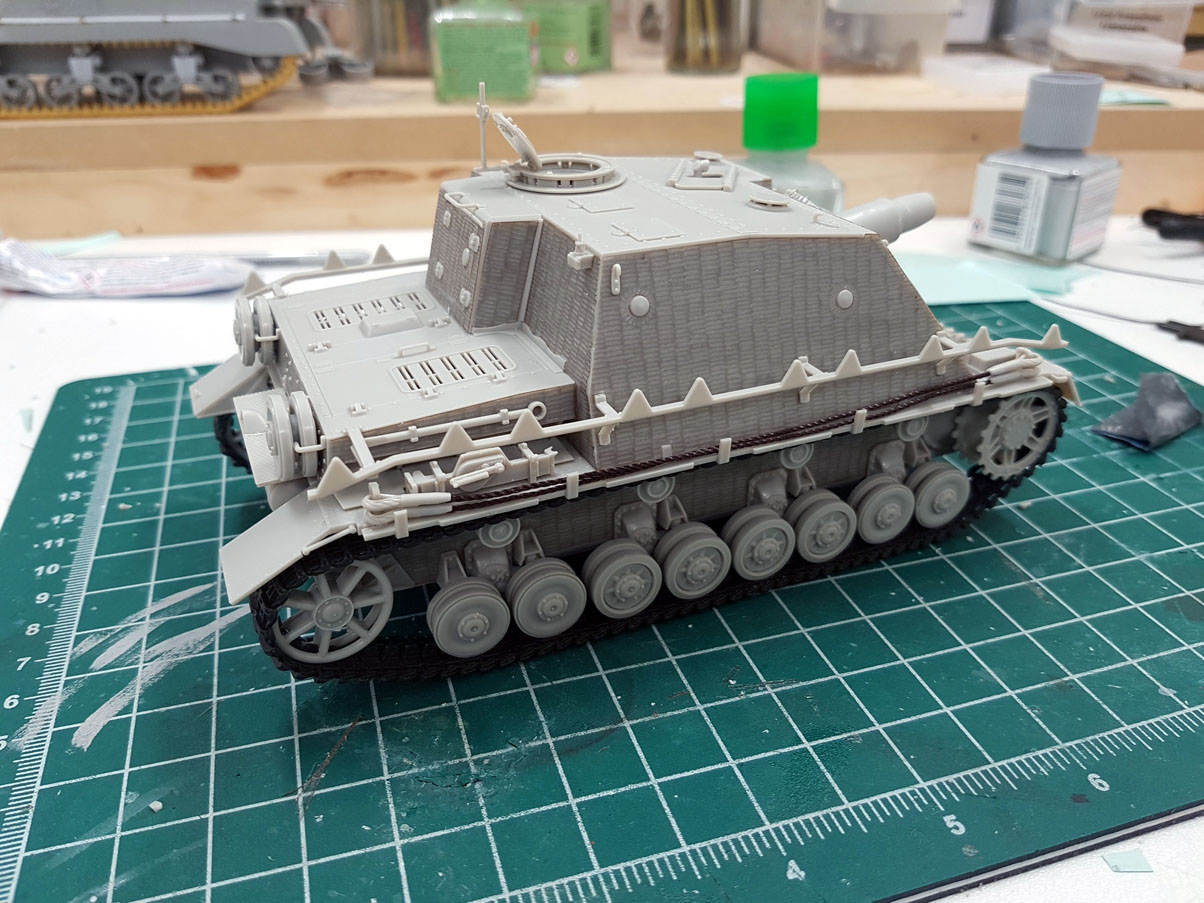
Not for the purists, but they'll be hidden by the schürzen anyway so no need to worry about the typical track sag you'd see on these vehicles.

Gary
d6mst0
#453
Visit this Community
Texas, United States
Joined: August 28, 2016
KitMaker: 1,925 posts
Armorama: 601 posts
Posted: Friday, October 20, 2017 - 03:30 PM UTC
'That is a nice looking model, the fit looks very tight. Could be a winner when it gets released.
Blade48mrd
Visit this Community
Washington, United States
Joined: September 03, 2004
KitMaker: 1,185 posts
Armorama: 810 posts
Posted: Friday, October 20, 2017 - 11:16 PM UTC
Gary -

A highly professional and well thought out presentation. Especially helpful is your showing the individual parts for the sub-assemblies, positioning, and then the parts assembled and in place. The same for the 'zimmerit' cut out and positioning. I used the "Tamiya" Zim for my Tamiya King Tiger (Porsche) and was pleased with the result. This looks to be an enjoyable and quality product for a future build. Again, thanks for a extremely helpful and informative review.

Mike
gastec
Visit this Community
Auckland, New Zealand
Joined: February 03, 2014
KitMaker: 1,042 posts
Armorama: 871 posts
Posted: Saturday, October 21, 2017 - 01:40 PM UTC
Thanks Mike.

Schürzen plates next...


Tamiya helpfully number them so no chance of getting placement wrong. A few pin marks to deal with, but nothing a few scrapes of a sharp blade can't deal with...


Typical Tamiya - couple of figures provided with the kit. Not usually a fan of styrene figures, but have to confess these are pretty good. Excellent poses and part fitment is perfect. Even the foot soldier's personal equipment has recesses in the uniform so parts fit 'naturally'. With a little scribing to improve definition, these will paint up very icely indeed...


And the completed kit....


And that concludes this blog. LHS want it to stay unpainted at this stage for display purposes.

All round a very nice easy kit to build with the bonues of two great figures. No doubt you could go to down and super detail this kit, but essentially nothing really wrong out of the box - just drill out that MG34 muzzle!

Gary

 _GOTOTOP