_GOTOBOTTOM
Armor/AFV
For discussions on tanks, artillery, jeeps, etc.
Bronco MaxxPro Build Log
Maki
Staff MemberSenior Editor
ARMORAMA
Visit this Community
Croatia Hrvatska
Joined: February 13, 2002
KitMaker: 5,579 posts
Armorama: 2,988 posts
Posted: Sunday, February 25, 2018 - 02:11 AM UTC
Hi all,

I'm sure many of you were eagerly waiting for Bronco's MaxxPro to finally appear on the market. Now that the kit has hit the shelves, and after in-box review on Armorama (link) which shows the contents of the kit, I'm about to do a full build review of the model for the site.

So, first of all... the kit is M1224 MaxxPro MRAP from Bronco Models (CB35142).


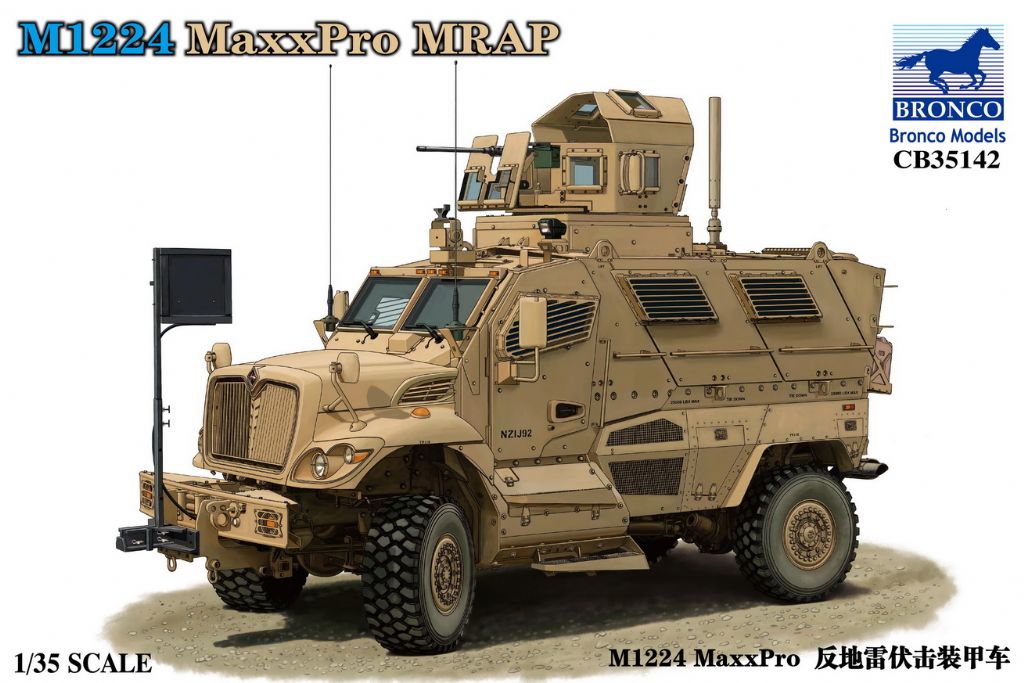
Here are the basics:

878 plastic parts
60 clear plastic parts
59 PE parts
4 vinyl tyres
1 decal sheet
1 instructions

Now, I'm a very slow builder, so I don't expect the model with a total part count of 1001 (!!!) to be done in a couple of weeks... or months for that matter. But MaxxPro has been on my wishlist for a long time, so I plan on doing my best on it. I'm pretty sure I will add some bits to it, resin upgrades and such, to replace things I don't like about this kit... resin wheels come to mind.

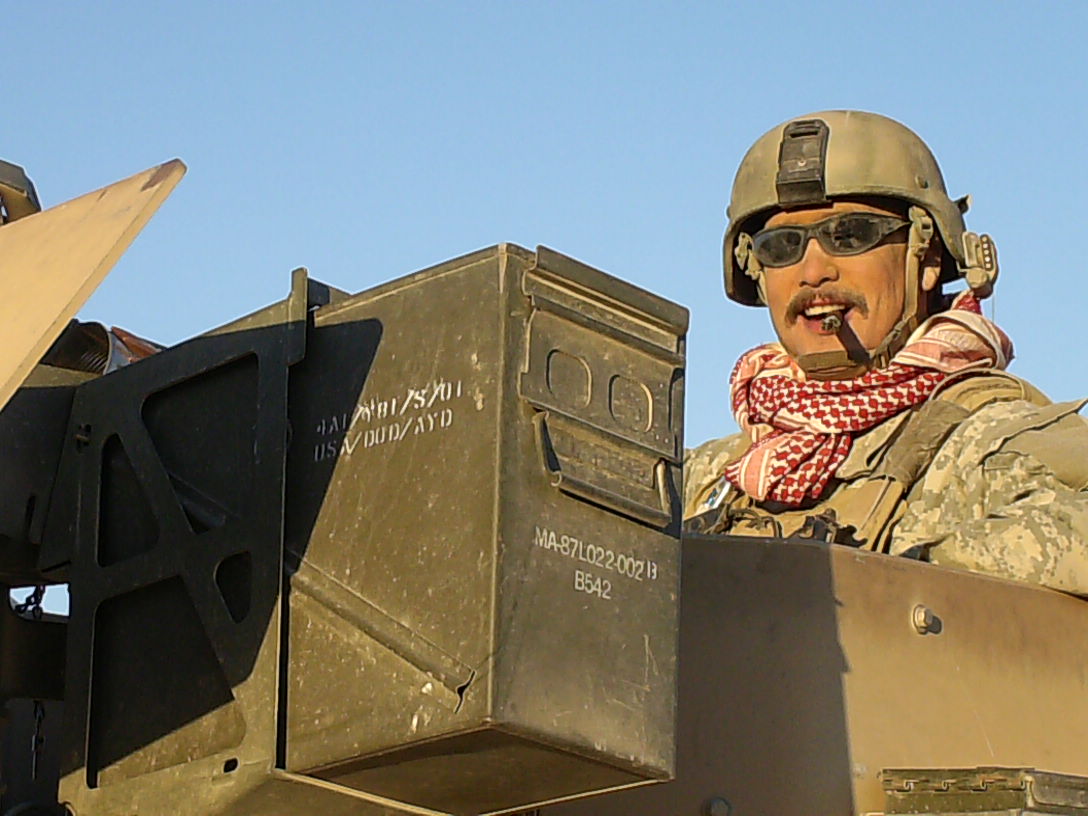
Anyway, I plan on modeling a Croatian vehicle from Afghanistan. My references are WWP's book on MaxxPro which I reviewed some time ago for Armorama (link to review), Robert Skipper's amazing walkaround photo CD, and images of Croatian MaxxPros in ISAF mission.
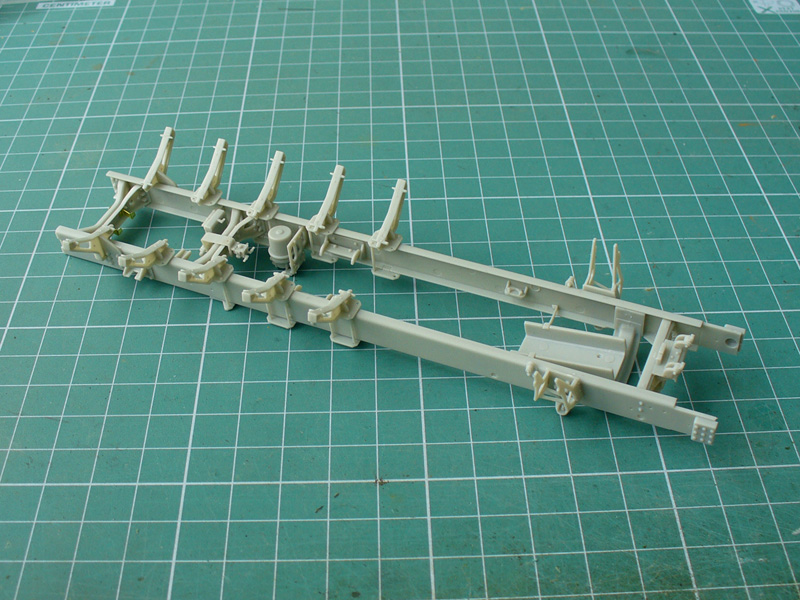
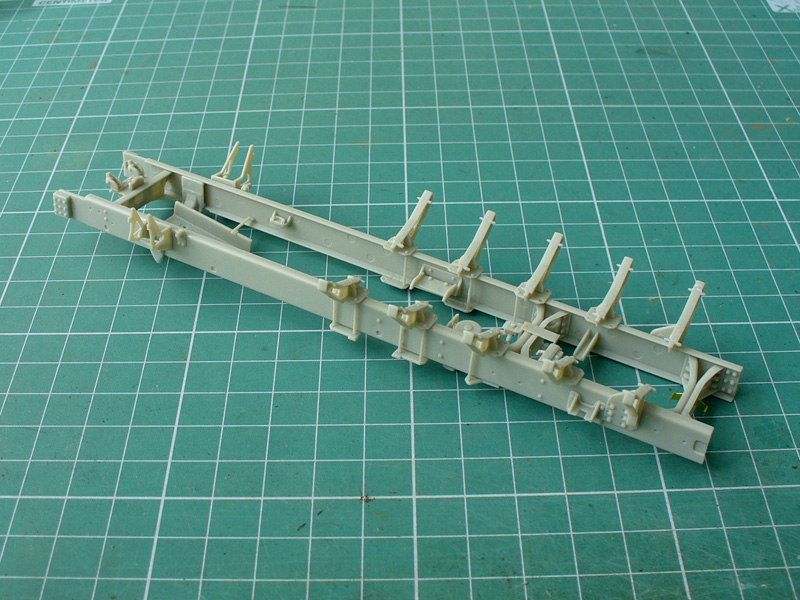
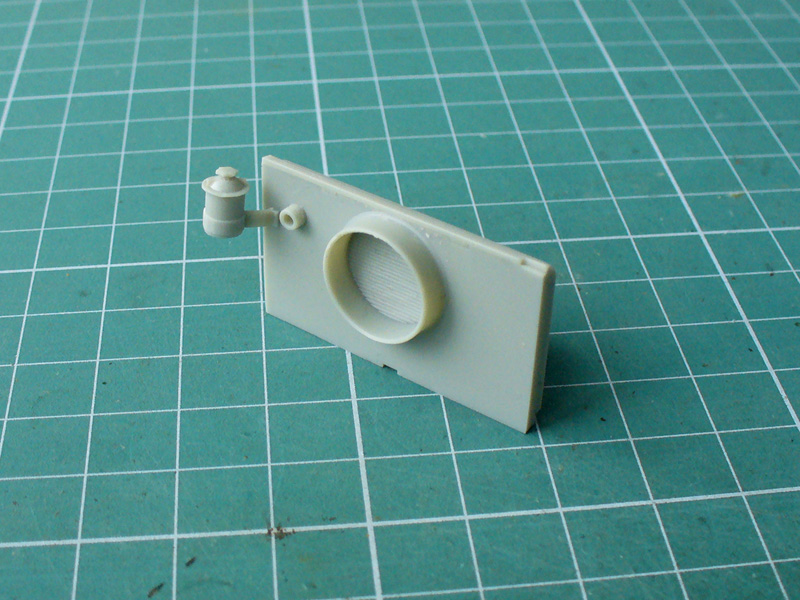
So let's start...

Mario
Maki
Staff MemberSenior Editor
ARMORAMA
Visit this Community
Croatia Hrvatska
Joined: February 13, 2002
KitMaker: 5,579 posts
Armorama: 2,988 posts
Posted: Sunday, February 25, 2018 - 02:33 AM UTC
The build starts with assembling the frame.

Step 1 covers the assembly of left chassis rail. Here it is:


It doesn't look like a big deal, but I counted 33 pieces which need to be cleaned and installed to complete this step. Many of those are very small and delicate so a lot of patience is needed to complete the task.

Step 2 covers the assembly of right chassis rail. Again, over 30 pieces for this one:


This was done in two evenings... A lot of detail and very nice fit, but a lot of cleanup and dry fitting.


Before gluing the cabin body supports, I dry fitted them to cabin floor (part C25) to make sure everything is aligned well.


This is it for now,
Mario
Maki
Staff MemberSenior Editor
ARMORAMA
Visit this Community
Croatia Hrvatska
Joined: February 13, 2002
KitMaker: 5,579 posts
Armorama: 2,988 posts
Posted: Saturday, March 17, 2018 - 01:24 AM UTC
Steps 3, 4,5 & 6... Again, an exercise in patience, but loads of details and the final result looks really nice. I'm comparing the build with the reference photos and Bronco did an amazing job replicating the real vehicle.

Anyway, 44 pieces for putting the two chassis rails together:


For super-detailing these pieces, a lot of wires would be necessary. I'm still not sure if I will be adding those as I'm not sure how much would be visible on the finished build.

I skipped steps 7 & 8, as I'd like some more dry fitting to have an optimal geometry of the front and rear bumpers with the vehicle body.

Instead, I started with the engine, steps 9 & 10:


More soon.

Mario
WXerock
#450
Visit this Community
California, United States
Joined: July 19, 2015
KitMaker: 672 posts
Armorama: 668 posts
Posted: Saturday, March 17, 2018 - 03:42 AM UTC
Mario my friend, I am very excited to see some progress on this beast. Just think that everything you've done so far is a single piece in the Panda MaxxPro. Personally I like this approach much better. So far it is looking great. It will be a build that requires a lot of forethought to ensure it all lines up in the end! Thanks for showing us your process.

Regards,

Eric
GTDeath13
Visit this Community
Attica, Greece / Ελλάδα
Joined: June 12, 2015
KitMaker: 921 posts
Armorama: 919 posts
Posted: Saturday, March 17, 2018 - 04:01 AM UTC
Looking good. I got the Kinetic kit for my build.

What do you think of the Bronco plastic? I have built a couple of their kits and I find it a little soft and that it reacts a lot to glue, so one has to be careful with it.
Maki
Staff MemberSenior Editor
ARMORAMA
Visit this Community
Croatia Hrvatska
Joined: February 13, 2002
KitMaker: 5,579 posts
Armorama: 2,988 posts
Posted: Sunday, March 18, 2018 - 01:29 AM UTC
Thanks for the comment guys.

I was waiting for Bronco kit, as I thought this would be the ultimate MaxxPro. Yes, it does have tons of details, but it seems like the company opted for overengineering most of the assemblies, making the build pretty complex.

Nikos, I didn't have any problems with the plastic. I have to admit I'm a bit rusty when it comes to building a plastic kit as I mostly do resin stuff.

Mario

bat-213
Visit this Community
Canada
Joined: December 30, 2011
KitMaker: 902 posts
Armorama: 788 posts
Posted: Sunday, March 18, 2018 - 04:06 AM UTC
your build is looking good ,and your engine is great ,well done .
18Bravo
Visit this Community
Colorado, United States
Joined: January 20, 2005
KitMaker: 7,219 posts
Armorama: 6,097 posts
Posted: Sunday, March 18, 2018 - 04:57 AM UTC
Very nice build so far!
And for those who don't know, the above mentioned walkaround includes an engine painting guide section.
WXerock
#450
Visit this Community
California, United States
Joined: July 19, 2015
KitMaker: 672 posts
Armorama: 668 posts
Posted: Sunday, March 18, 2018 - 05:45 AM UTC
Mario, will this be a clean build with no paint or are you going to paint and weather it? It seems a shame to not give it one of your signature paint jobs. I recently found and lost a photo of a MaxxPro towing an M1101/M1102 trailer. Google is spotty at work. The trailer was hitched and the rear door was open. With the trailer in the way the door was barely able to swing through half its travel. It was quite amusing. When I get around to building my Panda MaxxPro I might hitch a trailer to it carrying TOW missile crates. Again Mario, great build so far.

Regards,

Eric
 _GOTOTOP