Dioramas
Do you love dioramas & vignettes? We sure do.
Operation Anthropoid
Dioramartin
Visit this Community
New South Wales, Australia
Joined: May 04, 2016
KitMaker: 1,476 posts
Armorama: 1,463 posts
Posted: Thursday, August 02, 2018 - 11:51 PM UTC


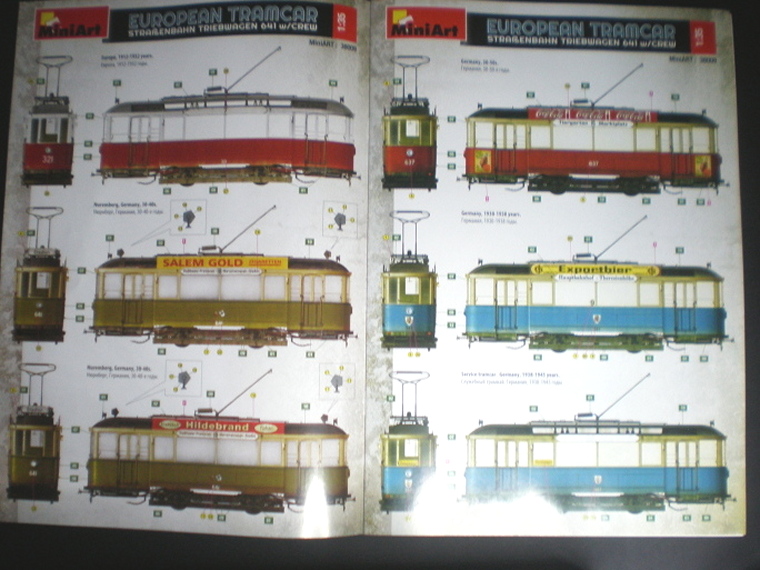
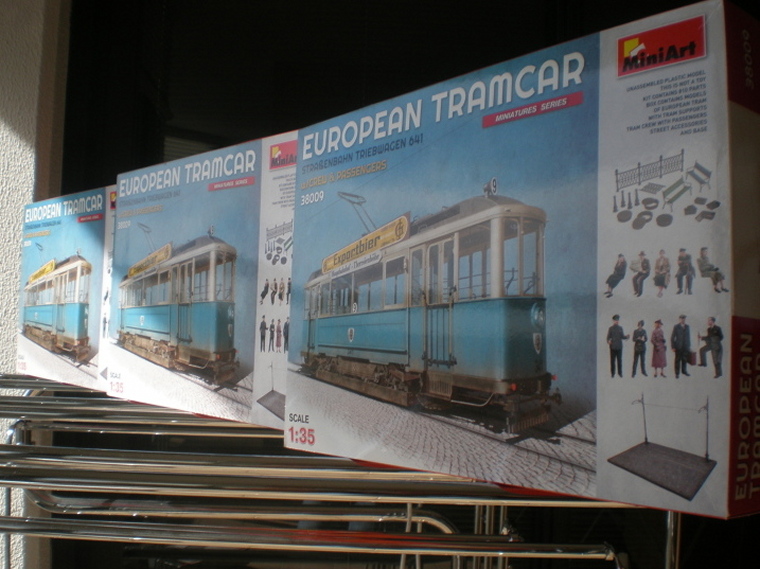
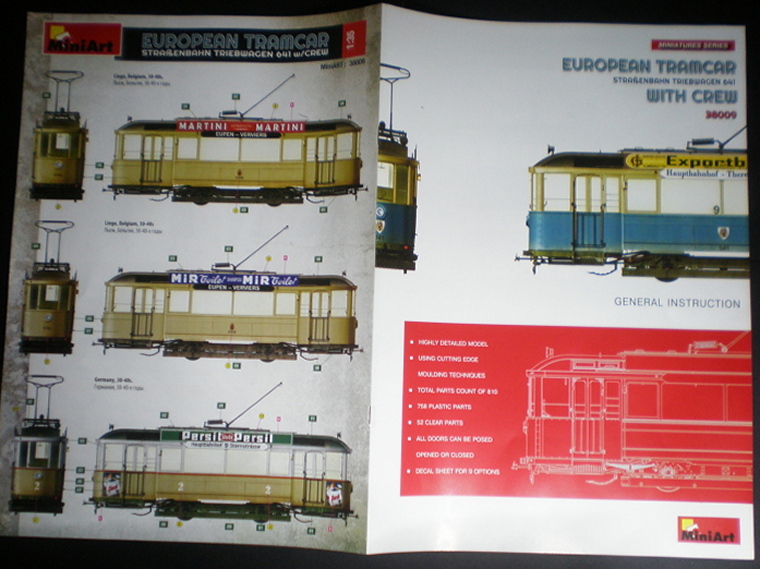
First impressions - superb presentation by MiniArt, the instruction booklet is almost worth binding…


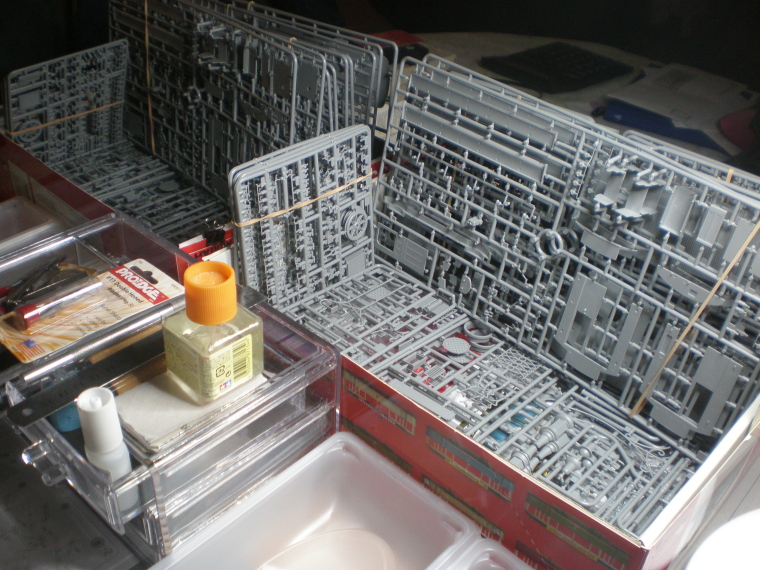
Total parts-count (including the 3 x 10 crew/passenger figures): 2,430 for the trio. Gross tonnage of parts-packs: 3 x 1.75 lbs = 5.25 lbs or 2.4 kilos. Total cost: $ ouch


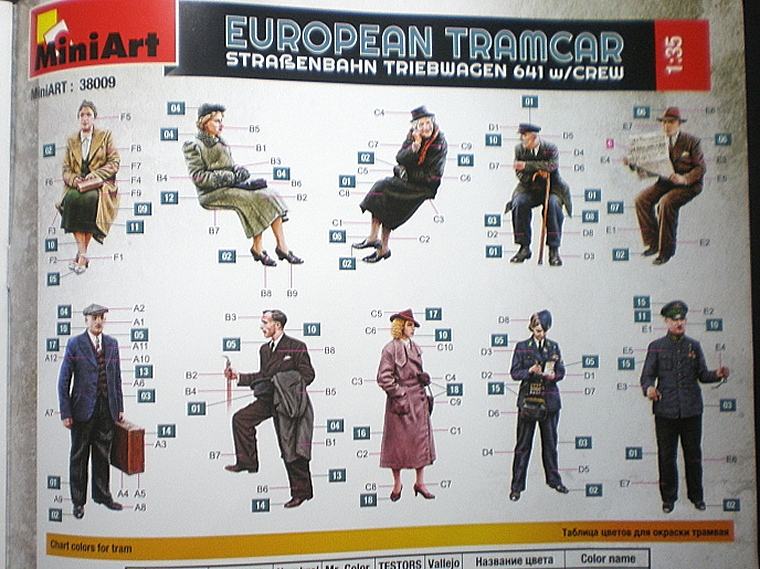
The civilians look good so one set will be as per instructions & the other 2 sets for surgery/variants…


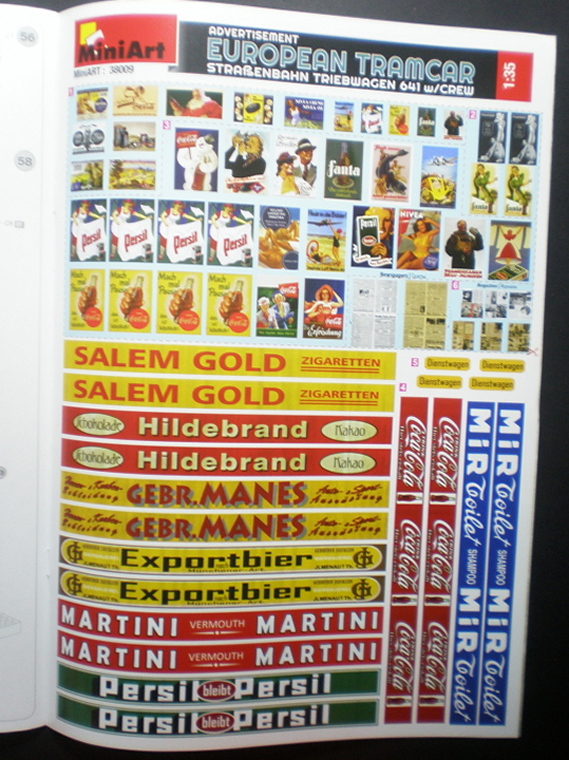
Shame all those ad boards will go to waste, 1942 Prague trams didn’t carry any on the exterior. Few if any would have been appropriate anyway, but I just noticed the handy newspapers & magazines middle-right of page – nice touch, something for my assassins to be reading while they loiter…


But Nil points to MiniArt for packing all 20 sprues plus several transparent ones in a single bag (!), I can see two delicate parts already broken due to inter-tangled sprues before I’ve even opened it. Painting options indicate the earliest model representable (with this apparently standardised driver car) is 1912 which is close enough to the 1909 Prague models required. Armed with those excellent picture refs from Frenchy showing how Prague customised it I’ll be making two 5-window drivers (based on tram #’s 2275, 2222 & 2210) simultaneously…


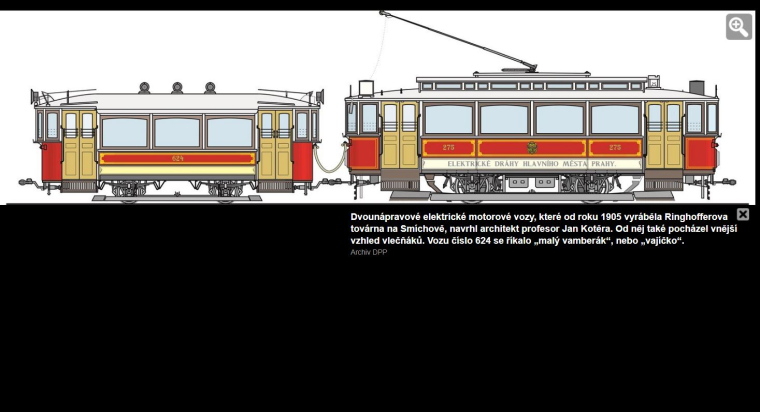
…and the third kit will be converted to the shorter 3-window trailer, based on #’s 640 & 624. Although the driver/trailer combo in the Reconstruction photos isn’t the actual combo damaged in the event, I’ll stick with it because I have no information that the latter was any different - logic suggests passenger traffic required successive 1-driver/1-trailer combos on that line. If this diorama’s preserved it’ll probably be at the point Gabcik & Kubis are fleeing, so the combo will be duly damaged in situ bearing different numbers to the Recon pair.

While I’m calling in a glue tanker, all aboard:

https://www.youtube.com/watch?v=HP_NE4XZGAc


BootsDMS
Visit this Community
England - South West, United Kingdom
Joined: February 08, 2012
KitMaker: 978 posts
Armorama: 965 posts
Posted: Friday, August 03, 2018 - 12:01 AM UTC
Well done Tim, keep at it! Your perseverance is inspiring.

(This is why my dioramas hardly ever come to fruition - I have the ideas yet lack the staying power).

I suspect that "glue tanker" might have to be in the plural; good luck!

Brian

Dioramartin
Visit this Community
New South Wales, Australia
Joined: May 04, 2016
KitMaker: 1,476 posts
Armorama: 1,463 posts
Posted: Friday, August 03, 2018 - 12:12 AM UTC
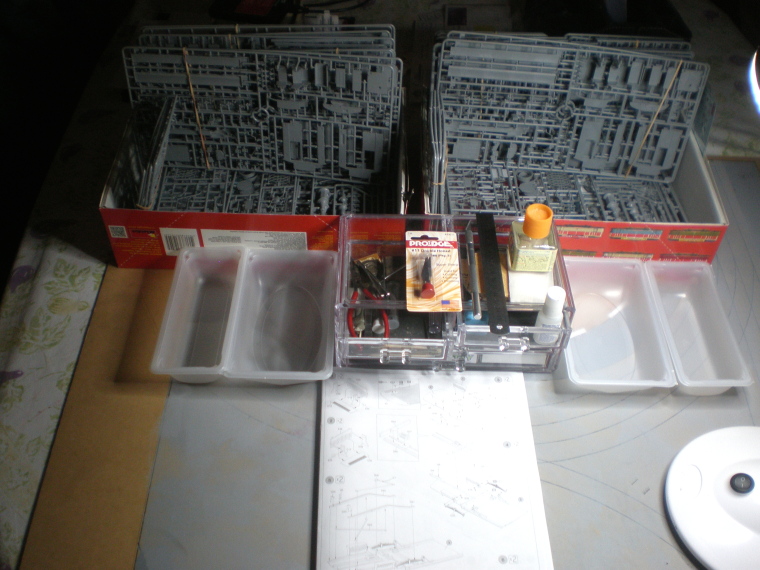
Thanks Brian – well you can see I’ve got stereo kits on the workbench but only 1 glue pot half empty. It’s driving me nuts already – chassis construction involves making the front & back halves simultaneously, so for example there are two steps on either side at the front..& at the back…and then there’s the other tram…so straight away, 8 lots of steps, and it’s going on like that, make 8 of everything & try not to get confused

maartenboersma
Visit this Community
Noord-Holland, Netherlands
Joined: October 10, 2010
KitMaker: 764 posts
Armorama: 742 posts
Posted: Friday, August 03, 2018 - 12:45 AM UTC
Your building 3

I have build one ,and that was enough (great kit nevertheless)
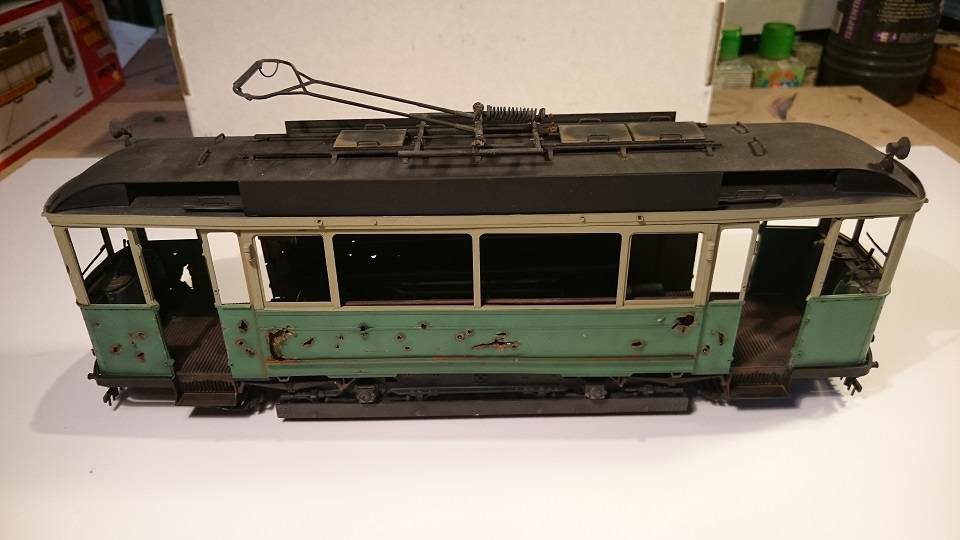
In the end i shot it up !


Anyway ,looking forward to the rest of this LARGE Diorama
Dioramartin
Visit this Community
New South Wales, Australia
Joined: May 04, 2016
KitMaker: 1,476 posts
Armorama: 1,463 posts
Posted: Sunday, August 05, 2018 - 12:39 AM UTC
Thanks Maarten, that looks superb & I’m taking notes – presumably Berlin 1945, you didn’t go with any advertisements…?

Deep into the undercarriage(s) sections now & wondering why so much effort expended on ridiculously fiddly, delicate & unseen details…unless it’s lying on its back or side…so I have no idea why I’ve assembled it as directed. Because it’s there, or because I’m nuts? Two schools of thought about that but I’d prefer a plain underside & MiniArt instead concentrate resources on what can be seen – like some real brass handrails either side of the doors would have been nice. But it’s still looking like a great production & the softer-than-usual plastic is making amendments easier to cut in/out...makes it easier to slice myself with the extra-sharp blades too, had to go into 1/35 scale triage twice yesterday (I’m a slow learner), production temporarily suspended & typing with little fingers now…
panamadan
Visit this Community
Minnesota, United States
Joined: July 20, 2004
KitMaker: 1,513 posts
Armorama: 1,449 posts
Posted: Sunday, August 05, 2018 - 12:53 AM UTC
Looking forward to seeing a tram being built!
All aboard!
Dan
jrutman
Visit this Community
Pennsylvania, United States
Joined: April 10, 2011
KitMaker: 7,941 posts
Armorama: 7,934 posts
Posted: Sunday, August 05, 2018 - 02:29 AM UTC
Great googly moogly man ! That is one giant BOATLOAD of teeny parts ! About 10 or 12 years work for somebody like me !
J
JPTRR
Staff MemberManaging Editor
RAILROAD MODELING
#051
Visit this Community
Tennessee, United States
Joined: December 21, 2002
KitMaker: 7,772 posts
Armorama: 2,447 posts
Posted: Sunday, August 05, 2018 - 02:47 PM UTC
Tim,

I look forward to your next installment.

I'd love the tram model but I don't have the guts to tackle it!

Sean50
Visit this Community
Manche, France
Joined: March 20, 2007
KitMaker: 340 posts
Armorama: 328 posts
Posted: Monday, August 06, 2018 - 03:43 AM UTC
Tim

This whole project is truly inspiring!
Three trams.... Bon courage!!

As I've said before, I really wish I had that level of commitment.

Maarten, your finished tram looks incredible

Cheers

Sean
justsendit
Visit this Community
Colorado, United States
Joined: February 24, 2014
KitMaker: 3,033 posts
Armorama: 2,492 posts
Posted: Monday, August 06, 2018 - 04:19 PM UTC
Hi Tim,
You do have your work cut out for you with those trams. I have personally seen the insides of that box and sweat vicariously as you progress.😅

Marveling at your accomplishments with this project thus far. Keep up the awesome work, buddy!

Cheers!🍺
—mike
Dioramartin
Visit this Community
New South Wales, Australia
Joined: May 04, 2016
KitMaker: 1,476 posts
Armorama: 1,463 posts
Posted: Thursday, August 09, 2018 - 01:57 AM UTC
Dan, Jerry, Fred, Sean, Mike – thanks guys, it is a bunch of plastic but at least 67% of the weight is sprue! Even so those twin open boxes are a daunting sight every day so I’m humbled if this is inspiring, because it’s really all you guys who take the trouble to post (and the lurkers who give good…lurkage?) that inspire me, it’s much appreciated. So hang on there’s a few tight bends ahead…

I’ve mentioned sprue/packing issues already, a couple of examples here with apologies in advance for the bad attitude but when I’m paying US$67 a pop I have high expectations…
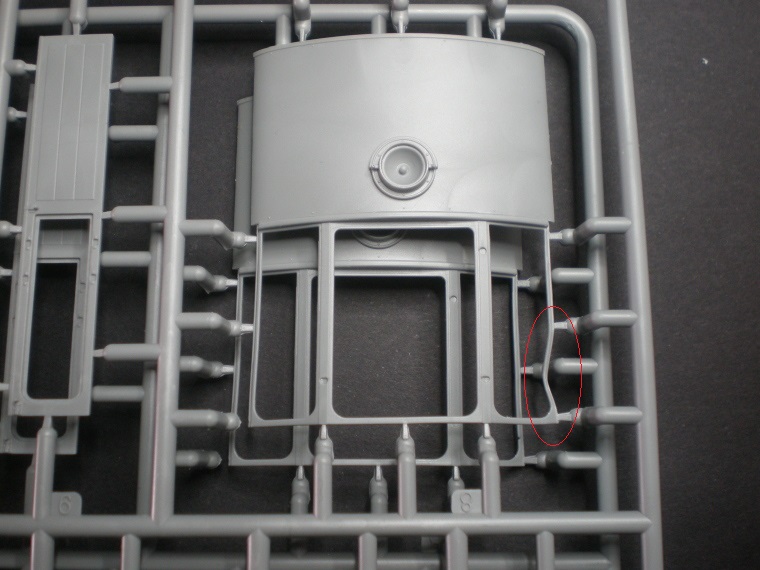


This is really soft plastic & the support on the lower sprue has provided an anvil on which the window frame of the upper part has been hammered - preferably it should have broken cleanly, easier to re-glue while still on the sprue. This deformation took time & weight to achieve, all jammed together in that brainless single bag in the box for who knows how long. It won’t bend back into a straight line because it’s stretched too much so it’ll need a replacement strip.
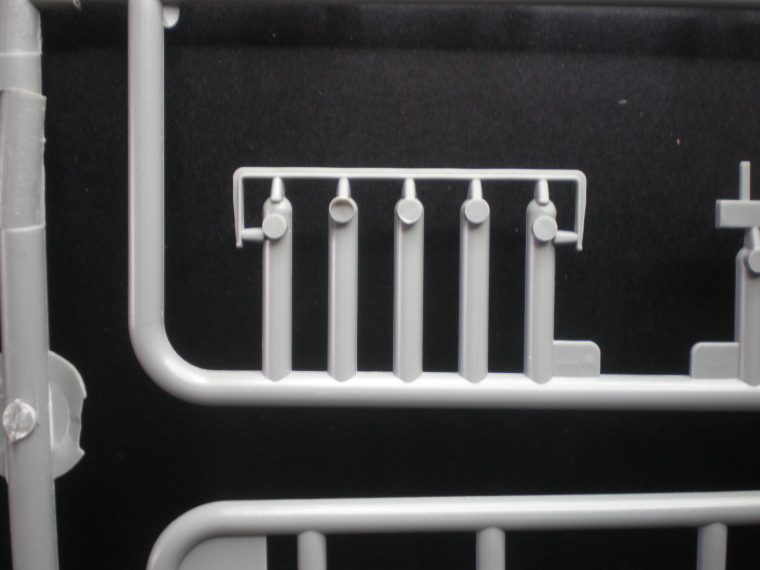


Above is one of several examples (so far) of idiotic sprue-ing...this item’s about 2 cms/1” wide. What was wrong with a thick protective frame round it and just 2 attachment points? Cutting that off & cleaning it up (four times) was an unnecessary pain, it’s quite visible on the tram as the lateral support for the swinging coupling so no way of hiding it. My theory is that the MiniArt CAD operators are verging on geniuses in terms of what they design, but I don’t believe they’ve ever actually constructed one of their own kits. The evidence piled up while making their Quad machine gun/GAZ truck last year & there’s a clincher coming up below.

Into construction meanwhile, first departure from script on page 1 of the instructions - the fenders of Prague trams were featureless so off came the detail…
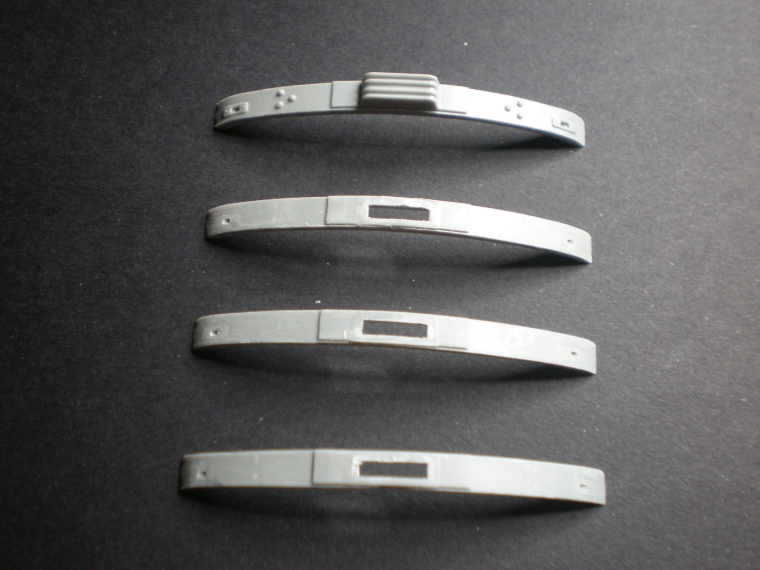


I’ll leave fabricating the Prague-specific “cow-catcher” arrangement under the front coupling until later in the build. Otherwise plain-ish sailing to complete the aforementioned fiddly/mostly invisible undersides, keeping up a scorching pace racing to Step 8 of um…59…
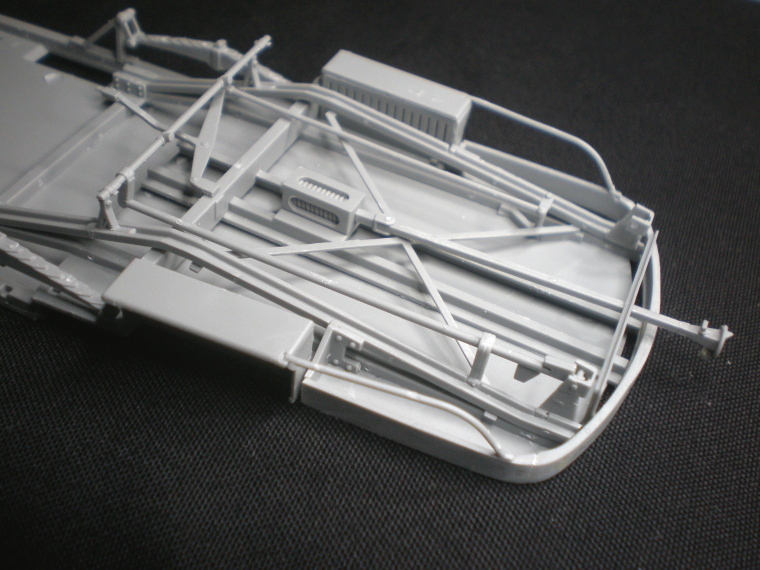


Cleaned up fender…
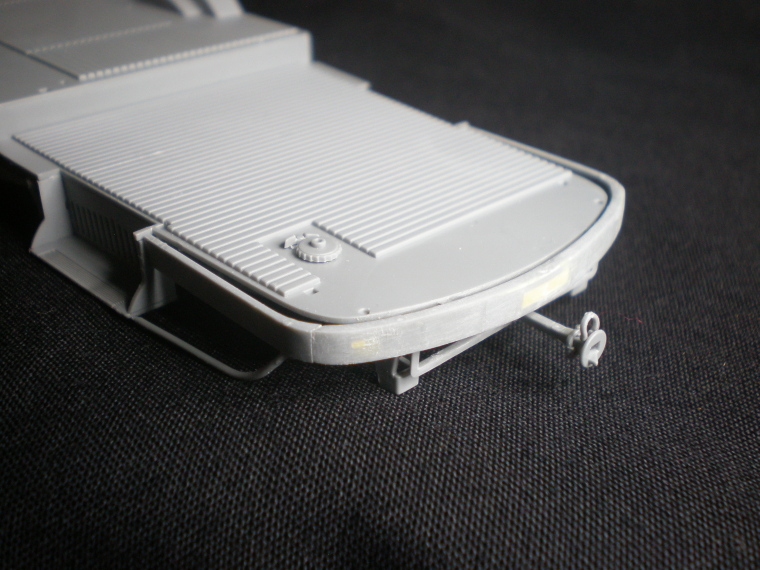


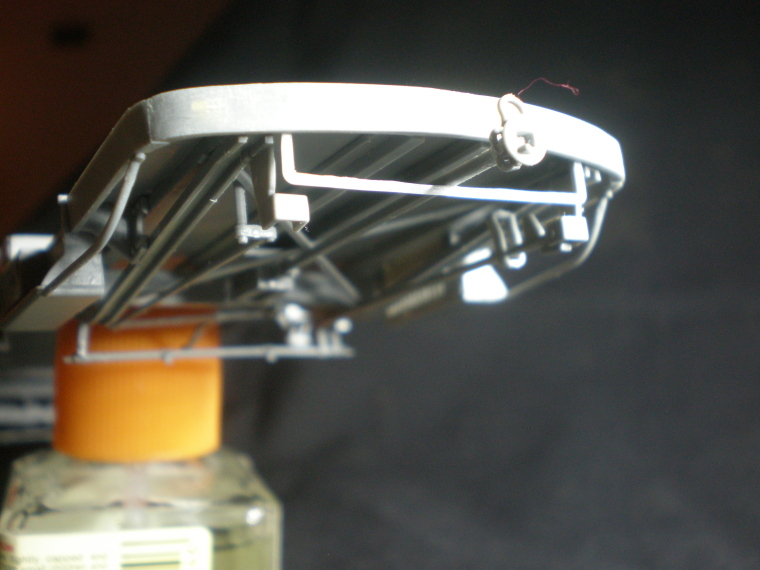
…and the..,er…vitally important loose red wire hanging off the front coupling…


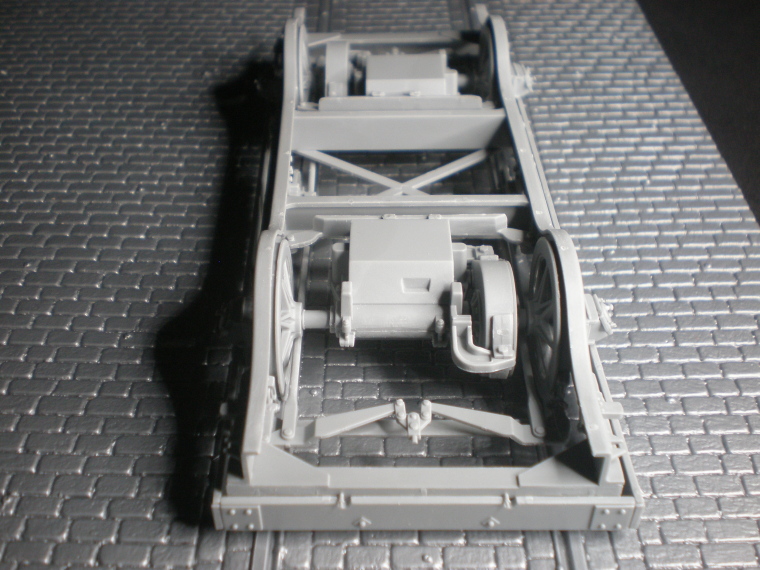
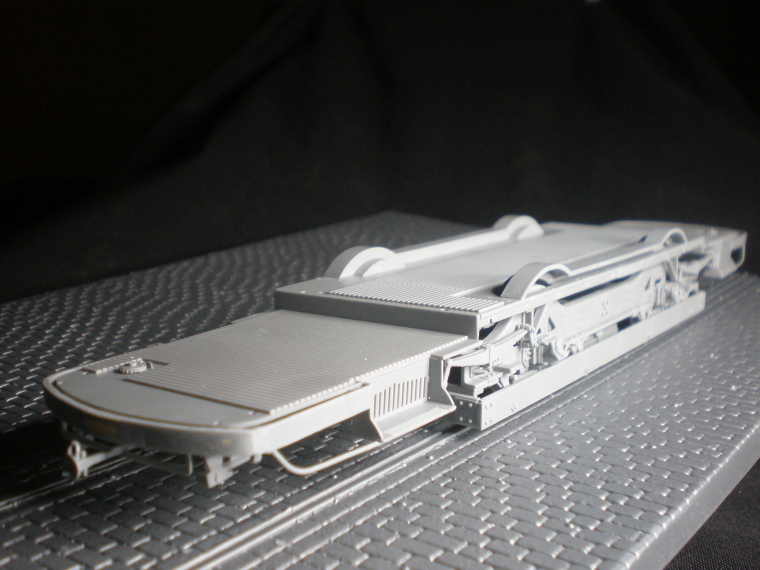
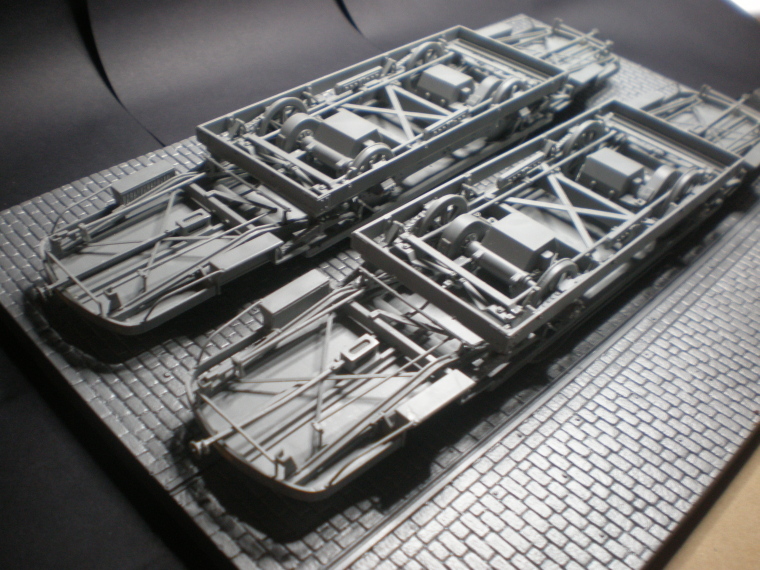
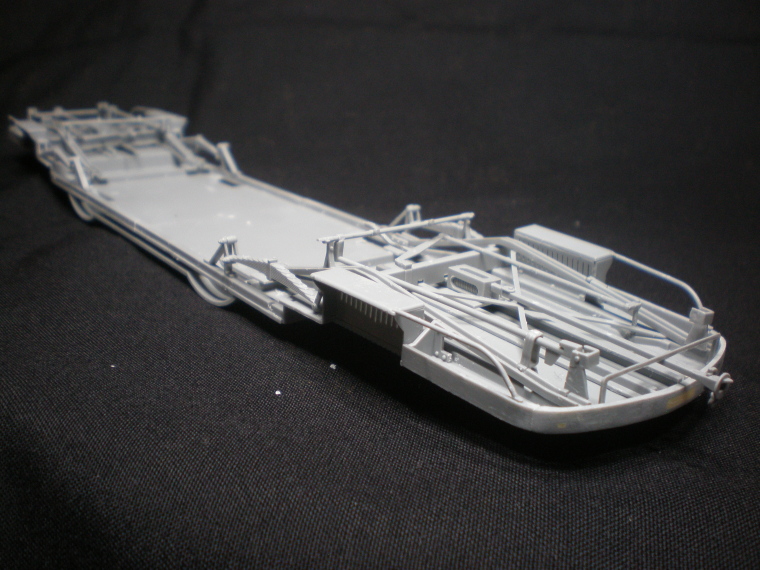
So having made all four halves it was time to pair them off. Here’s what a joined-up pair looks like from above…
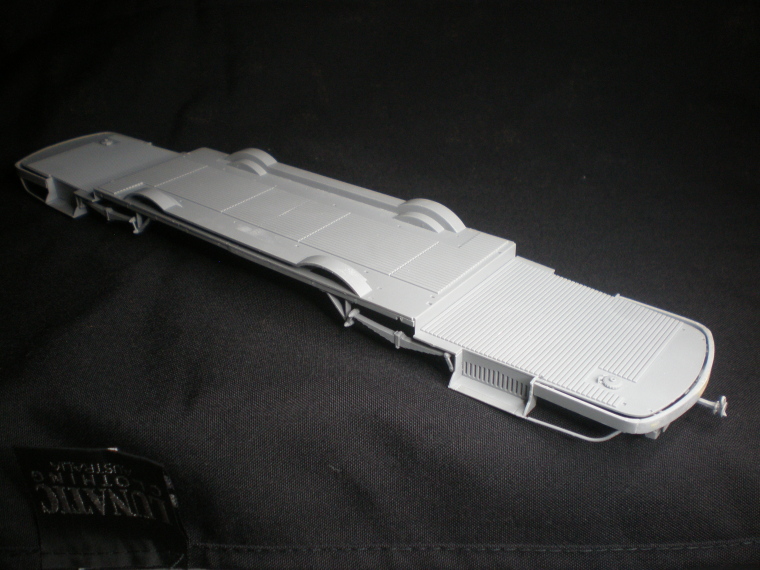


(that’s my fashion label alright)…and below…


“So Tim joining ‘em up was easy huh?” You bet, just check out the carefully designed, solid, positive attachment points:
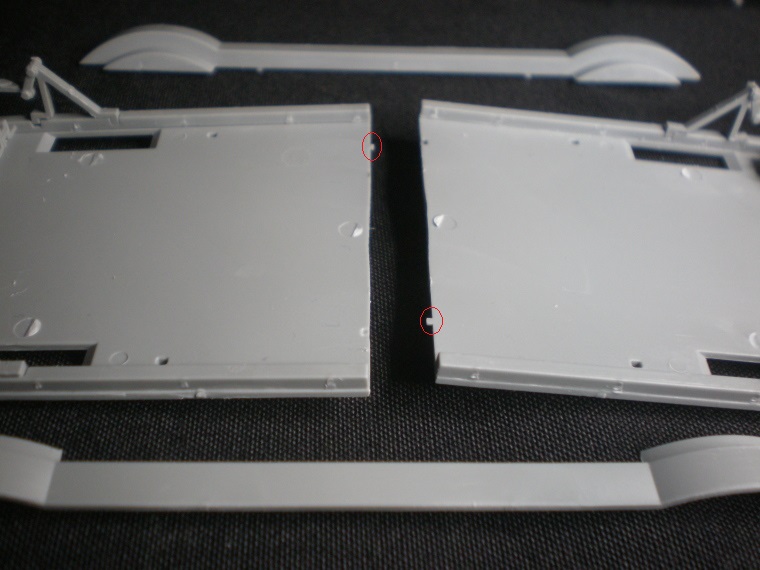


In partial mitigation the wheel-cover fairings on either side are supposed to provide the real joining strength, but seriously khloptsi - do I really have to fight two clamps and risk snapping off parts to hold these heavyweight halves together and then festoon pegs and rubber bands on the fairings until the glue dries? Two wide flat pins/slots on the invisible underside isn’t a lot to ask for. I rest my case. Moving on, hopefully these early photos also convey the more impressive aspects of this kit & I really am enjoying it (honest), but one last whine…
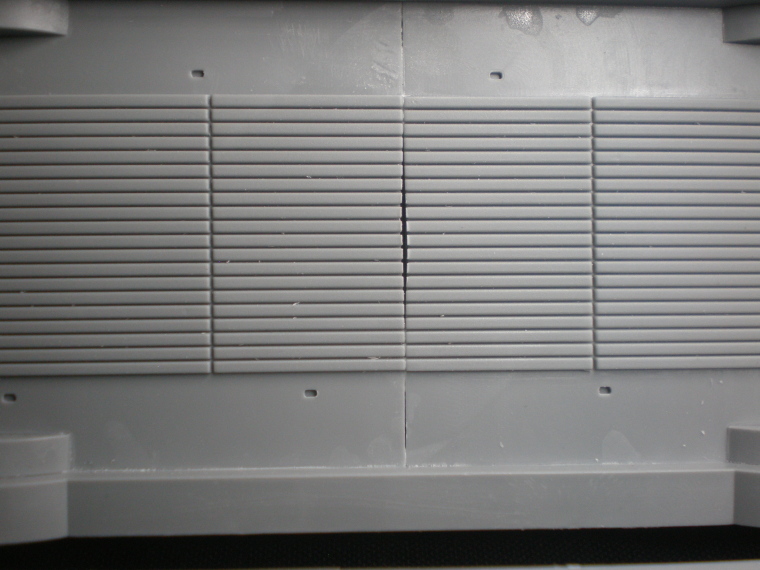


That’s not my bad cutting, these two halves come as discrete single pieces with standard sprue attachments points around the sides, none of which are on this joining-side; and alas it’s the same in the other box…
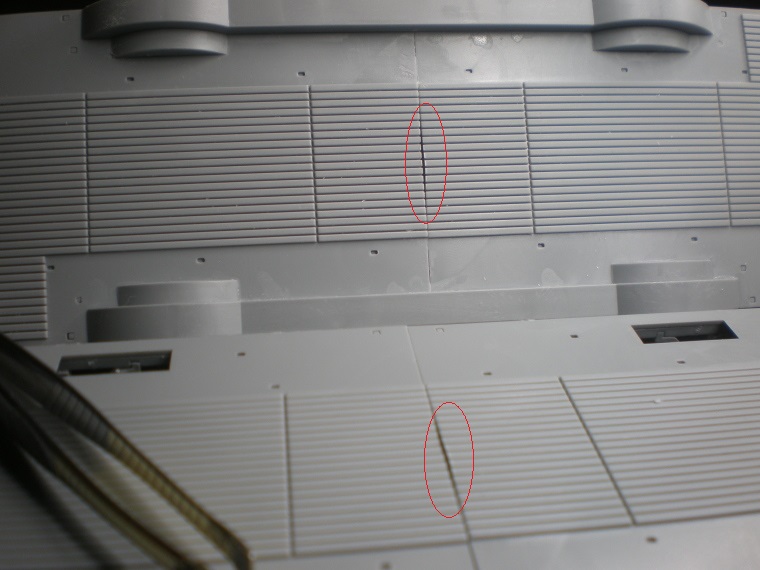


…so it’s a casting defect & a real bad place to attempt a fix. Force putty up from underneath & carve the slats? Clamp on a slatted mo*ld to press the putty up into? Widen/regularise the gap & drop in a new section made of Evergreen strips?

Nah…
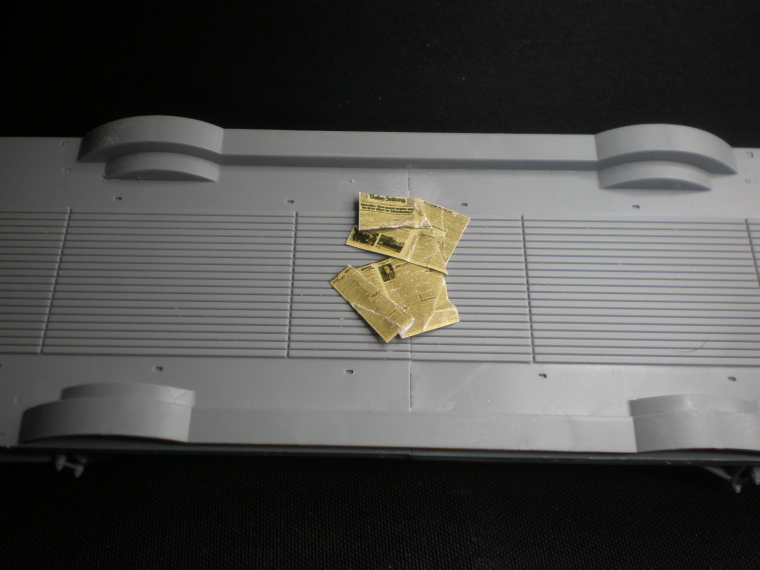


These two driver trams will be relatively easy to customise to Prague models (relative to, say, brain surgery) compared to the more serious challenge of converting the third kit to the shorter trailer. I’ve reached the point in constructing the drivers where notes & drawings & sedatives are required to work out how this can be done. Meanwhile here are the two driver chassis..s…
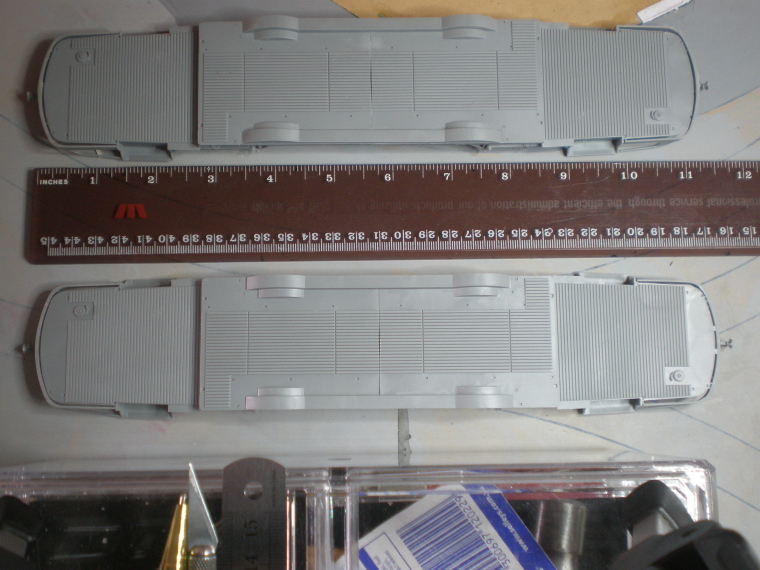


I haven’t glued the 2nd driver halves together yet, partly because I haven’t finished sticking pins in the CAD designer Voodoo doll, and partly in order to experimentally truncate it to the right trailer-length like so…
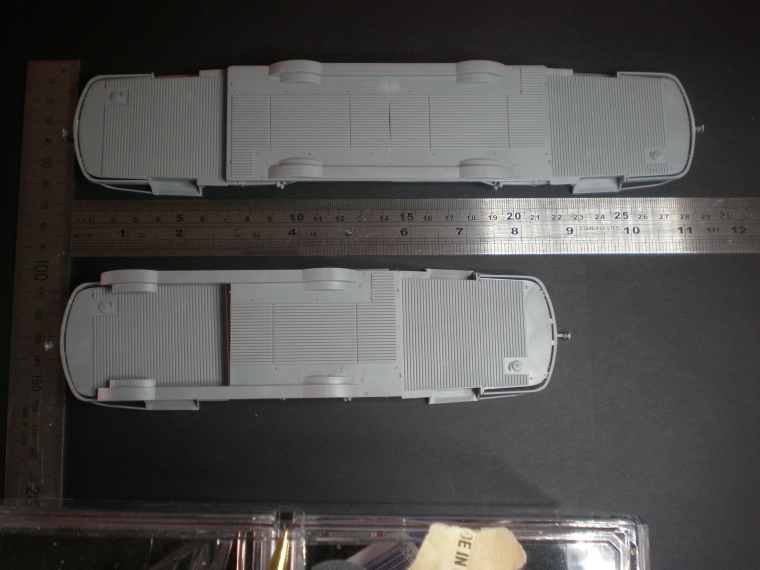
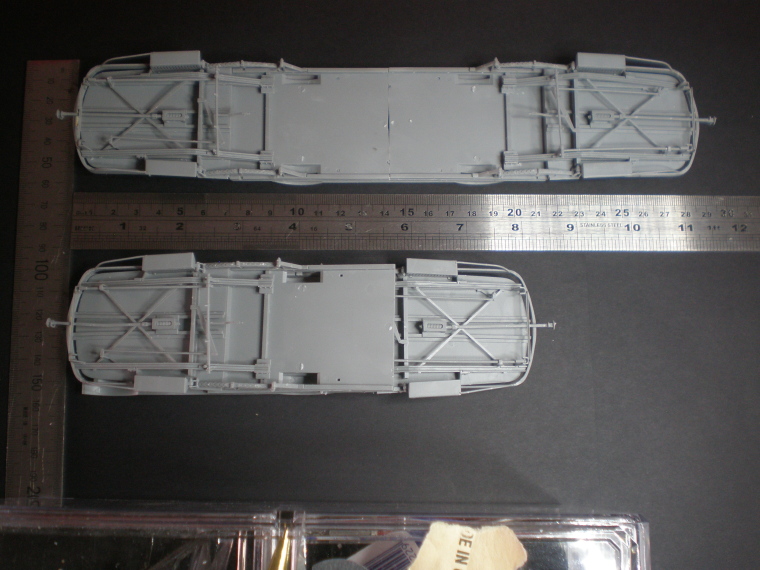


I need to lose around 7 cms in length to make the trailer. It’s looking scarily like the reduction will need to be achieved by removing not just an equidistant central section, but also slices from near both ends. Added to that complication the trailer carriage is nearer the ground than the driver’s because it had smaller wheels. So I’m bypassing the next section of Instructions about carriage construction & going straight to building the drivers’ wheels assemblies, to better understand how to shrink them (along with everything else) on the trailer. Here’s a 4-window driver towing but it’s still a useful reference...& the stuff of nightmares

HansBouwmeester
Visit this Community
Namibia
Joined: March 30, 2015
KitMaker: 346 posts
Armorama: 343 posts
Posted: Thursday, August 09, 2018 - 03:30 AM UTC


justsendit
Visit this Community
Colorado, United States
Joined: February 24, 2014
KitMaker: 3,033 posts
Armorama: 2,492 posts
Posted: Thursday, August 09, 2018 - 04:16 AM UTC
That’s great progress, Tim. Nice that you’re pointing out the stumbling blocks, so others may take note before attempting this very complex kit.😅 ... Und, I am very much looking forward to how you are making das “Franken-Tram,” Herr Doktor.🧐

Cheers!🍺
—mike
cheyenne
Visit this Community
New Jersey, United States
Joined: January 05, 2005
KitMaker: 2,185 posts
Armorama: 1,813 posts
Posted: Thursday, August 09, 2018 - 10:20 PM UTC
Nice tram salad surgery Tim , shame about some of the idjit problems with the kit . Looks good though , I've got faith in ya man , I've seen you lumber through worse logistics and score . Sometimes building a " well engineered " kit is like trying to pick up a turd from the clean end .
Dioramartin
Visit this Community
New South Wales, Australia
Joined: May 04, 2016
KitMaker: 1,476 posts
Armorama: 1,463 posts
Posted: Thursday, August 09, 2018 - 11:54 PM UTC
Thanks guys, always better to laugh than cry & I know y’all gently saying I’ve only got myself to blame, too true. Hey Mike that’s FronkenSHTEEN, & I’ll always look forwards to coming home to the Schloss for another session on the Werkbank…

https://www.youtube.com/watch?v=LB_aegewceU


jrutman
Visit this Community
Pennsylvania, United States
Joined: April 10, 2011
KitMaker: 7,941 posts
Armorama: 7,934 posts
Posted: Friday, August 10, 2018 - 01:20 AM UTC
Model building....ain't it FUN ? !! hahahaaaa. Nice ELP reference BTW.
J
Stickframe
#362
Visit this Community
California, United States
Joined: December 01, 2013
KitMaker: 1,661 posts
Armorama: 1,202 posts
Posted: Saturday, August 11, 2018 - 02:52 PM UTC
Glueing butt joints, with thin sheets of plastic? That’s cool...what’s the big deal?..

Lol - haha!! Be brave (and patient) Tim!

Happy Building -

Nick
Dioramartin
Visit this Community
New South Wales, Australia
Joined: May 04, 2016
KitMaker: 1,476 posts
Armorama: 1,463 posts
Posted: Thursday, August 16, 2018 - 12:11 AM UTC
Thanks Jerry & Nick - well if not gluing joints it’s butts, I haven’t been able to move from the bench for some time…

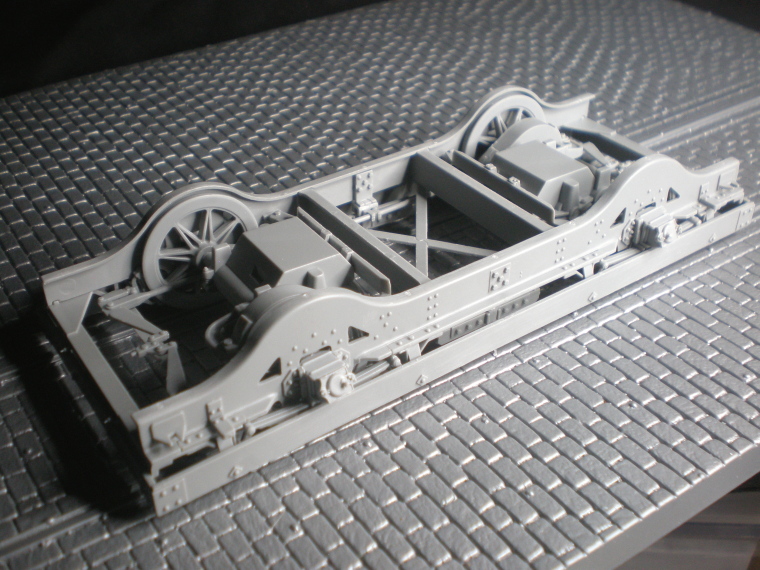
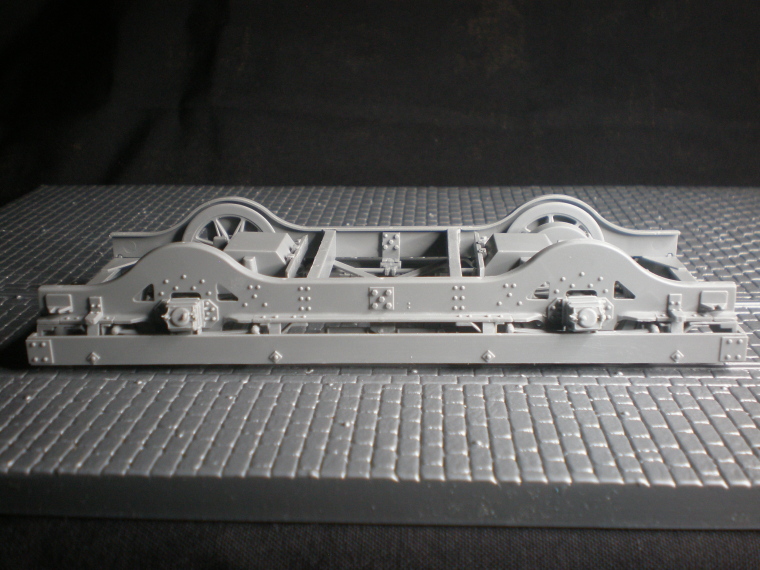
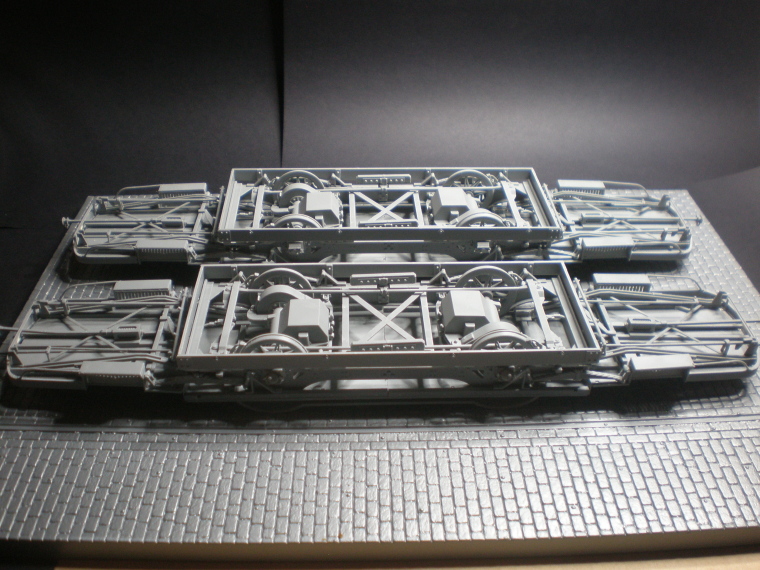
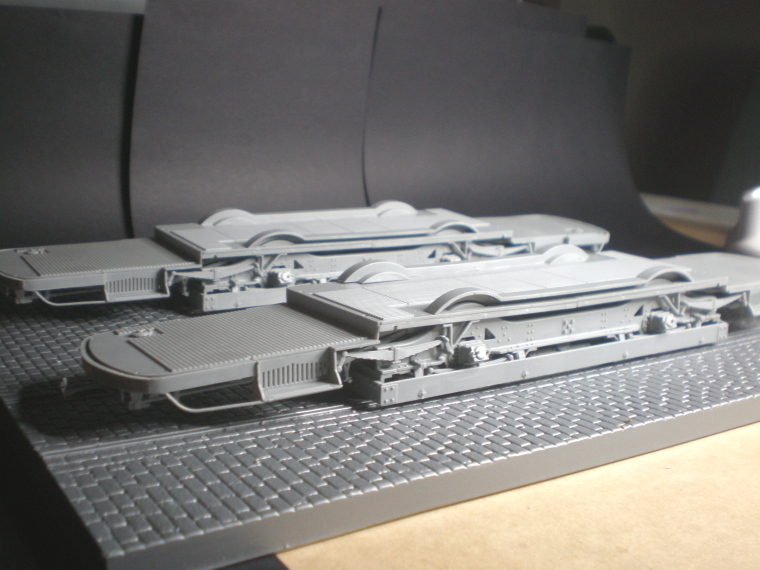
This one’s specially for you Fred, bogies at 6 o’clock & they just dropped straight into the tram lines of the supplied base first time:


and the underside…


No credit to me for the perfect fit, it’s entirely due to MiniArt’s excellent plastics engineering. Yes, you read that right (& no they didn’t send any Kiev heavies in bulky suits over to make me an offer I couldn’t refuse…in fact Boris & Sergei were perfect gentlemen), this was/is a trouble-free, brilliantly detailed sub-assembly. The wheels even turn freely without persuasion & I needed that because I hope to have this one (Tram 14 heading in the opposite direction to Heydrich’s car before it made the turn) moving at speed in a couple of photos. Either with correct camera settings or frames from video & a simple catapult to launch the tram, it should look moderately blurred. I just need to remember to install marshmallow buffers at the other end.

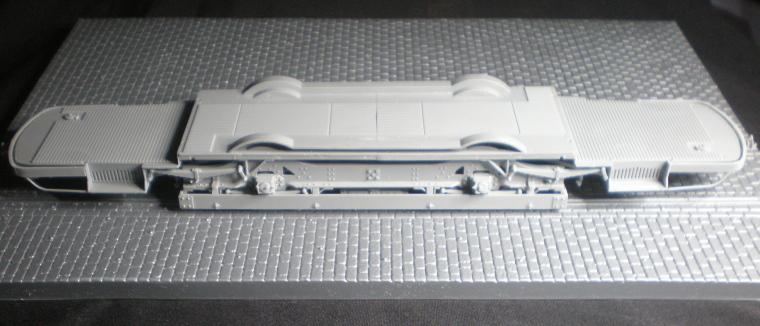
Dry-fitting both sub-assemblies…


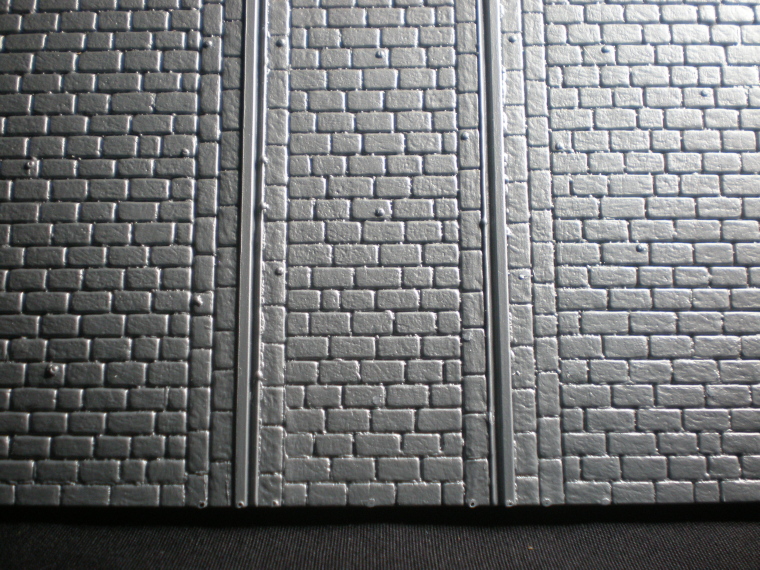
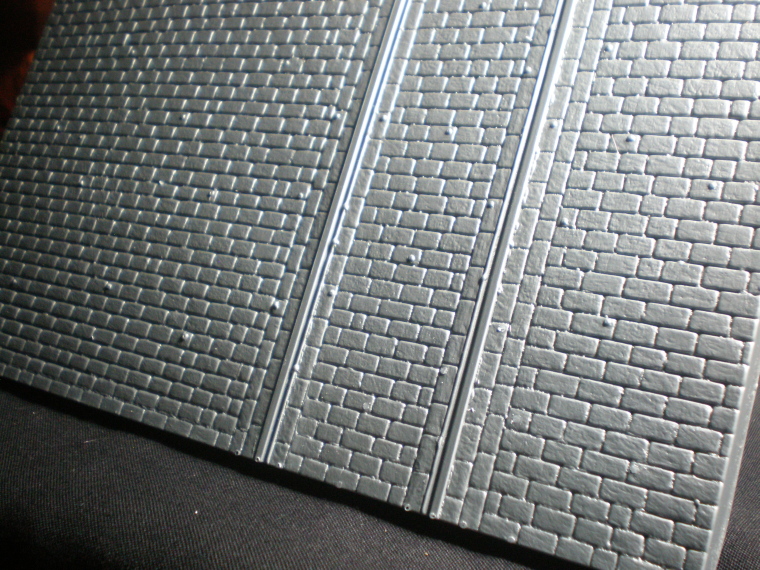
Now about that cobbled street base provided in the kit. Two problems with it being vacuum-formed, the first is it sags in the middle so needs a rigid brace underneath. Secondly it has those typical little bumps/bubbles strewn across the surface. Slicing them off is a lottery, sometimes you get away with it and other times you get a hole instead of the lump…


I bought 2 more of these MiniArt base-with-power-poles sets at the same time as the trams but even with 5 they'll only cover one side of the long straight street. I don’t want to get diverted by the whole groundwork issue yet but it’ll take silicone mo*lds & polyurethane slabs to make multiple sections of straight & curving cobbles. And it’ll need some intensive mosaic work to make the masters, incorporating channels for all the tramlines. But I don’t want to think about that right now. But if I was to think about it right now, maybe I could set brick-lets directly onto the base…it would probably only take about…let’s see there are 80 x 36 per base = 2,880 x the equivalent area of around 40 bases so that’s…115,200 brick-lets to make. OK back to Plan A.

New cow-catchers – 4 made using a simple template, but they won’t be installed until near completion or they’ll get continually knocked off.


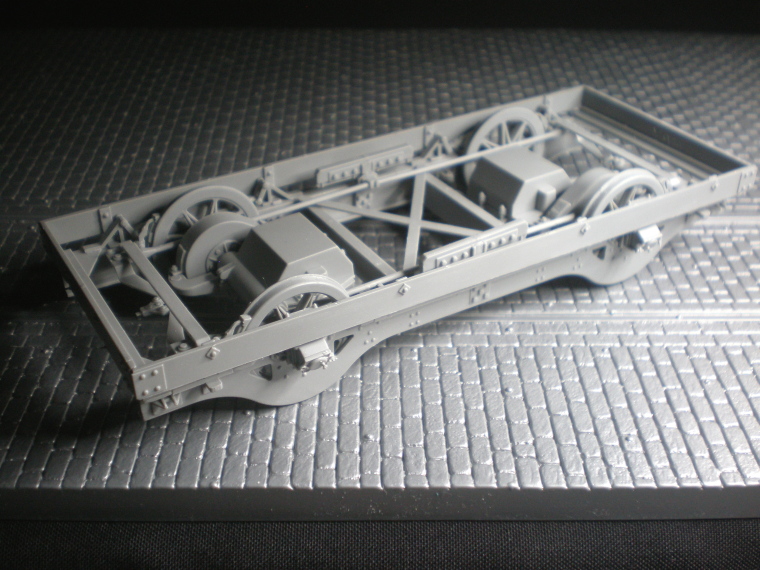
So here’s the two completed chassis-z basking in the lamplight…


& right way up. Alas all that underside detail will be completely invisible…


…so I guess it just needs hosing down with flat black…there may even be slathering. It also looks like I can dispense with a lot of those intricate control rods & braces altogether for the trailer & just concentrate on shortening what can be seen. While I’m away for the next few days celebrating my birthday (of course I have more than that in common with Robert Redford, but he’s much older & was always the ugly one) I’ll find the inner draftsman & produce some working drawings for next time.

jrutman
Visit this Community
Pennsylvania, United States
Joined: April 10, 2011
KitMaker: 7,941 posts
Armorama: 7,934 posts
Posted: Thursday, August 16, 2018 - 04:05 AM UTC
That is certainly a boatload of work right there. Let the slathering begin !
J
BootsDMS
Visit this Community
England - South West, United Kingdom
Joined: February 08, 2012
KitMaker: 978 posts
Armorama: 965 posts
Posted: Thursday, August 16, 2018 - 10:02 AM UTC
Dear God Tim,

That tram looks about as much fun as the chassis of the Revell Luchs; keep at it!

Brian
trooper82
Visit this Community
Scotland, United Kingdom
Joined: September 11, 2005
KitMaker: 109 posts
Armorama: 98 posts
Posted: Thursday, August 16, 2018 - 11:15 AM UTC
I got fed up lurking after reading this whole topic and I am gobsmacked by all the detail you are putting in, absolutely amazing work Sir. Would scribing foamboard or similar be the best approach to your cobbles task ?? Have a Great Birthday I cant wait for the next phase
Paul
Dioramartin
Visit this Community
New South Wales, Australia
Joined: May 04, 2016
KitMaker: 1,476 posts
Armorama: 1,463 posts
Posted: Monday, August 20, 2018 - 11:13 PM UTC
Thanks guys, well having got deep into measuring/estimating & sketching the slathering’s been abruptly halted before it could begin, because it turns out these driver-trams are going to need some surgery too & more than just nips’n’tucks. Not for the squeamish, details later.

Thanks Paul always good to see a lurker de-cloak – scribing’s an option although we’re still talking delineating 115,000-odd cobbles, but you helped me revisit a previously discarded idea of making a bunch of “positive” plates/mo*lds (where the spaces between the cobbles are raised) and pressing that into a bed of soft material. I discarded the idea because I can’t risk plaster over such a large area, but maybe a lightweight material like polyurethane which can stand flexing, be immune to moisture & stay wet but solid long enough to take a sharp imprint would work. A lot easier than churning out specially shaped sections from a negative master, particularly if it could be poured around/within tramline channels & then “stamped”. But as I said I’m trying not to think about that right now, the trams are giving me enough heebie-jeebies
Kevlar06
Visit this Community
Washington, United States
Joined: March 15, 2009
KitMaker: 3,670 posts
Armorama: 2,052 posts
Posted: Tuesday, August 21, 2018 - 01:48 PM UTC
So here's an idea from my days as a model railroader for your "cobblestones". Model railroaders typically make rock faces using latex molds placed over actual pieces of rock, especially coal (it has the best striations like those found in real sedimentary rock). Using these latex molds, they make a casting in hydrocal, a strong lightweight form of plaster. You can make as many sections as you need. I recommend you visit your local train store and see if they have the materials for this. The beauty of it is you can use the existing Miniart cobblestones as the master, since the latex mold can be peeled right off (after spraying with a mold release agent). You can alternate direction of the casting to break up "similarities". The other alternative is to carve your own master, or use sheet foam to make your own "cobblestones". Here in the states, food products like meat come packaged on a thin styrofoam tray. These can be cut apart and "carved" simply by drawing your pattern on them with a ballpoint pen or dull pencil, engraving right into the styrofoam. This can be placed in sections to represent cobblestone surfaces, house walls, etc. Model railroaders have been doing this for years.
VR, Russ
cheyenne
Visit this Community
New Jersey, United States
Joined: January 05, 2005
KitMaker: 2,185 posts
Armorama: 1,813 posts
Posted: Tuesday, August 21, 2018 - 10:03 PM UTC
Marshmellow bumpers , launching , slathering , heebie jeebies , Robert Redford , .......... ok I don't judge . I am he as you are he as you are me as we are all together ............... who you callin a walrus , ..... ok now I get it .

Good work Tim , ...... carry on ........
Dioramartin
Visit this Community
New South Wales, Australia
Joined: May 04, 2016
KitMaker: 1,476 posts
Armorama: 1,463 posts
Posted: Tuesday, August 21, 2018 - 11:57 PM UTC
Thanks Russ, yes I had it in mind to use a MiniArt base as master – however on studying the actual terrain in photos, at least half of it doesn’t have a straight run of cobbles in sight, all curves following the winding tram-tracks round the bend. The MiniArt base is all straight runs so can only do half of a very big job. Second problem as mentioned previously is the large area (1.5 metres square less the semi-circualr parkland), I don’t think any kind of plaster (thin or thick) would last long without cracking even if I broke it down into smaller modules. Because it’s so large the board(s) need/s to be as light as possible, which means finding a balance between weight & rigidity and I suspect it will flex a little even when braced…which would invite cracking. I’ve used hydrocal & as you suggested it’s great for vertical/sloping formations but not so much for flat surfaces…although maybe that was my user-error.

Regarding Styrofoam it sounds like the same stuff we have here – the bubble/grain on those trays is quite fine but in my experience it can’t take a straight line scribed into it & still comes up rough on the edges. I can’t imagine it would look anywhere near as sharp as e.g. the MiniArt base I posted above/last week…? However maybe if I made a “positive” master (with the gaps raised) and pressed it into the styrofoam – weighted down overnight – it might retain the imprint sharply enough? I still think the “bubbles” surface of the styro will show, though – remember most of the photos are going to be taken from about an inch above the road surface.

Hey Cheyenne you must be the egg man