

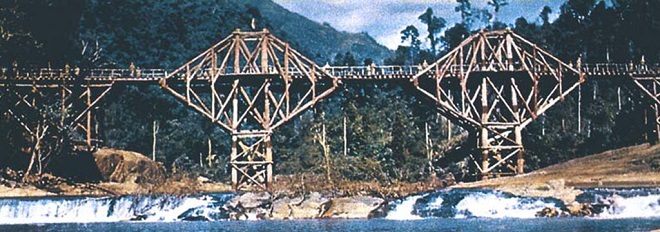
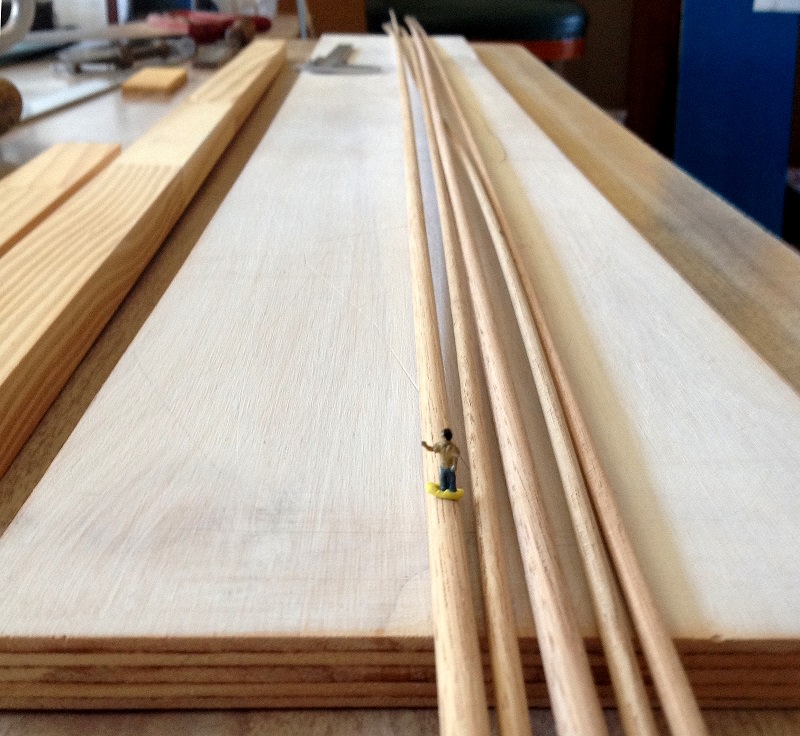
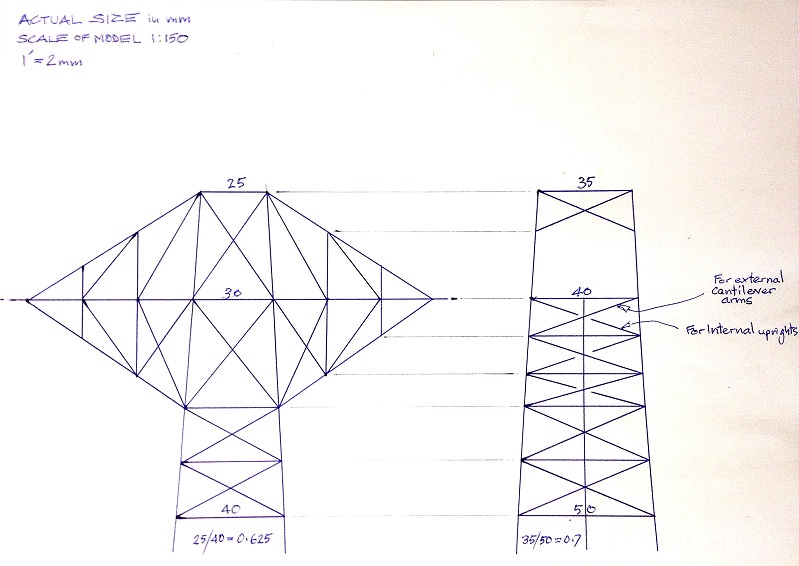
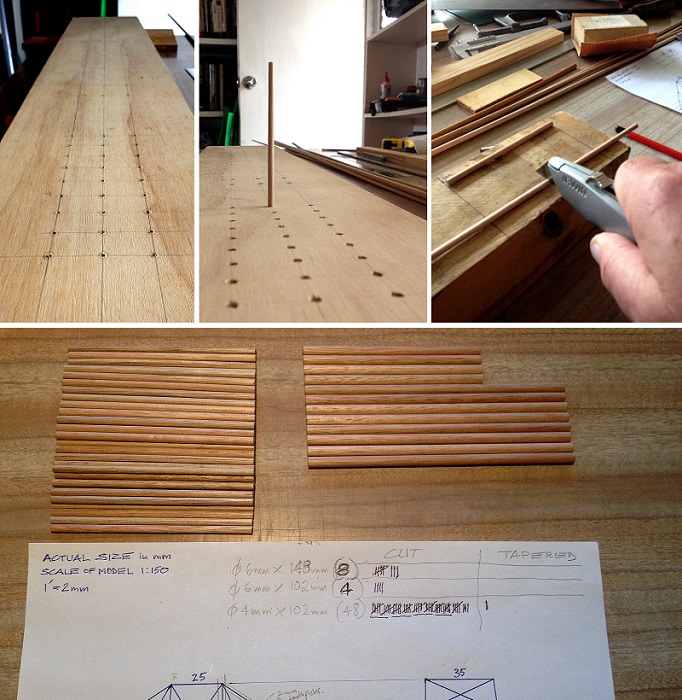
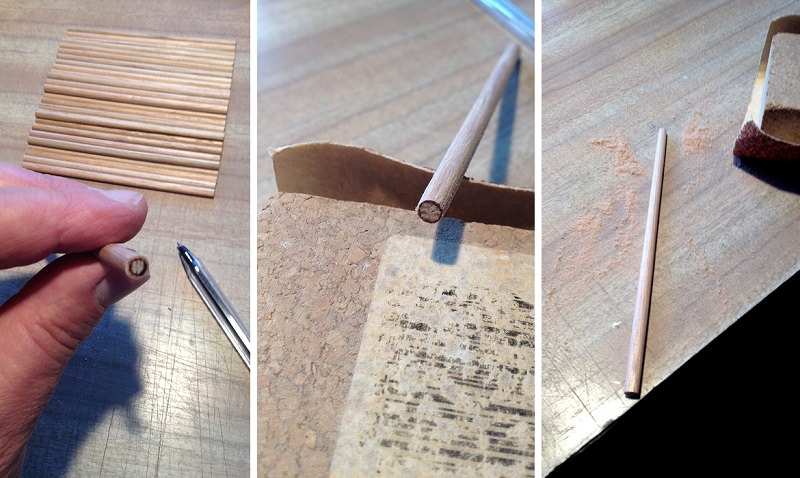
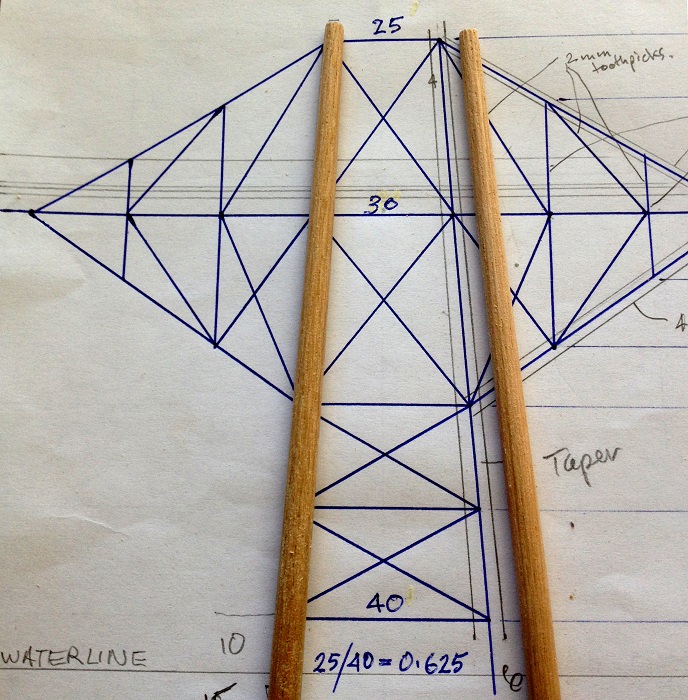
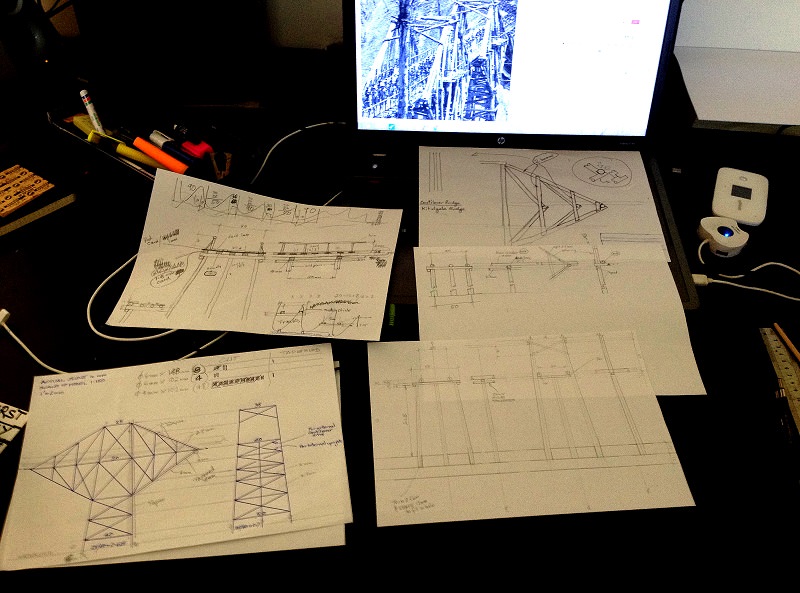
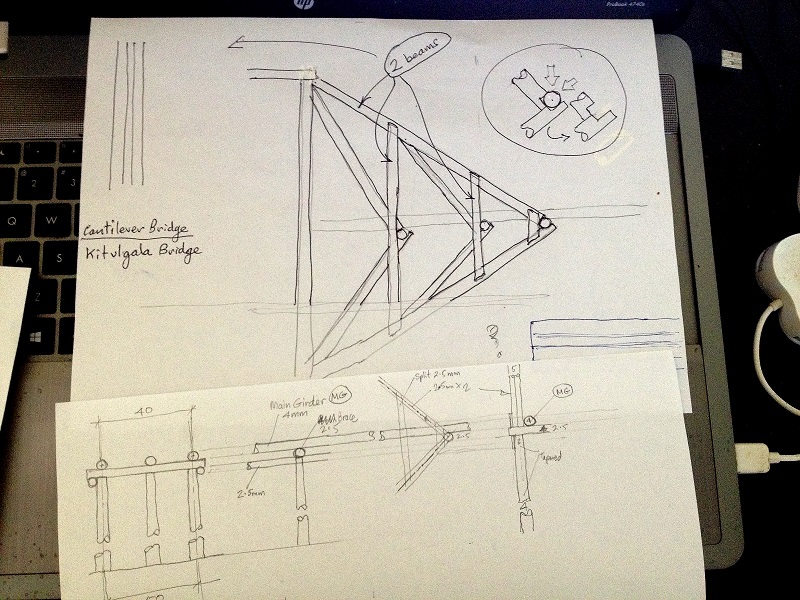
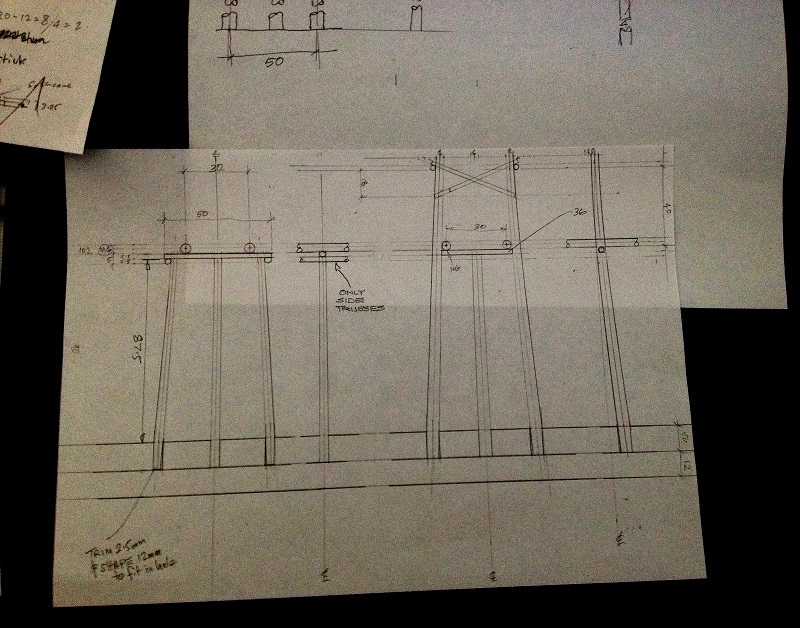
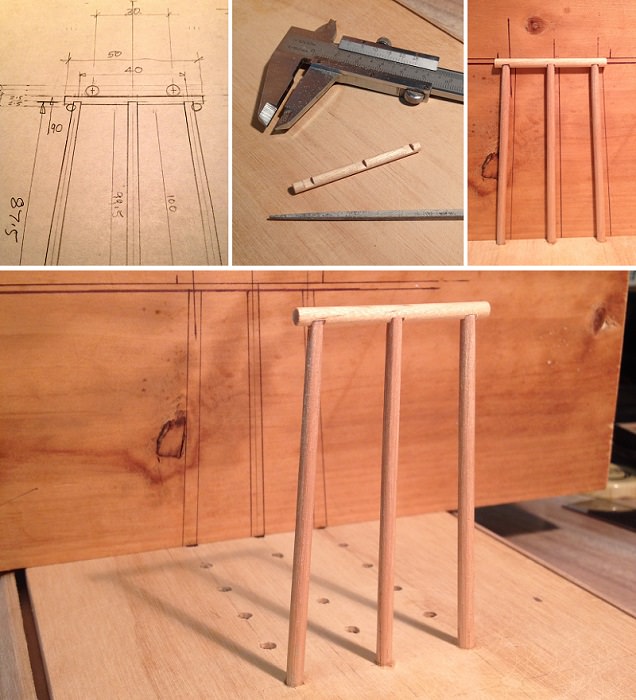
Rough Plan to get idea of the overall build.
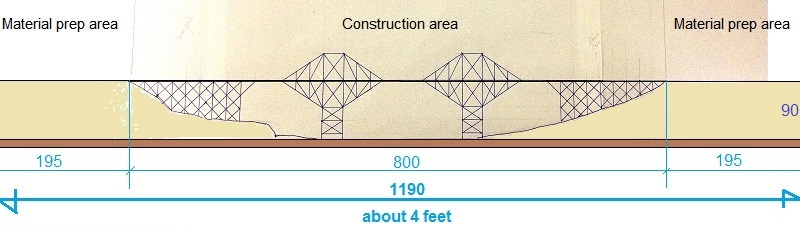
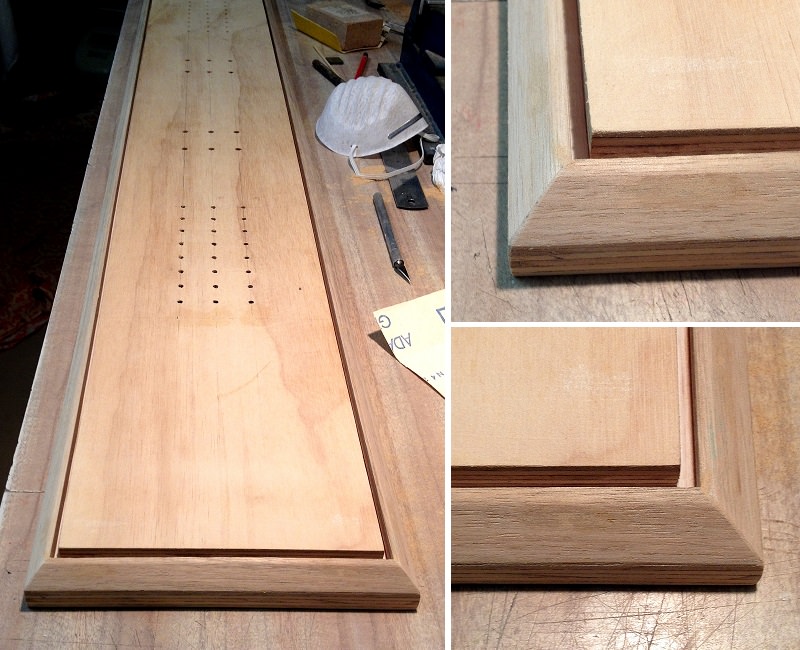
Width is 160 mm
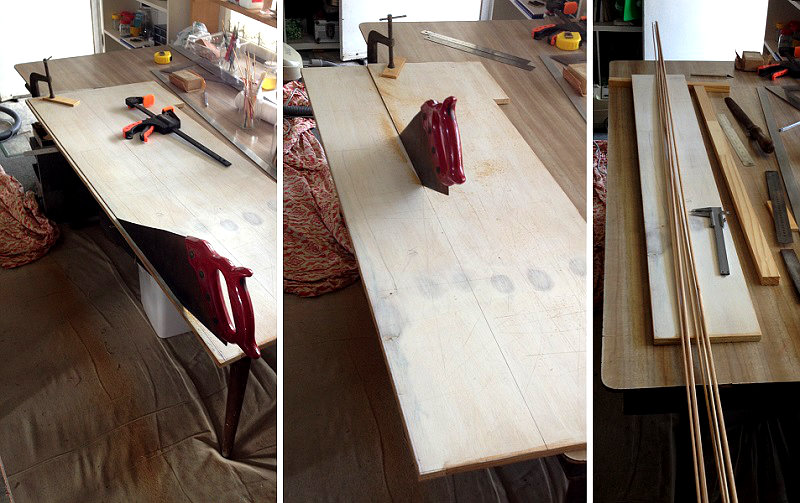
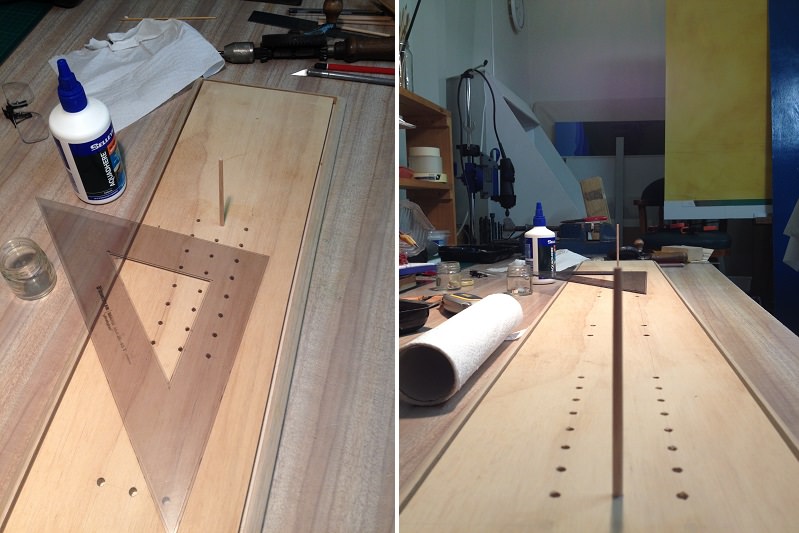
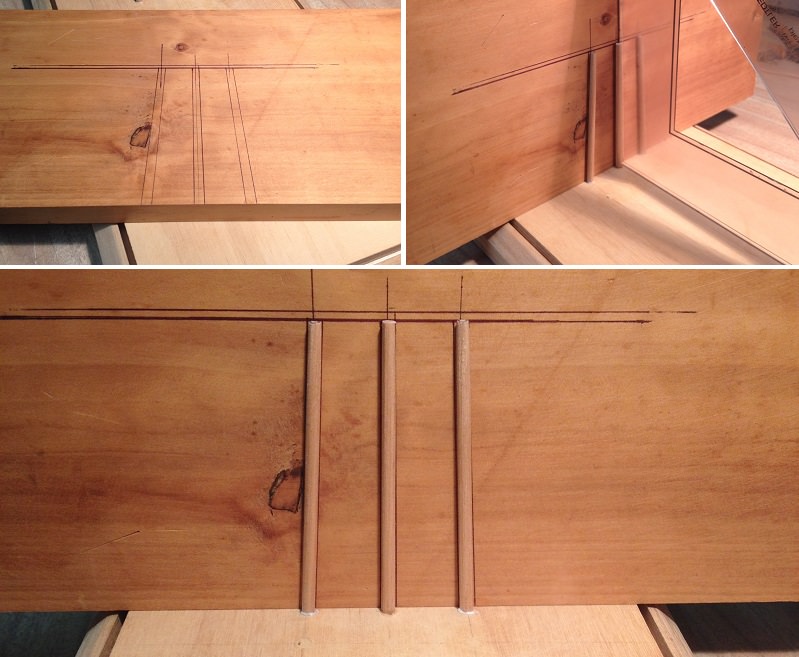
to be continued . . .


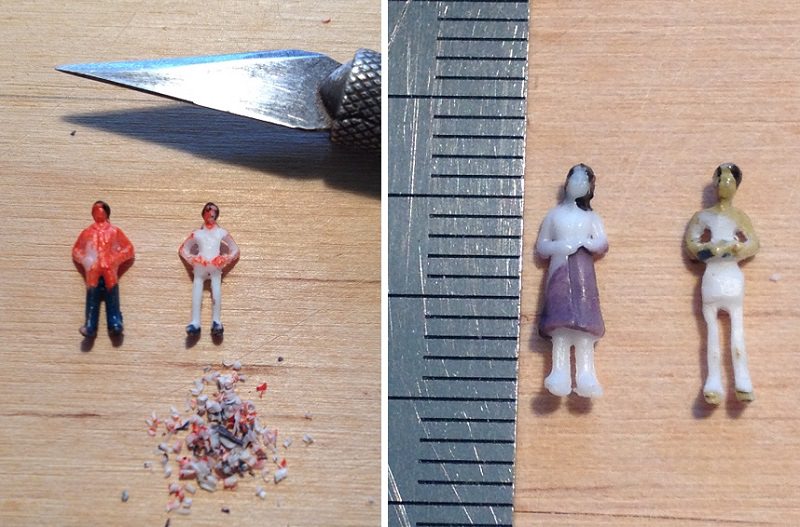
WOW!! What a challenge, and definitely worth following your progress. Will you have figures as well?
Amazing project. Looking forward to this one. Curiosity asks if you intend to build the full span?
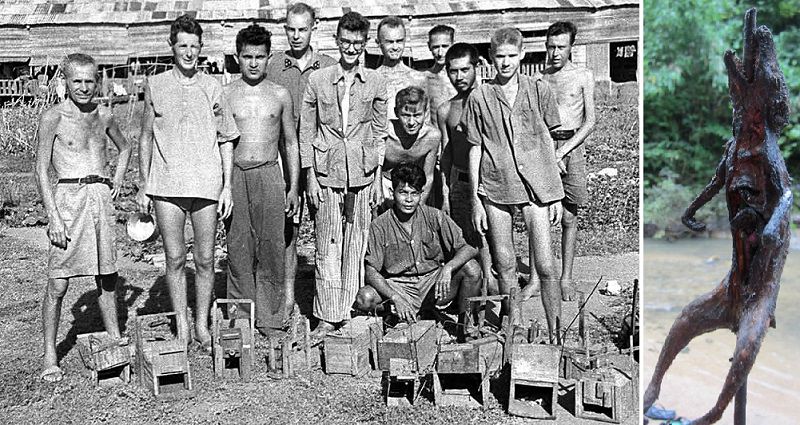
I tried building that bridge using toothpicks. I think the old Magnum P.I. TV series in the '80's, the Higgins character was building one.
Cheer


Nice so far, a big undertaking.
Will keep looking in.
Cheers
Jeff
Awesome! Looking forward to this!


 |


