Campaigns: Active Campaigns
Campaigns that are either in planning or underway should be grouped here.
Hosted by Richard S.
Israel Defense Forces Campaign - Active
petbat
Visit this Community
Queensland, Australia
Joined: August 06, 2005
KitMaker: 3,353 posts
Armorama: 3,121 posts
Posted: Sunday, March 29, 2020 - 09:22 AM UTC
Okay, been working on the Loyd Carrier for the last two weekends and little to show for so much time. A lot of cleaning and trimming. A lot of test fitting needed as the diagrams are unclear in parts. Bronco instructions must have been drawn up by the same guy Dragon uses...

There are a lot of small fiddly PE parts too, a lot of which could have been moulded on the multitude of parts that make up this kit.

The one saving grace is the link and length tracks as gluing this many small links would be a chore (Heaven help me when I do the Kasten set for my Mark IV light tank...)

Anyway, where I am up to is below.


Note: For those familiar with these carriers, no, I have not put the wrong set of suspension on the rear. Whilst the vehicle is designed for the rear spring assemblies to be facing backward, the pic I posted earlier shows the Egyptians/Israeli's swapped out the rear sides!

sinsling
Visit this Community
Singapore / 新加坡
Joined: January 16, 2007
KitMaker: 86 posts
Armorama: 85 posts
Posted: Sunday, March 29, 2020 - 10:04 PM UTC
I love the clean crisp look of your builds Peter. Really well done, and great catch on the suspension unit swap.

Looking forward to seeing this built up.

Regards,
Johanan
rfbaer
Visit this Community
Texas, United States
Joined: June 12, 2007
KitMaker: 1,866 posts
Armorama: 1,696 posts
Posted: Wednesday, April 01, 2020 - 01:39 AM UTC
Looking really nice Peter.
All, I'll shop around for the 6B, I truly am salivating. My 2C is almost done, just can't get on the computer much since my wife is working from home and it's tied up. In the meantime, I've started a Magach 7C, using the Academy turret and a Takom hull, with the necessary second station shock delete and the one return roller moved. It's going quickly, mostly due tothe quality of the basic Takom kit. The turret will be another story, all Academy.
Nothing like extra time.....
petbat
Visit this Community
Queensland, Australia
Joined: August 06, 2005
KitMaker: 3,353 posts
Armorama: 3,121 posts
Posted: Wednesday, April 01, 2020 - 08:30 AM UTC
I've always wondered why they called them selves 'Academy', and not 'High School Dropout' ....they always seem to get F's on their releases .... and never seem to learn
rfbaer
Visit this Community
Texas, United States
Joined: June 12, 2007
KitMaker: 1,866 posts
Armorama: 1,696 posts
Posted: Wednesday, April 01, 2020 - 01:11 PM UTC
I give up, but they still do some occasional nice work.
A quick couple of pics of where the Magach 2C is:
IMG_0912 by Russel Baer, on Flickr
IMG_0911 by Russel Baer, on Flickr
sinsling
Visit this Community
Singapore / 新加坡
Joined: January 16, 2007
KitMaker: 86 posts
Armorama: 85 posts
Posted: Friday, April 03, 2020 - 06:59 AM UTC
Russell,
What a beautiful job you've done on that Magach 2! I love models where when you focus in on detail, it's all there. Great inspiration for my Magach 6 paint job.

Sadly however, with the Covid 19 lockdown starting next week, I won't have access to my paint booth (at my friend's model shop) for a month at least, which is a bummer.

Thanks for posting!

Johanan
rfbaer
Visit this Community
Texas, United States
Joined: June 12, 2007
KitMaker: 1,866 posts
Armorama: 1,696 posts
Posted: Saturday, April 04, 2020 - 12:54 AM UTC


Thanks! I'm "fortunate" in regards to a place to paint: I use rattle cans and the back yard, no worries here.


sinsling
Visit this Community
Singapore / 新加坡
Joined: January 16, 2007
KitMaker: 86 posts
Armorama: 85 posts
Posted: Saturday, April 04, 2020 - 07:13 AM UTC
Well, since I can't get access to my spray booth due to our covid situation, I thought why not keep building stuff? Recently HB came out with the Puma with the Nochri mine roller system and the carpet mine clearance system, which I've always wanted to do...but not in resin. Well now, thanks to HB's IM plastic efforts, its possible!

Not much done so far. Just main structure,and I've just completed applying the antislip coating on the beast. Will clean and tidy up around detail once it dries.


Still a ways to go yet. HB finishing and plactic quality is not as good as Meng's, and some detail is a bit soft, especially the molded on grab handles. But the fit has been absolutely spot on, and detail is generally very good.

I'm really enjoying this project.

Regards,

Johanan
panzerbob01
Visit this Community
Louisiana, United States
Joined: March 06, 2010
KitMaker: 3,128 posts
Armorama: 2,959 posts
Posted: Saturday, April 04, 2020 - 08:33 AM UTC
Looking forward with certain lust and hunger to see this one come together!

OK, so how are you doing your non-slip, Johanan? It looks pretty good in the pics -and I'm always interested in ways folks do this...

Cheers! Bob
petbat
Visit this Community
Queensland, Australia
Joined: August 06, 2005
KitMaker: 3,353 posts
Armorama: 3,121 posts
Posted: Saturday, April 04, 2020 - 08:39 AM UTC

Quoted Text

I've always wanted to do...but not in resin.


Wimp.....

I hear you, ran out of steam on my Legend one... so many warped parts, many that needed scratch building and the instruction page was abysmal.

I am thinking about picking it up for unfinished business 2020:


sinsling
Visit this Community
Singapore / 新加坡
Joined: January 16, 2007
KitMaker: 86 posts
Armorama: 85 posts
Posted: Saturday, April 04, 2020 - 04:05 PM UTC
Hi Bob,

I took my cue from the VMS system, of applying a bonding agent followed by a texturing finish. But mine is much simpler (cruder but cheaper too! ).

I pre-clean each surface with denatured alchohol or spirit to remove any oily residue. When this dries, carefully apply white glue to the surface to be treated, avoiding bolts, panel lines etc. Before this dries I sprinkle hamster litter on the wet area. Then move on to the next area to be treated. Simple really.

This method is not as precise as the VMS system, but it looks ok. Its forgiving, so mistakes are easy to correct, even after drying, and you can add more texture to overlooked areas easily too. Once dry it tolerates handling pretty well, and once you're happy with the final result, a coat of primer will seal it in firmly.

The hamster litter looks about right for IDF vehicles, but might be a little too chunky for NATO vehicles.

Thats it. Super simple.

Cheers,
Johanan

sinsling
Visit this Community
Singapore / 新加坡
Joined: January 16, 2007
KitMaker: 86 posts
Armorama: 85 posts
Posted: Saturday, April 04, 2020 - 08:49 PM UTC
Hey Peter,

When it comes to resin behemoths like that, I'll gladly admit to an advanced case of wimperitis, pack it in and opt for early retirement.

I've seen some of the resin IDF kits which my friend has. Back in the early days when that was the only game in town. I decided early that patience was an underrated virtue! You've really done an awesome looking job on yours. Your T fortitude is indeed great!

Really hope you finish it. I'd like to do a full batash + doghouse version next. Yummy!

Cheers,

Johanan
r2d2
Visit this Community
England - South East, United Kingdom
Joined: April 13, 2006
KitMaker: 424 posts
Armorama: 419 posts
Posted: Sunday, April 05, 2020 - 02:16 AM UTC
I don't know if this is allowed in this campaign basing on the rules. The kit was just started last week. My Urdan Dozer was my scratchbuild project started 2017 although it remains dormant until last week in which I restarted it again. My update thread is on my built page in the IDF section and it focuses on the blade itself. In this group build I intend to enter my Puma Daqhpor. If moderators thinks this is inappropriate please do delete my post, if all ok I will update with progress of the build itself. Thanks

sinsling
Visit this Community
Singapore / 新加坡
Joined: January 16, 2007
KitMaker: 86 posts
Armorama: 85 posts
Posted: Sunday, April 05, 2020 - 03:20 AM UTC
Val,

That dozier is a work of art! Whether the moderators allow it or not, thank you for sharing. Just amazing skills.

Regards,

Johanan
r2d2
Visit this Community
England - South East, United Kingdom
Joined: April 13, 2006
KitMaker: 424 posts
Armorama: 419 posts
Posted: Sunday, April 05, 2020 - 03:56 AM UTC

Quoted Text

Val,

That dozier is a work of art! Whether the moderators allow it or not, thank you for sharing. Just amazing skills.

Regards,

Johanan


Thanks Johanan, in case you want to see the build logs, I have it in my IDF thread under the topic Urdan Dozer.

Regards,
Val
panzerbob01
Visit this Community
Louisiana, United States
Joined: March 06, 2010
KitMaker: 3,128 posts
Armorama: 2,959 posts
Posted: Sunday, April 05, 2020 - 04:27 AM UTC
Johanan; Thanks for the filip on your DIY non-slip!

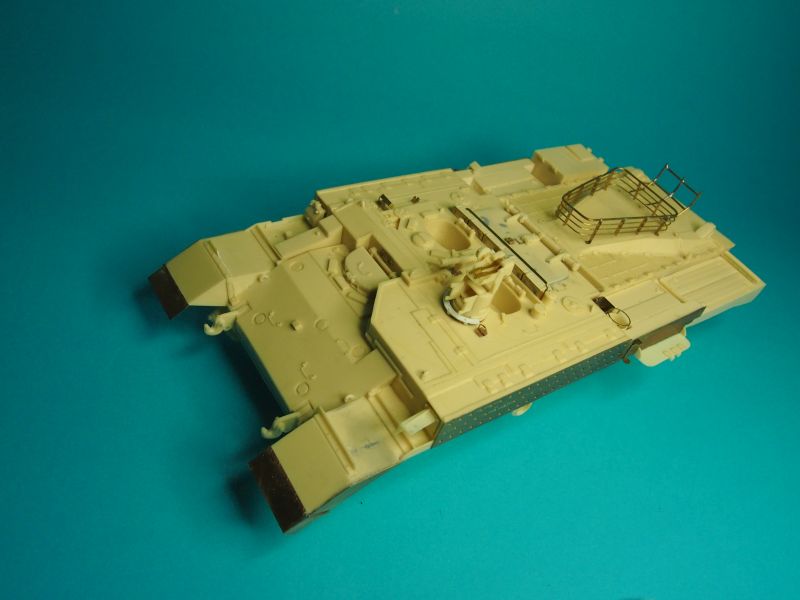
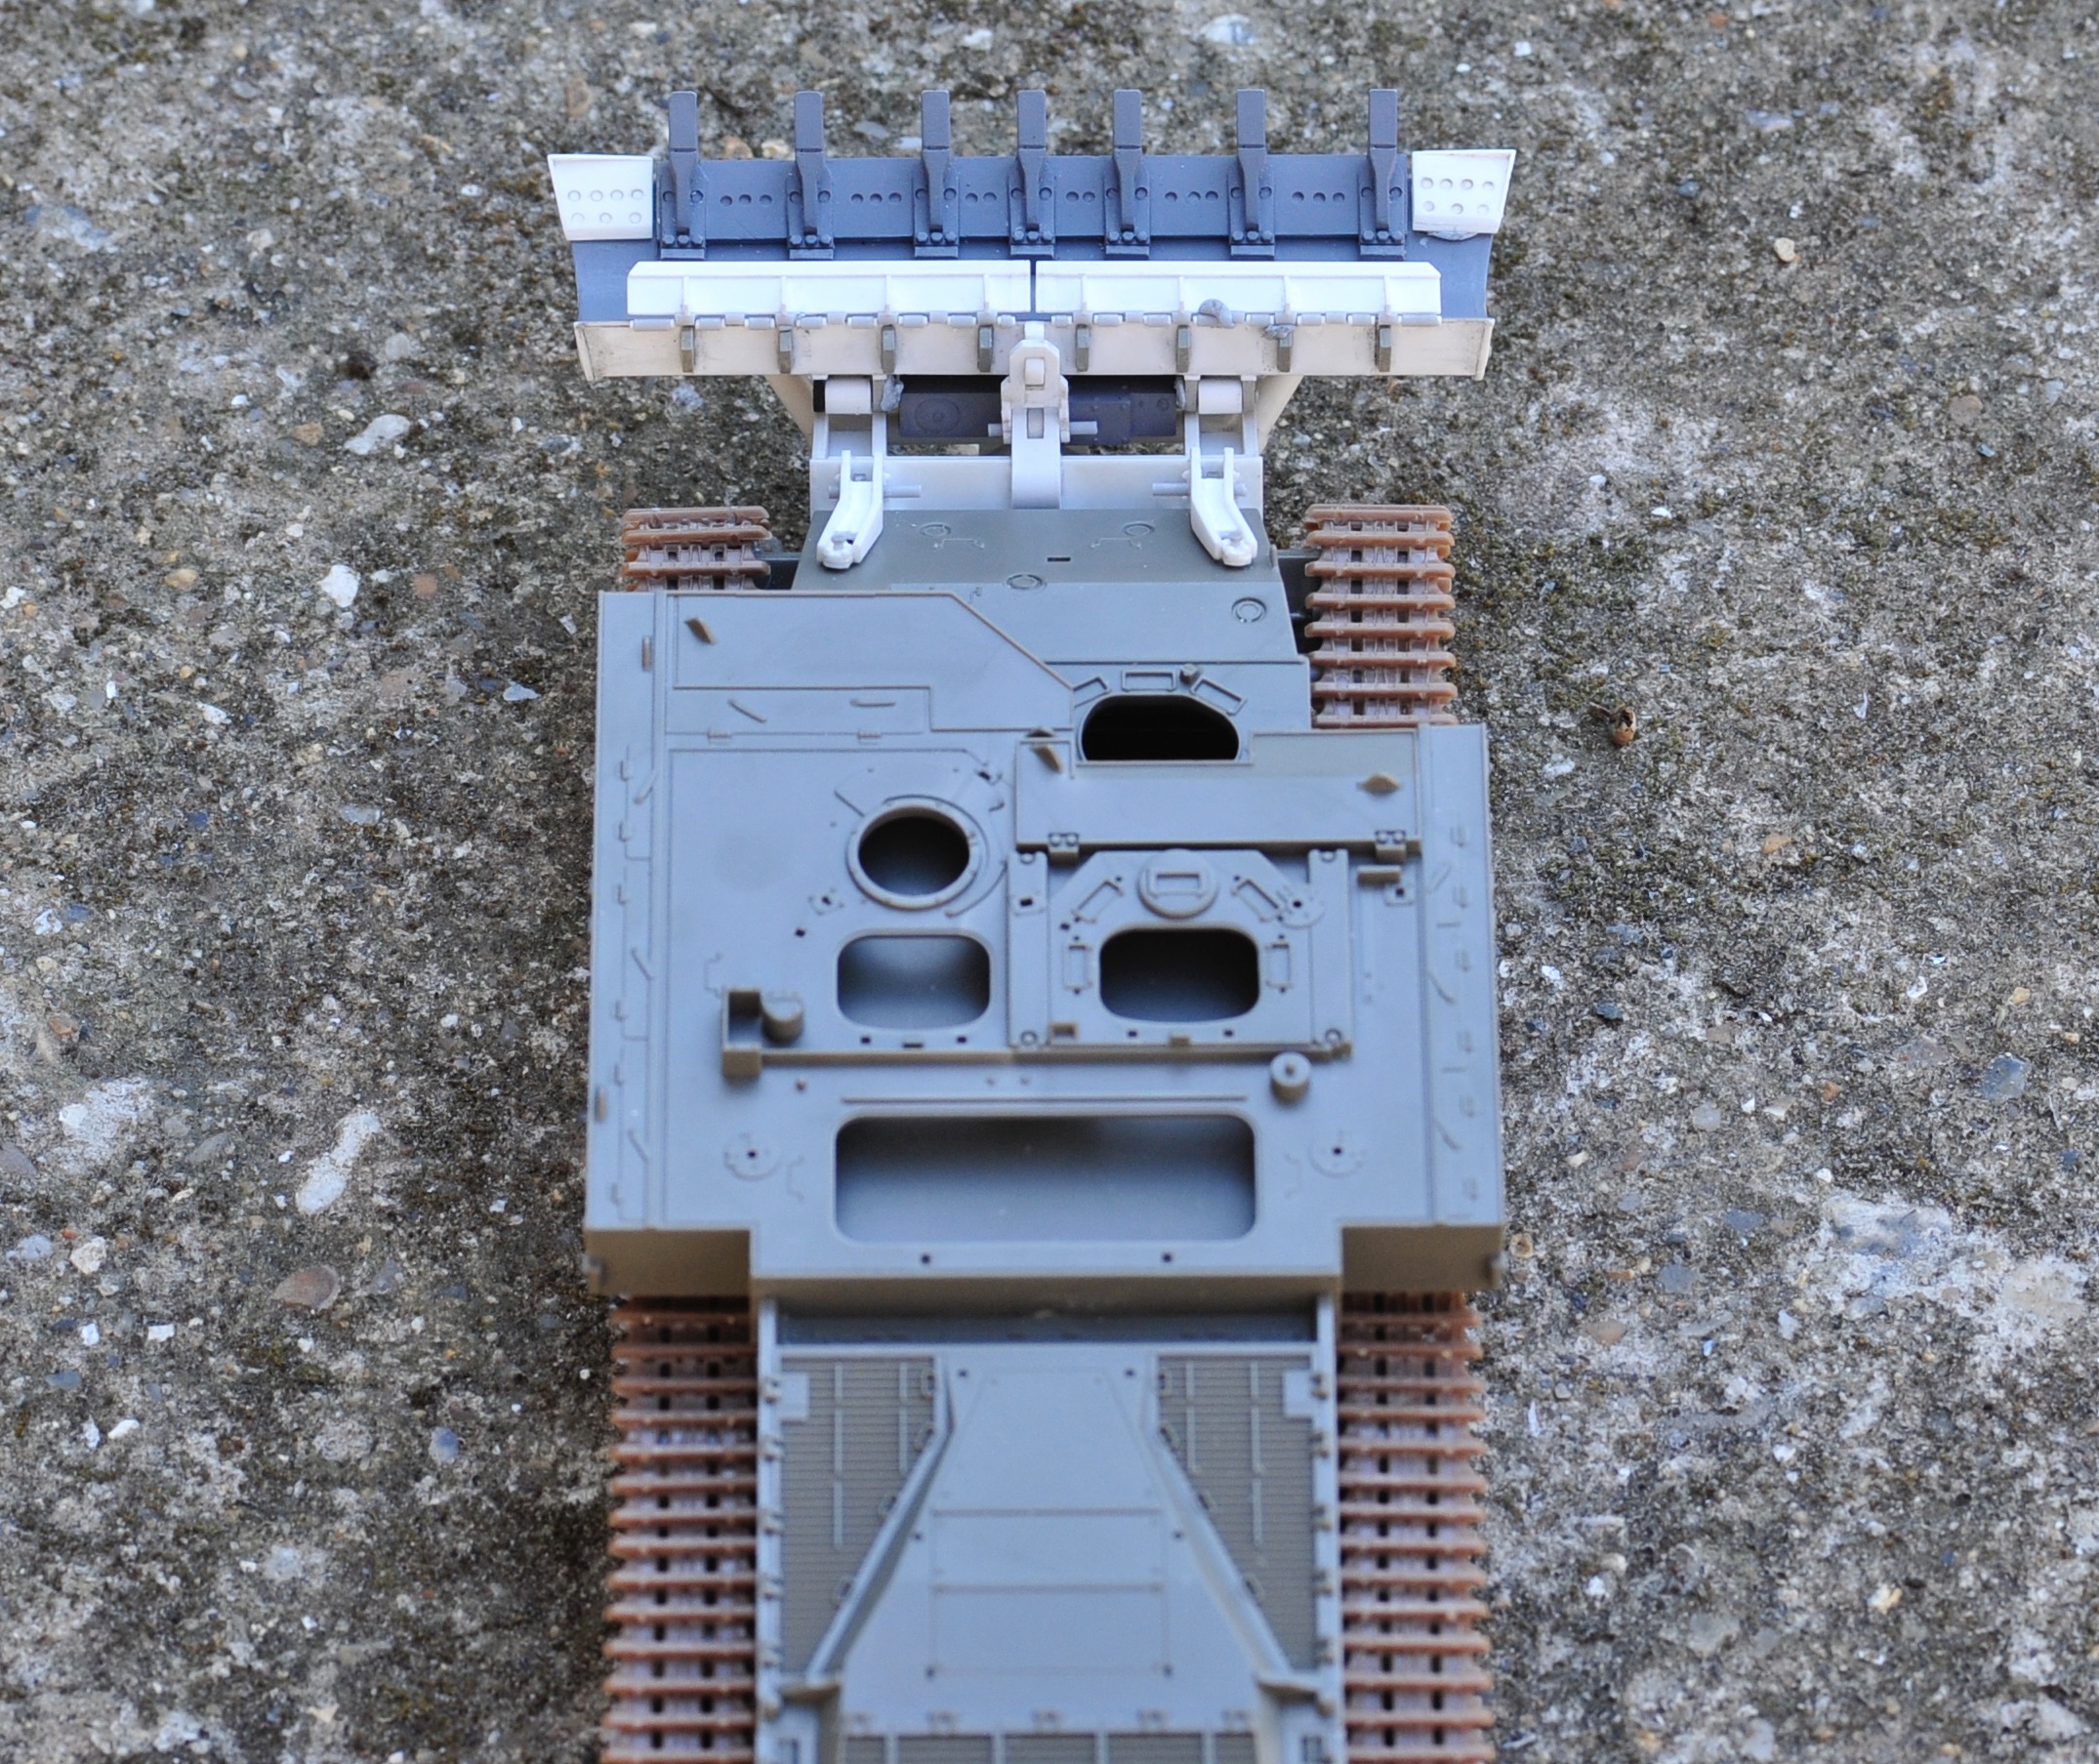
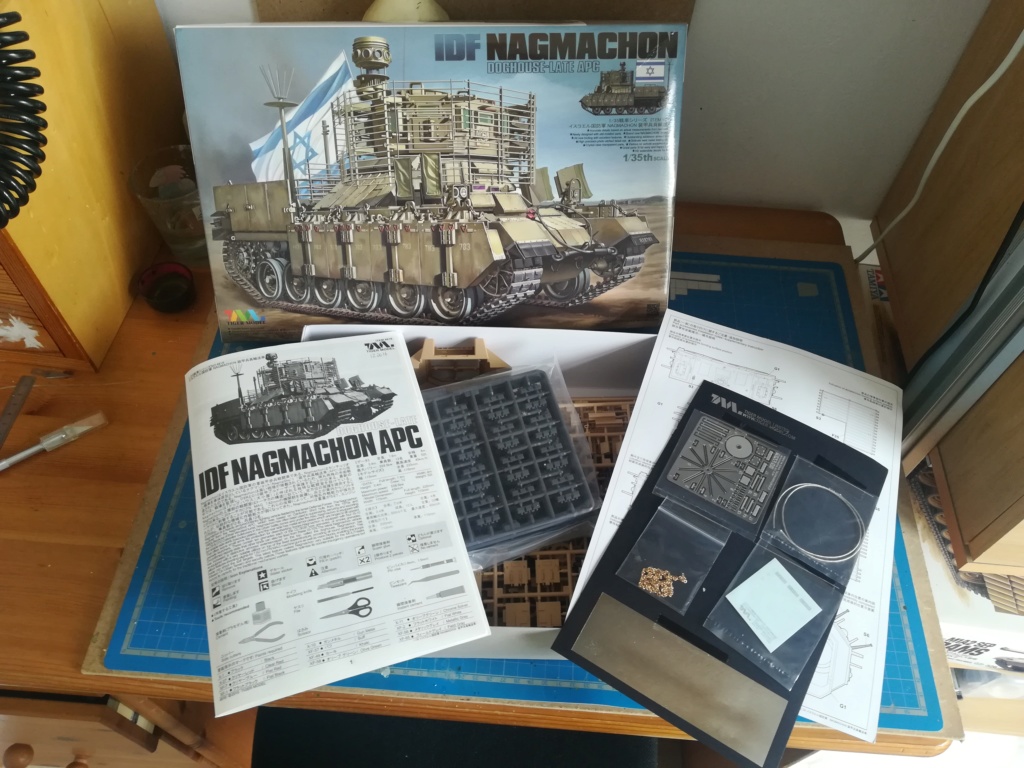
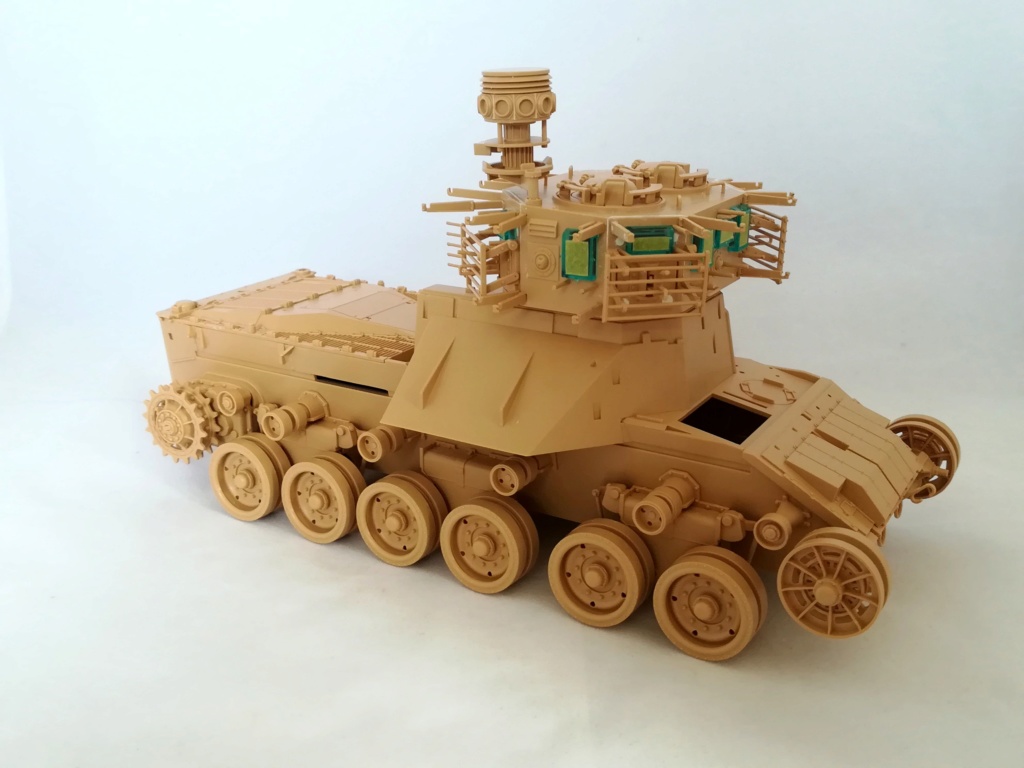
I was really mostly just curious as to how you did yours - I have tried dilute PVA ("meh" and tends to not adhere all that well to the styrene (but super-cleaning the styrene does help), Future (actually adheres fairly well, but does tend to self-level and run off to places you don't want grit to stick on, so requires careful management, in my experience), wet paint, and eventually ended up going with "Stynylrez" model primer. The latter paint adheres well to styrene, resin, and PE as it's a purpose-made primer for those materials, and it can be easily and accurately brushed on to control where you actually get grit to adhere. My test-bed was the Takom Merk 2b... A build with lots of detail embedded in the non-slip application!

I'm not sure what that "hamster litter" is - the grit size looks pretty good on your build, but I can't help but think that that fine a grit would make for dirty and sandy hamsters! When I kept hamsters, perhaps 60 years ago, I always used cedar shavings and such, or newspaper shreds, for mine... They clearly loved burrowing into and kicking that stuff around, and nobody wants a bored hamster, right!? I seriously doubt that my old-school hamster bedding would make a nice application on any model!

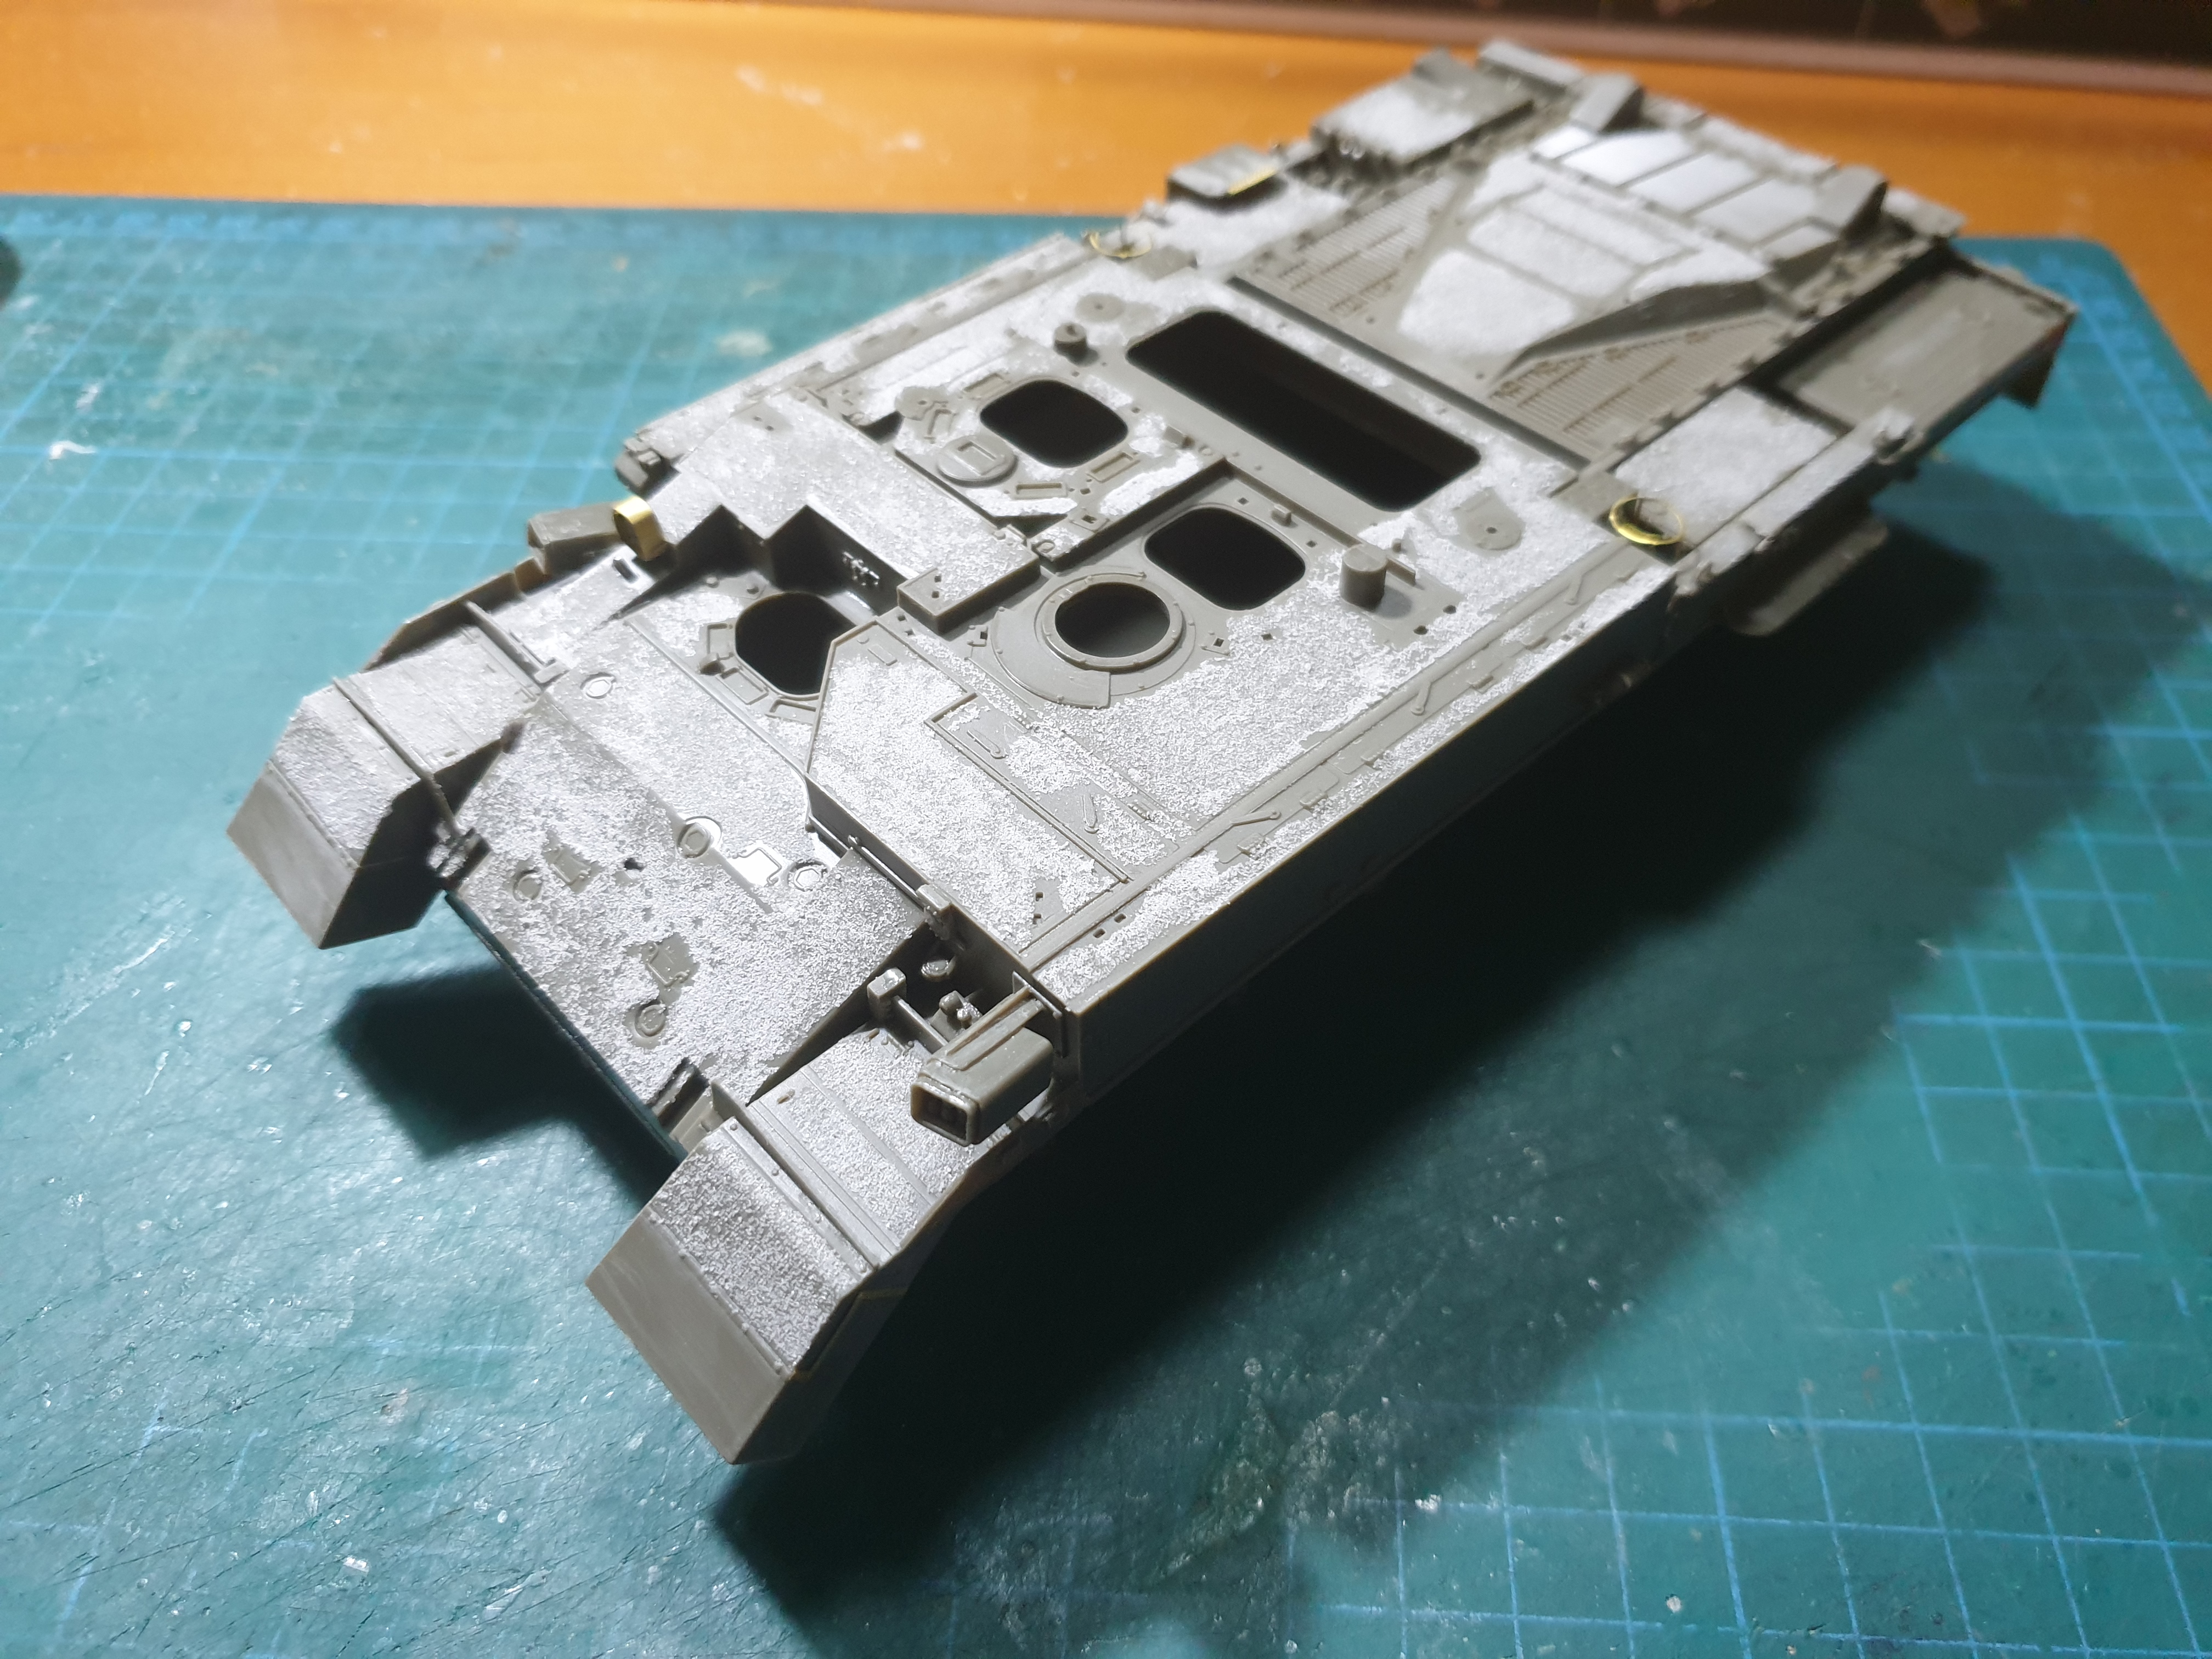
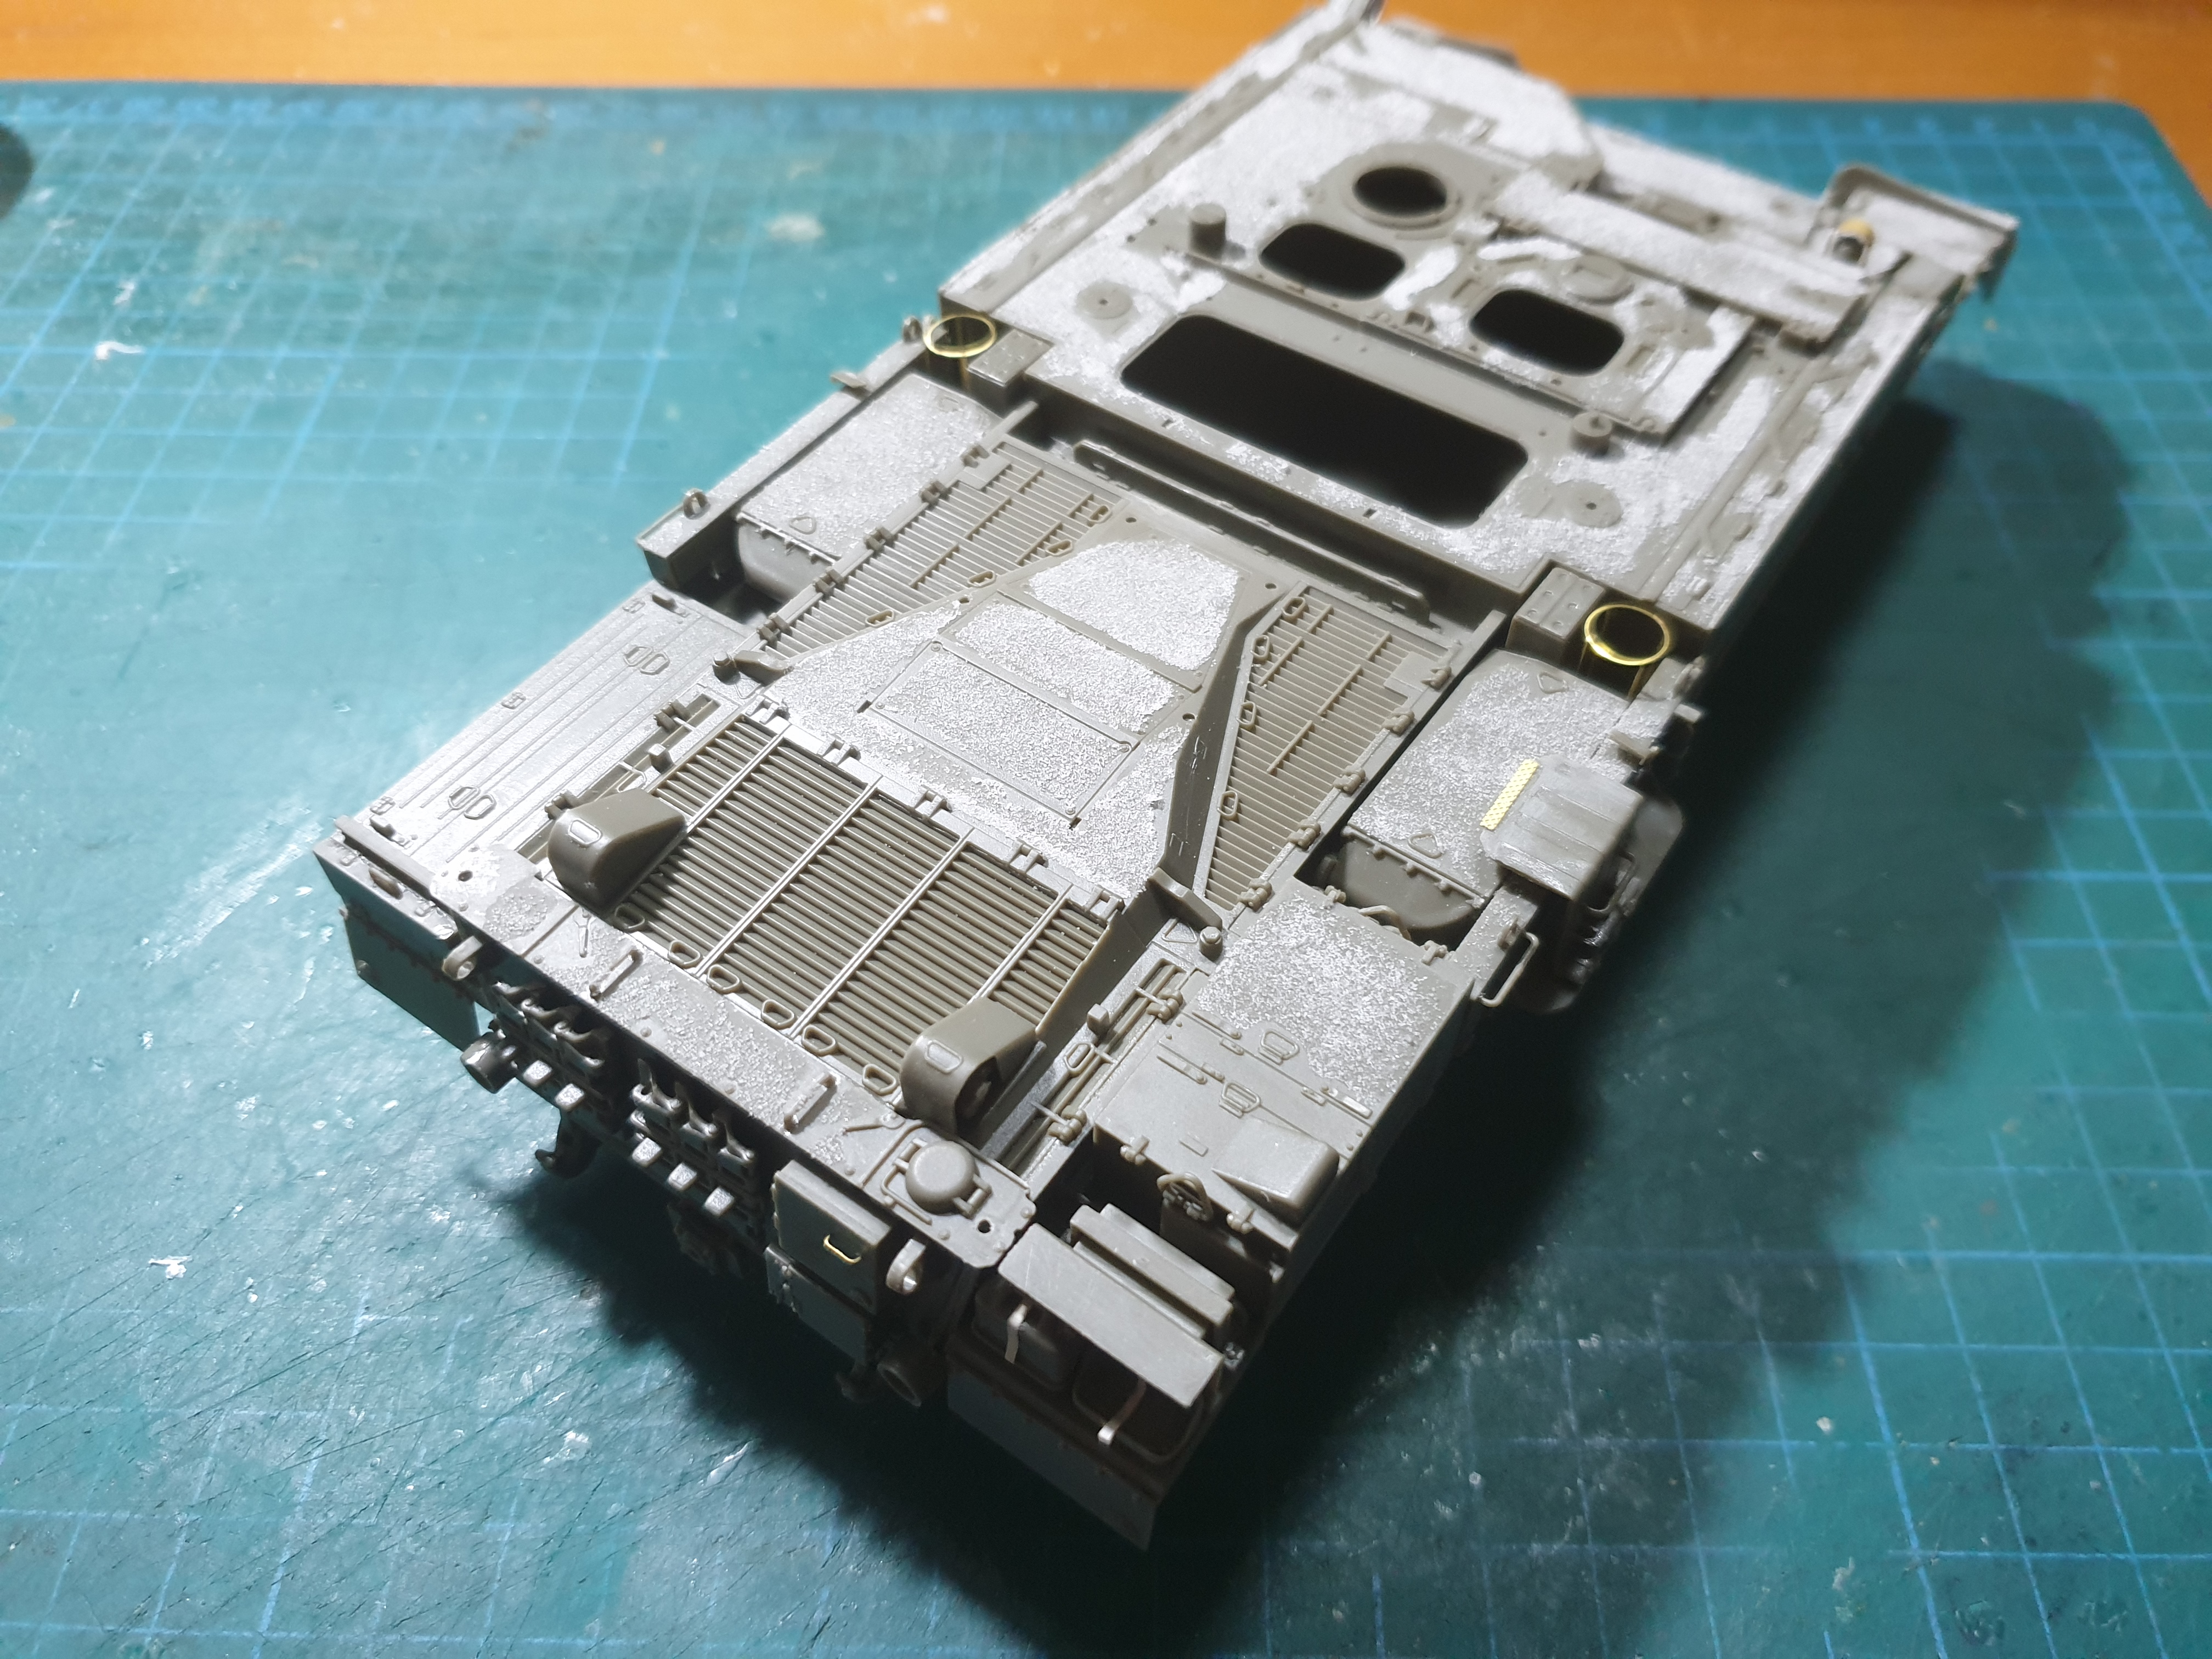
My grit choice is fine tile grout that I actually collect from the floor in the cement and grout products isle of my local Big Box Home Center store! For application, I sift it onto the wet primer patches through a little straw - enables precise locating when applying and limits the surplus that one gets.

In about every way, it actually comes out pretty much like what you have done. And it's likewise easy to remove and to add more onto, as one desires.

Again, always curious as to how DIY folks do this - the VMS kit sounds fine, but it's just an expensive way to do what you, I, and others get done for cheap!

Looking forward to seeing paint on it!

Cheers! Bob
rfbaer
Visit this Community
Texas, United States
Joined: June 12, 2007
KitMaker: 1,866 posts
Armorama: 1,696 posts
Posted: Saturday, April 11, 2020 - 03:57 AM UTC
My latest anti slip is made from facial hair. Yup, that junk that comes out of my electric razor, sifted and sprinkled on the surface prepped with any acrylic paint (Vallejo pink brushed on is my current favorite) and lightly tapped to even it out. Best part: infinitely renewable source.
petbat
Visit this Community
Queensland, Australia
Joined: August 06, 2005
KitMaker: 3,353 posts
Armorama: 3,121 posts
Posted: Saturday, April 11, 2020 - 10:11 AM UTC
The Don Johnson look.... stubble is back in!!!
petbat
Visit this Community
Queensland, Australia
Joined: August 06, 2005
KitMaker: 3,353 posts
Armorama: 3,121 posts
Posted: Saturday, April 11, 2020 - 10:30 AM UTC
Okay, some pics of where I am at with the Loyd Carrier. All basic assembly is done, now ready for paint.

I only been able to locate 2 pics of these in Israeli use. They are 2 different vehicles but both have the rear suspension swapped out, both have different headlights than in the kit (like those on the early Cruiser tanks) and both have the spare wheel brackets removed. I am assuming they were all like that. My build is a generic mix of what is seen in the pics (such as box on top of the engine cover), as well as some artistic license in what the inside of these vehicles may have been fitted out with.

The Loyd originally had racks to contain the 6 pounder ammo and other equipment, but the Israeli's used the vehicles as troop carriers, so I presume the racks were removed or partially removed - One of the pics I have is of a vehicle in a parade, and the crew can be seen sitting up against the walls.

I decided to add some brackets for stowage "for real usage" not parade glory.... and added two bench seats. I also added the plumbing for the fuel tanks and the switch which were not present in the kit. The dash panel had the two gauge bezels on the left removed and the correct larger single one added, as will as the knobs being replaced.

In place of the Kits Lee Enfield, I have added some brass brackets to hold the Czech 98k which was the most common rifle used at the time. I also added 2 x Mg 34 and posts like in the parade pic and 6 ammo boxes to racks behind the fuel tanks. The MG 34 was in widespread use by the Israeli's then, many pics of the Jeeps fitted with them. Ironic really, Jews using German MG's....

The rest you can see for yourself.


panamadan
Visit this Community
Minnesota, United States
Joined: July 20, 2004
KitMaker: 1,513 posts
Armorama: 1,449 posts
Posted: Saturday, April 11, 2020 - 11:59 AM UTC
Very nice Peter.
Dan
rfbaer
Visit this Community
Texas, United States
Joined: June 12, 2007
KitMaker: 1,866 posts
Armorama: 1,696 posts
Posted: Sunday, April 12, 2020 - 04:30 AM UTC
Very nice work Peter!
agriamodeling
Visit this Community
Budapest, Hungary
Joined: March 09, 2018
KitMaker: 206 posts
Armorama: 205 posts
Posted: Sunday, April 12, 2020 - 05:35 AM UTC
Gentlemen, wherever I read and look, beautiful and inspiring works all around.

Great stuff, congrats for all!

I am still yet to start in this campaign but currently busy with other subjects. I hope to particiapate with some interesting theme.

All the best!

Tamás
bison126
Visit this Community
Correze, France
Joined: June 10, 2004
KitMaker: 5,329 posts
Armorama: 5,204 posts
Posted: Friday, April 17, 2020 - 12:17 AM UTC
Hi all
the AMX 13 I'm currently building for the Tank Destroyer campaign is waiting for the base paint to dry so I've decided to start this campaign with the Tiger Models Nagmachon late.
I was a bit excited as this is the first time I'll build a model from this manufacturer and I have a lot more in the stash.
The plastic, the cast and the instructions remind me of Tamiya products. I hope this will be the same fit quality.
The box is quite busy inside with a lot of sprues, a small PE fret, a length of chain and two metal cables. In addition TM gives 3 sprues in 3 different colors for the clear parts although the instructions call for the blue parts.

Here is what the full box looks like.


The suspension is not overengineered unlike AFV Club Centurion suspension so this should be easier to assemble. I'll post ip progress pictures ASAP.

Olivier
bison126
Visit this Community
Correze, France
Joined: June 10, 2004
KitMaker: 5,329 posts
Armorama: 5,204 posts
Posted: Saturday, April 18, 2020 - 03:53 AM UTC
Hi all
here is my Nagmachon after a couple of hours on the workbench. The superstructure and the doghouse above it are not glued yet.
The side protections are designed in a way that compels
you to build the tracks before adding the protections. This also means that you have to paint the lower hull and the running gear at minimum. This is not the way I planned this project but I don't think I have many other options.

Here are some pictures.


Olivier
sinsling
Visit this Community
Singapore / 新加坡
Joined: January 16, 2007
KitMaker: 86 posts
Armorama: 85 posts
Posted: Saturday, April 18, 2020 - 05:14 AM UTC
Wow Oliver,

You're prolific, and fast! Wow...what a beast! I really cannot wait to see your progress on this. Work has kept me from being able to spend much time on my Puma this past week ( okay, Netflix didn't help either ) , but you've certainly made my fingers itch now!

Peter, the carrier is really coming on nicely. Crisp, clean scratch building, you and Val certainly have that master's touchI can only dream of. Waiting for more!

Regards,
Johanan