

1⁄35Easy 8 Sherman
Introduction
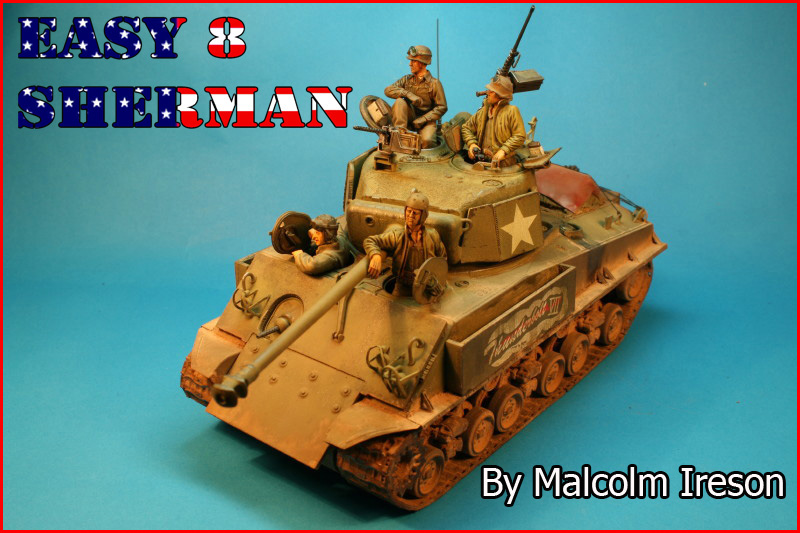
The easy 8, as it was known is thought to be the ultimate Sherman of WWII. This mark of Sherman started to be produced in the latter months of 1944, most of these tanks were fitted with new suspension units and started to show up on the battlefield shortly after the end of the Battle of the Bulge, a few easy 8s saw limited action in that engagement however most came later. To put it simply this was a standard M4A3, fitted with a T-23 turret and side fenders, the suspension upgraded to the new HVSS (horizontal volute spring suspension). The suspension springs on the Easy 8 were fitted horizontally, instead of vertically like the traditional Shermans. The wheels were changed to a more robust type, and the addition of return rollers completed the transformation. The new running gear required a new track, which it got in the form of T 66 steel cast tracks which were the most common, some later tanks were fitted with T-80 tracks towards the end of the war however they were few and far between. Most but not all of these Shermans were covered in appliqué armour, this was retro fitted to the vehicles in the field using the front plates of knocked out M4A3 Shermans; some even used the armour of knocked out panthers which added to the overall protection of the crew, this was at the cost of weight and speed of the vehicle; this practise was frowned upon by General Patton, but the Shermans of his 3rd Army were given permission to do this.The Model
This is one of Dragons new Shermans and it shows, it appears that DML have listened to what modellers are saying and asking for, multi media suspension units, the tracks are the new MAGI track, Raised weld lines on the hull, metal barrel, 4 decal options and PE all come together in one place allowing the construction of a very accurate model to be made without added expense.Construction
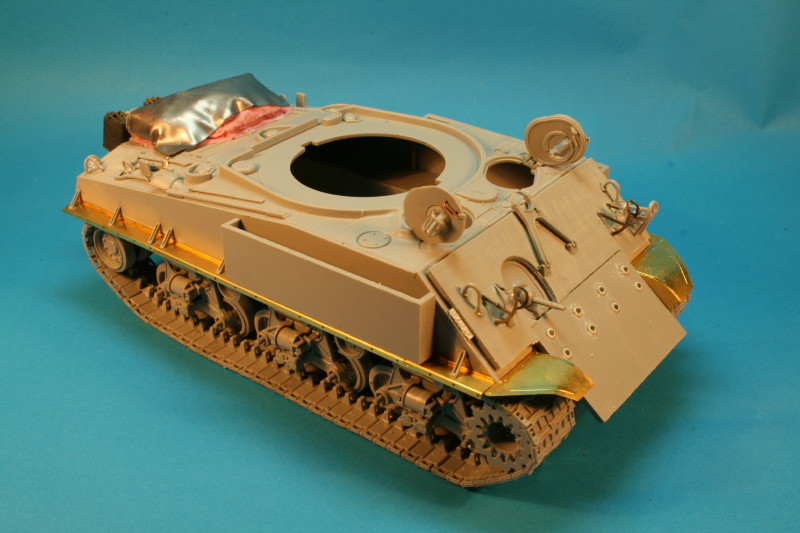
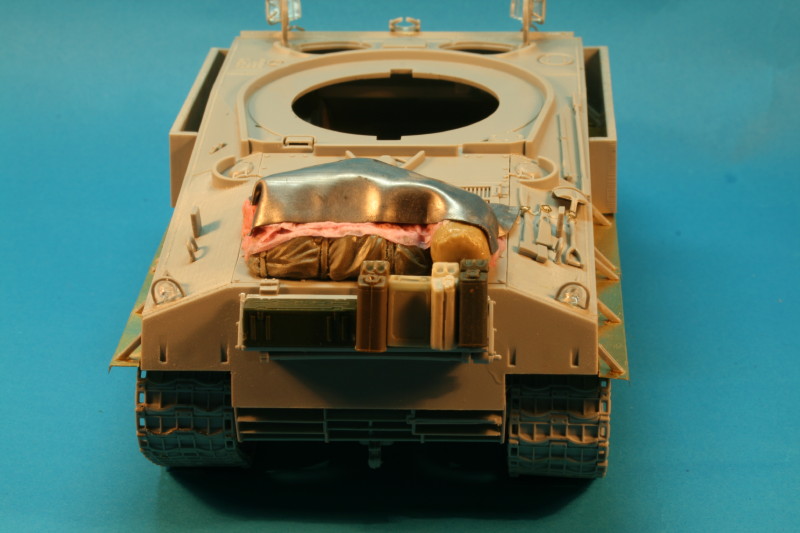
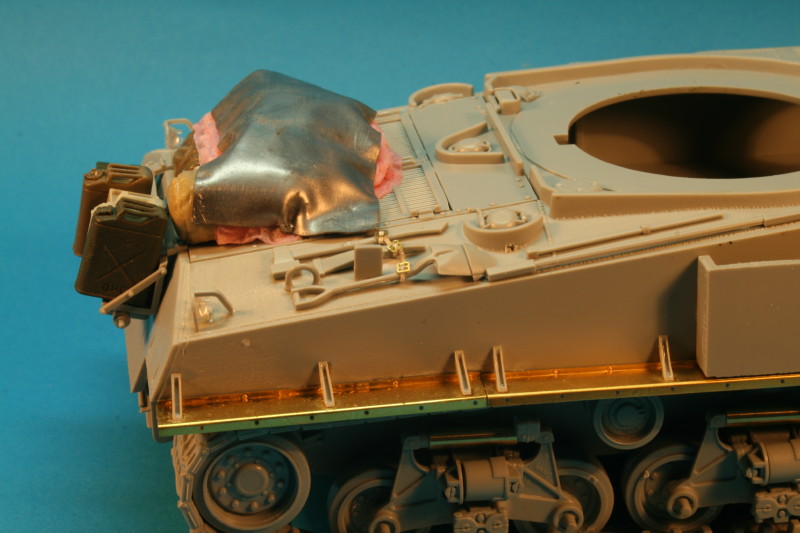
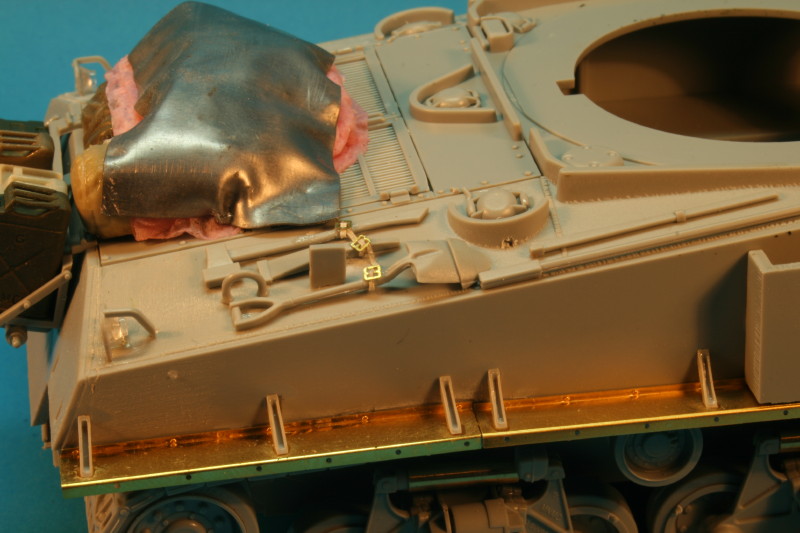
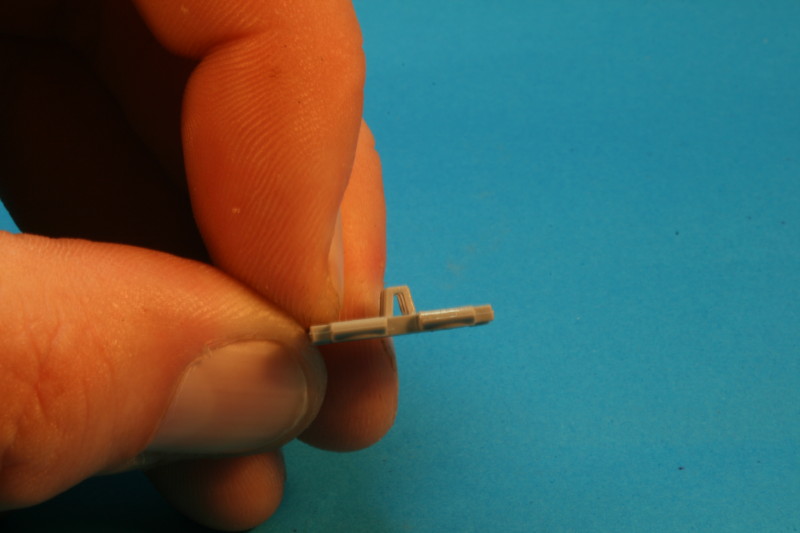
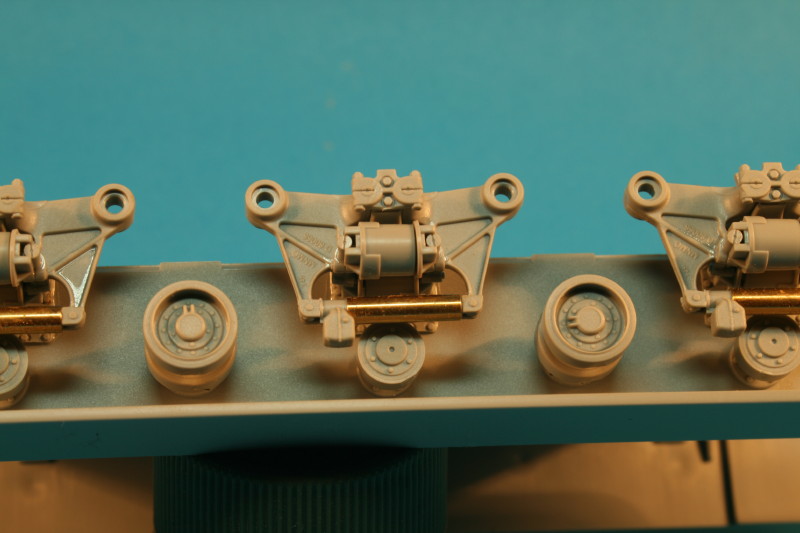
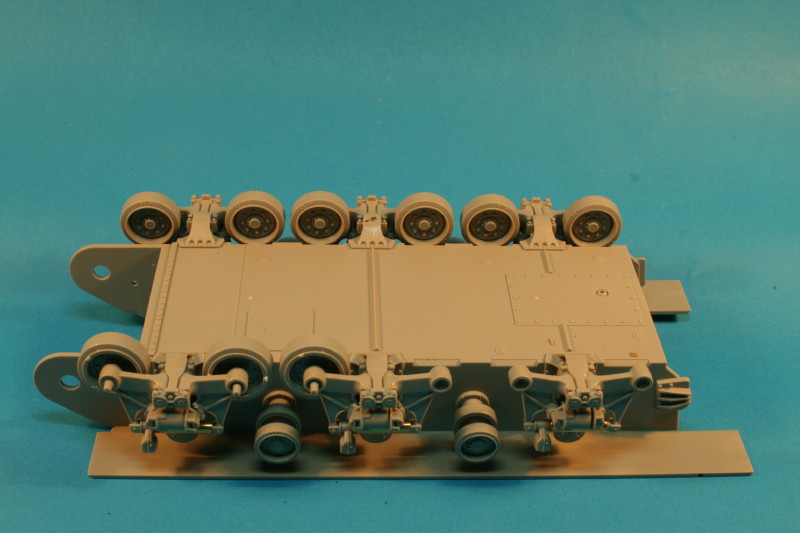
The running gear The running gear was made first, of note here are the small springs that fit into the brass rods (MB3) are a bit too long. I have spoken to a few modellers who have said the springs have pushed their suspension units apart and broken the suspension arms, so I left these out. The suspension units are little models in themselves, being made up of a total of some 20 separate parts, care must be taken with these and they are can be a bit fiddly to assemble. At this stage that extra hand comes in to use. The bogies were then attached to the hull, and I only fitted the wheels to the inside for ease of painting later. Of note here is that the wheels have their own tyres, with the makers logo moulded on the side, I thought this only happened in racing car kits. Next the tracks were fitted; these were fitted in one evening. The hull I then fitted the photo etched side, and front fenders to the hull top and fitted the two hull halves together. I then used Tamiya masking tape and photo etched clips to attach the tools to the hull along with the rest of the hull fittings. The sides of the appliqué armour were too smooth for me so I roughed them up with a burring tool fitted into my mini drill, set at slow speed. I replaced the nuts fitted on the front of the armour plate with Grandt line items, so they look a bit bigger. I attached two plastic rods to the sides of the front plate and worked on them with a pyro engraver to represent the weld beads. This being a representation of the tank belonging to Col. Creighton Abrams, nicknamed `THUNDERBOLT VII` an armour plate had to be fitted, on both sides and front of the hull plus the turret. Not all easy 8`s had this done, so if possible base your model on an actual vehicle, this way you cant go wrong. The Turret The 2 halves of the turret were glued together, then the whole thing was given a coat of CAST A COAT, to simulate the rough texture of the metal, I followed the plans and had no problems. I used replacements for the .30, and .50 Cal machine guns from the Academy machine gun set, this set is a must for allied modellers, as I think that they are the best injection moulded machine guns on the market at the moment, and for the price they cannot be beaten. I left all the hatches off at this time as I will be fitting a crew. all handles were replaced with ones made from fuse wire, the stowage was made up from the spares box, and using milliput for the tarps, and a piece of lead foil over the top for an air recon panel, a Sherman without any stowage on the back just doesnt exist. The model was a joy to make with no real problems what so ever, and that about wraps up the construction of the easy 8.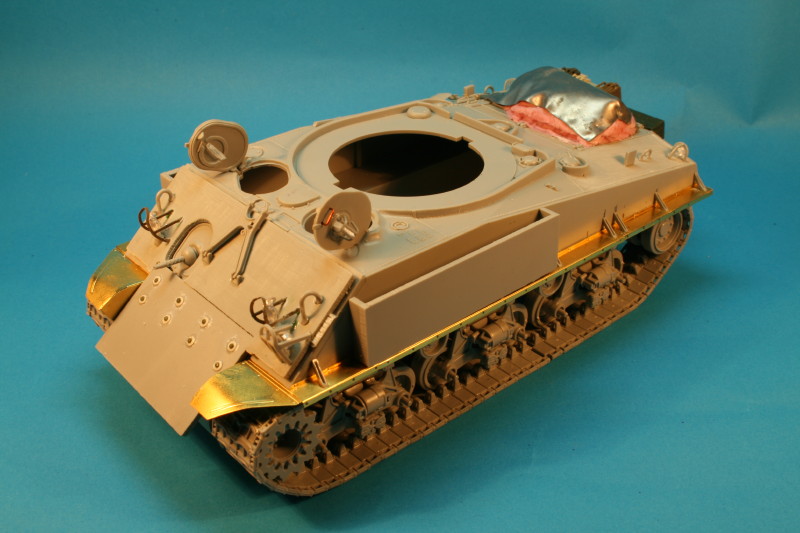


About the Author

Copyright ©2021 by Malcolm Ireson. Images and/or videos also by copyright holder unless otherwise noted. The views and opinions expressed herein are solely the views and opinions of the authors and/or contributors to this Web site and do not necessarily represent the views and/or opinions of Armorama, KitMaker Network, or Silver Star Enterrpises. All rights reserved. Originally published on: 2008-02-23 00:00:00. Unique Reads: 24610

WEB HOSTING BY


Copyright ©2021 Armorama and Kitmaker Network, a subsidiary of Silver Star Enterprises
All Rights Reserved. Please read our Conditions of Use and Privacy Policy.
All Rights Reserved. Please read our Conditions of Use and Privacy Policy.