

1⁄35M13/40 Ariete Division, Tripoli 01-1941
3
Comments

The kit
I think Italeri re-released this kit in 2008. As this is the most famous Italian tank of WWII, it ought to be a pillar of the Italeri range, so I hope that this was labelled as a Limited Edition because they're working away on a new version in response to Tamiyas revamped offering. I see that currently the Italeri web site lists this kit as out of stock. There are though two very attractive things about this kit that are obvious straight away: it is cheap and it is simple to build. As has been pointed out elsewhere, there are some aspects of this kit that suggest Italeri may have used M13/40s and M14/41s as source material as it has some features that should, I think, appear only in one or the other, not together. Then again, the evolution of the appearance of these tanks is quite confusing (to me at any rate): the defining difference between them is that the M14 has a more powerful engine. There are however small differences on the exterior of the M13 and the M14, but, there were also external detail differences introduced during the production of each. The first 50 M14s were externally very similar to the last M13s. Therefore, as far as appearance goes, there is a gradual series of changes from the start of M13 production to the end of M14 production; more on this later. I made some changes to the kit which I think made it look OK, although it is still not 100% accurate for the particular tank it represents. For some this may be a problem, but Im happy enough with it not to want to start over again . . . My information sources were: Italian Medium Tanks In Action (Squadron/Signal, 2001) and Italian Armoured Vehicles of World War Two (Squadron/Signal, 2004) both by Nicola Pignato.The build
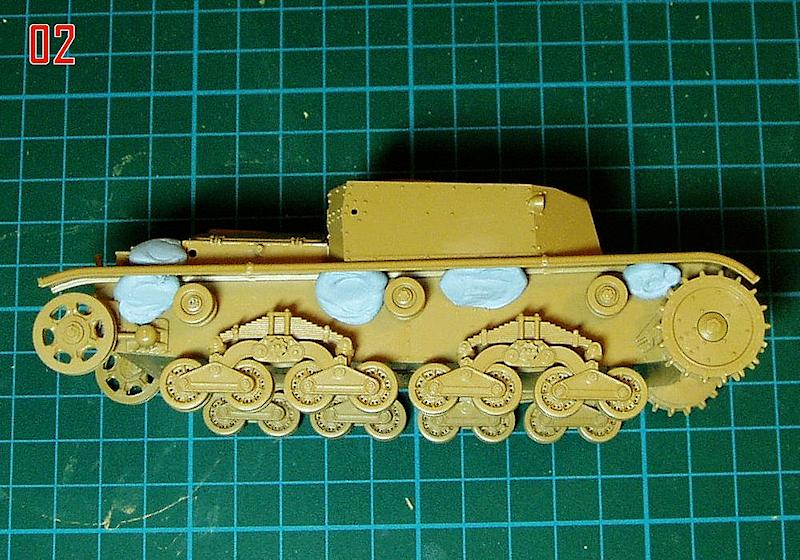
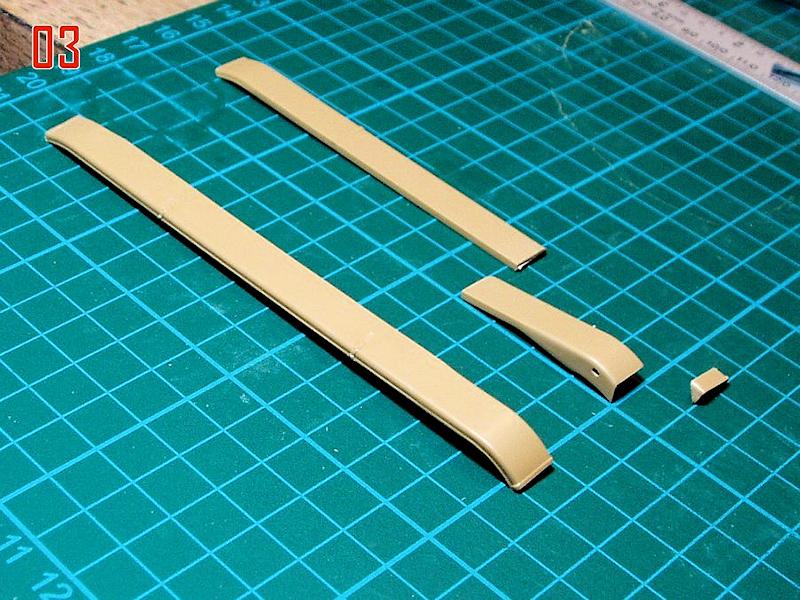
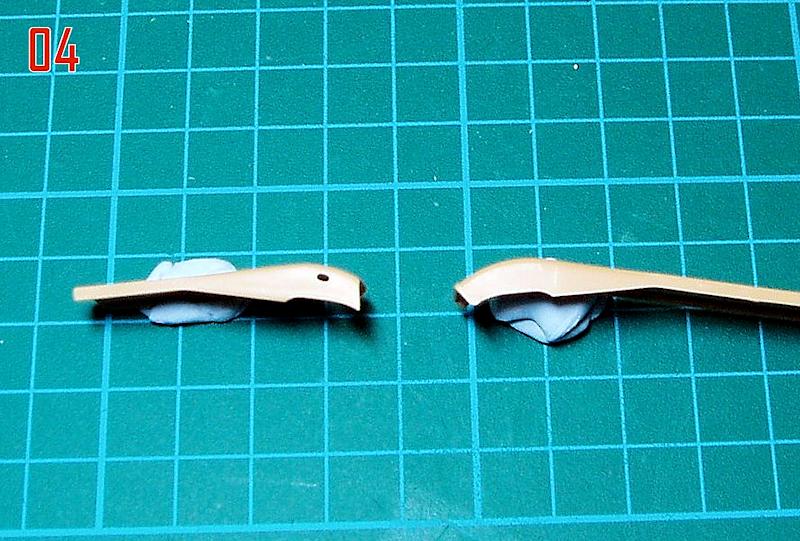
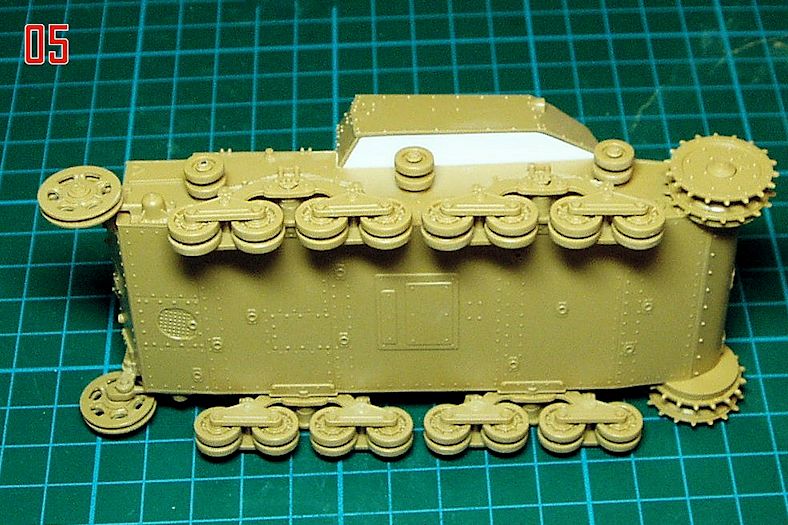
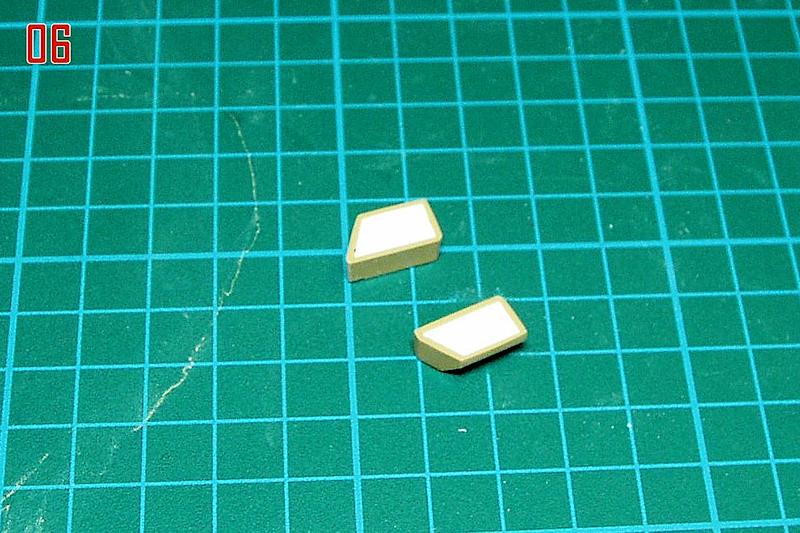
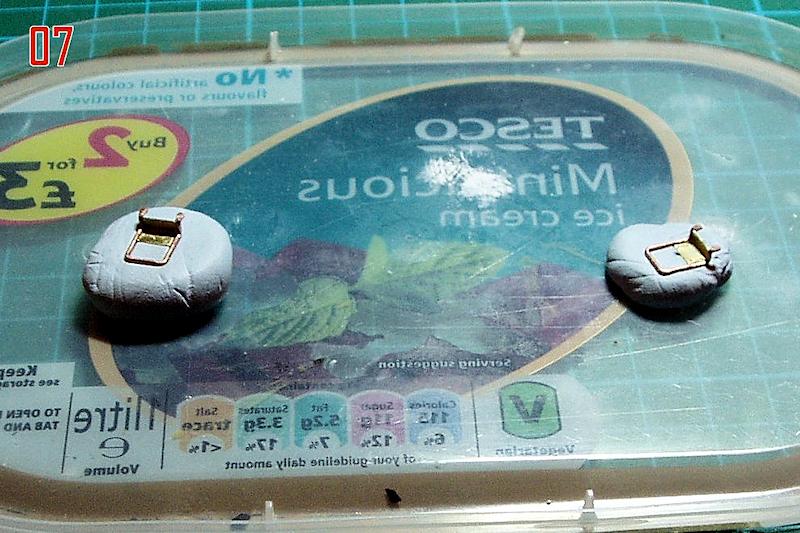
Construction of the kit is simple. All wheels can be made to rotate and the main parts of the bogies swivel, which I thought worth doing to facilitate painting. Note however that the sub-bogie doesnt swivel, which would make it difficult to attain realistic suspension movement over rough ground in a diorama. The only problem I had here was a broken mounting post for one of the return rollers. This was replaced with a length of polystyrene covered wire rod, which had the advantage of making the repair very strong [photo 01]. The vinyl tracks, although well detailed, look like the links may take on a bit of the curve when they bend, so I bought Model Victorias resin links. So that the fancy resin tracks (that cost as much as the Italeri kit) could be shown off to full advantage I decided to convert the track fenders from the kits long type to the short type; these short fenders expose more of the track run giving this tank more of its characteristic look. Doing this so as to achieve the correct look is fairly straightforward; if you want to achieve total accuracy, you might have more of a problem. The fenders were mounted with blue-tac and the correct length marked in pencil [photo 02]. The kit fender is in one piece representing the originals three sections; I removed the middle and rear sections [photo 03]. The short fender also doesnt extend as far forwards and curve down as much as the long, so a piece was removed at the front and the oval shaped hole in the inside of the fender front was cut out [photo 04]. The moulded joint at the rear of the fender was filed away, and the shape at the front made vertical in section rather than at 90° to the curve, as it were. At the front is where things are now a little inaccurate: the ridge on the edge of the fender should, I think, continue around the front, plus there is a small extension from the fender, like a bracket, attached to the nose of the hull by two bolts; I didnt attempt to reproduce either of these details, partly as getting the angle of the fender end correct makes it slightly too short for the bracket to attach. (I believe a conversion kit with short fenders can be had from Model Victoria, among a whole lot of other gear, but then youre talking spending almost three times the cost of the kit.) As a result of shortening the fenders, several other modifications become necessary. Spaces under the hull sides and storage bins were both filled with plastic card [photo 05 and 06]. The jack was relocated from the front fender to the rear deck where it replaced the left spare wheel. The mounting peg for the deleted spare wheel was removed and replaced with a bracket for the jack, made from brass strip and copper wire. On M13s with long fenders the step is made rigid by attachment to the fender itself; for the short fenders, the step is reinforced by a piece of steel plate welded to the top. I made this from copper wire, which was soft enough to be flattened with pliers at the ends for the attachment point to the hull. A brass sheet plate was CA glued into place while mounted on Blue Tac as a jig while the glue set [photo 07]. A final modification due to the short fenders was sanding off the strip at the bottom of the hull sides, which actually represents the bent up edge of the long fender, fixed to the hull. As this removed all the moulded rivets, they were replaced with Grandt Line rivets, not forgetting those on the attachment points of the crew step.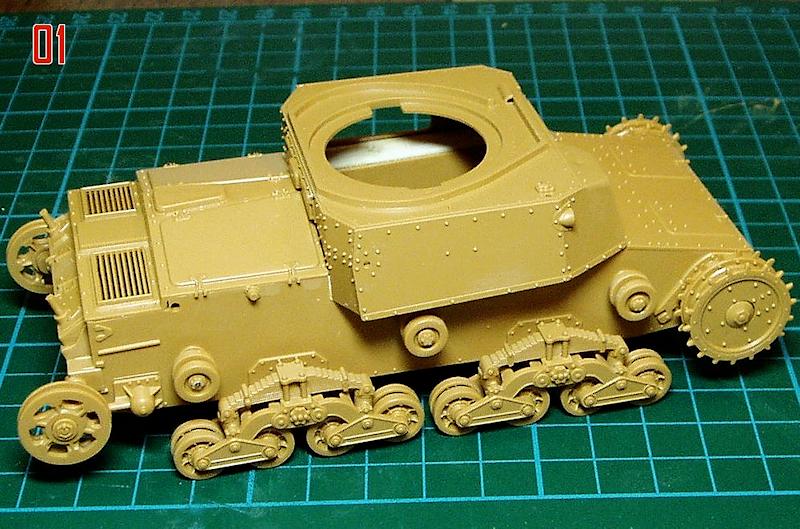

About the Author

FROM: ENGLAND - SOUTH EAST, UNITED KINGDOM
Earliest model memory is a Super Sabre my grandmother bought for me around 1972. Have always dabbled in painting and making things, and rediscovered doing that with plastic in 2008. Vowed then to complete the 30 year old stash, and have made some progress. Hobby goes hand in hand with BBC Radio 3...
Comments

Very enjoyable read Matthew, and nice job on the diminutive M13/40. The AM tracks were well worth it, IMO. Bannerman's book must be very good, or you're a natural figure painter, as your commander came out extremely well...and both eyes look perfect to me! Thanks for sharing this one.
OCT 09, 2012 - 09:14 AM

Matthew,
Your M13/40 is well built and looks like it's put dozens of dust miles under its tracks. Well done!
I concur with James, your commander looks very convincing.
OCT 10, 2012 - 03:11 PM

Hello, I am writing from Italy and I like the WWII African war. The "M13/40 II serie" you have build is o good subject, but a first sight you have made two errors: the front plate because the second serie has not and the number of plate because the VII battalion had number between 3002- 3030 approximately. Finally the "cupolotto" on the radiator, smooth and without the upper fins for cooling as you can say from your photo for inspiration. Write to me for other request if you want...
SEP 16, 2016 - 12:47 AM
Copyright ©2021 by Matthew Lenton. Images and/or videos also by copyright holder unless otherwise noted. The views and opinions expressed herein are solely the views and opinions of the authors and/or contributors to this Web site and do not necessarily represent the views and/or opinions of Armorama, KitMaker Network, or Silver Star Enterrpises. All rights reserved. Originally published on: 2012-10-08 00:00:00. Unique Reads: 17347

WEB HOSTING BY


Copyright ©2021 Armorama and Kitmaker Network, a subsidiary of Silver Star Enterprises
All Rights Reserved. Please read our Conditions of Use and Privacy Policy.
All Rights Reserved. Please read our Conditions of Use and Privacy Policy.