

1⁄35A Tale of Two Trams
42
Comments
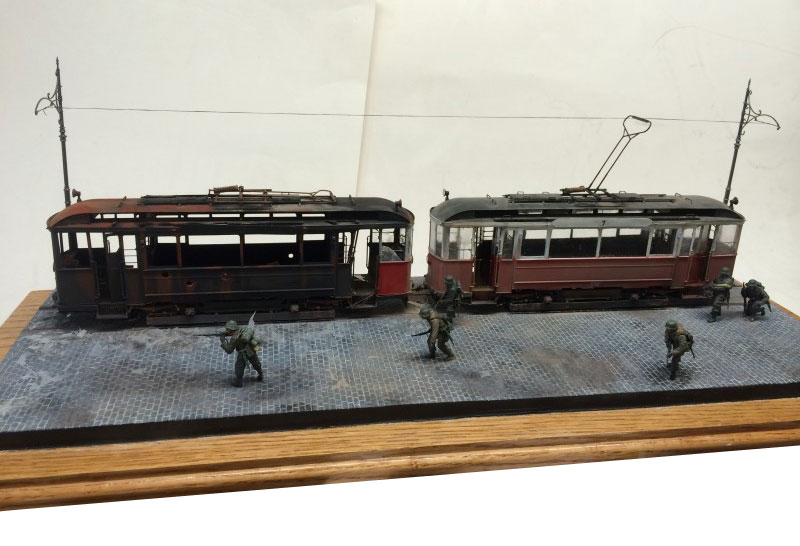
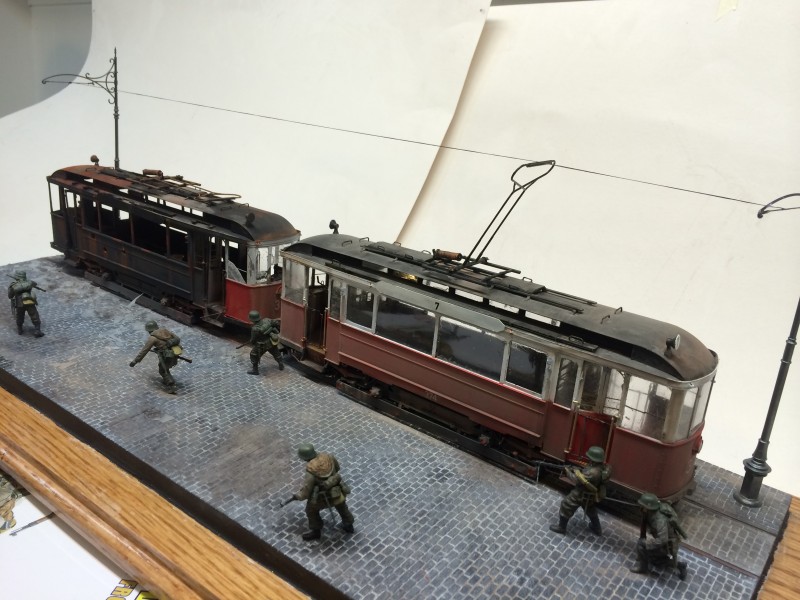
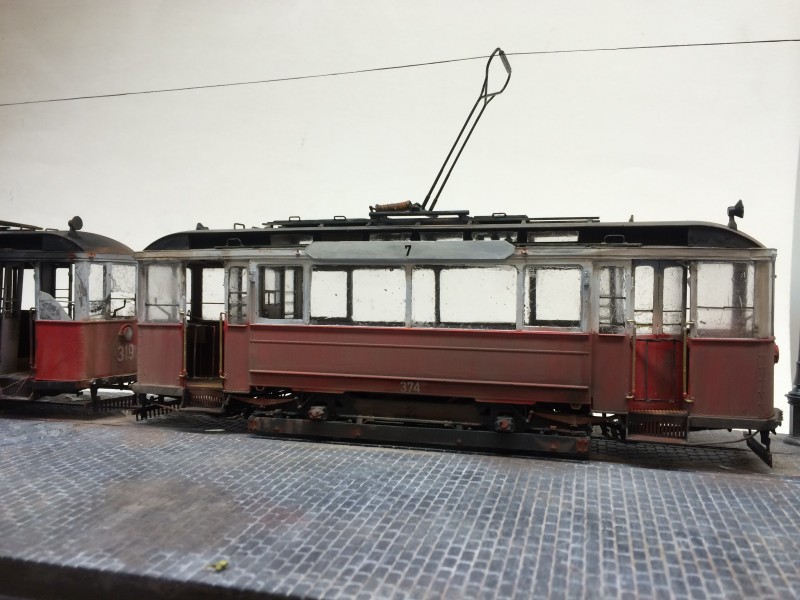
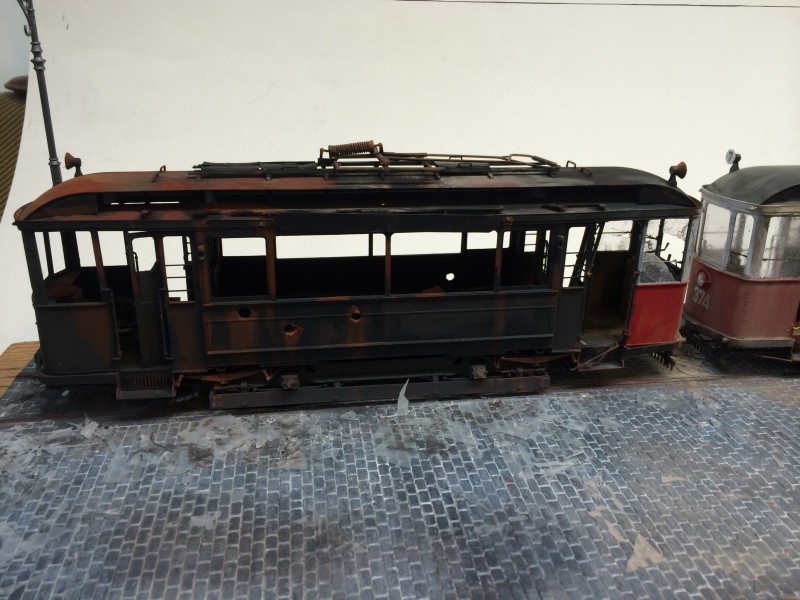
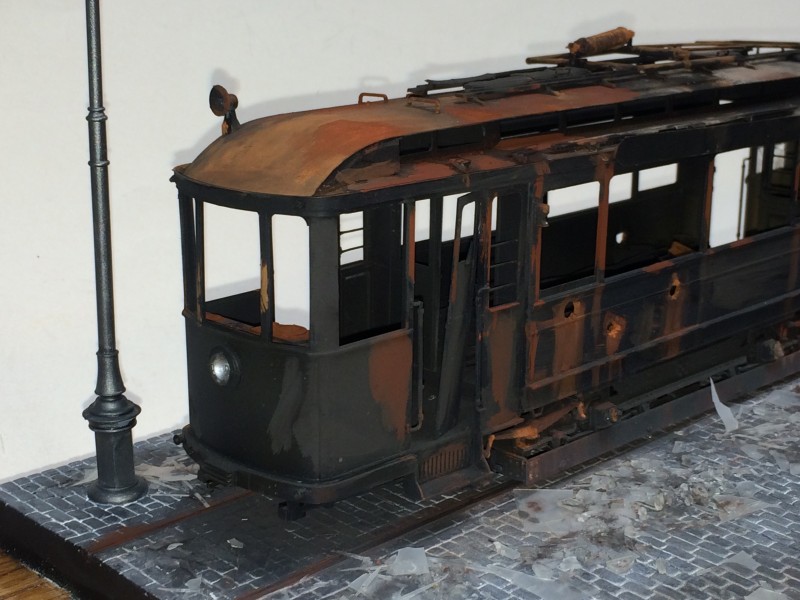
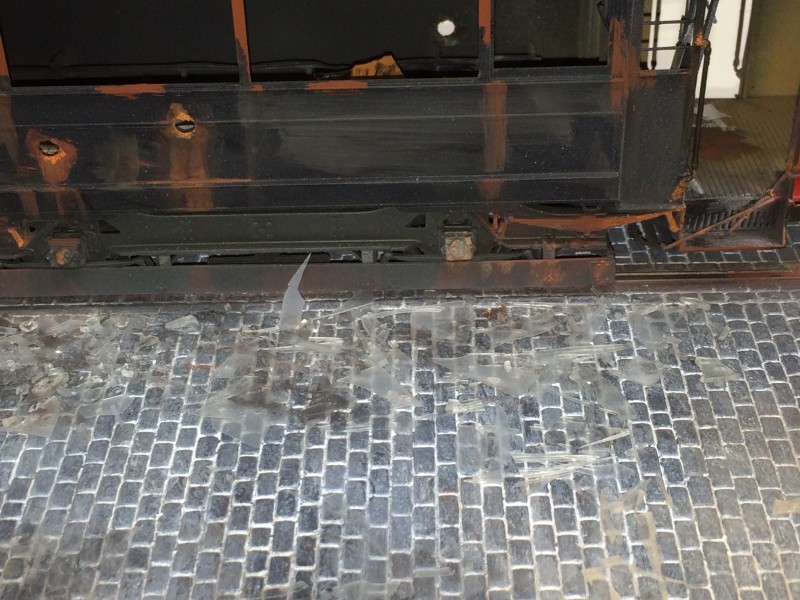
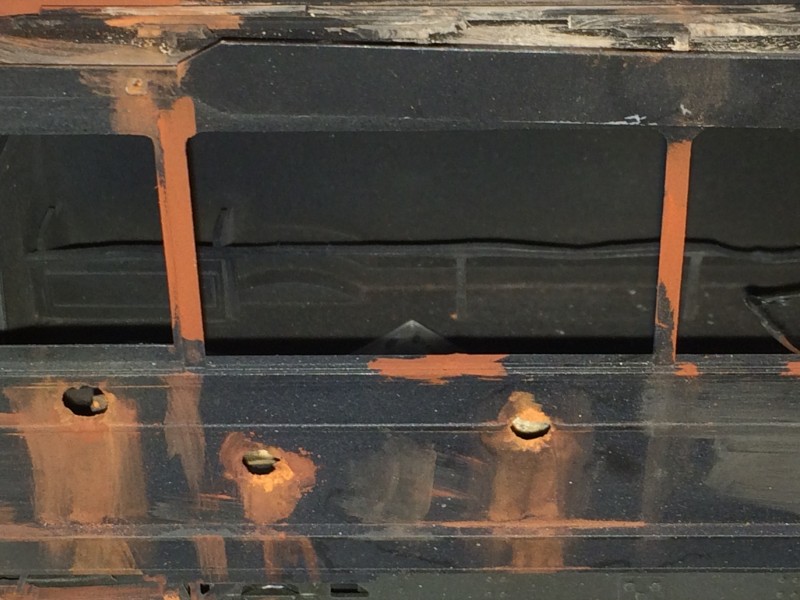
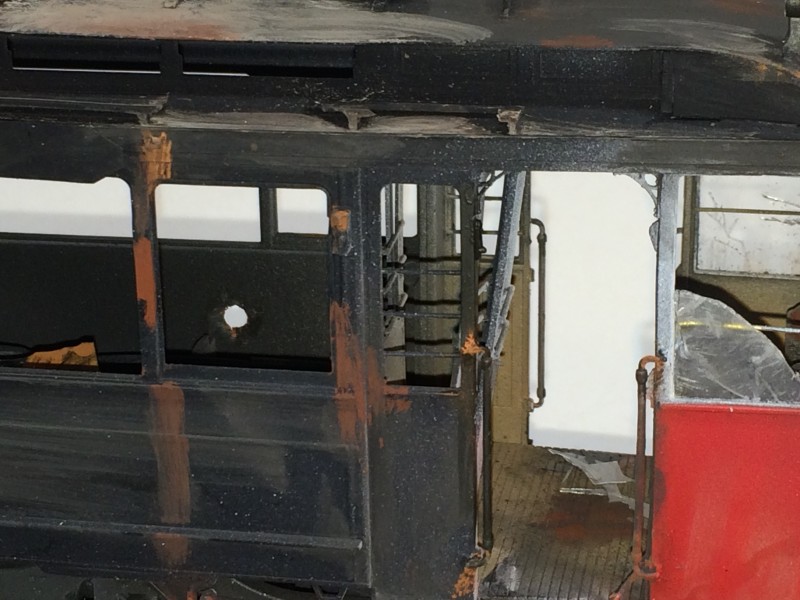
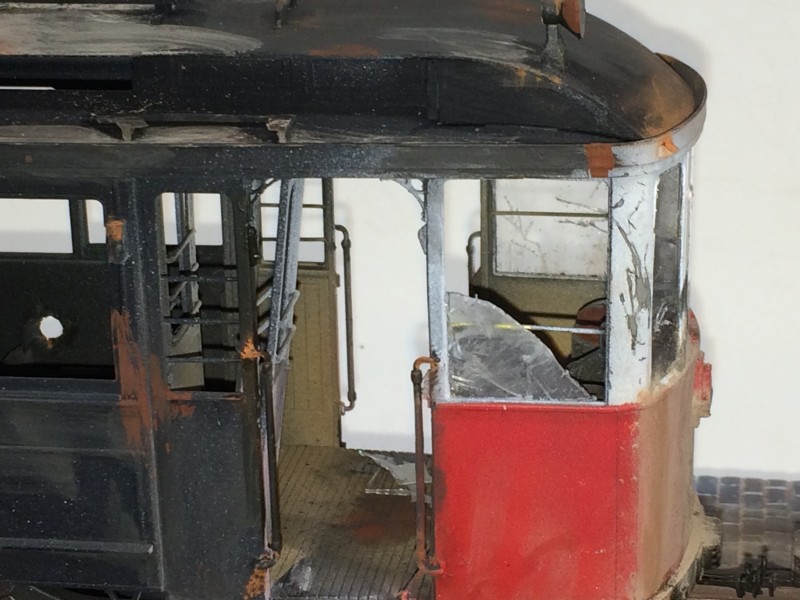
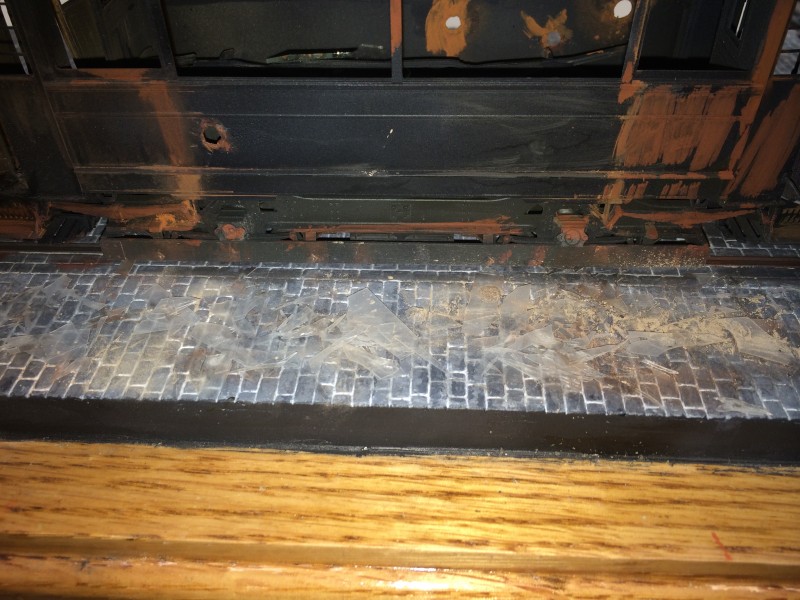
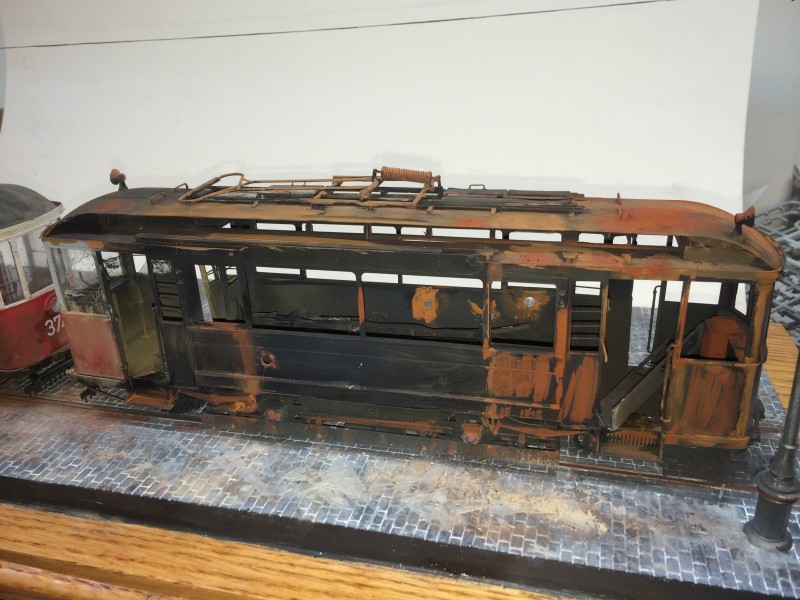
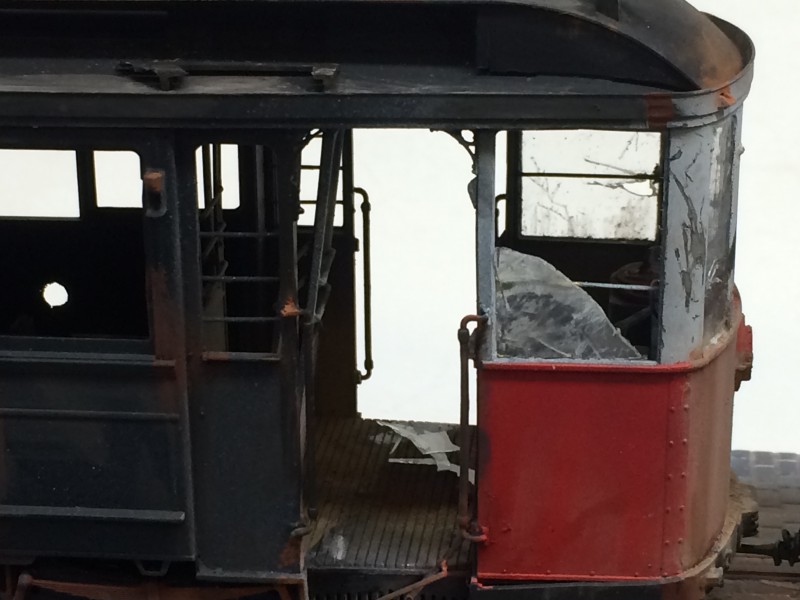
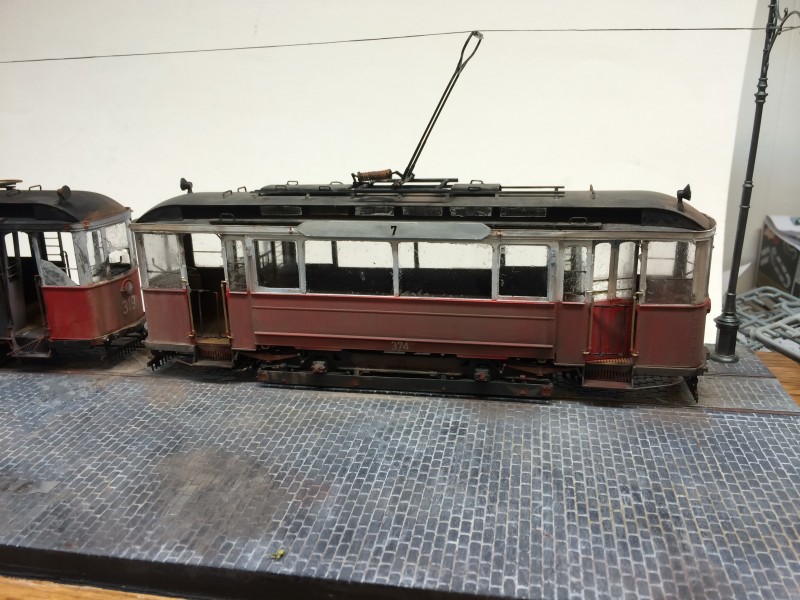
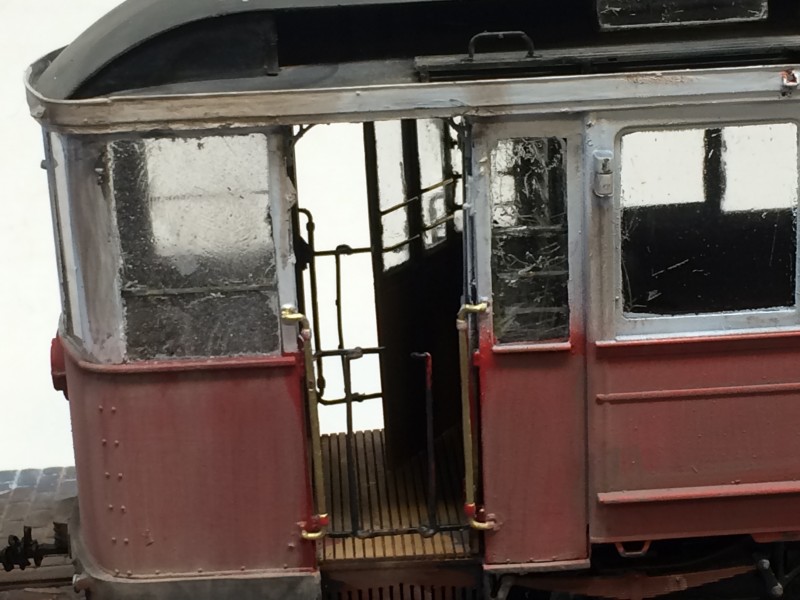
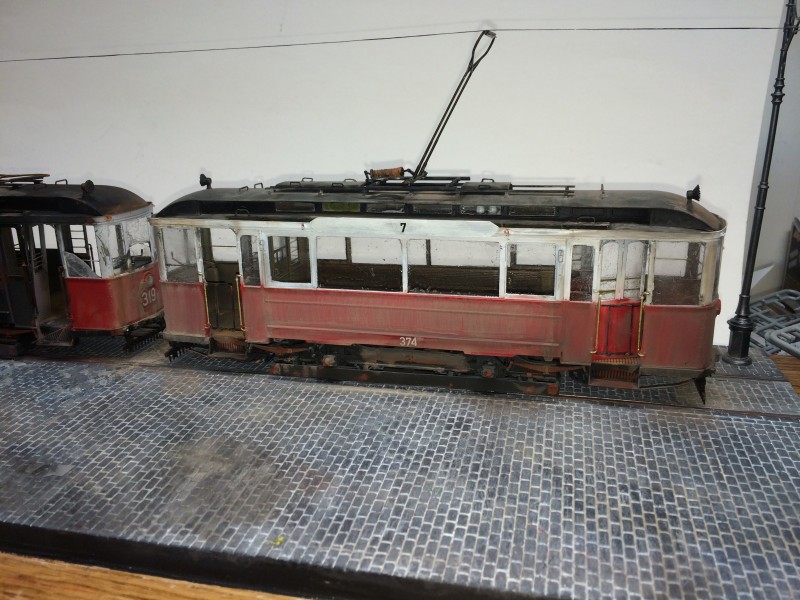
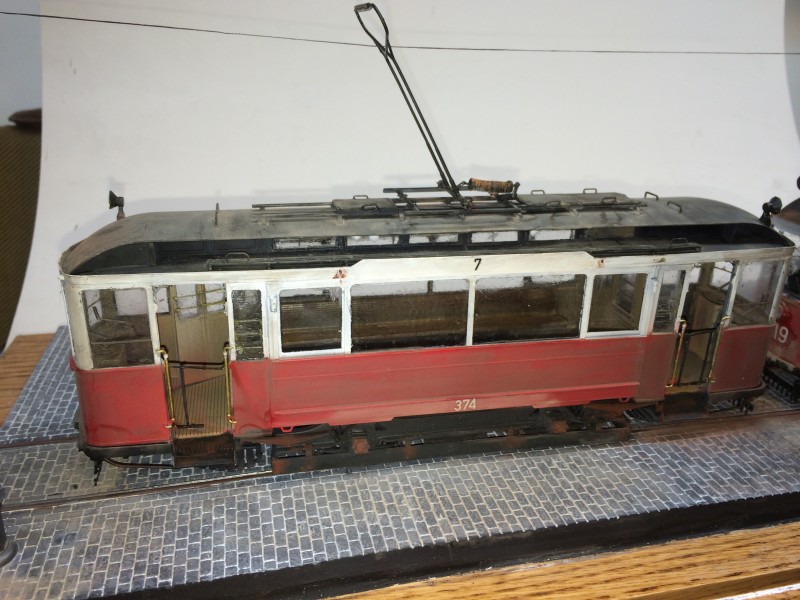
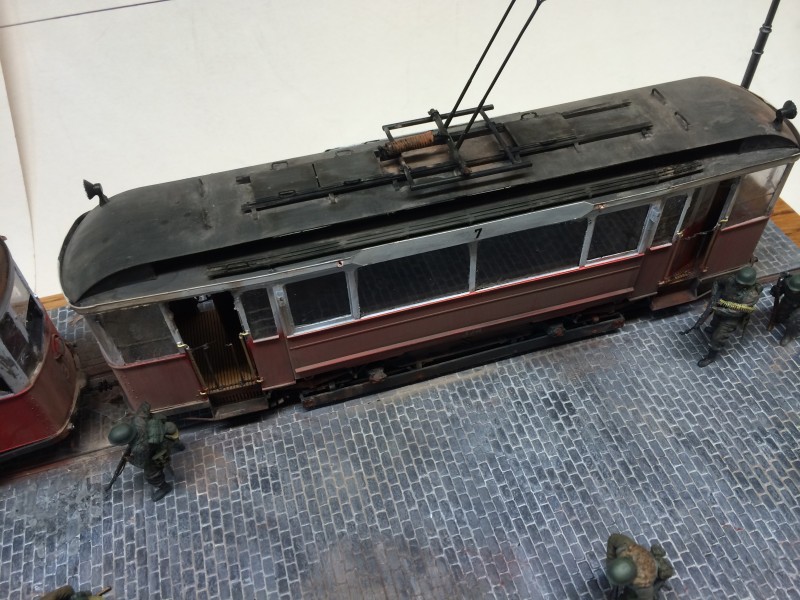
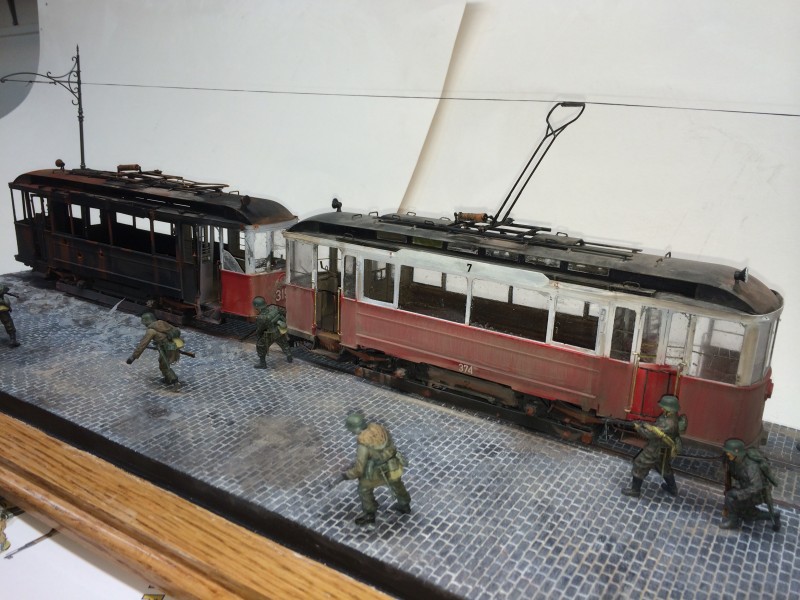
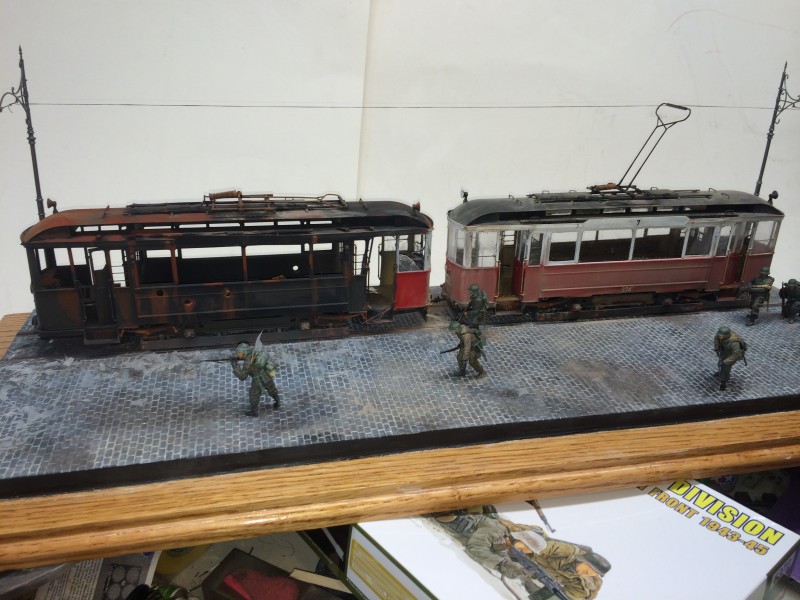
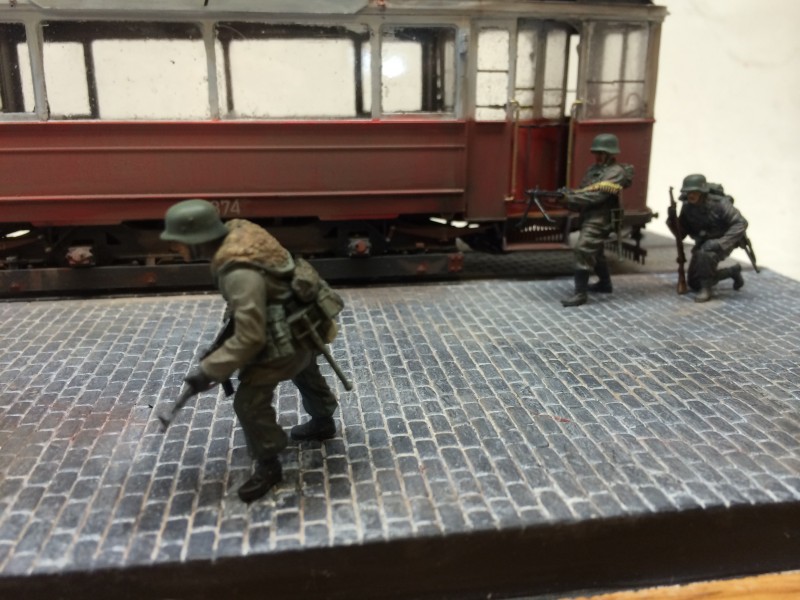
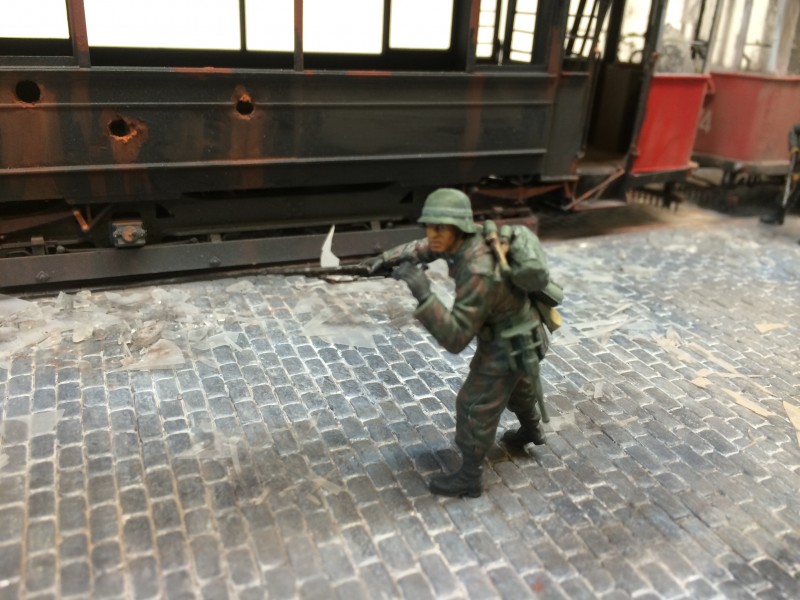
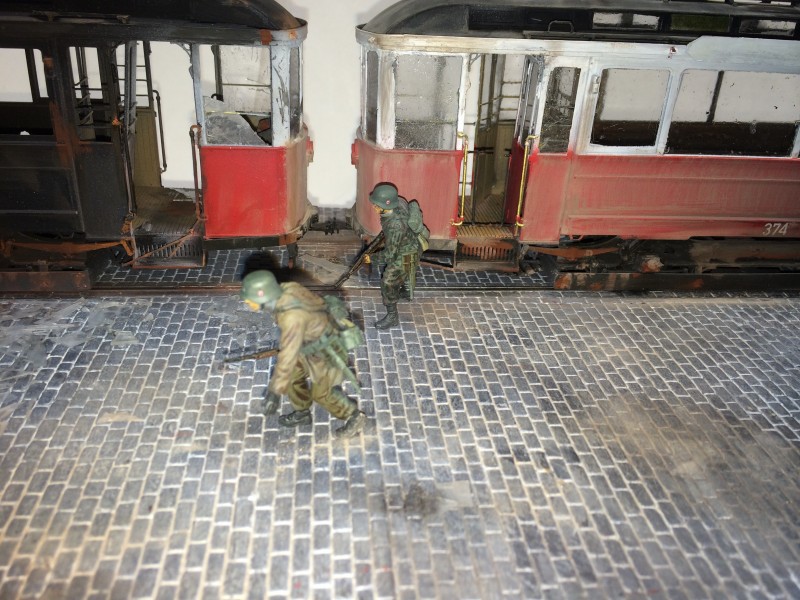
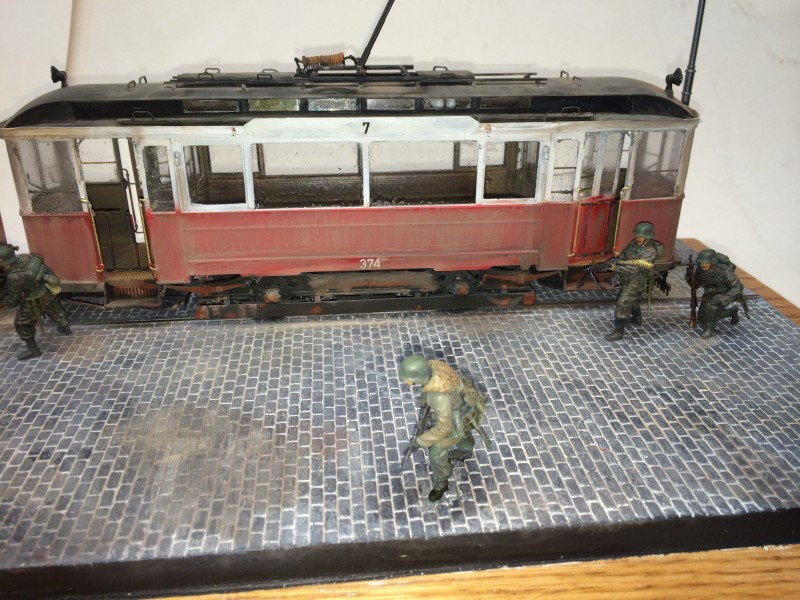
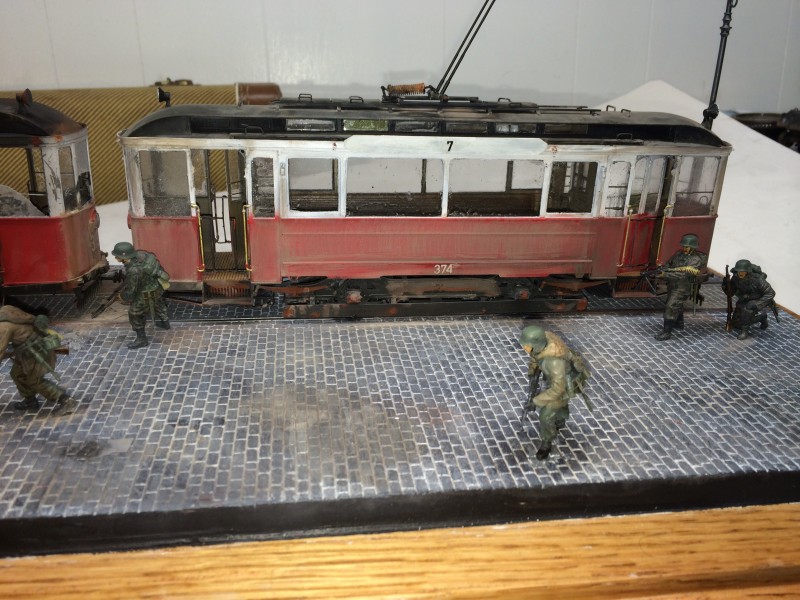
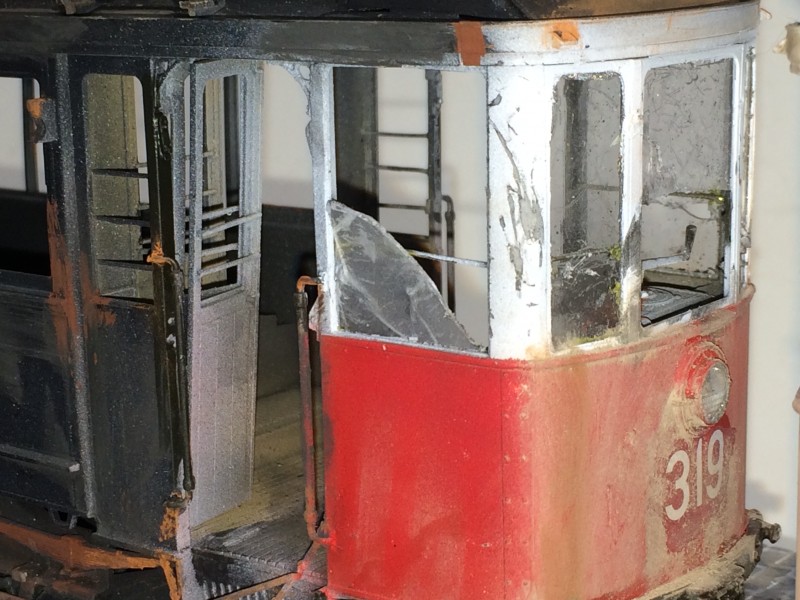
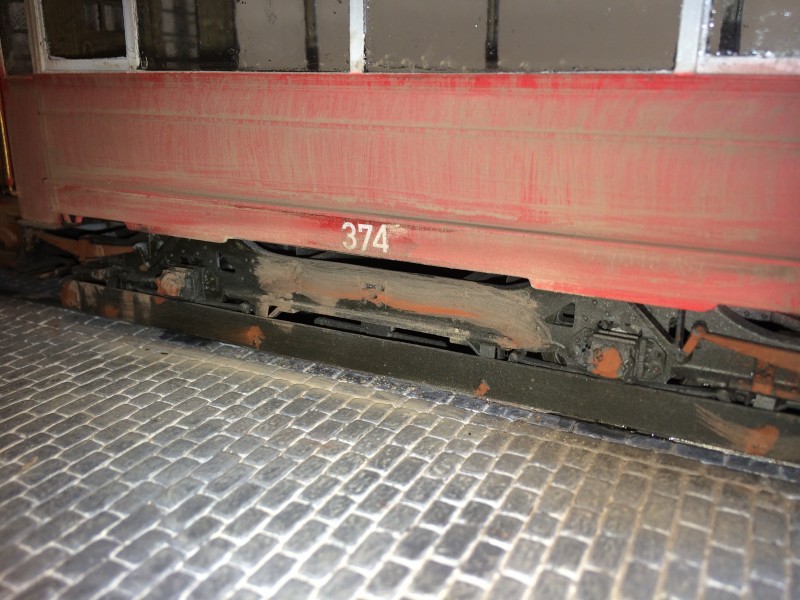
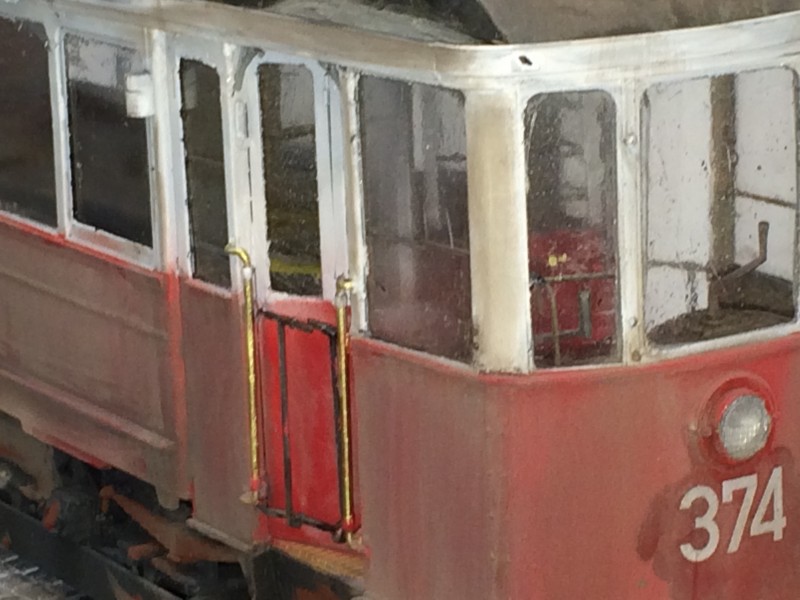
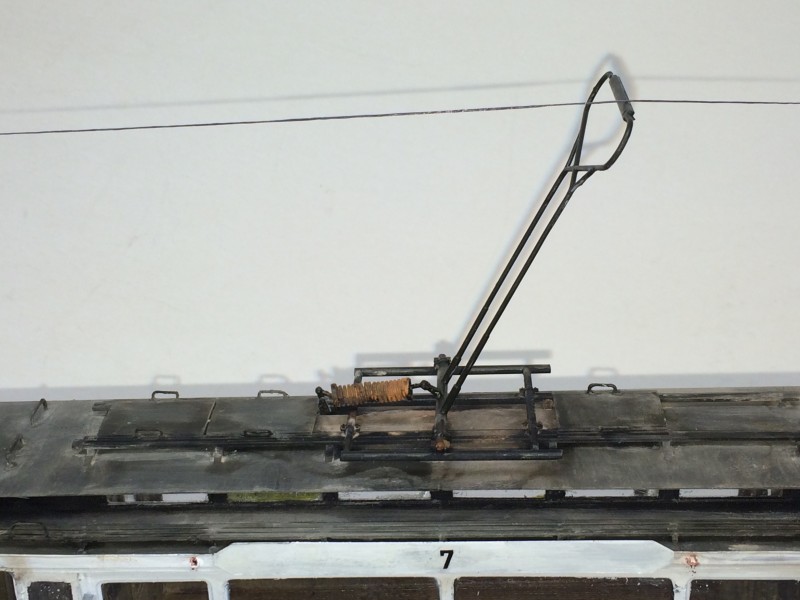
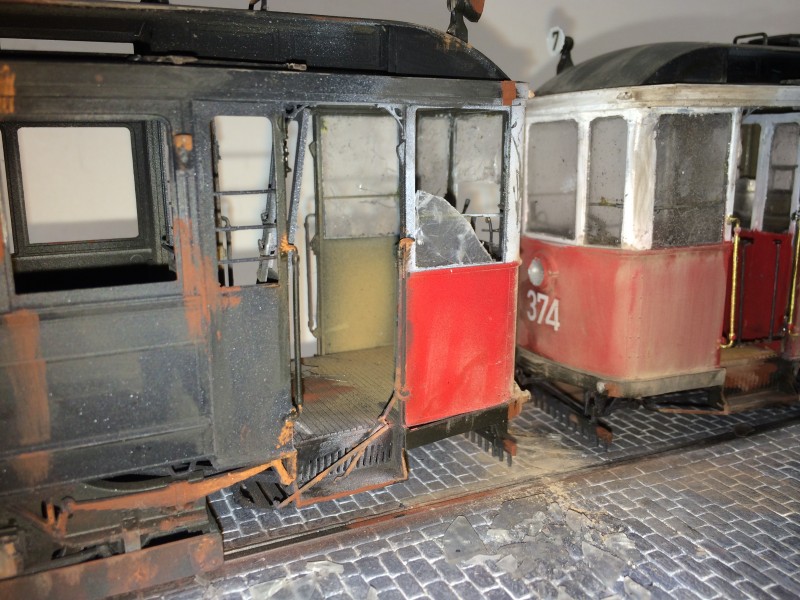
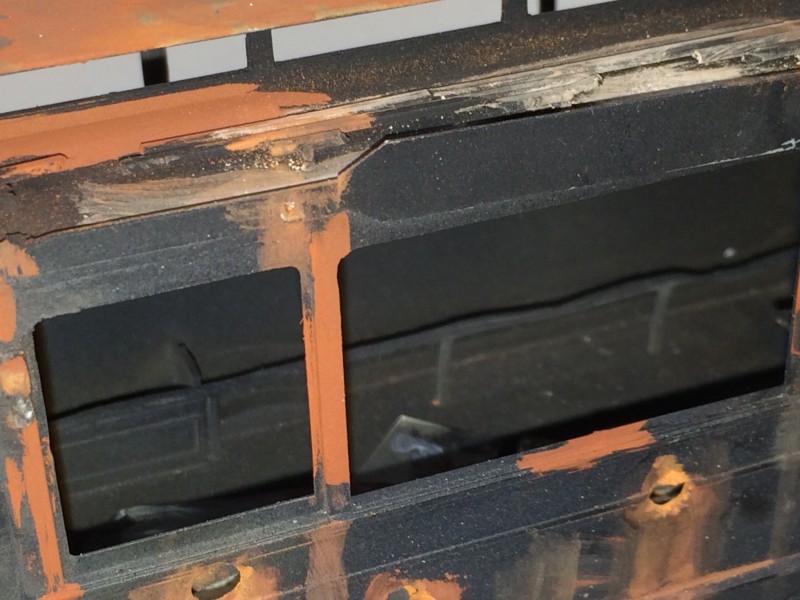
When I ended up with two MiniArt European tram kits, I decided to build one more or less out-of-the-box and pretty much wreck the second one. The kits are very challenging to build: lots of tiny parts, plenty of "glass," and a tricky series of sub-assemblies. I decided it wasn't enough to use the kit's plastic windows for the wrecked tram, so I purchased some microscope slide covers. They're very, very thin, and when pressed lightly, shatter like, well, glass! Be careful using them (I covered them with a sheet of paper to prevent shards from flipping up). The whole scene was then weathered, and I may even add some figures later on.


About the Author


FROM: NEW JERSEY, UNITED STATES
Self-proclaimed rivet counter who gleefully builds tanks, planes and has three subs in the stash.
Comments
Michael, I'm glad to know you're inspired! Go for it!
Al, not negative at all. These are really artistic decisions that we make (and sometimes unmake). I will look at the products you mentioned and see about incorporating them into this build or perhaps another one. And Pat's Sherman should get a re-look for anyone who's thinking about a wrecked vehicle. Thanks for taking to time to address this.
APR 28, 2014 - 06:06 AM

Bill,
Thanks for the EZ-Line tip -- worked like a charm! In addition, I was able to achieve another goal -- suspending the outer ends. By coating the EZ-Line with CA Glue, pulling and giving them a shot of Kicker Spray, I was able to suspend the outer wires into space. Now, I'm even more excited about my upcoming European Tram build!
LINK
LINK
PS: I see you're from Jersey. What exit?!!!
APR 29, 2014 - 06:51 AM

In this diorama, in which direction was the tram moving? I am asking because if it was moving right to left then the car on the left should have been the one connected to the power line. With these old trams the leading car was typically the one that was powering the rest of the tram.
MAY 09, 2014 - 12:49 AM
Hi, Martin, you are correct, but I chose to have the power connector collapsed because of the intensity of the fire.
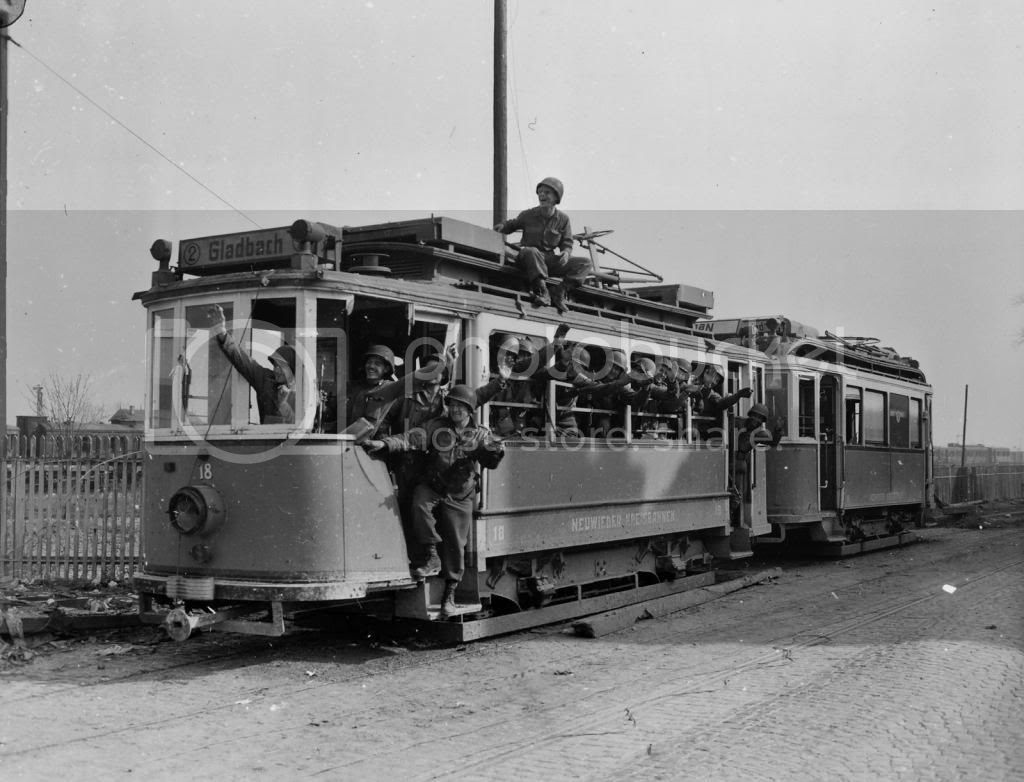
Here is an interesting period photo of GIs on a tram:
MAY 22, 2014 - 12:05 AM


Thanks for showing off your diorama. Been looking at buying one of these, but having it in San Francisco. And yes, I know they use a different style of tram, but want to get back into modeling after 15 years and do NOT want to lose my modeling mojo in scratch building something like that.
Thought I'd have it being stopped by a bunch of protestors that WERE holding signs saying zombie lives matter but now they are being attacked by zombies.
AUG 28, 2016 - 09:19 AM
Sorry, Bill but the glass on the ground just doesn't do it for me. The pieces are far too large and the glass left in the windows looks like it melted, not shattered. I know safety glass didn't exist at the time but if it wasn't broken into small pieces in the initial impact, the secondary impact to the ground would shatter it into small shards.
Other than that, I love the concept and look forward to seeing it go places with the additions you plan! Great idea to use the trams... maybe a dead body or two in the scene would add an element!
Good luck and good modeling!
AUG 28, 2016 - 11:15 PM

What an incredible build! Fantastic work. It "feels" right as a combat scene.
MAY 14, 2019 - 06:07 AM
Copyright ©2021 by Bill Cross. Images and/or videos also by copyright holder unless otherwise noted. The views and opinions expressed herein are solely the views and opinions of the authors and/or contributors to this Web site and do not necessarily represent the views and/or opinions of Armorama, KitMaker Network, or Silver Star Enterrpises. All rights reserved. Originally published on: 2014-04-11 05:00:03. Unique Reads: 19783

WEB HOSTING BY


Copyright ©2021 Armorama and Kitmaker Network, a subsidiary of Silver Star Enterprises
All Rights Reserved. Please read our Conditions of Use and Privacy Policy.
All Rights Reserved. Please read our Conditions of Use and Privacy Policy.