

1⁄35Well-Traveled Italian MBT

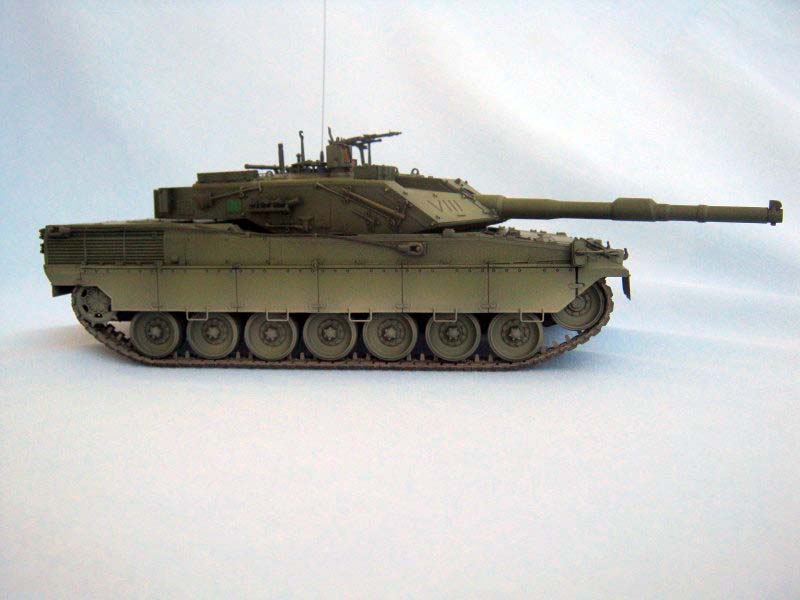
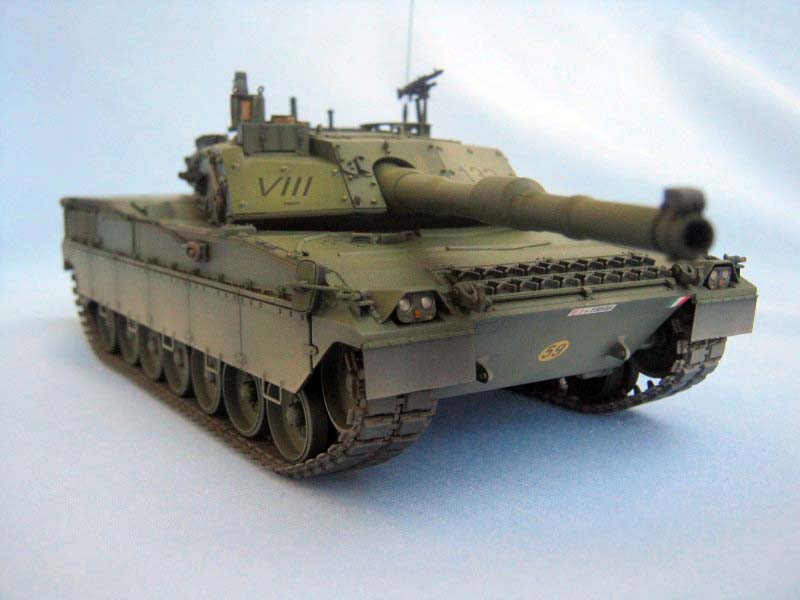
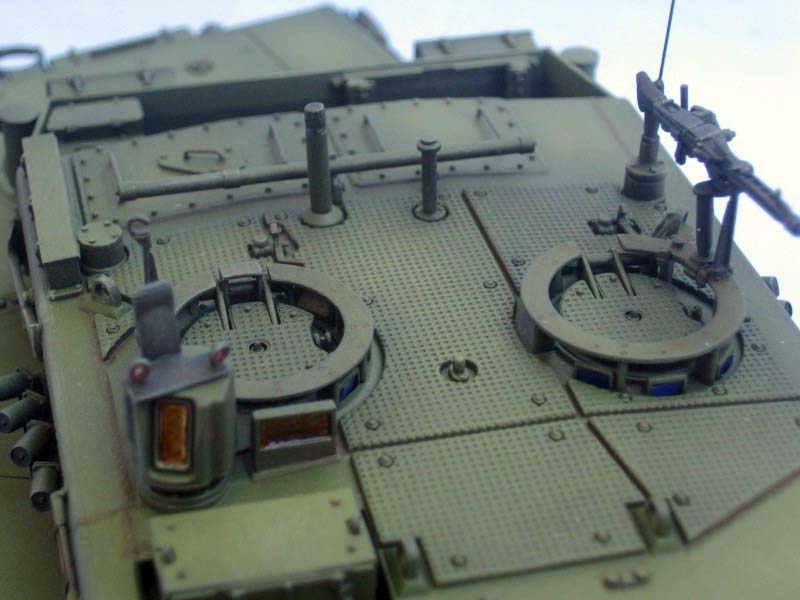
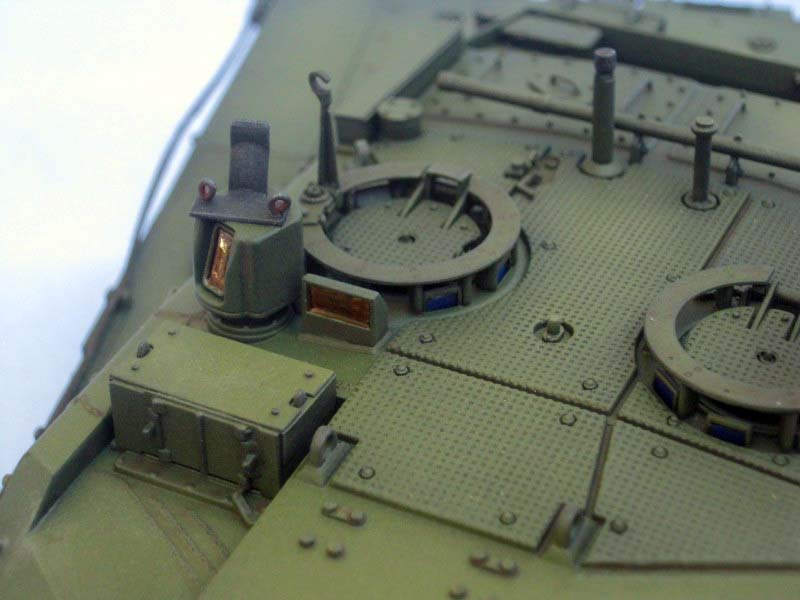
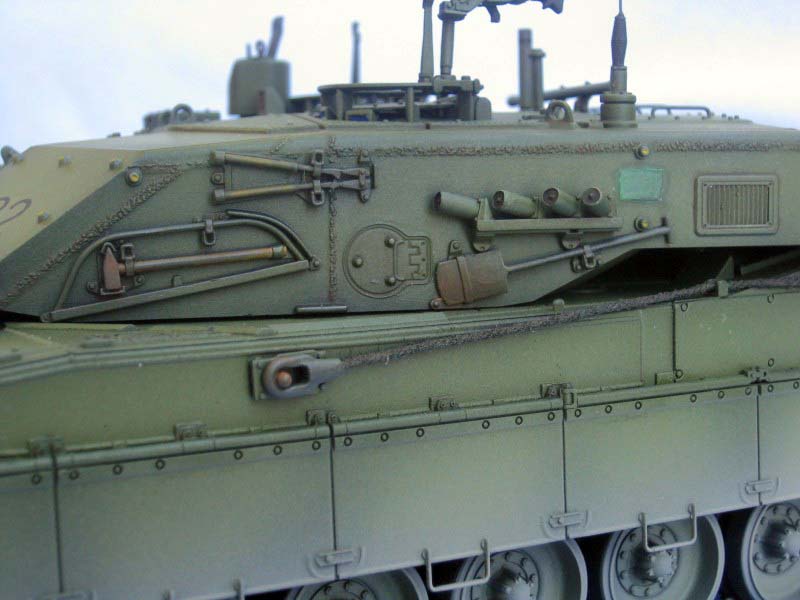
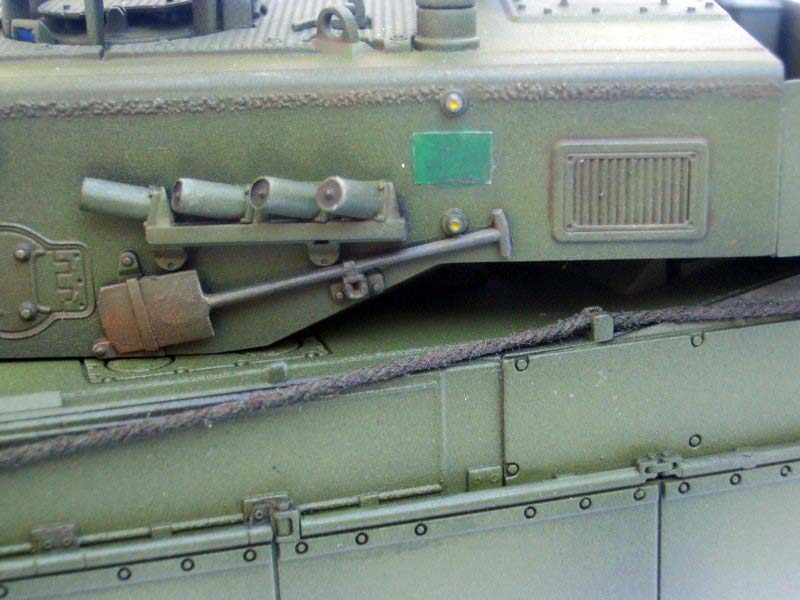
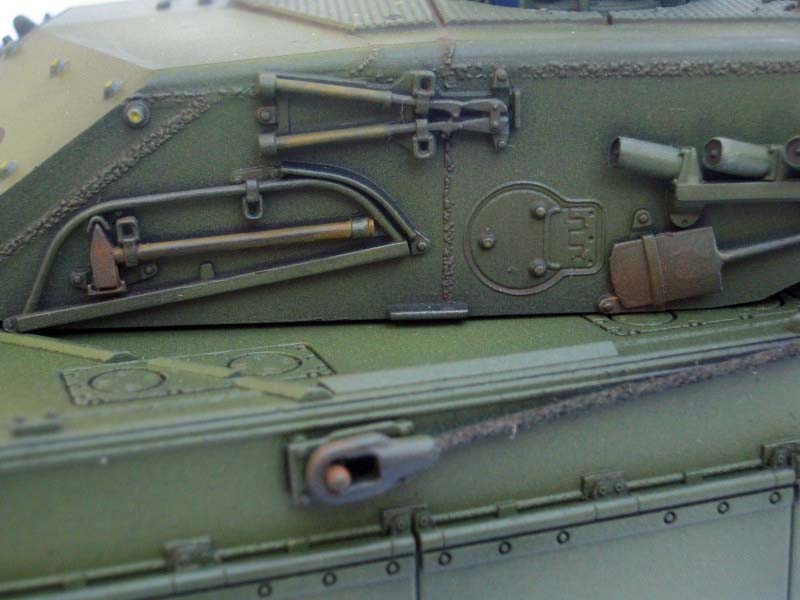
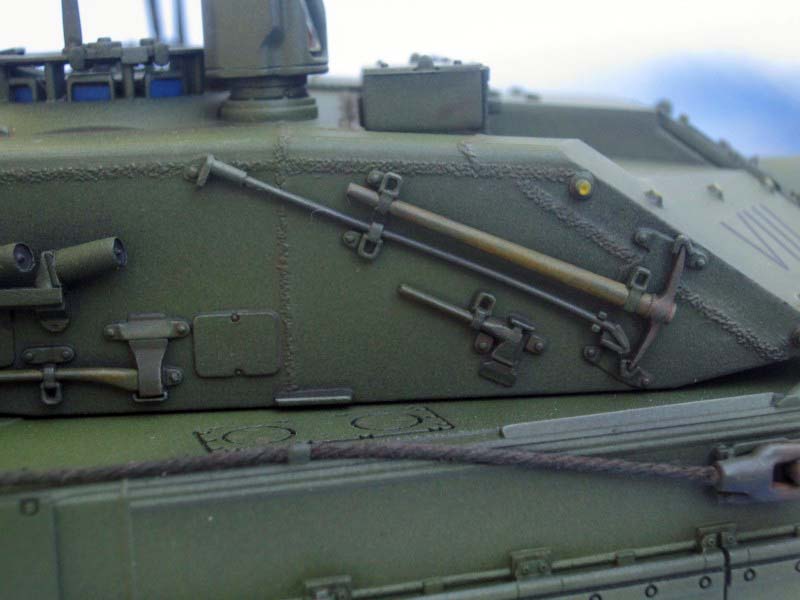
Fit was a bit of an issue, since it needed a good amount of filler where the two front armour plates come together, but that was the only fit-issue I encountered. I made a couple of modifications to the kit: I replaced the grab handles with brass wire, and added lifting rings to the cover over the main sight. Trumpeter overlooked the slot for the coaxial machine gun to the left of the main gun. I attempted to add it, but wasnt happy with my efforts. Luckily, during my research, I read that the crew frequently covers the slot with duct tape to keep dust out of the turret, so I simulated the tape with aluminum foil.
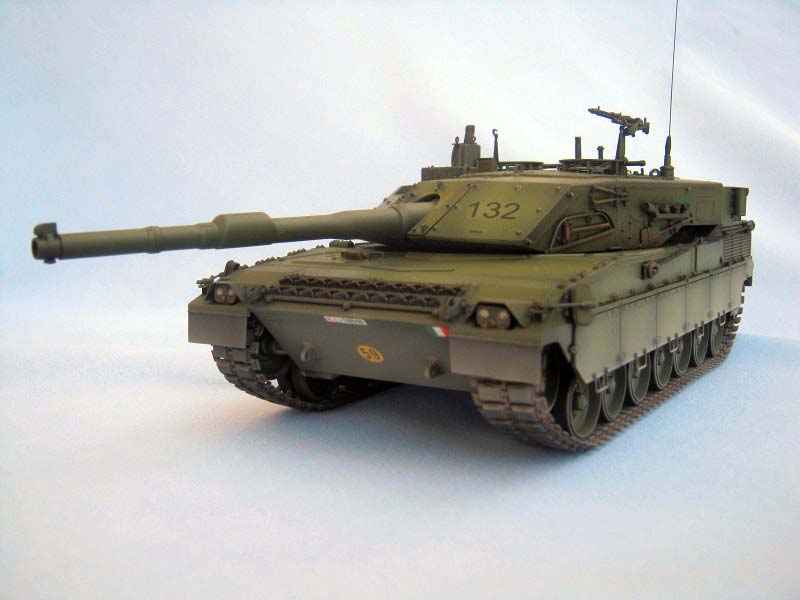
I used the kit-supplied string for the tow cable, but in hindsight I should have replaced it. Even after it was painted it had that rope look to it. So, after careful contemplation over a few beers, I had the bright idea to run a lighter across the string to de-fuzz it. However, the thinned paint wasn't quite dry yet, and...WHOOSH! Flaming string. I put it out right away, with only a minor scorch that blended in with the weathering. I was lucky. Dont try this at home! One of my modelling friends suggested beeswax as a safer alternative. That was good advice.
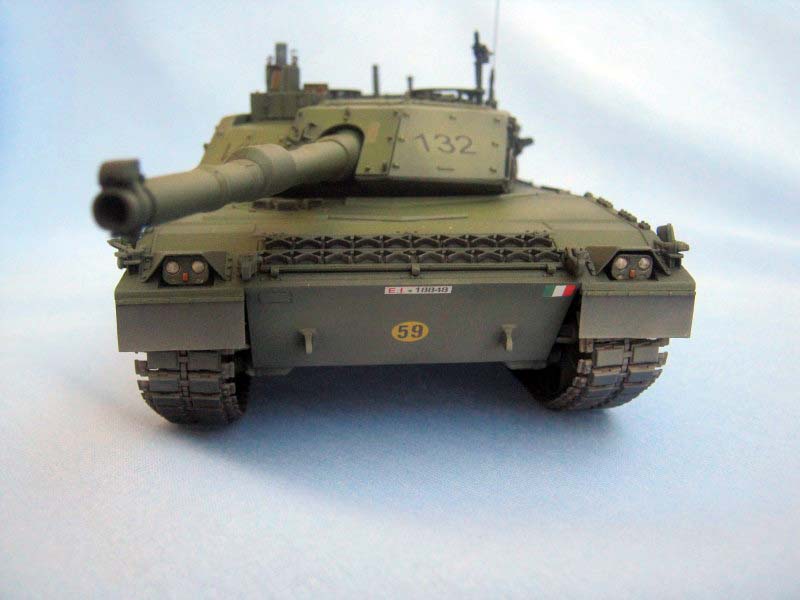
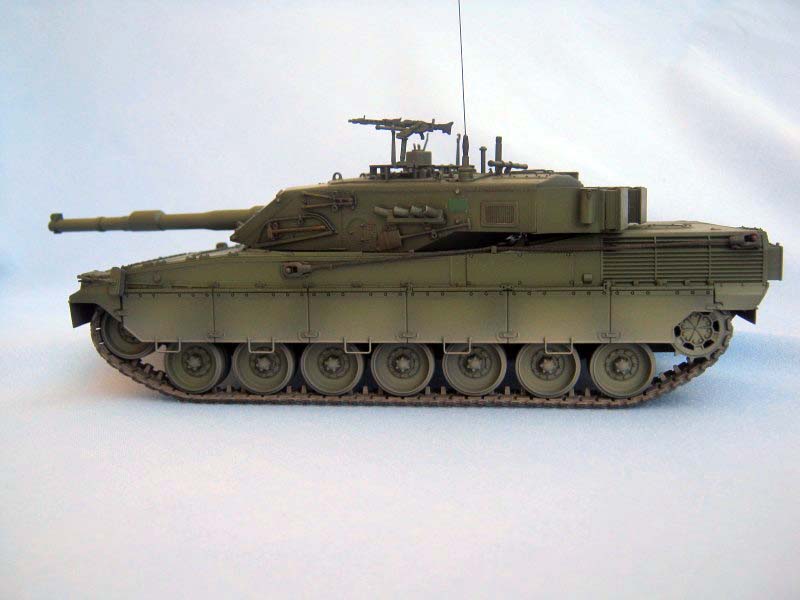
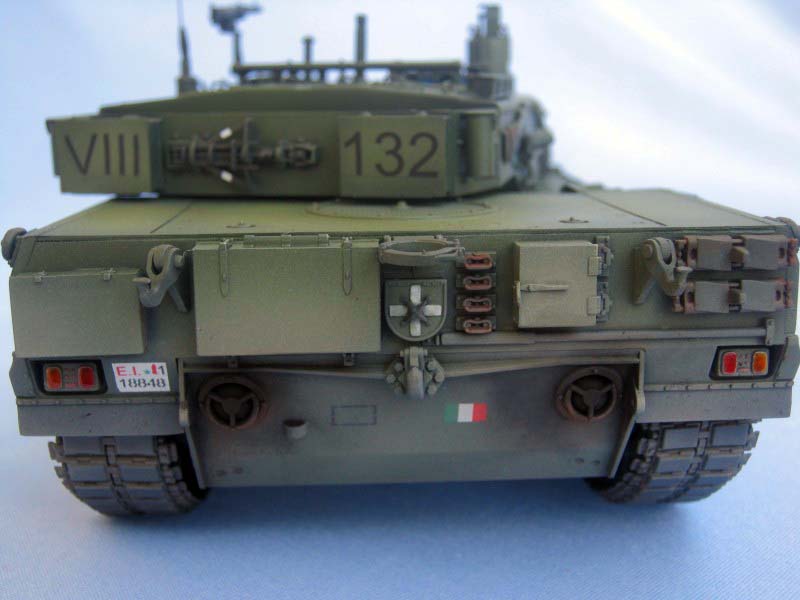
Its primed with Tamiya Flat Black and base-coated with Tamiya NATO Green. I highlighted with a 50:50 mix of Tamiya NATO Green and Flat Flesh. Detail painting was done with Testors Enamels. Optics and lights were painted with Tamiya Clear colors. I made my own decals for the first time with this model. If youve never done it, its not as hard as you might think, Plus, theres plenty of information from the members here on Armorama. It started with a great walkaround of an Ariete I found in a post in the Forums.
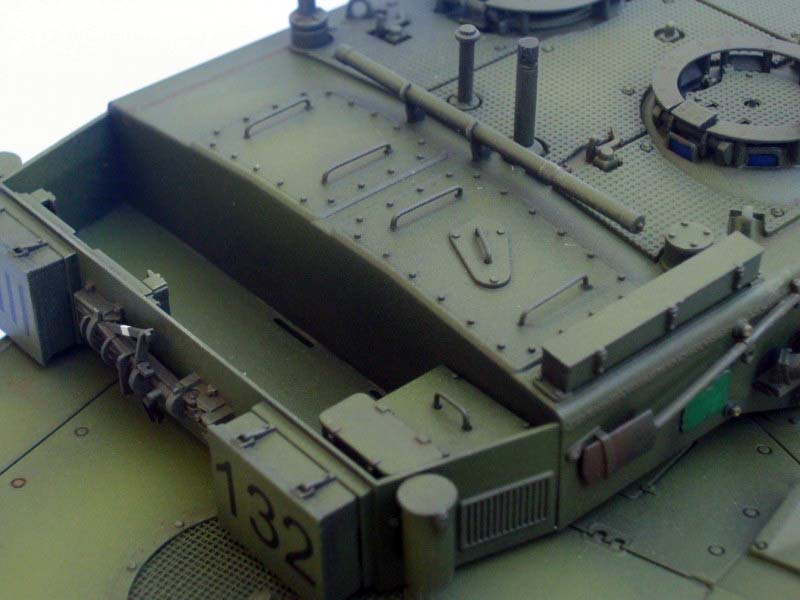
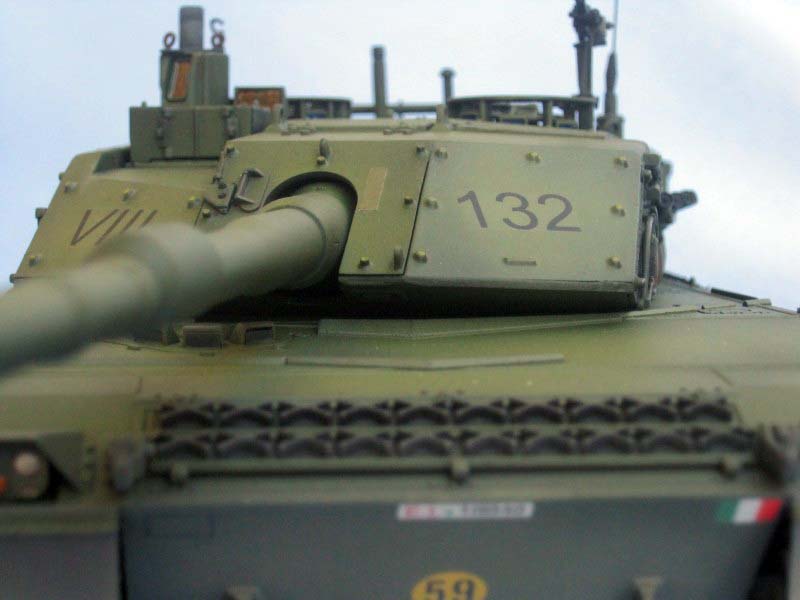
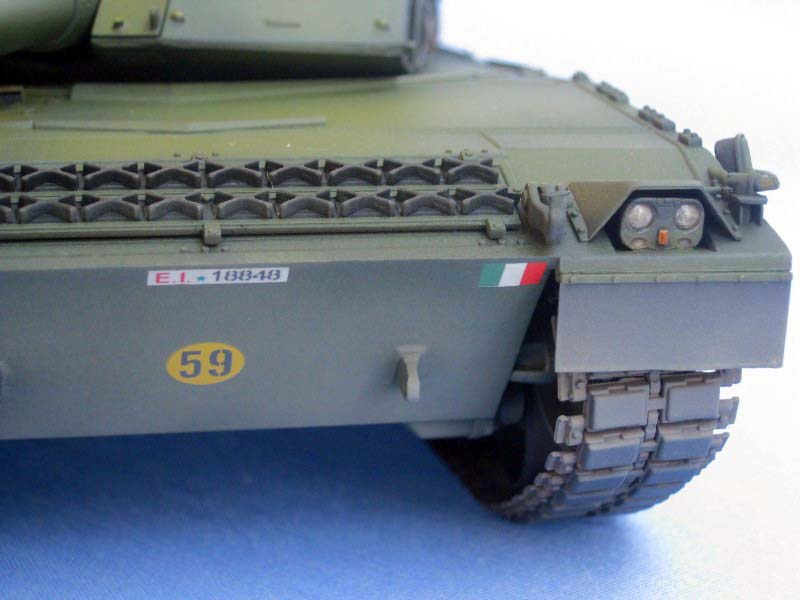
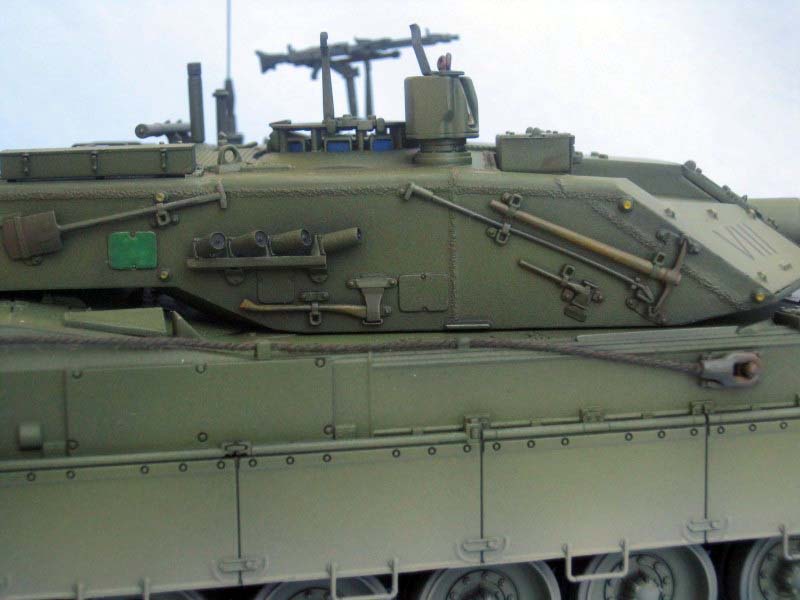
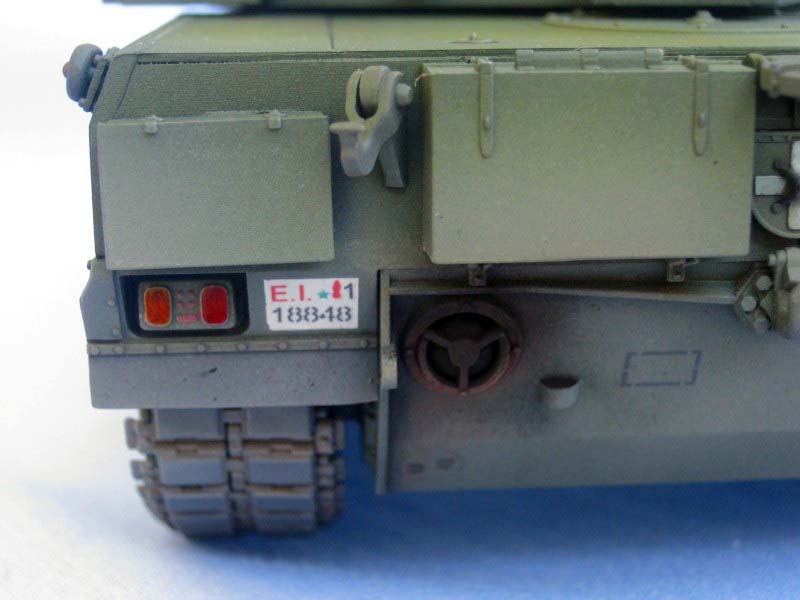
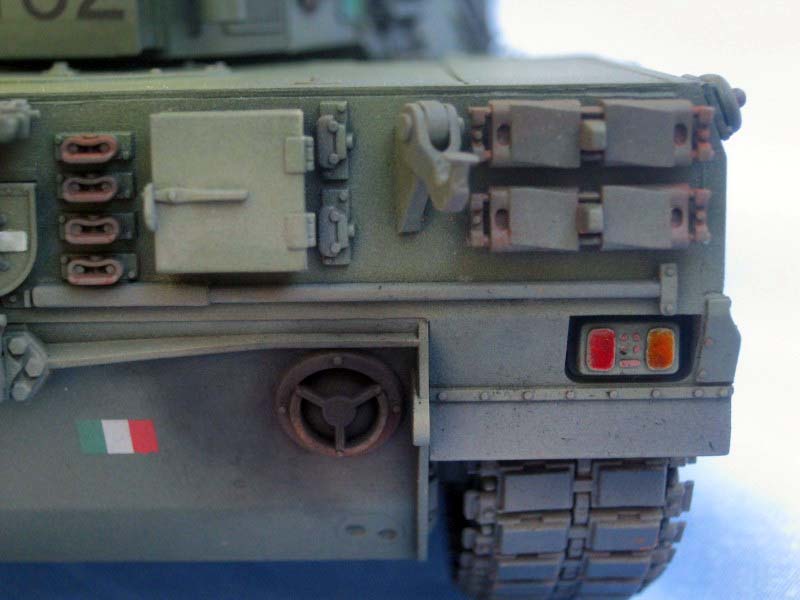
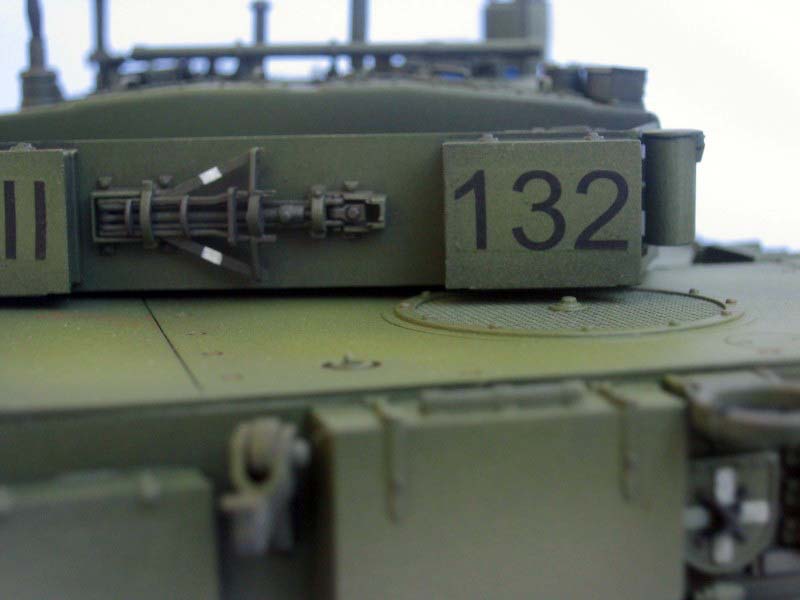
I wanted to give my Ariete the same markings, so I had to make decals. The VIII, 132, vehicle registration numbers, and the black boxes on the front and back of the hull were all made on MS Word (That took a little trial and error). I bought decal paper for laser jet printers from Micro-Mark, and used the printer at my office. Once printed, I used 3 light coats of Krylon Crystal Clear Acrylic spray to seal them. I applied them over a coat of Future, and then sealed them with two more coats. I found the decal paper to be elastic and a little thick its most evident on the large numbers on the turret. The registration numbers on the front and back of the hull were applied over white decal paper. The Italian flags and yellow Weight Classification disc came from the kit markings. It took 4 coats of Testors Lusterless spray lacquer to even out the finish, but that helped hide the thick decals.
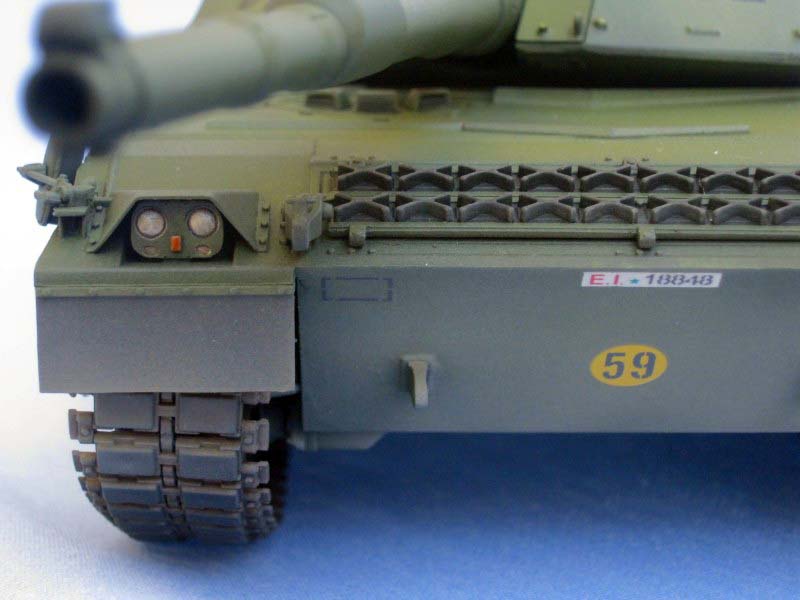
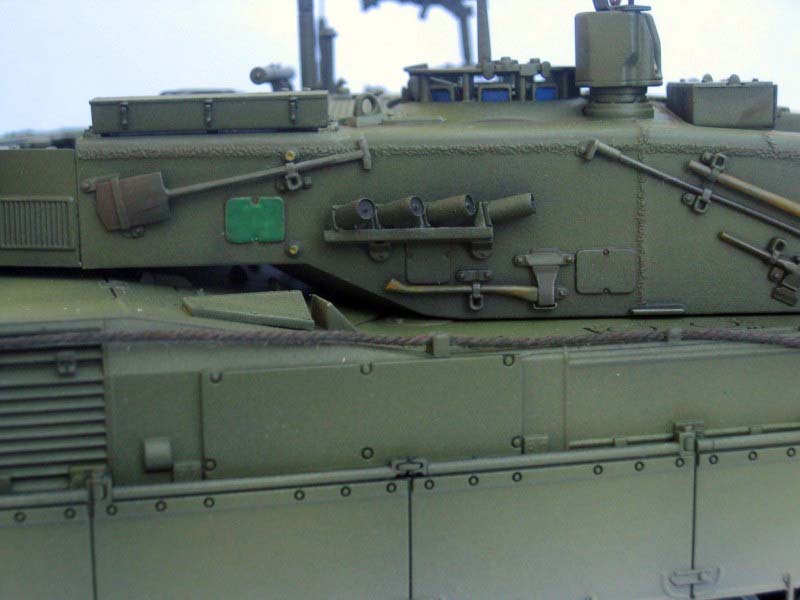
The tank in the pictures is in very good shape, so I kept weathering to a minimum. I did a selective pin wash of Windsor and Newton Raw Umber oil paint and then dry-brushed a mix of Testors Rust and Gunmetal to show worn areas. I added a little rust here and there, and did an overall dry-brushing of Testors Armor Sand. I dusted the lower parts of the vehicle with Tamiya Buff thinned about 80:20. I finished up with Mig and AK interactive pastels on the exhaust, Future on the lights and optics, and a guitar-string antenna.
Despite its age, this was a great kit. Its an unconventional subject with great detail and fit. I really enjoyed building it and Im very happy with how it came out. Overall, Im satisfied with how the homemade decals worked out, too. Ill see about doing that more often to try to master the skill.
And remember, kids, dont play with fire.


About the Author

FROM: NEW JERSEY, UNITED STATES
I've been modelling almost all of my life. When I was about 12, I got Tamiya's M4 Sherman for Christmas. It became my masterpiece, since I used all the parts. The kit came with one of those color Tamiya brochures, with cool pictures of other kits in the military minatures line, and I was hooked. ...
Comments


All Rights Reserved. Please read our Conditions of Use and Privacy Policy.