Introduction
Since the release of the first Trumpeter KV-1s, I must say I became hooked! For the very low price of around $10 US, and including excellent fit and decent details, these would make nice additions to my collection. Since I still have a lot of boxes to clear, I decided why not give make it a speedbuild?.
The Construction
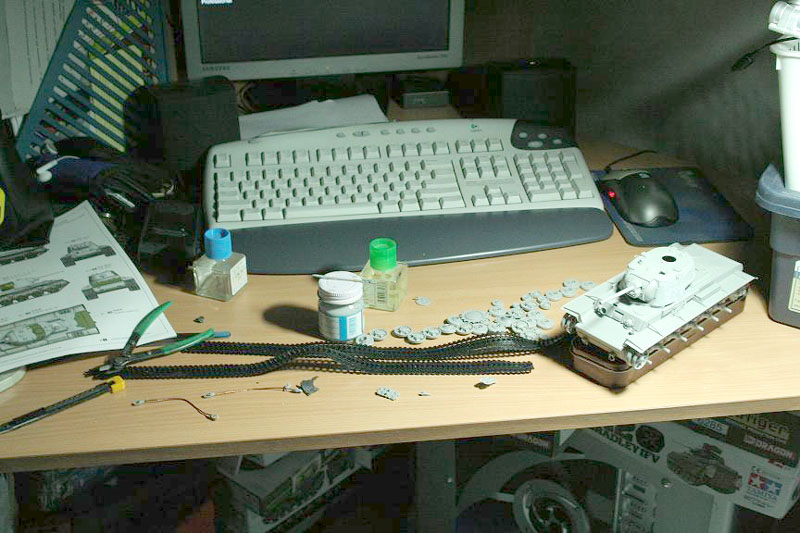
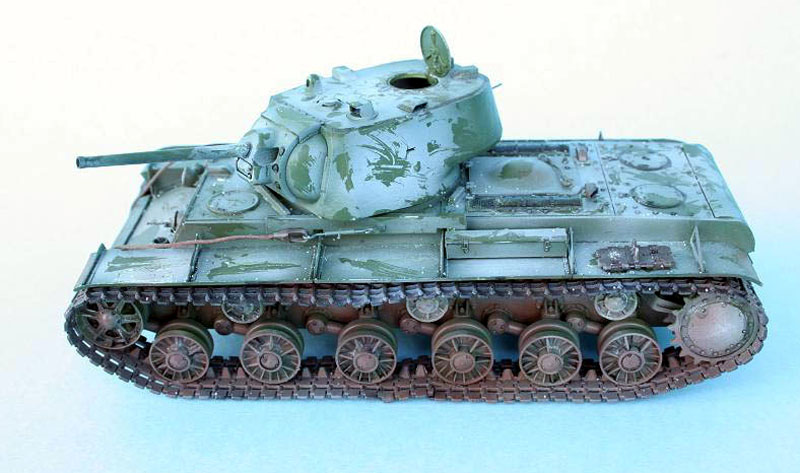
I was amazed how this kit turned out. Everything fits in neatly into its place. During this construction process, it took me only 4 hours to build it. Some things Ive omitted are the road wheels, return rollers, idler wheel, drive sprocket, tow cables, machine guns and the tracks. For a much quicker build, I decided to use the rubber bands. The static link and length looks too uniform to me. I even added texturing to my turret using Mr. Surfacer 500 and 400 grit sandpaper.
Total build time elapsed: 4 hours.
The Painting Stages
Priming
Before I started painting this beast, I gave it a coat of Mr. White Surfacer 1000 (in cans). I waited for a few minutes for it to dry and then began painting the body of the kit.
Painting Tank
For the first coat, I gave it a mixture of 4 parts Dark Green and 6 parts Flat Green. Both are Tamiya enamels which are freely available here in the Philippines.
One of the good things about living here in the Philippines is the weather. It is hot and very humid, which makes the paint dry faster. Ive let the whole thing dry for 15 minutes before I gave it a second coating.
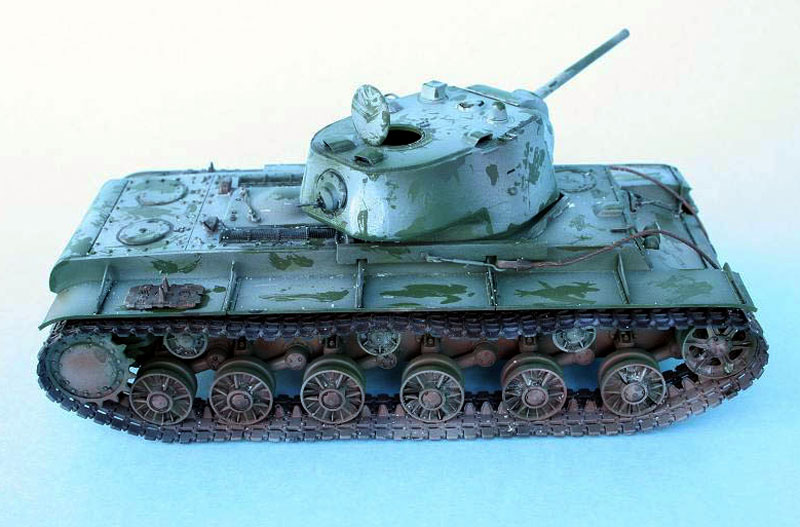
The second coat is then applied. Using the same mixture as above, 4 parts Dark Green and 6 parts Flat Green, Ive added another color, 4 parts White Tamiya enamel paint. The resulting blend is shown in the pictures. By this way, I can highlight several areas. Ive let it dry for 15 minutes.
Painting Metal Parts
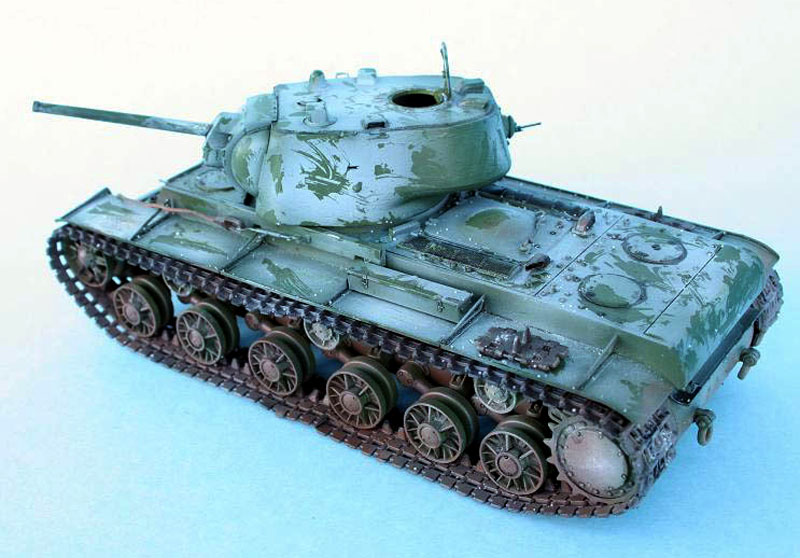
Whilst waiting for it to dry, I worked on the tracks and metal parts. For the first color, Ive applied a mixture of 4 parts burnt sienna (oils) and 4 parts Gunmetal (Tamiya enamel). This will mixture will be the rust effect. I didnt apply too much so that the oil will dry fast. For the second layer, Ive used a mixture of 4 parts Gunmetal and 2 parts Chrome silver, both are which, again, Tamiya enamels. Sprayed lightly over the highlights to blend it in.
Painting Whitewash
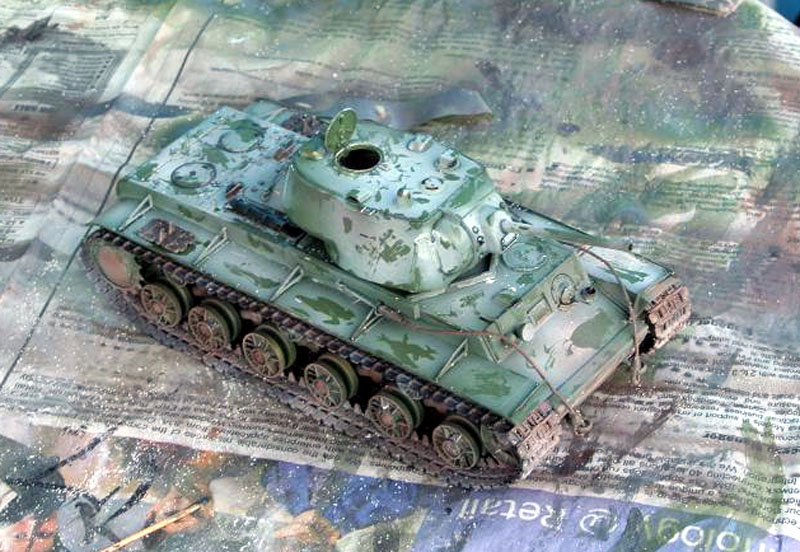
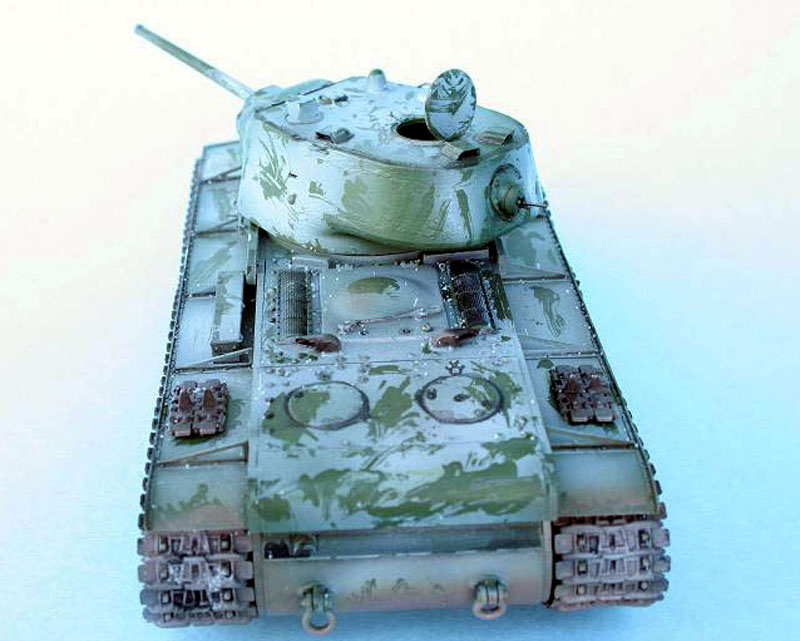
While working on the tracks, (and when the paint on the tank is all dried), Ive applied Mr. Masking Sol Neo by stippling. This will give the tank a paint chipped look. Ive applied it using a toothpick on areas where most there would be more wear, like the rear of the tank, the grab handles, the hatches and the edges of the turret. Ive let it dry while I kept working on the metal parts. Instead of using white enamel paint, Ive used white oils. Oils give a translucent color which can still show the underlying paint. Let it dry for a while. For quicker drying time, Ive exposed the tank to the sun. Oils take a lot of time to dry up you know.
For a much better chipped look, I removed the liquid mask using toothpicks. This not only removes the mask, but also creates scratching on the whitewash. Then I fixed the finished tracks and accessories to the tank. I applied a clear coat over the whole tank in preparation for a wash.
Painting Time Elapsed: 2 hours
The Weathering Stages
Wash
For the wash, I used black oils. They flow better and the look better than using enamel paints.
Mud, Dirt and Snow
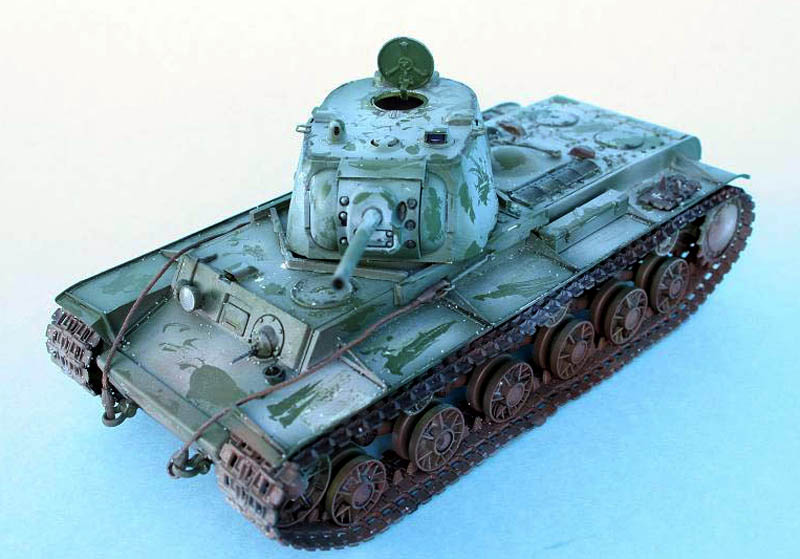
After the wash has been done, its time to dirty it up a bit. Initially, I used rock salt to simulate ice. Ive applied it using an adhesive spray and then sprinkle the salt all over. I wasnt very satisfied using salt for ice, so I removed most of it with a brush. For mud and dirt, I sprayed it with Tamiya Flat Earth, then a mixture of white oil and Flat Brown, and then finally Flat Brown in layers to simulate dirt.
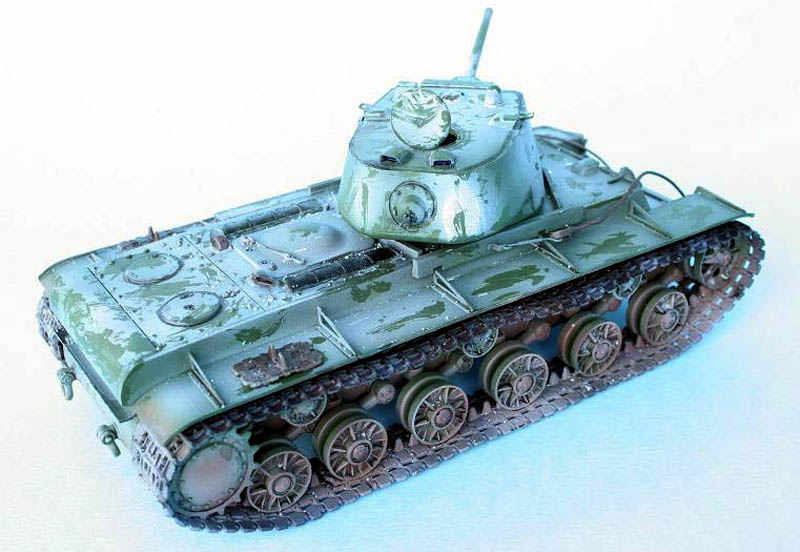
Since the salt snow didnt work out, I returned to my old friend pastels. I ground the pastels up and applied them to the kit using a brush. Sealed it off with a dull coat and to my surprise, most of the pastels disappeared. Oh well
.
Final touches
Finally, I painted the inner side of the headlights and attached the clear part. The machine guns also are placed in their final position. Ive even applied a bit of Future to the rear engine deck since snow melts with heat and becomes wet ice.
Weathering Time Elapsed: 2 hours
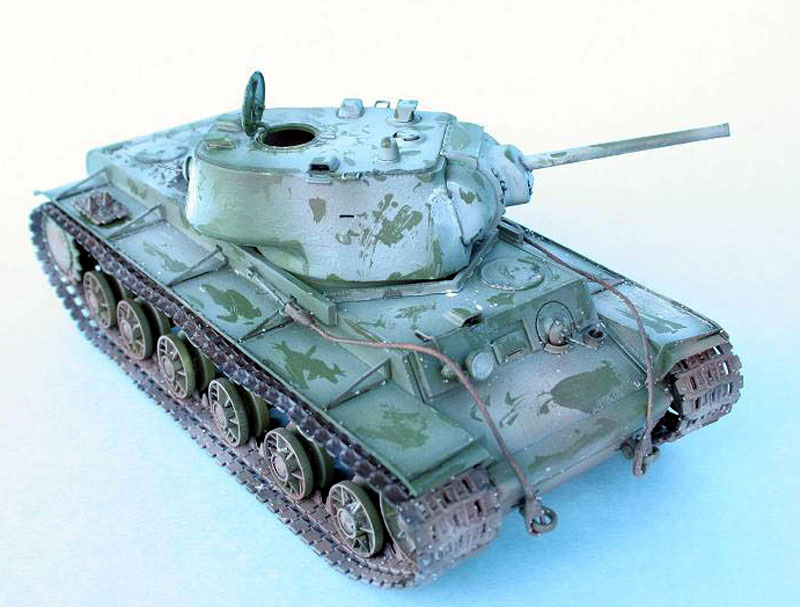
Conclusion
Overall, I finished this kit in just 8 hours. I hope that my build can inspire all of you to give your time to your kits, and youll finish it in a quick manner. Keep building!