The MAZ537 series of heavy transporters were designed in the late fifties, early sixties, to operate under hostile environmental conditions. (Hostile in this context means extreme weather and difficult terrain.) The vehicle had to be able to tow about 50 tons on all terrain (most versions were used as tank transporters), so it had to be sturdy, strong, and easy to maintain. It is a 22.3 ton vehicle, with a 525hp D12A-525 tank engine, 8x8 all-wheel drive (of which the first four wheels have power assisted steering), a high-capacity winch, engine pre-heater, and central tire inflator for difficult terrain. It was manufactured in the Minsk Motor Vehicle Plant.
The 573G version was manufactured in the highest numbers. It is a dedicated tank transporter, outfitted with additional loading winches. It came into production in 1964.
The kit
Armada Hobby specializes in Cold War Soviet and Eastern bloc vehicles, most of which are unavailable from other companies; the MAZ was one of them. Lately this giant truck got its fair share of love from Trumpeter in the 1/35 scale, but this gem is a very strong contender in 1/72.
The model comes in the usual Armada Hobby box: a sturdy cardboard box, with a slipcase featuring an artwork of the truck, and some photos of other offerings. The parts are safely tucked inside zip lock bags, and some packing peanuts help to cushion them from damage.
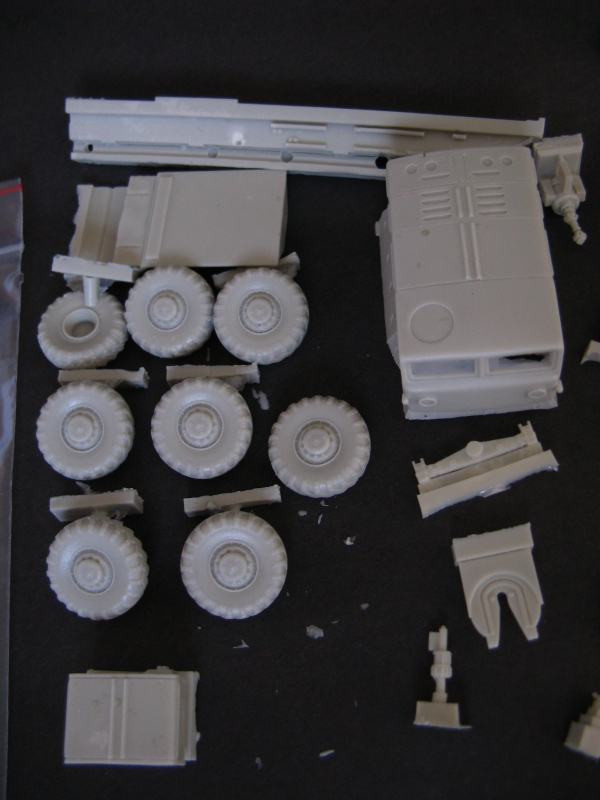
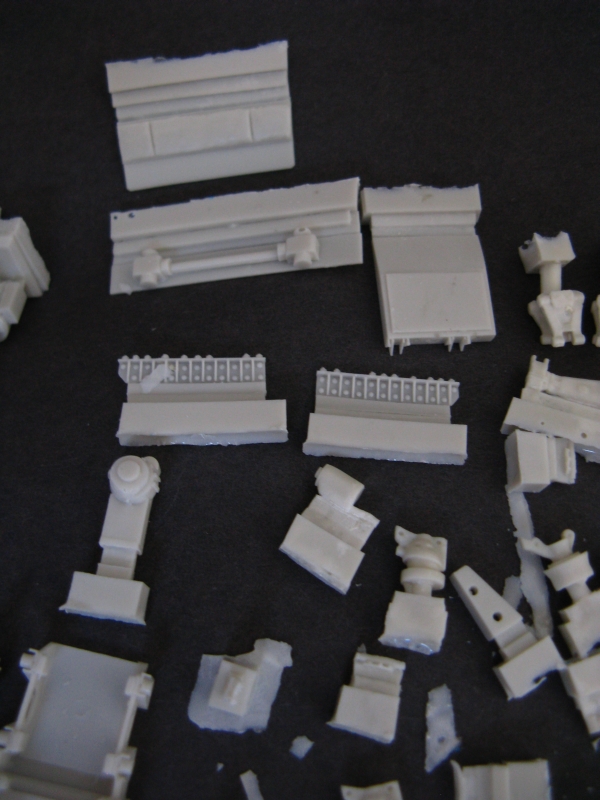
The model consists of about seventy finely cast resin parts, and a very comprehensive PE sheet; no decals are included.
The build
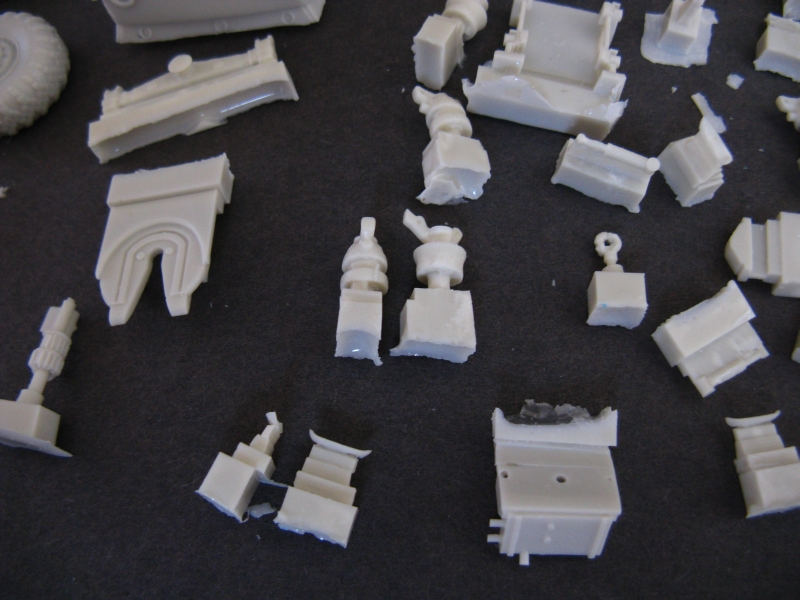
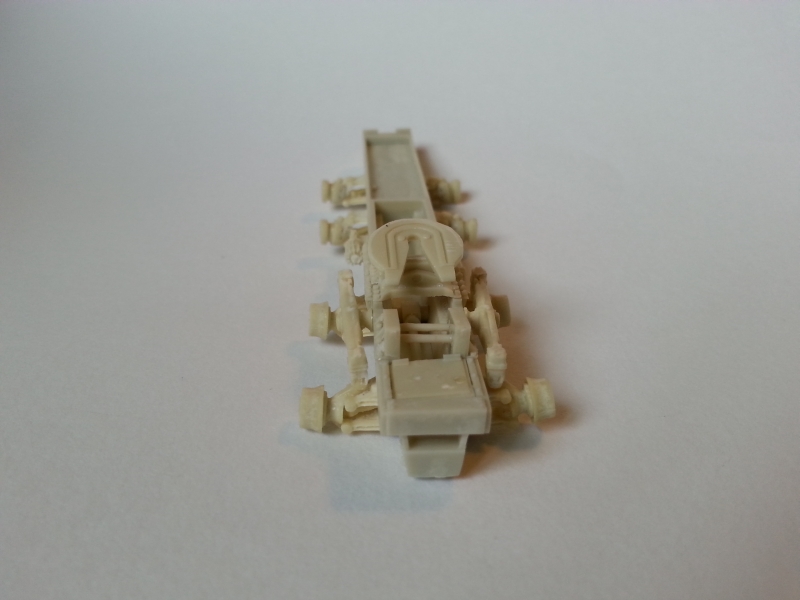
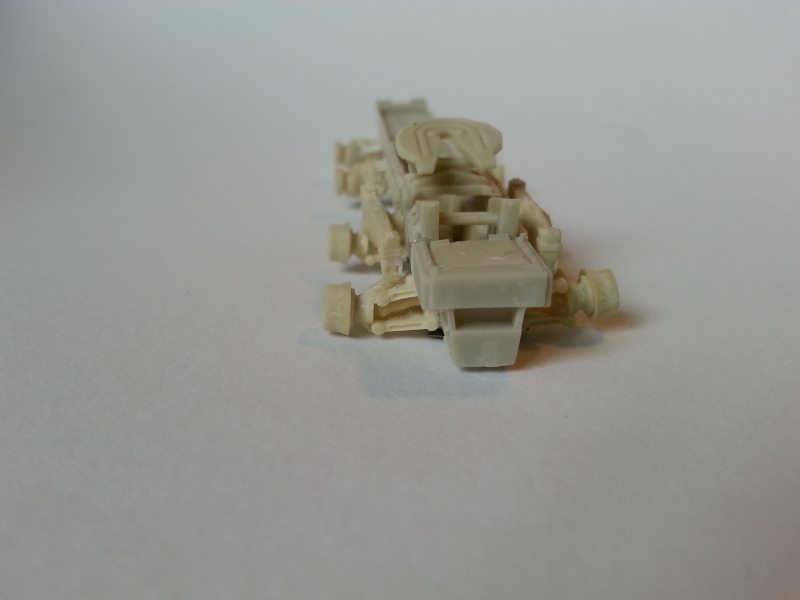
The resin is not brittle, the casting is good, and the resin plugs are generally placed so they'd be easy to remove without damaging the visible detail. Some of the wheels have smaller or larger bubbles in the inside surface; these are annoying, but will be hidden once the wheels are in place. It measures up very well to scale drawings and detail photos of the original vehicle.
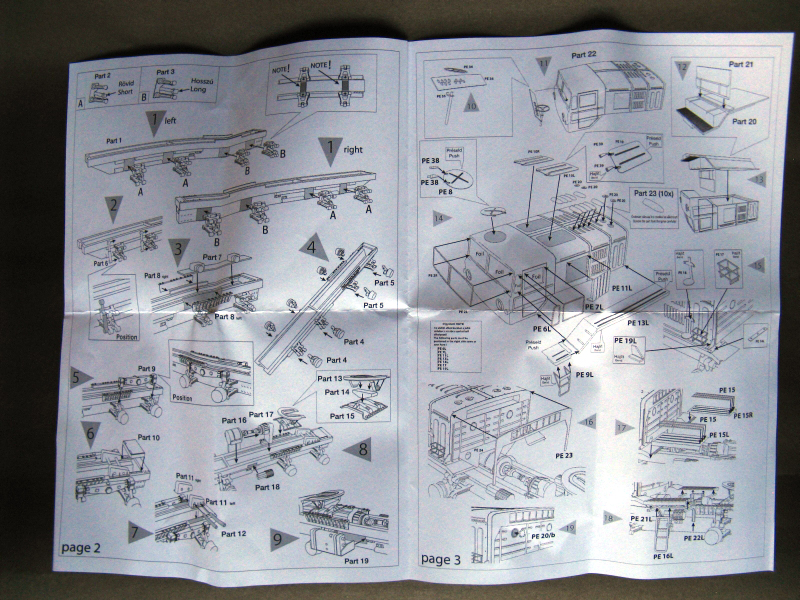
If you build small-scale resin models, you are already used to the lack of instructions. (When I built my first resin model I actually wrote to the manufacturer about the missing instructions.) Usually you'll have to make do with a couple of photos of the model (often badly photocopied), and maybe a drawing. Not in this case... The kit comes with a very comprehensive instruction sheet, which lists all the parts, and a step-by-step assembly guide. It is very much needed; the suspension and the lower chassis are very complicated assemblies. There is an abundance of reference material online, which also will be useful during assembly, detailing and painting.
The parts fit together quite well; the casting is good enough for the really ambitious and complex assembly. I had some worries (mainly of my own skills) when I first viewed the instructions, but the kit went together very easy. Some parts, especially at the carriage and suspension, need to snap together, which demands high precision casting normally seen only in injection molded plastic kits.
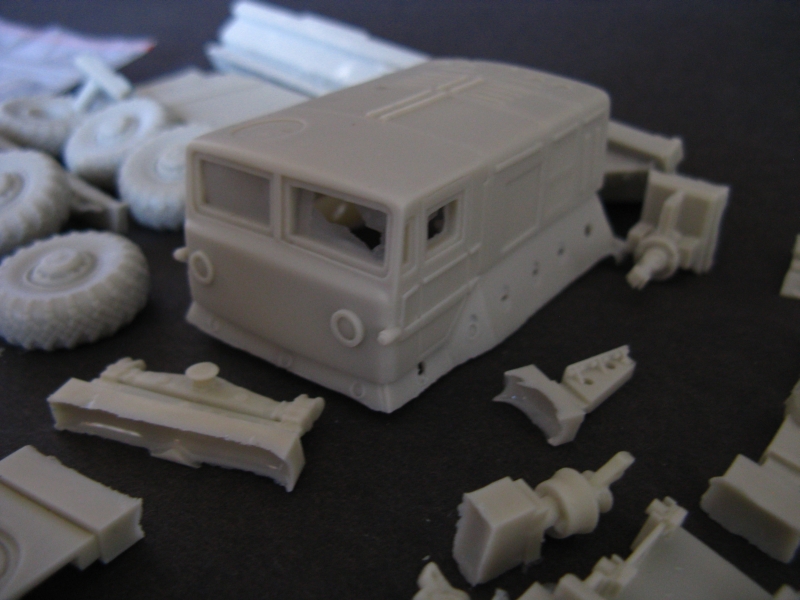
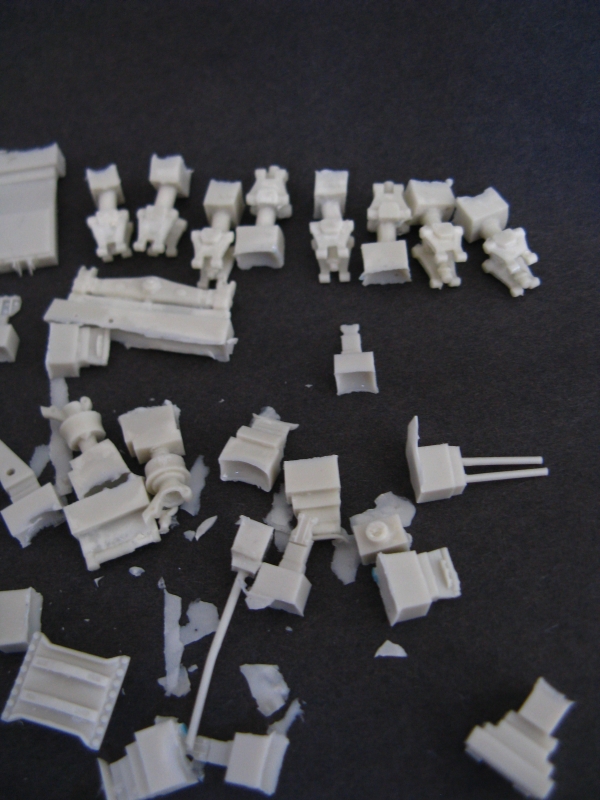
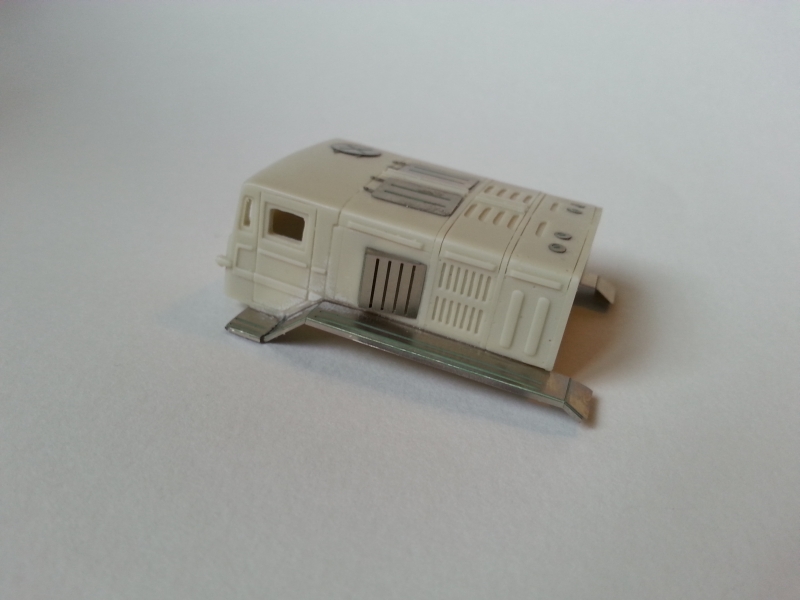
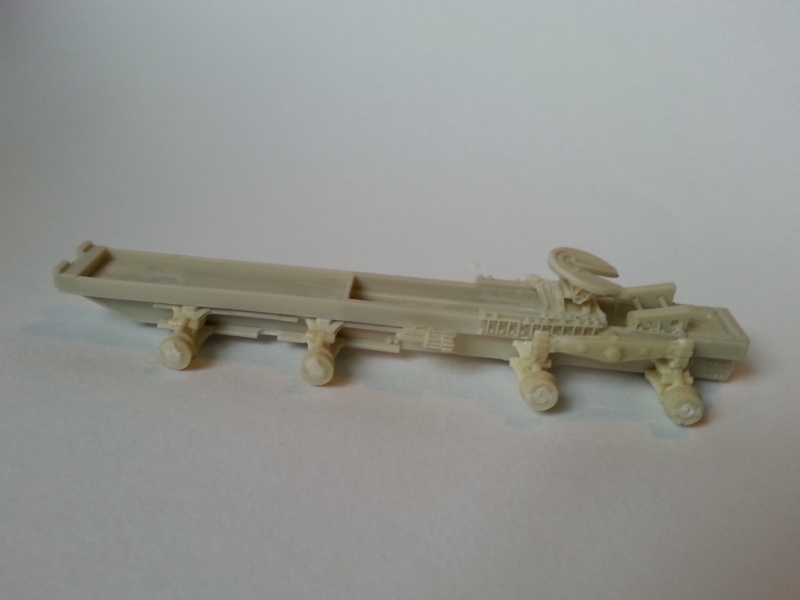
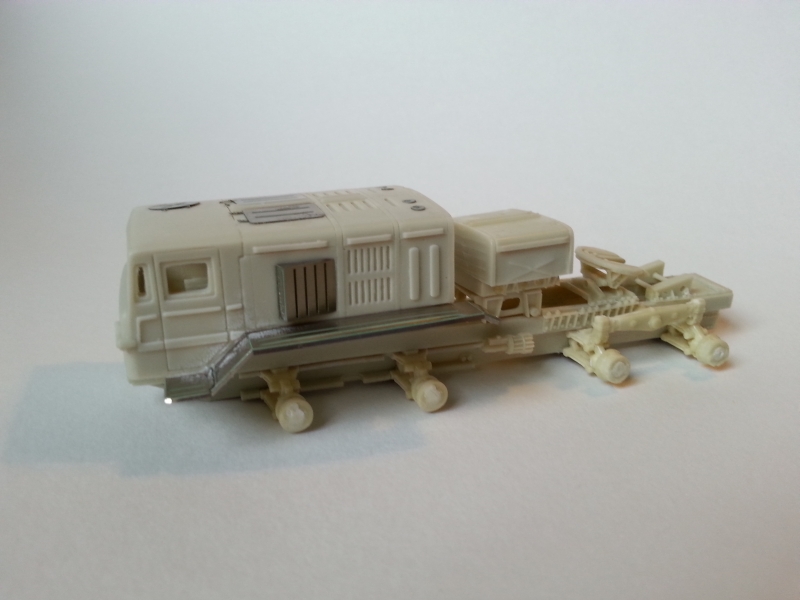
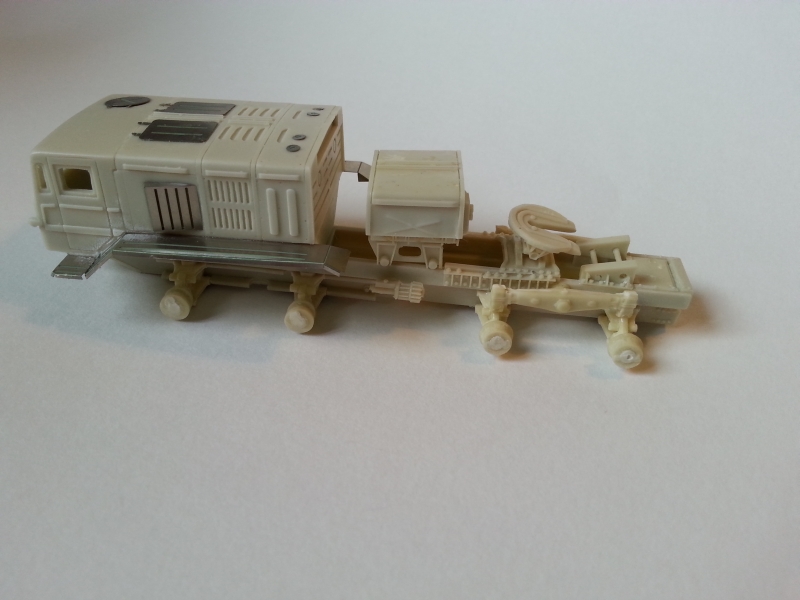
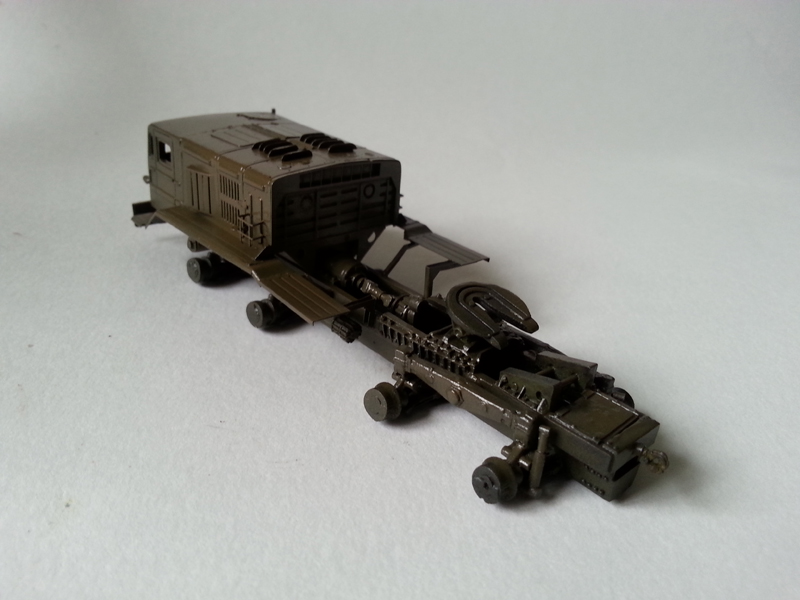
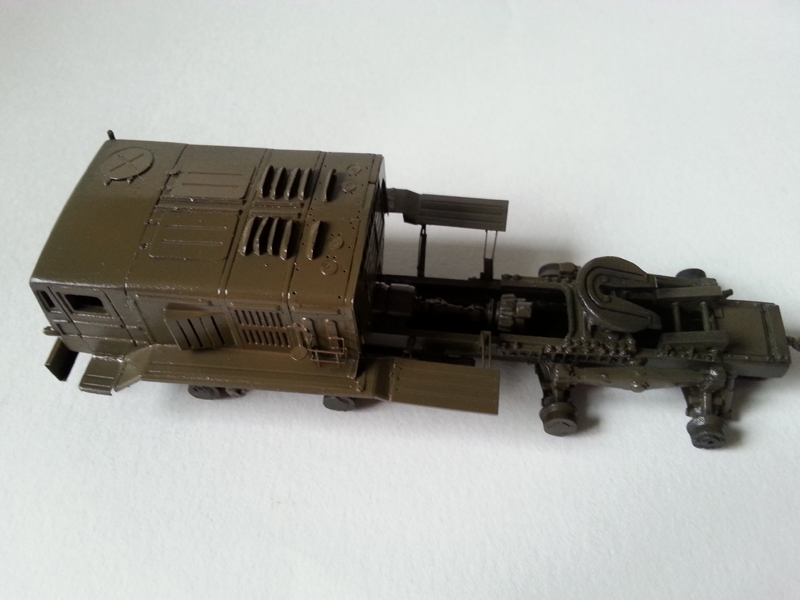
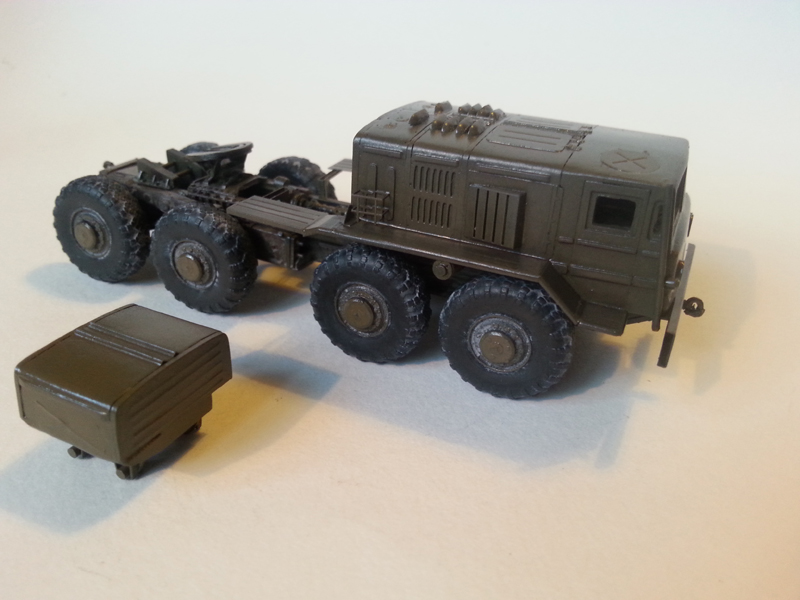
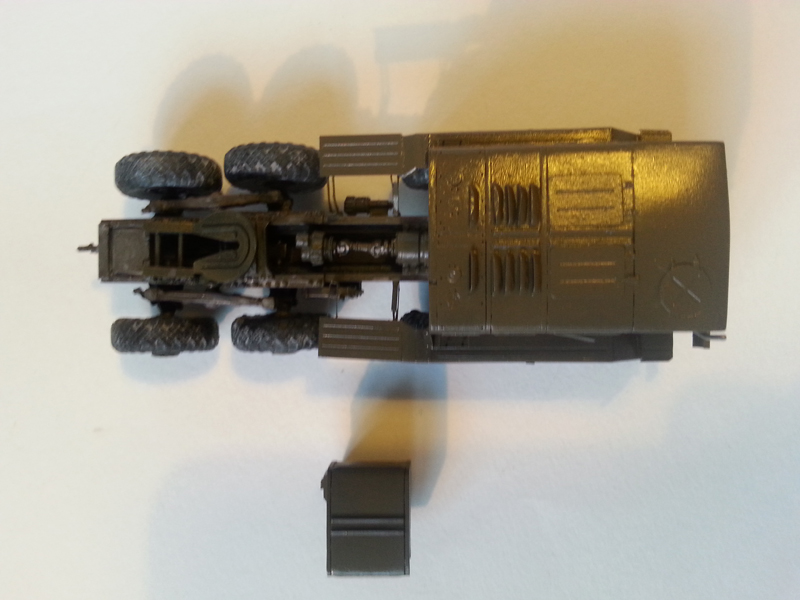
The lower chassis was built by first adding the suspension for the wheels, the drive shaft, and other bits, like the fuel tank and the attachment point for the trailer. Lot of this detail will not be visible, but they do add realism to the model. The interior of the cab is quite simple, but sufficient in this scale; there is a clear sheet provided for the windshield, which you will have to cut out to size and fit to the PE frame. The cab has quite thick walls, but this is the limitation of the resin; too thin, and the whole structure collapses; it is not noticeable, however. (It would have been really nice to have an engine included, but in this scale its quite a lot to ask.)
The outside of the cab is detailed with additional PE. Once done, the whole sub-assembly fits very well to the lower chassis. The mud guards are made of PE, and are quite difficult to attach, but some patience, blue tack and slow setting CA glue will help you through the process. It is made up of two parts (the first 2/3rd and the last 1/3rd), but it would have been easier if the whole assembly was made of one part. Attaching the second part was really difficult as it had to be placed spatially correct in all three dimensions, while no secure attachment point was provided. (You have to glue it to the first half, and position it so that the PE holding brackets securing it to the lower chassis are holding it in a correct position all at the same time.) The grab handles from the outside of the cabin are missing; they will need to be reproduced using thin wire.
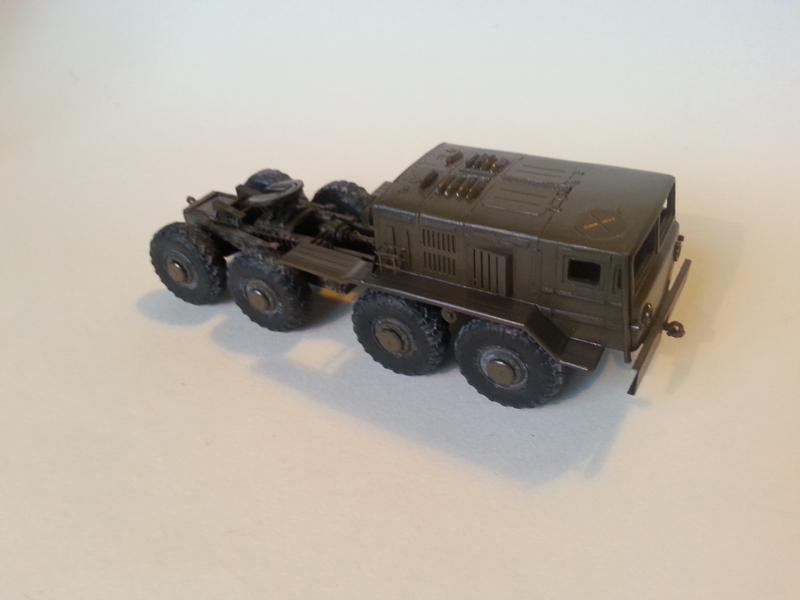
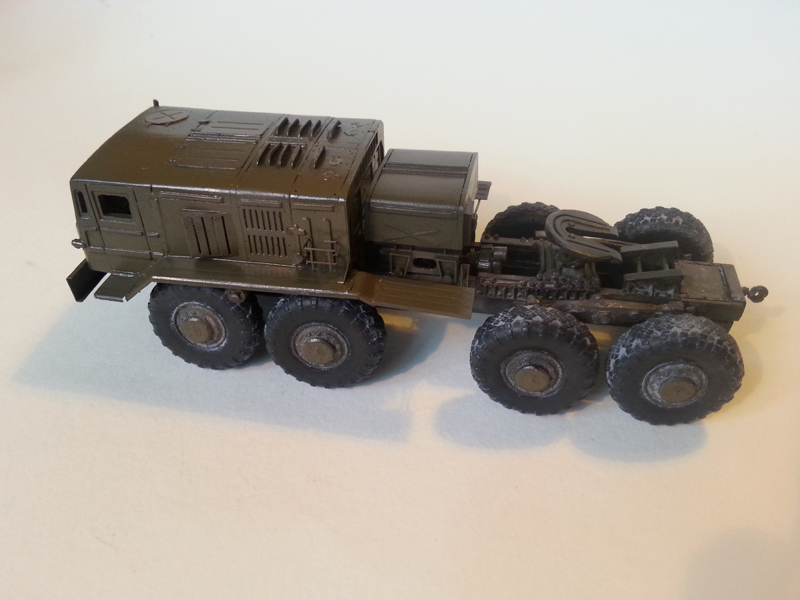
The wheels fit well to their hubs, and are well aligned. I used green stuff to fix them into place; this gave me plenty of time to adjust them. The threads on the tires are slightly asymmetric; the instruction sheet advises you which tires go on which side.
The photo etched parts are very well detailed, thin enough to work with, and fit well to the model. There are very small and intricate assemblies which demand quite a lot of skill (some of which I admittedly lack), but the results are worth it.
Ive built the kit for the review to give an idea about how it looks, but did not finish completely as Im trying to decide what decals I should print for it; some parts (like the windshields) were left off, and most of the detail painting and weathering steps are still to be done.
conclusion
In conclusion this is a very good kit and very professional; quite possibly the best 1/72 resin model I have seen so far. (I admit I am not an expert, though. These reviews are deliberately written from the point of view of an average modeler.) The building is surprisingly easy (with a caveat or two), and the results are quite spectacular; this is one of those kits which are just a joy to build from start to finish. Hopefully Armada will come out with a trailer to supplement this beauty. (And maybe an intercontinental ballistic missile carrying version, but Im only saying this quietly).
SUMMARY
Highs: Very well cast, very detailed model, with good instructions.Lows: Some casting imperfections, missing grab handles, need a lot of expertise with PE.Verdict: Surprisingly easy to build. A must have.
I am a biologist by trade, and as a hobby I've been building scale models for the last twenty years. Recently I started to write reviews of the models I bought. These reviews are written from the point of view of an average model builder; hence the focus is on quality of the model, how easy it is to...
Andras,
Very nice review of an interesting and unique vehicle. Now the BIG question is whether someone also produces any trailers for this beast? I'm currently working on a MAZ 7917 so I have a clue how involved the suspension on these monster trucks can be!
Cheers,
Jan
Very nice review, makes me want to buy one!
The trailer already exist for at least a year when I saw it in hungary on a model show. Take a look for example here:
LINK
Best regards,
Andreas
Dear Jan,
Thank you. It seems like I did not know about the trailer... it does exist
The suspension was really incredibly well engineered. It just snaps together -very tight fit, very well designed. I was worried that the small arms would break, but they held.
Dear Andreas,
I can only recommend this kit. I really don't like to sing hymns about models, because none of them are flawless, and what really works for me might put others off, but this thing is just a pleasure to work with. Kind of like the DML Flak 88 when it came out - pure joy from start to finish. I'm really glad about the trailer. Armada really should promote itself, because it's not very easy to find out what they have -and where to buy their kits from. Now I just need to buy a trailer, carefully remove the MAZ from the base of the display case I glued it to, and find a long enough case to put the two in together. And perhaps put a tank on top of it.


Comments