When I was asked to do a build review of
Master Box Austin Mk. IV armoured car, I was more than happy to. I have always found early armoured vehicles interesting, and as I had no previous experience with
Master Box I looked forward to see whether their kits are as good as I have heard.
History
The British-Russian Austin armored car is one of the most successful and prolific armoured cars of World War One. The development of this armored car was the result of a Russian committee coming to Great Britain in 1914 to purchase local models, including one with a good overhead protection and two machine gun turrets. The Austin Motor Company quickly produced a demonstrator to meet these requirements. This is the reason for the twin turrets, British specifications normally called for a single turret, due to the increased weight associated with multiple turret designs. The car had normally a crew of 4 (commander, driver, 2 machine-gunners).
The Austin was produced in four more or less distinct series:
Series 1 - Car chassis, 4mm armour, 30hp engine, weight 2,6 ton, road speed 50-60 km/h, range 250 km. 48 built (1914)
Series 2 - 1.5 ton truck chassis, 6mm armour, 50hp engine, weight 5.3 ton, road speed 60 km/h range 200 km. 60 built (1915)
Series 3 - MG shields, 2nd rear driver, bulletproof glass in vision slots and side slots, otherwise similar to series 3. 60 built (1916)
Series 4 - Strengthened chassis, double rear wheels, otherwise similar to series 3. 36 or 40 built of 70 planned (1917)
The first three series were built for Russia and exported. Series four, also known as Austin Mk. IV, Austin Model 1918 or 1918 pattern, were intended for Russia as well, but the revolution meant these vehicles were stopped at Cardiff docks, and instead pressed into British service with the British Tank Corps. 16 were sent to equip the 17th (Armoured Car) Battalion of the British Tank Corps, while the rest were sent to the so called Dunsterforce in the Middle East.
The first three series used Maxim, later Vickers, machine guns in the twin turrets, but the 17th (Armoured Car) Battalion had the mountings changed to accept the Hotchkiss M1914 8mm machine gun instead of the Vickers, unlike the cars for Dunsterforce which retained the original armament.
After the war most of the surviving Series 4 cars were deployed in Ireland. The vehicles sent to Russia saw service both with the Reds and Whites during the following years, and several vehicles were captured in combat and saw service with forces ranging from the Finnish Army to German Freikorps. The last active true Austin was probably a vehicle employed by the Austrian Army until 1935, but some Austin bodies were reused on Peerless lorry chassis and kept in service until 1939 by the British.
The Kit
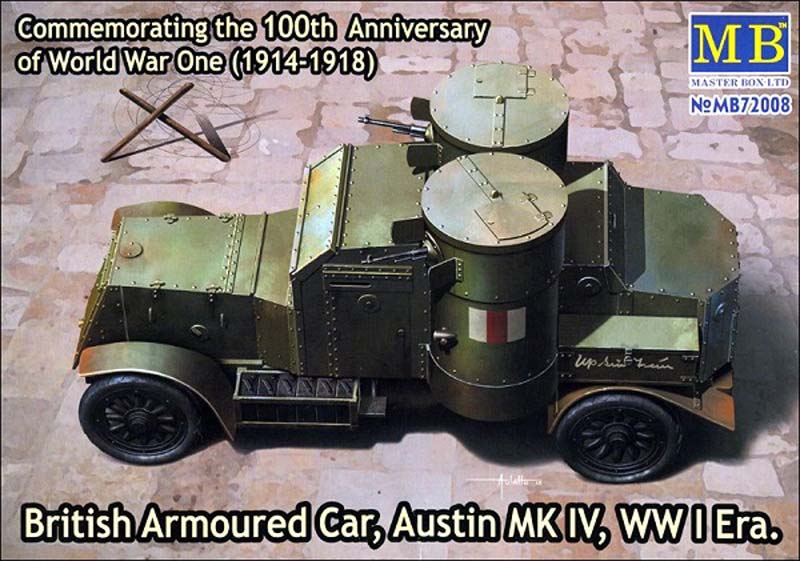
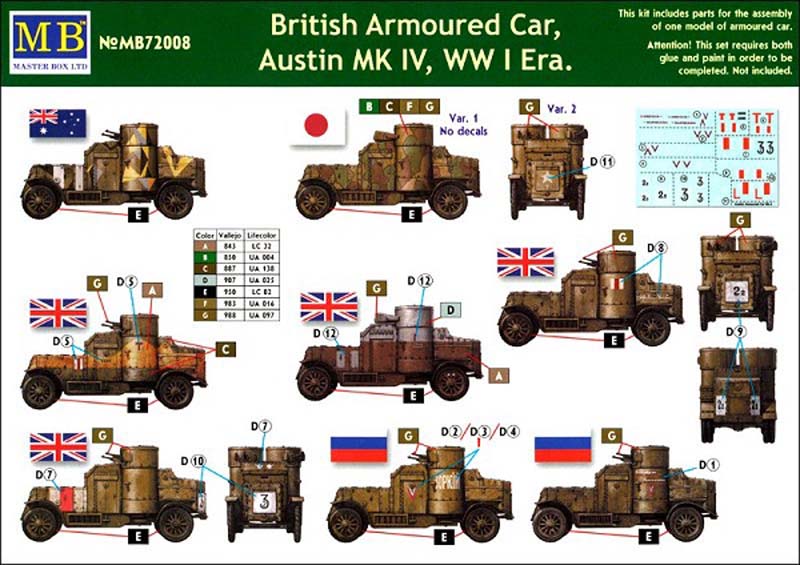
The kit comes in a tasteful package of the envelope style with an inviting picture of one of the possible schemes in the kit, an Austin in Ireland ca 1920. The painting and decaling instructions are on the back of the package. Now this guide leaves some to be desired. The pictures of the different profiles are only a single view of the left side (a distinct weakness when it comes to any camouflaged vehicles).
Master Box does not indicate, except by national flags, where and when the different vehicles saw service. The colors are given as
Vallejo and
Lifecolor numbers, with no generic descriptions.
This is nominally a kit of an Austin Mk IV, but the similarities between series 3 and 4 means you can easily finish the kit as a Mk III. In fact, several of the the decal options seem to represent Mk III vehicles. With this in mind I would suggest you do a bit of research on the vehicle you plan to build to ensure you choose the correct options during the build. There are several war time pictures of the Austin in service with makes a good starting point, but as always, you have to draw some conclusions for yourself.
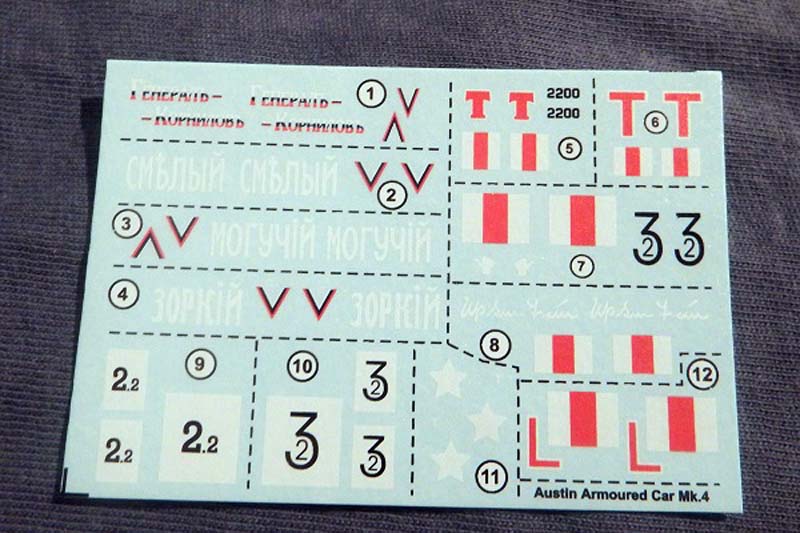
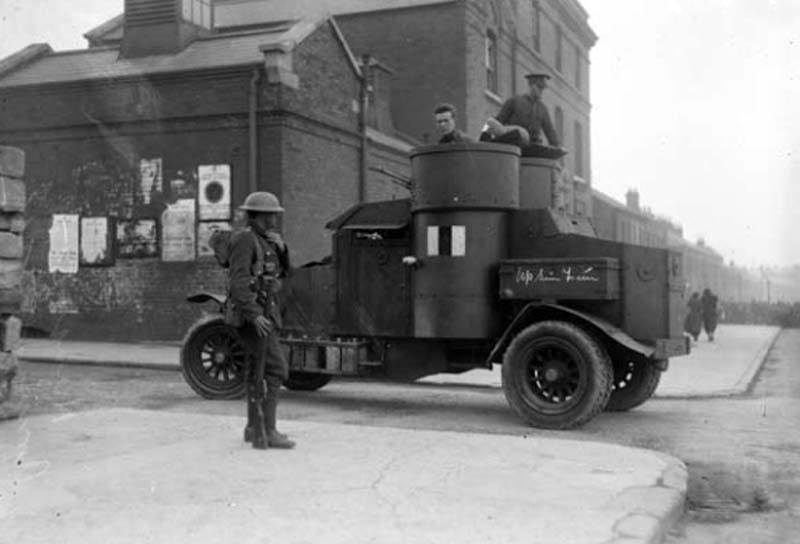
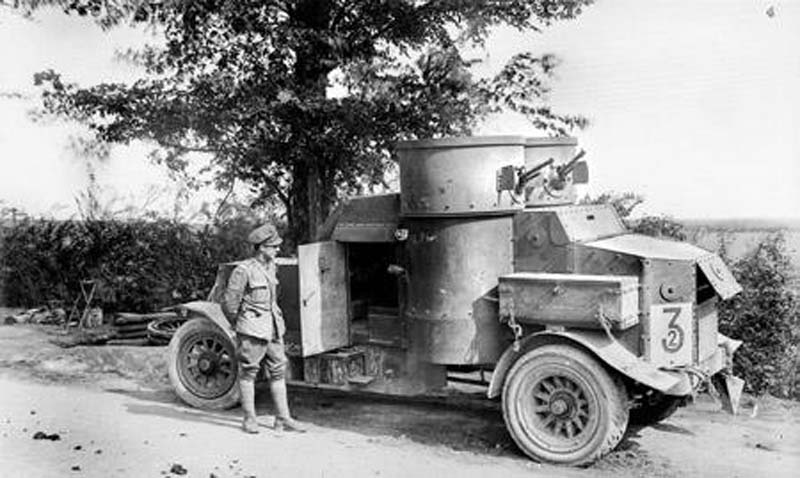
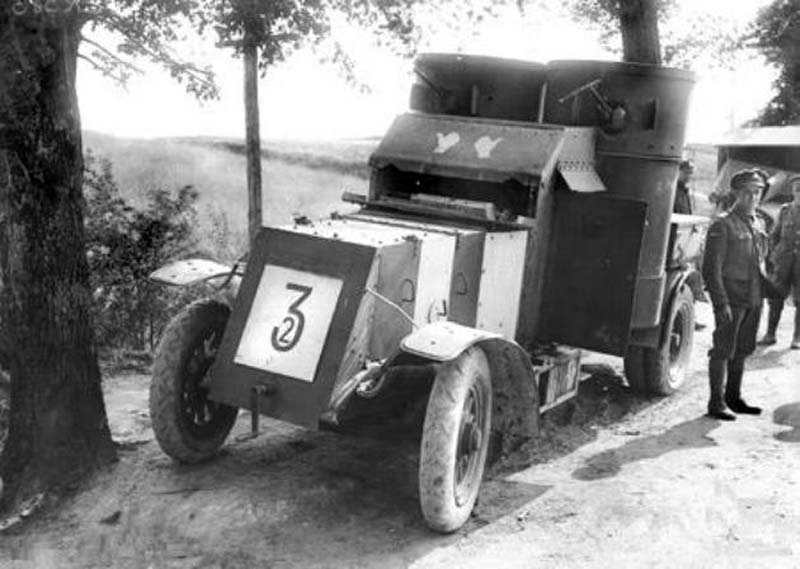
From what I found out the vehicles with decals 7/10 and 7/9 are Mk IVs from 17th (AC) Battalion, France 1918. The vehicle using decal 8 is a Mk IV with gun shields removed, photographed outside Mountjoy Prison, Dublin, Ireland in 1920. (I would think the chalked on Up Sinn Fein slogan was only written on one side of the vehicle, but the decal sheet contain two identical decals of this writing.) The vehicle using decals 5 was photographed in British service at the RIC Barracks at Ennis, County Clare, Ireland in November 1919. Note that this vehicle had a large searchlight on the nose which will have to be scratch built. The attractive two-tone scheme on the vehicle using decal 12 was also probably a part of 17th (AC) Battalion, France 1918, but Ive found no picture reference of it. The two Russian profiles must be Mk III vehicles, while I have no idea about the Japanese and Australian profiles.
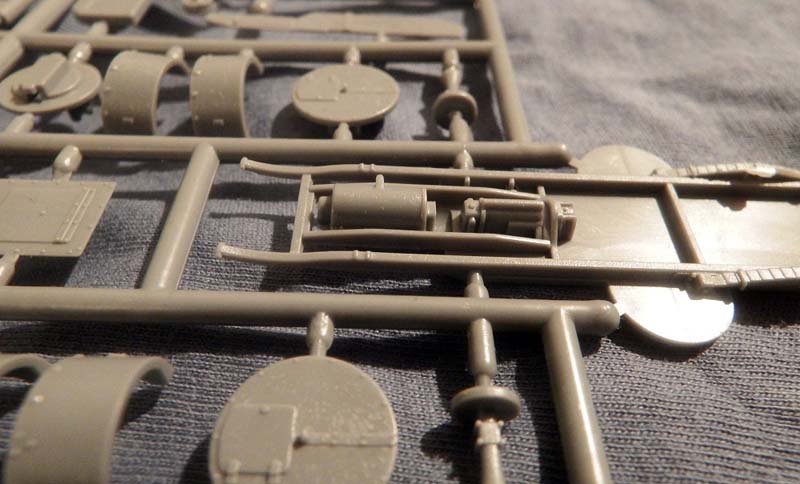
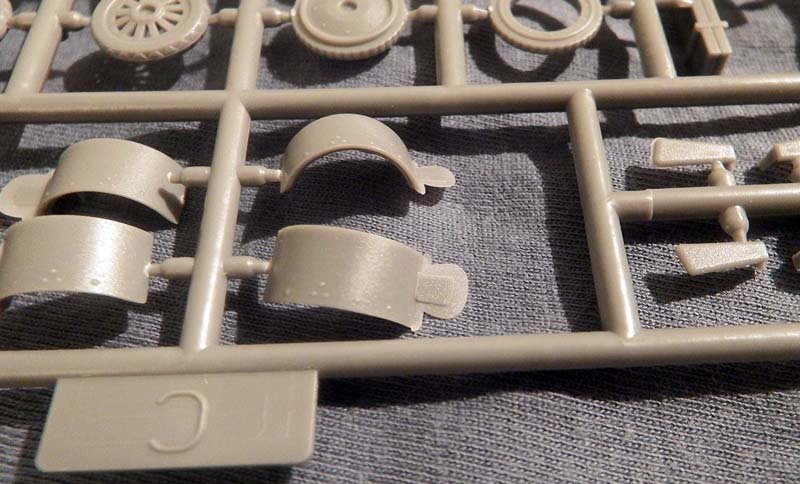
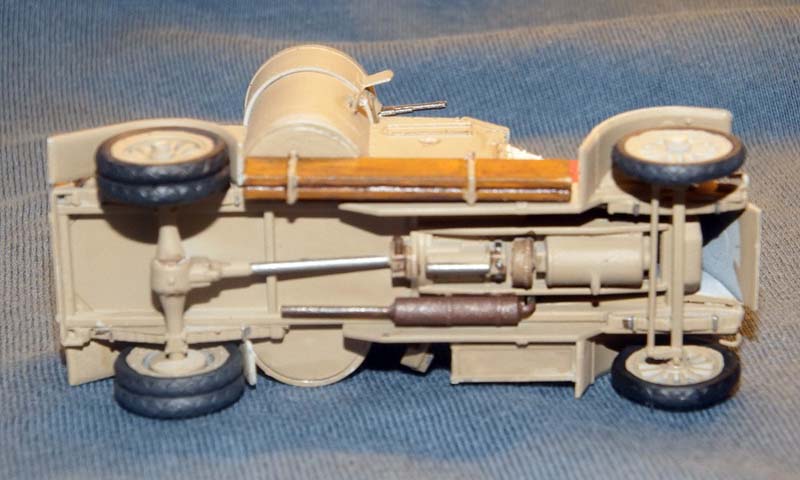
The kit itself comes on two grey sprues. The parts are not numbered on the sprue, so you will need to check with a parts map on the building instructions during construction. There is some flash evident, especially on the gun shields for the Hotchkiss-armed turrets. On the positive side most ejection marks are situated on surfaces that will be hidden on the completed model. The only sink marks I could find was on part C4, which are a pair of wooden planks hung on the side of the chassis (presumably for use if the car gets stuck in mud). I assumed these planks would be a bit rough and saw no reason to do anything about the sink marks, but there is an ejection mark on the side of the part that needs to be removed.
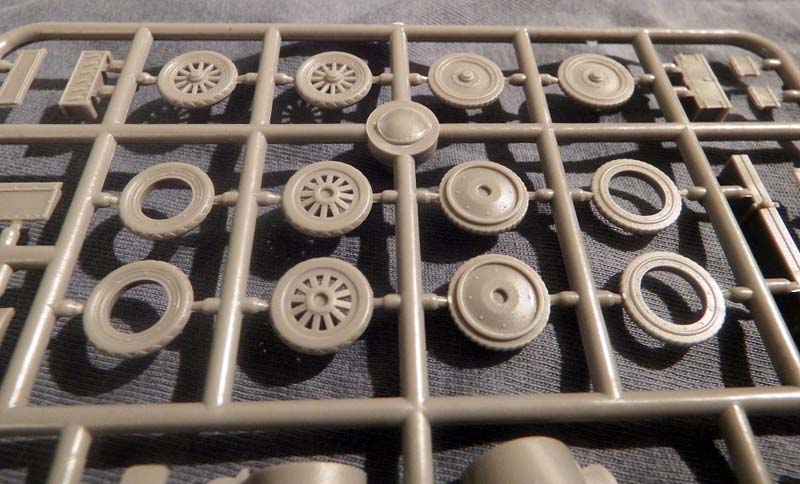
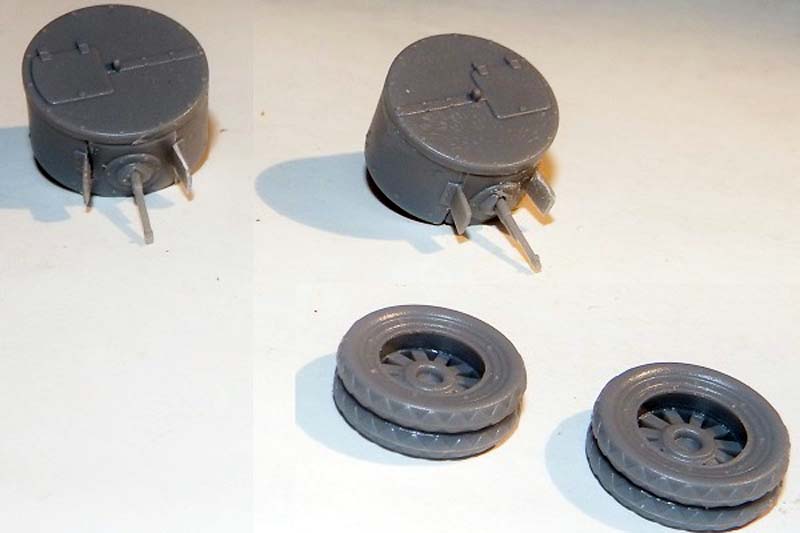
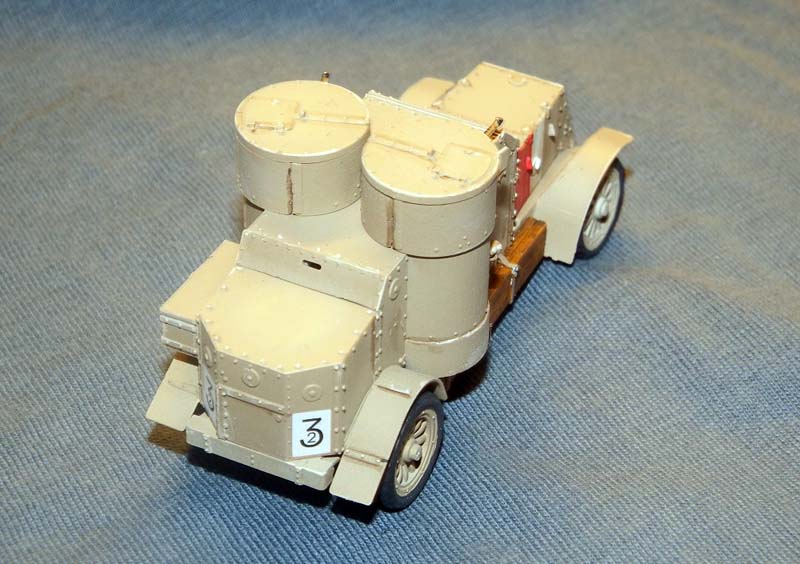
The kit includes both spoked wheels and armoured wheels (an interesting fact is that the Austin used tyres filled with an early puncture sealing substance called Rubberine), as far as I can tell all Mk IVs used spoked wheels during WW I and the immediate period. There is also a choice of Maxim or Hotchkiss guns. There is no interior detail, nor engine, but as all hatches and covers are molded shut, it is exectable in this scale. But it also means anyone wanting to add a figure in one of the turrets for a sense of scale or to open up the hatches will be in for some work.
Build Review
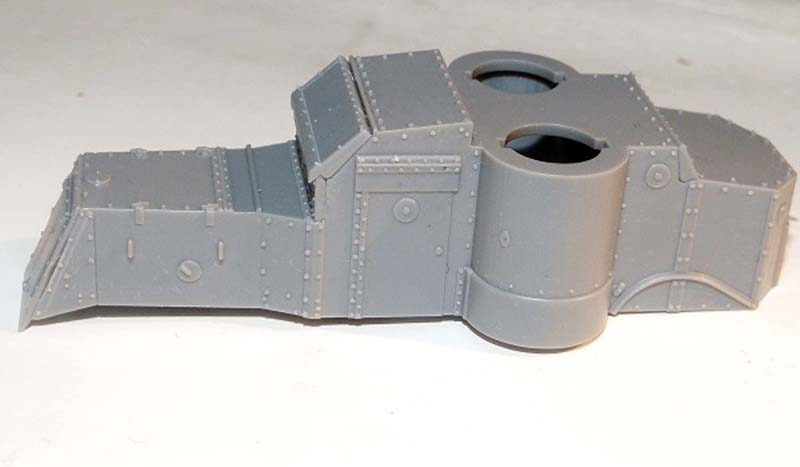
The instructions are not too crowded, but for some assemblies you need to refer to later drawings to ensure the parts are placed correctly. The construction of the turrets seemed a bit daunting at first, but it proved to be not too difficult, though I with hindsight see there are a few joints that could have been less conspicuous. The fit of the parts are generally very good though.
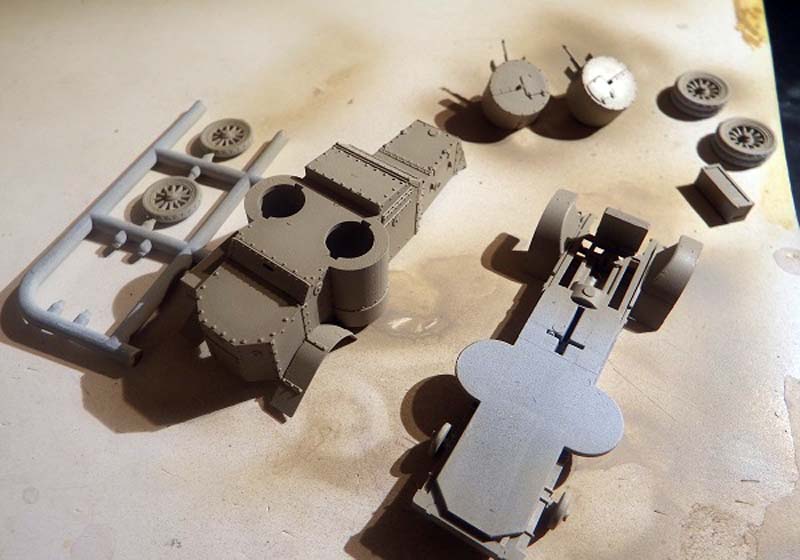
Personally I spent three evenings on the construction, but its not impossible to build this as a weekend project, as there are several distinct subassemblies; chassis, turrets and main body. I constructed the four subassemblies before painting, leaving off some parts like the headlights and the aforementioned planks to be added in the end.
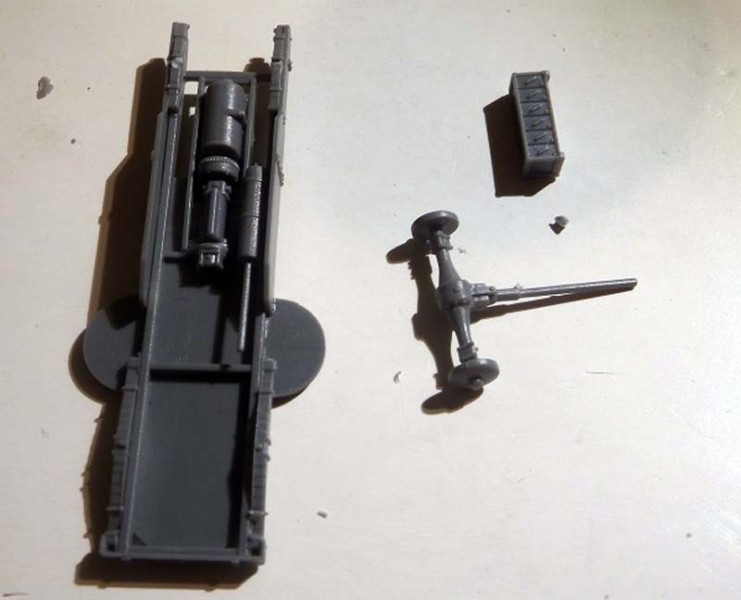
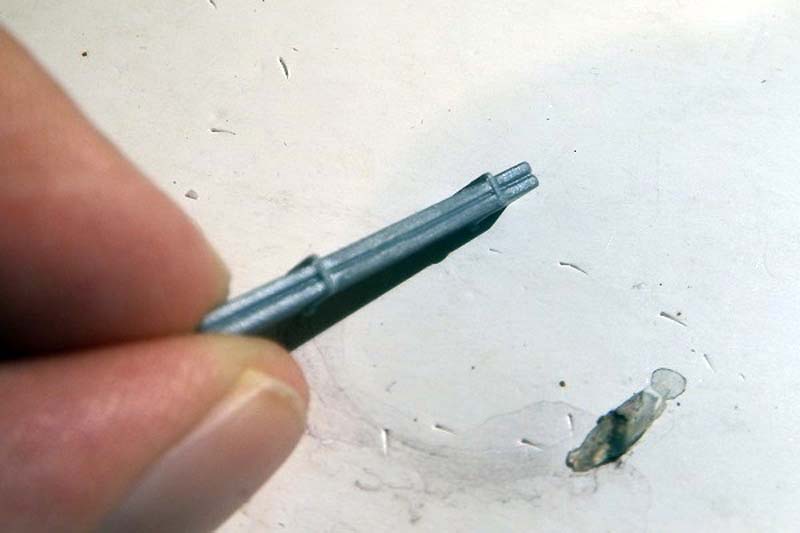
A couple of observations: Part A21, which is some sort of transmission gear, needs to be shortened a fraction to fit. When constructing the rear axle with parts A4 and A18 (x2) ensure that the parts A18 are rotated to match the suspension when the shaft on part A4 is fitted into slot on the main chassis (I didnt and had to repeat the step quickly before the cement hardened when I realised)! Lastly, leave off mounting part C4 until the body is glued to the chassis.
As I wanted to build a WW I vehicle I decided on decal choice 7/10, as Id found a couple of pictures of this vehicle. After all, the package proudly states Commemorating the 100th Anniversary of World War One (1914-1918), so it seemed very fitting.
Painting & Finishing
The painting instructions call for
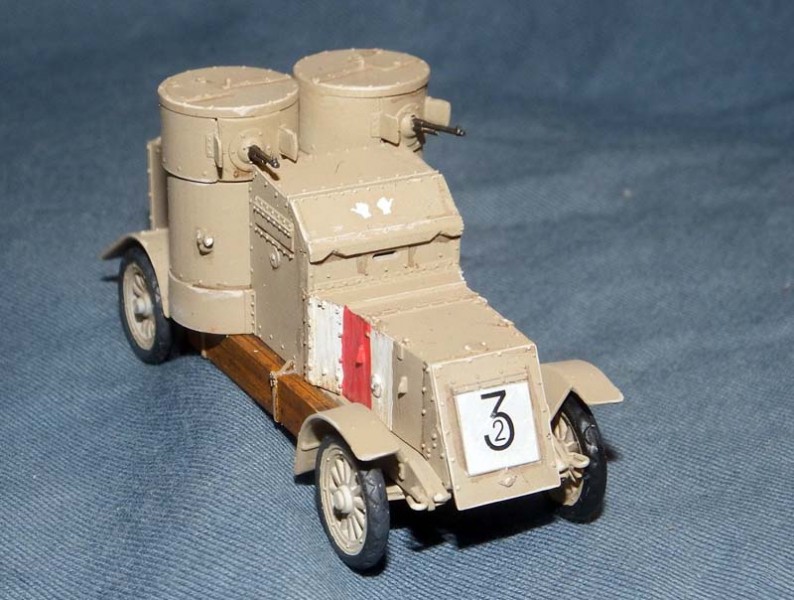
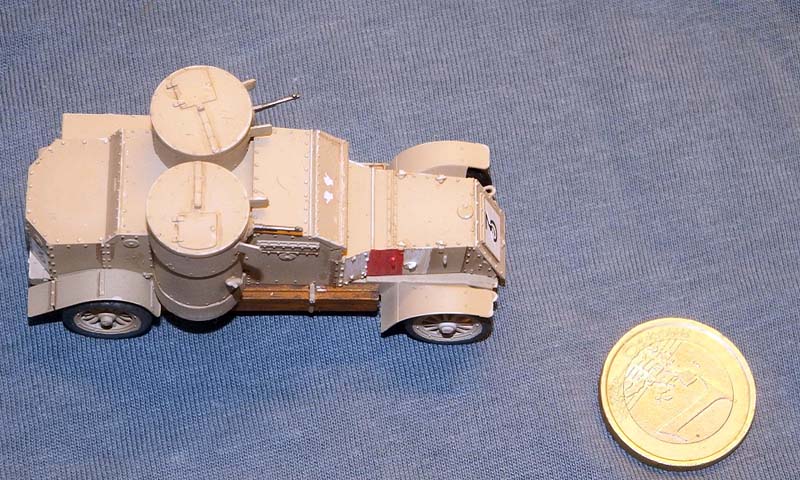
Vallejo Model Color 988, Khaki, so I choose a paint I had in my collection (P3 - Hammefall Khaki) that seemed to match this nuance. I decided to paint the trunk over the rear left fender in the same colour as the rest of the vehicle, but some of my references seemed to suggest it was unpainted wood on the vehicles of 17th (AC) Battalion. Normally I would paint the larger areas of white and red in the markings, but in the interest of this review I decided to try the decals. Immediately I noticed that the decal for the red and white marking on the side of the bonnet is much too small. So I resorted to brush paint these markings after all. The photographic evidence proves that the original markings were less than perfect as well, so no harm there. The rest of the decals are acceptable, even though they are very thin, and quite stubborn to shift once on the model. I was pleasantly surprised on how opaque they were.
The tires were brush painted using a dark grey colour. Pictures seem to suggest they in fact were quite light in colour, but I used my usual rubber-mix paint. Then it was just to fit the body to the chassis, slot in the turrets, mount the wheels and add the final parts.
So there is it. A fine little kit, marred somewhat with confusing and incomplete painting and decal guide and building instructions.
References
Landships Live links
Tanks Encyclopaedia Live links
Wikipedia Article Live links


Comments