By the end of 1942 it was becoming clear that the T-34 was slowly becoming obsolete with the introduction of new German tanks. Work started to up-gun the tank with an 85mm gun developed from an anti-aircraft artillery piece (the 52-K) in a larger turret.
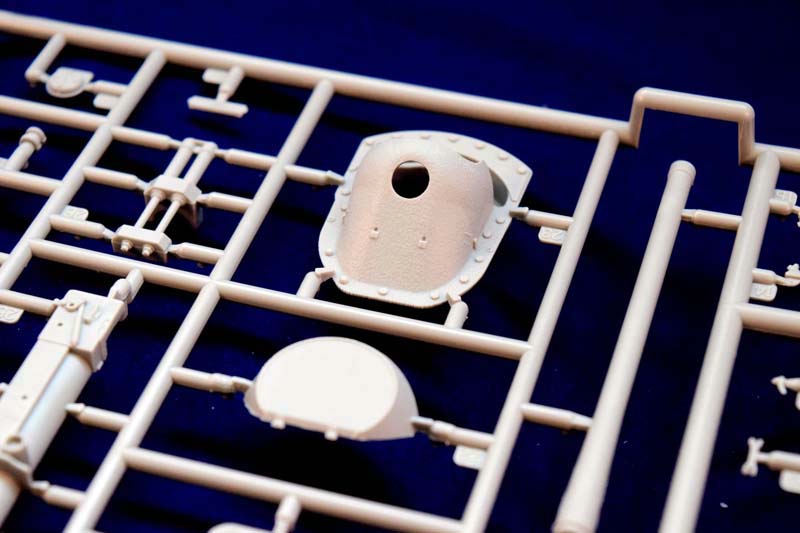
The new tank gun, the D-85, was way too big for the original T-34 turret, and while a larger turret was being designed to accommodate the new gun, as an interim solution the gun was mounted in the chassis of the SU-122 already under production. (The abbreviation SU stands for Samokhodnaya Ustanovka or self-propelled carriage.) The new vehicle, the SU-85 was intended as a stop-gap measure only, since the new T-34/85 was still some time away from production. (The SU-85 entered service in August 1943, and the T-34/85 followed in the Spring of 1944.) It shares about 80% of the components with the T-34, which made the production much easier and cheaper. There are two main production versions of the SU-85. The first one was equipped with a commanders cupola and three vision blocks (this model represents this version), and the improved SU-85M which incorporated the SU-100 casemate and ball mantlet, and the commanders cupola from the T-34/85.
About 2000 vehicles were produced in Uralmash in this short period of time, and the type saw service until the end of the war in the Soviet Union, and for decades after the war in different client states (North Korea might still have some in service). They were even used against Western forces in Korea and Vietnam, giving a very wide range of paint and marking options for model makers. The SU-85 evolved into the SU-100 mounting the famous 100mm D-10S tank gun which remained in service for decades after (and possibly even today).
The model
MiniArt has been steadily issuing the SU-series with full interiors starting with the SU-122, and following the types evolution, they issued the SU-85. (Hopefully the SU-100, and the SU-152, ISU-152 assault guns are also in plans - not to mention the KV-1, KV-2, and IS series with interiors but lets wake up, and carry on with the review at hand.)
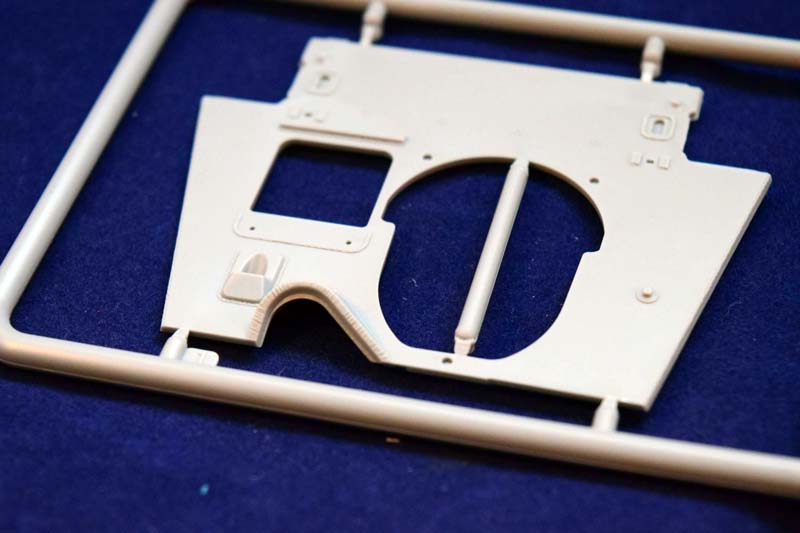
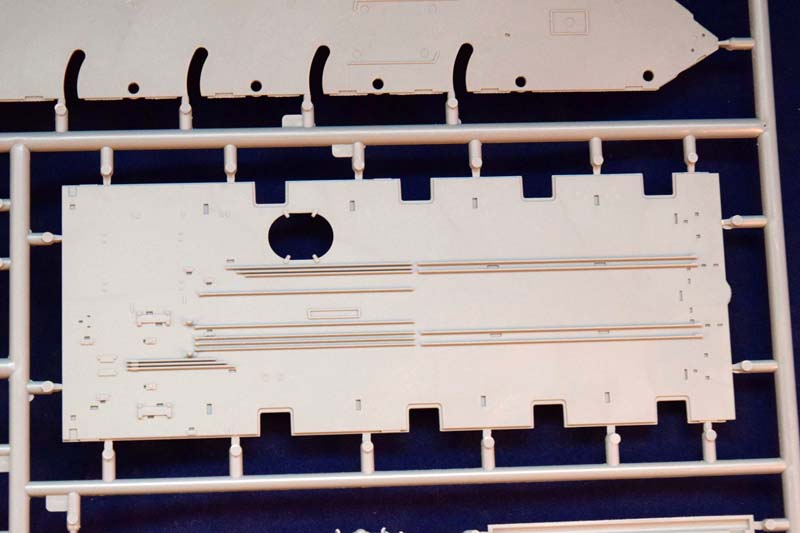
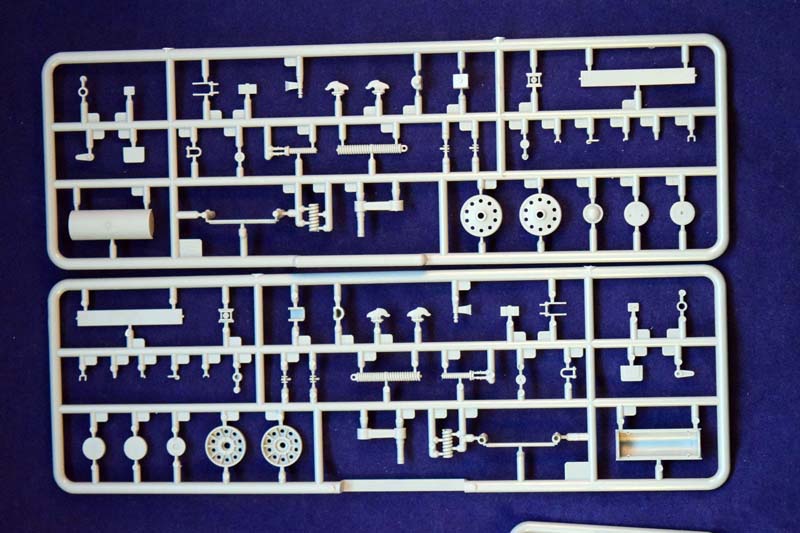
These models, just as in their real life counterparts, share most of their components. This makes this review a bit easier, since I can refer back to the previous SU-122 review, and my experience in building the SU-122. The real difference between the SU-122 is obviously the armament, and consequently the ammo racks and some other small details in the interior and exterior of the model. The basic hull, the engine compartment are essentially the same in both kits. (More on that a bit later.)
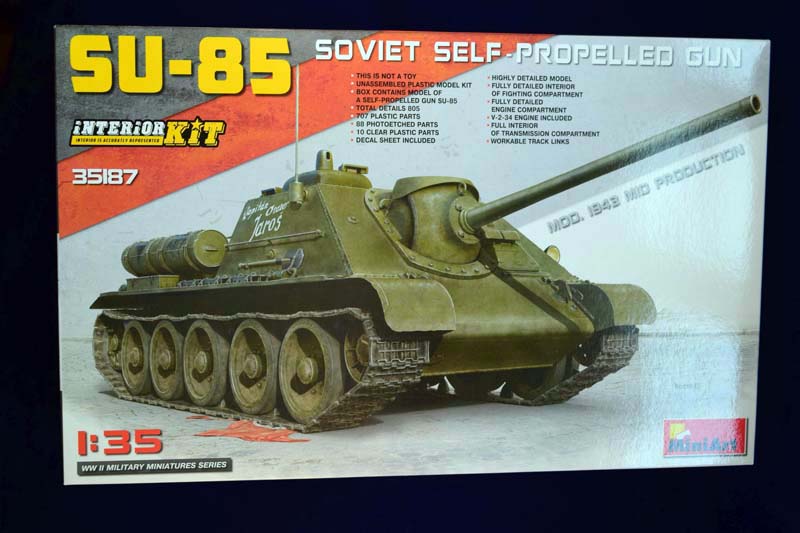
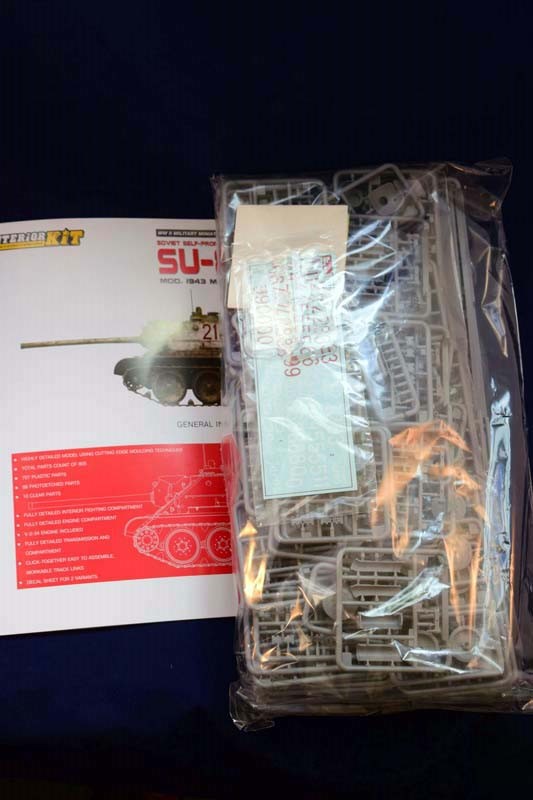
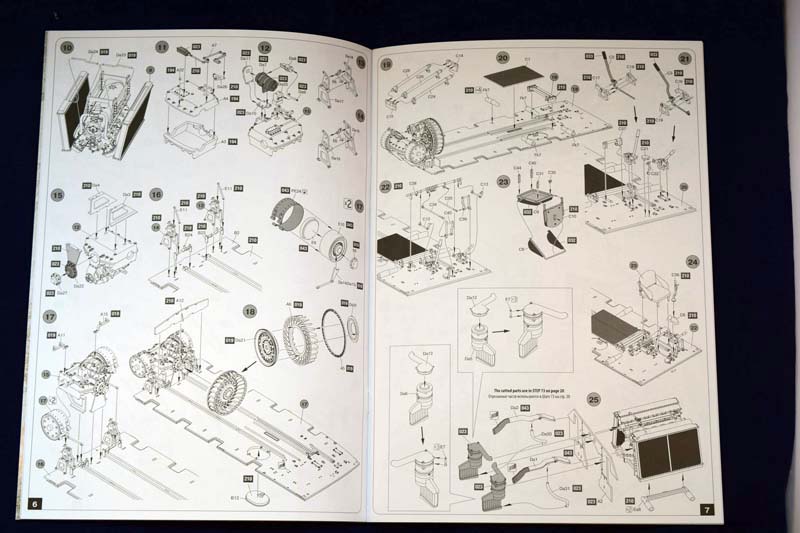
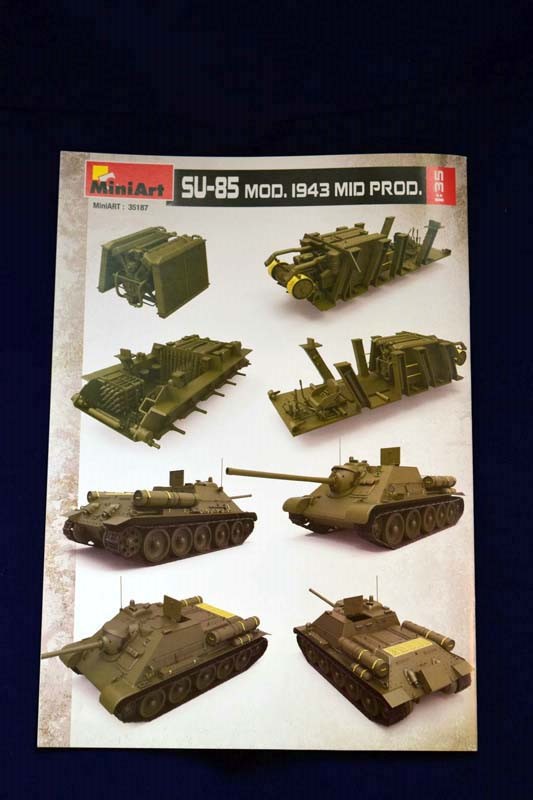
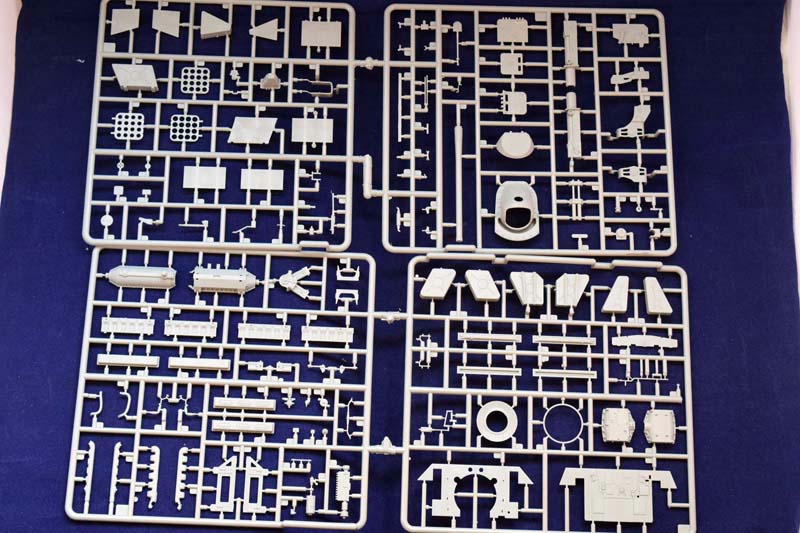
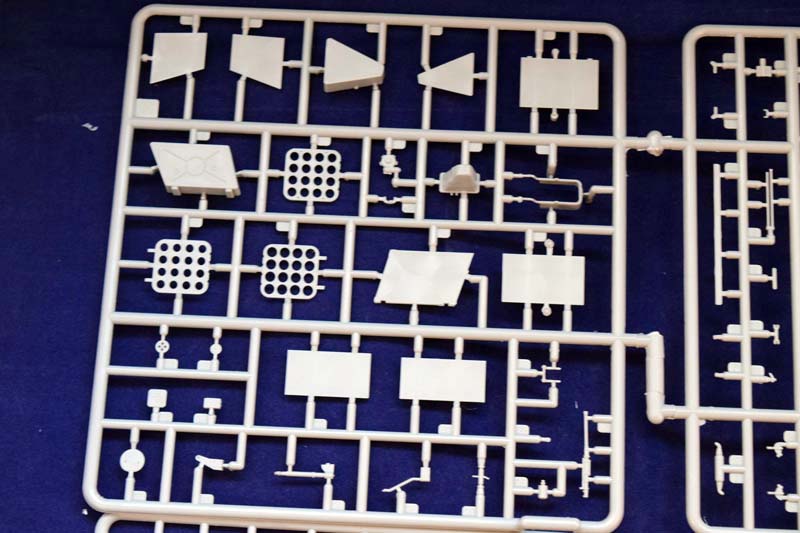
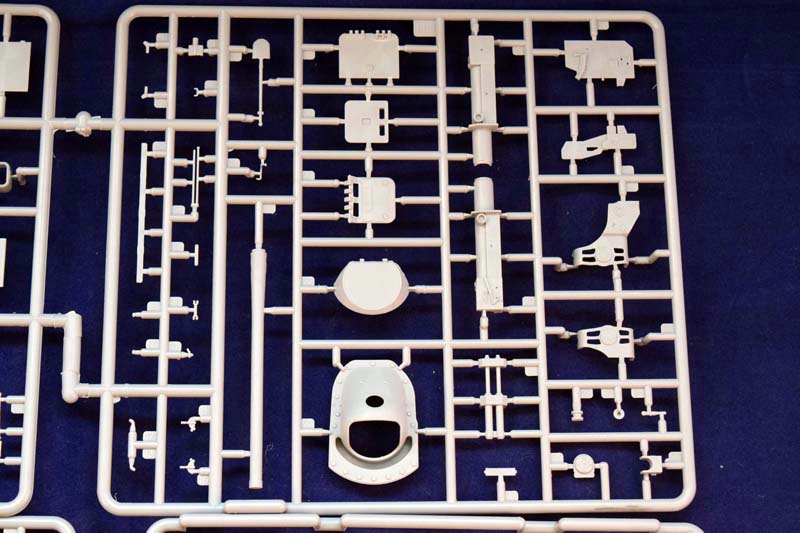
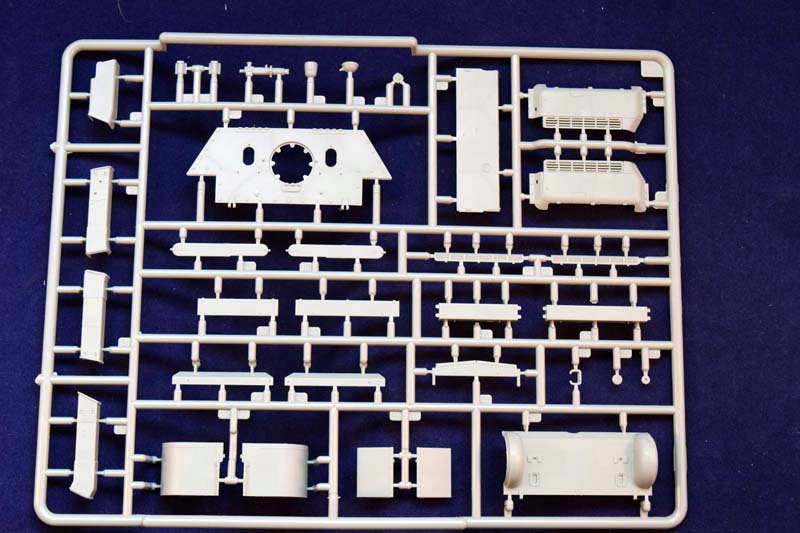
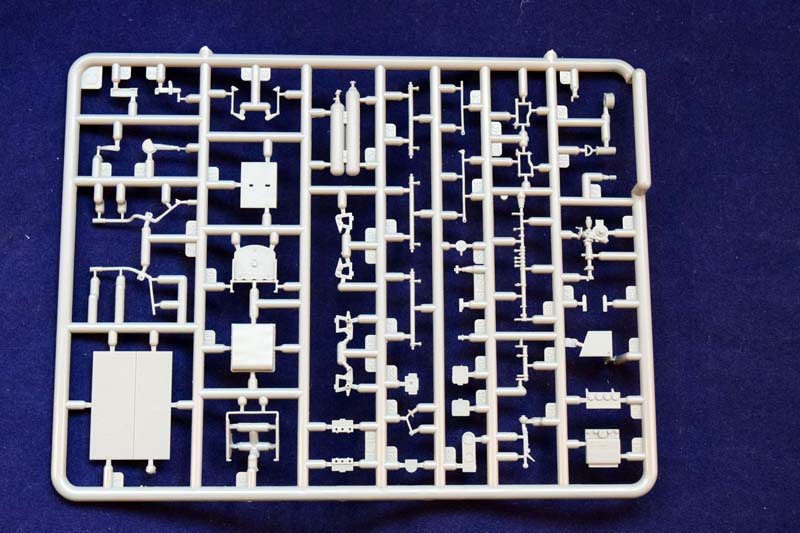
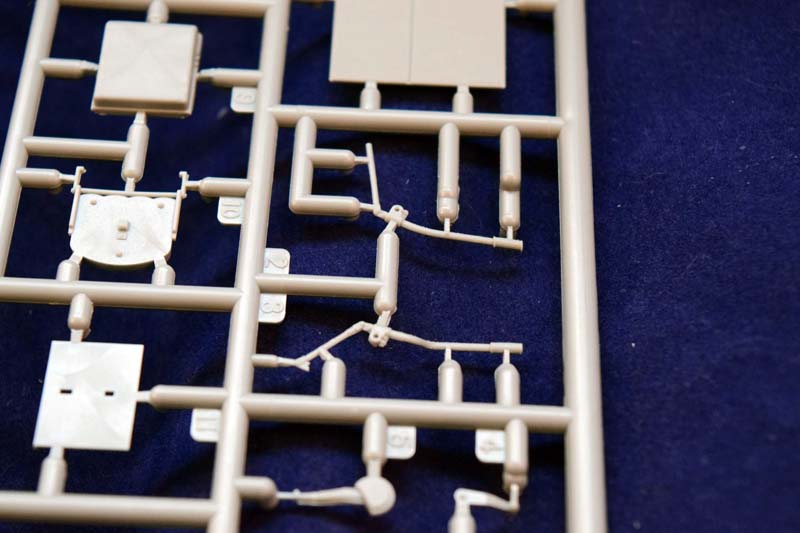
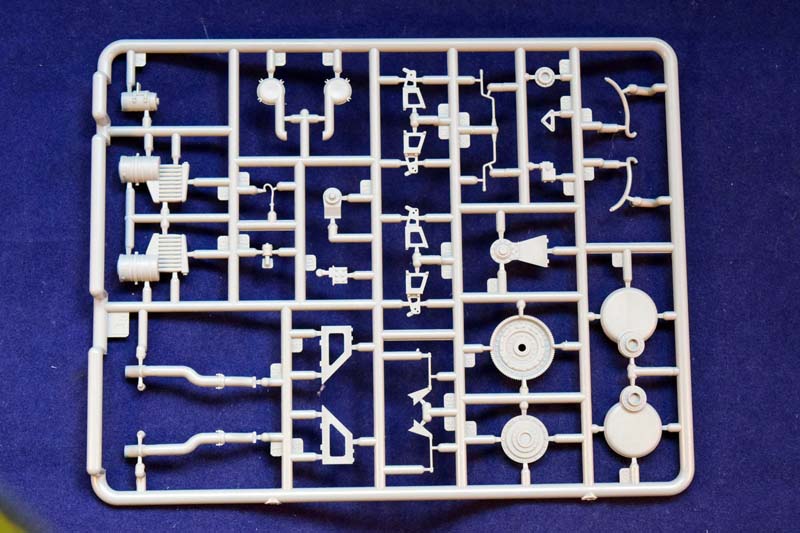
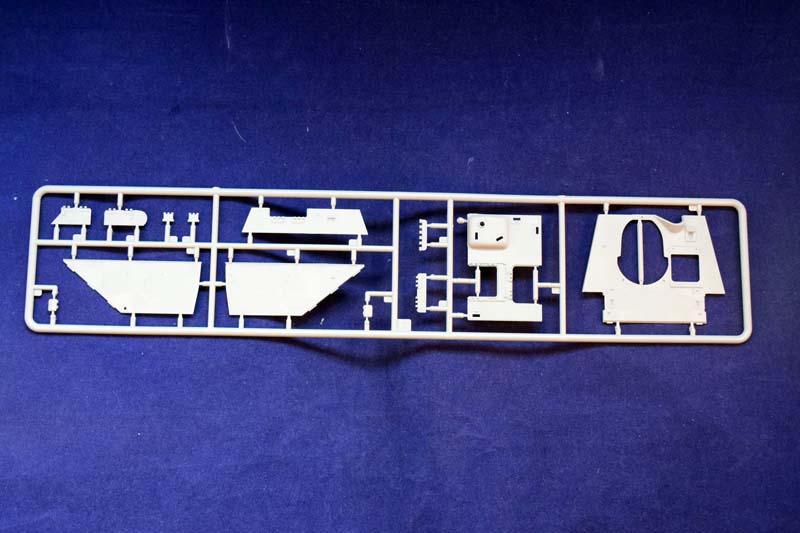
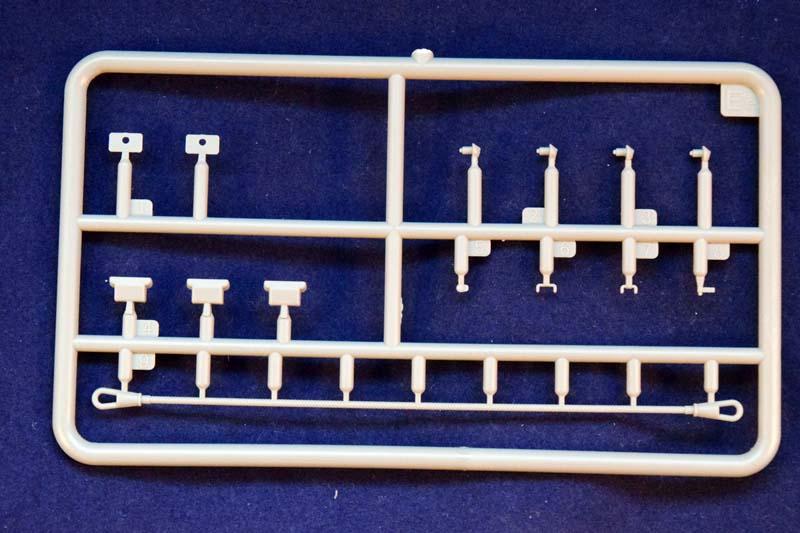
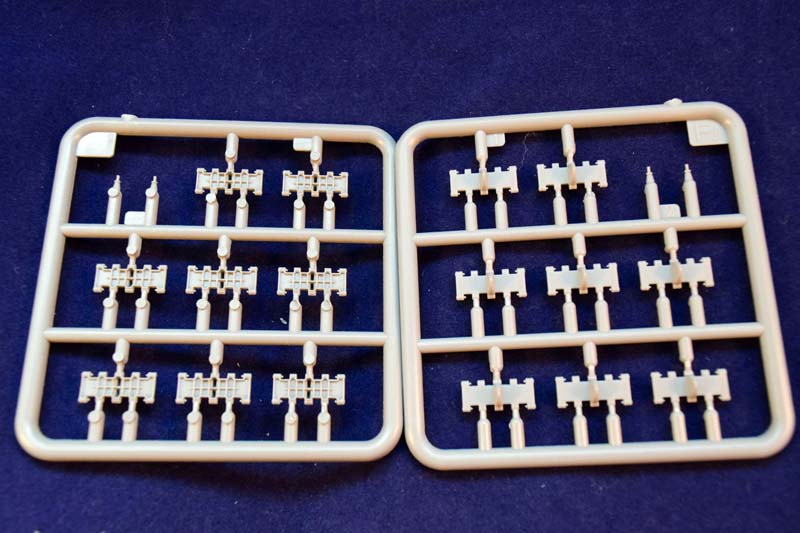
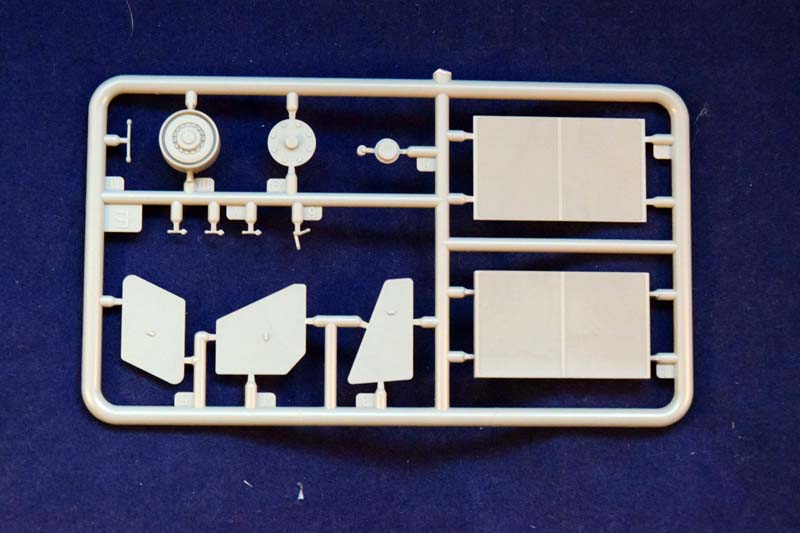
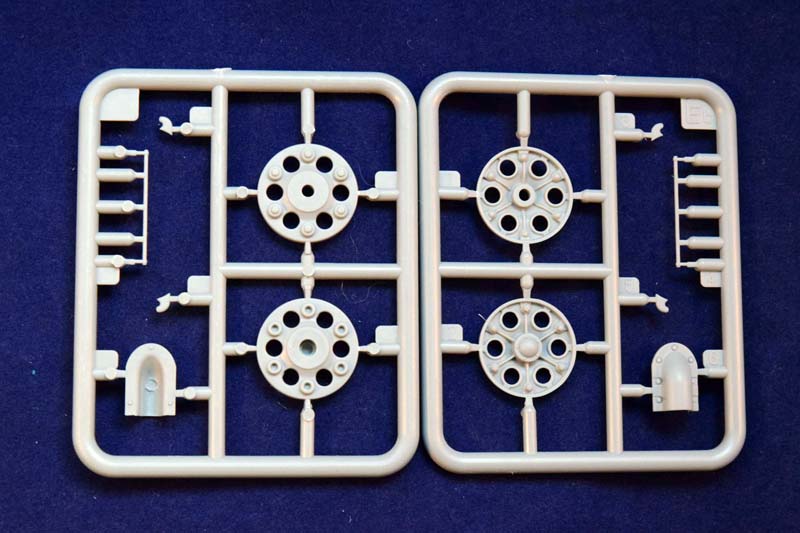
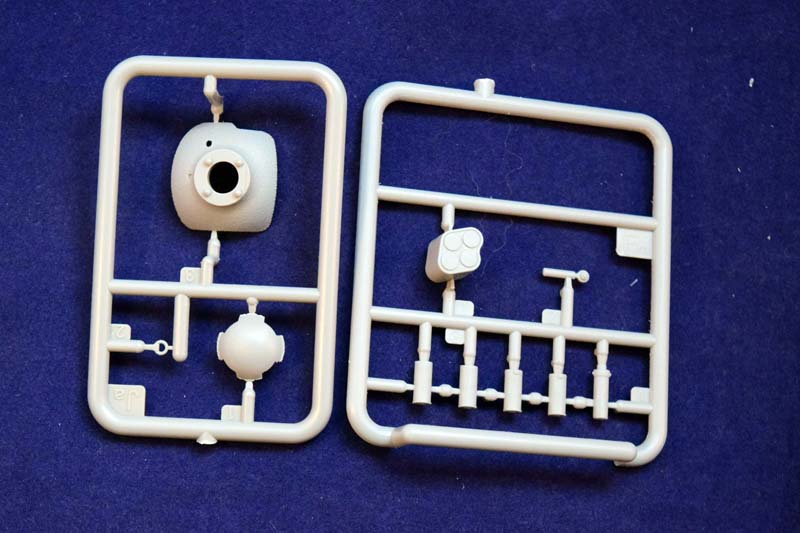
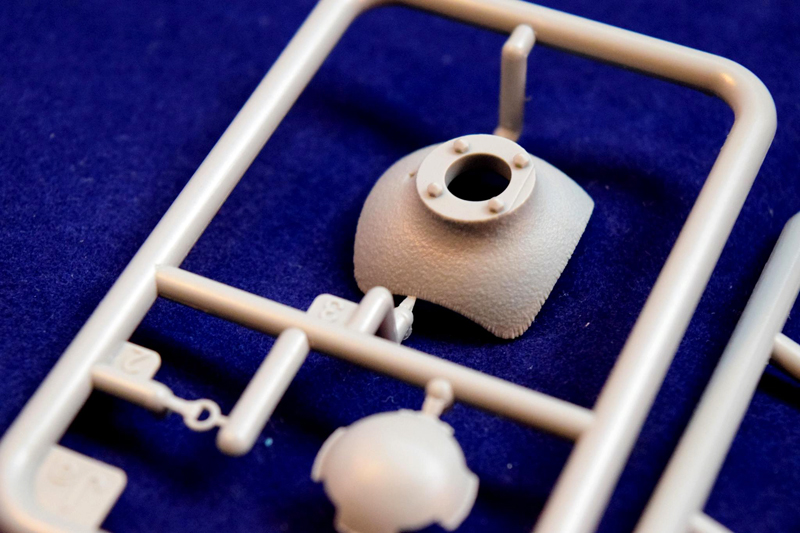
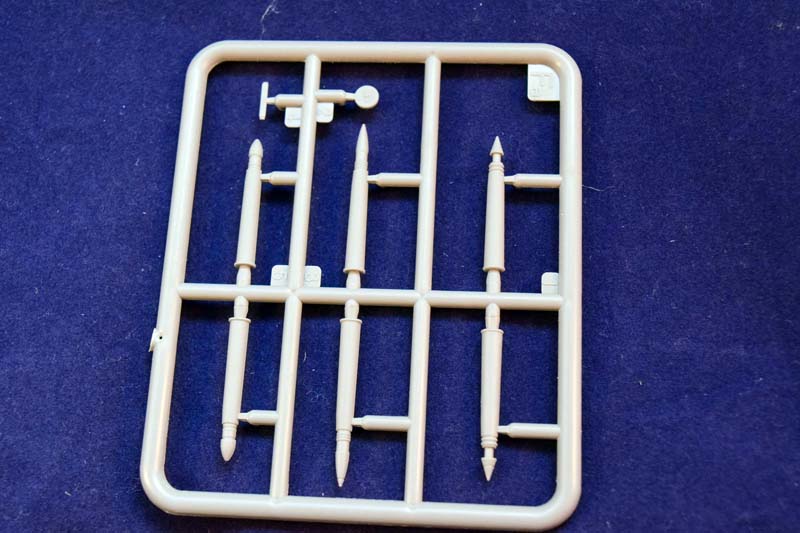
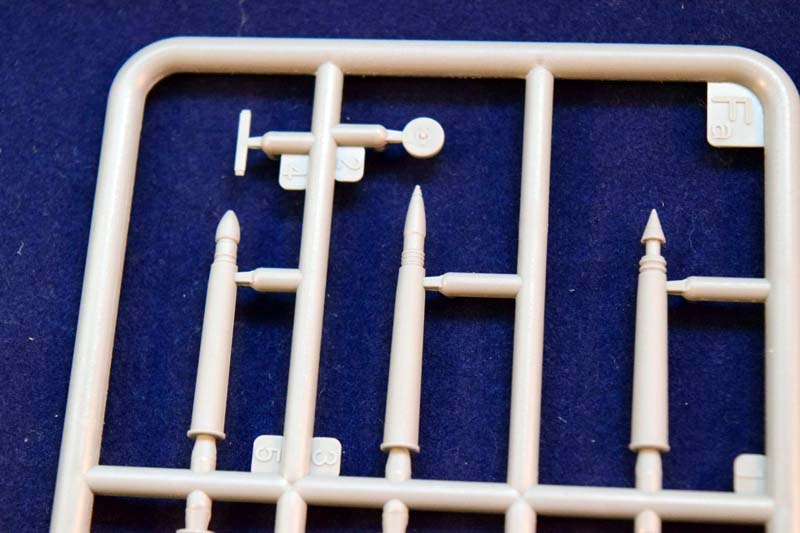
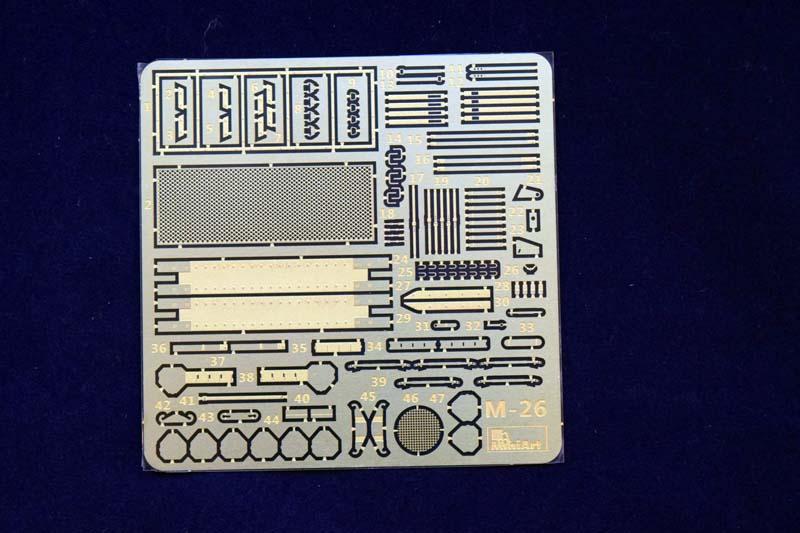
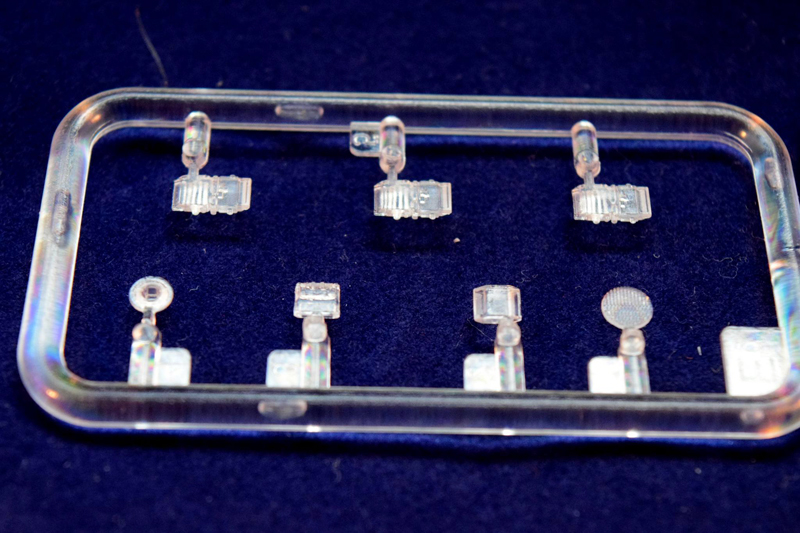
The model is provided in the typical MiniArt box, with a very nice box-art of the vehicle on the cover, and a computer-generated view of the interior on the bottom. The box is quite full, as it has 717 plastic parts, and a small PE fret with 88 PE parts.
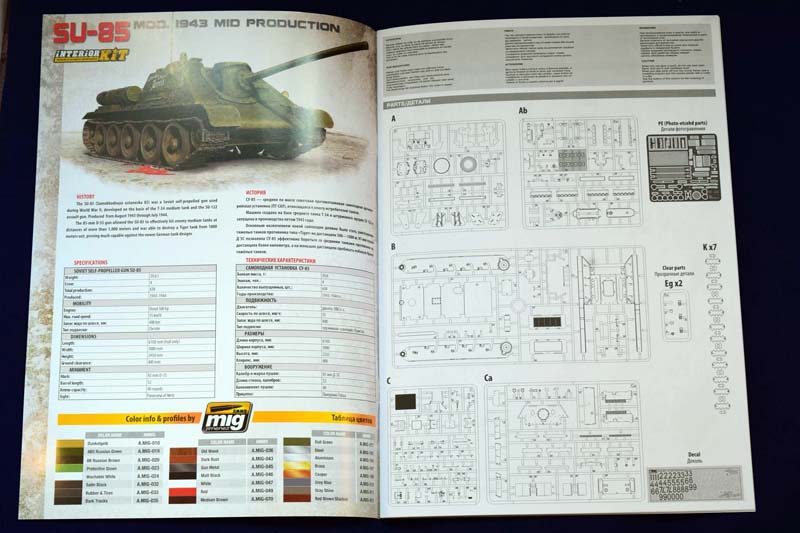
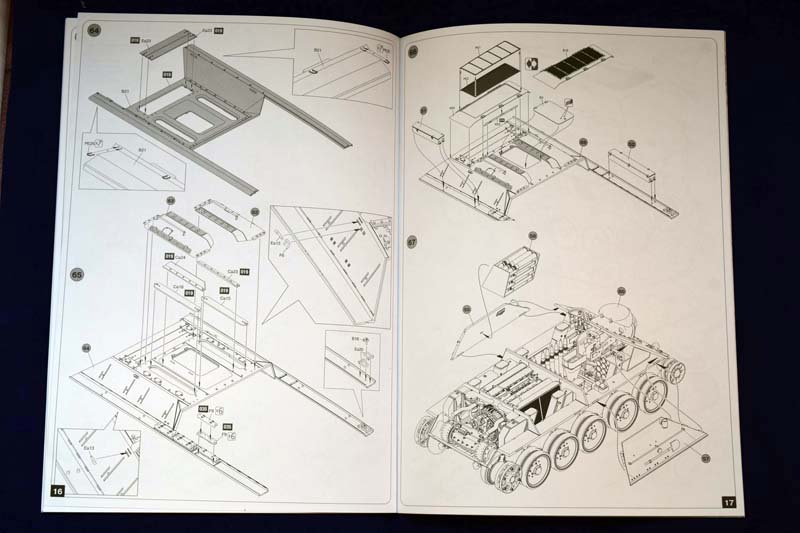
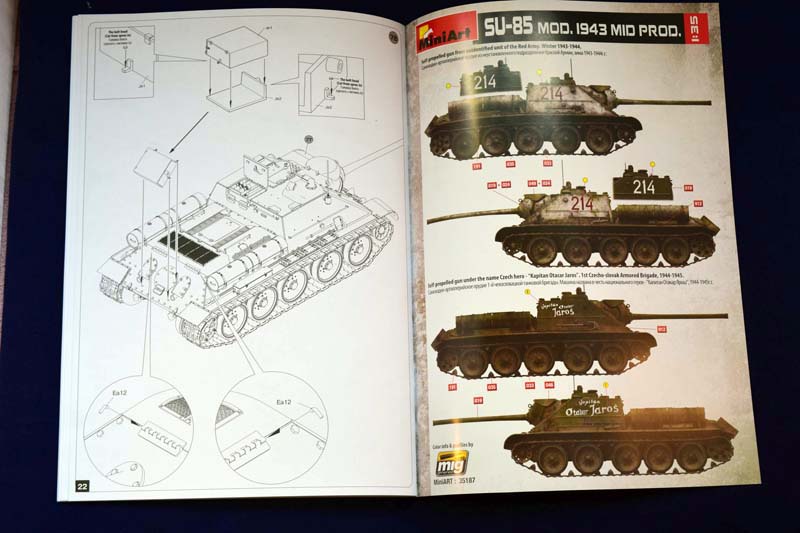
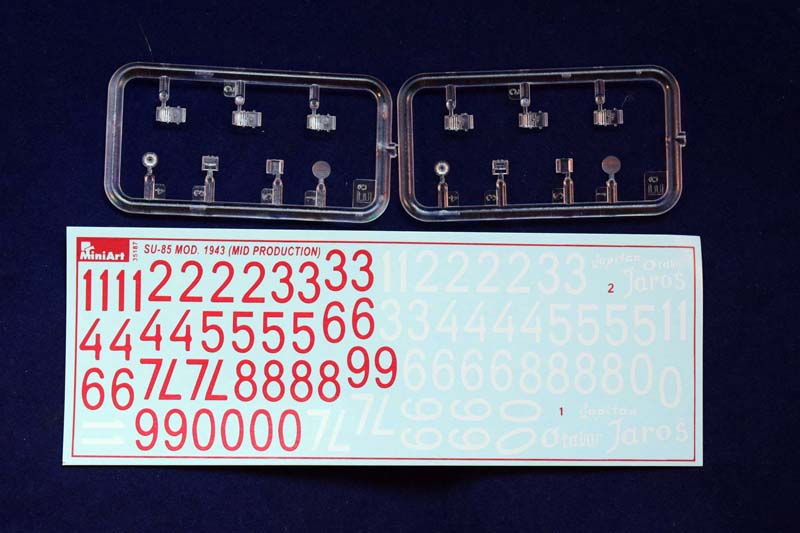
The instructions are also come in the MiniArt booklet format; an A4 booklet with colours where the use of colour is justified, laying out clearly what part goes where. The colours are given in Mig Ammo codes. There are only two painting options given. One from an unidentified unit of the Red Army, from 1943-44. (The decal sheet has a lot of numbers which allow for the customization of the vehicle) There is also an option for a Czech variant as well named after a war hero, Kapitan Otacar Jaros. (He served in the Red Army, and was awarded the highest military honour posthumously.)
A Little Side Track
Having reviewed three of MiniArts T-34 based self-propelled guns, I have realized how smart MiniArts design philosophy is in model making. Instead of making type-specific sprues, which have redundant pieces, they approached the issue of shared components from the direction of cooking recipes. (Bear with me for a second.) Im building a StuGIII right now; and the company that produced it gave a lot of pnzIII sprues (with parts that are not exactly useful for my StuG), and some StuG sprues. This obviously increases the part number in the box, and generates waste.
MiniArt, on the other hand created several smaller sprues which can be combined together giving you a specific model. Just like cooking: add this and that component, and you get one recipe. Combine them in a different ratio, add another component, and you get another type. As I described in the review of the SU-122 kit (35181, no interior), by swapping two sprues and omitting several, they have created a new model. The same is true here. (The right side of the hull, for example, has markings for fuel tanks which were not present in the SU-122; having taken a look at the SU-85 I realized that it was intended for this vehicle.)
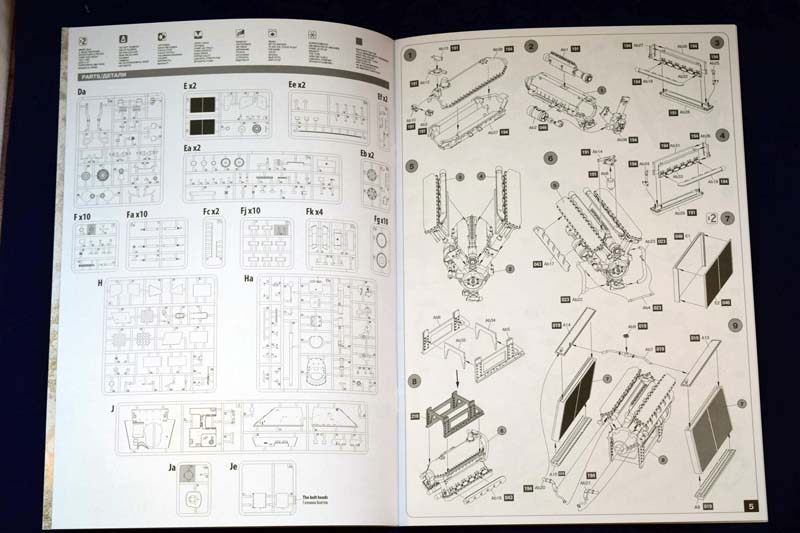
As a comparison with the SU-122 interior kit, here is its sprue layout:
A -Ab (engine)
B (hull)
C (drivers compartment)- Ca (parts of the engine deck)
D (the overall fighting compartment (sides, front, etc)
Da (parts of the transmission and engine)
E (engine), Ea (suspension, small parts), Eb (drive wheel), Ed (viewport covers used in non-interior kit, small parts), Eg (periscopes, clear parts)
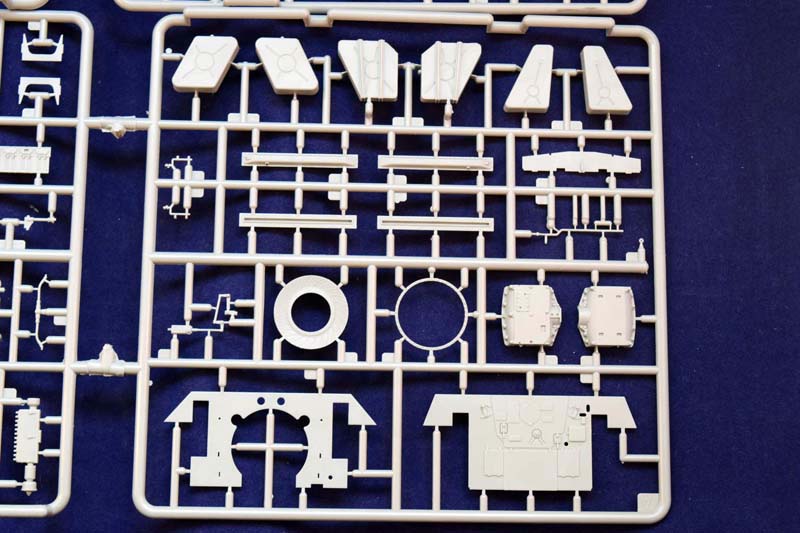
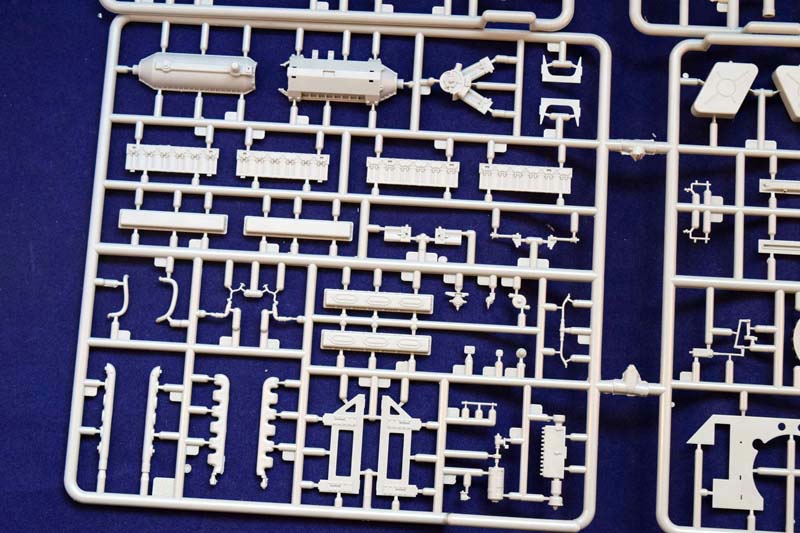
F (Christie suspension), Fb (ammo), Fi (roadwheels), Fj (tracks), Fk (Christie suspension, external fuel tanks), Fm (ammo)
G (parts of the gun and gun mount), Ga (parts for the gun, and other interior details)
Jd (top of the engine compartment, covers for the viewport)
K (tracks)
The SU-85 has the following layout
A -Ab (engine) -shared
B (hull) - shared
C (drivers compartment)- Ca (parts of the engine deck) -shared
Da (parts of the transmission and engine) -shared
E (engine) -shared, Ea (suspension, small parts) -shared, Eb (drive wheel) -shared, Ef (some ammo, small parts for the interior), Eg (periscopes, clear parts) -shared
F (Christie suspension) -shared, Fa (ammo), Fi/Fg (roadwheels) -shared, Fj (tracks)-shared, Fk (Christie suspension, external fuel tanks)-shared,
H, Ha (gun, ammo racks)
J (sides, front and top of the fighting compartment)
Je (box on the back of the engine compartment)
K (tracks) -shared
As you can see simply adding and omitting sprues you can mix and match different models. Im not sure if Im alone in marvelling at this approach, but I think its pretty efficient. (Although will not increase the spares box.) This also means that MiniArt can simply issue a separate interior set for these vehicles quite easily.
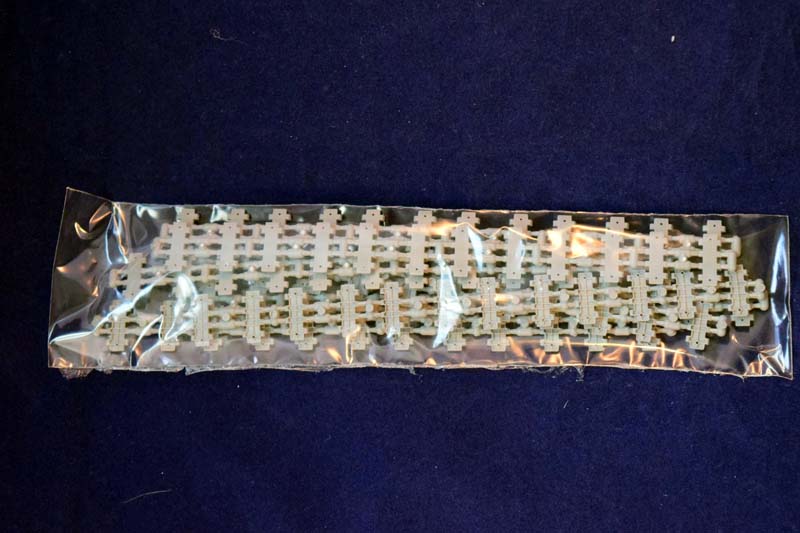
The SU-85 has the same individual track links as the SU-122 had, but they are not workable, despite the claims on the top of the box. The pins are way too delicate and small to be able to hold the tracks together without glue.
Back to the Model
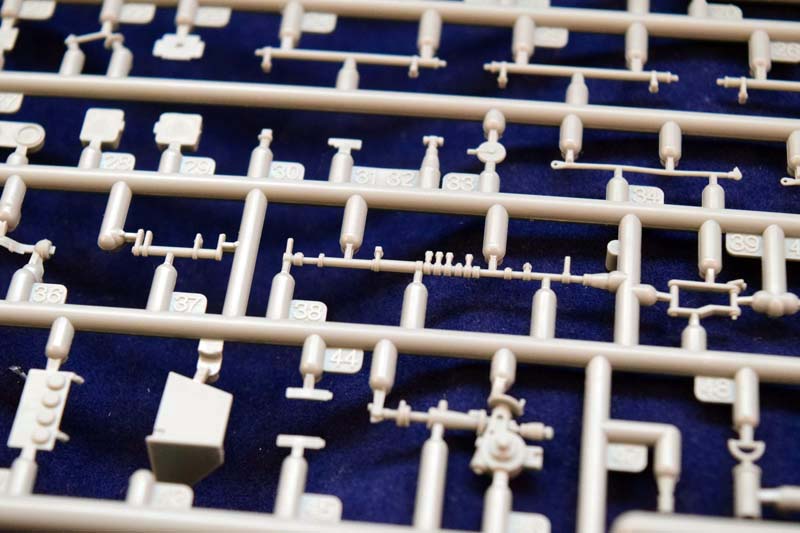
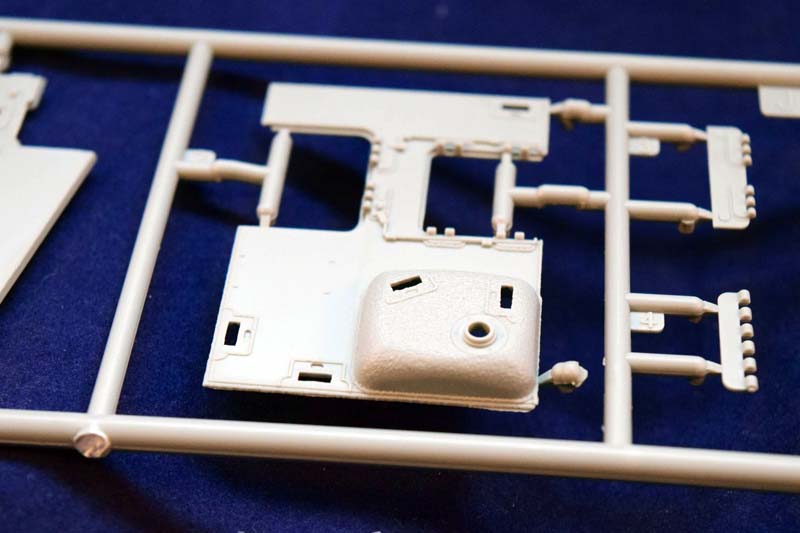
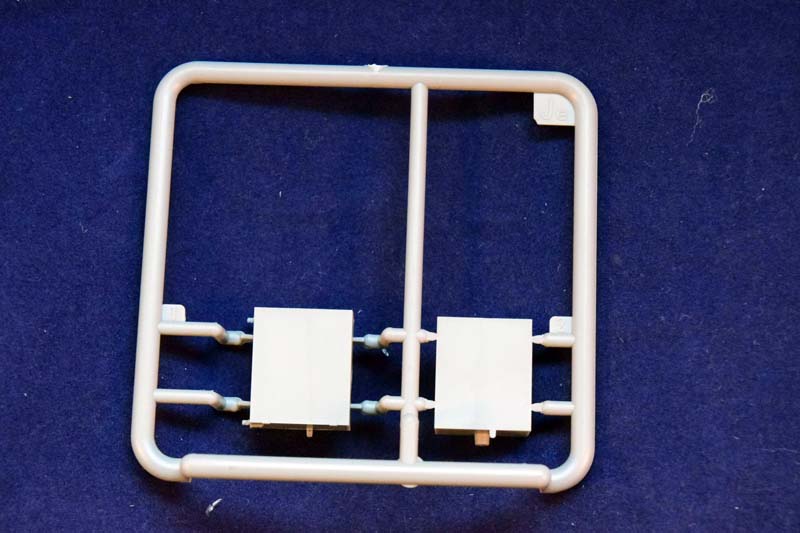
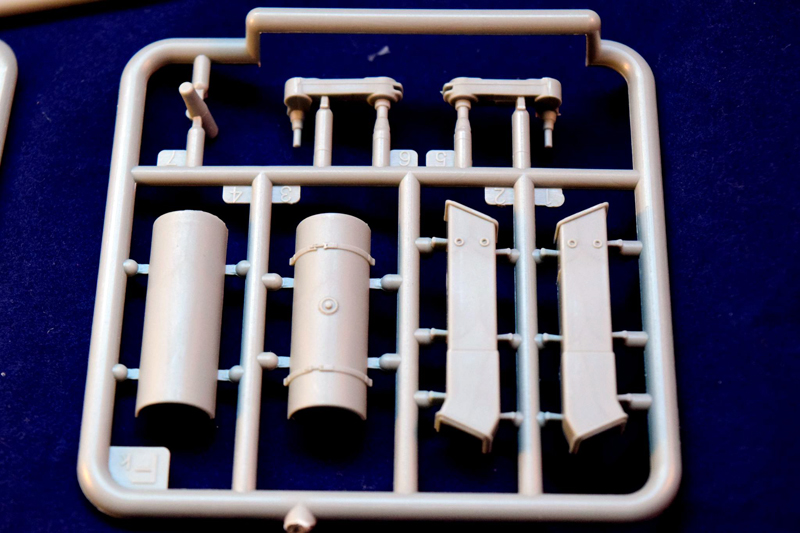
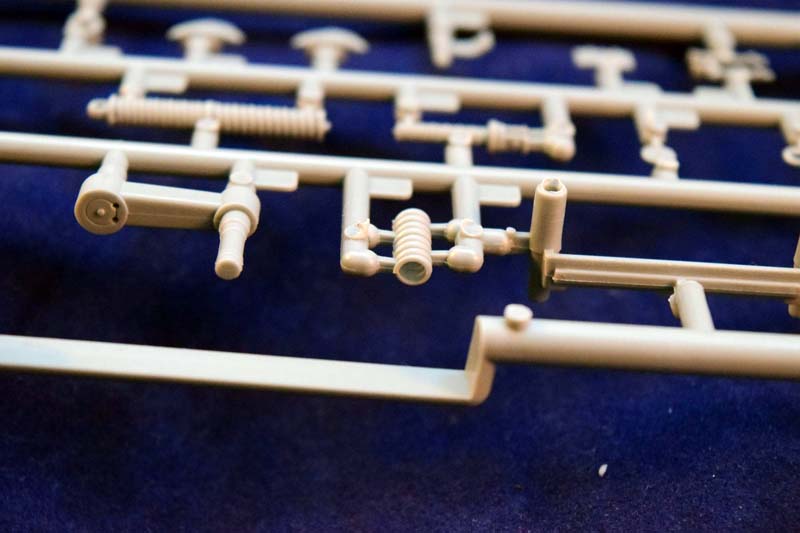
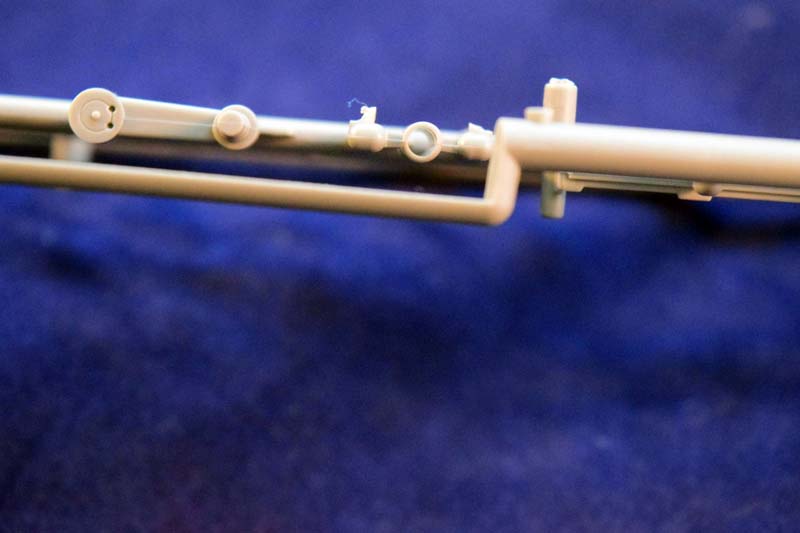
The plastic is very similar to the SU-122 kits: its nice to the touch and easy to work with. (A flatmate of mine who has no experience in scale model building actually remarked how nice and soft it feels in the hand without prompting, so I can confidently say it is of good quality.) The gun barrel is plastic, but it does not look as if a replacement is necessary (its a single part, so you dont have to glue it together from two halves); there is a thin line of plastic to be rid of, but there are no mold slippages. It does not have rifling on the inside, so if you want this detail, you will need an aftermarket barrel. The model also features two plastic springs, which are still pretty amazing to my eyes. (See photos.) These sorts of springs have been featured in previous MiniArt kits, and they are frankly pretty cool feats of plastic injection molding.
Similarly to the SU-122 I suggest to deviate from the suggested order of building. MiniArt would have you construct and paint sub-assemblies first (build the complete engine/transmission, do most parts of the interior, then add the sides of the hull, the gun, and the superstructure.) While it does look pretty impressive on the marketing animation (which more-or-less follows this order) I dont think its practical. As an example: the two firewalls in the engine compartments are installed at very different stages of the build; it makes more sense to build, paint and weather them at the same time. What I suggest is going by the more traditional way. First build the overall structure of the tank (the tub of the lower hull and the larger interior structures), paint and weather it, and then start filling it in with details. This is a personal opinion, so take it with a grain (or a tablespoon) of salt.
While the fit is generally excellent, the sub-assembly philosophy of the instructions still makes it difficult to correct anything should there be a minor issue once all the parts are in. Should you need to use filler on the bottom of the hull where it meets the side-walls (I did have to fill in some smaller gaps on the SU-122), its easier to work if you dont have the engine and other fragile parts sticking out on the other side. This, again, is a personal opinion, but I thought it might be useful for others.
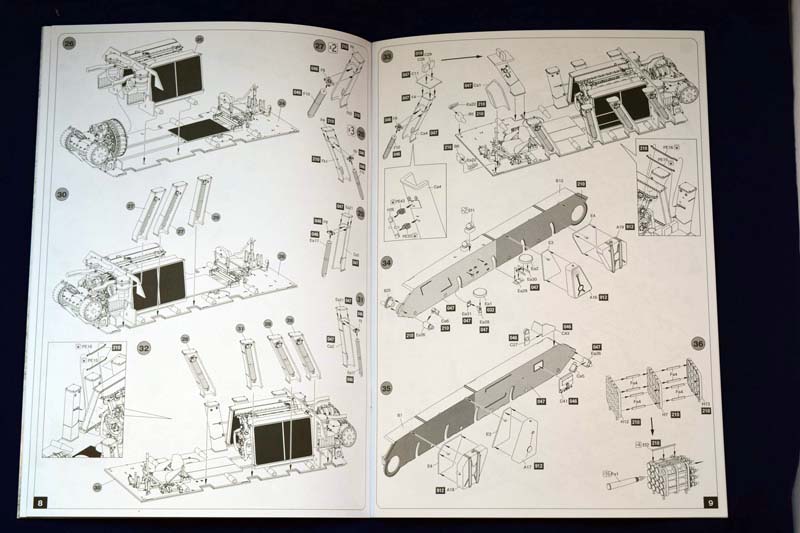
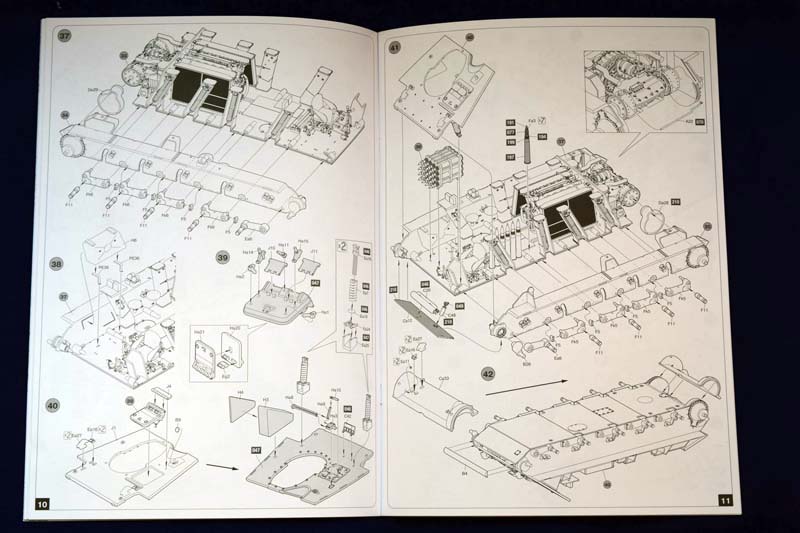
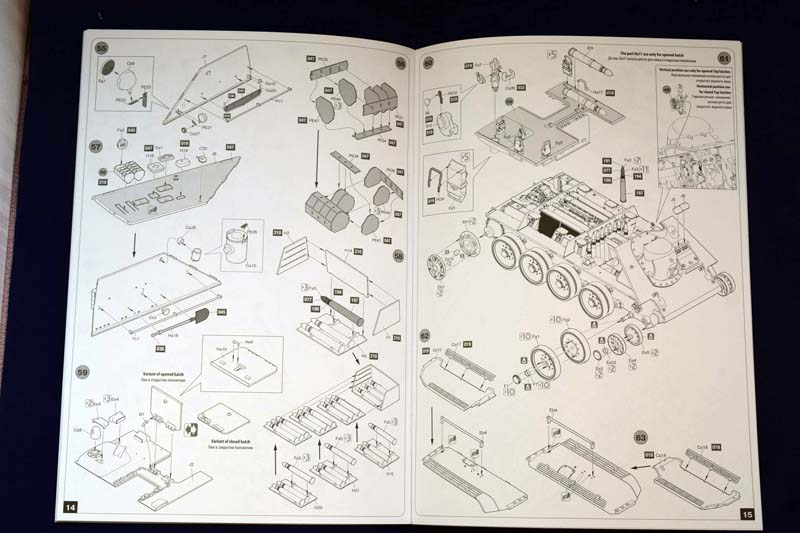
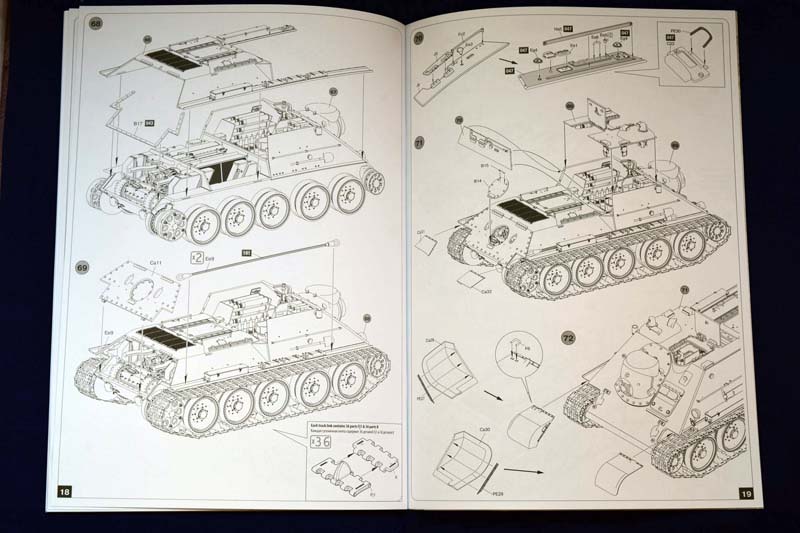
The instructions, especially the first 31 steps, are essentially the same as the SU-122, which should not strike anyone as a surprise, as most of the engine compartment, chassis and interior is the same in both models. The layout of the interior does differ a bit -since the different gun required different ammunition storage (step 36, 58), gun (steps 42-48) mount (step 53), and other minor differences in the interior, like the machine gun ammunition storage, periscopes, first aid kit, etc (steps 56-61) were all different. The crew layout is different as well, since the SU-85 had only four crew members as opposed to the five in the SU-122.
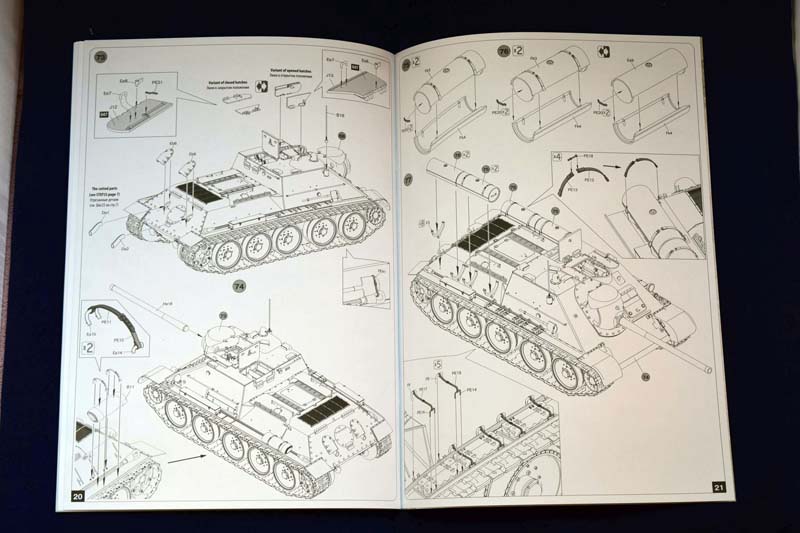
The optics for the gun is the same as the SU-122s (I did not find any information if it is accurate or not, but I would assume an anti-tank gun and a howitzer would have different aiming optics), and it can be posed in two positions: with the vehicle bottomed down (all hatches closed), and with the hatches open. Not surprisingly the exterior of the vehicle, and the running gear, tracks are essentially the same as the SU-122s. The strange option of PE straps as opposed to plastic ones on two of the four external fuel tanks remained, too, as the plastic towing cable (which WILL need to be replaced, because its not good enough).
Conclusion
There are an incredible number of details which will be hidden, even if you build the vehicle as a cutaway offering the same applies. The gun, for example, has a lifting hook which is covered by the armoured flap on the top of the ball mantlet. I think MiniArt simply put everything they could into this model so that the modeller can decide what to display; and it gives an incredible amount of flexibility to the modeller. If you want to display a blown-up vehicle, or a vehicle undergoing maintenance, or a vehicle being built, you can without getting any aftermarket parts.
SUMMARY
Highs: A very high-end, very complex model with all the bells and whistle while keeping the number of multimedia parts (relatively) low. Interior included, which offers a lot of building options.Lows: Very complex model (yes, it's both a high and low, depending on the builder). Some small/thin plastic parts are very difficult to work with; the plastic tow rope is not ideal. Tracks are not workable (as advertised).Verdict: A great model for anyone with some builds under their belts. Definitely not for beginners.
Our Thanks to MiniArt! This item was provided by them for the purpose of having it reviewed on this KitMaker Network site. If you would like your kit, book, or product reviewed, please contact us.
I am a biologist by trade, and as a hobby I've been building scale models for the last twenty years. Recently I started to write reviews of the models I bought. These reviews are written from the point of view of an average model builder; hence the focus is on quality of the model, how easy it is to...
Maybe someone can talk about it then.
I don't see why the DML kit matters in relation to the Miniart one anyway. It should be judged against the real thing for accuracy and an objective criteria for engineering and assembly.
Let's say the real vehicle had a hatch that was 500mm long and Miniart made it (scaled up) at 503mm. Does it change your opinion of the kit to learn that DML made the hatch on their kit at 497mm?
KL
Yes Dennis I agree with your statement about Ulisses, his comments was alot of fun, I always looked forward to read them. Yes some of them were a little far fetched. But with this hobby there are alot of creative people and smart as well, I noticed we agree about a subject but always add to it. We carved our own paths in this Hobby of ours. I've learned alot from everyone, and laughed and yes got mad. But in the end I always have FUN. Can not wait to read Ulisses next comment.
Hi, Byeol!
I don't mean to be a "wise guy", but I think you may have wanted to say that the MINIART SU-85 "sucks", not "socks"..?
Is MINIART's plastic still bad? I thought that they were using a better "blend"...
Probably because Dragon's 85mm is a SU-85M and not a directly comparable vehicle and MiniArt's SU-100 hasn't been released yet.
KL[/quote]
Hi, Kurt!
Educate me- How different is the SU-85 from the SU-85M; In all seriousness, I really don't know, because I'm not much of a Russo-Soviet fan, to begin with...
Maybe someone can talk about it then.
I don't see why the DML kit matters in relation to the Miniart one anyway. It should be judged against the real thing for accuracy and an objective criteria for engineering and assembly.
Let's say the real vehicle had a hatch that was 500mm long and Miniart made it (scaled up) at 503mm. Does it change your opinion of the kit to learn that DML made the hatch on their kit at 497mm?
KL [/quote]
Hi, Kurt!
A relatively minor detail such as the real vehicle's hatch being 500mm vs a "scale" 503mm hatch vs a "scale" 497mm hatch wouldn't change my opinion about either a DRAGON or a MINIART kit one bit. I think that you know that I'm not really a "rivet-counter" to the nth-degree. I think that dimensions, quality, and overall appearance closely matching "to scale" to the real subject's features are more important than a couple of millimeters, either way. I expect my 1/48 P-47D or my 1/35 Pz.III Ausf.L to be nearly a "dead-ringer" to the real thing, but only shrunk down "to scale". Some of DRAGON's mistakes and inaccuracies with certain 1/35 US/Allied AFVs and Vehicles are pretty shameful. Their WWII German subjects, are another story entirely, just to be fair...
What I was trying to say, and maybe I didn't express my opinion properly, was that I thought that DRAGON's 2014 kit of their "Premium" SU-85, (actually an SU-85M), would have made a closer comparison to the latest 2016-technology SU-85 kit, namely MINIART's, as opposed to the ancient TAMIYA SU-85, which dates from 1975. There are nearly 42 years in age and technology between the two kits...
For example, how would one compare a 1975-issue MONOGRAM 1/48 P-51D to TAMIYA's 61040 P-51D which was first released in 1995..? The short answer is that you can't- Different molding technology, so the comparison would be decidedly unfair, if one were to compare the two kits part for part...
Of course you're right in saying that the MINIART SU-85 should be judged against the real thing. But sometimes that would be a bit impractical, so inevitably, you will find "model-comparos" on various hobby sites, as well as from readers on this site. Whadda ya gonna do? We all know that comparisons between older kits versus newer kits are nearly an "every day thing".
All I'm saying is that from the standpoint of the 2014 DRAGON SU-85M kit's age and technology, it makes a better comparison to the MINIART SU-85, than does TAMIYA's 1975 SU-85. I concede my error in mentioning DRAGON's SU-100, as MINIART hasn't released their version of the same vehicle yet. It's not too far away, though, so I expect that at least some small mention of the various virtues, or the warts, of each of these kits will come to the fore sooner or later...
You are welcome, but I don't think you're reading the review I wrote The plastic most definitely does not suck; about the overengineering you do have a point. To be fair I quite like these models, and MiniArt is not alone in providing challenge with their builds


Comments