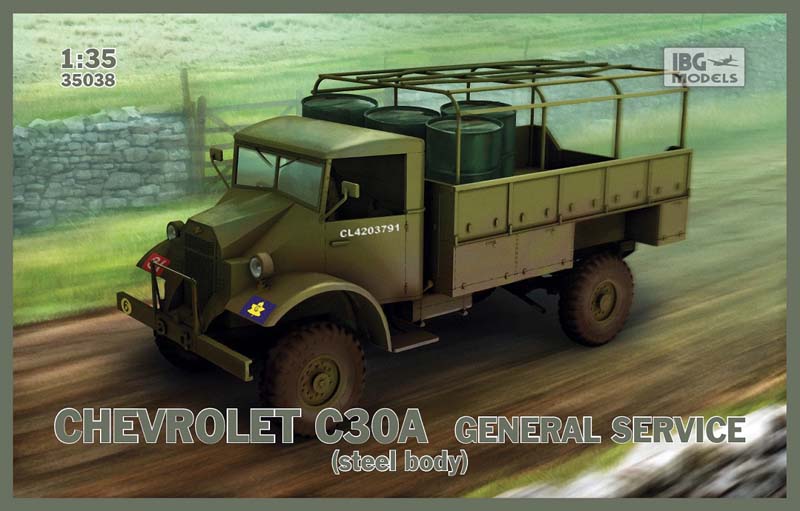
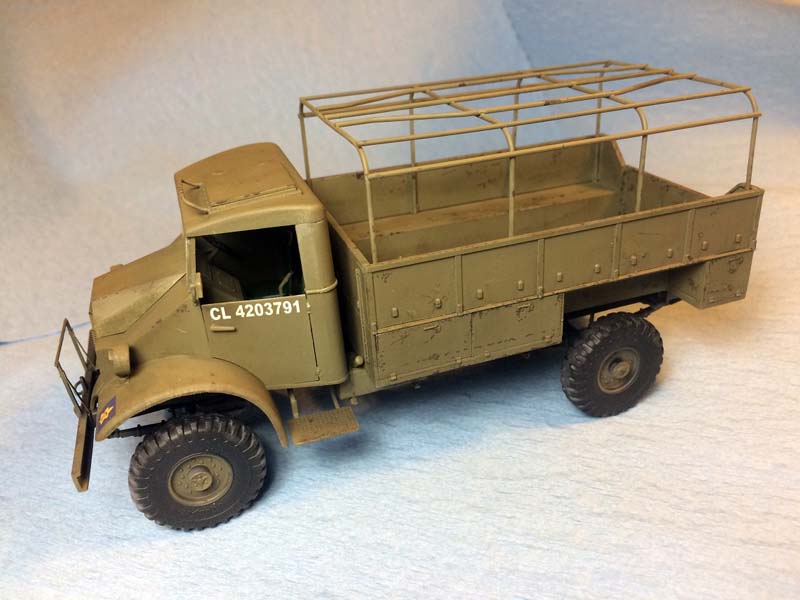
IBG, International Business Group, models out of Warsaw Poland has been busy filling in all of the soft skin vehicle gaps that modelers have been clamoring for over many years now. The most recent is their third release of a 1/35th scale CMP, Canadian Military Pattern, series vehicle, the Chevrolet C30A General Service truck, kit no. 35038. The C30A is part of the long line of World War II CMP trucks that were built in Canada mainly by Ford and Chevrolet. The vehicles were used in every theatre of the war in dozens of different configurations. By the end of the war something just over 500,000 of the vehicles were built by a number of different manufacturers in total.
Contents
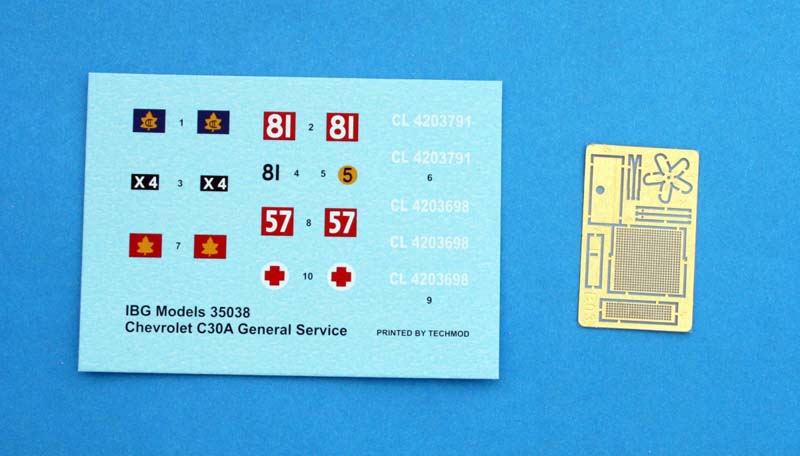
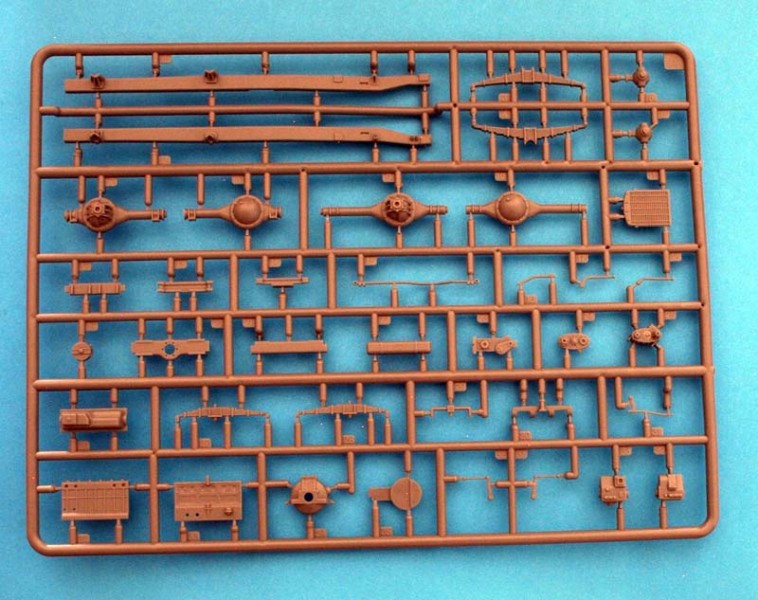
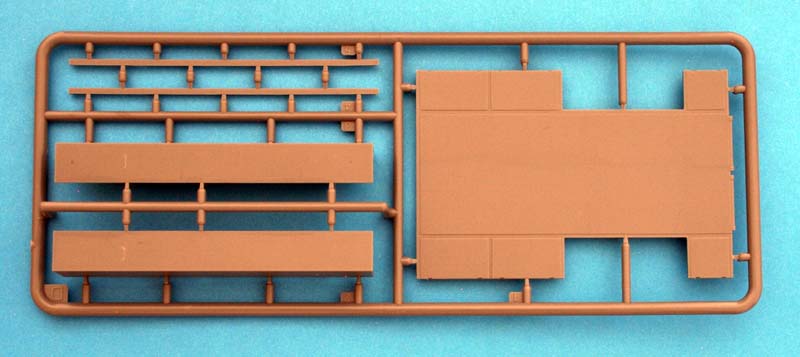
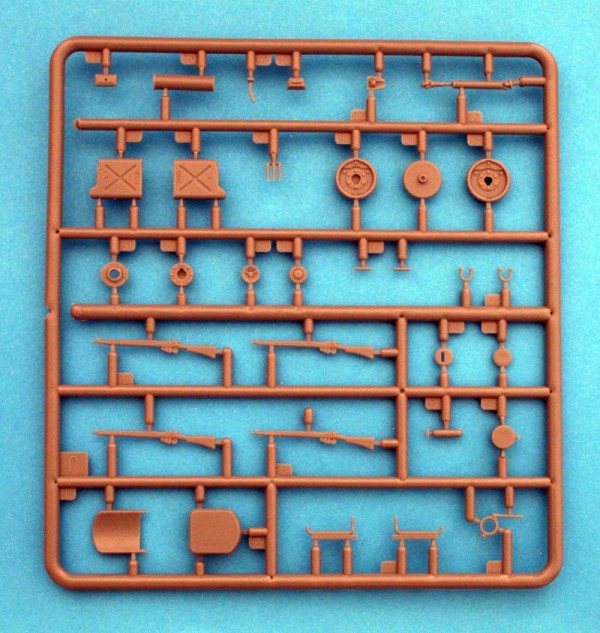
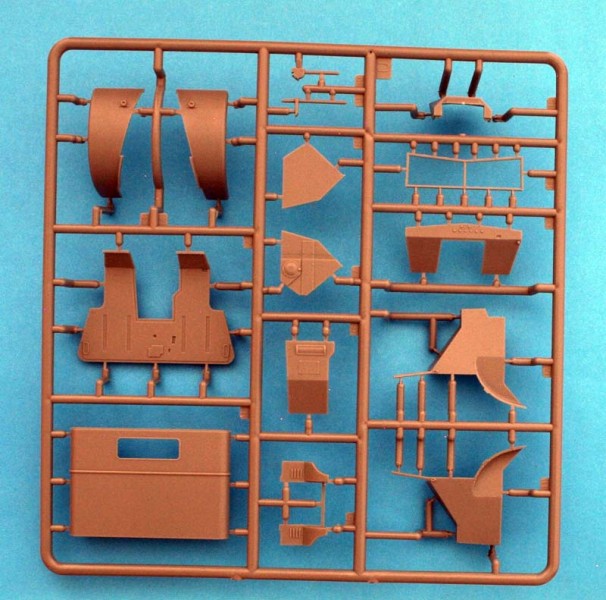
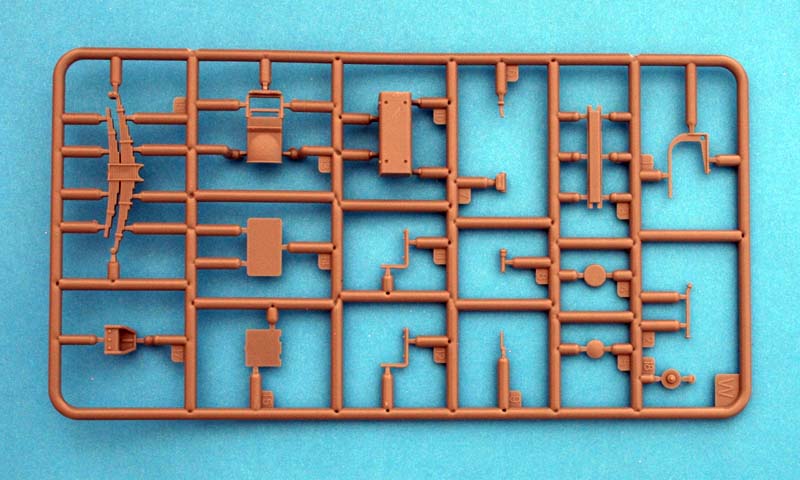
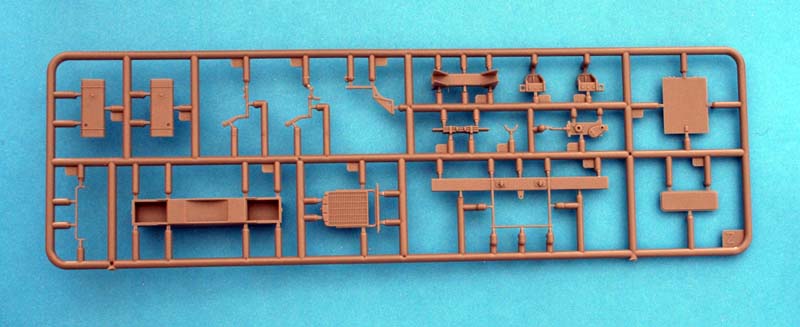
On opening the box you are confronted with 18 sprues of light gray styrene. The plastic is high quality; not to brittle nor to soft that cuts free from the runners easily without tearing. You also will find a sprue of clear parts that carries the windscreen pieces. The decals options are for two vehicles, one with the canvas cargo body covered and the other for the open bed. The decals are quite thin; I had no problems at all working with them.
The included instructions are a 16 page effort covering 35 steps not including the final painting and markings step. To be fair, the instructions are not even that complicated as four of the pages are simply the parts layout of the sprues. IBG has included color call outs for the very popular Vallejo, AK, and Hataka paints. The pages with the marking options are in color to make things a bit easier. The instructions are of the CAD variety but are very clear throughout. In some of the earlier IBG kits I have built I found some of the CAD images were very dark which caused a few problems but IBG has rectified this issue nicely.
Build Review
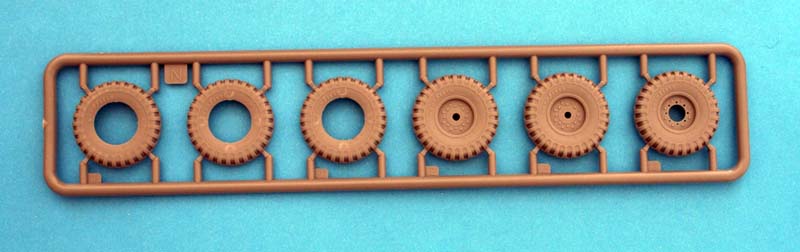
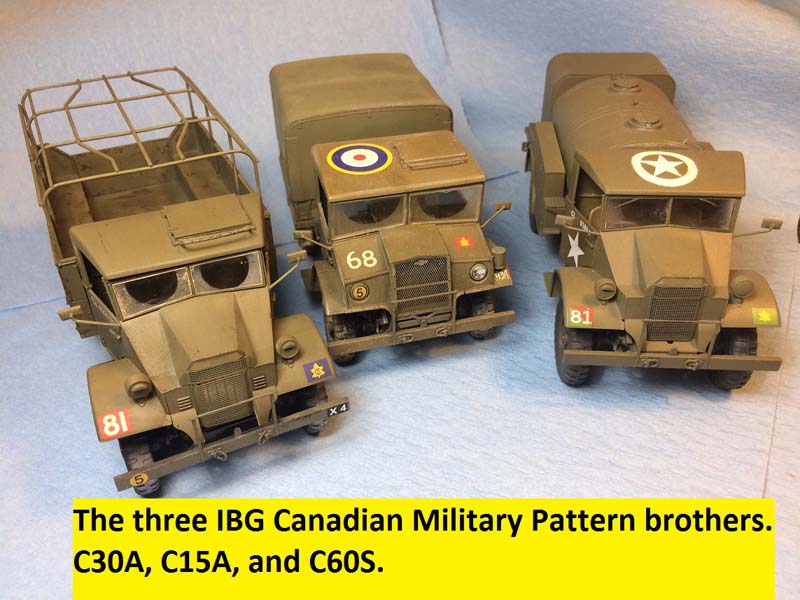
Disclaimer: this is the fifth IBG truck kit and their third CMP series that I have built in the last two years so some of the ease in construction that I found may be due, in some small part, to my familiarity with IBG kits. On to the build! The first steps are just like the other two CMP kits from IBG, an odd assortment of minor sub-assemblies. Tires, with keyed locating holes insuring correct tread pattern followed by rear towing pintle assembly, both side board steps, and the two side mounted fuel tanks. After that you have a small amount of photo etch work; a small bracket for under the frame and the two piece grill for the no. 12 cab. All of these assemblies go together quickly and easily.
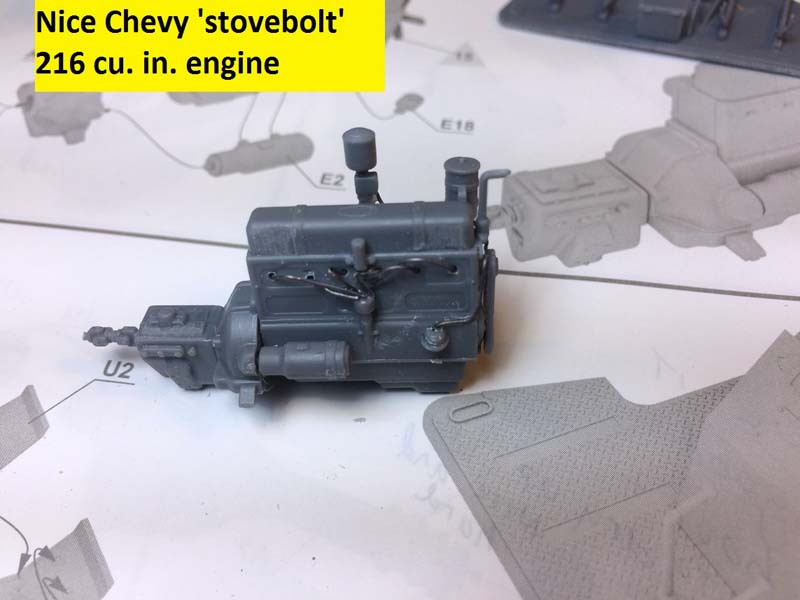
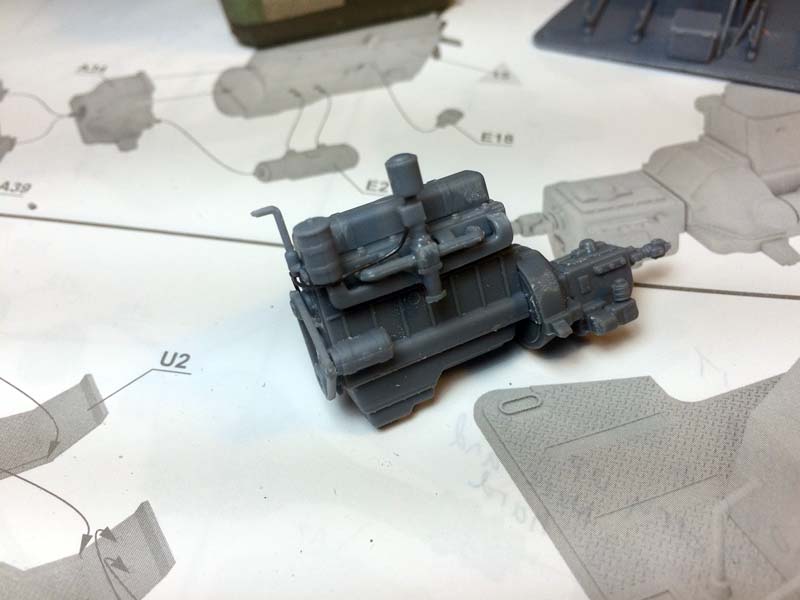
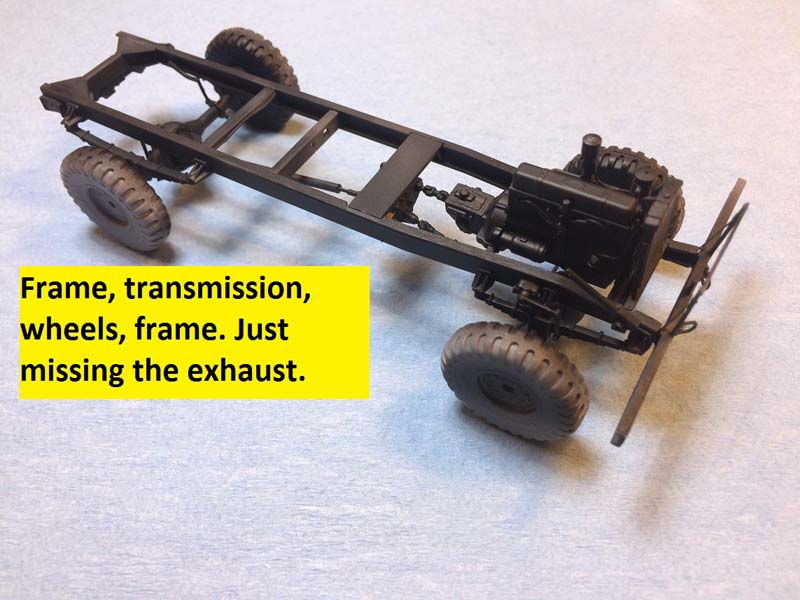
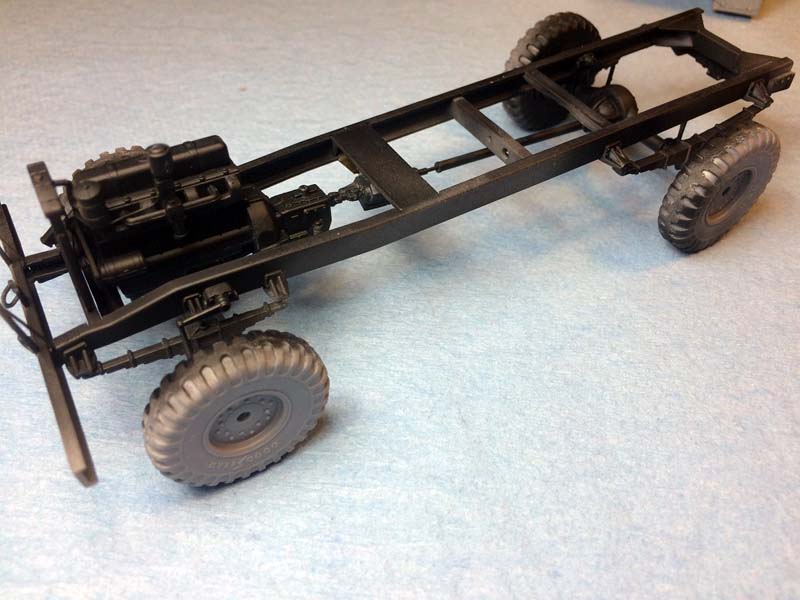
Set aside all of the sub-assemblies to dry thoroughly and get to work on the chassis, engine and the drivetrain. I built up the included Chevy cu 216 Stovebolt engine, I added a small bit of wiring and plumbing. After that I built up the transfer case and the front and rear differential. As is often the case most of this will end up hidden underneath which is a real shame as the drivetrain is very well detailed throughout and was an easy build.
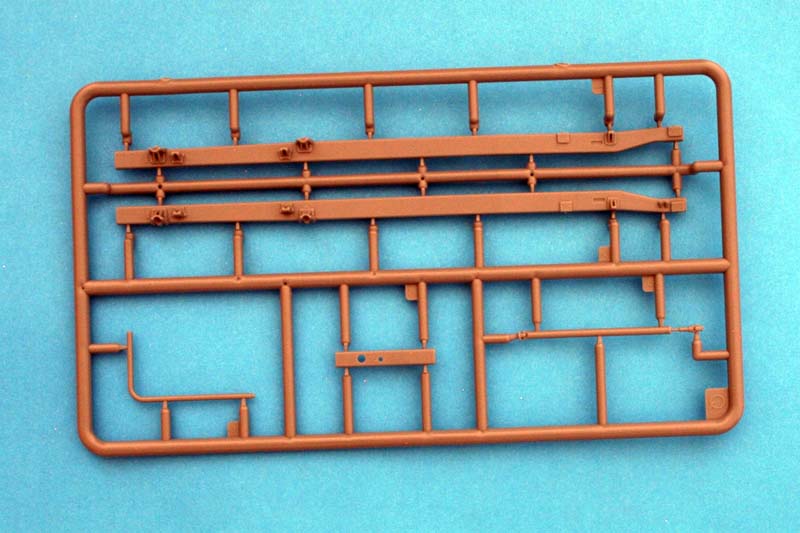
With the differentials and transfer case I finished up the frame and rest of the undercarriage. The frame is made up of separate pieces for the two frame rails as well as the cross members, so take extra care to keep everything square as you build here. I have learned through trial and error, okay, mostly error, to assemble the complete chassis at one time to ensure that all the wheels sit on the ground properly. To do that I took the finished frame, transmission differentials and axles, leaf springs, and wheels and glued them all up. I dropped the engine in, connected up the drive train then checked to make sure that no daylight could be seen under any wheel, dropped a bit of weight on the whole thing to hold it down nice and snug and then left it for a day to dry.
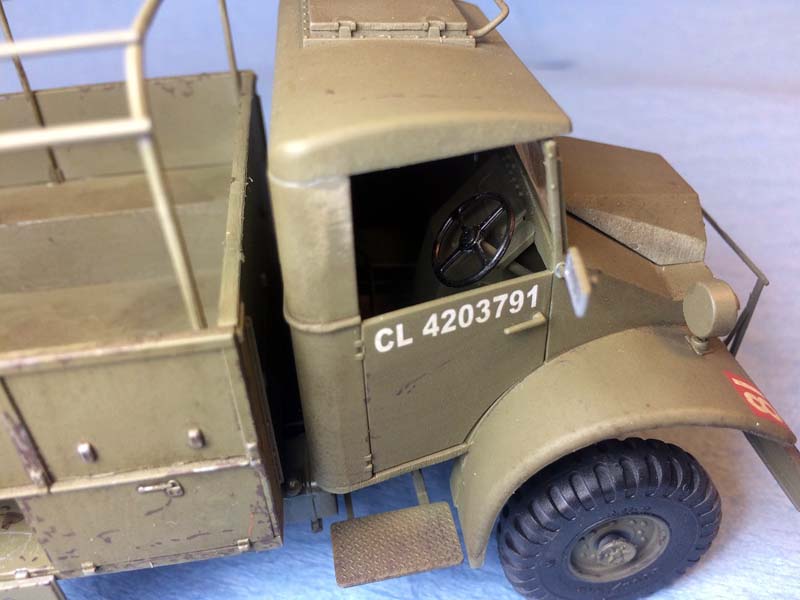
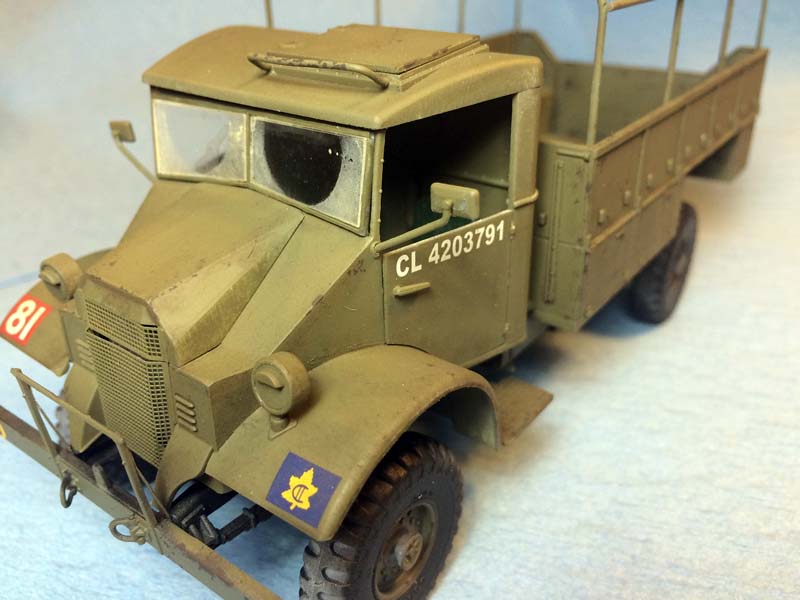
When all that was set aside I turned to the cab. This kit is a bit of a departure for IBG as you only have the option of a no. 12 alligator style cab unlike the earlier kits which provided two options. No matter, the no. 12 cab worked just fine. The cab floor provides the base for everything to attach to. Accelerator, brake, and clutch pedals are all provided as are the three shifters. The interior is a straightforward affair with seat cushions and back rests as separate parts with individual seat rails plus utility box, steering wheel and column. The kit also provides a couple of short magazine Lee Enfields for the crew but they are a poorly rendered and if you install them you will want to replace them with something (anything!) a bit more detailed. My greatest letdown with the IBG CMP kits is the dashboard instrumentation. While it is not much in the actual vehicle it is there yet the kit continues the earlier pattern of not provided either a decal or a piece of photoetch to replicate this. It would seem a small inclusion, especially in the form of a mere decal that could have really dressed up the Spartan cab.
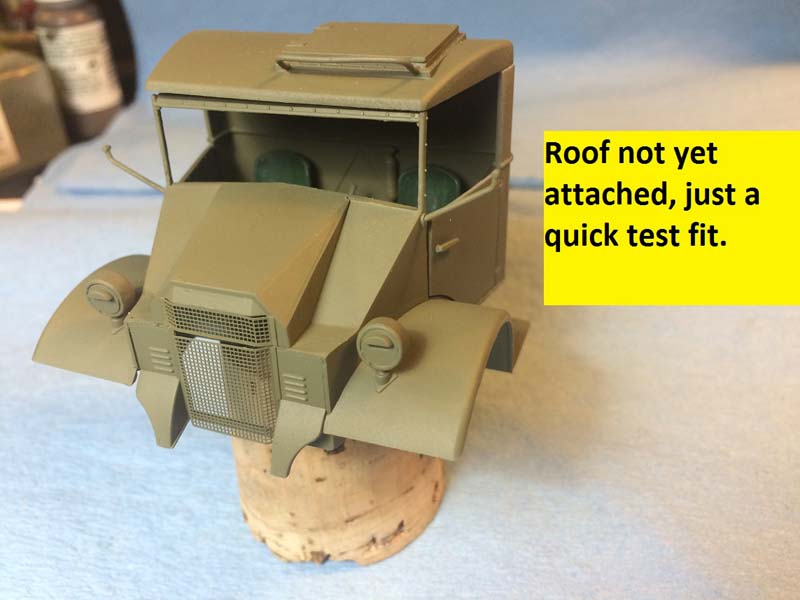
With the interior complete I finished up the hood pieces, door, and fender assemblies. Separately molded door handles, black out headlights, and side view mirrors finished off the smaller fittings. The doors, cab rear panel and fenders all attached with a nice tight fit that required no putty at all. Be careful that you dont sand off the rather small door hinges like I did! I decided to paint as I went with this build but still left the windscreen and frame off until the very end to avoid overspray on the glass. Also, I left of the roof of the cab until the very end in case I needed to make any changes or additions inside. You do get two roof options, with hatch or without.
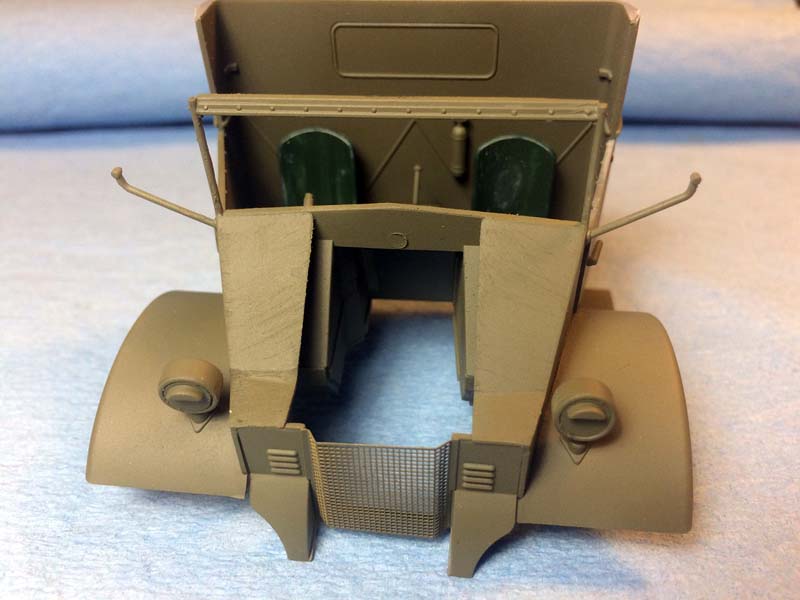
This kit has the small cooling louvres on the flat front panels, most of the no. 12 cabs appear to just have a round hole for air so you may want to make that change. I decided to go with the louvers as an internet search showed some of the later no. 12 cabs with them. If you want to go with the flat panel two minutes of work will remove the louvres, they are not molded open so you want need to do much more than that. The bonnet for the no. 12 cab comes as a separate piece and tightly so no real need for glue which is a nice bonus if you want to display the engine (you will want to display the engine as it is very nice)
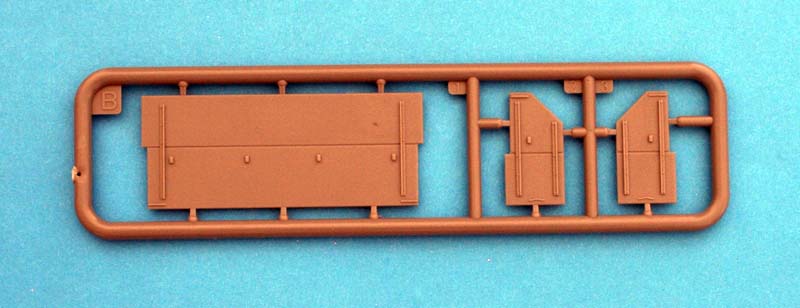
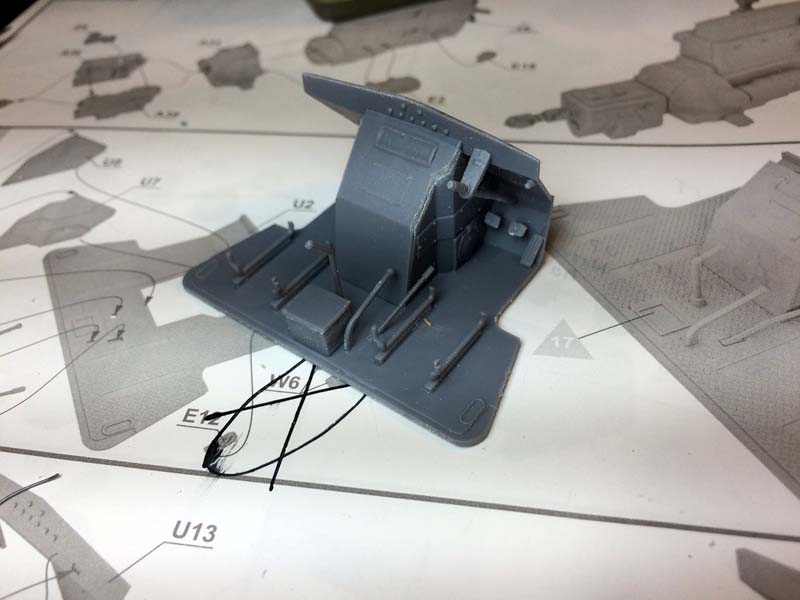
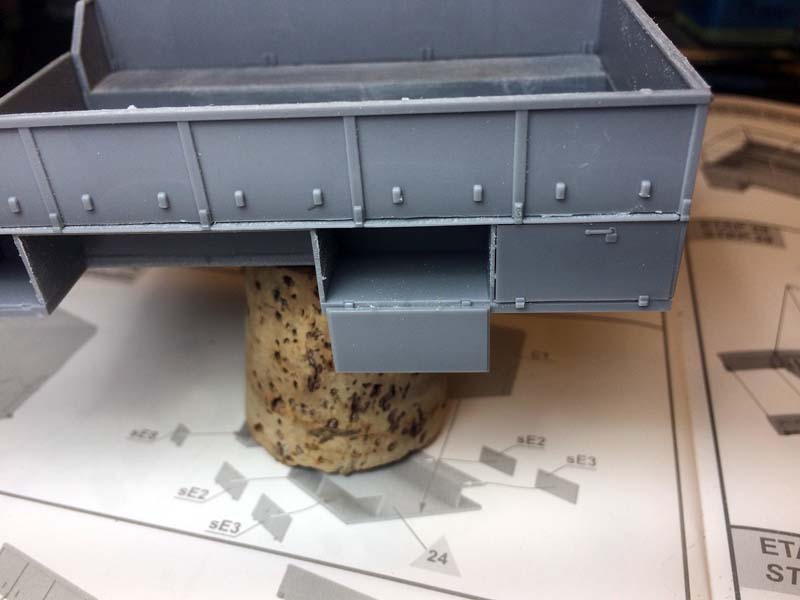
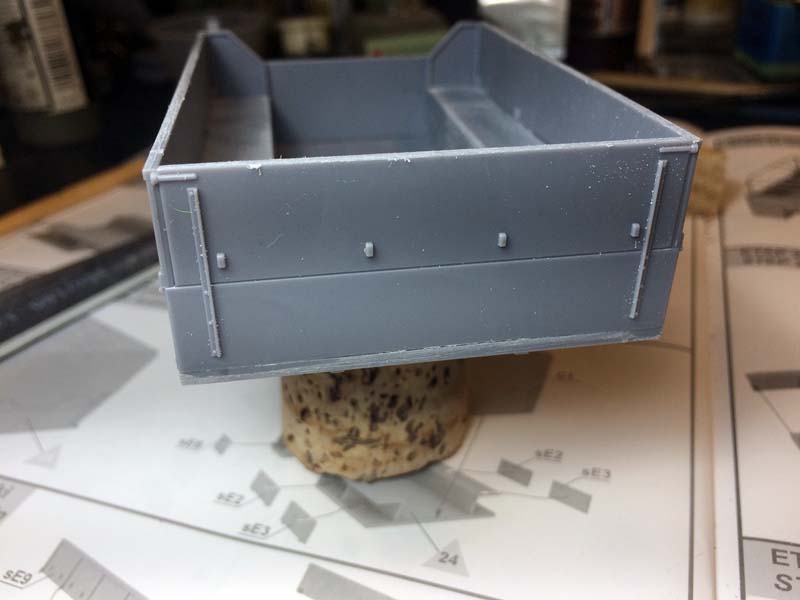
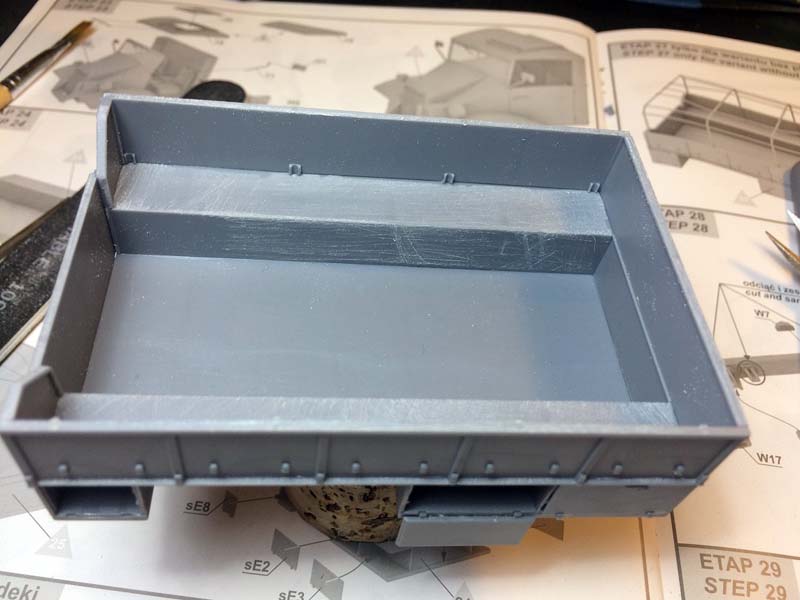
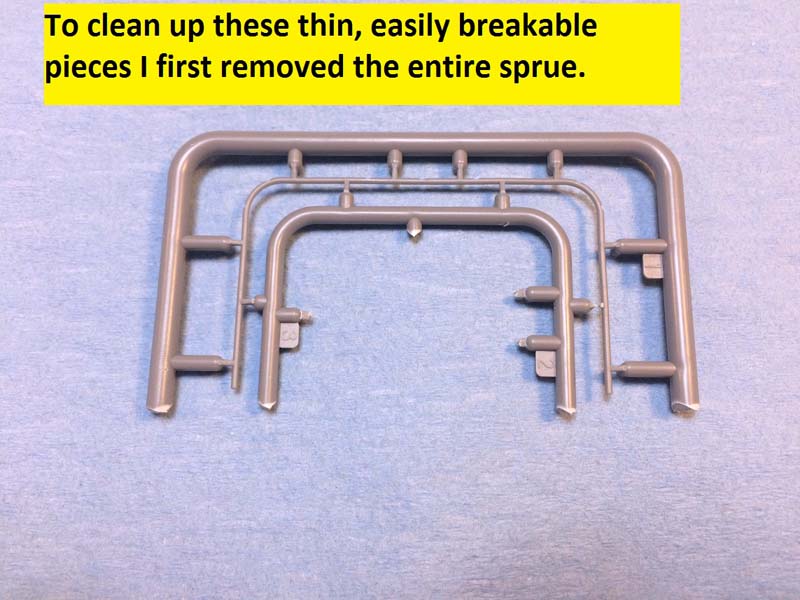
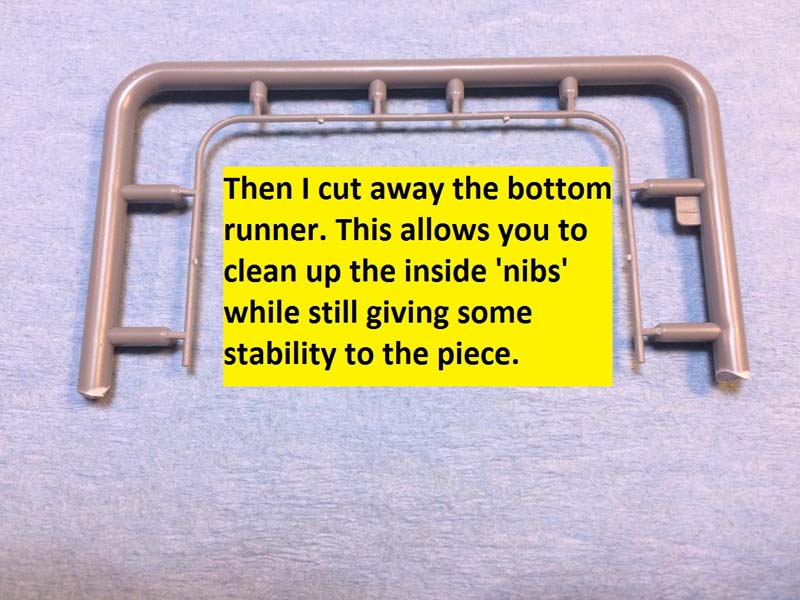
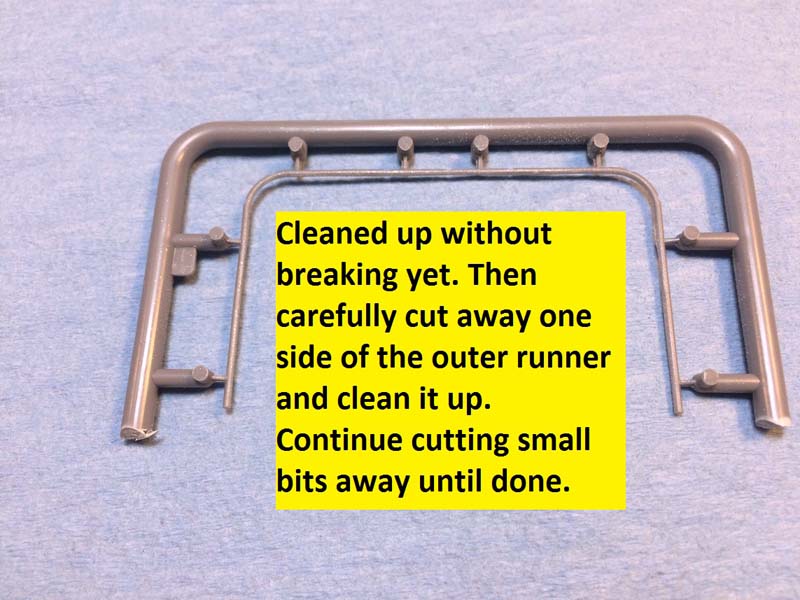
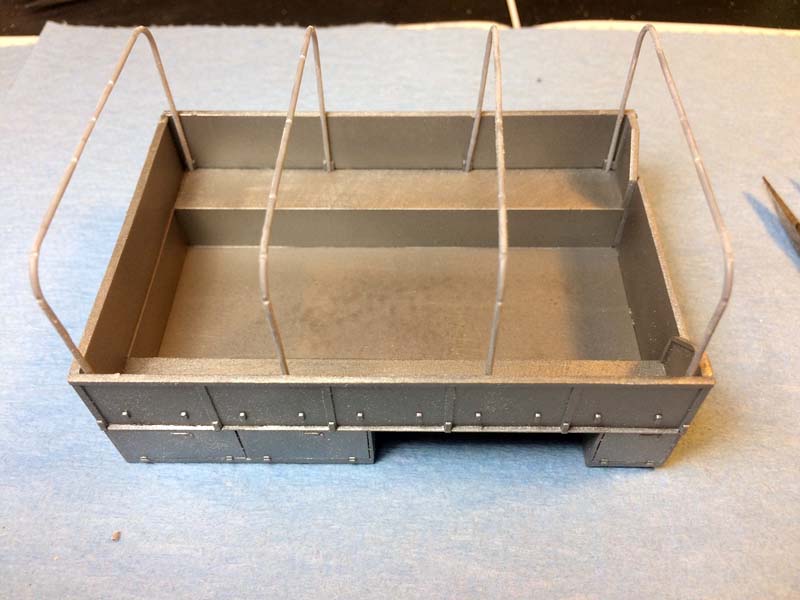
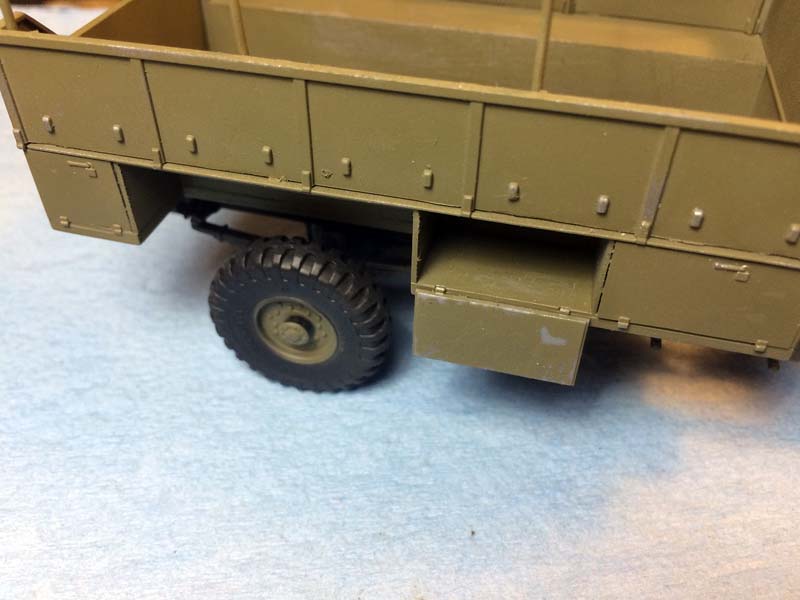
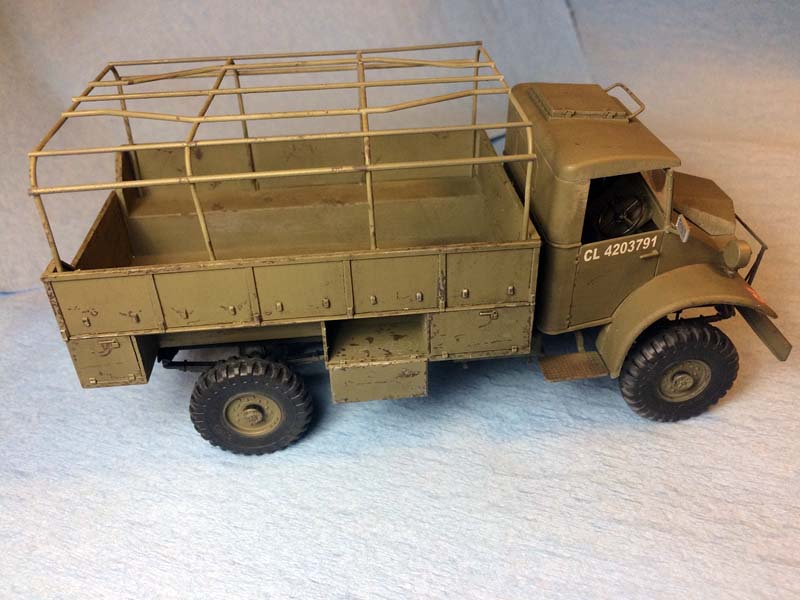
The rear steel body cargo bed is a very easy build with great fit. Two pieces that make up the inside benches and the storage compartments attach to the carbo bed floor. The rear of the cargo bed is three pieces; two side panels and the drop down gate. The cargo compartments are all provided with individual doors that can be positioned either opened or closed. I left one open just for a bit of variety. If you use the canvas cargo cover the upper side panels are all molded in place and do make things a bit easier. I had earlier built the C15A with the canvas covered cargo bed so I went with the other option for this model and left the canvas cover off. With that decision made I needed to add the optional upper sides and the front wall piece. These all fit perfectly giving a nice snug cargo bed without any telltale gaps at the edges. The canvas cover frame looks like a complicated affair, but with a bit of extra care in cleanup it went together easily and remained square throughout the building process. I have a couple of photos off to the right here that show how I clean up as much as I can on delicate parts like the frame without breaking anything. Most of us probably have a method that works for them but if you are a newer to the modeling game hopefully it will help a bit.
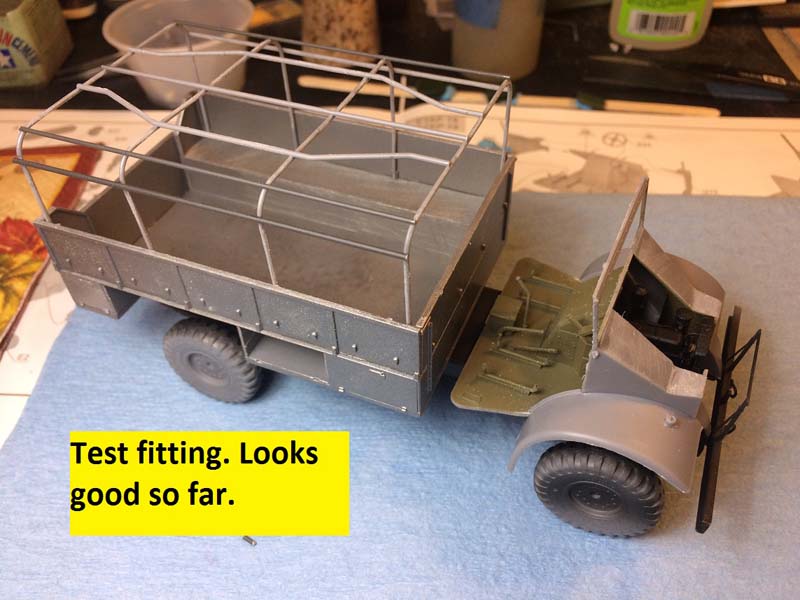
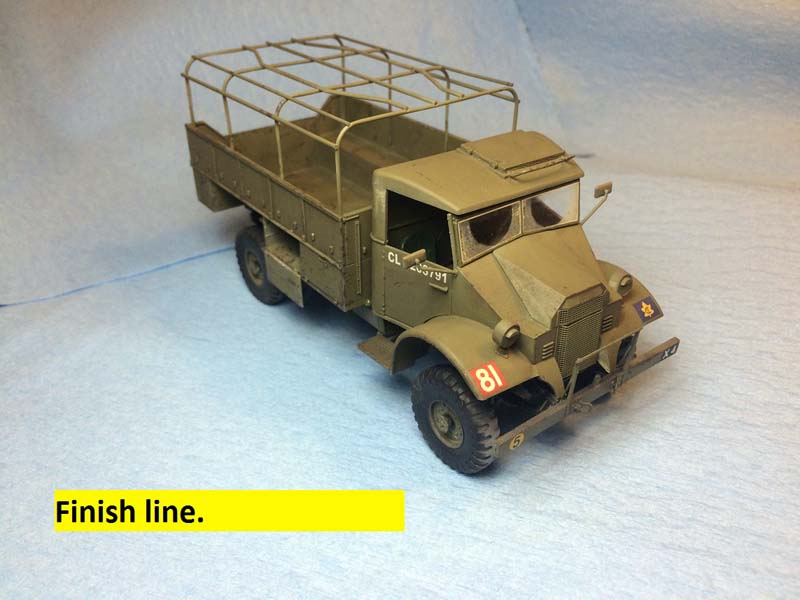
With all that done all of the major components were finished and as I painted as I went it finished up quickly. The rear cargo bed fit tight as a glove, a bit of glue and it was solid. I cab slid into place so easily that I still havent actually glued it into place. With the cab and cargo bed in their respective positions I added the fuel tanks which fit much better with this kit than they did the C60S Fuel Tanker I built earlier. The running boards and the side view mirrors were an easy addition that put the project near the finish line.
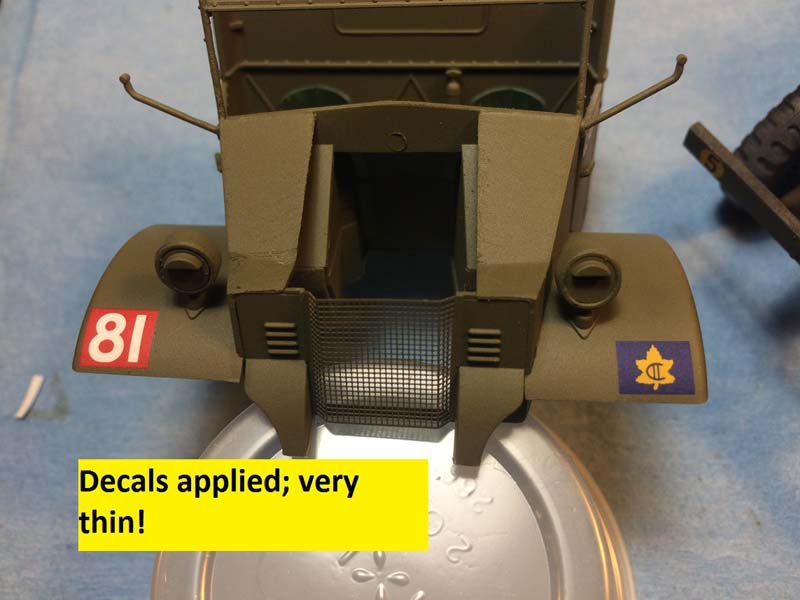
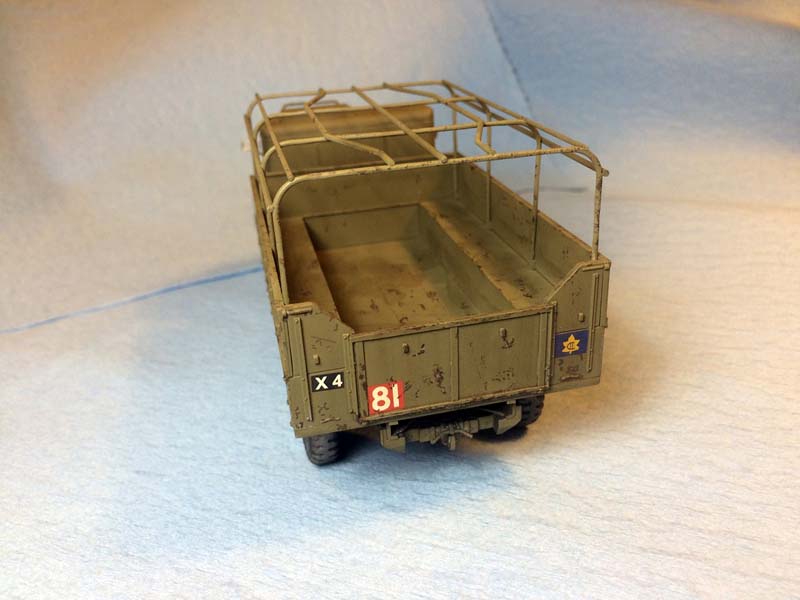
The kit provides two sets of marking, as I didnt use the canvas cover I went with the decals for the Canadian 4th Infantry Brigade HQ Company, 2nd Infantry Division while stationed in England circa 1942. If you want to use the canvas cover the markings are for the 48th Highlanders of Canada Infantry Regiment as part of the 1st Infantry Brigade, 1st Infantry Division, also in England sometime in 1942 although I would imagine that the markings are interchangeable with or without the canvas cover. At any rate the decals are all very thin and perfectly in register. I did seal the decals with a bit of Liquitex Gloss Medium and Varnish that perfectly eliminated any silvering or edges.
The painting was done with my own home grown version of SCC15 using Vallejo Air #16 US Dark Green and then lightened up with some light gray until it looked about right. I added some chipping and scratching mainly centered around the cargo bed area to give it a more used look. The chipping was done with a mixture of Vallejo Model Air Metallic Black #73 and Model Air Metallic Silver #63 (in retrospect I think it was too bright) followed by a coat of some chipping fluid from Mig. After working away the SCC15 green to expose some of the bare metal I finished up the chipping with a dark brown mixed up from Vallejo Panzer Aces Track Primer #304 and Vallejo German Camo Black #822. I added a few washes and filters along the way as well.
Conclusion
Bottom line, I really liked this kit. IBG has done a great job with this one. The rear cargo body fit was perfect and the cargo canvas frame was much easier than I had anticipated. The fit of the cab onto the frame was perfect. The engine is a gem; just the smallest bit of extra work can really make it shine and the no. 12 cabs bonnet that can be left of for display which is a nice touch. The decals are excellent, among the thinnest I have ever used. I would love to see IBG add a decal as a minimum for the instruments and to come up with some better SMLE rifles for the cab. The C30 has a 134 inch wheelbase and the kit scales out with a 133 ½ inch wheelbase, definitely within acceptable parameters. I am hoping that IBG will release a few other versions of the venerable CMP like a dental clinic or machine shop version. I would not hesitate to recommend this kit to anyone wanting to add to their soft skin collection.
Thanks to IBG and Adam Andrzejewski for both the model kit for review and the use of their photographs of the kit sprues.
SUMMARY
Highs: Great fit throughout. A completely new vehicle kitted out in 1/35 for the first time. Fairly easy construction that most should have no problem with. Complete engine. Lows: No instrumentation for the dash board, poor examples of the crew weapons. Verdict: Highly recommended kit of an important softskin.
Our Thanks to IBG Models! This item was provided by them for the purpose of having it reviewed on this KitMaker Network site. If you would like your kit, book, or product reviewed, please contact us.
About Rick Cooper (clovis899) FROM: CALIFORNIA, UNITED STATES
I have been modeling for about 30 years now. Once upon a time in another century I owned my own hobby shop; way more work than it was worth. I tip my opti-visor to those who make a real living at it. Mainly build armor these days but I keep working at figures, planes and the occasional ship.
Once again IBG has a 'fail'. The body is a Ford produced item, both the radiator grill and the louvered air intakes are the Ford type! Chev production had a diagonal mesh for the radiator grill, and round air intakes in the front.
The IBG kits also do not have the anti-slip chequer plate cab floor, even though it is shown in the assembly instructions! I do like their depictions of the gear levers and handbrakes, these are far superior to those in the Mirror kits.
At least the No.12 cab hood/bonnet is close to what it should be, unlike Mirror Models (LZ models) so-called No.12 upgrade for their early CMP's that still has the No.11 hood/bonnet with the forward 'ledge' and still includes the Ford mesh..just Google early CMP trucks, or check out the Maple Leaf Up forums.
There is also a vast dimensional difference between both brands, the IBG kits are far too wide at the rear of the cab, and the Mirror ones are close on there, but too wide across the grille/fenders! The weird thing is that both manufacturers No.13 cabs are almost identical in dimensions...go figure????
Pete M.(Who is really glad to see these modern renditions of the CMP vehicles, but just wishes they were a bit closer to the real thing)


Comments