Often cited as one of the best medium tanks of WWII, the Panther nonetheless had a rocky start due to reliability issues during its combat debut at Kursk where more tanks were lost or left out of battle due to mechanical failure rather than enemy action. As these issues were slowly resolved, the Panther became a very effective tank with excellent firepower and adequate protection, although the weak side armour was an issue. Originally intended to counter the Soviet T-34 and to replace the Panzer III and Panzer IV the Panther ended up serving alongside the Panzer IV and the heavier Tiger I until the end of the war, and even beyond the end of the war in French service. The three main models of the Panther were the D, A and G, with each new version incorporating significant improvements over the previous model.
This is Rye Field Models (RFM) latest in its line of Panther G kits, RM-5019, which follows up their RM-5016 kit, which offered full interior and clear hull, and RM-5018, which does not come with an interior.
The Kit
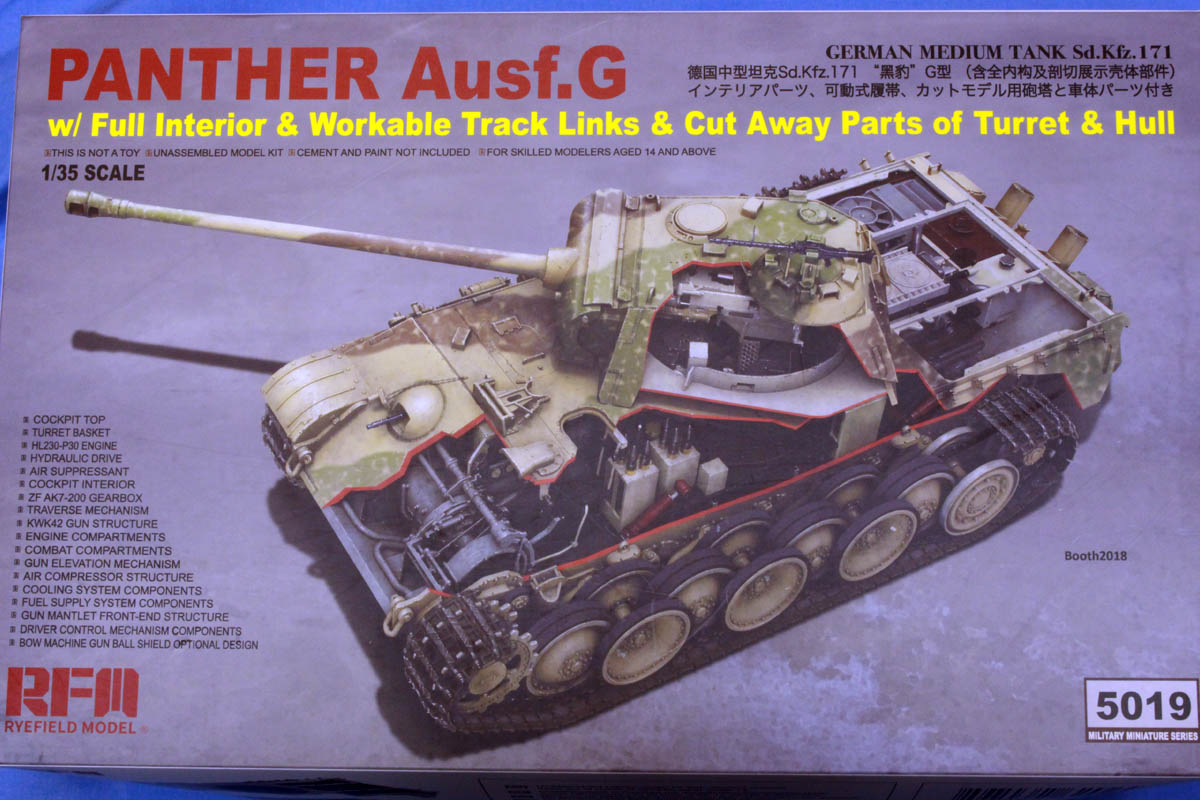
When Jim was sending me this kit, he said it was a monster and he wasnt kidding! It comes in a large, sturdy box that is absolutely crammed with sprues. The box itself has some beautiful full colour artwork depicting the cutaway Panther with full interior, with the cutouts outlined in red, as seen on engineering models and full size cutaways. The sprues are sealed in resealable plastic bags, and includes the full hull and turret in addition to the cutaway parts, giving you the option of building a conventional model or the intriguing cutaway model. In addition, the sprues have the parts to build either an early or late G, with different mantlet, exhausts, crew heating, kugelblende and interior parts.
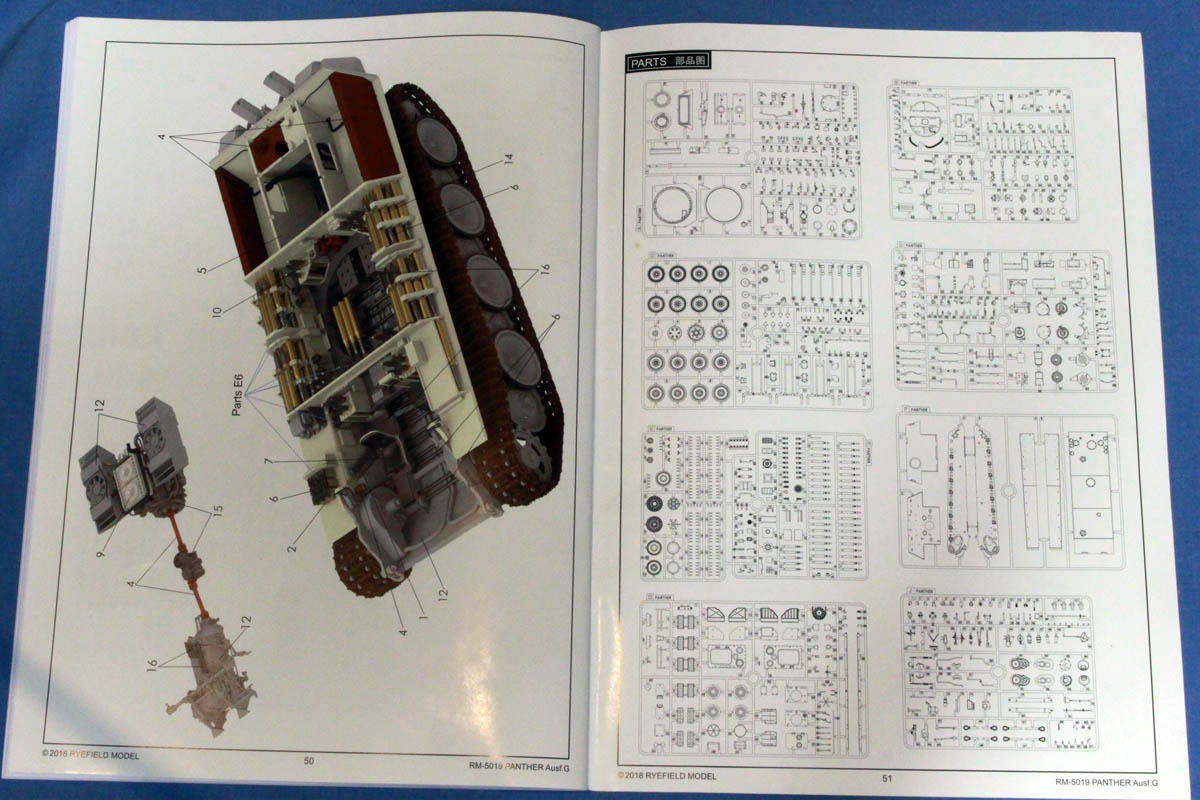
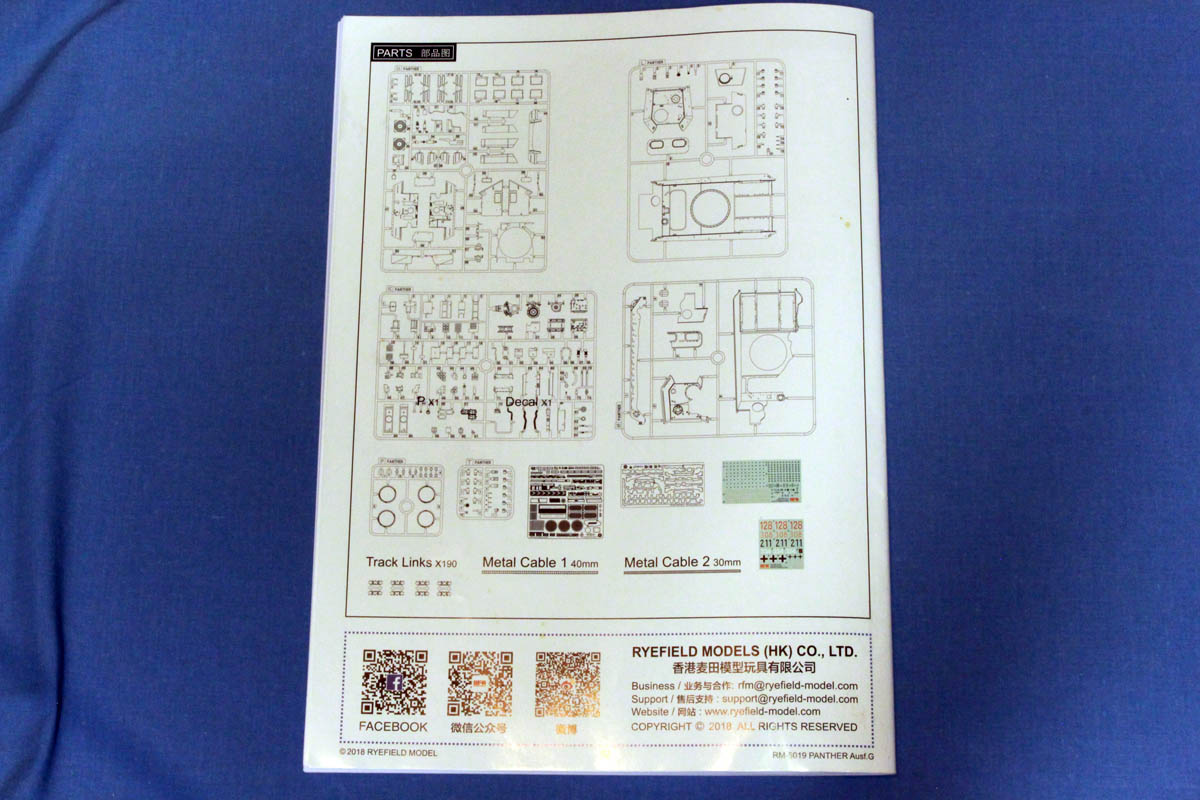
There are over 1500 parts molded in a light brown plastic on fourteen sprues, plus a sprue of clear parts, a sprue of black polyurethane, two PE frets, a baggie of dark brown workable individual track links, two metal cables, a spring and two decal sheets. A jig for track assembly is included on one of the sprues. Initial inspection showed no pieces broken off the sprues, although a couple of the sprue frames appeared to be short shot, but I am not sure if this is intentional or not.
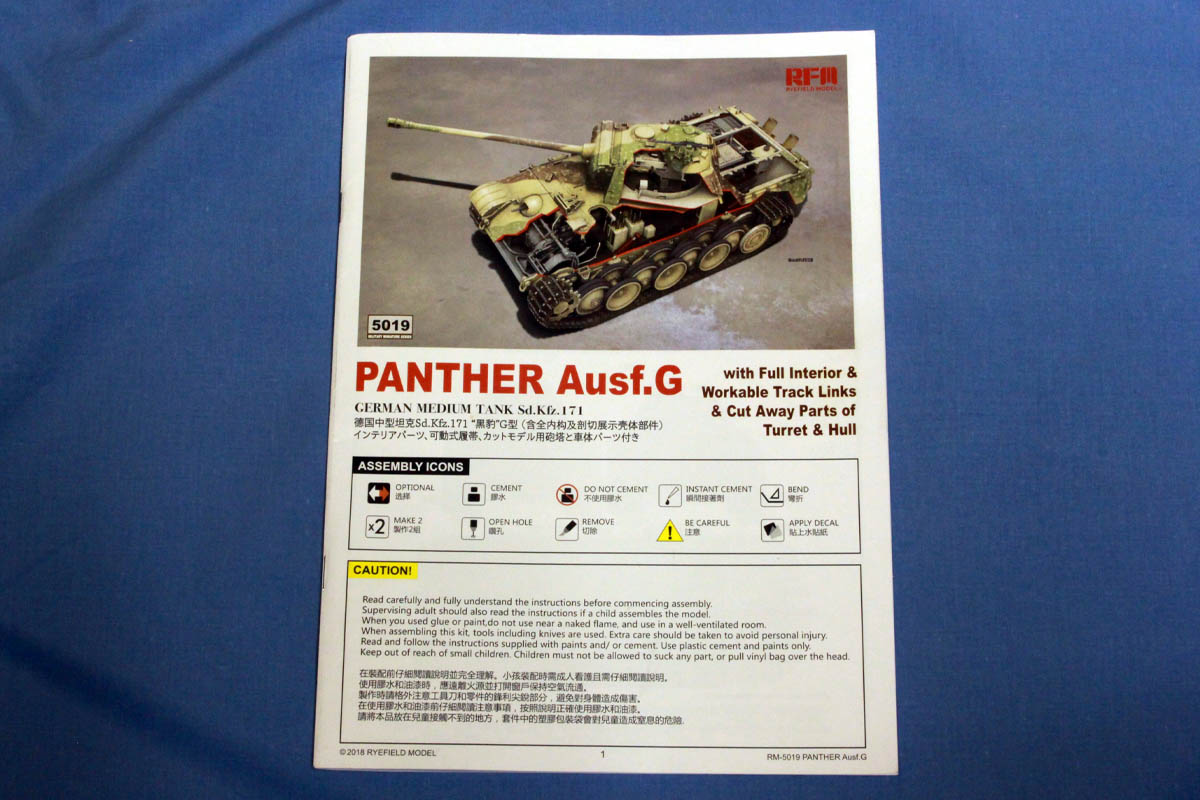
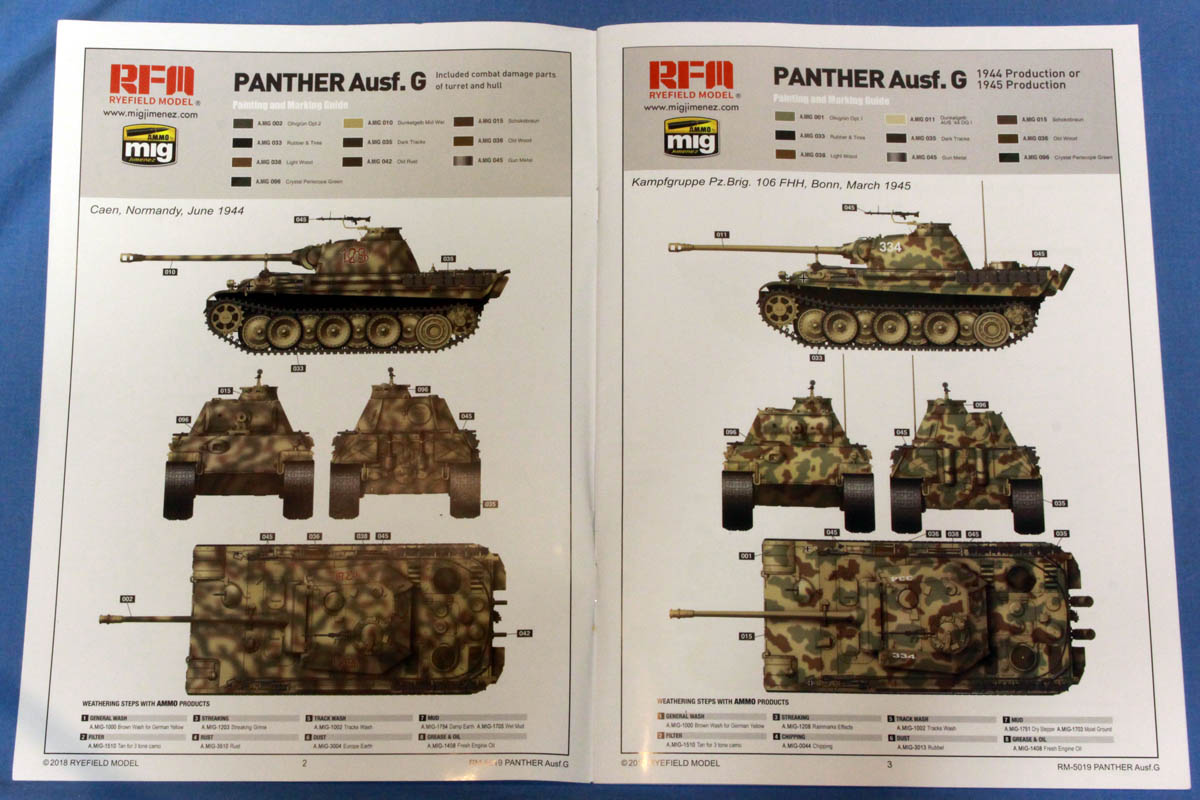
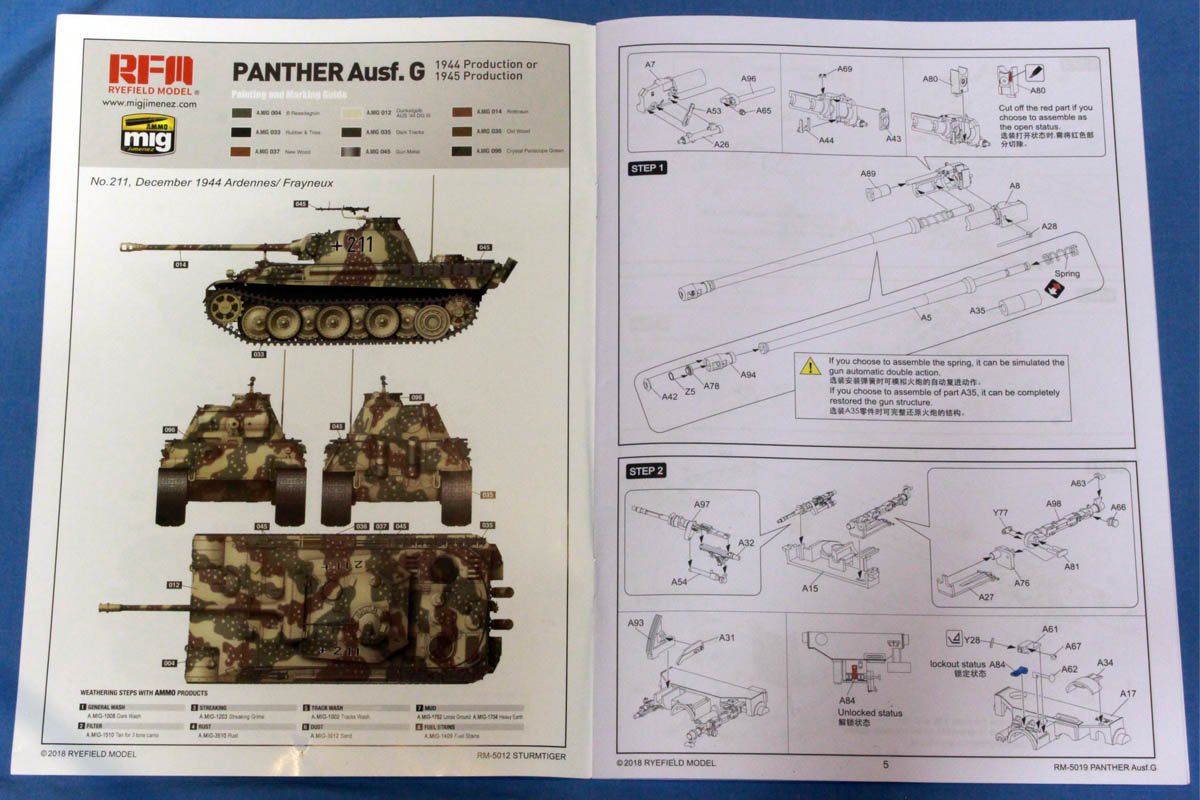
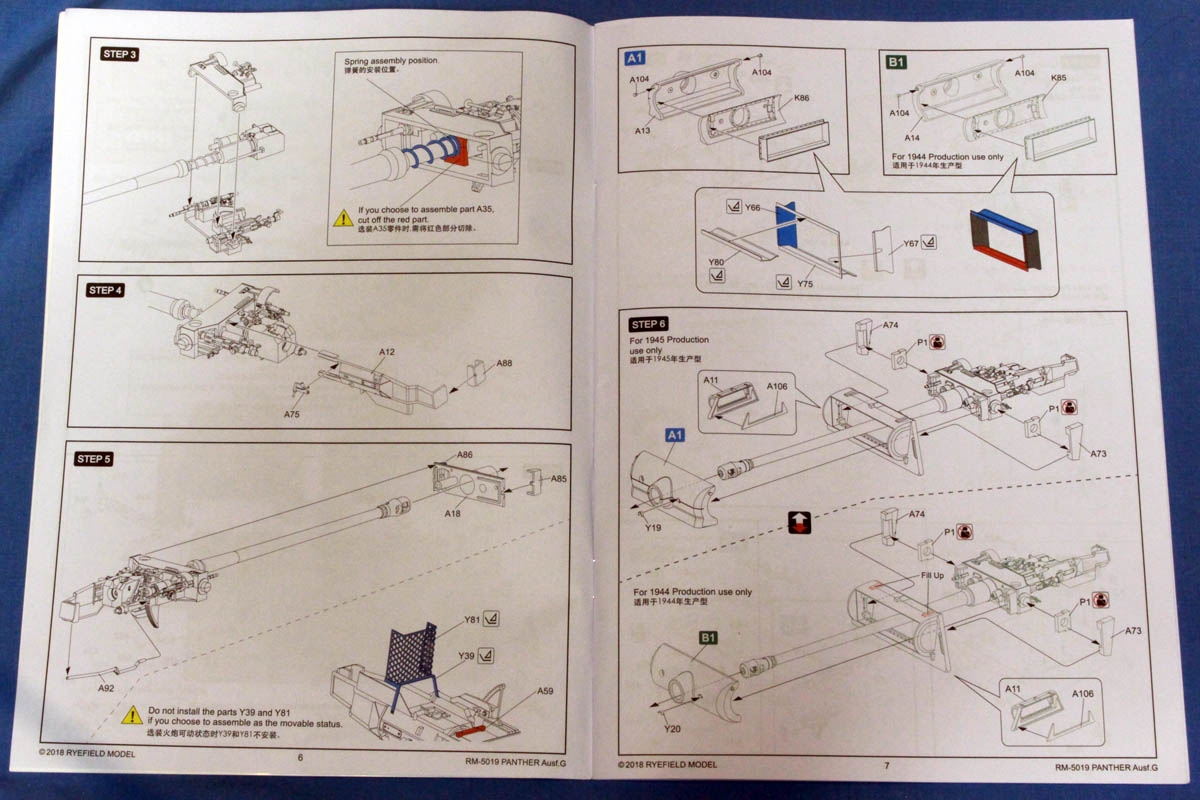
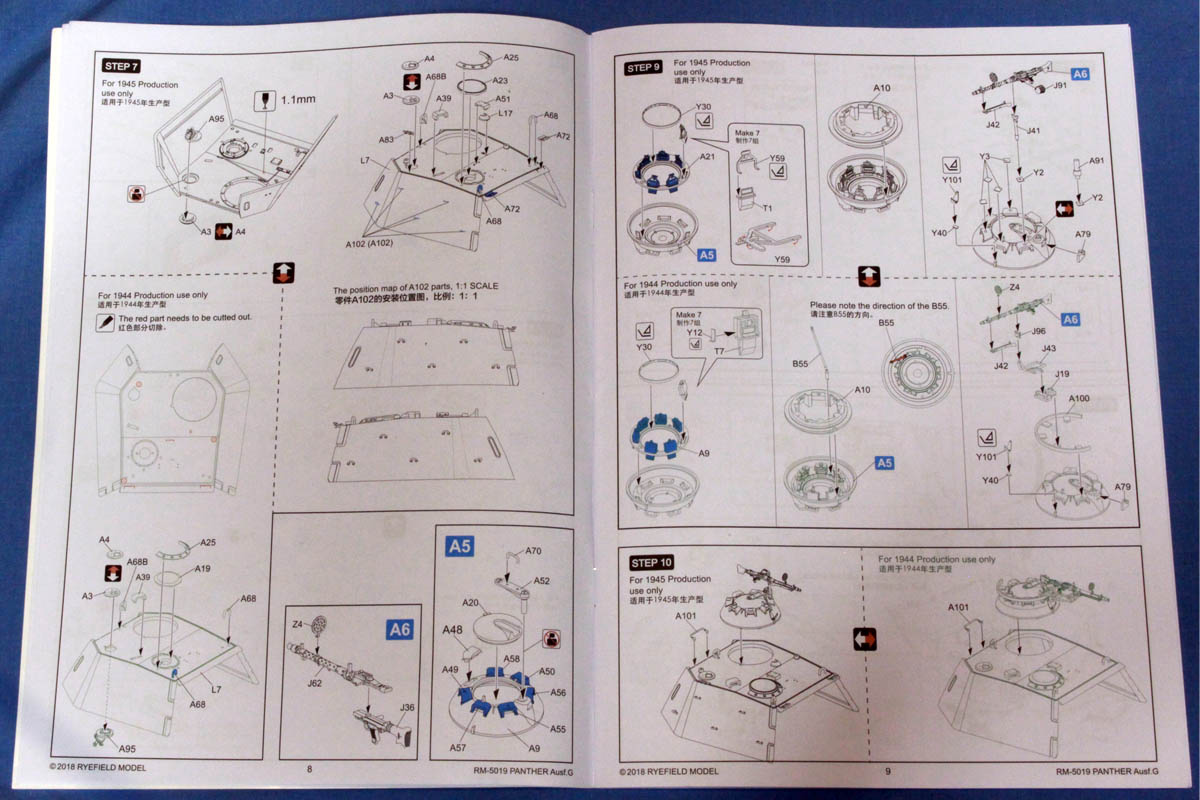
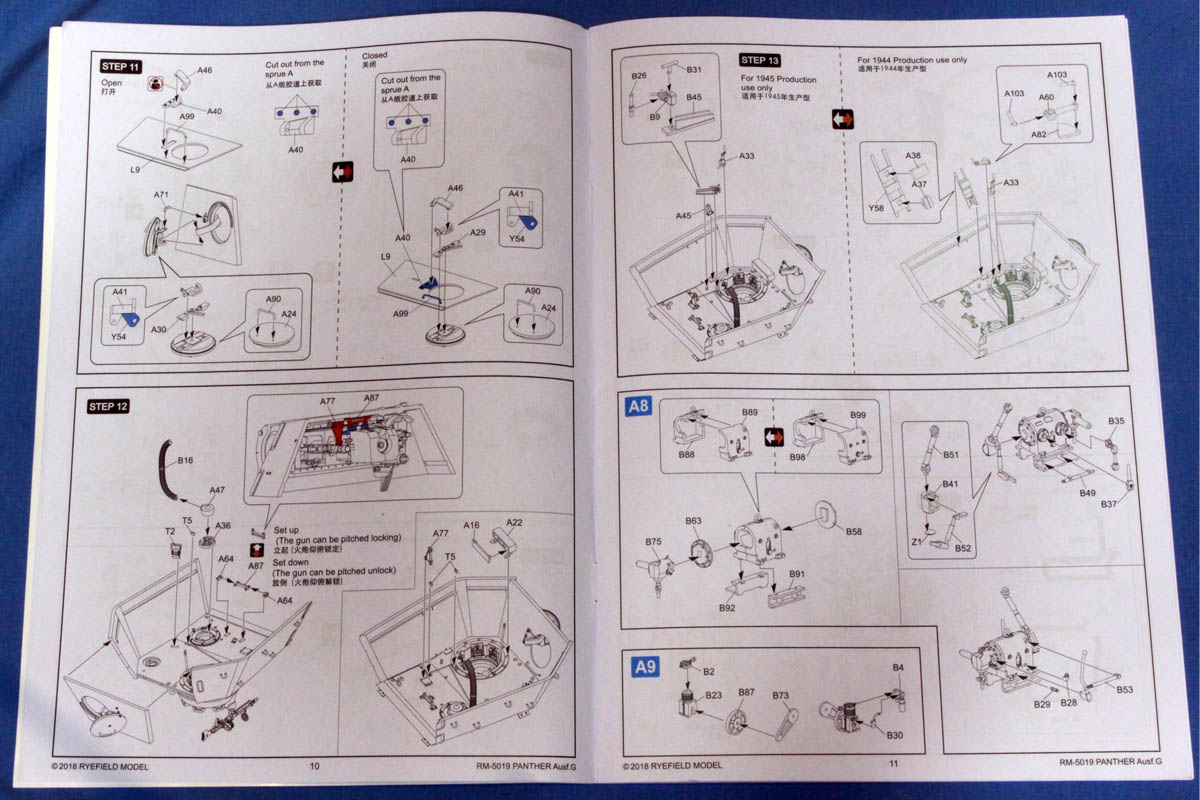
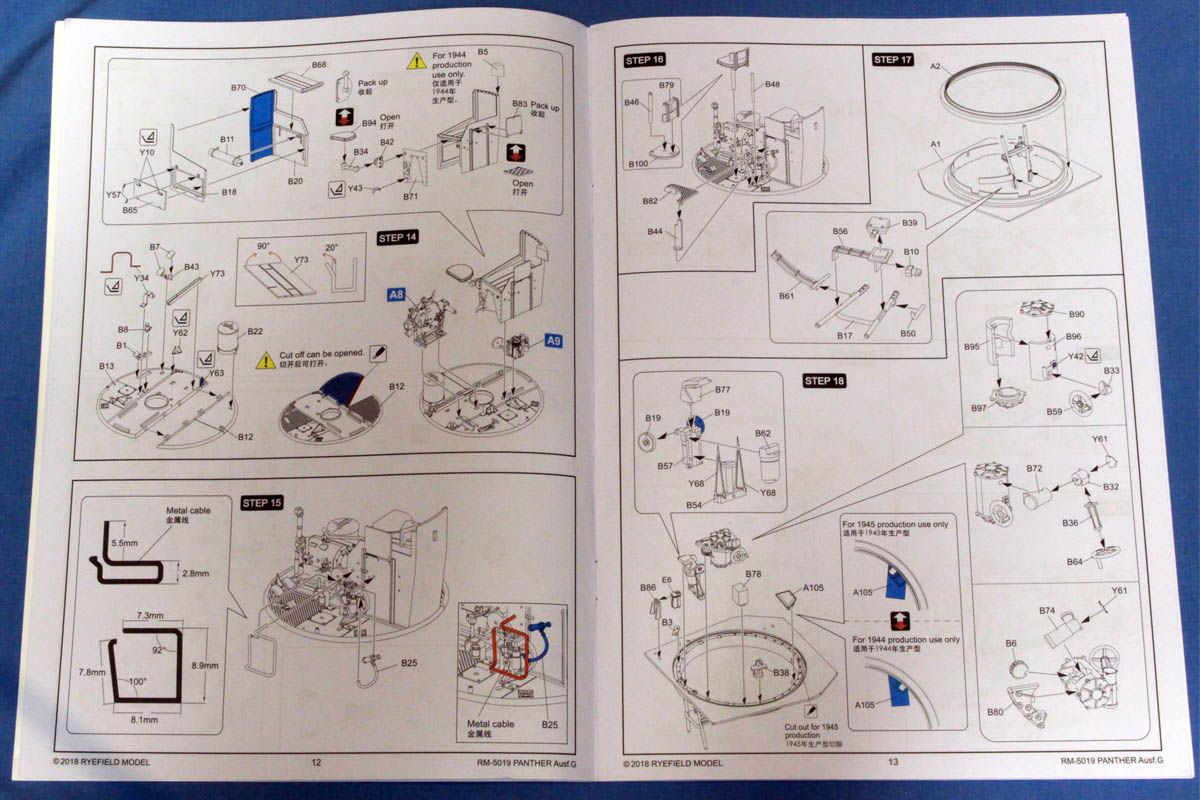
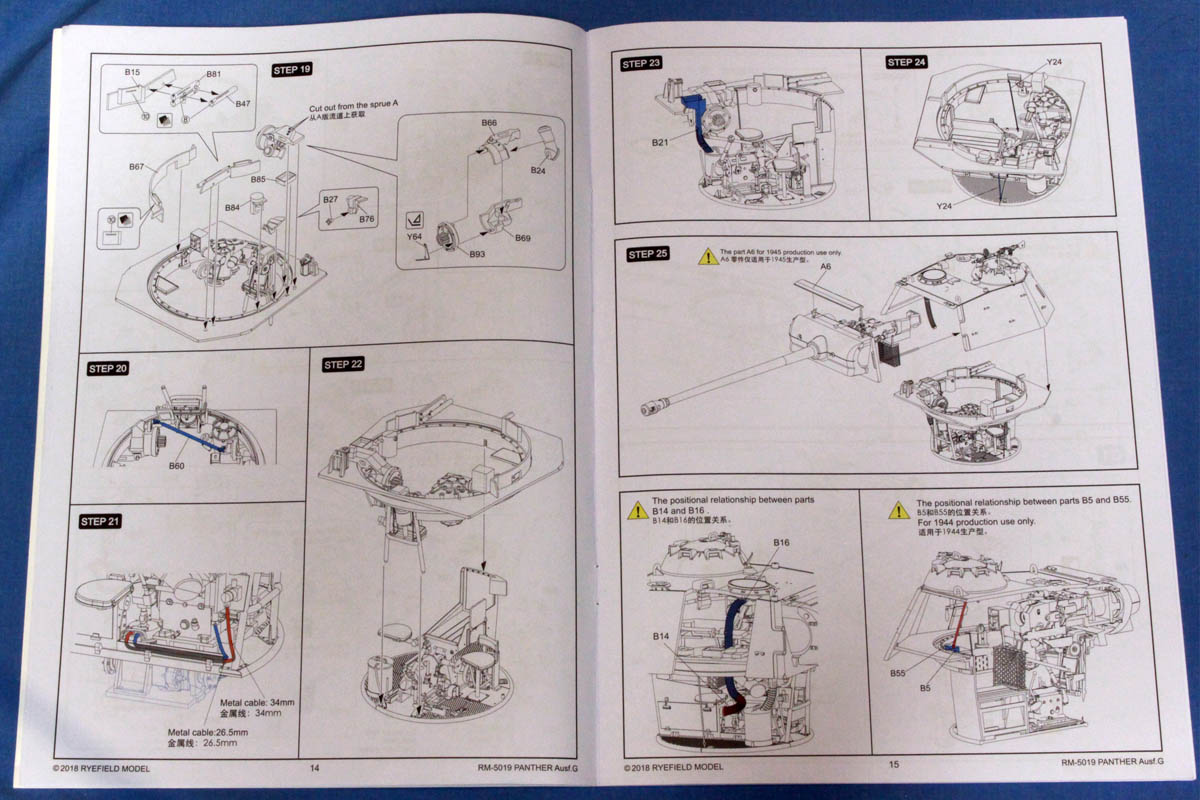
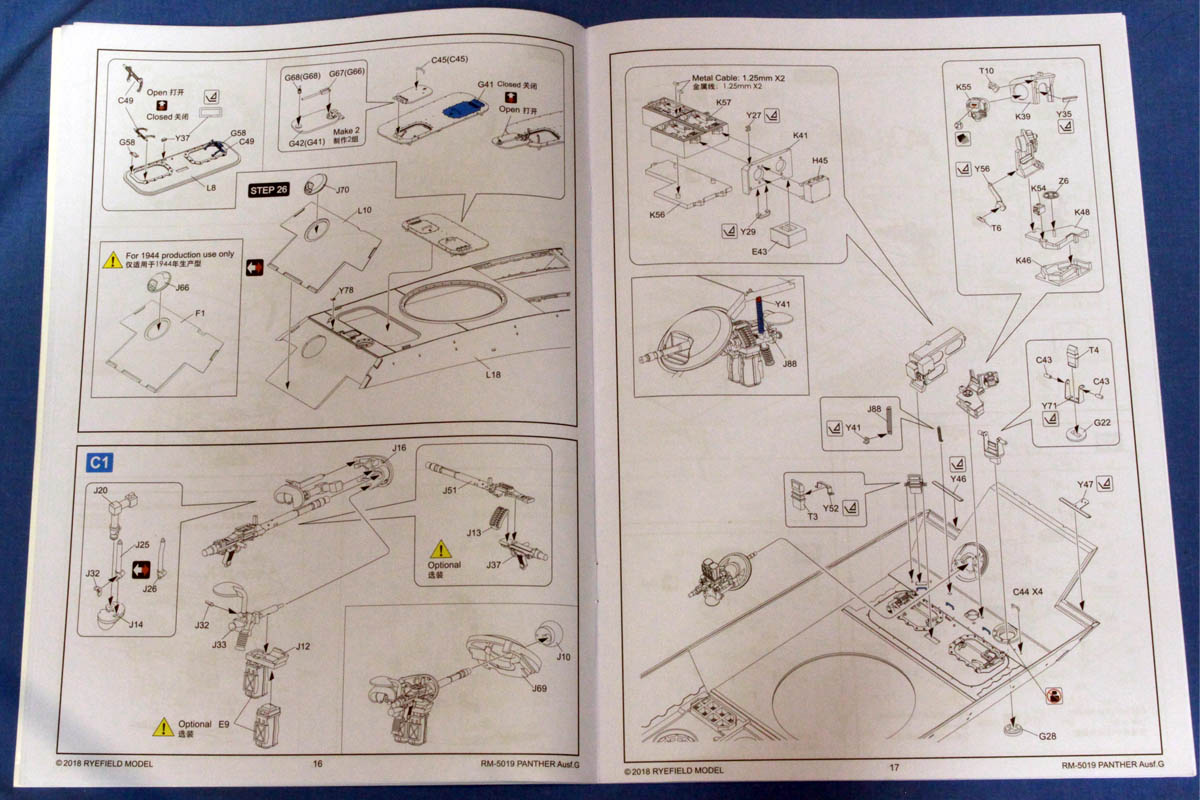
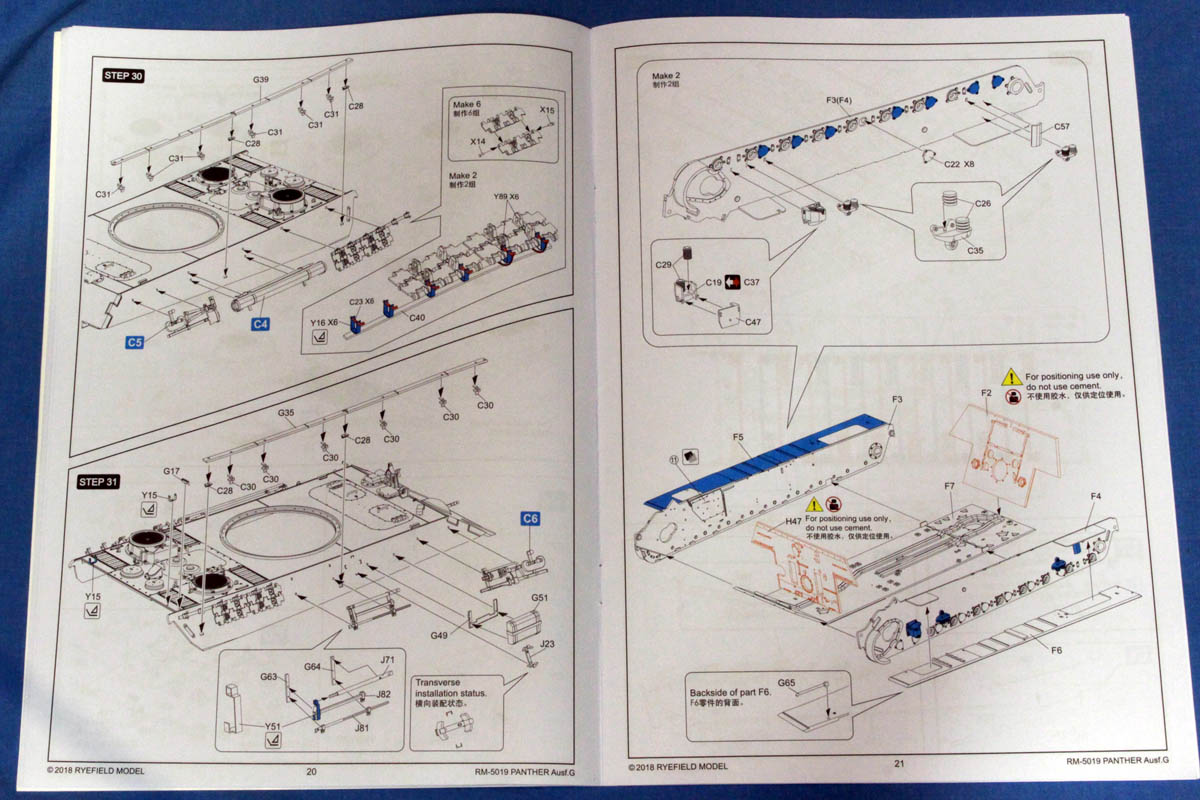
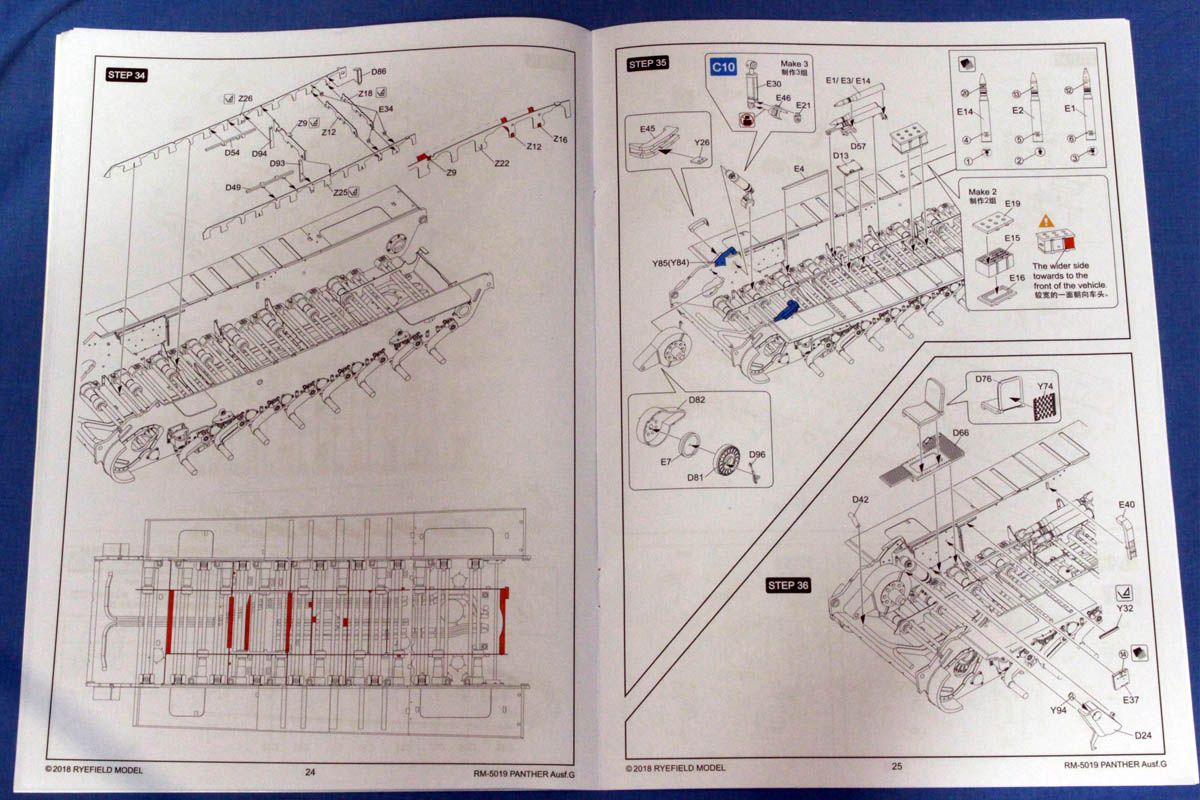
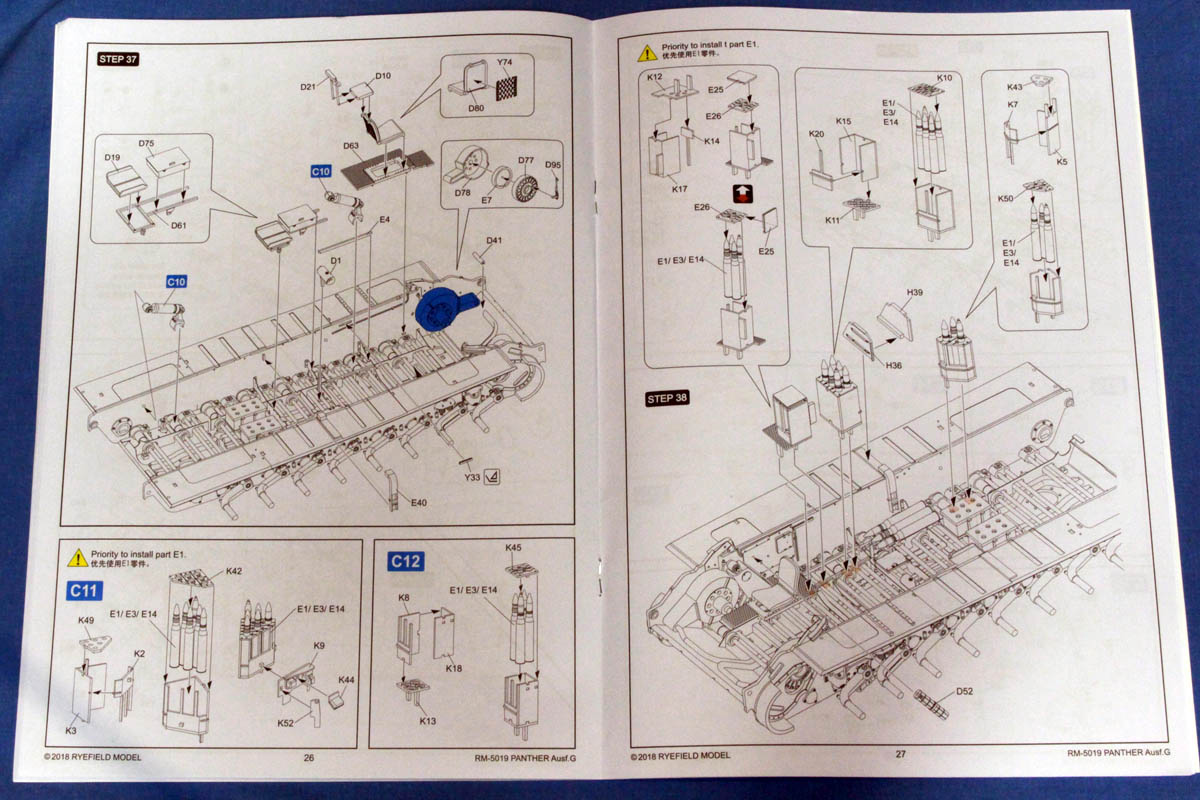
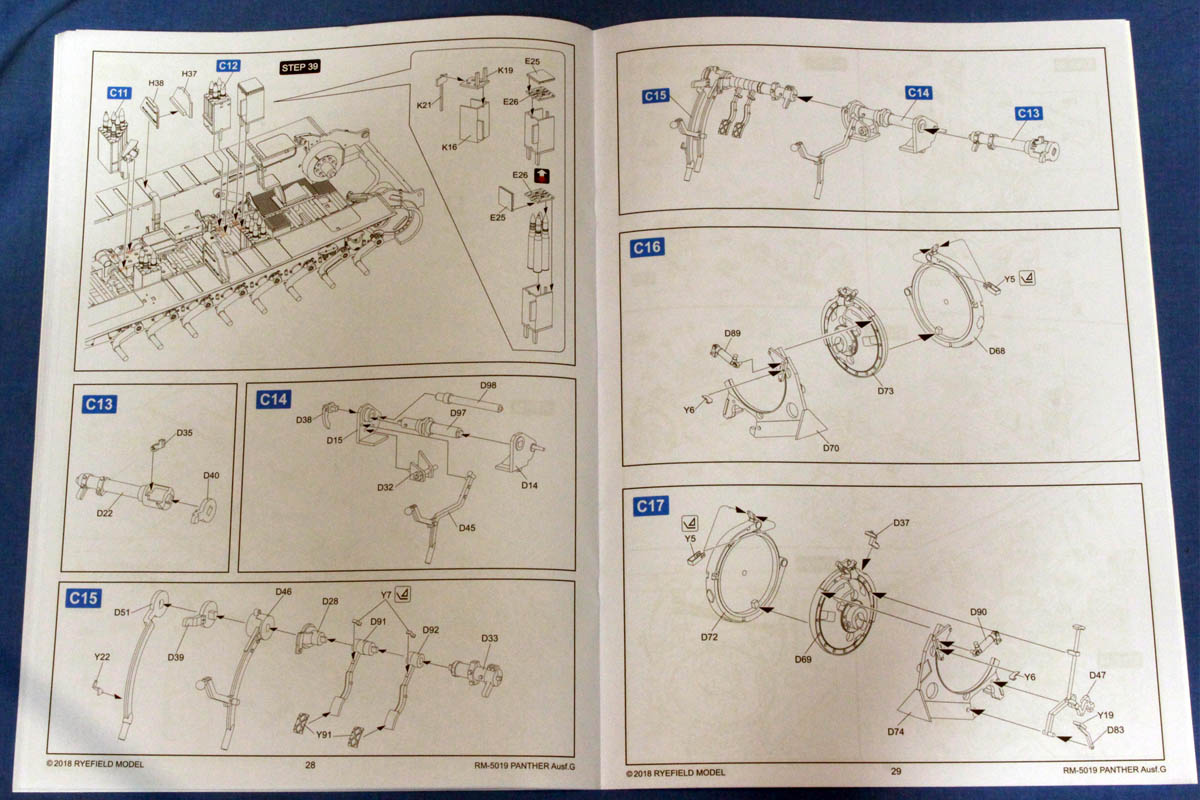
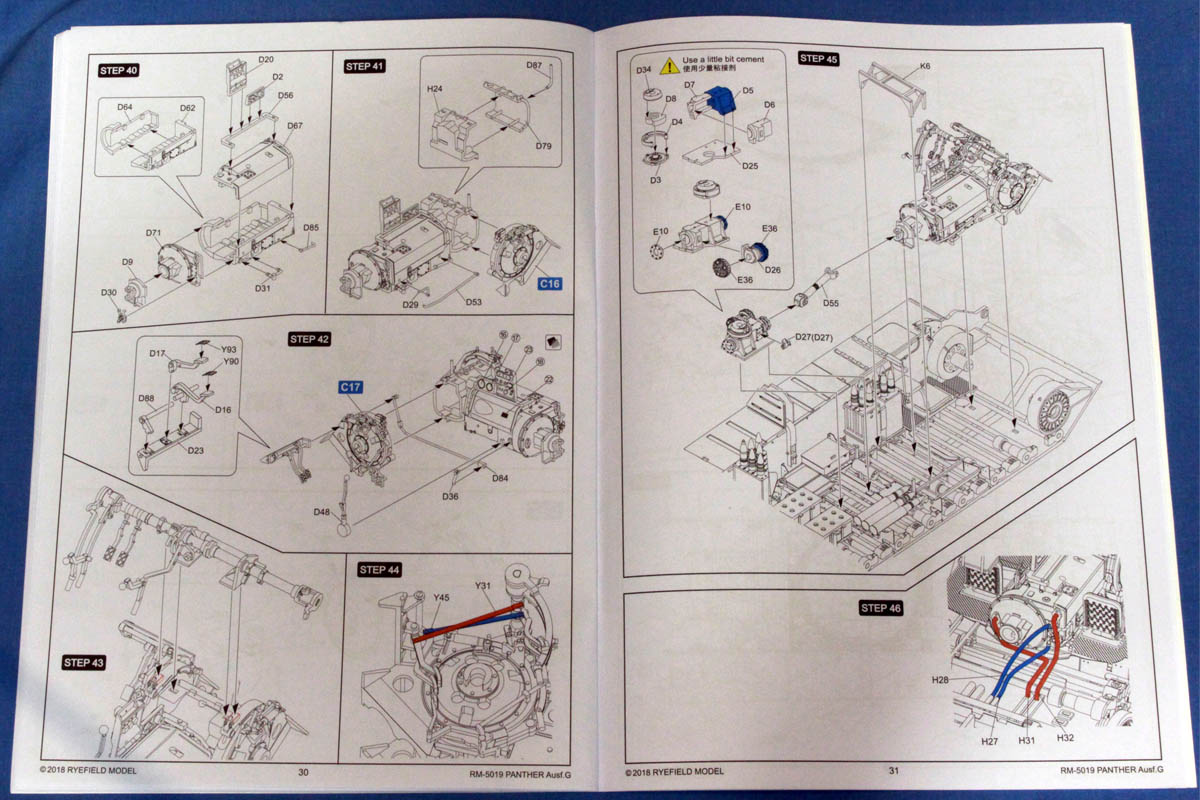
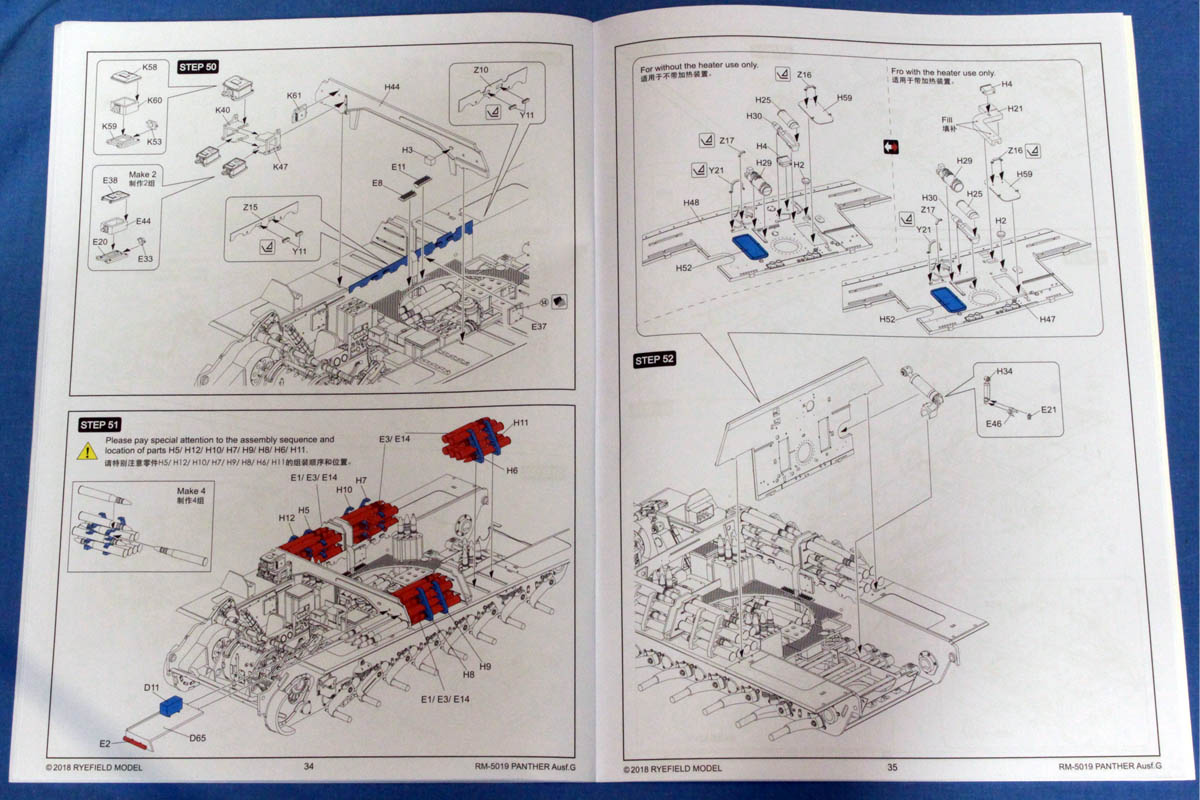
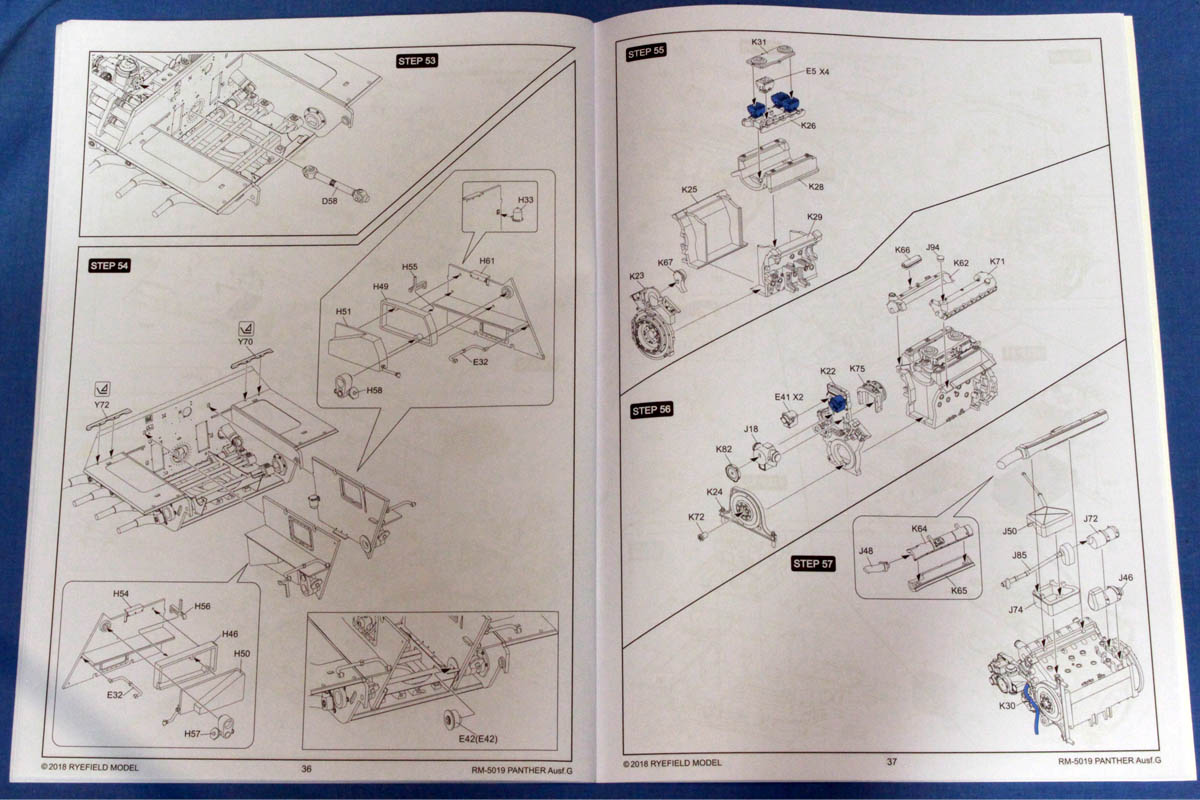
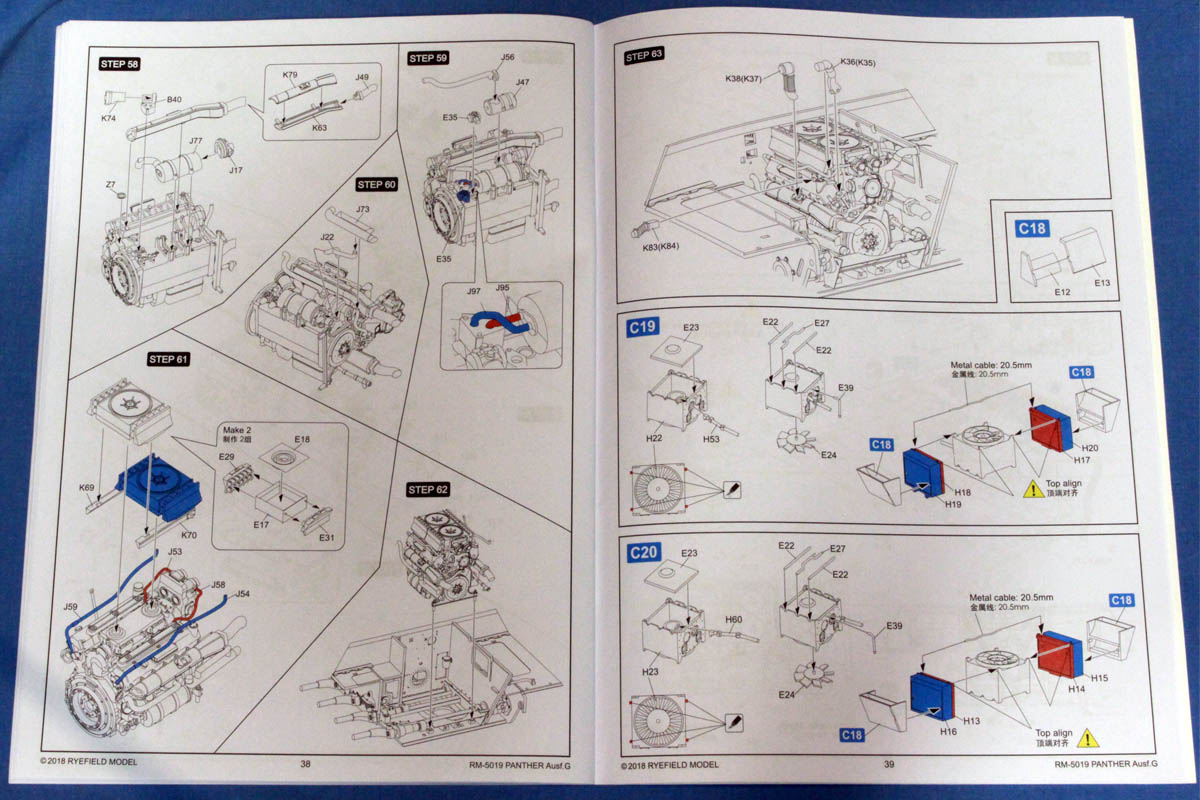
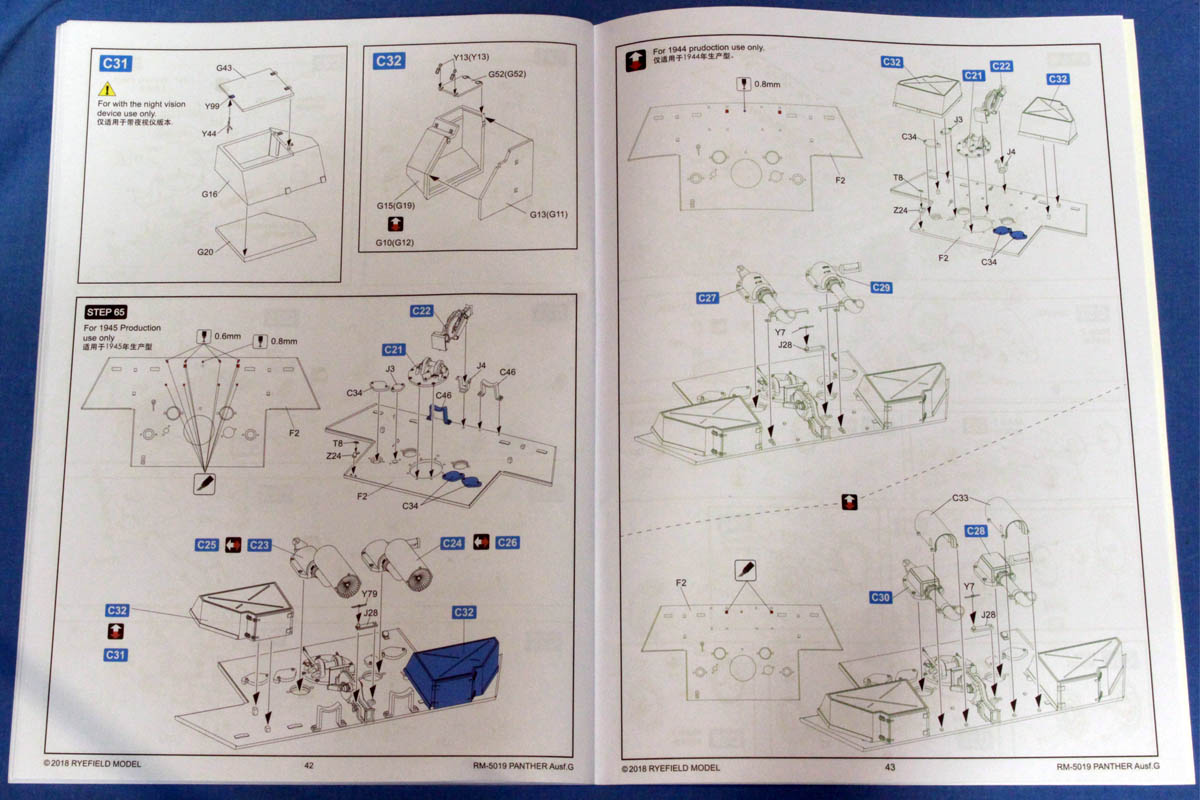
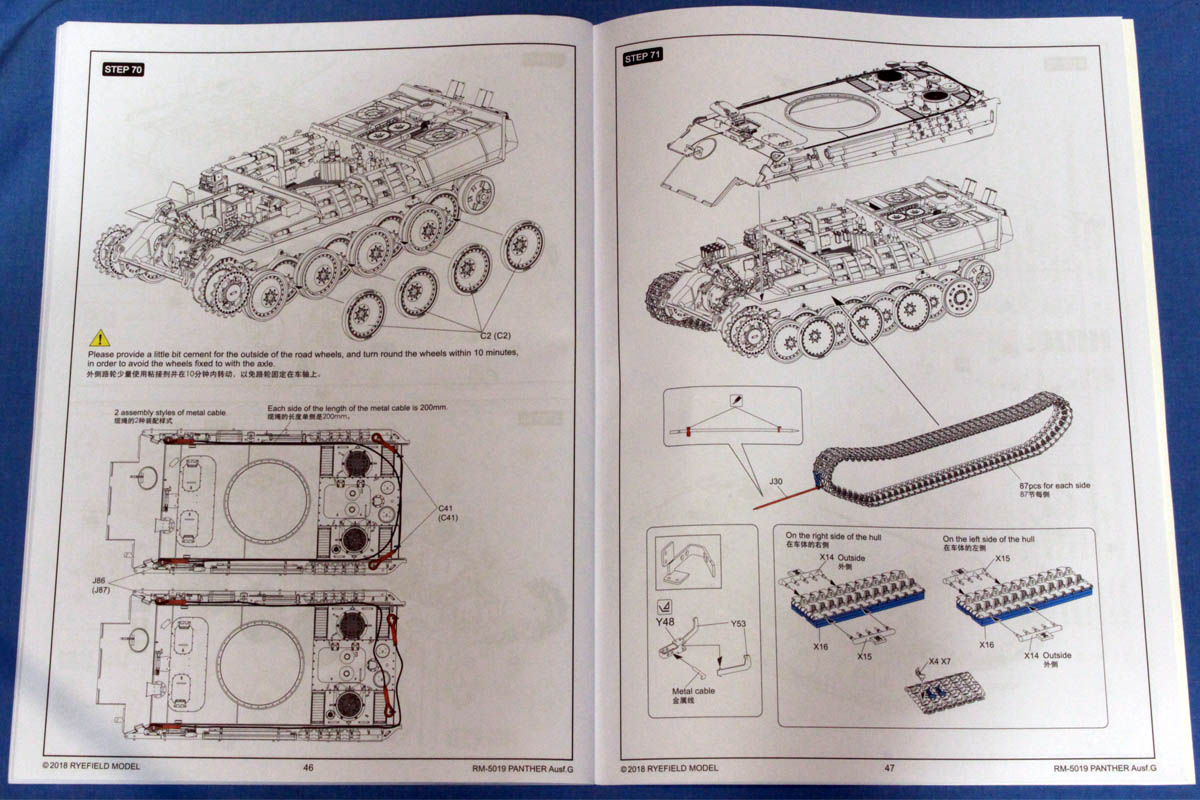
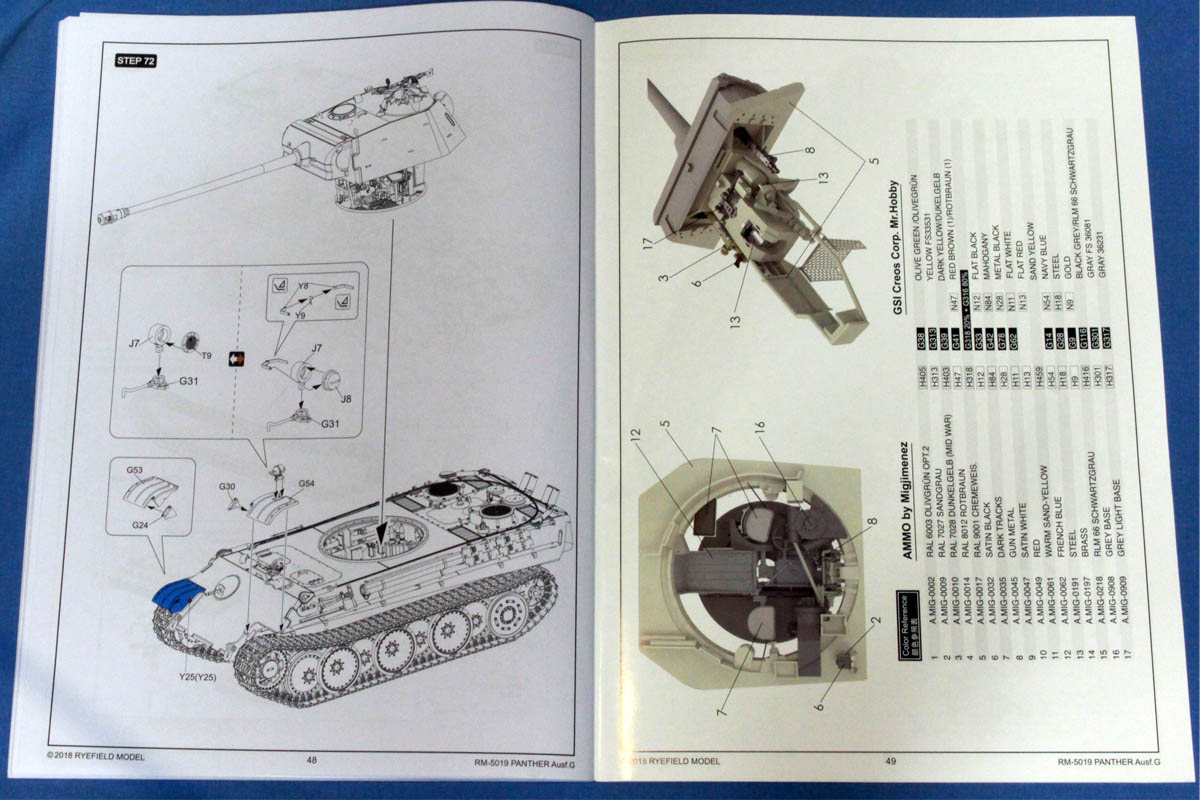
The instruction booklet is a whopping 52 pages long with construction carried out in 72 steps, with many of those steps essentially duplicated to show the differences between early and late models. Pages 2-4 show three different camouflage schemes and pages 49-50 show paint callouts for the interior. From what I can see, it looks like RFM took the instructions from their 5016 kit and just added a new cover illustration and added the cutaway parts sprue on the back cover. Although the instructions do show steps for the early model in green, there is no mention of the cutaway parts anywhere, so it is up to the modeler to decide which part to use. One nice thing RFM does is give some extra colour-coded views on certain items to show the relationship between parts which will come in handy during assembly. Overall, the instructions are well laid out and seem pretty clear, albeit with a few spelling errors, but these should not cause any assembly issues. Once I start building I guess I will see if there are any problems with the instructions.
Overall casting quality is excellent, with no sink marks and the ejection pin marks are situated where they will not be visible. Sprue gates are agreeably small, and there is only a small amount of flash on just a few of the finer pieces. It also looks like RFM has tried to group the parts on the sprues by subassemblies as much as possible to avoid hunting back and forth between sprues, a nice touch. So lets take a look at what is on all those sprues
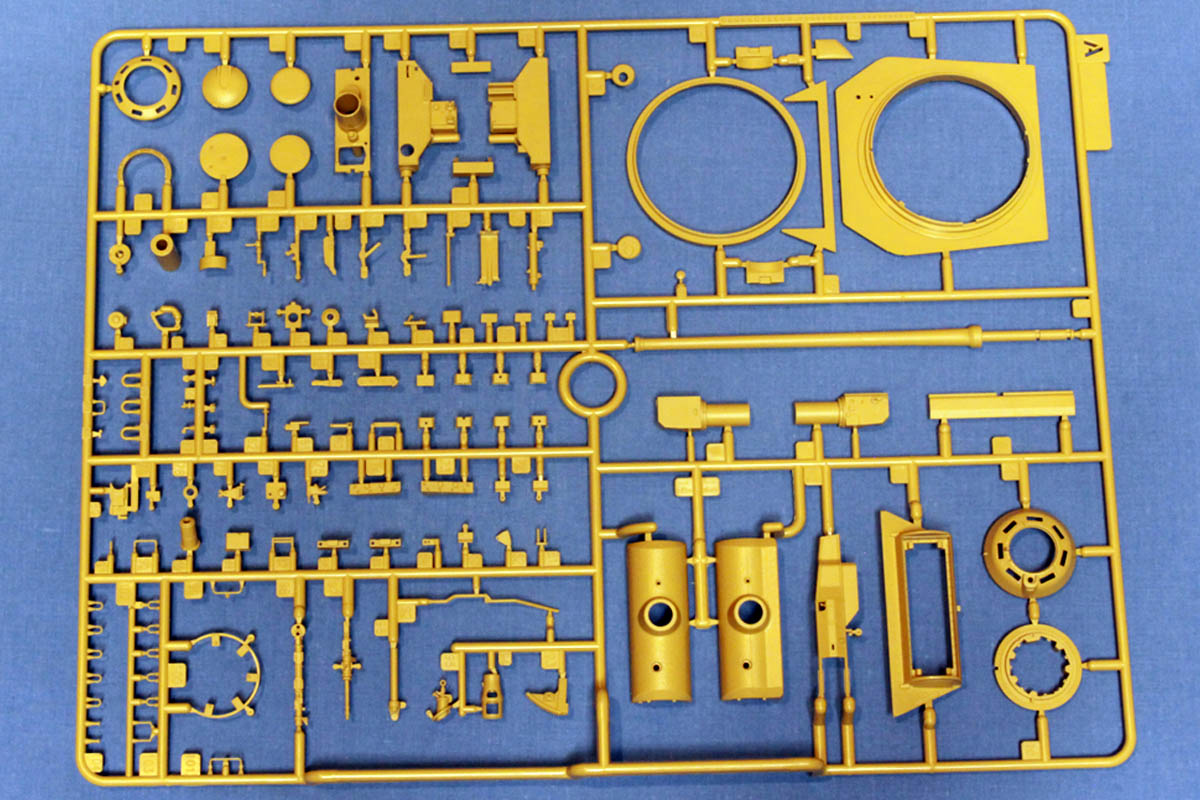
Sprue A
This sprue consists of parts for the turret, including the base and ring, cupola parts, early and late mantlets, main gun breech with details and various other internal and external turret details. While no metal gun barrel is provided, the plastic barrel is a single piece molding although there is a fairly significant mold seam to clean up along the length of the barrel.
Sprue B
Here we have parts for the turret basket, azimuth and traverse mechanisms. Between these two sprues and some additional PE, the amount of detail present for the turret is very impressive and I do not see much that aftermarket can improve upon.
Sprue C
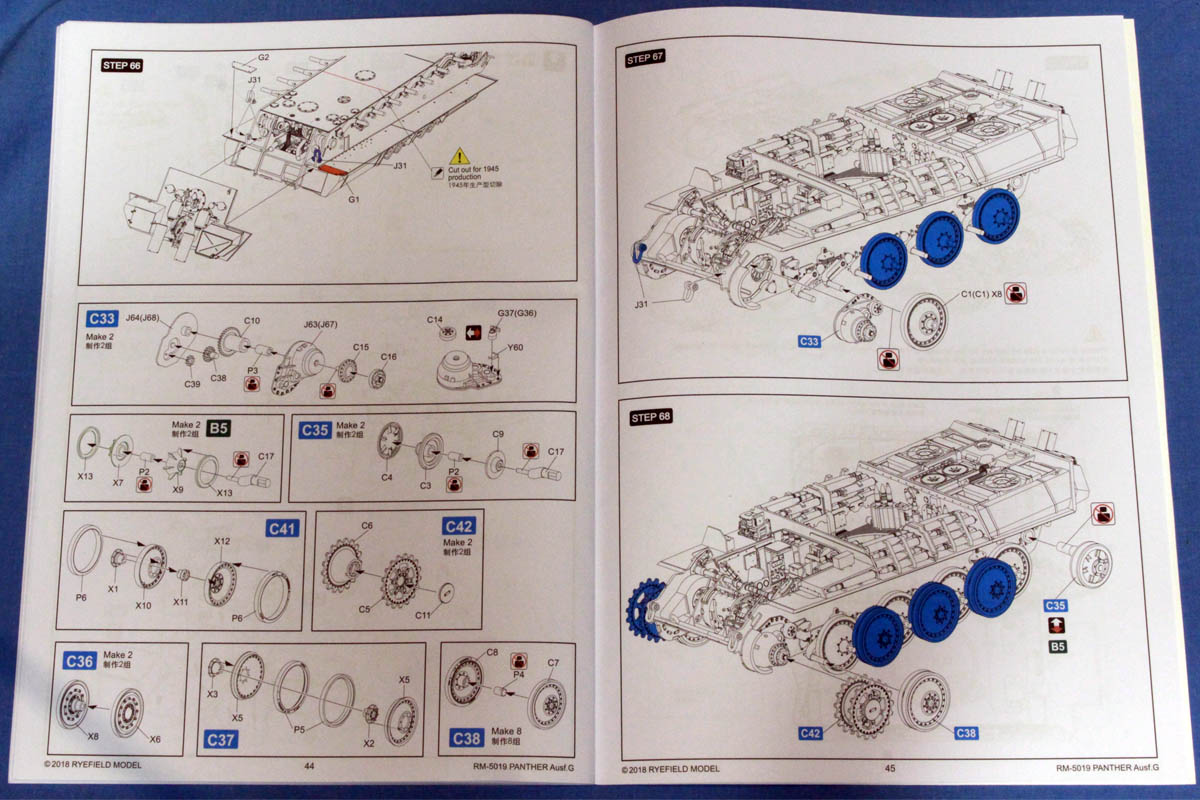
Two identical sprues are provided, primarily for the running gear with road wheels, drive sprockets, idlers, torsion arms and other suspension items. The instructions show how the torsion bars can be modified by removing a small tab in order to make a workable suspension. This sprue also has some other bits for the rear and side of the hull.
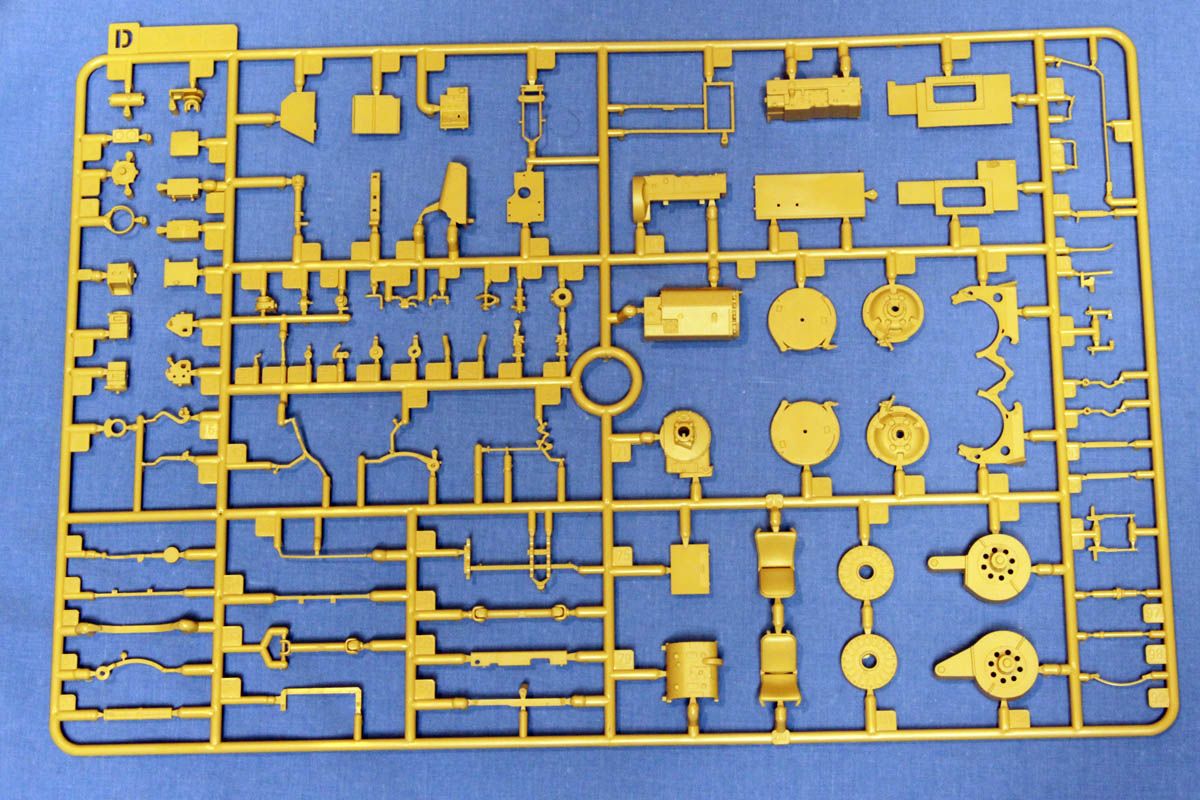
Sprue D
This consists of the transmission, driveshaft, front drive brake units, seats for the driver and radio operator, including very detailed drivers controls, and power supply for the communications system.
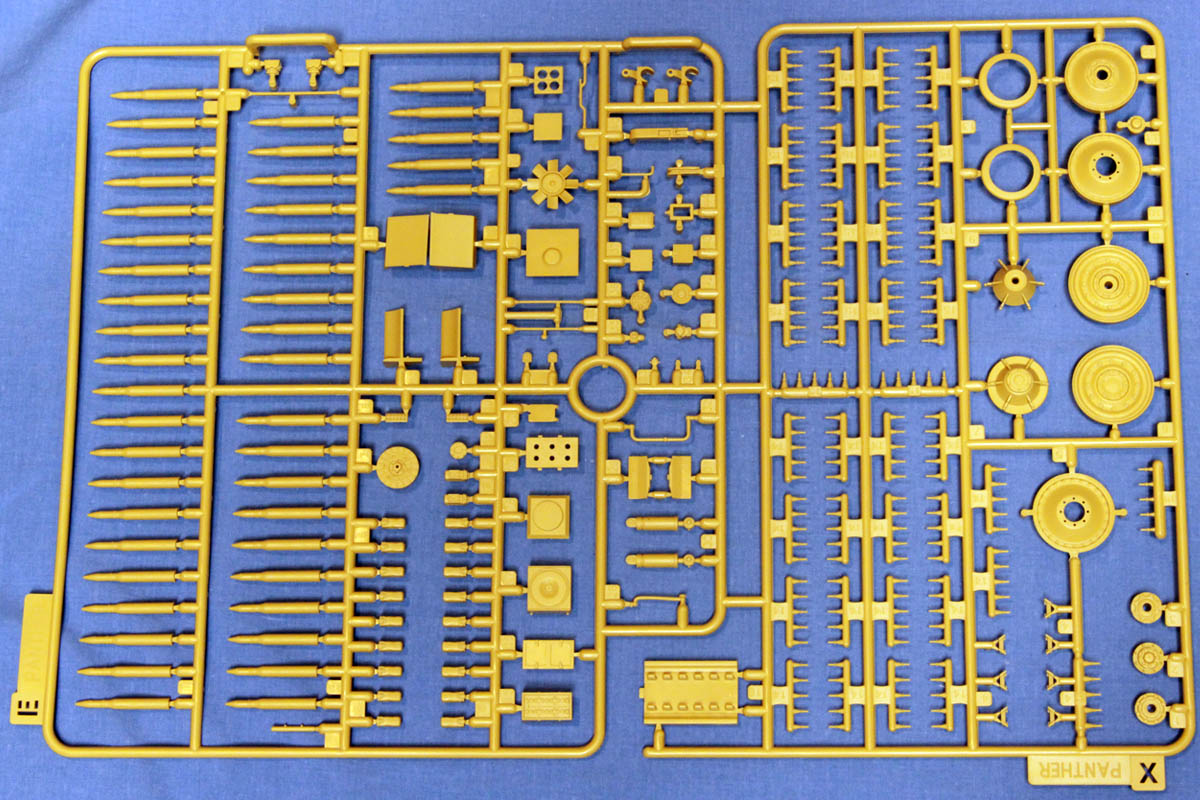
Sprues E & X
These sprues are supplied connected together, with two of the combined sprues provided. Sprue E carries the main gun ammunition and gurtsacks of ammunition for the bow and coaxial machine guns. Other parts for the lower hull such as batteries, shocks, cooling fans and various other bits and bobs. Sprue X contains the track assembly jig, track pins, two steel rimmed road wheels and alternate idler assemblies. Running gear subassemblies C41, C36 and C37 using parts from spue X are called out in the instructions, but where they actually go is a mystery as there is no callout for them. C36 appears to be the steel wheel option but the other two have me baffled, I guess I will have to suss things out during assembly.
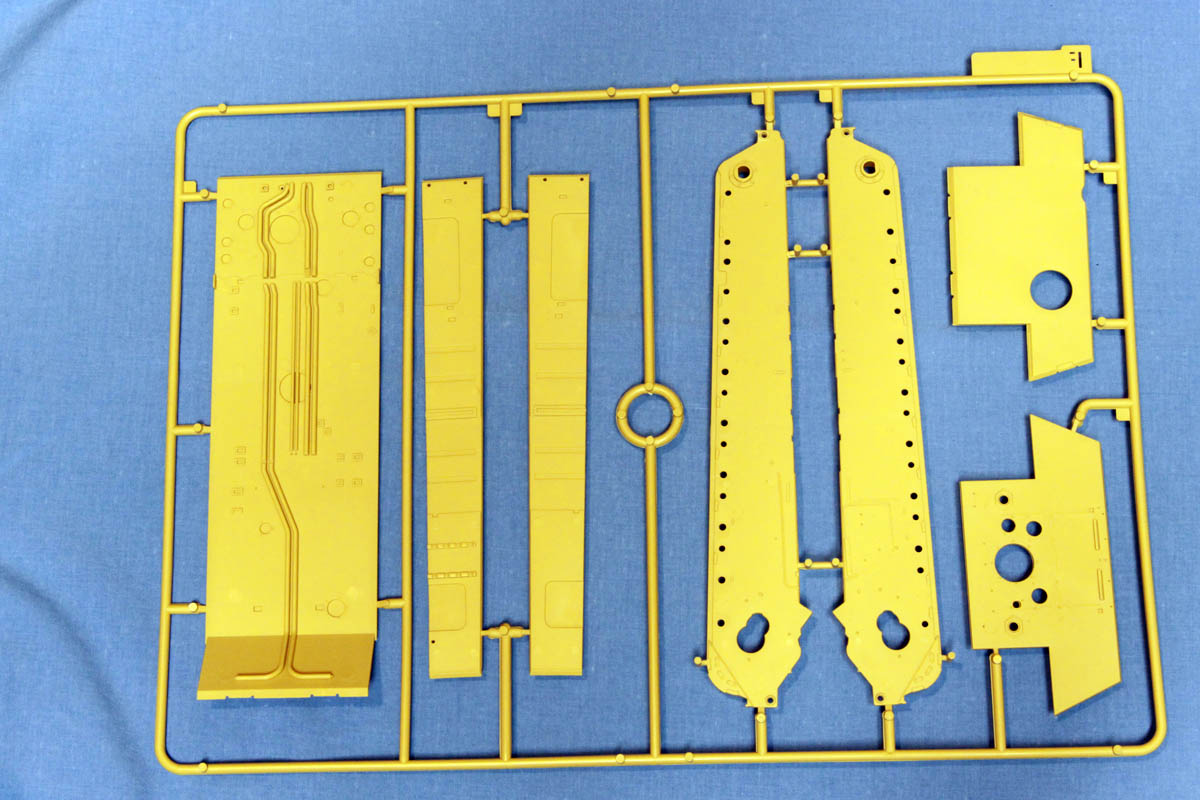
Sprue F
This is the lower hull assembly, consisting of the hull floor with lower glacis, upper glacis, rear plate, hull sides and hull sponson floors. No sink marks and the ejection pin marks should be well hidden by all the gear that will be installed. The hull floor has quite a bit of molded on detail as well.
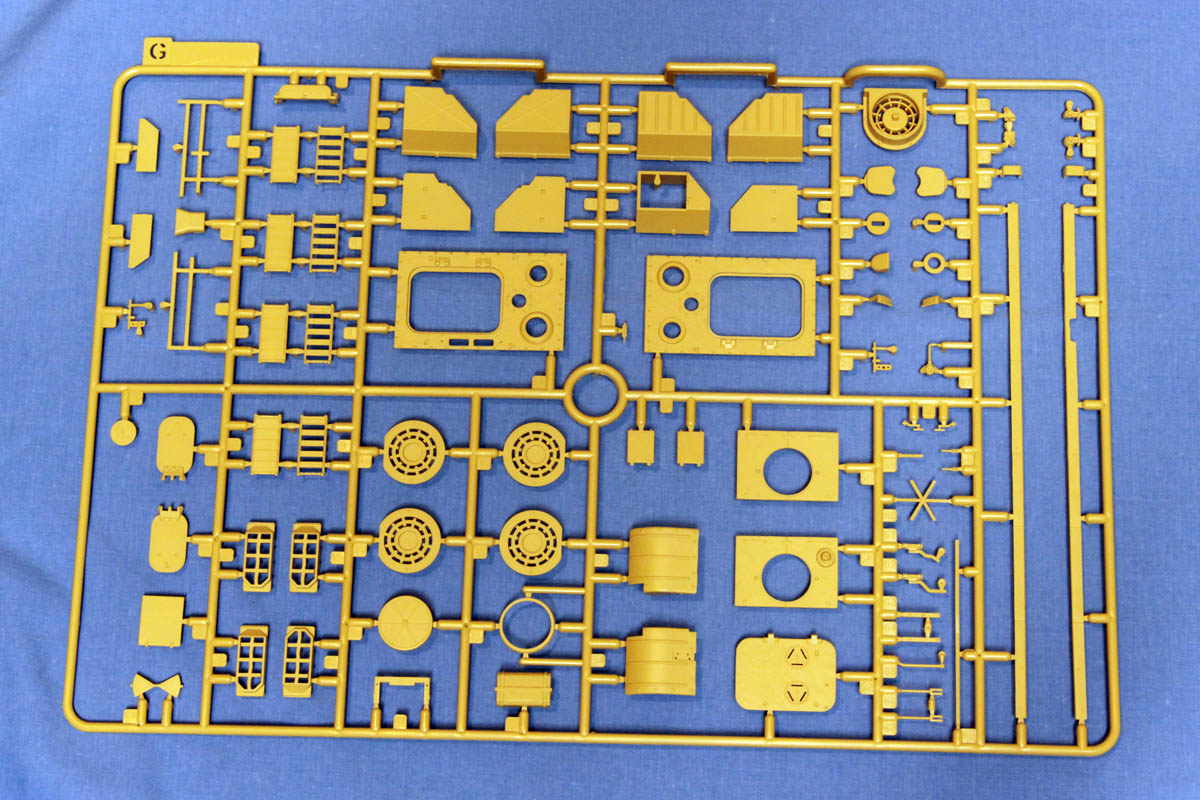
Sprue G
This consists primarily of hull fittings, covering the rear engine deck, storage bins for the rear glacis, hatches, fenders and tool brackets. The pieces allow for the installation of the rear decking and fan covers with or without the crew compartment heating option. There are also a couple of options for the type of rear storage bins, plus one for storage of the IR night scope.
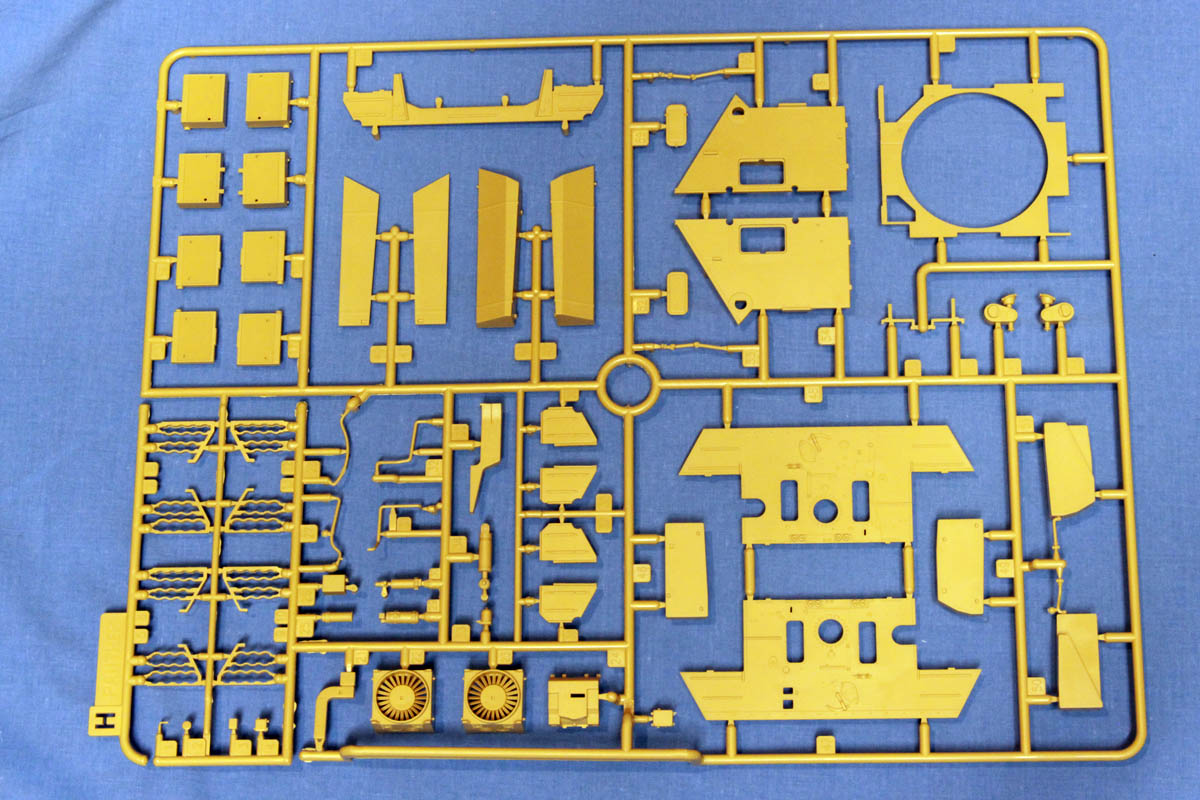
Sprue H
Here we have ammunition racks, internal storage, internal bracing and two different firewalls to allow the builder to build the model with or without the crew compartment heating ducts. The central floor piece for the lower hull is also here, along with fuel and oil tanks, radiators and fan plenums.
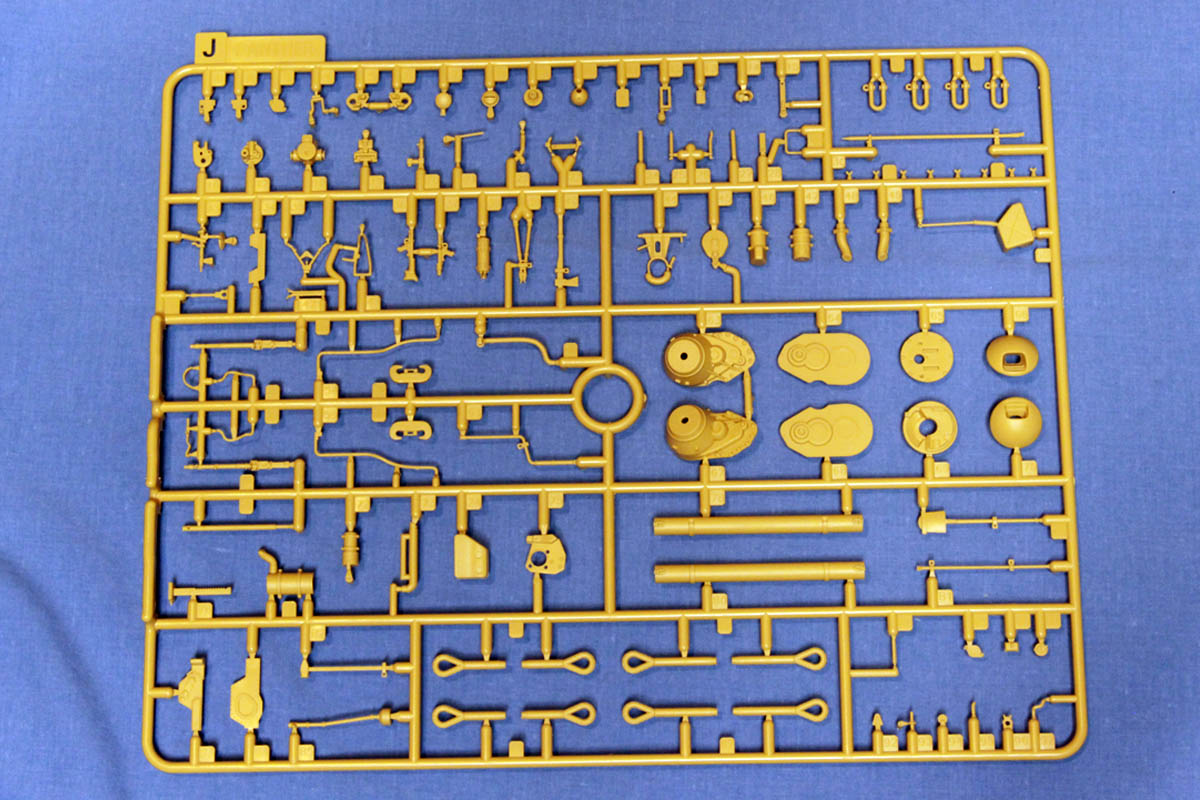
Sprue J
This sprue carries various and sundry hull fittings, such as early and late kugelblendes for the hull machine gun, two options for the hull machine gun, tow cable ends, jack and pioneer tools, cleaning rod case, etc. It also has the final drive covers and a number of small internal detail parts.
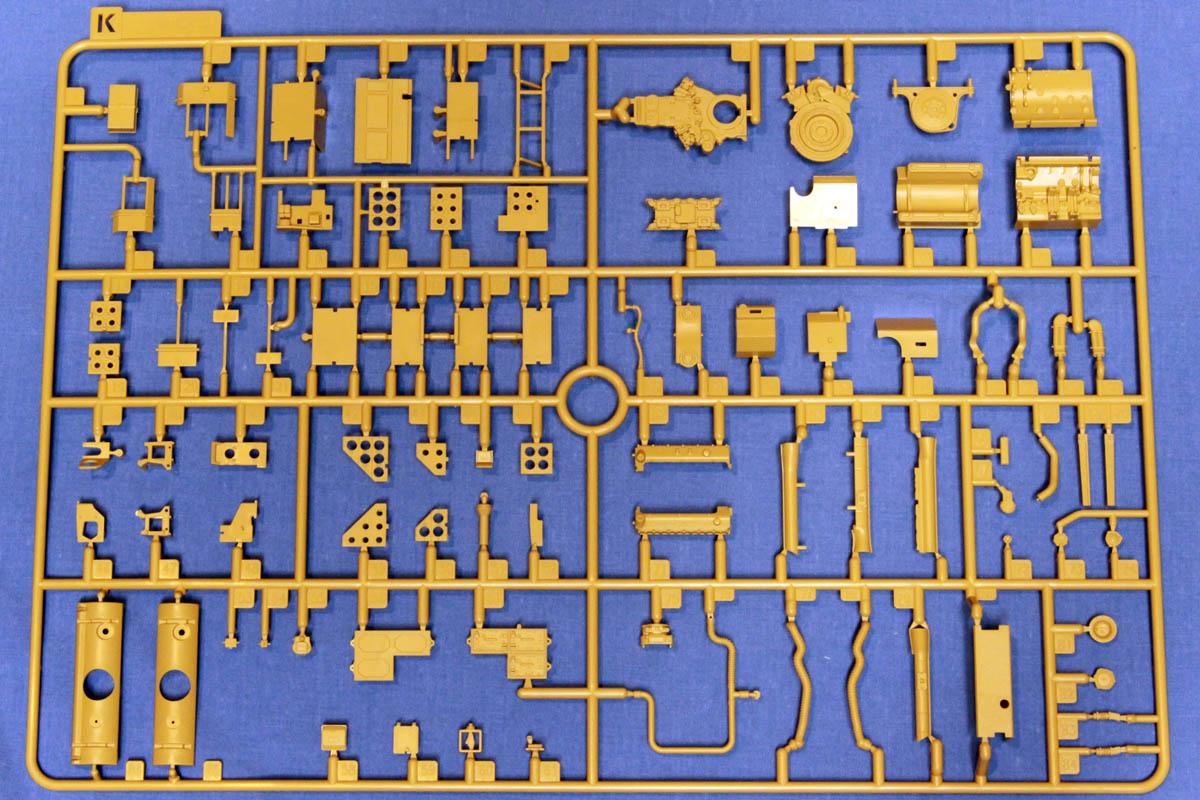
Sprue K
This is where you find the Maybach engine assembly, which is molded with some very nice detail, along with its various hoses. You will also find a couple of wayward gun mantlet pieces (early and late again) as well as ammunition bins, radios and other bits.
Sprue L
The upper hull and turret are carried on this sprue, with the option of leaving the entire engine deck open or removable to show off the well detailed engine assembly. Somewhat oddly, all of the clear parts are duplicated here which leads me to believe RFM is using the exact same molds that they used for the original clear-hulled edition of this kit, just with their regular styrene.
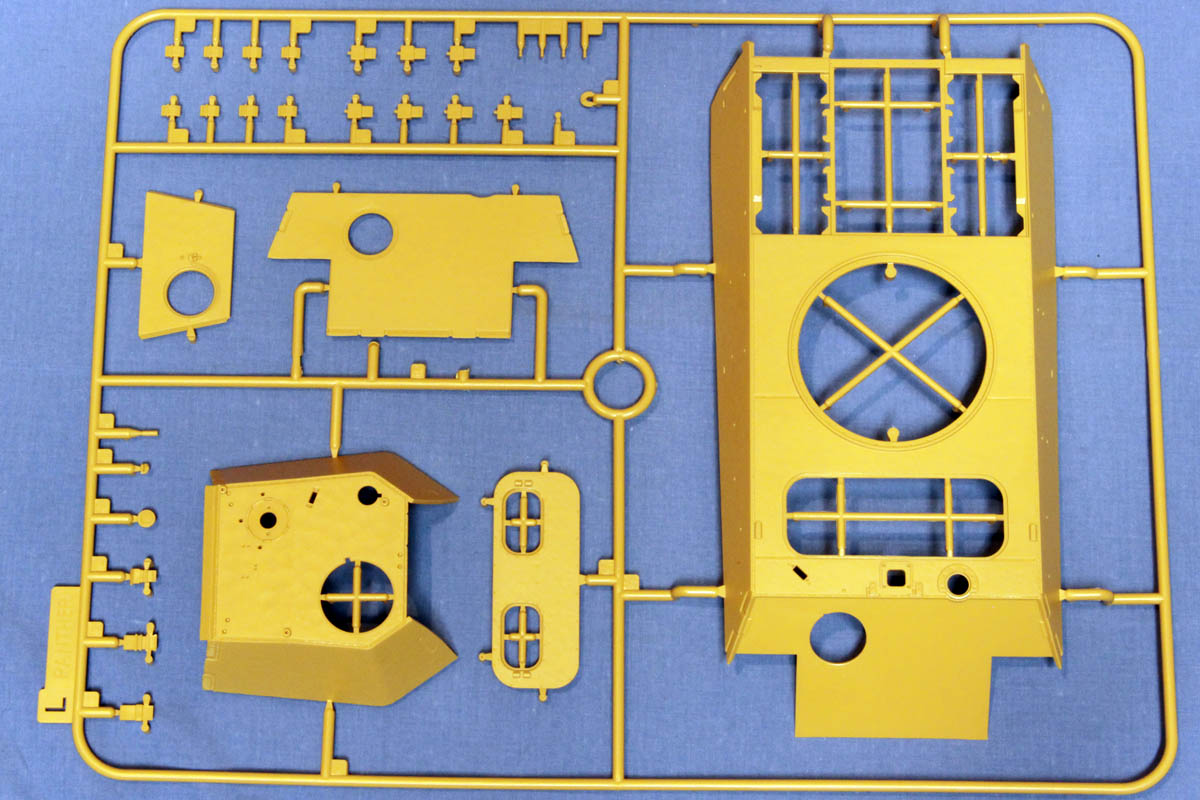
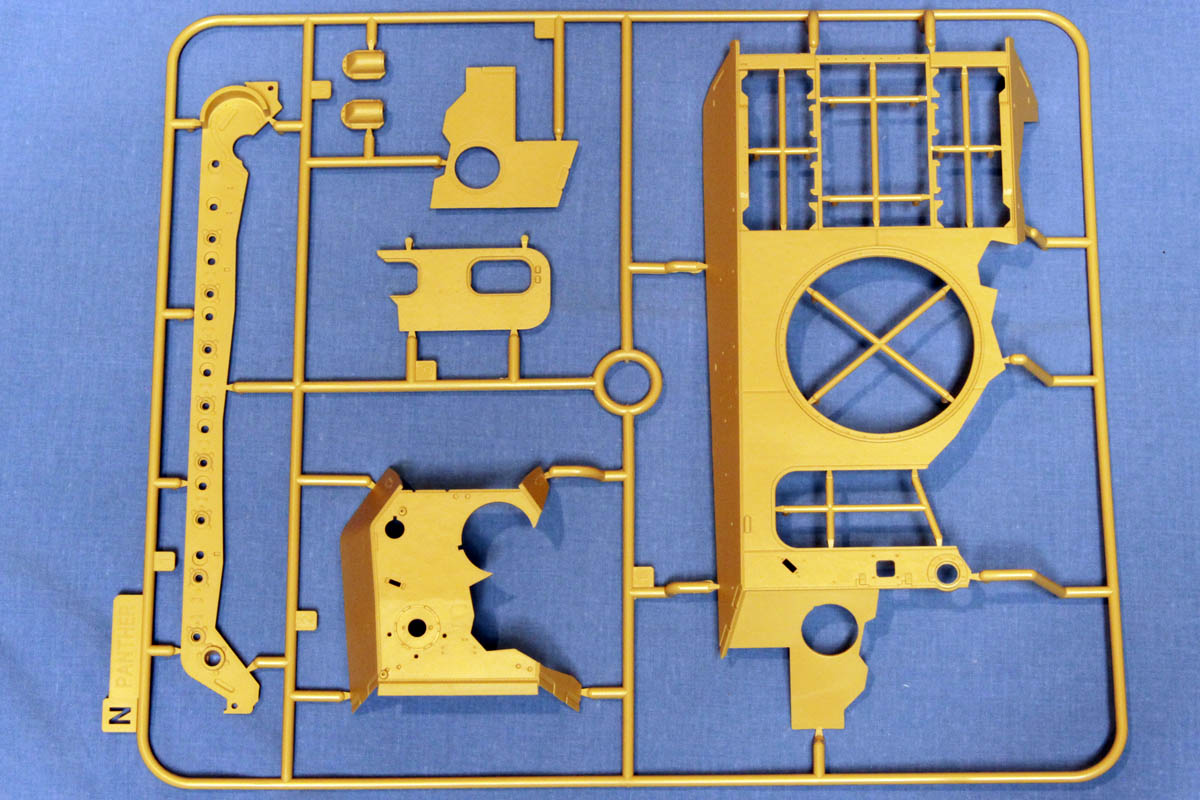
Sprue N
Here we have the cutaway parts, with the turret, upper hull, one side of the lower hull, transmission access panel, and somewhat strangely, another two armoured exhaust covers. The cutaways are molded nice and crisp.
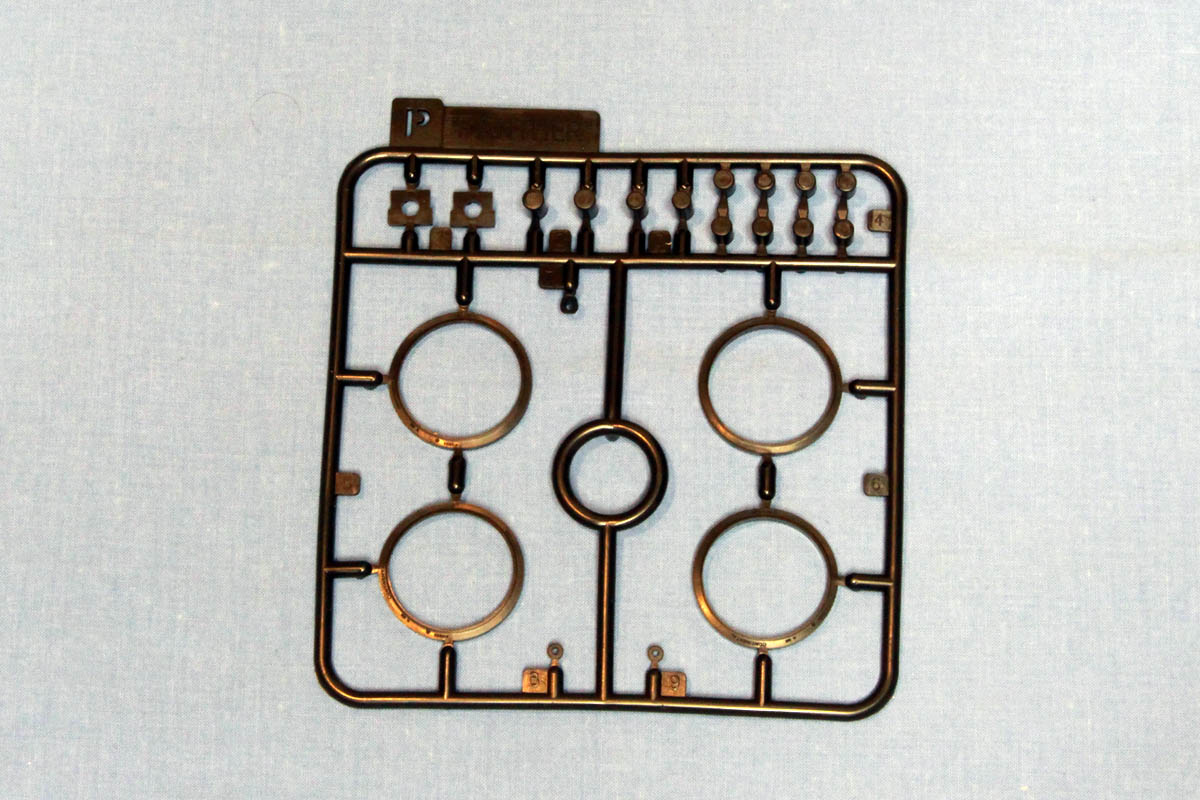
Sprue P
This is a poly sprue with rubber for four roadwheels and caps for holding the wheels on the torsion bars.
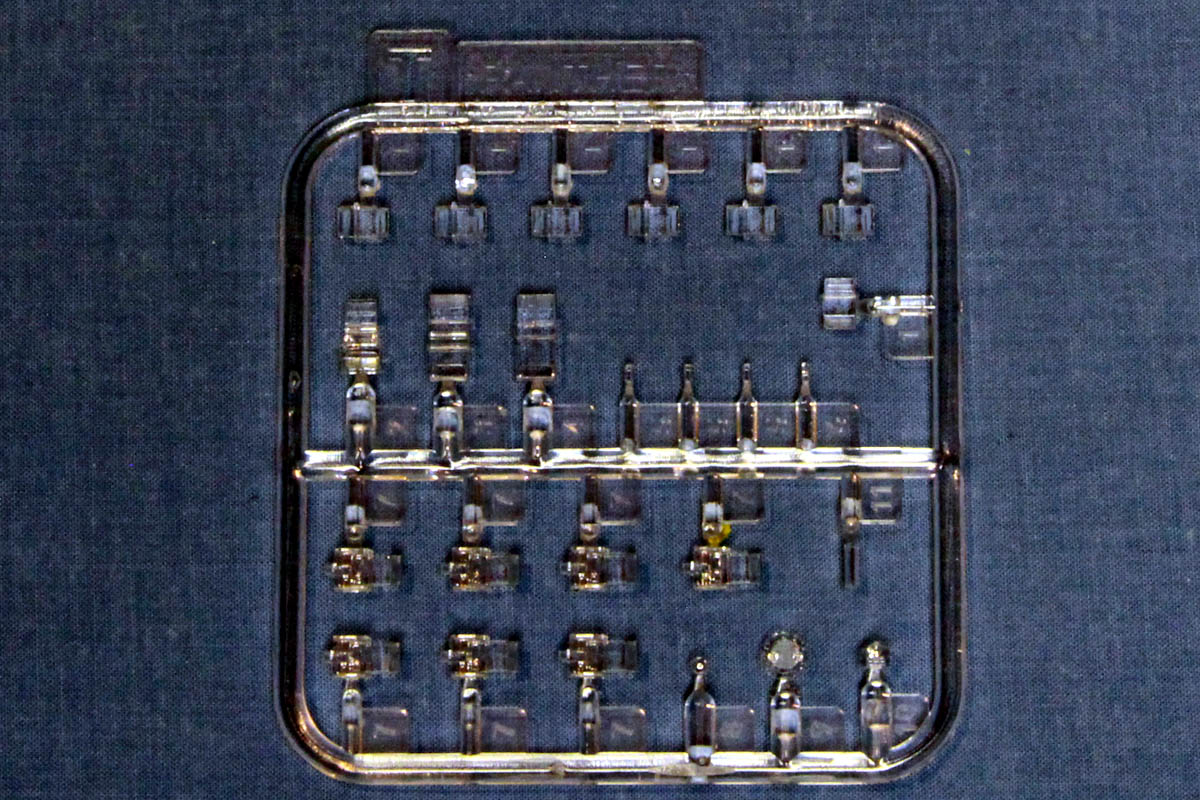
Sprue T
This is a clear sprue for all of the vision blocks, headlight lens, and what appear to be the internal light fixtures, nice touch RFM!
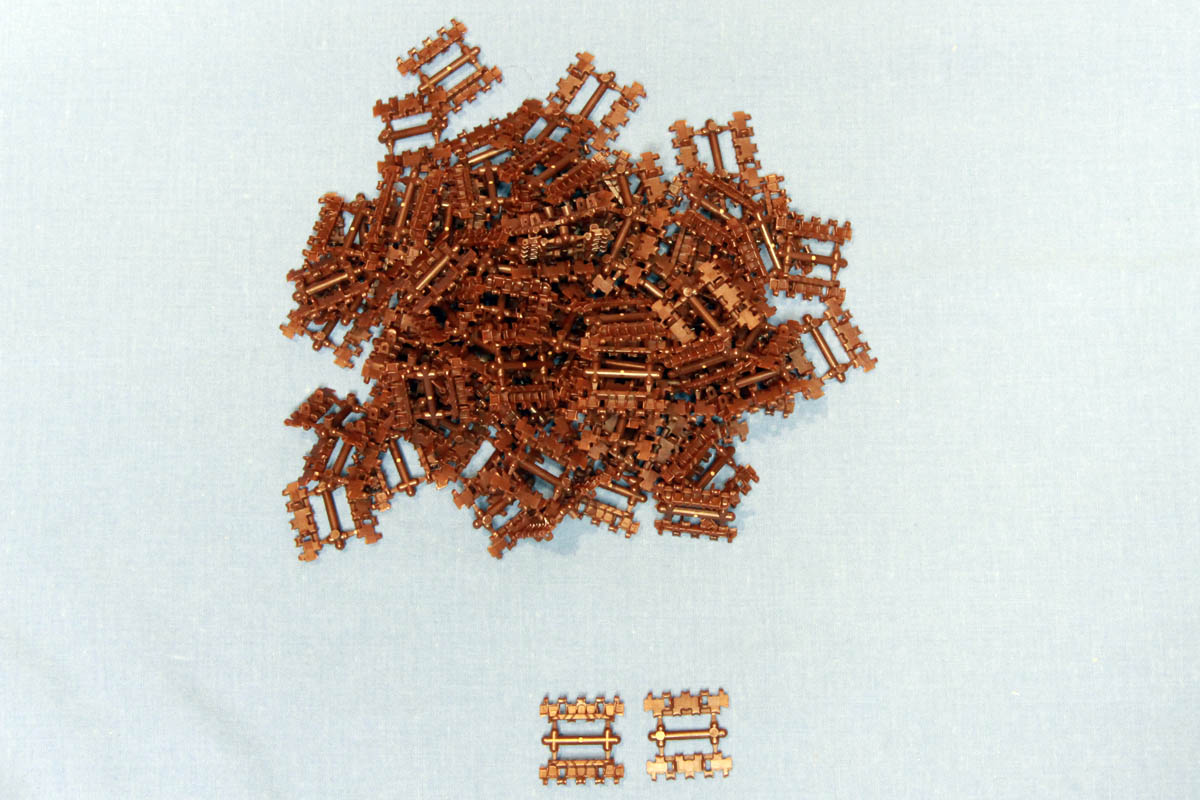
Tracks
A baggie of tracks is provided in a dark brown styrene, moulded with two links per small sprue. Detail is nice and crisp but there is an ejection pin mark in the middle of each link that will need to be cleaned up. Combined with the supplied track jig they should go together easily, but we`ll see how that goes during construction.
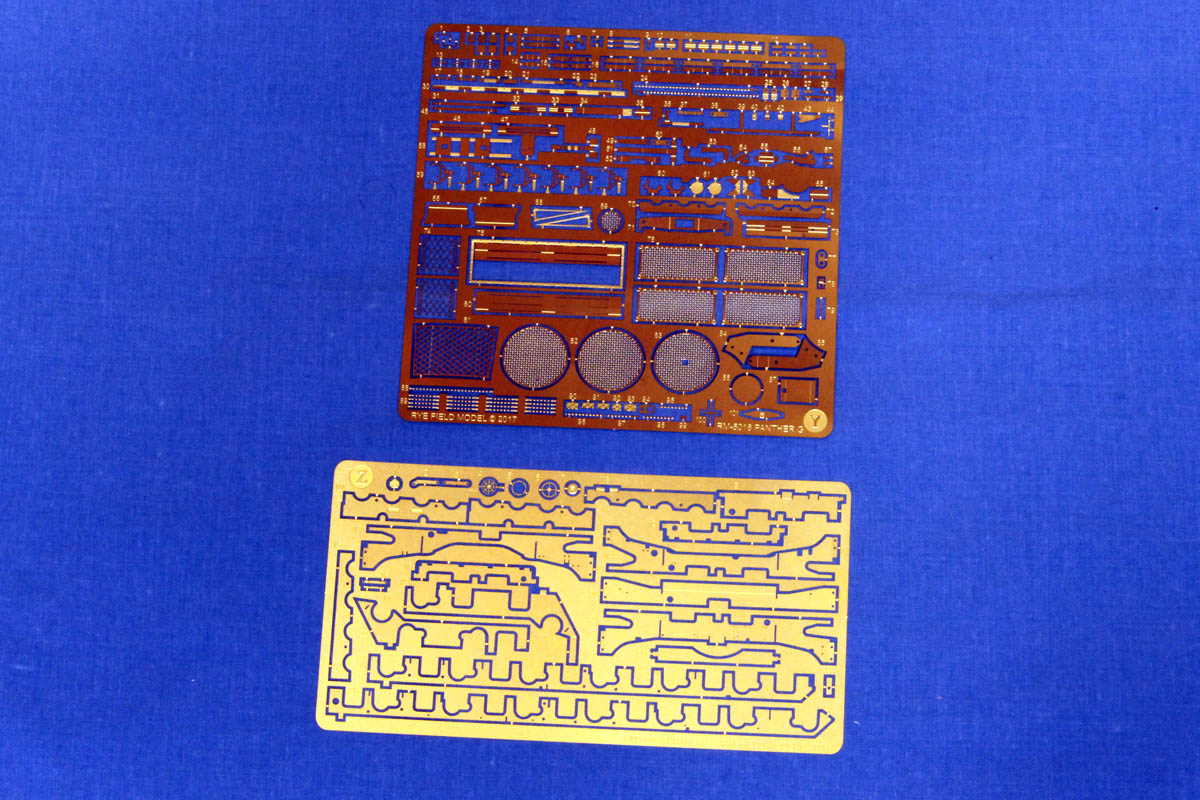
PE Frets
Two frets of photoetch are provided that cover various brackets, grilles, hull framing, etc. They look quite well done and the connector tabs are nice and small. RFM has even included springs for the driver and radio operator seat backs, adjustment handles for the vision blocks and small chains.
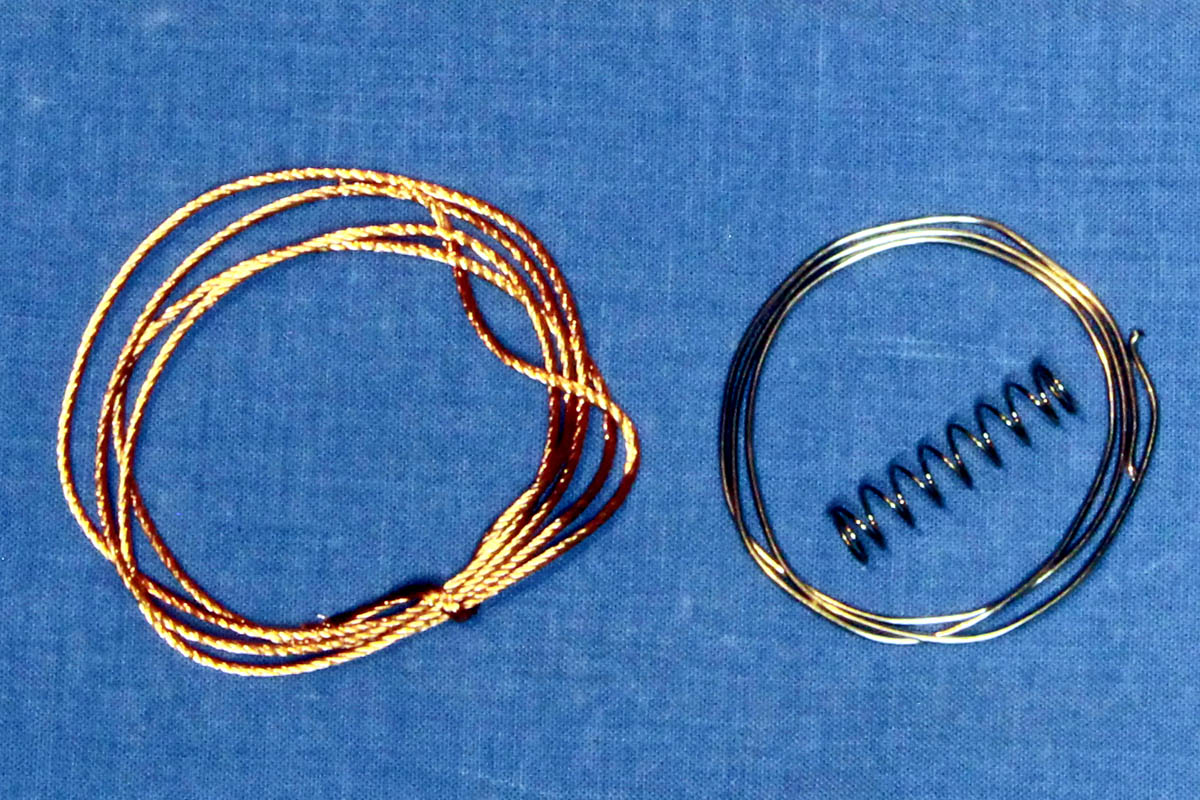
Miscellaneous
Some lead wire is provided to be used for various small hoses, along with braided copper wire for towing cables and a spring for main gun recoil.
Decals
Two small decal sheets are provided, one with national and unit markings, and one with interior stencils. Quality looks excellent.
Conclusion
This is by no means a kit for beginner builders. It has an amazing amount of detail along with an amazing amount of parts, and is even somewhat intimidating! I am sure it will build up into an impressive model whether it is done as a conventional build or the cutaway version. Rye Field Model has done a great job with this.
Stay tuned for my build blog!
SUMMARY
Highs: Incredible detail, near flawless moulding, lots of options.Lows: High parts count might be intimidating to some.Verdict: Looks to be an amazing kit overall.
Our Thanks to Rye Field Model! This item was provided by them for the purpose of having it reviewed on this KitMaker Network site. If you would like your kit, book, or product reviewed, please contact us.
Colin started modelling with cars and planes as a young child then moved into armour by rebuilding his older brothers motorized Tamiya Tiger II and winning a model contest with it at age 12. He continued modelling into his teens until university and other distractions got in the way, resuming the...


Comments