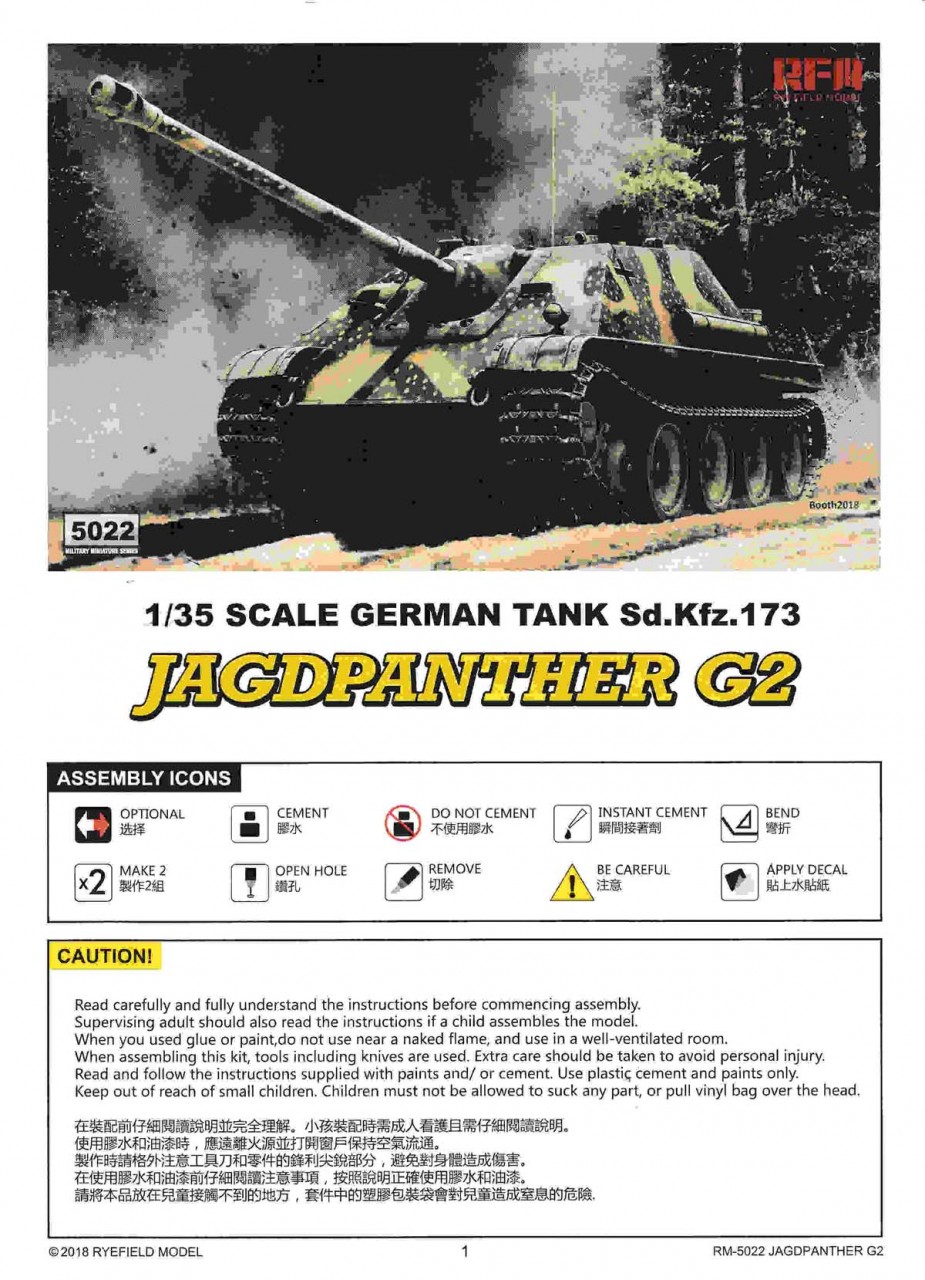
The origins of the Jagdpanther date back to 1939 with the proposal for a Sturmgeschuetz mit 8.8cm main gun. By August 1942, Wa Pruef 6 told Krupp to use the chassis of the Panther as the basis for the vehicle. By May 1943 design and assembly responsibility had been passed to Miag. Miag delivered the first test vehicle (V1) in October 1943. With the second (V2) in November 1943. Due to delays, the first five production units were not accepted until January 1944. Due to repeated bombing damage to the Miag facility causing production delays, in late 1944, MNH and MBA were contracted to assemble vehicles. Around 413 (G1 & G2) were delivered before the factories were captured by the Allies.
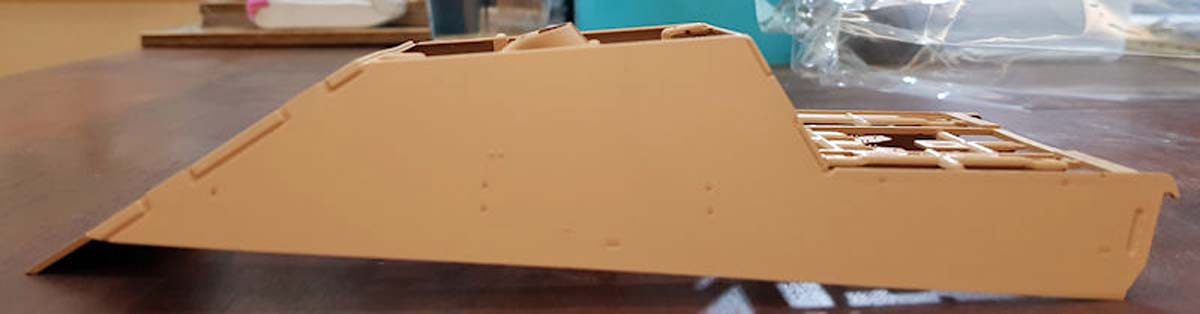
The G2 version used the Panther Ausf. G chassis instead of the Ausf. A chassis. The major changes with this type over the G1 includes a longer engine deck with a shorter superstructure with steeper sloped sides. Most tooling relocated to the rear deck and rear superstructure plate. The crew compartment heater was installed along with the Flammvernichter mufflers.
The Ausf. G2 was produced from February to April 1945. An estimated 111 G2s were produced.
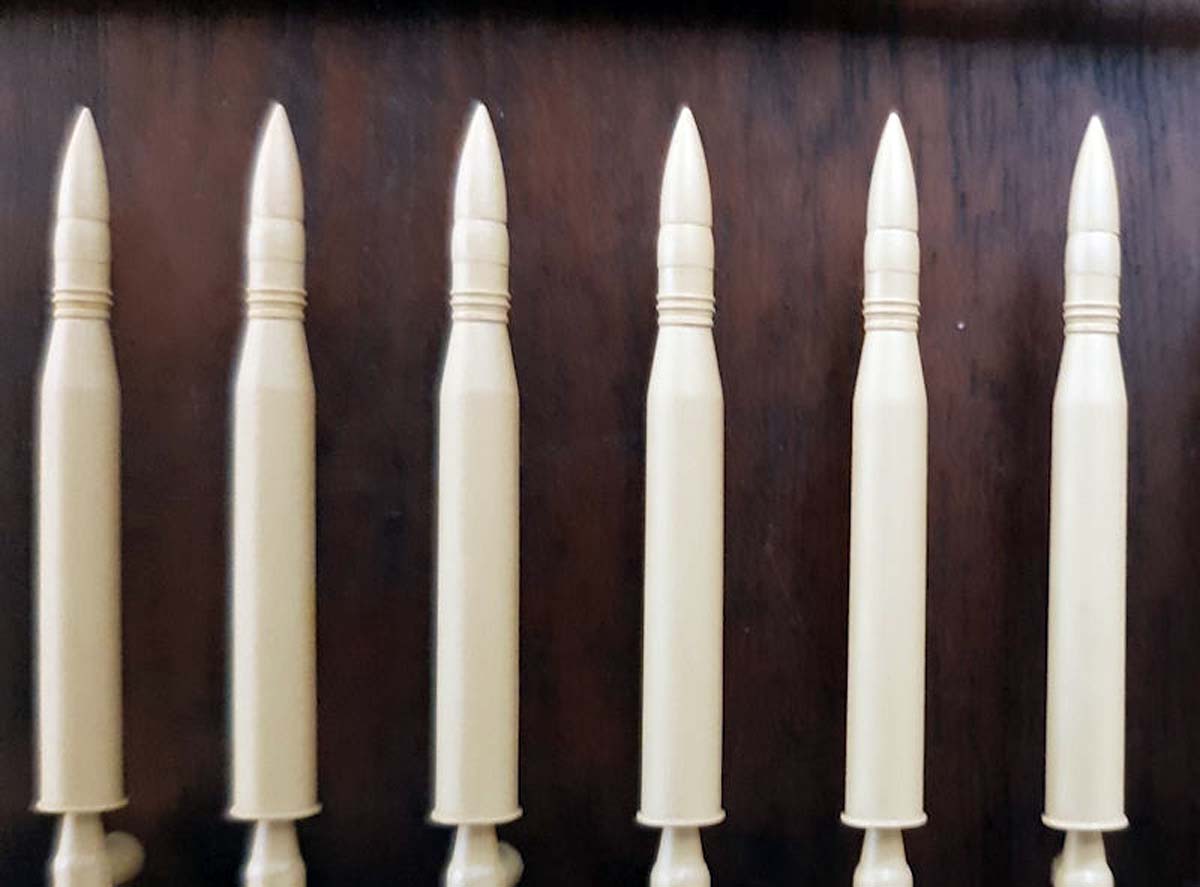
All G2s were outfitted with the sectional 8.8cm Pak 43 L/71 main gun with the light weight muzzle brake along with one MG34.
Whats in the Box
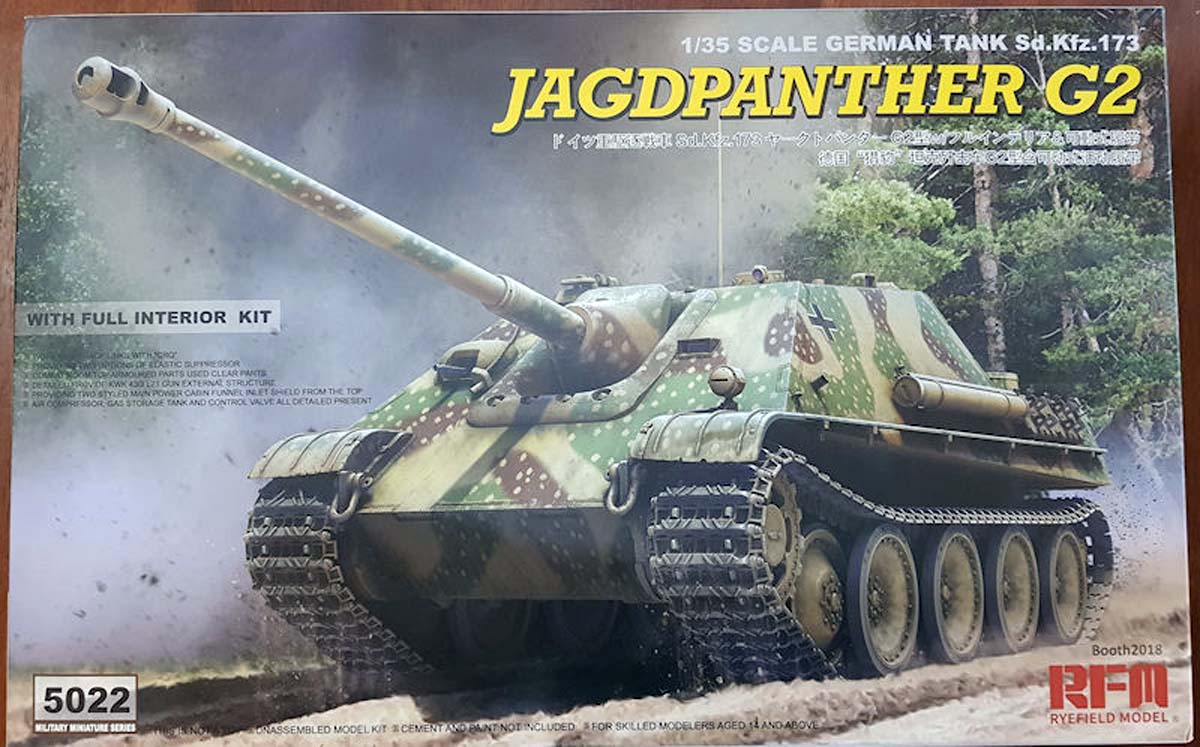
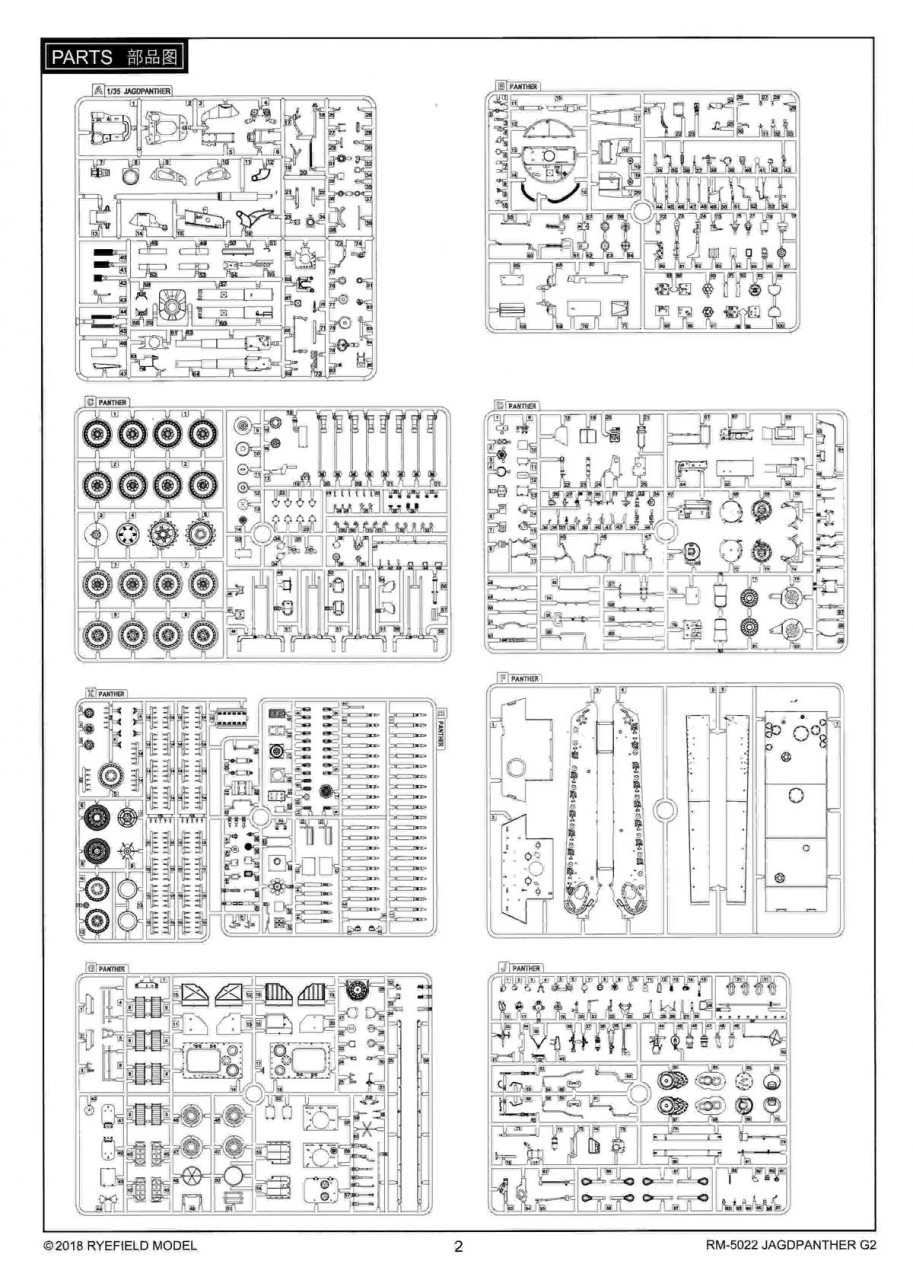
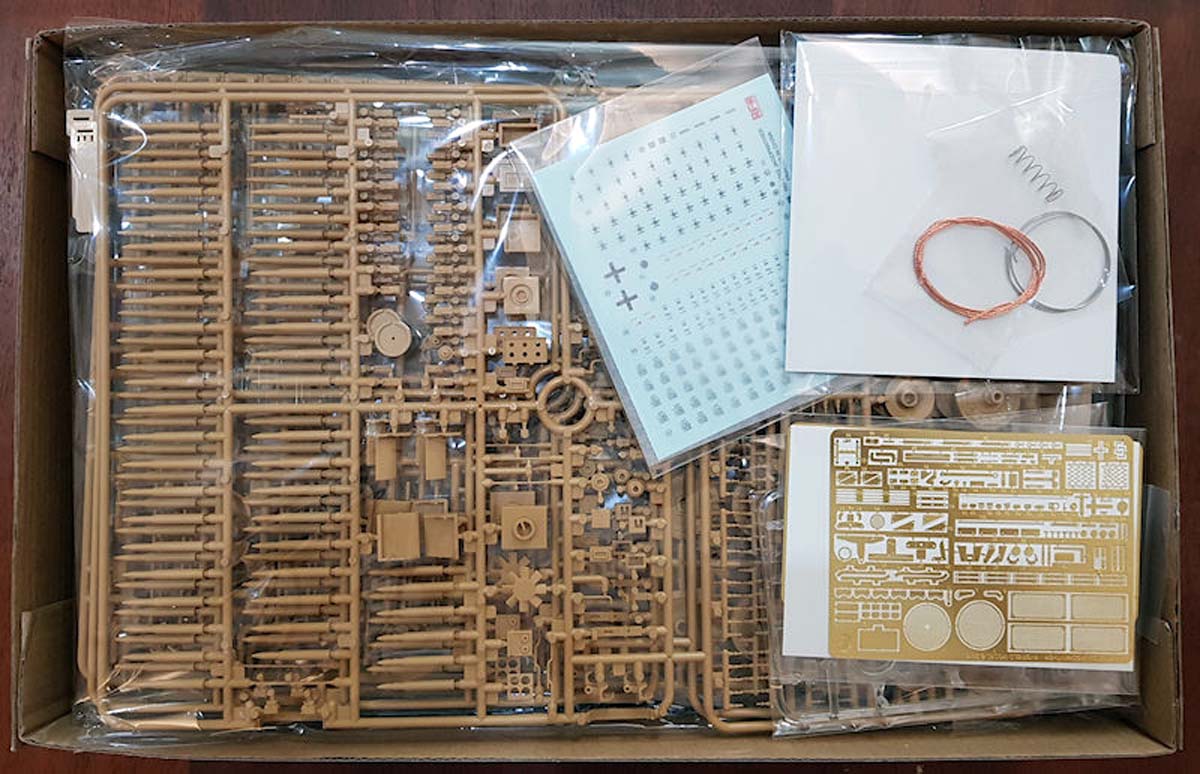
This kit is from Rye Field Models and released in February 2019. This is a large box, measuring 15in x 9.5in x 5in (38cm x 24cm x 12.7cm). The kit has just over 1700 parts. Whats in the box:
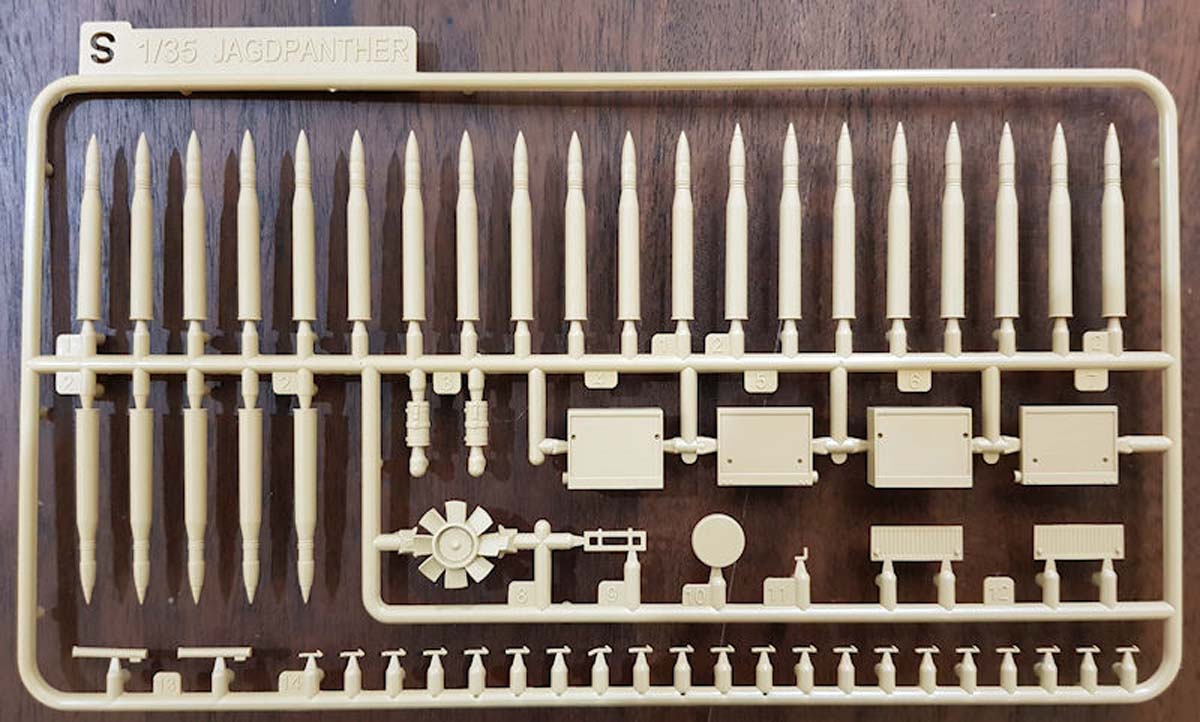
19 sprues molded in beige
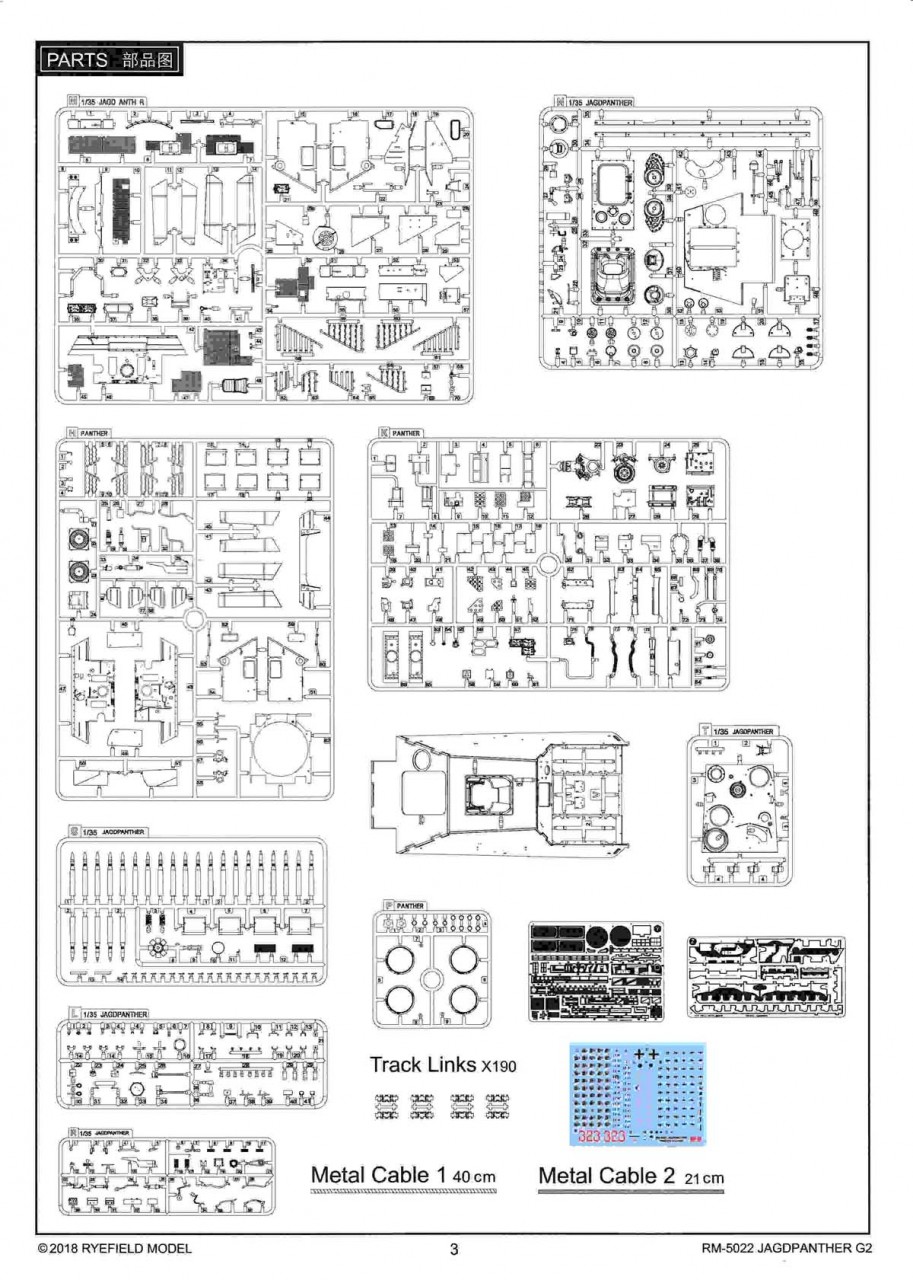
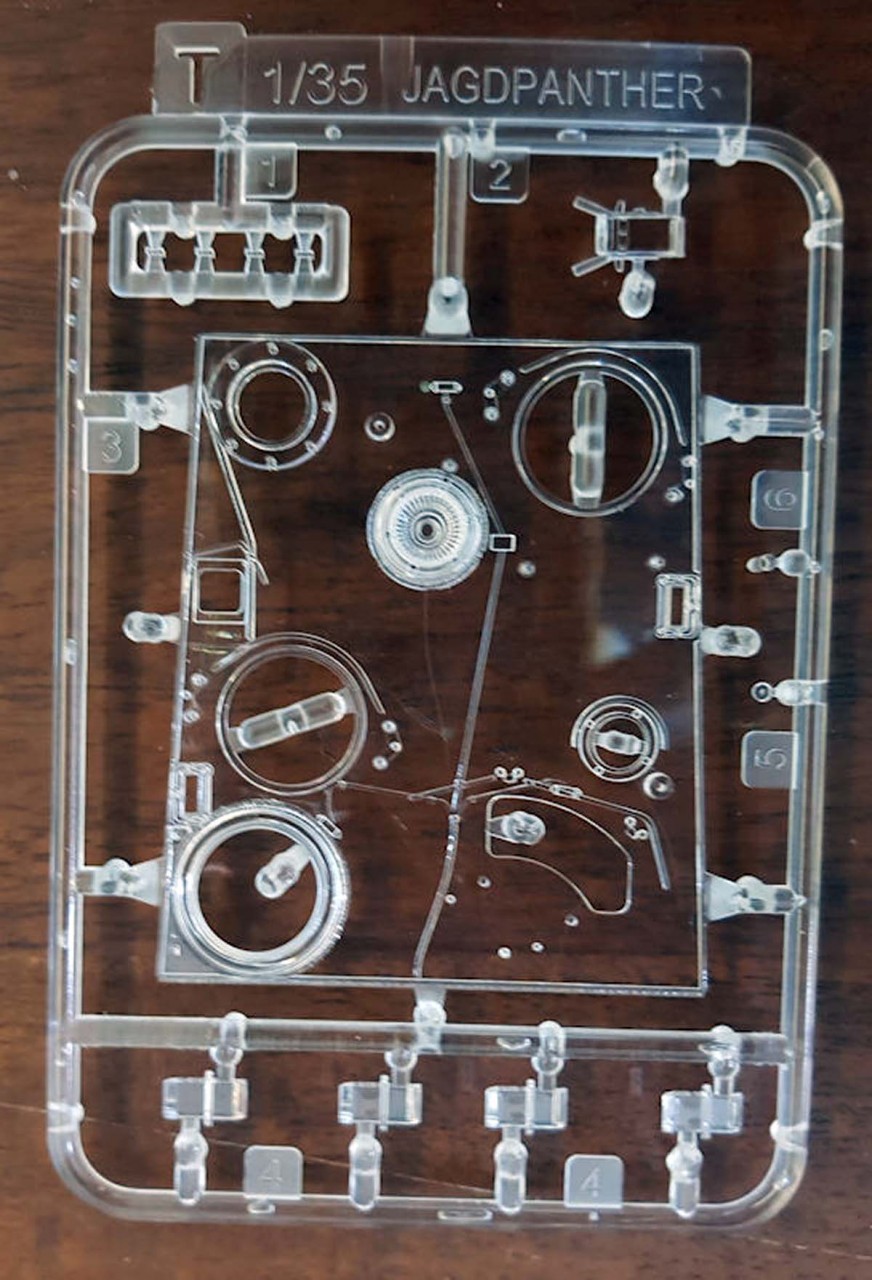
1 clear sprue
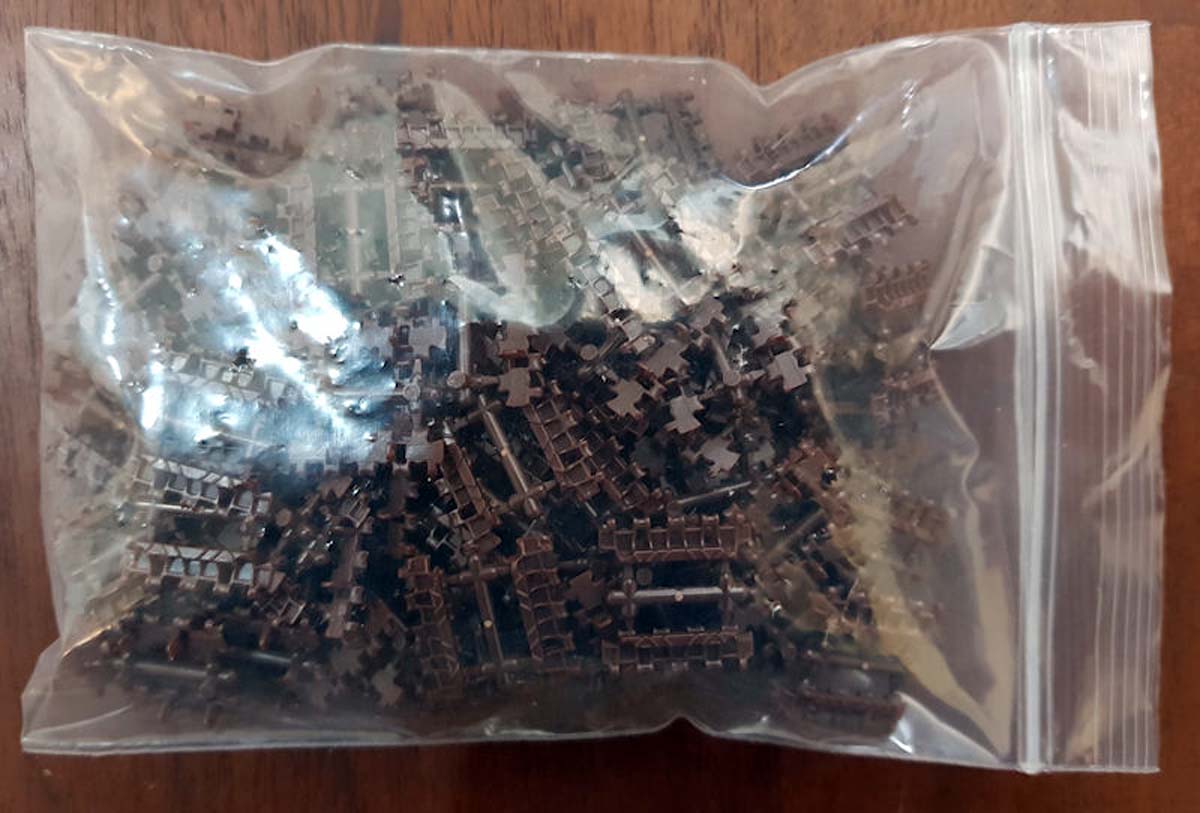
1 bag of track links
2 brass PE frets
2 metal cables
1 spring
1 rubber sprue
1 decal sheet
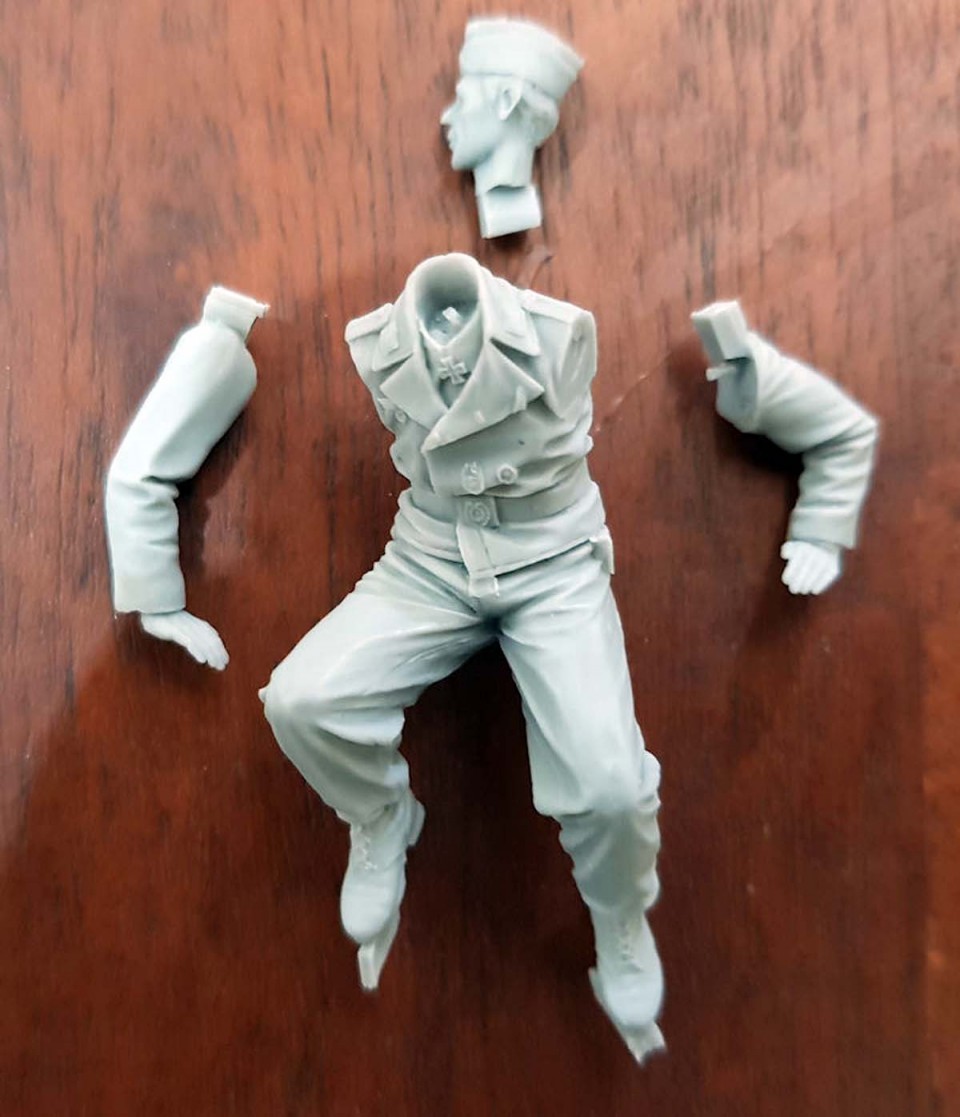
1 resin figure (limited edition first run kits only)
1 44 page Instruction manual with painting guide
Looking at the Kit
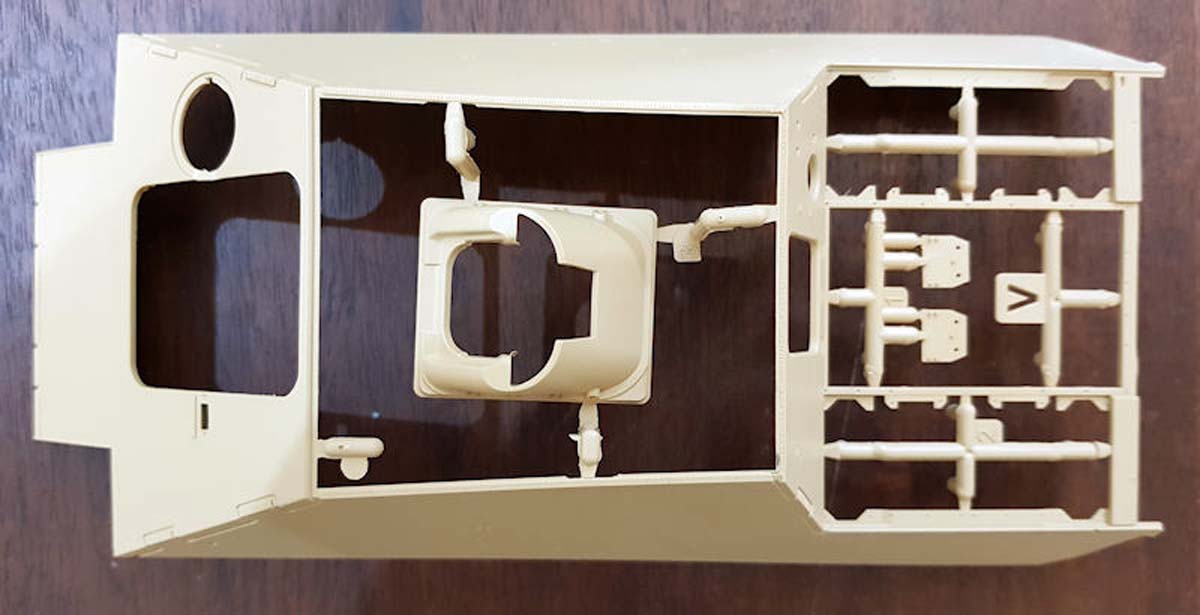
Instructions The manual is just smaller in size than a standard A4 sheet of paper. It has 44 pages of line drawings with some graphics mixed in to provide more clarification on locating small parts. The first two pages provide the sprue layout. What is not identified on the layouts are which sprues include more than one each in the box. For example, Sprues C, E/X, and S have two each in the box. The Ausf. G kit (5016) does identify sprue quantity in the layout. The drawings are nicely done and generally clear. There are several steps where build options are provided with no information on the choices
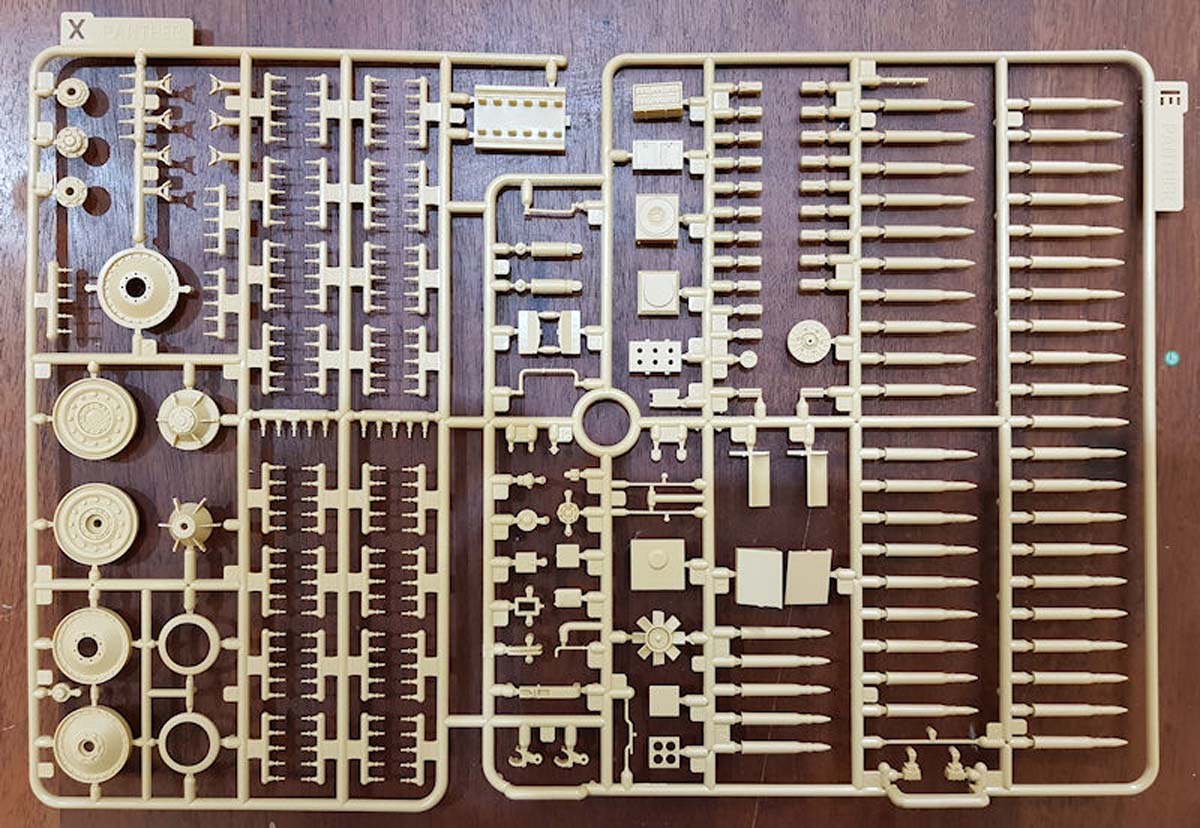
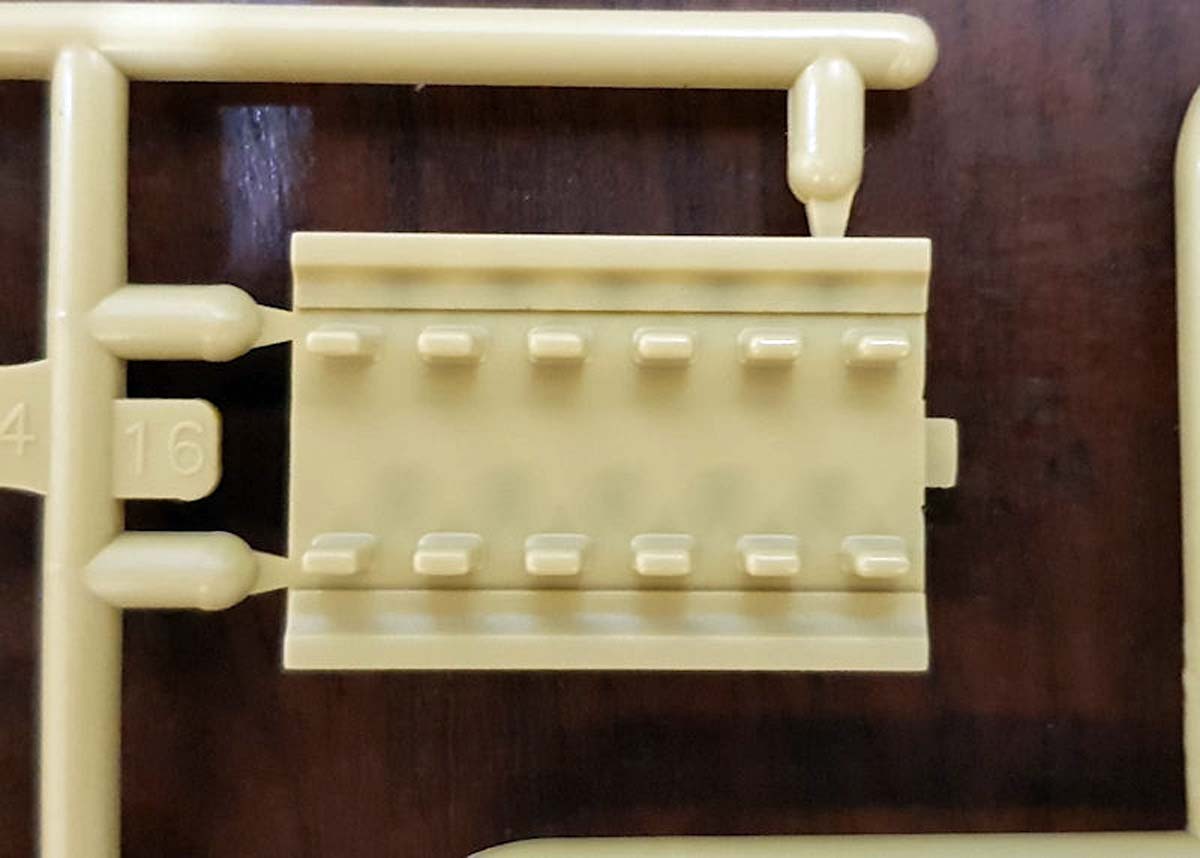
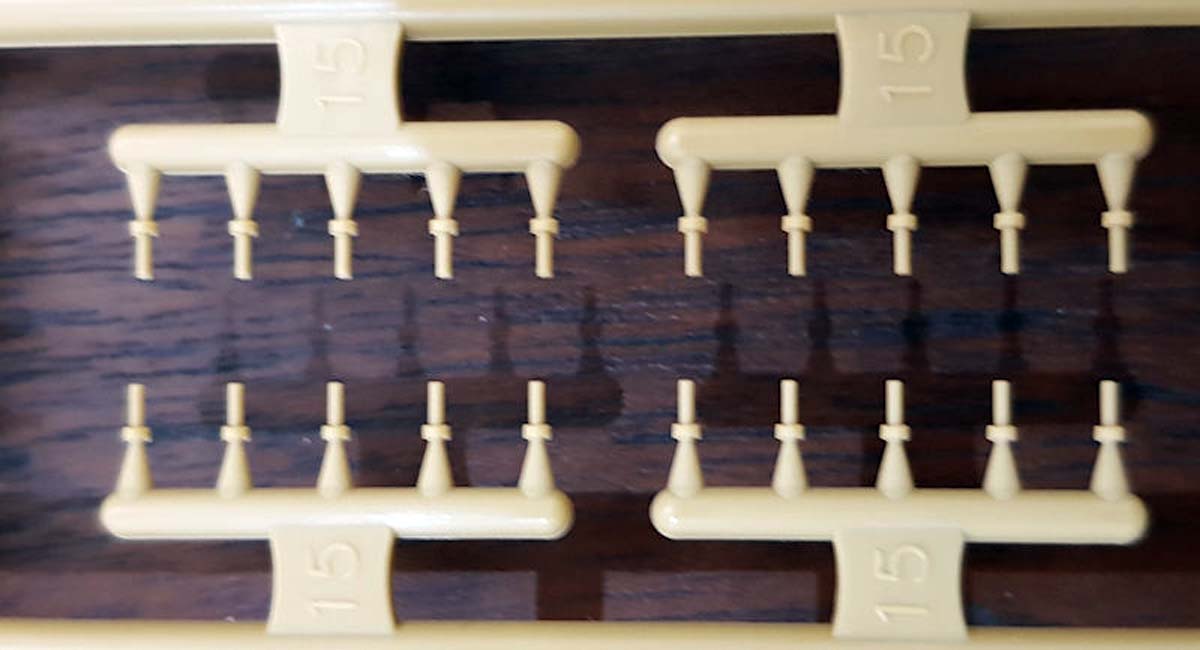
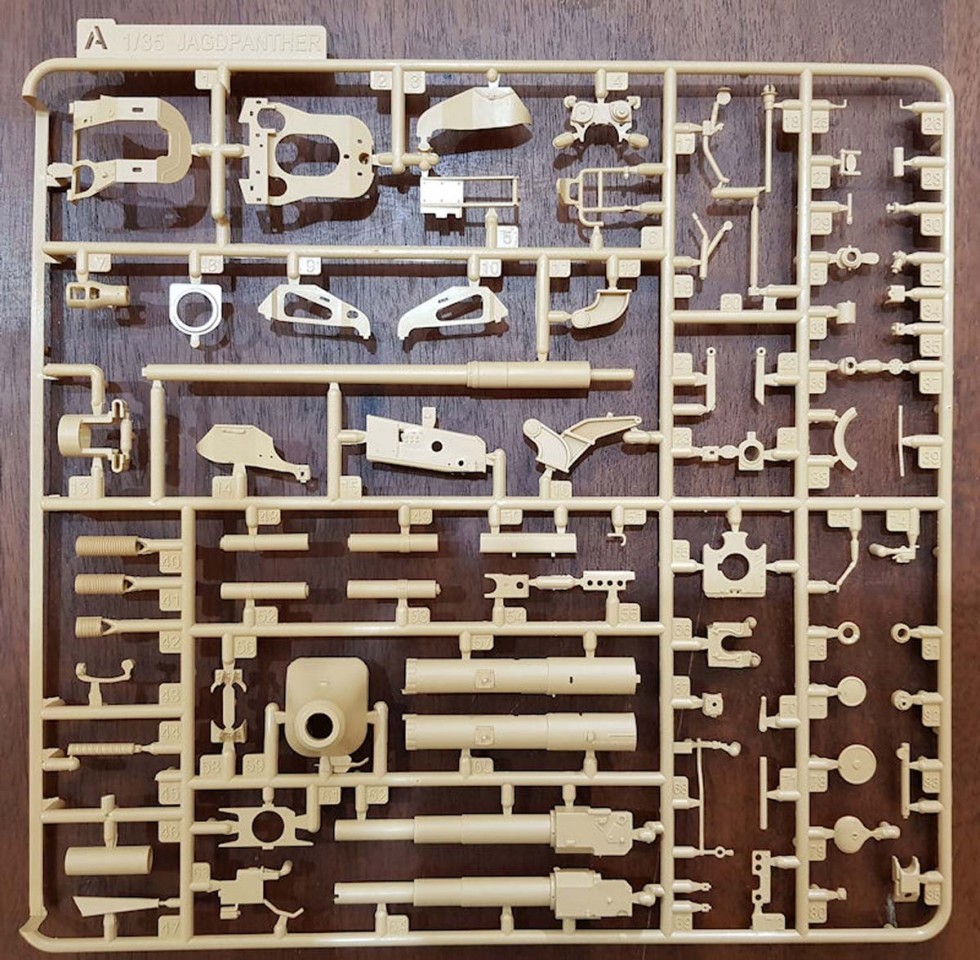
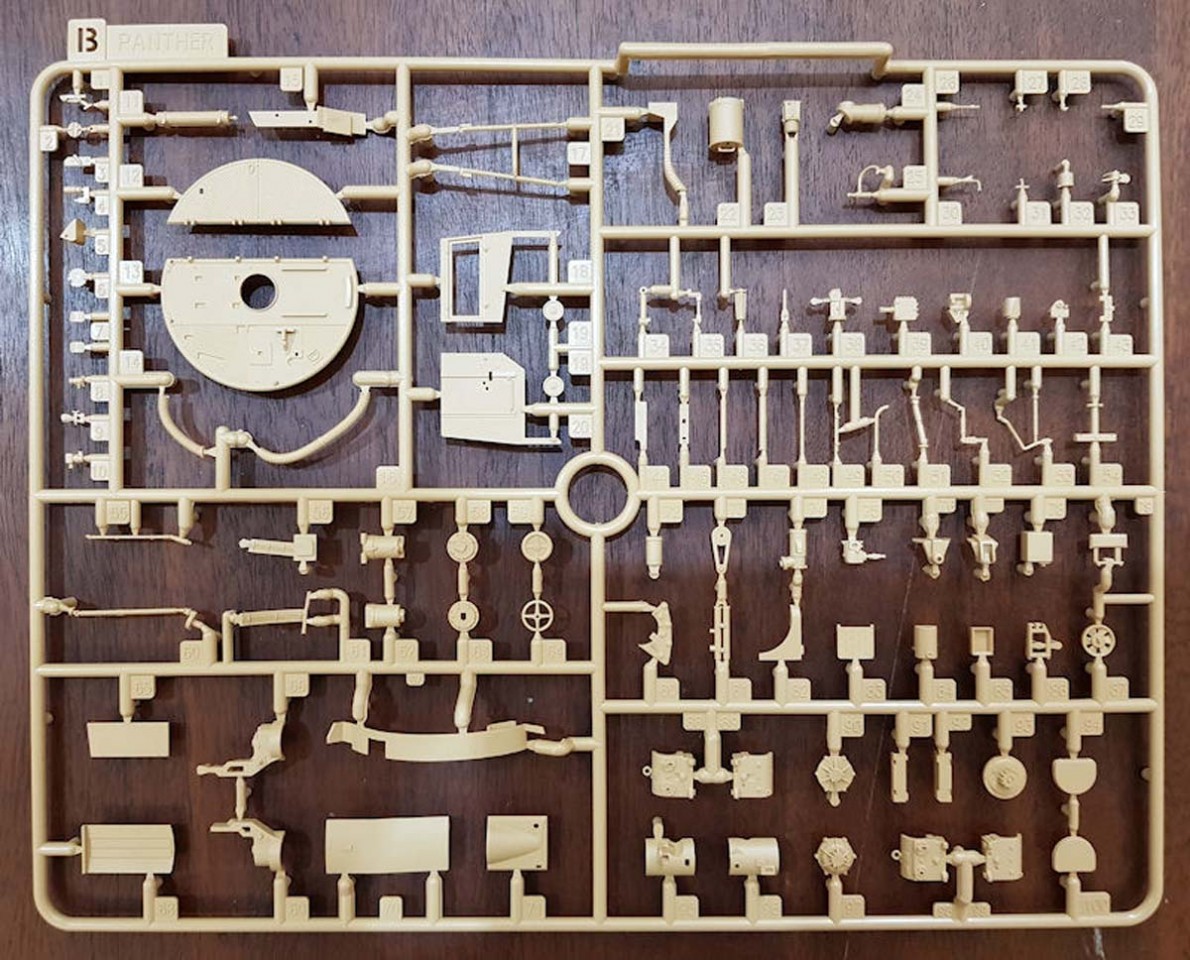
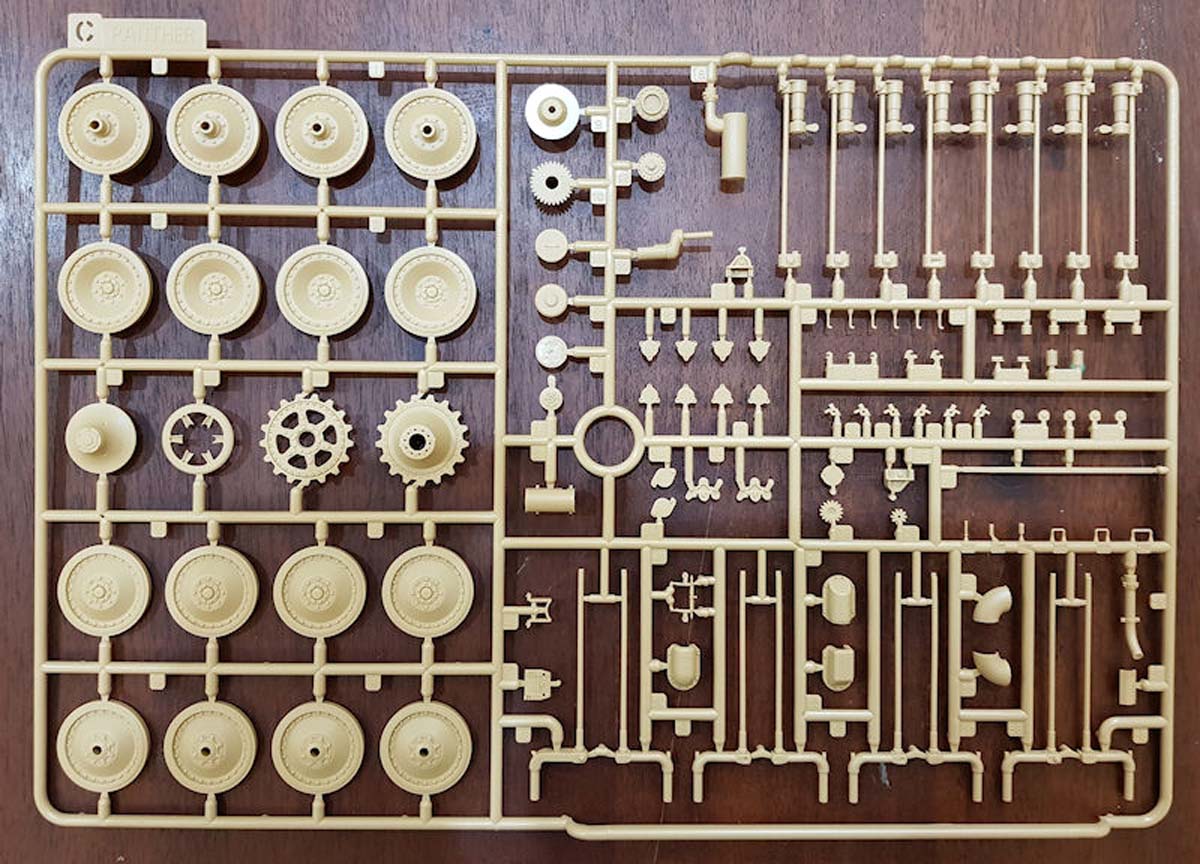
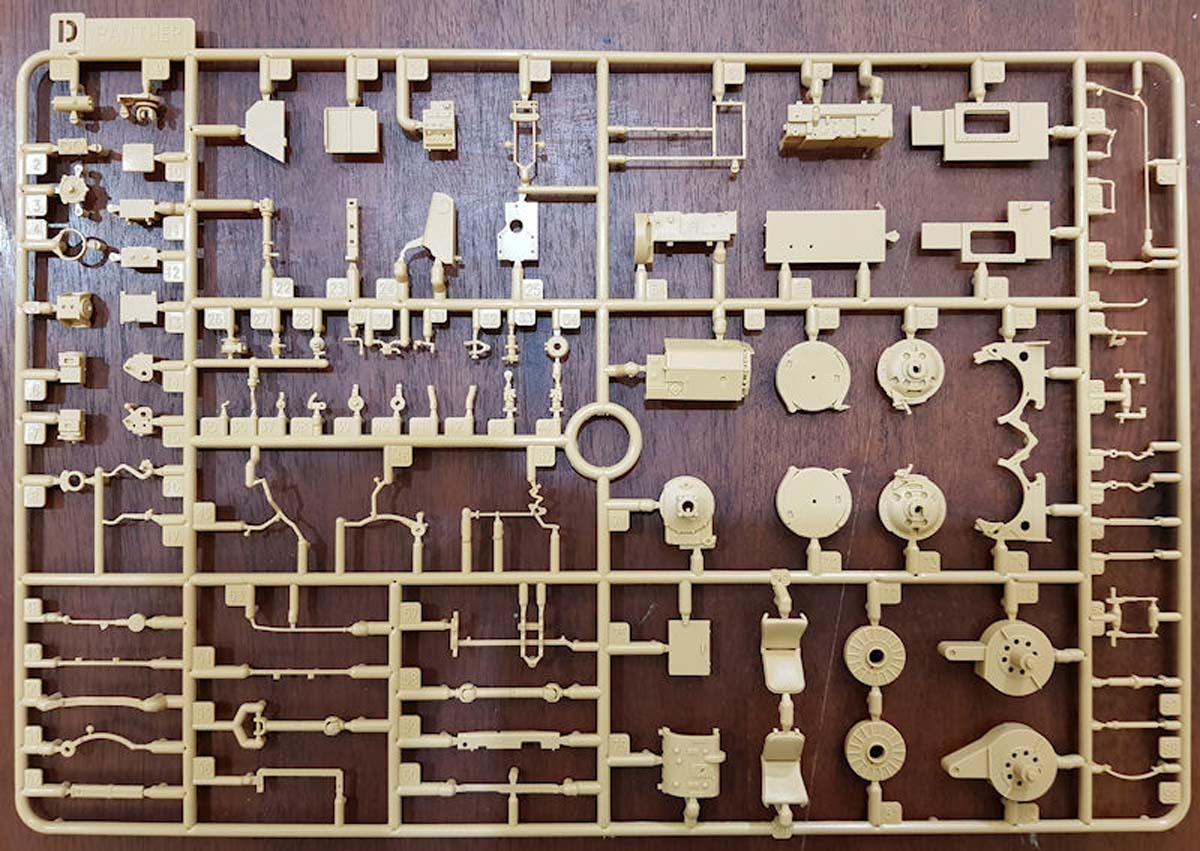
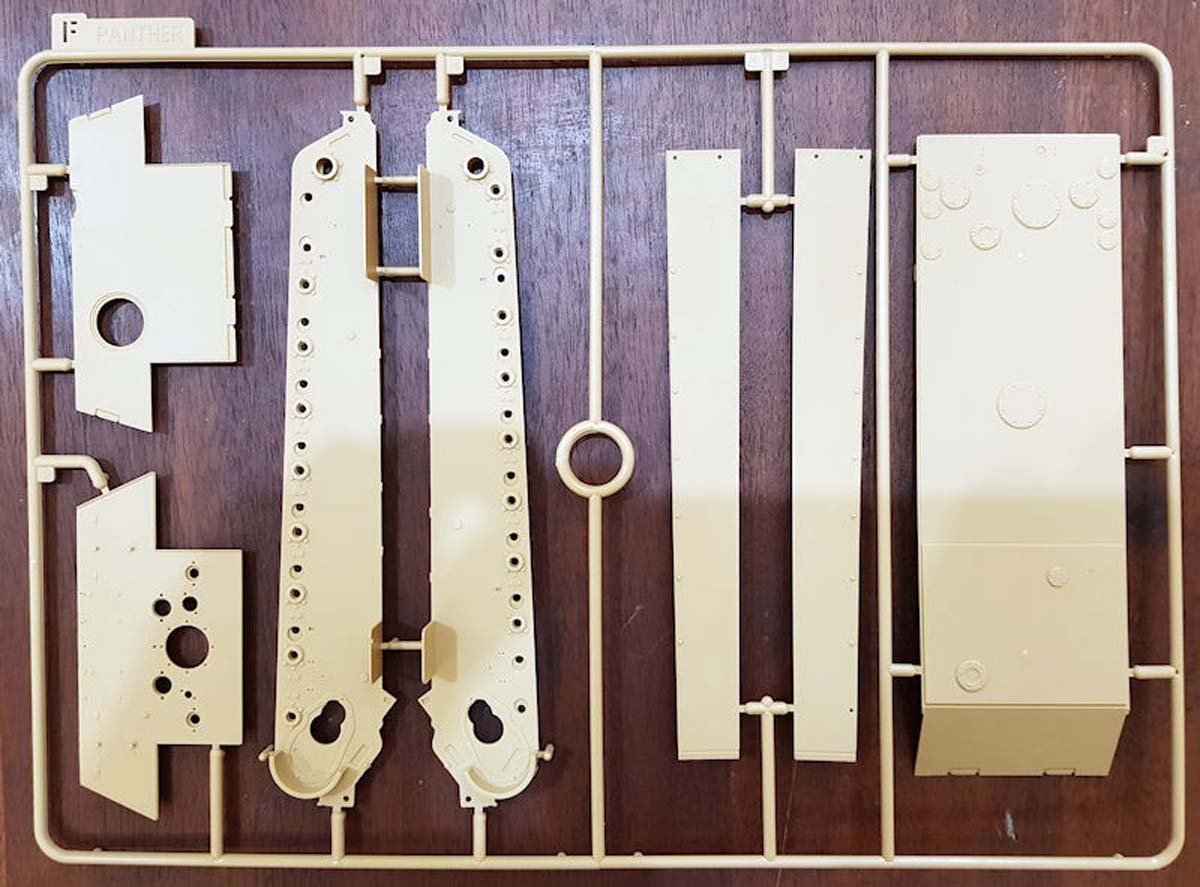
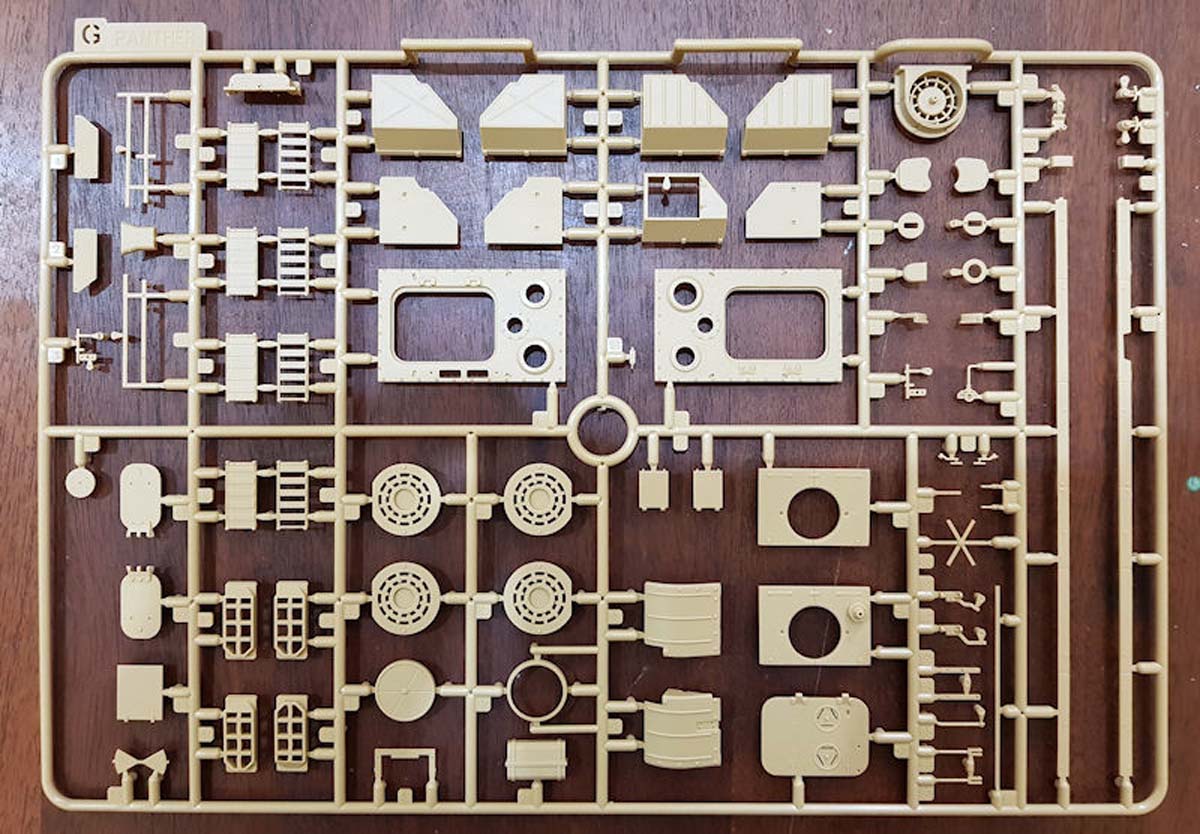
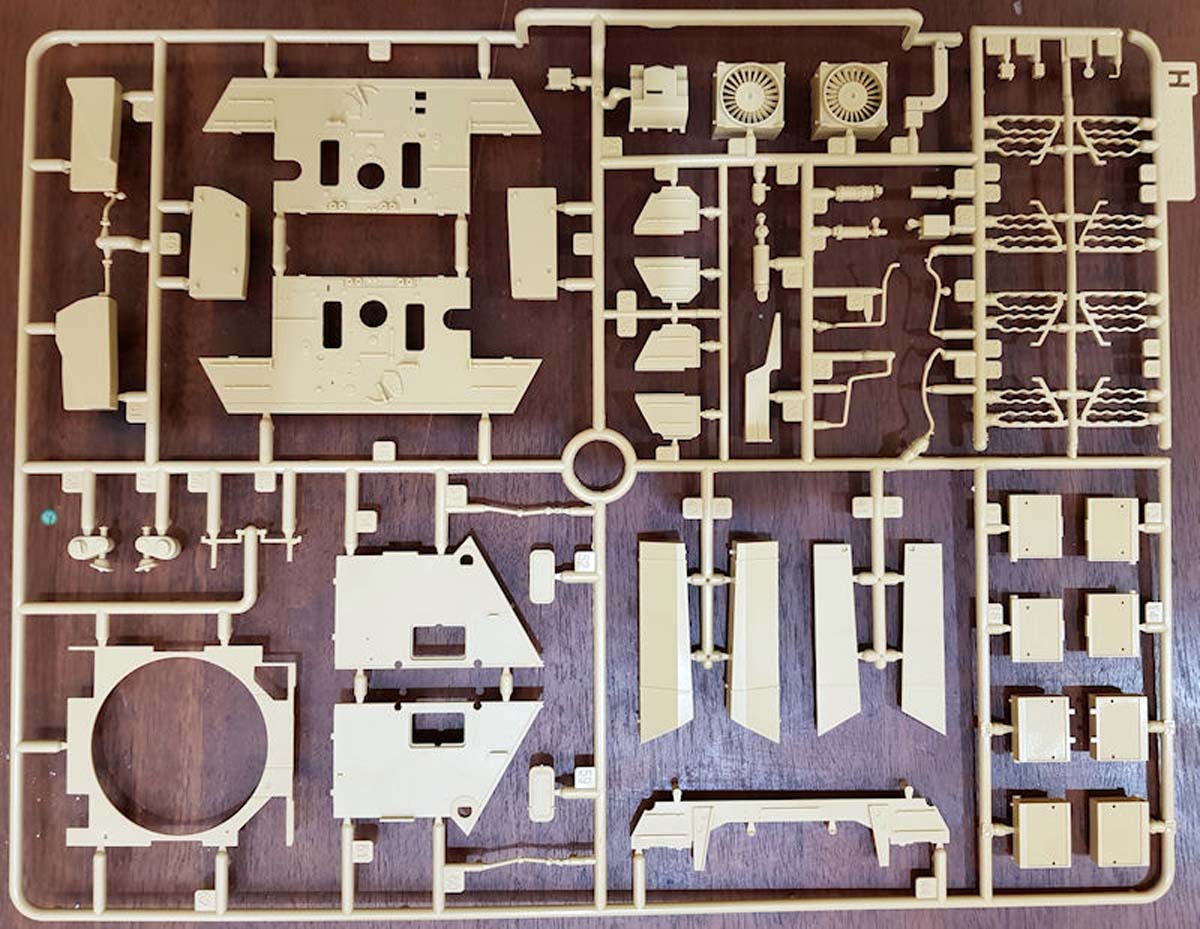
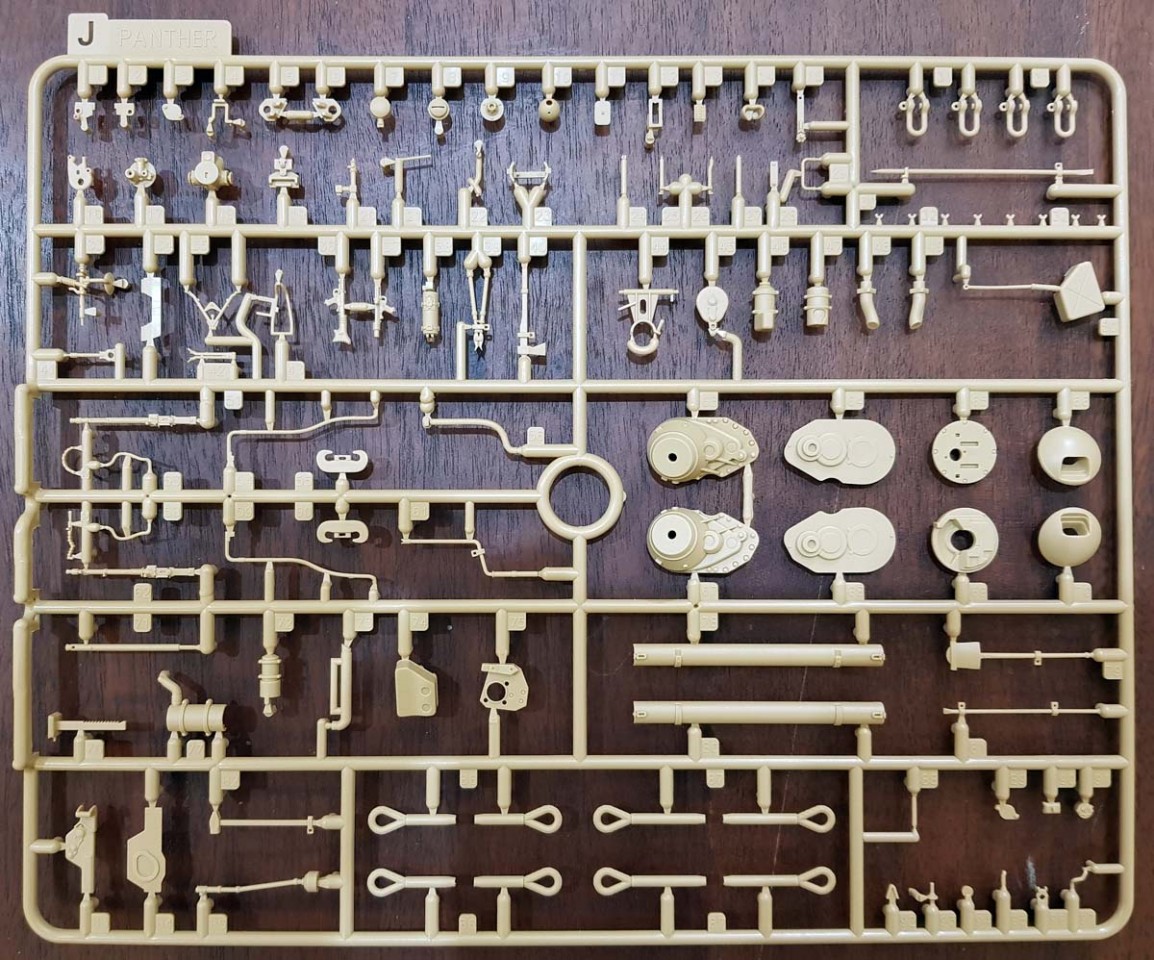
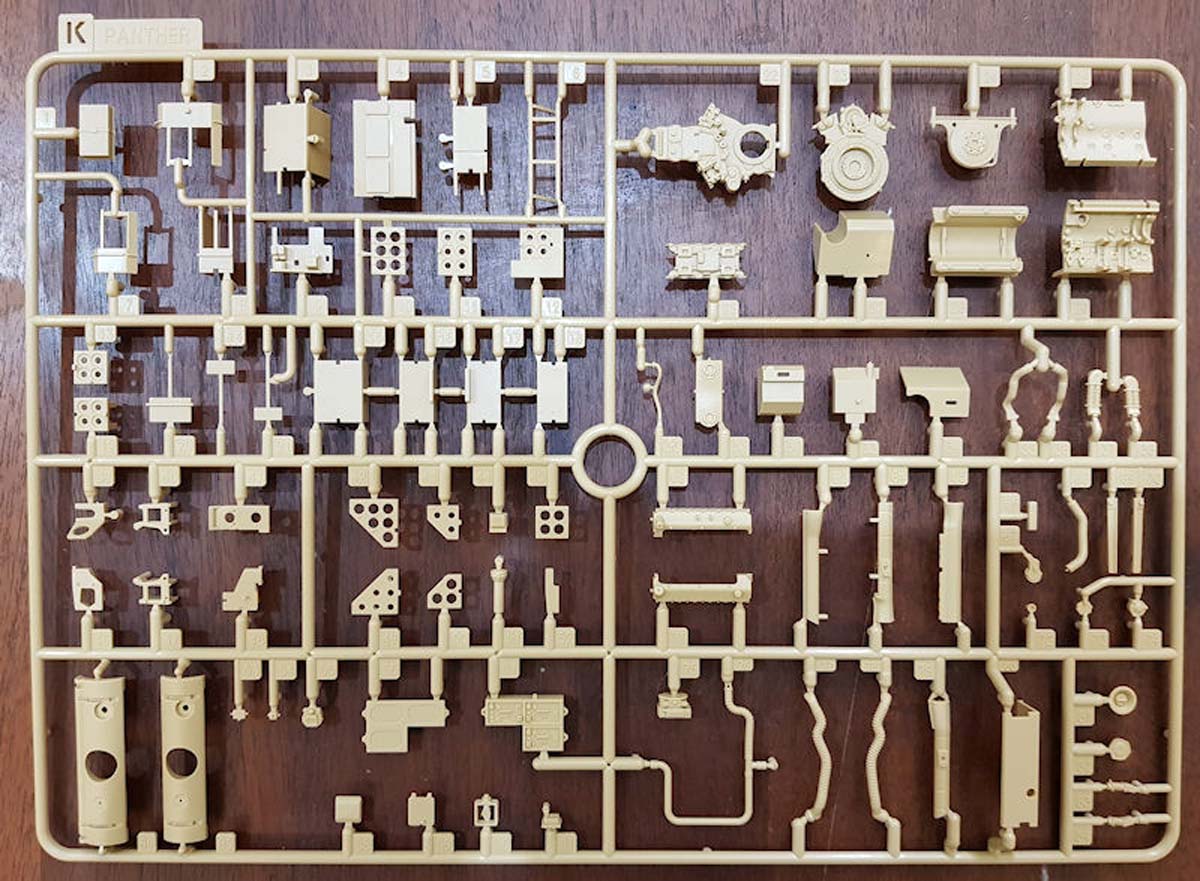
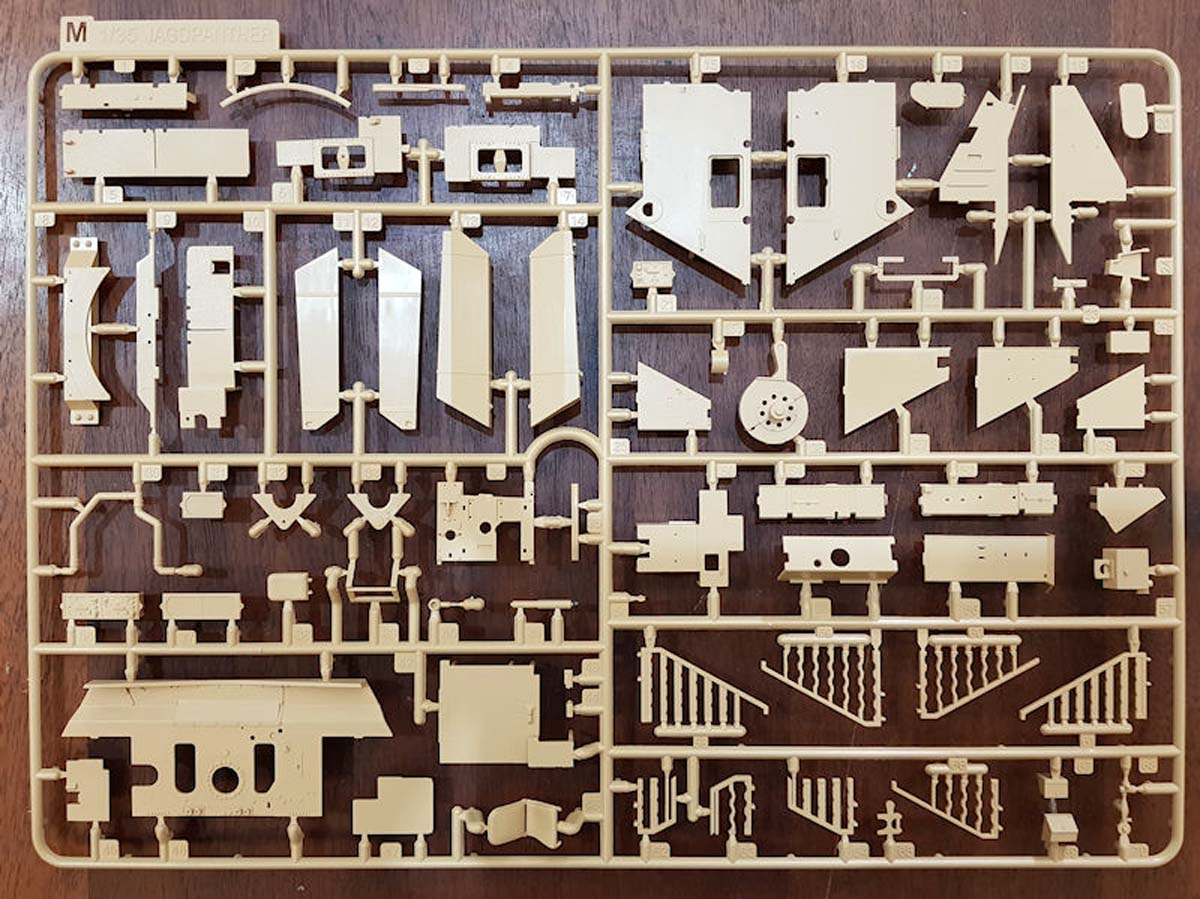
Sprues The quality of the styrene is clean and crisp. There is little to no flash on any of the parts. Any ejector pin marks are located such that they shouldnt be seen once built. Sprues have their identification letter stenciled, a la Takom, making them easy to identify. Many of the sprues are carried over from the Ausf. G kit (5016). Even though it has not been identified in the parts layout, there will be parts that are not applicable to this kit. Mainly, any of the turret specific parts will not be needed.
Sprues from kit 5016 (Panther Ausf. G): B, C, D, E, F, G, H, J, K, P, X
Sprues new for this kit: A, L, M, N, R, S, T, V
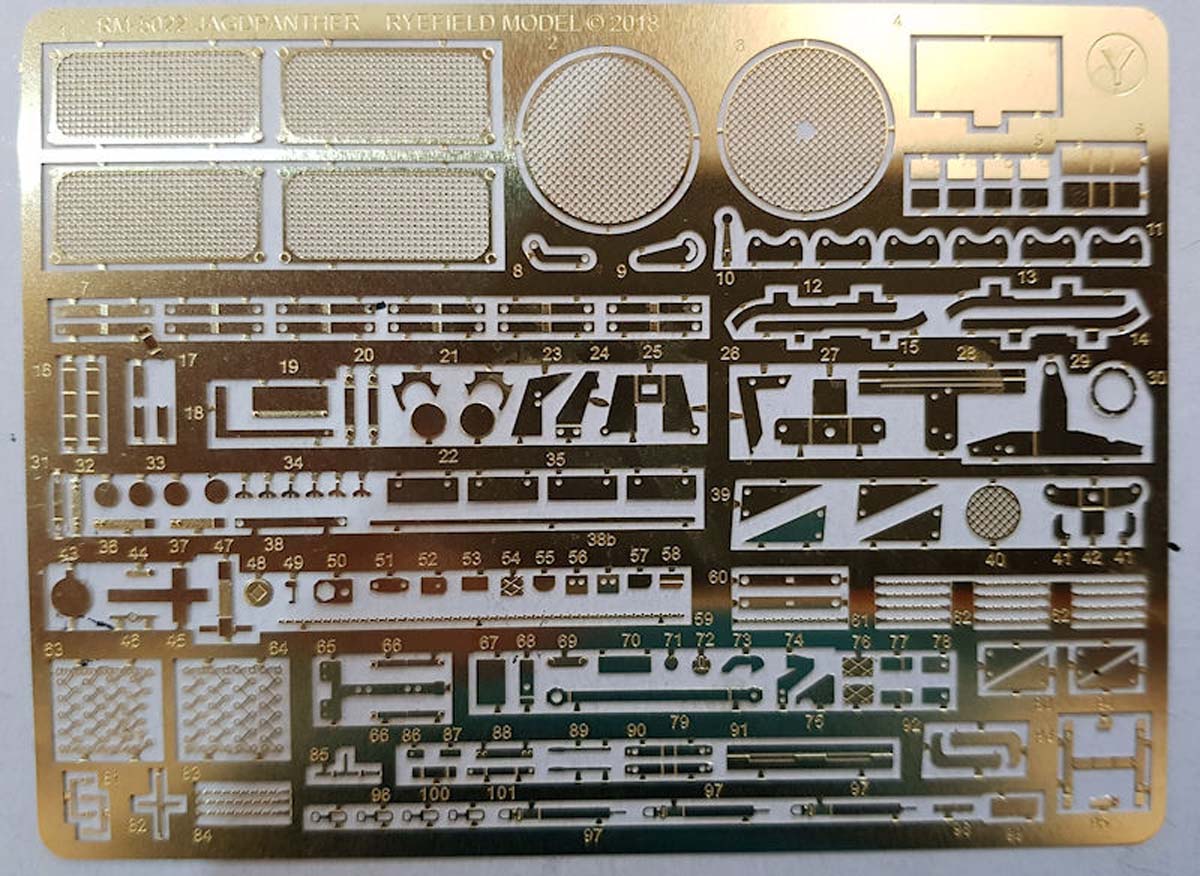
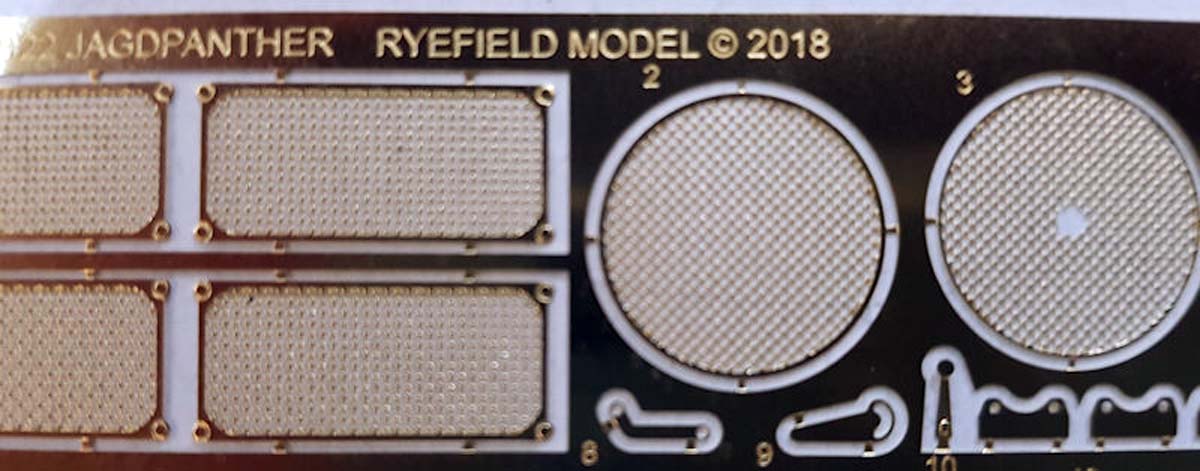
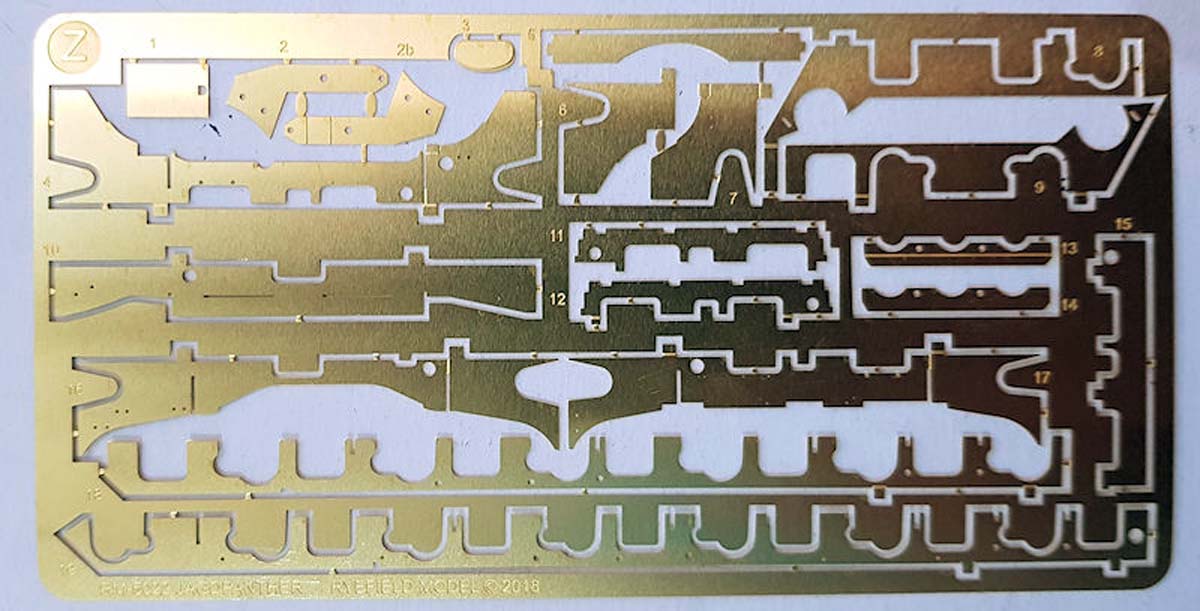
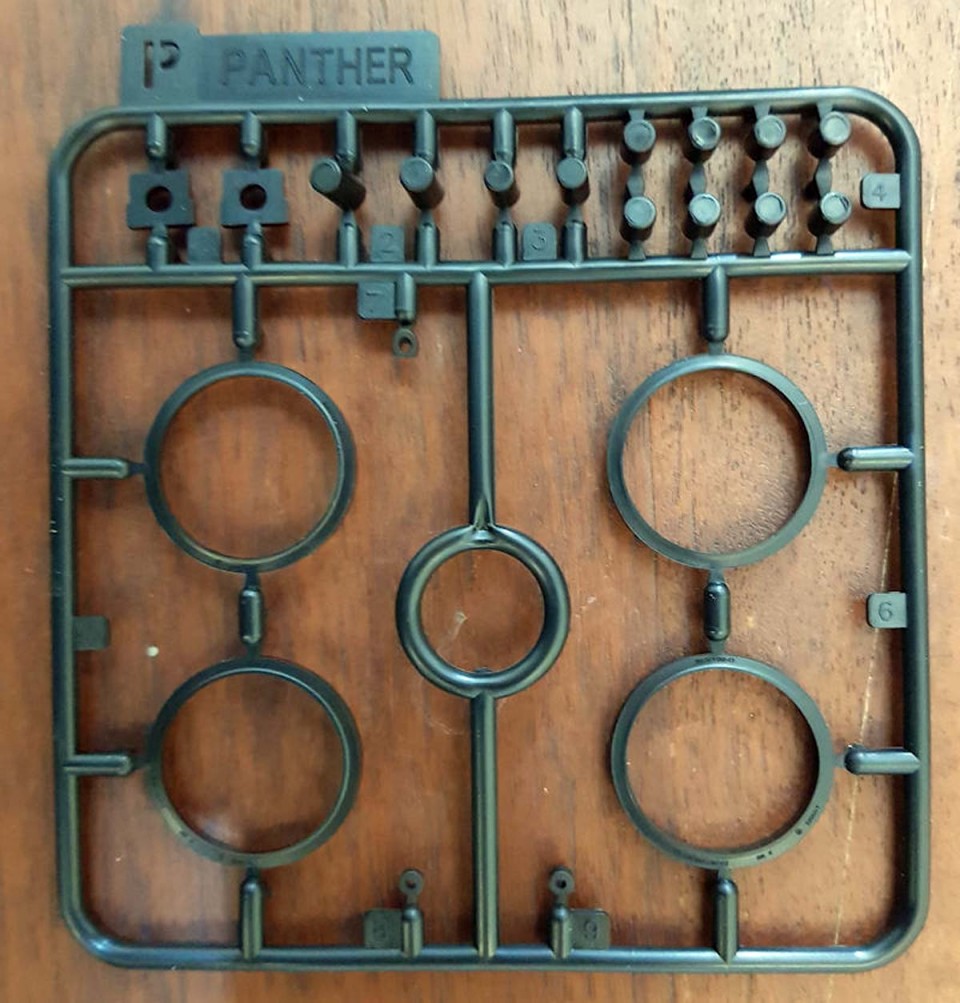
PE Two brass frets are provided. These are identified as new for this kit. Fret Y is .14mm thick and contains all of the small parts and the radiator grills. Fret Z is .18mm thick and has all of the hull structural parts.
Lets look at the build process:
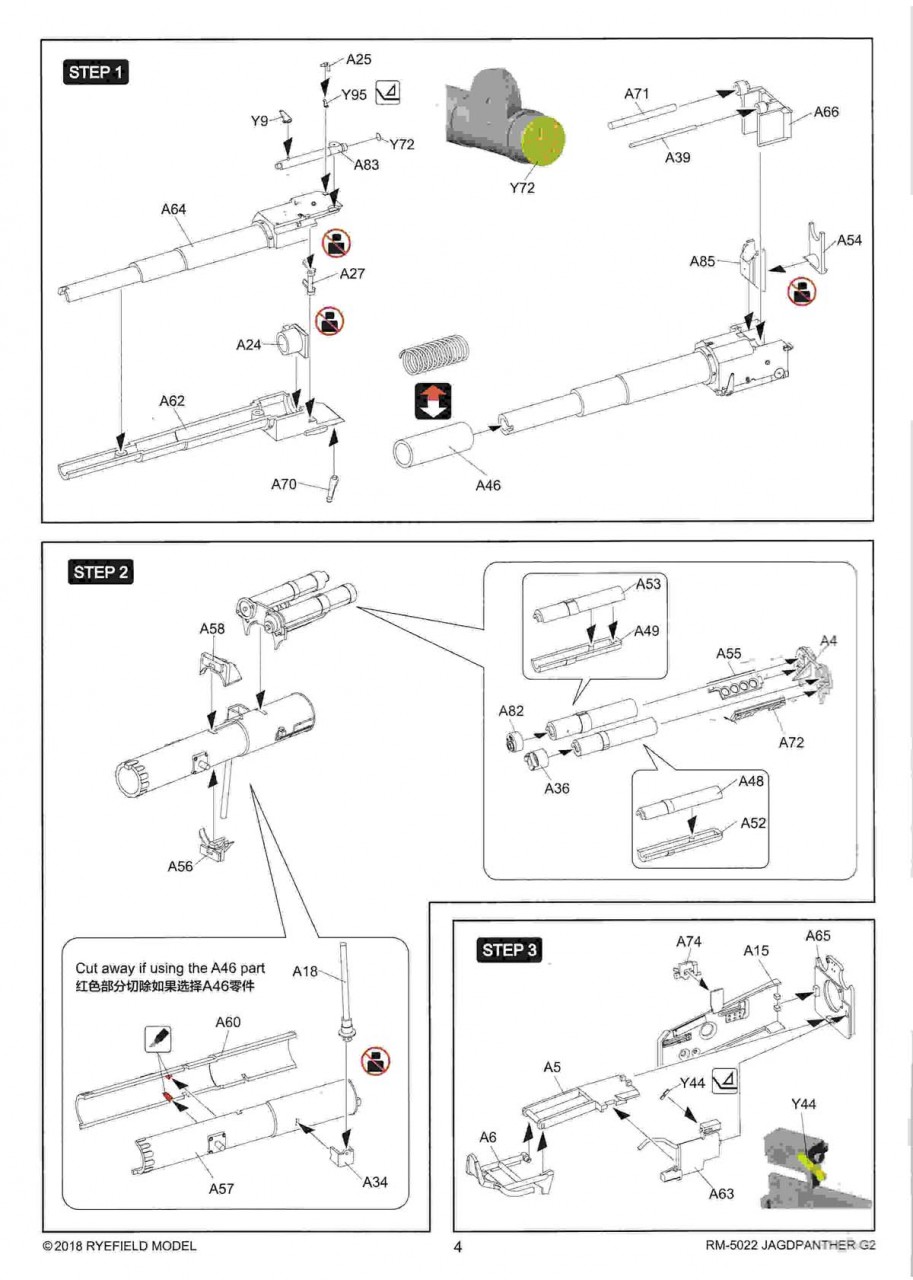
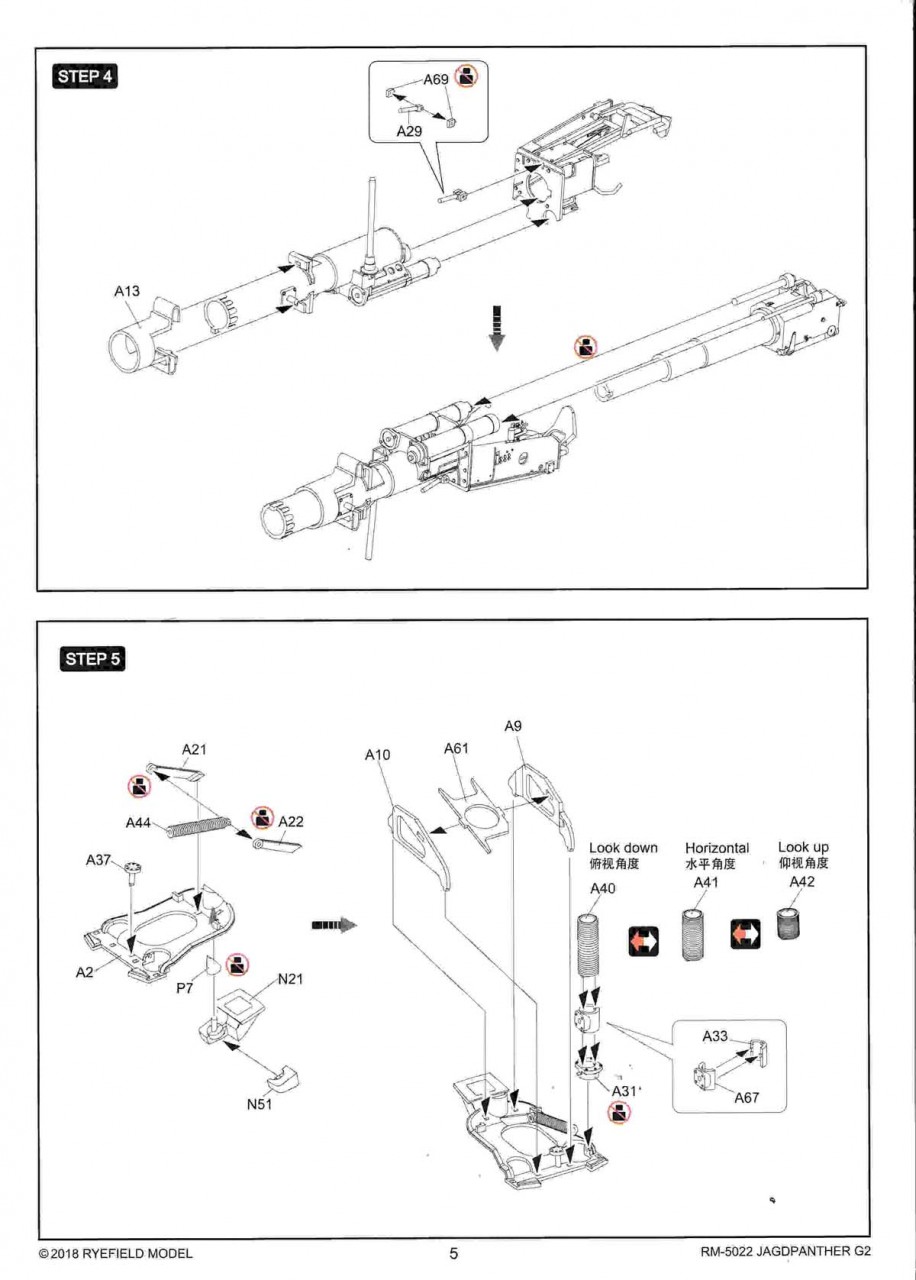
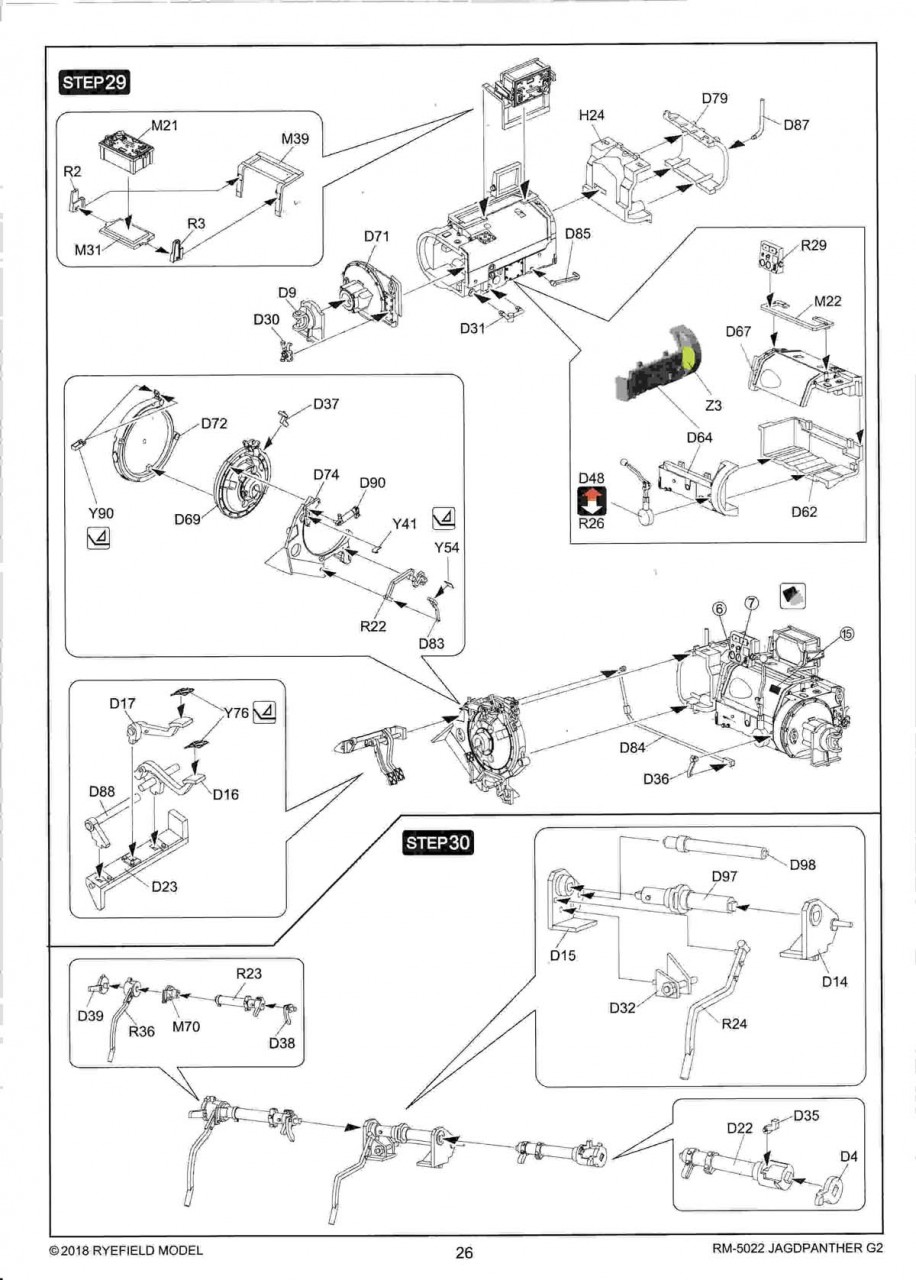
Steps 1-7 all deal with assembling the interior part of the main gun and mount. This totals about 85 parts alone. It certainly looks as though every detail of the real gun has been replicated. A few things to watch for:
In Step 1, you need to choose between the spring and the solid piece (A46). The spring allows you to depress the barrel (toy like), if you want that option.
In Step 2, you need to remove the identified tabs inside parts A57 & A60 if you are NOT using the spring.
In Step 5, you have to choose between parts A40/A41/A42. It appears that this will set the vertical travel limit of the barrel. RFM should have provided some information as to exactly what effect each option will have.
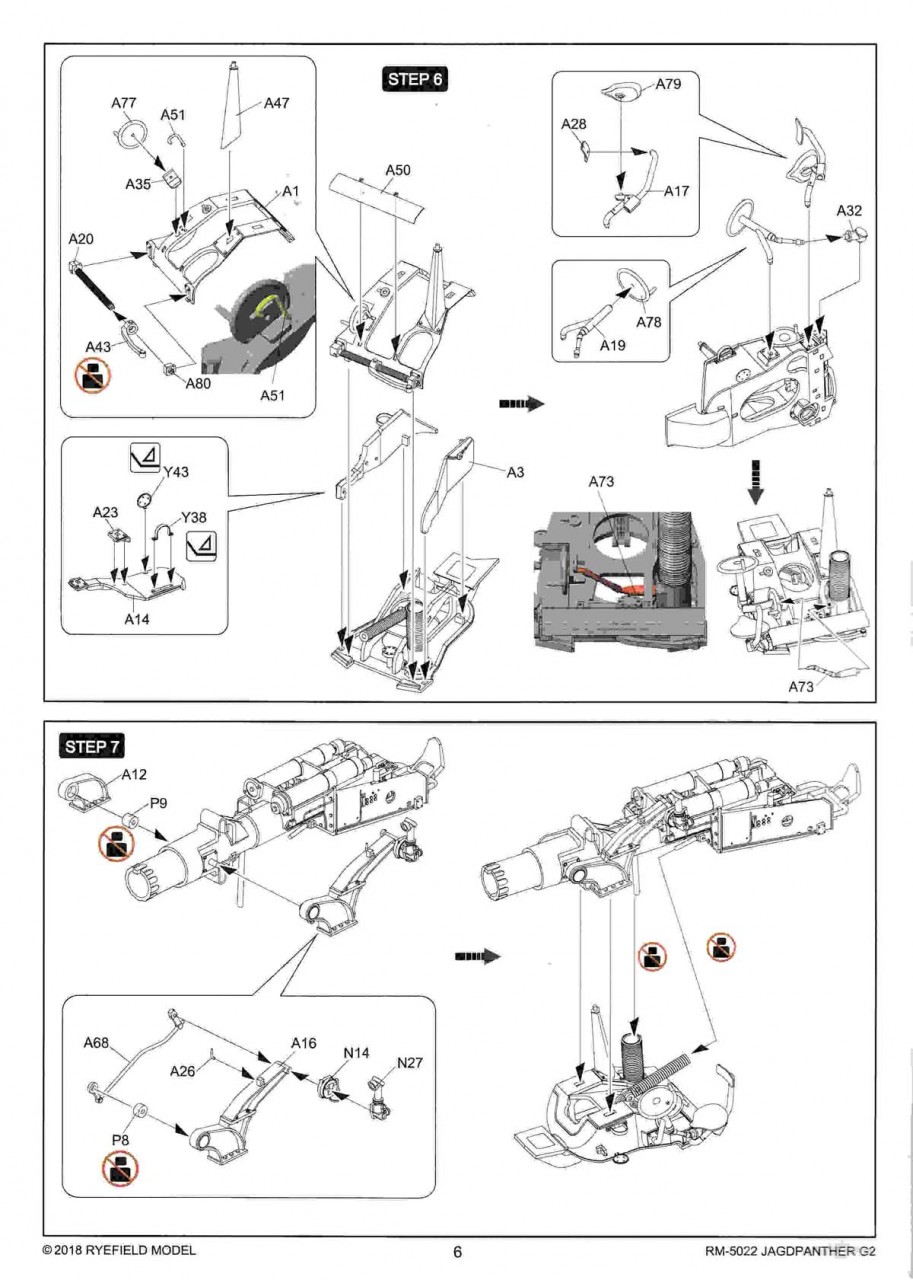
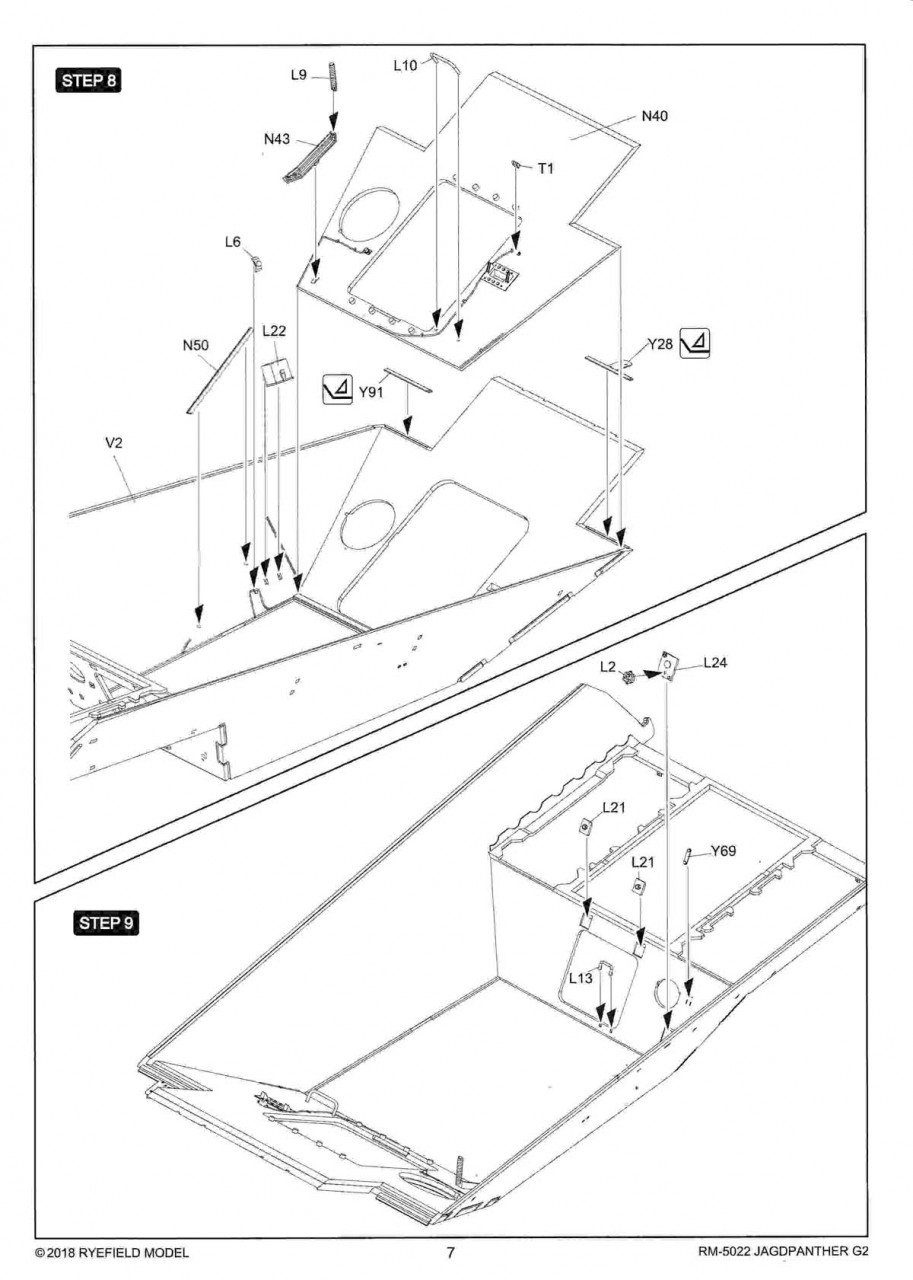
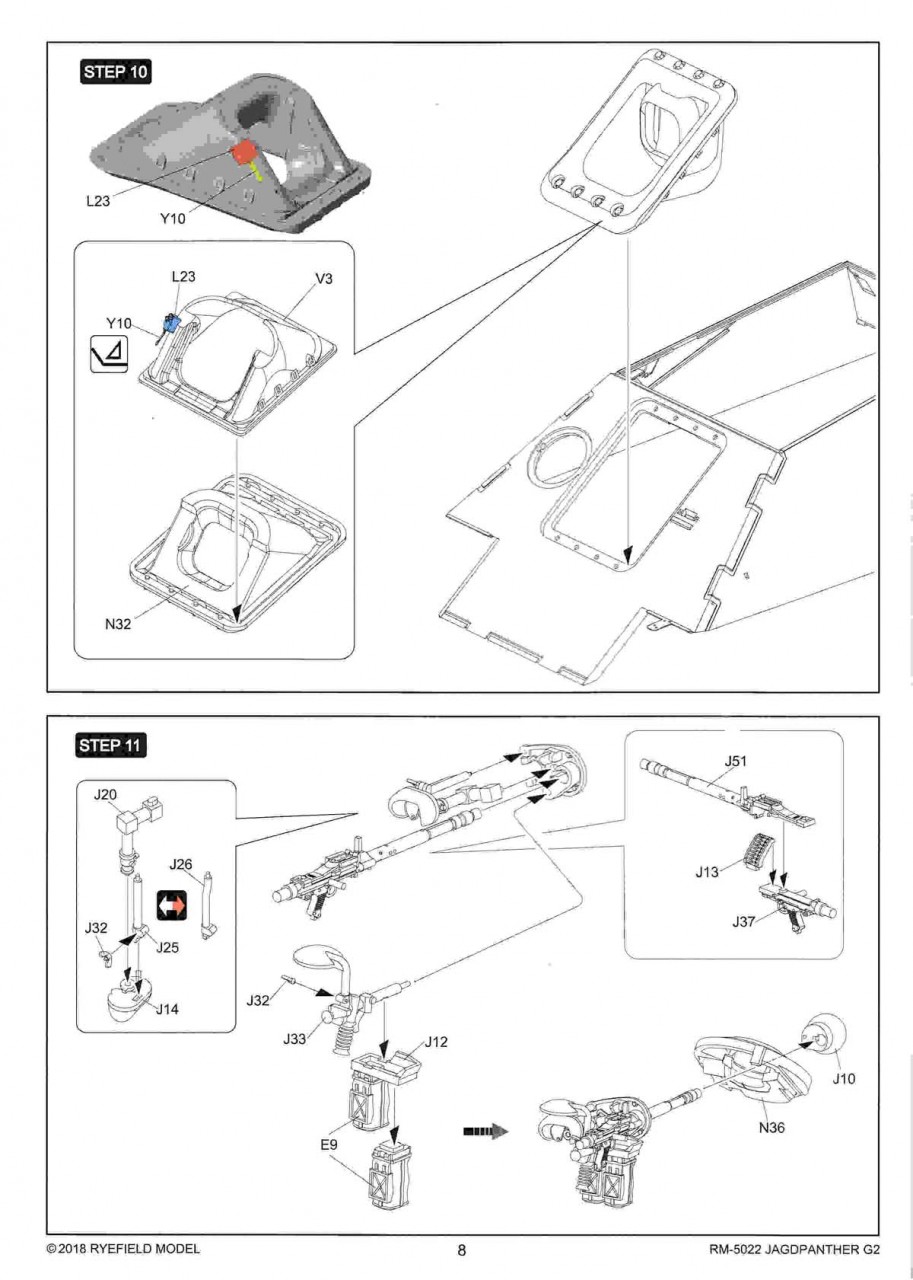
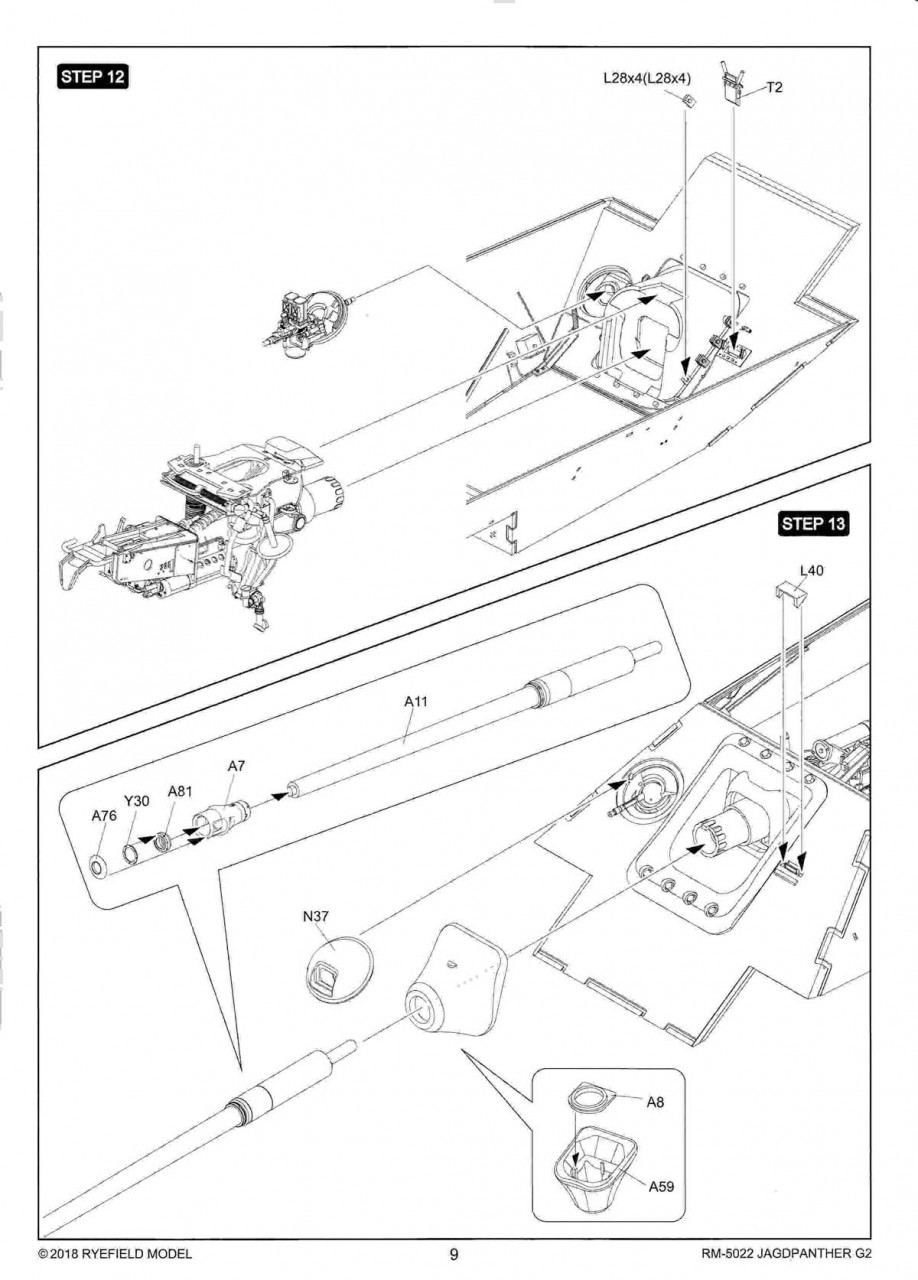
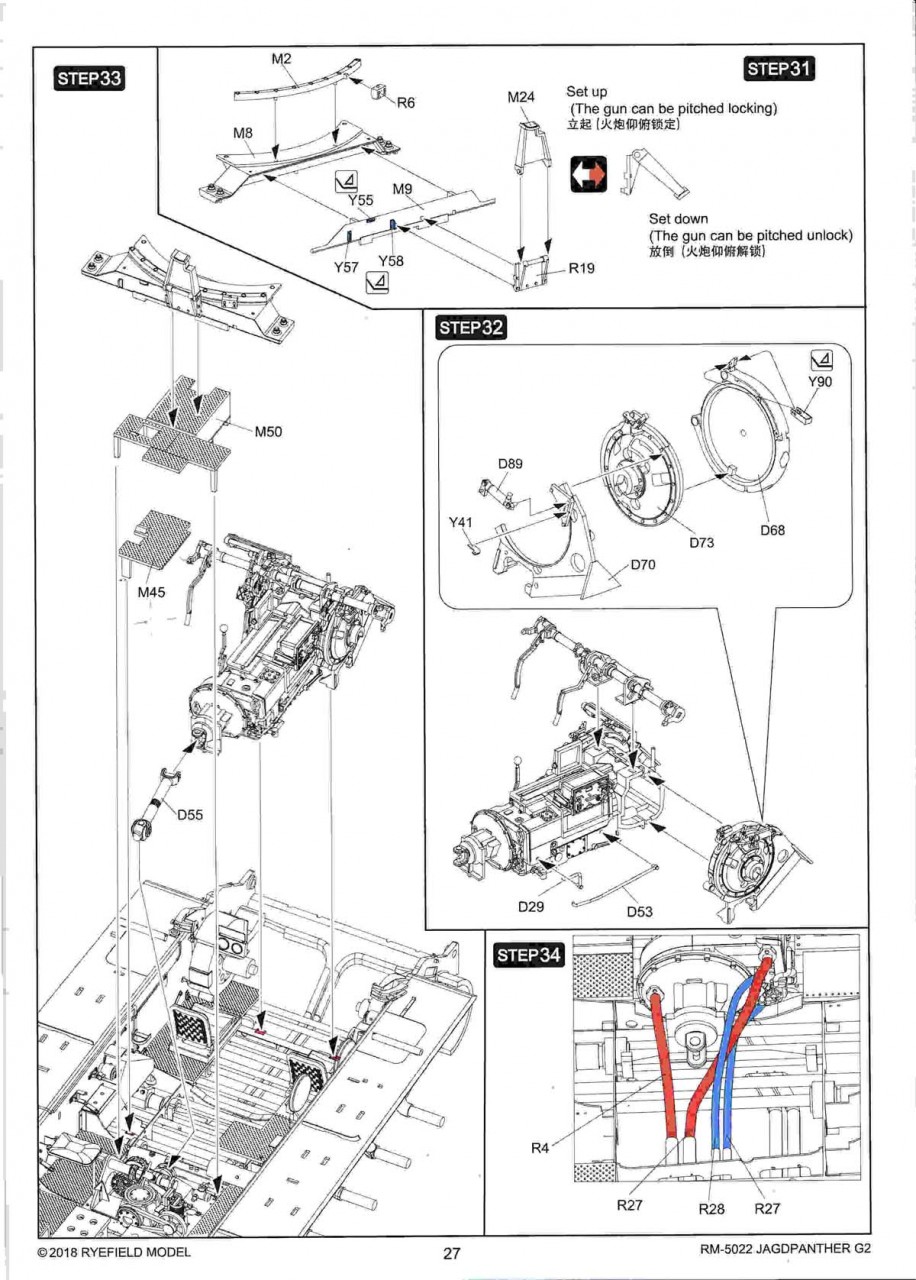
Steps 8-17 deal with the superstructure, both interior and exterior. A few items to pay attention too.
In Step 11, there are two options (J25 or J26) for part of the MG34 headrest mount. Use whichever you prefer.
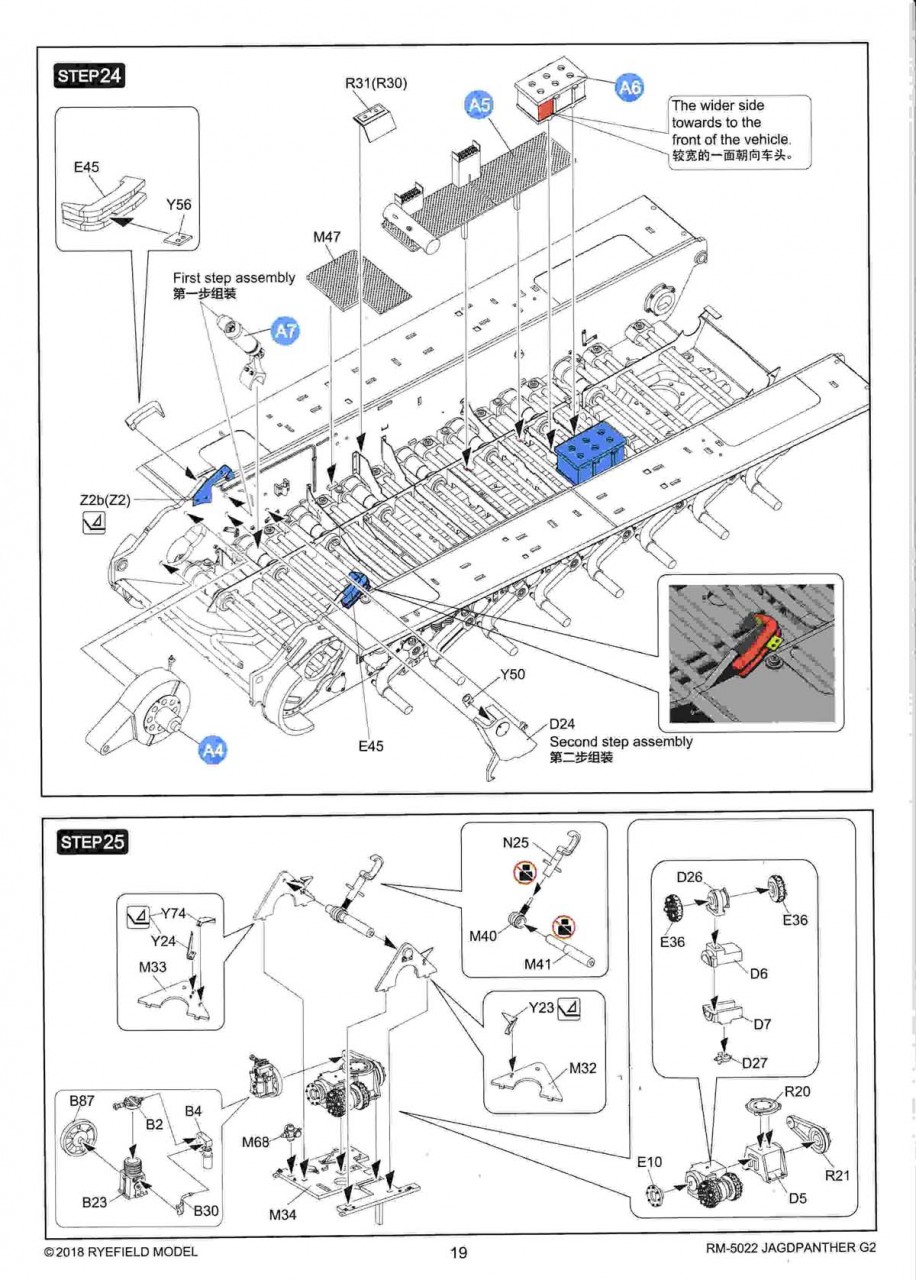
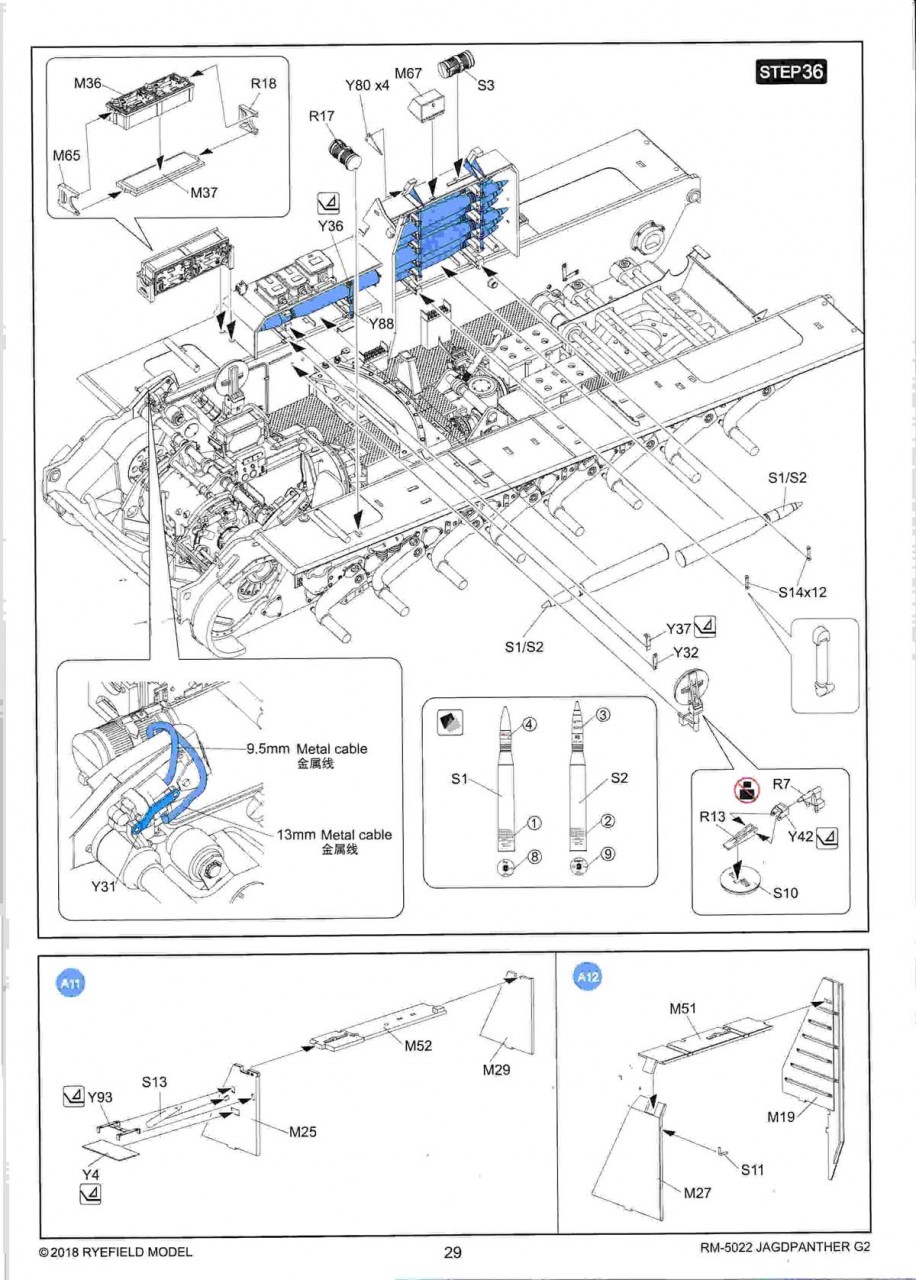
Step 14 is extremely busy and deals with the rear engine deck. You have two options for the crew compartment heater. You need to choose if the cover, G48, is installed, or shown folded as part G44. On the right radiator assembly, you need to choose which inlet louver style, G8 (closed) or G9 (open), you want. You also have to select which style of outlet you want, G46 or G47. Lastly, on the engine deck cover, you have two styles of air inlet armored covers, N5 or G23.
In step 15, be sure to remove the flange of the antenna base, J9. This is a part from the Ausf. G kit where the base is installed on the rear deck. The flange isnt required as it is mounted on the rear of the superstructure.
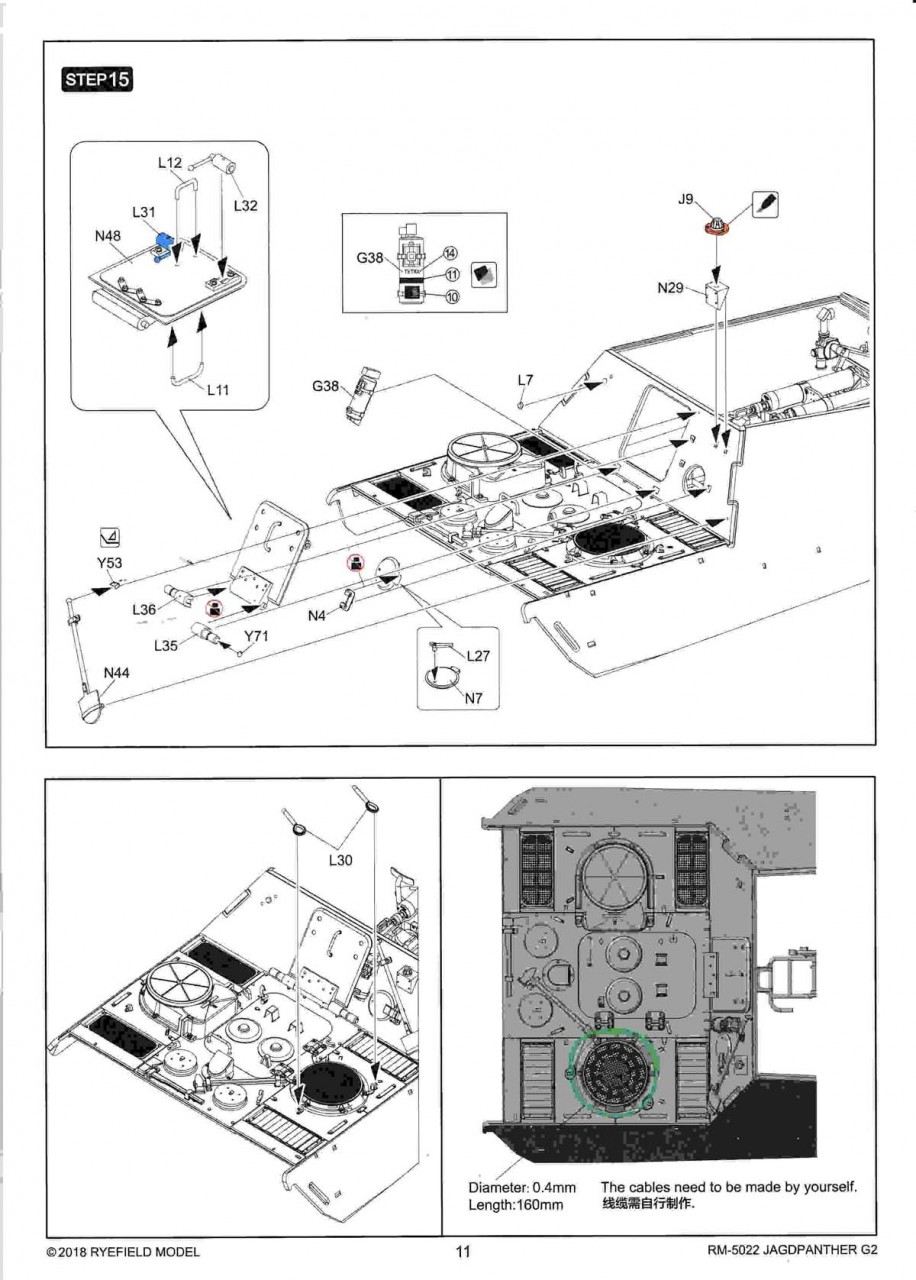
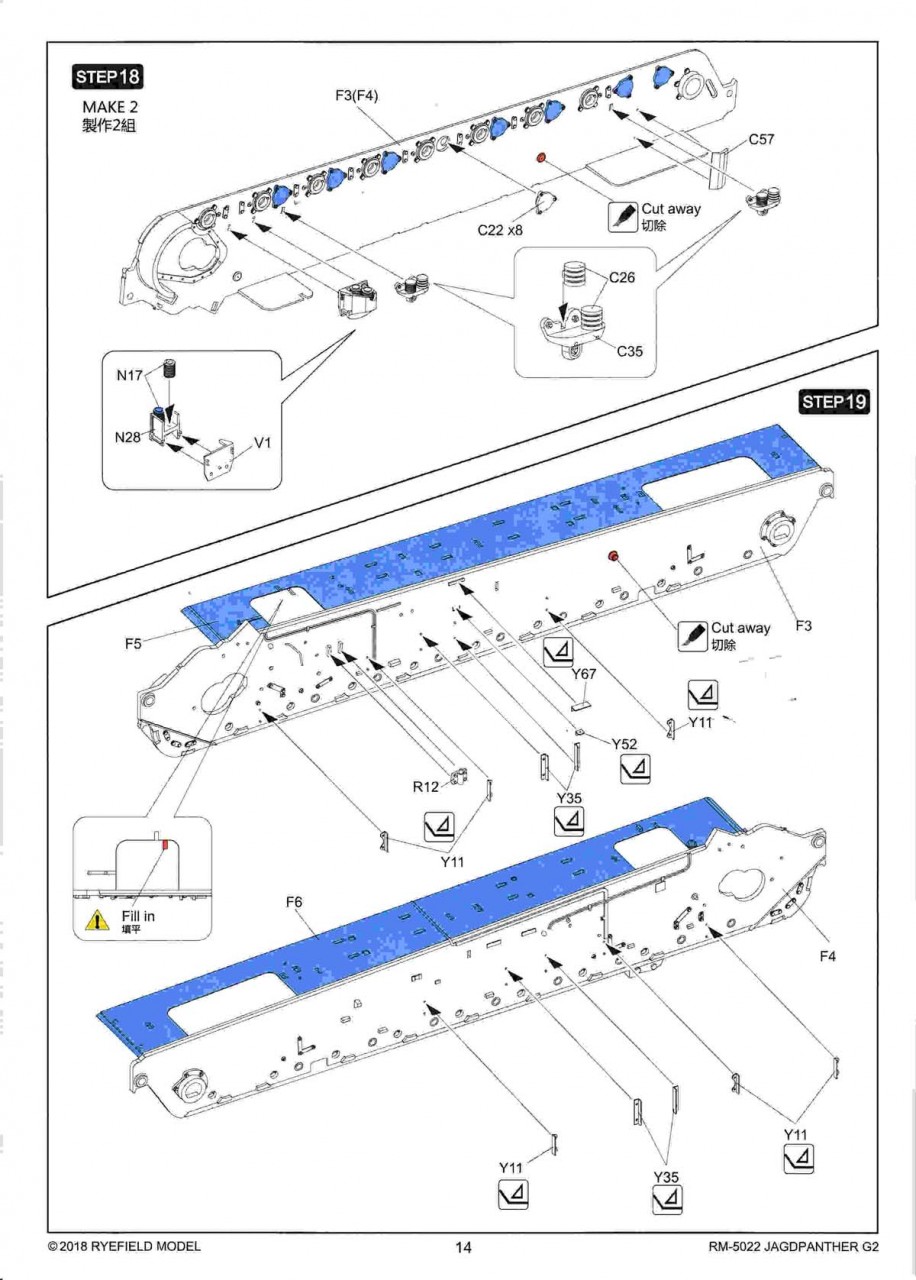
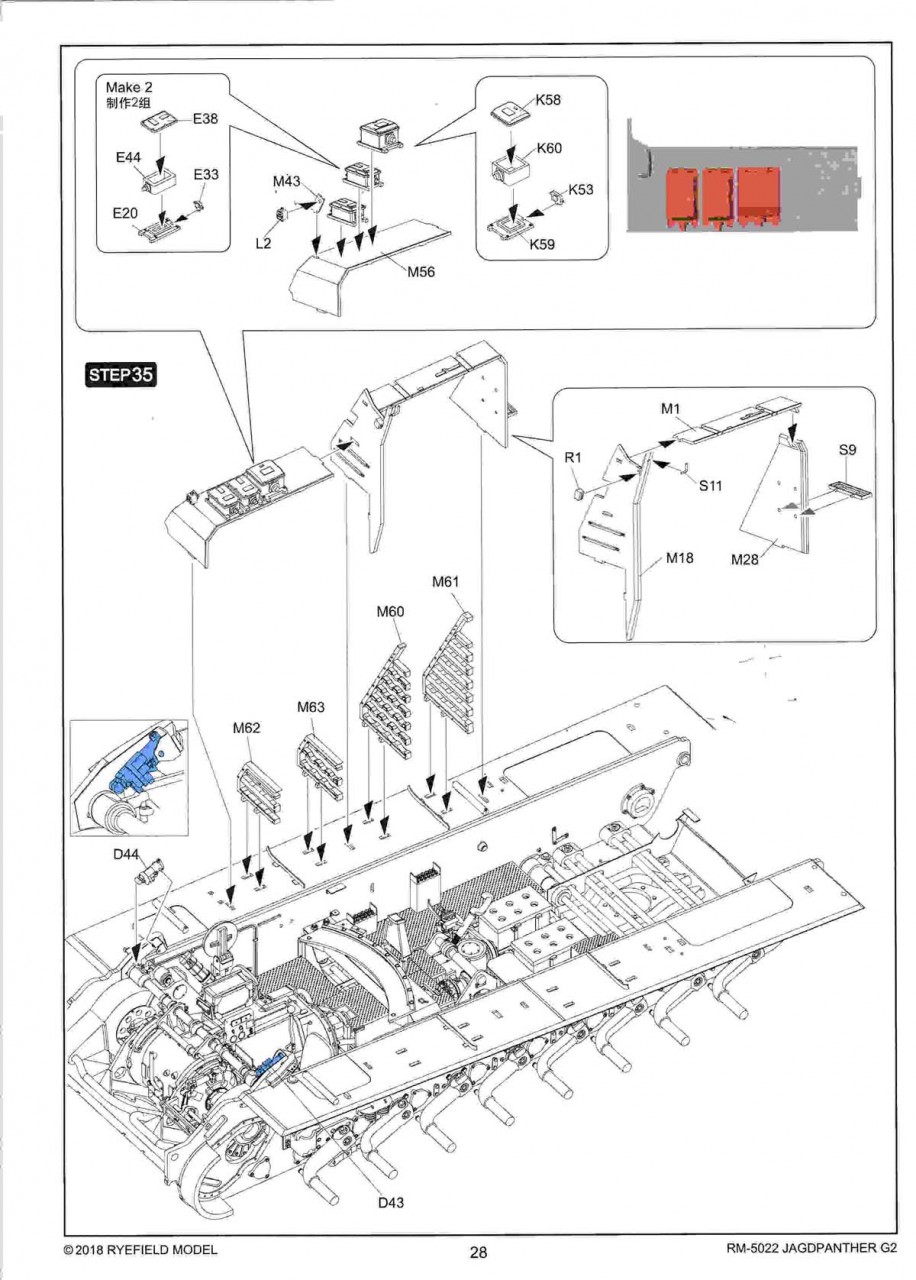
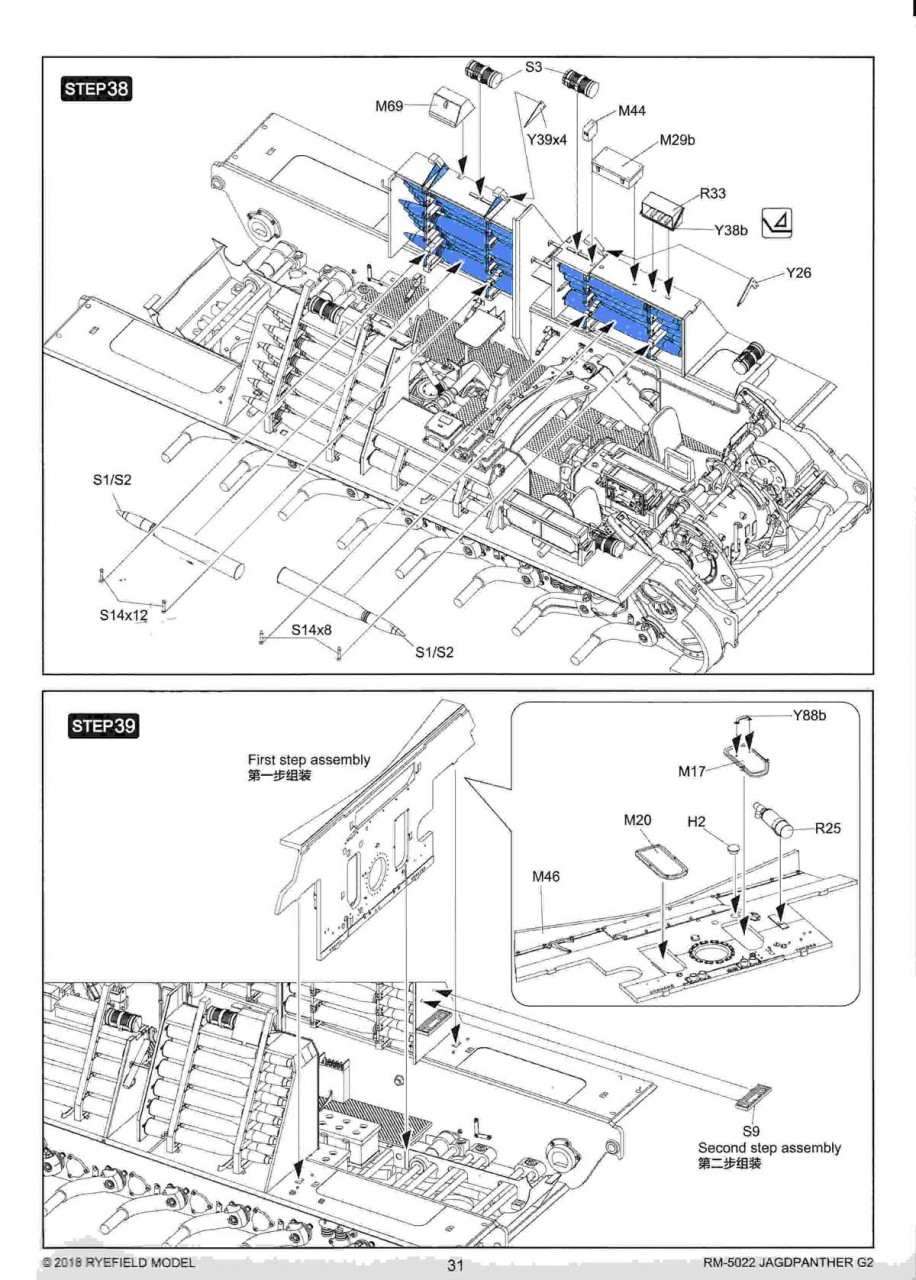
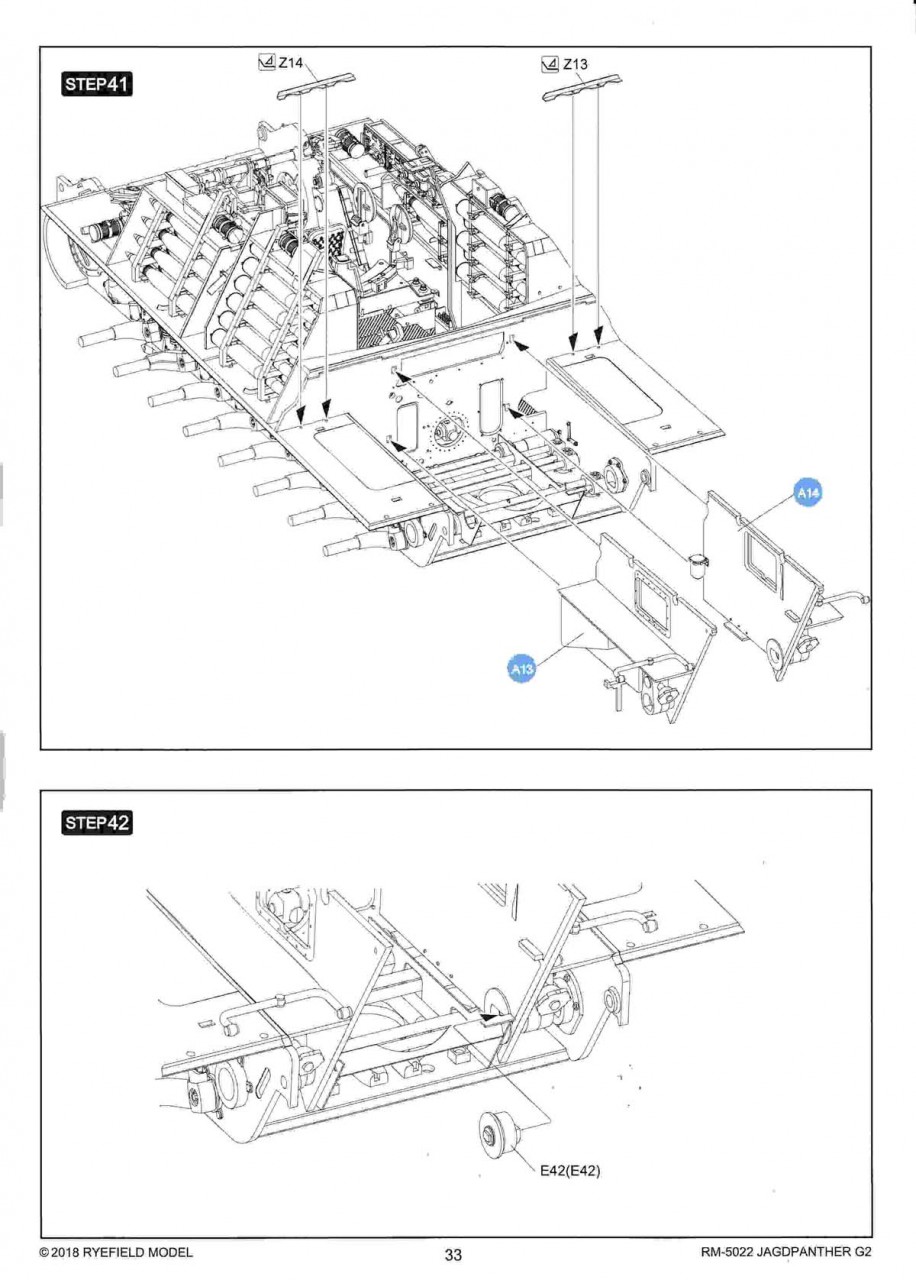
Steps 18-40 assemble the lower hull and fighting compartment. This is the heart of the kit and is basically identical to the Ausf. G kits.
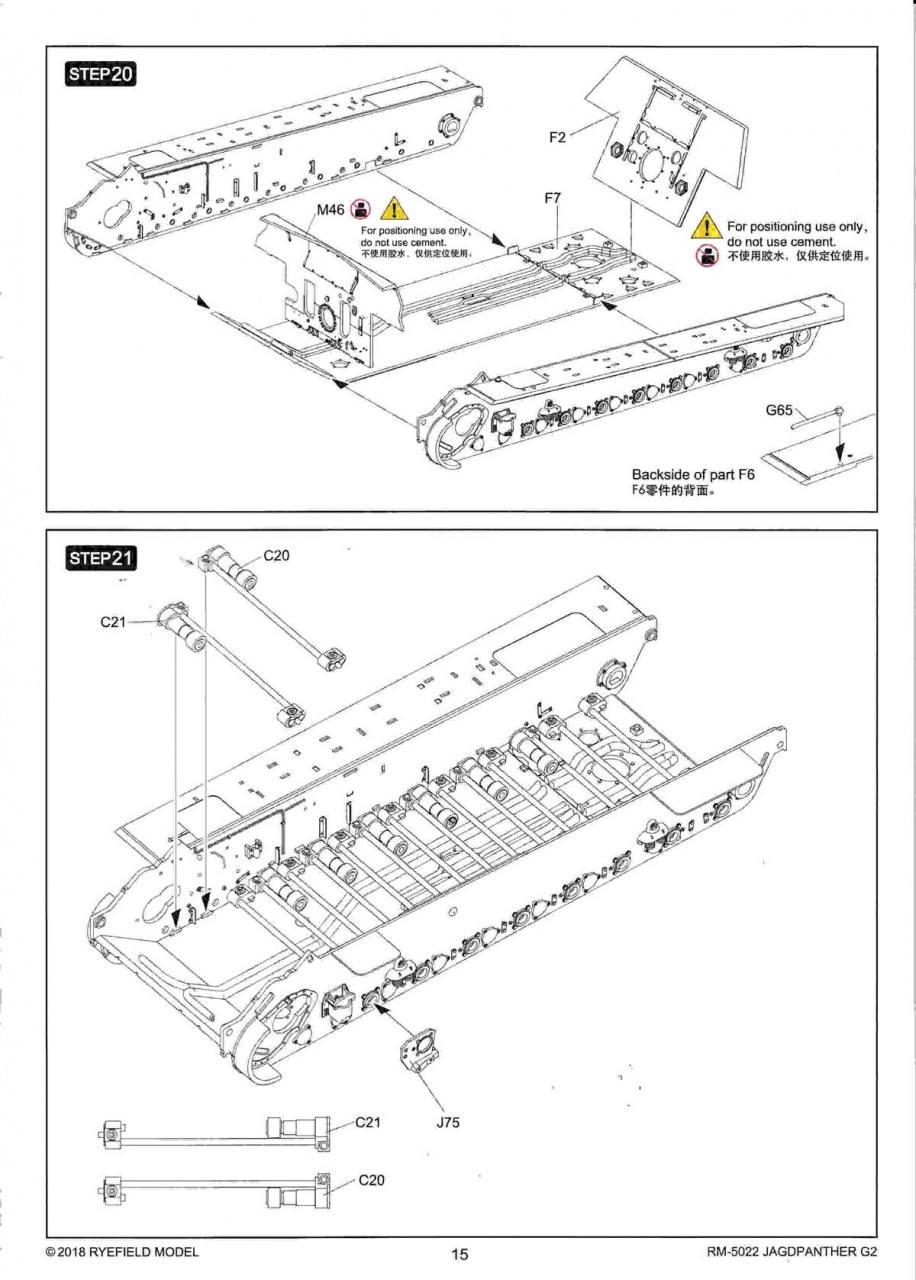
In step 21, pay attention to the order you install the torsion bars. C20 and C21 have a specific orientation and the drawing at the top of page 16 clearly shows you the correct layout. If it is like the original Ausf. G kit (5016), these will be a tight fit and may require a little sanding to get a proper fit.
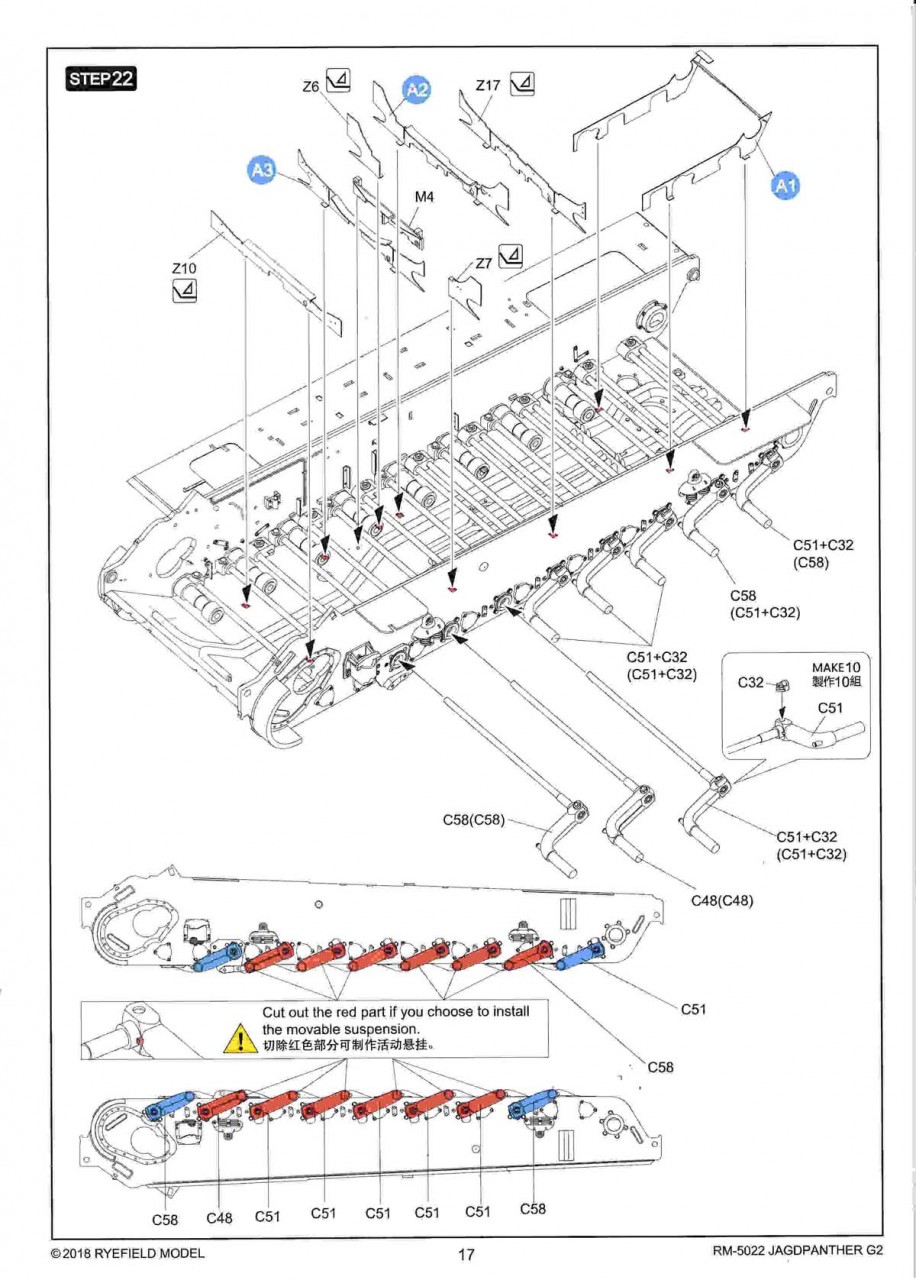
In Step 22, you can remove the tab on the suspension arms if you want to make the suspension moveable.
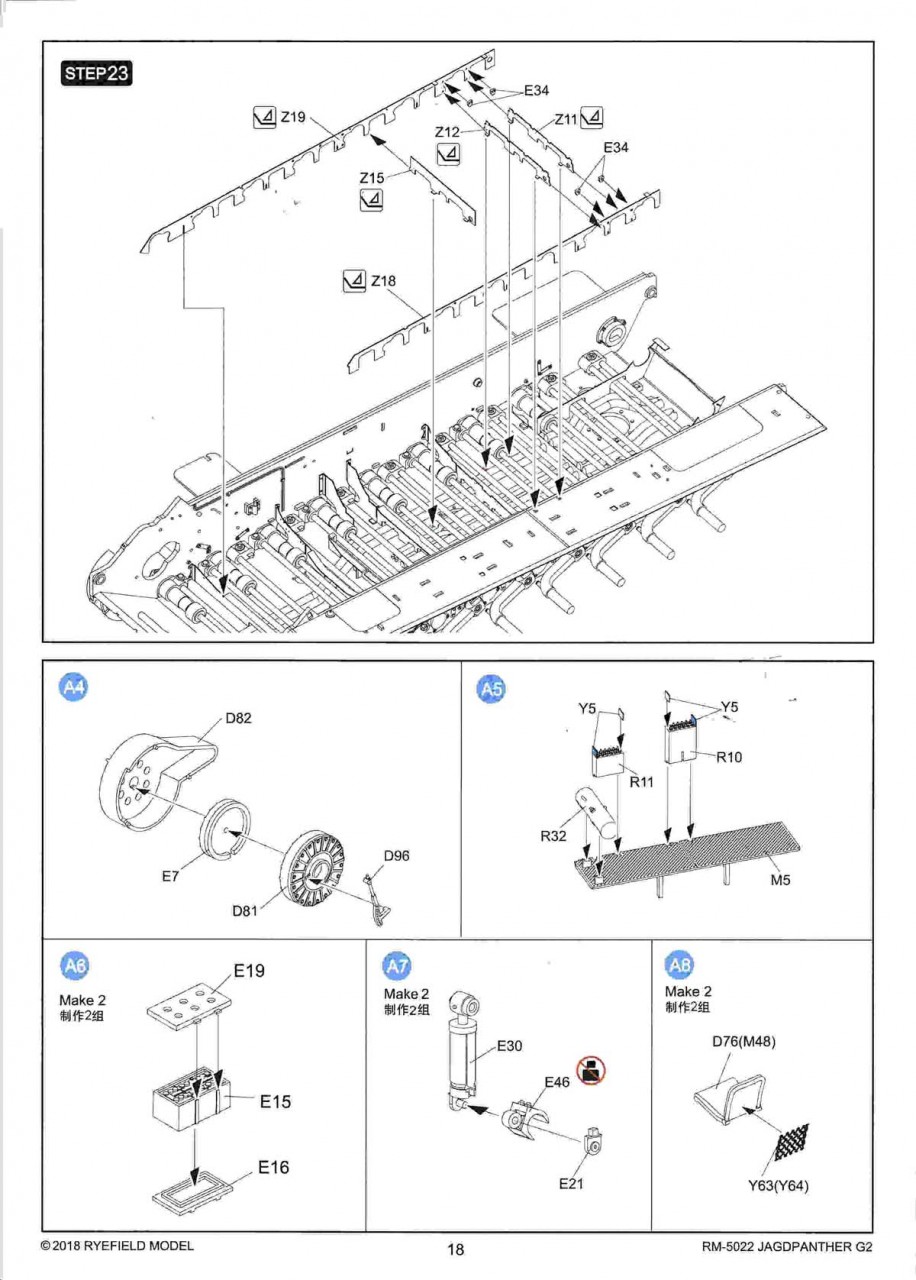
In Steps 22 and 23 you assemble the lower floor structure from 14 separate PE parts. I would recommend that you completely assemble this outside the hull. Prime it, paint it, and then fit it into the hull. Again, this will probably be a tight fit and some minor adjustments may be required.
In step 37, dont forget to drill the .6mm hole for part R16.
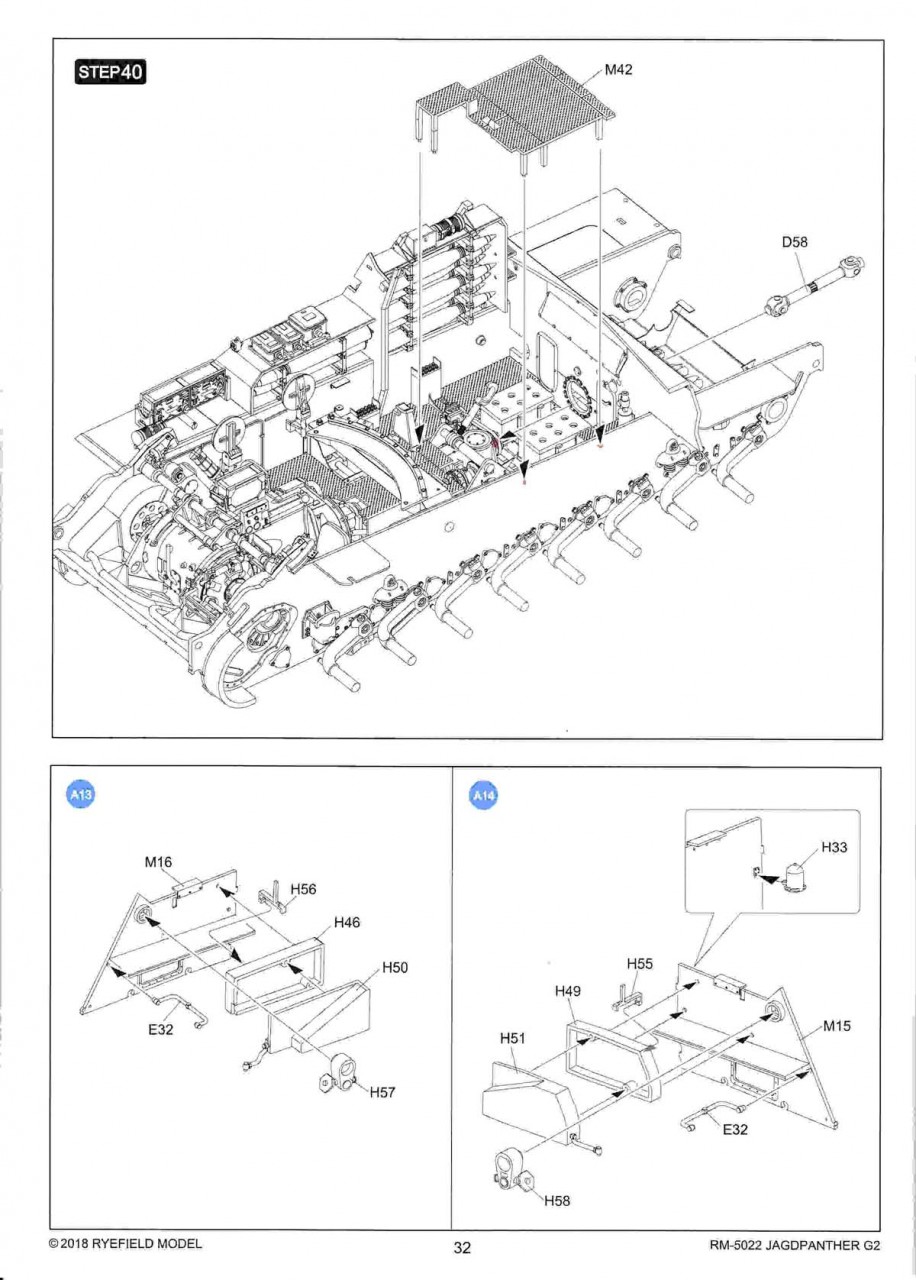
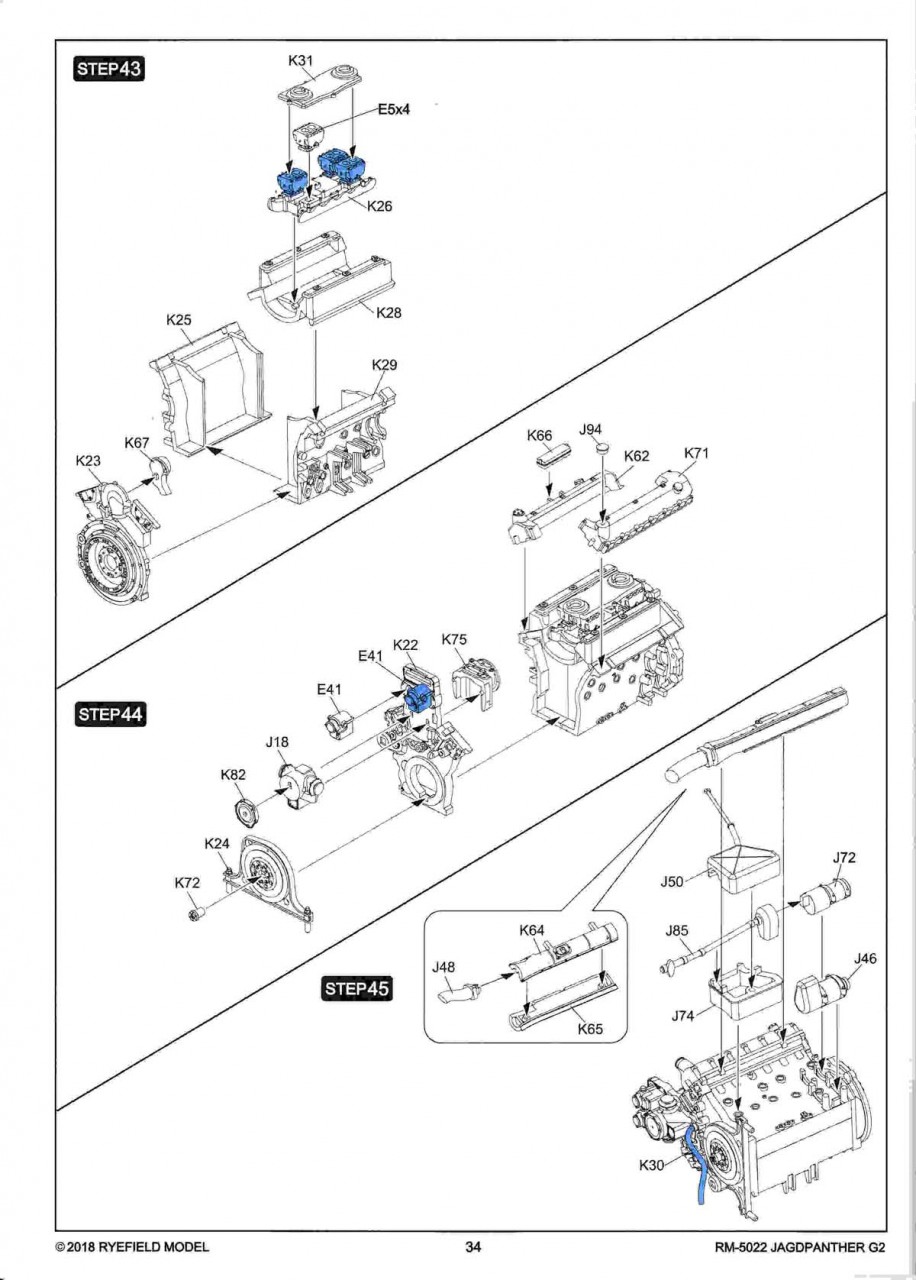
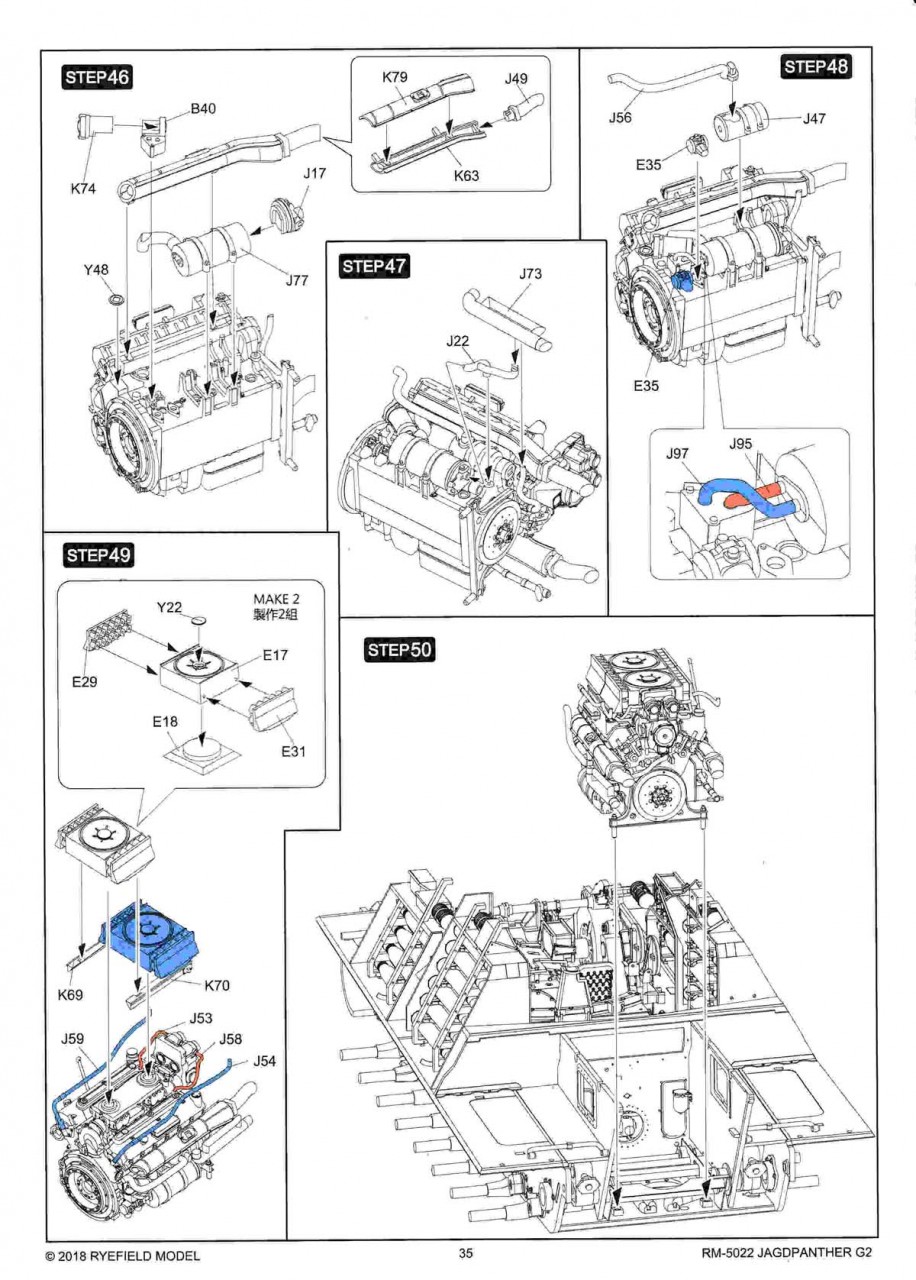
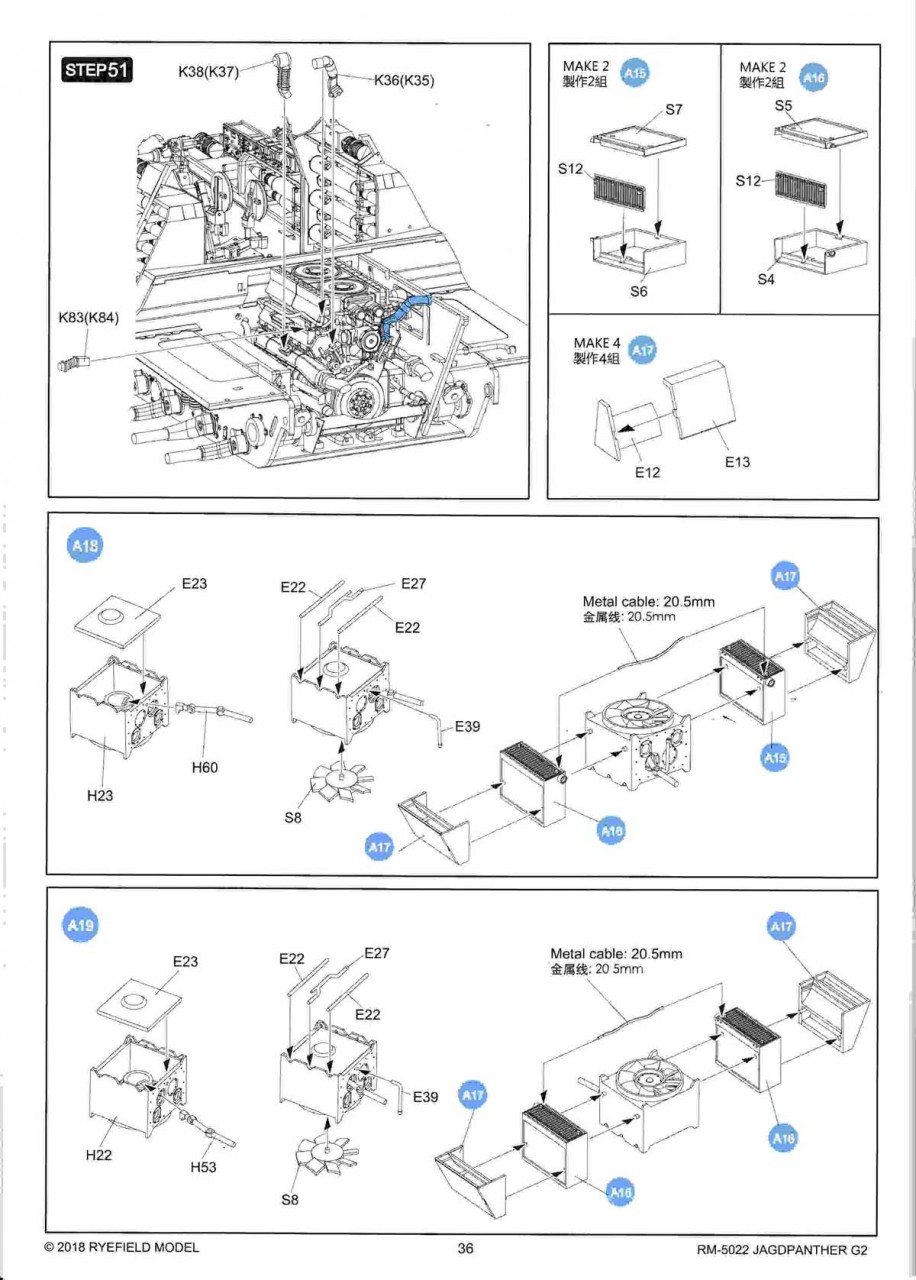
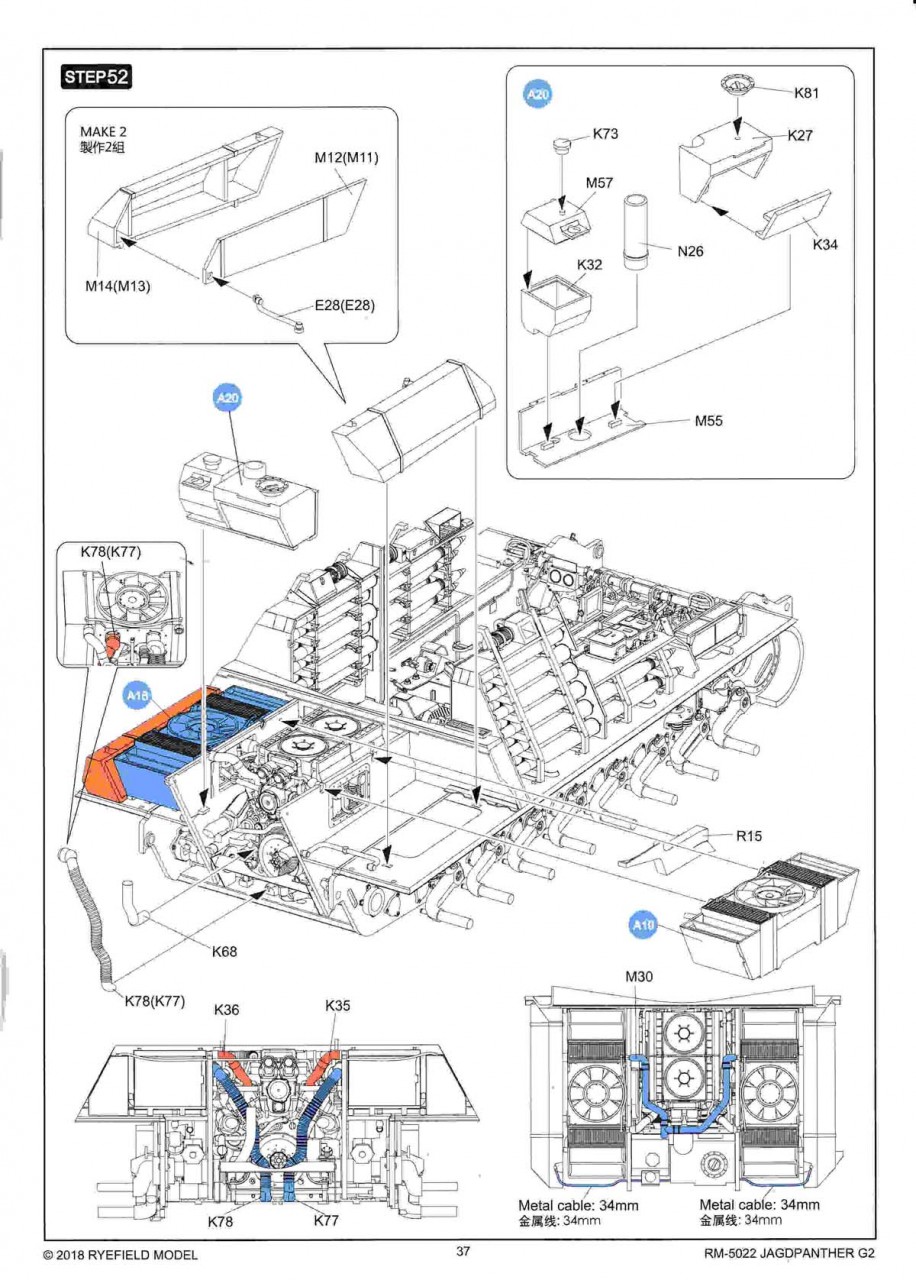
Steps 41-52 assemble the engine compartment. No real issues here. Just follow the steps and take your time.
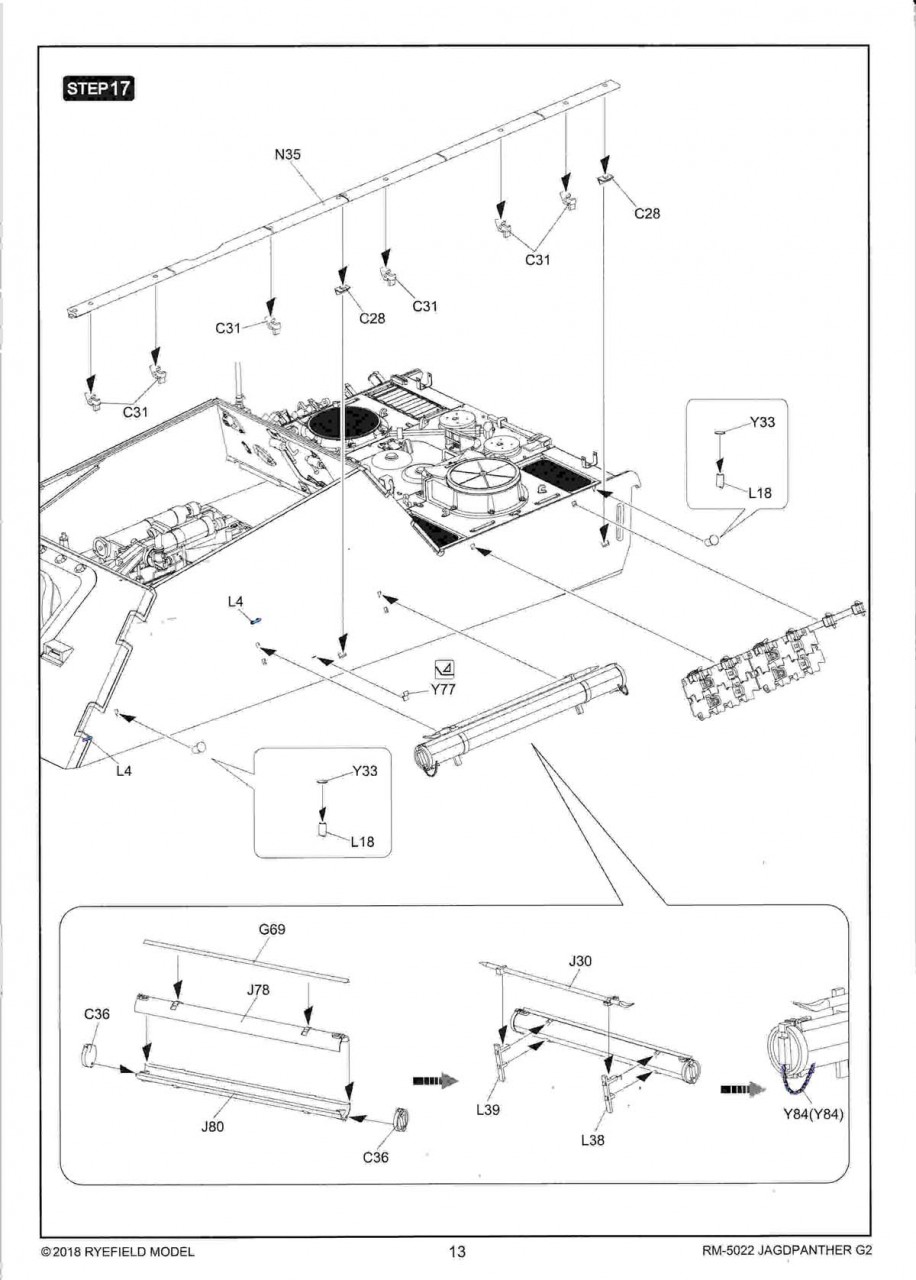
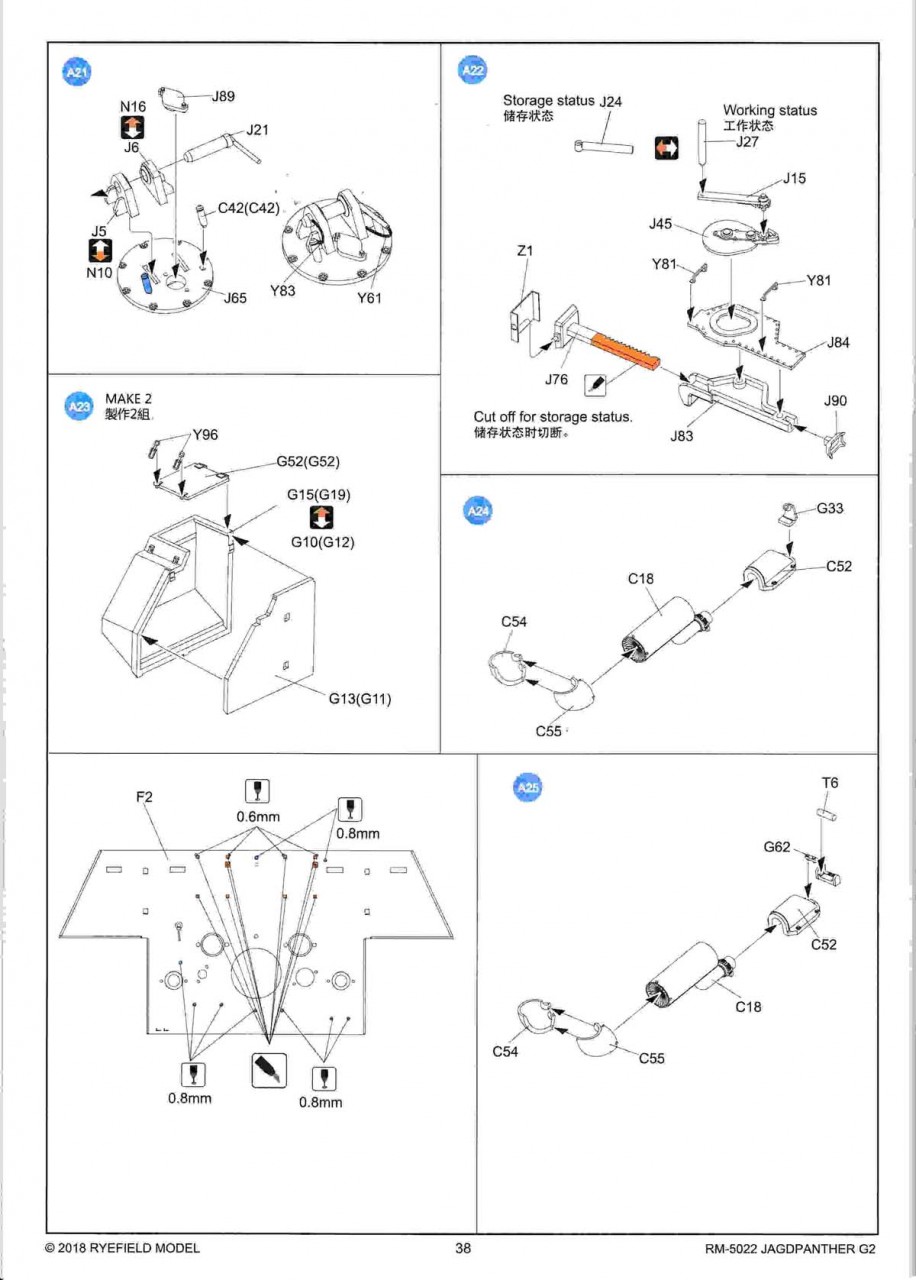
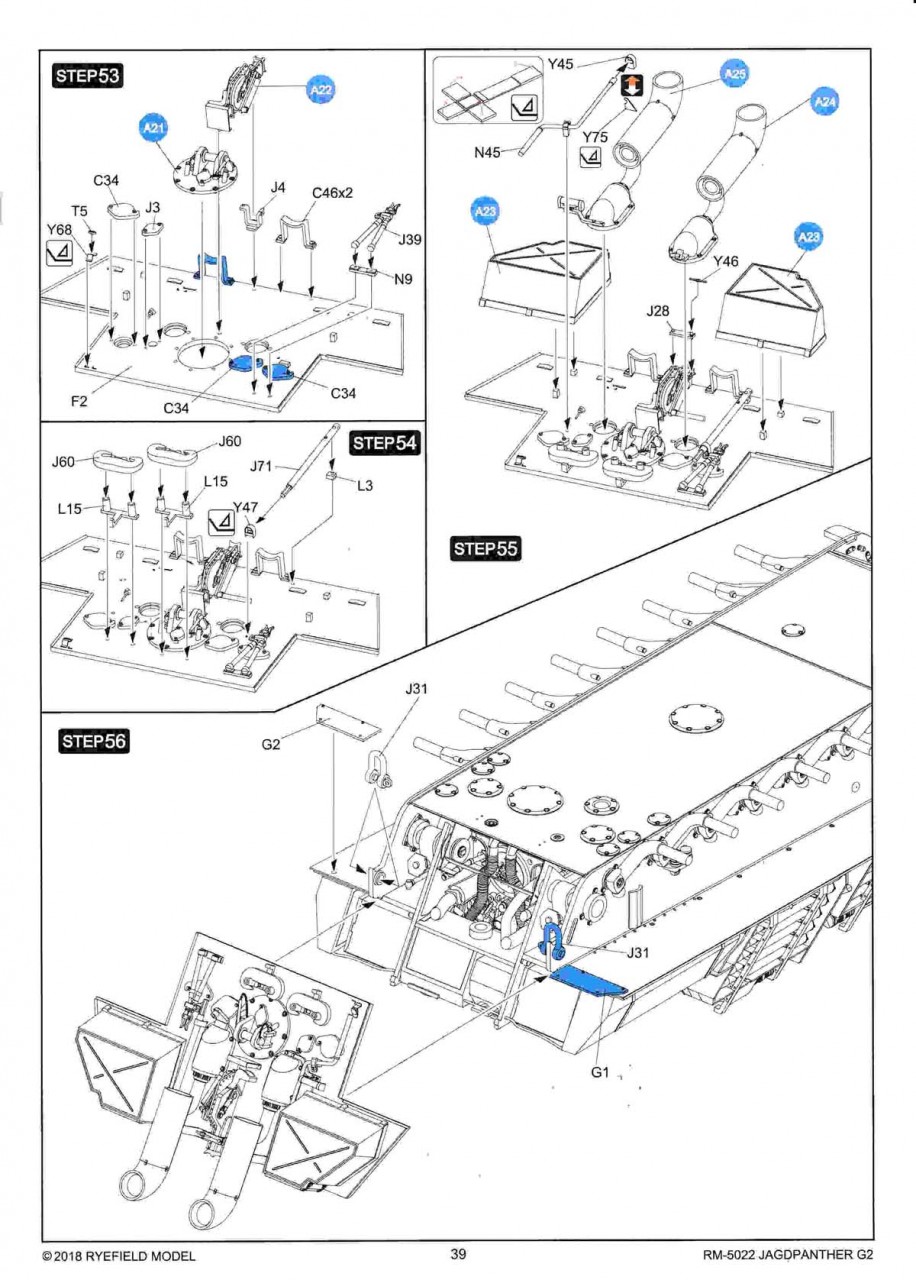
Steps 53-56 assemble the rear hull plate. There are a few items to pay attention too here.
In sub-step A21, you have the option of two different styles of tow hooks welded to the rear engine access plate. You can select either, or if you have a picture, use the one that matches it.
In sub-step A23 you have the choice between two types of rear storage boxes. The more common configuration is the one with the X pattern ribs, parts G10 and G12. You can also use the one with the five vertical ribs, parts G15 and G19. Again select whichever one you prefer.
In sub-steps A24 and A25, the hood for the mufflers is really an option. Most pictures show the vehicles without this installed. However, there are some of pictures with it installed. So, builders choice.
On the rear plate, F2, be sure to follow the guide on page 38 on where to drill the required holes, and their correct size. Be sure to remove the raised areas, identified in red, and sand smooth.
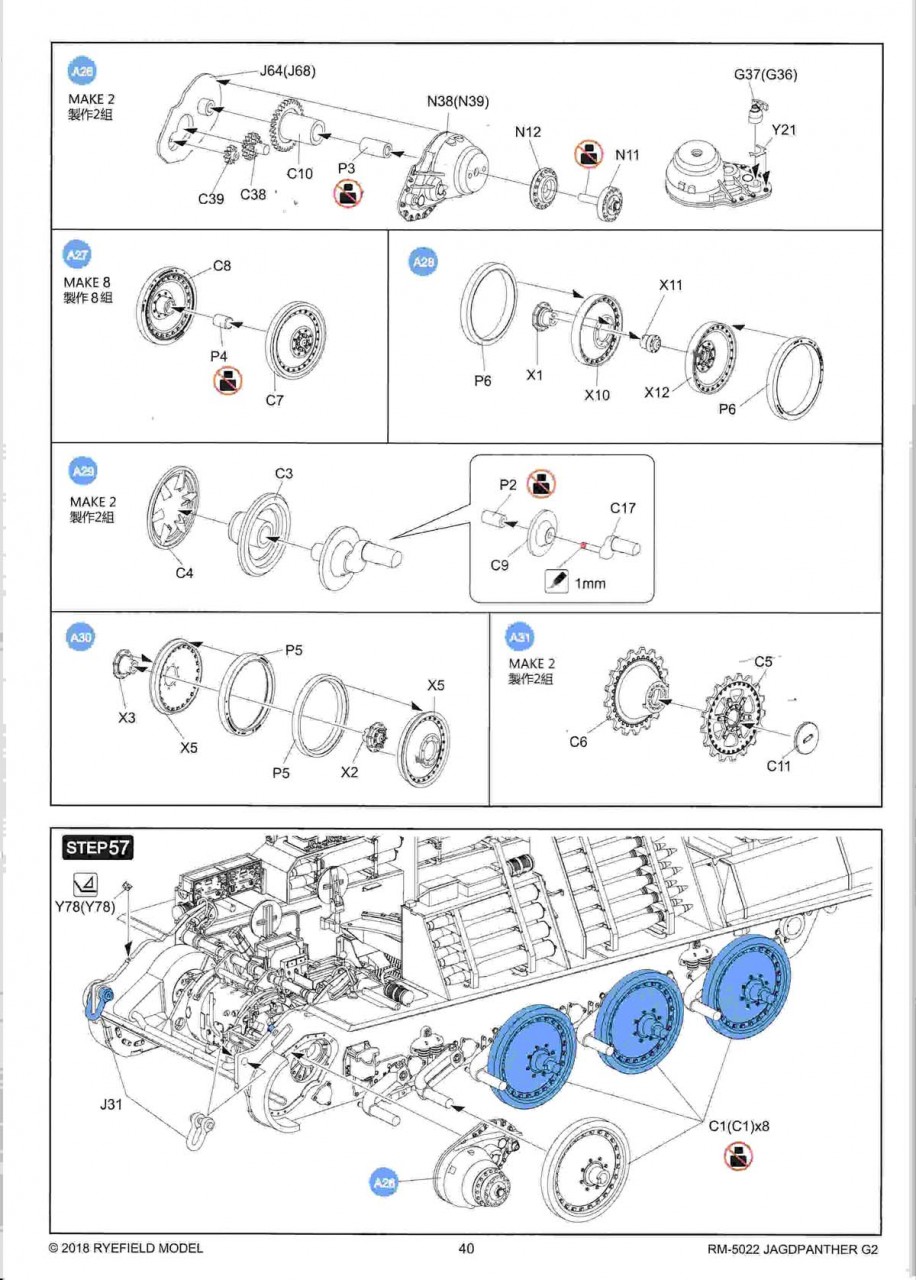
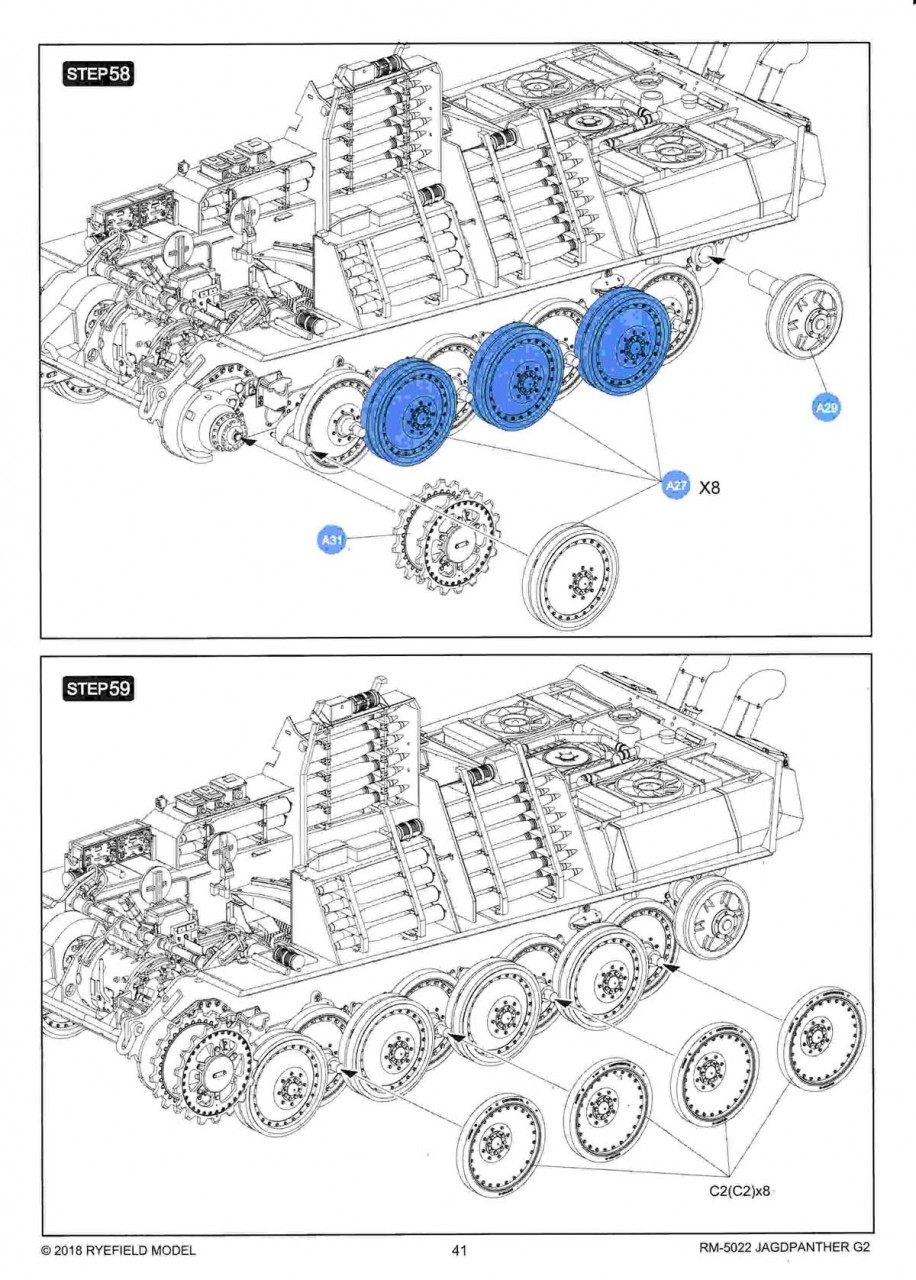
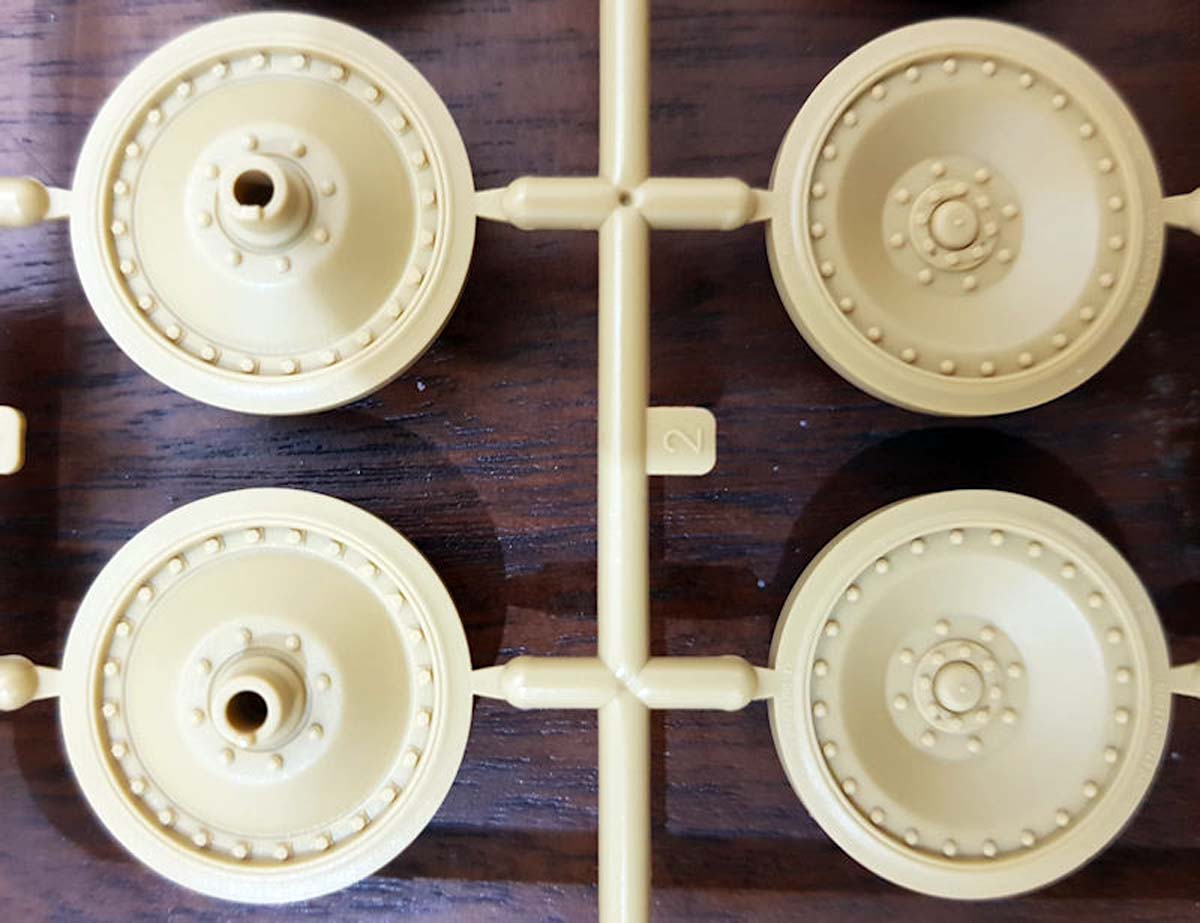
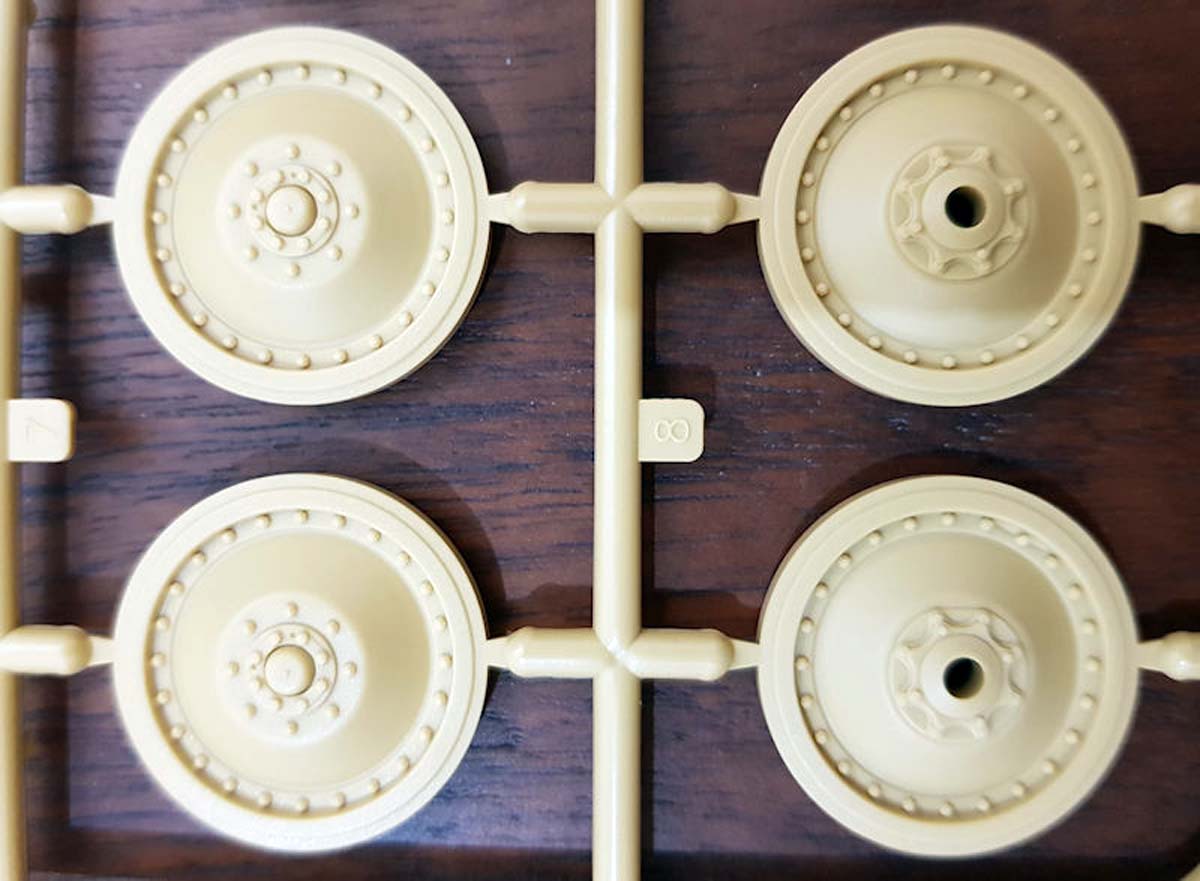
Steps 57-59 focus on the road wheels and the rest of the drivetrain. Unfortunately, the instructions do not identify the return roller that was used until the end of the war. It only identifies the skid, which had limited incorporation, in sub-step A26. However, the return roller is included in the kit as part C14. So, you can install either configuration as you desire.
The kit does not include the final version of the drive sprocket cover, with four bolts.
The instructions identify the correct idler wheel configuration, parts C3/C4. This is the larger 665mm version introduced in October 1944. Do not use the idler wheel parts on the X sprue. This is the earlier version and not applicable to the Ausf. G2.
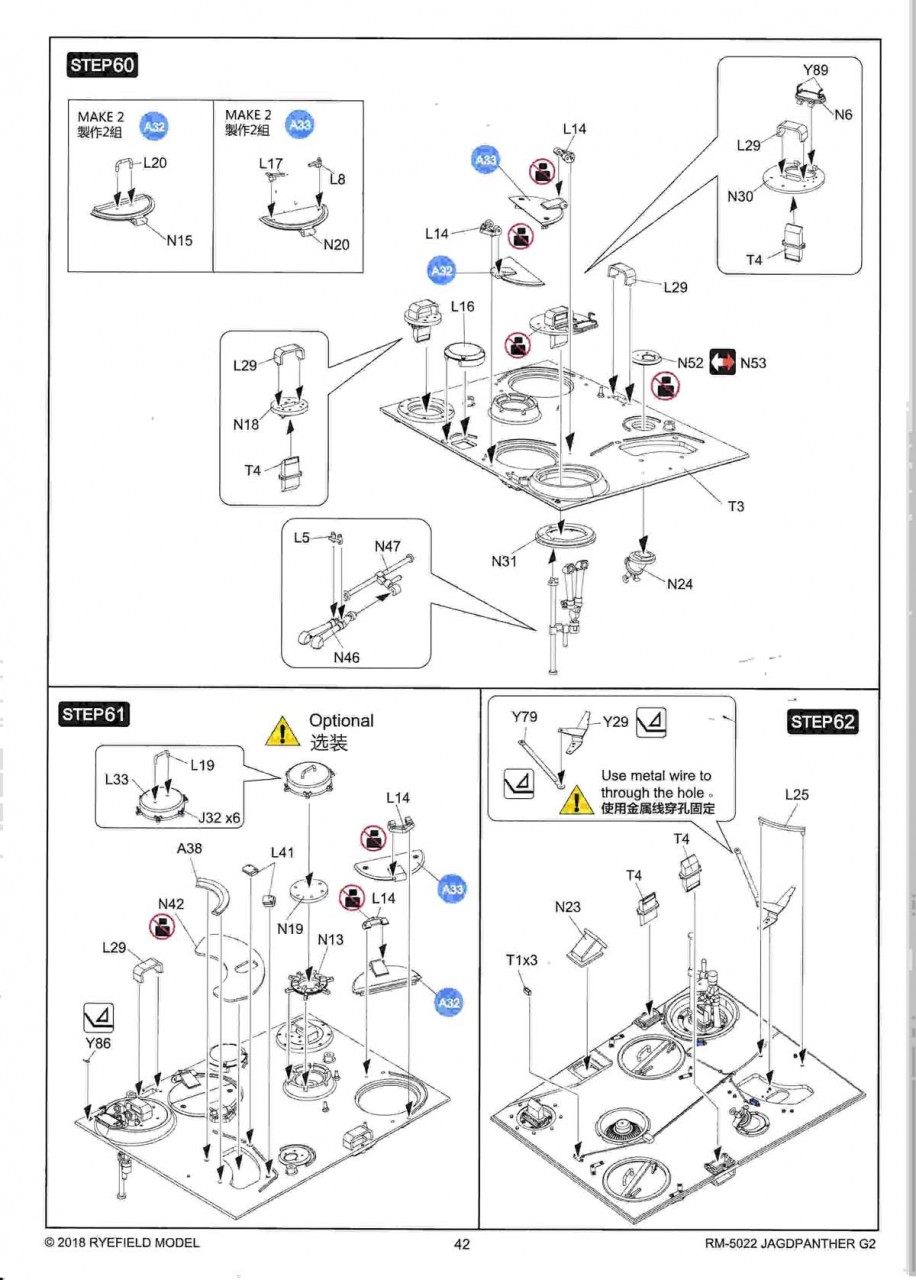
Steps 60-62 assemble the roof plate. The roof plate, T3, is a clear part. So, handle with care not to damage it if you want to display it clear. I didnt see any ejector pin marks on this part.
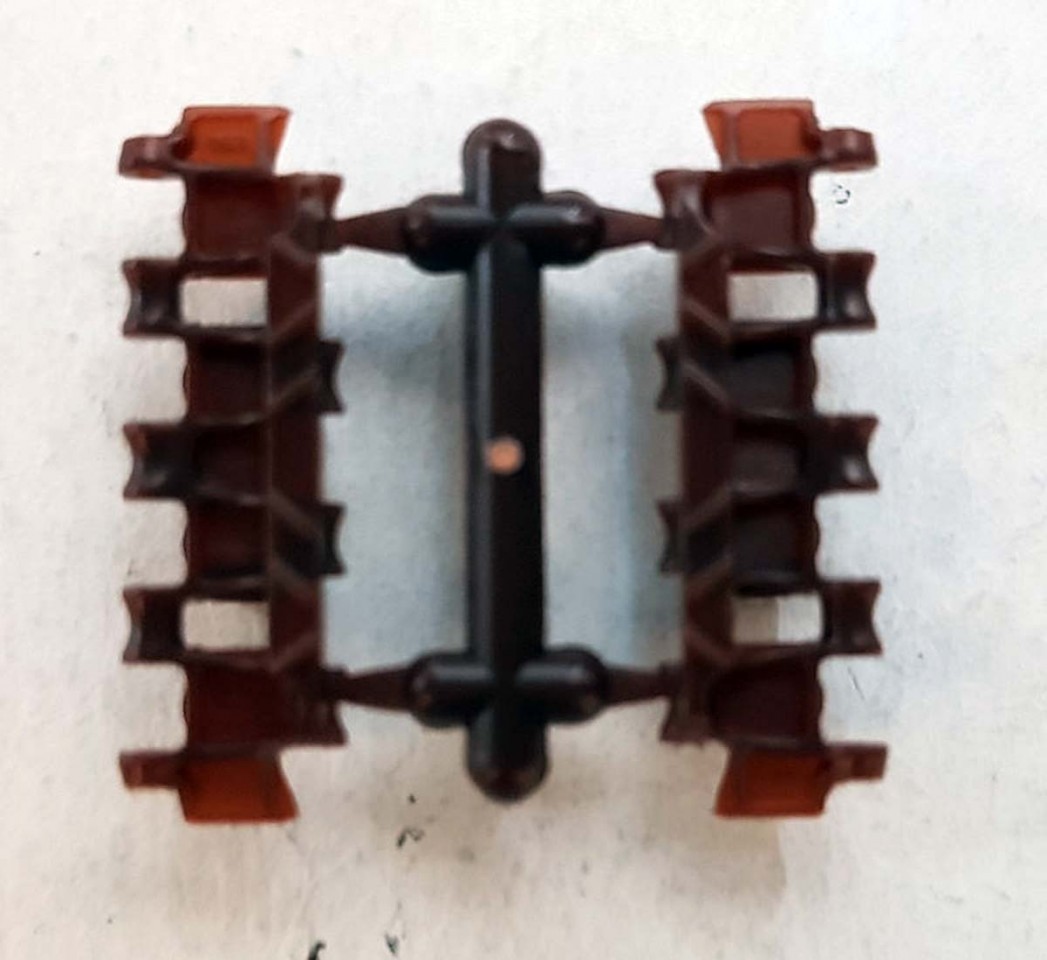
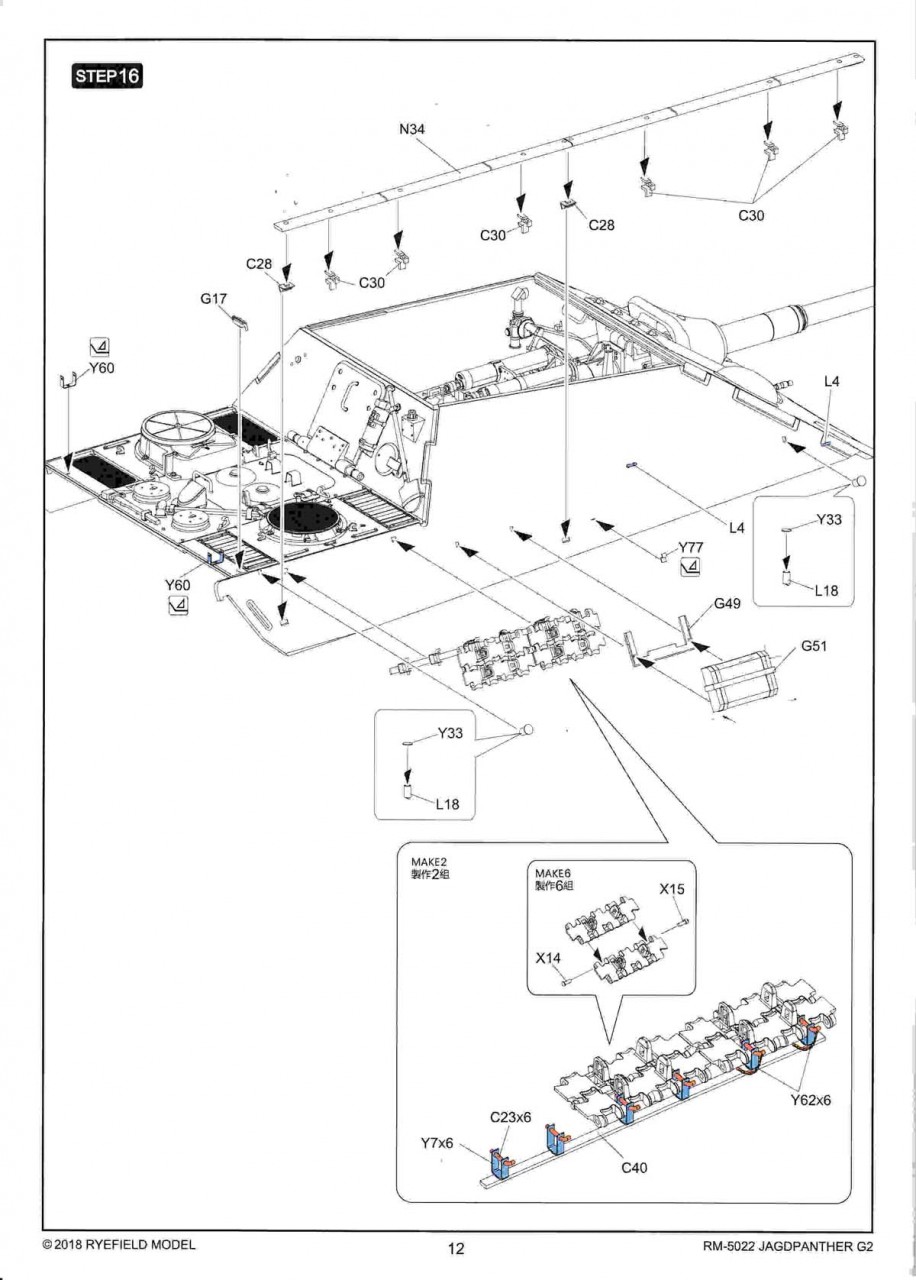
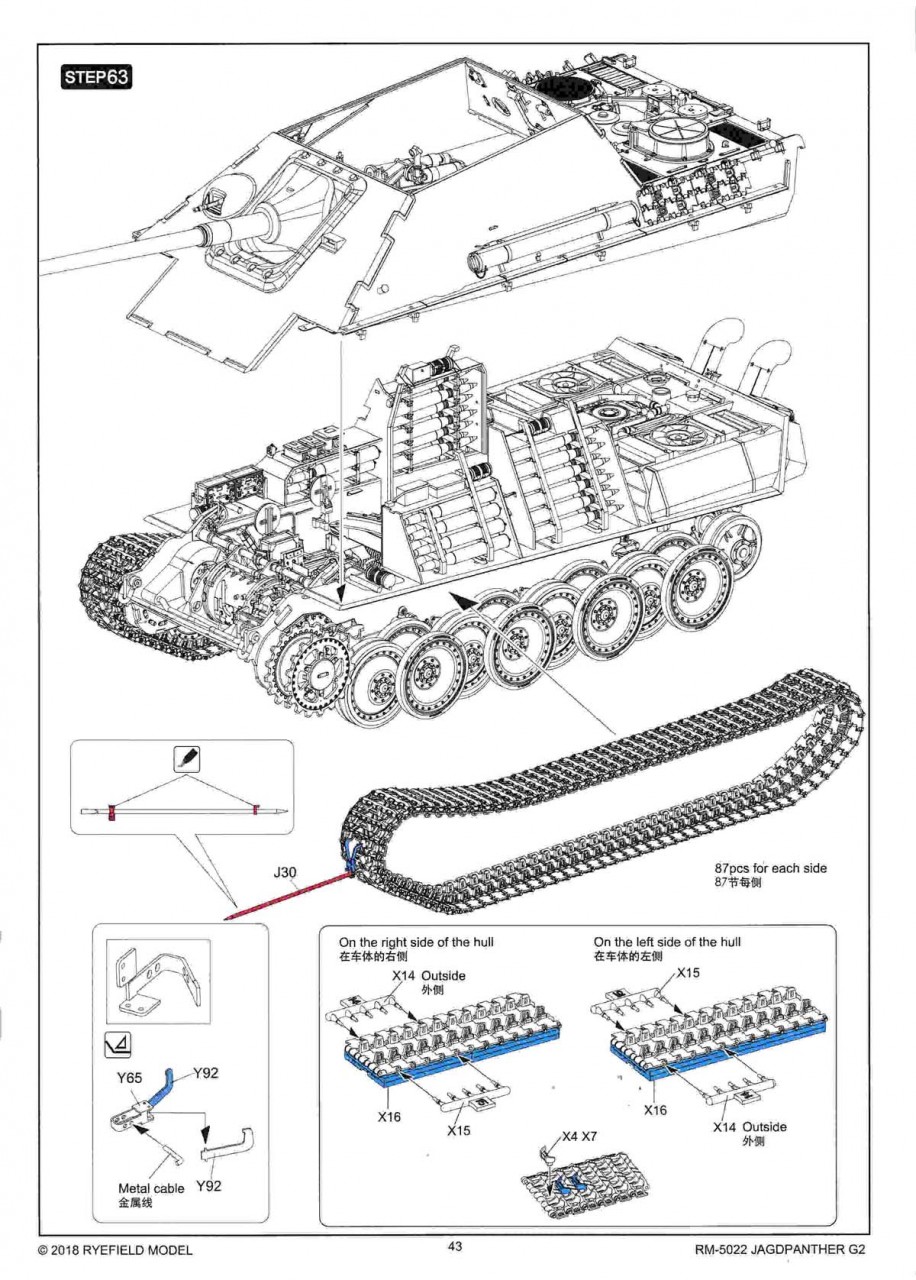
Step 63 assembles the track. The track is designed to be moveable, if you want. If this is your plan, then you need to be very careful when gluing the track pins. A jig is included, that holds 12 links, to help with the assembly. The pins are attached to a sub-sprue that allows you to glue five at a time. You need to pay attention to the positioning of pins X14 (outside) and X15 (inside) as they flip depending if you are doing the right or left track.
The kit also includes optional ice cleats if you are doing a winter version.
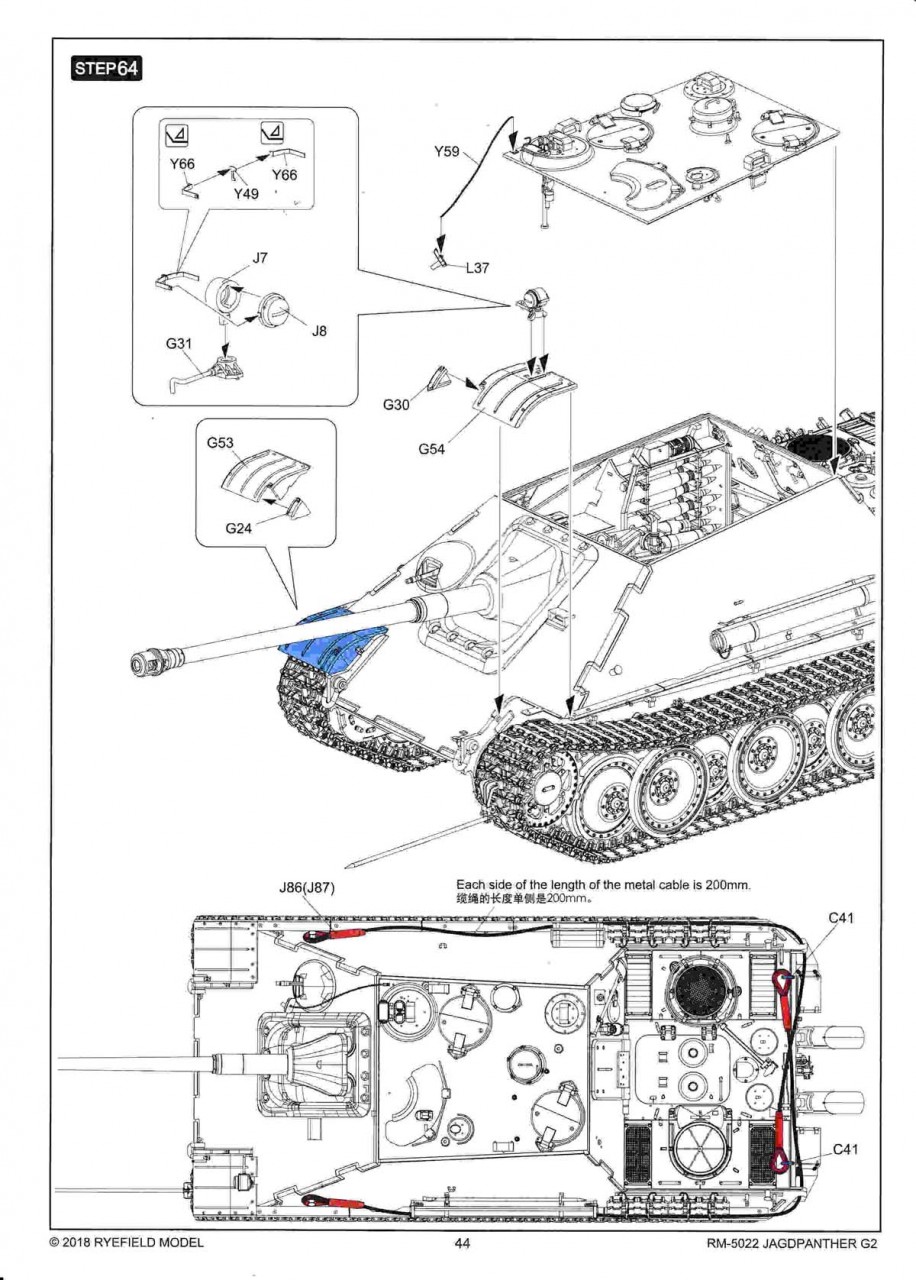
The final step, Step 64, completes the assembly.
The kit does include optional parts for a diorama. It includes the track link installation tool. It also includes road wheels with separate rubber rims to display damaged wheels.
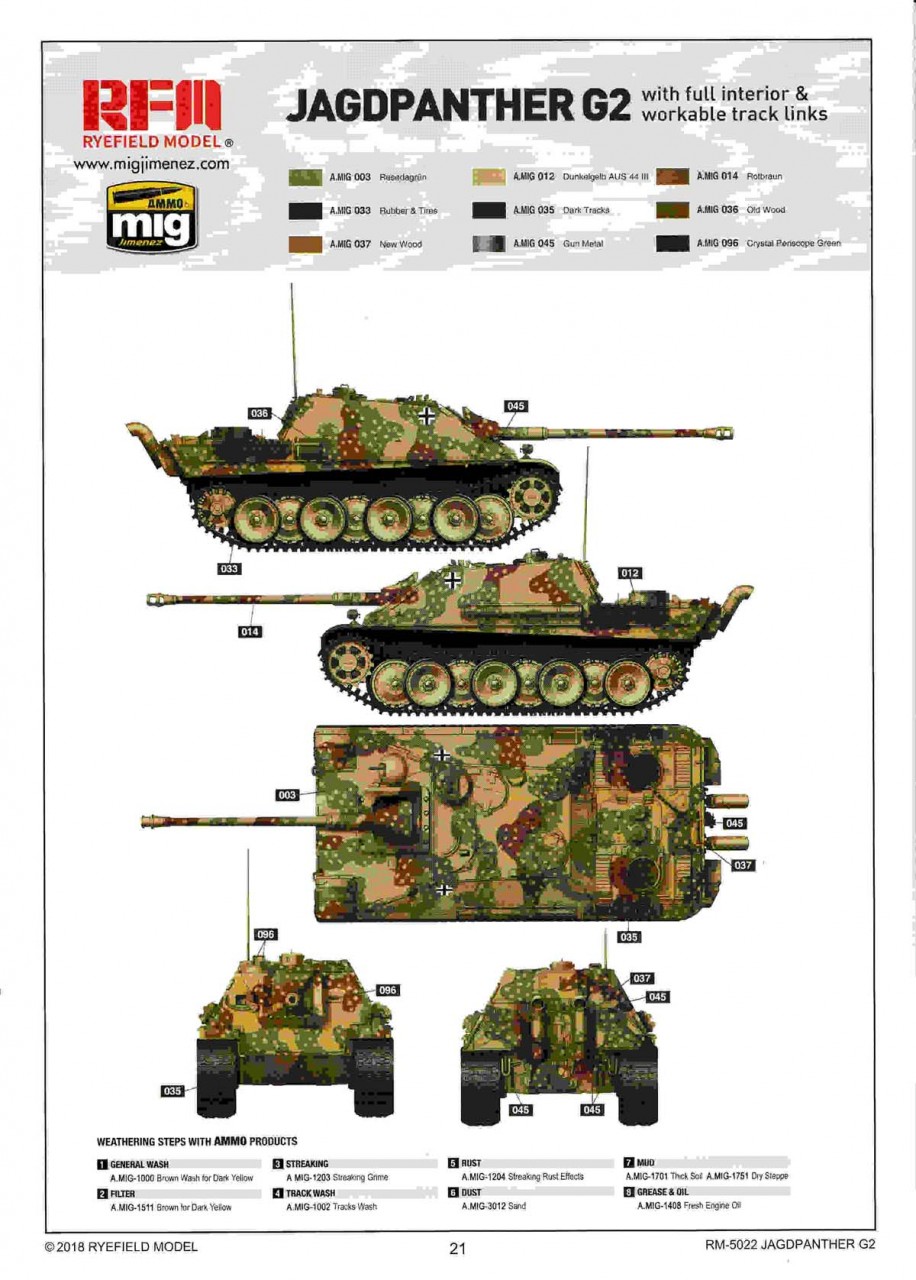
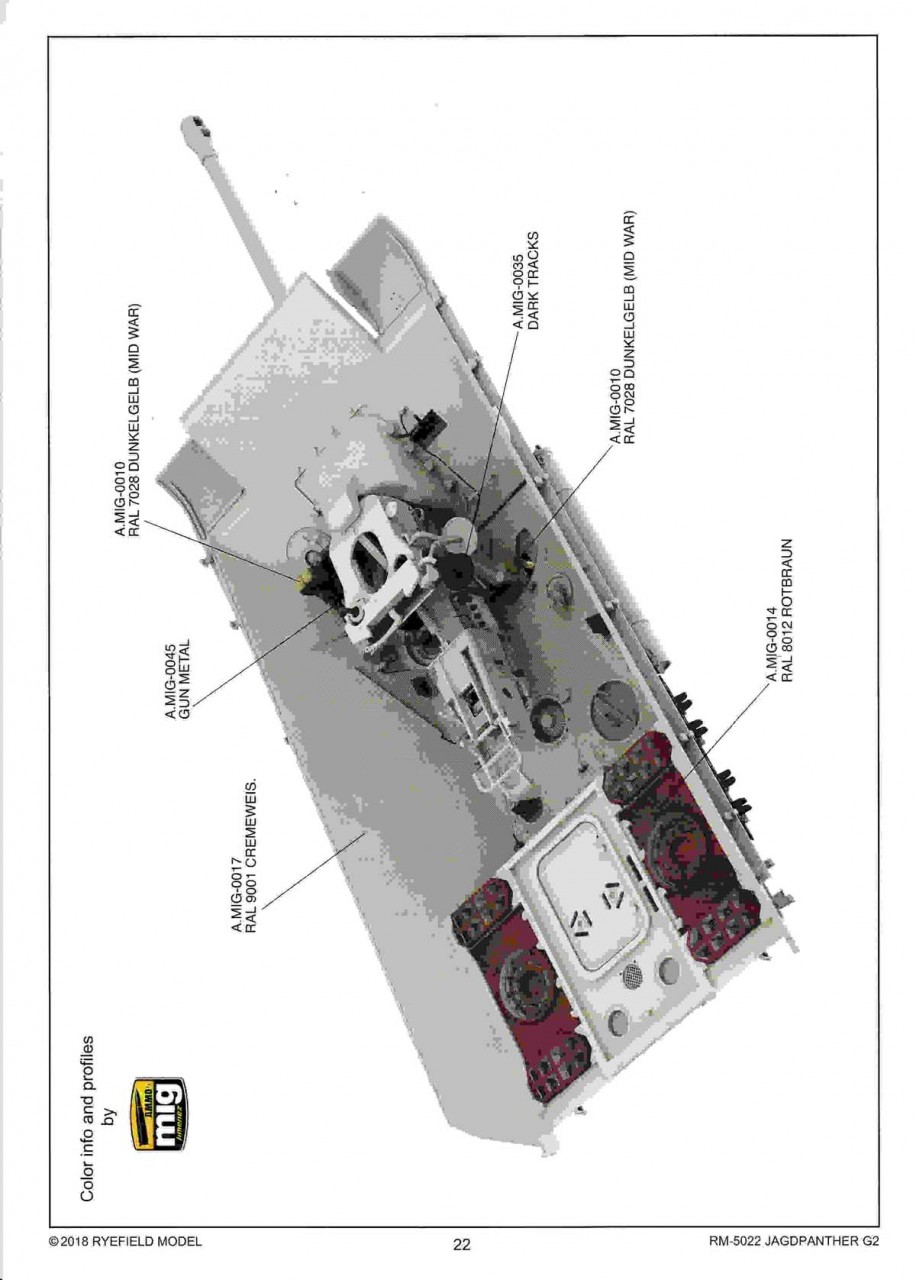
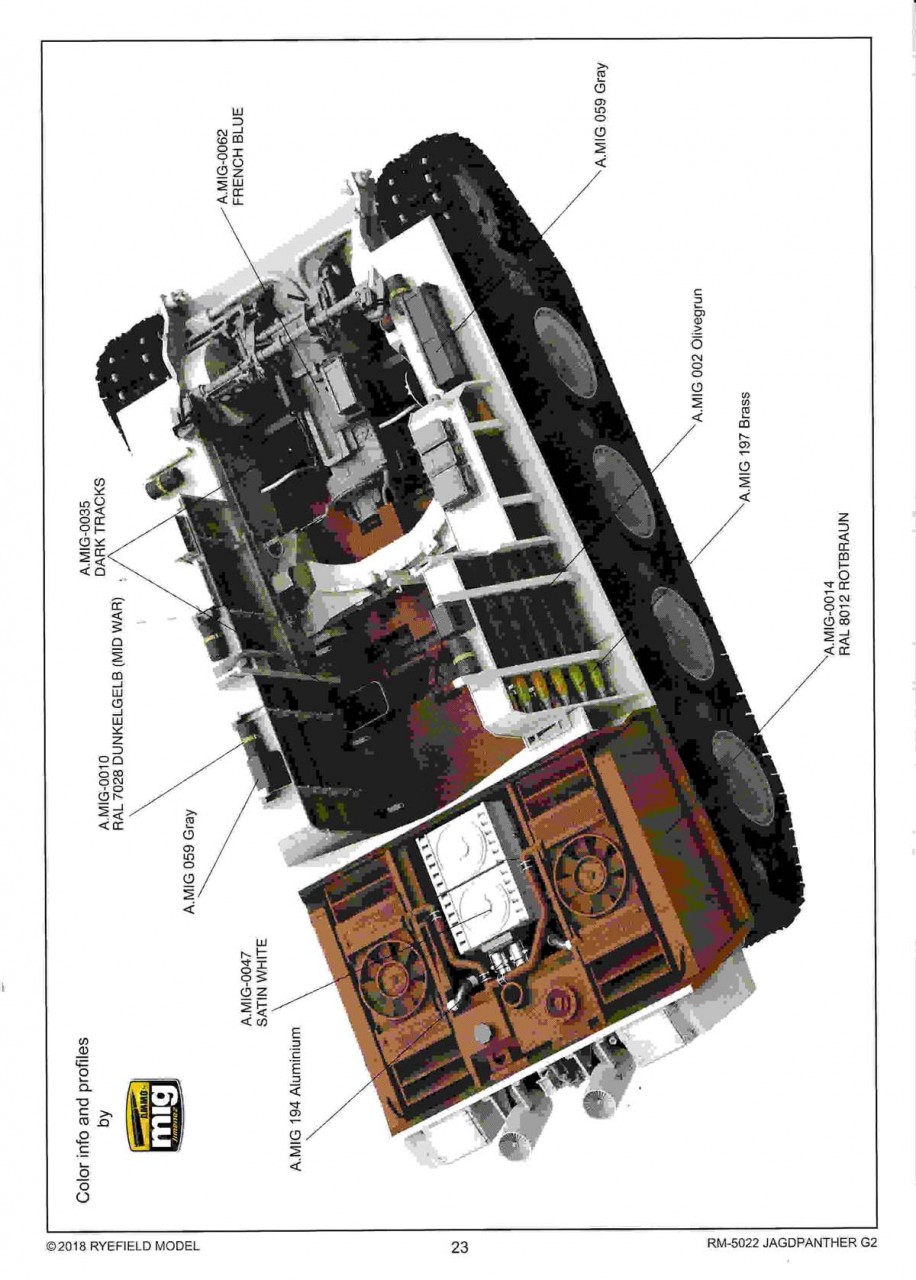
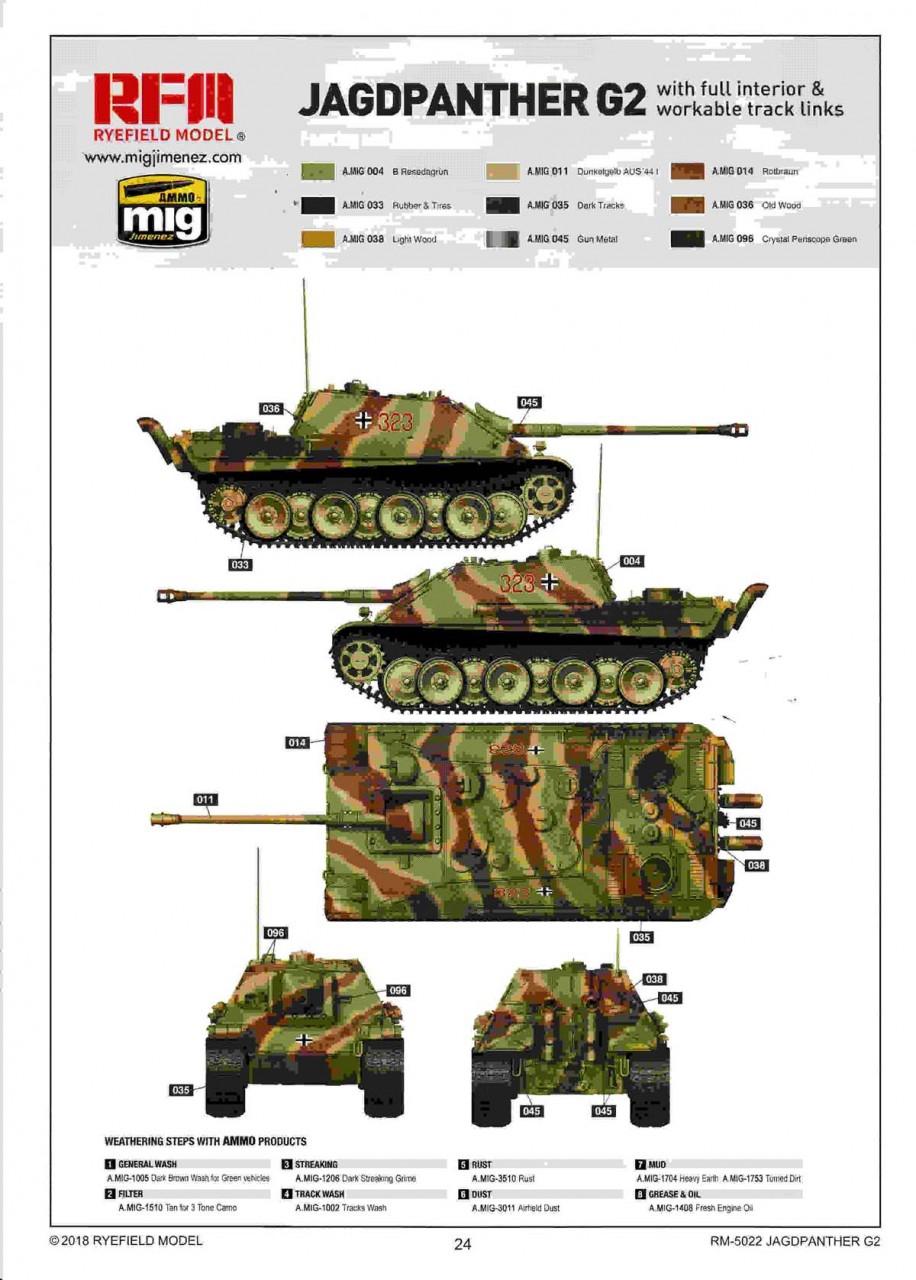
Painting: Paint call-outs are only for Ammo-Mig products. A 2 page guide is incorporated within the manual for painting the interior. It would be much better if this were a separate guide as they did with the Ausf. G kits. No color callouts are provided in the instructions. For the interior of the superstructure, the paint guide has you paint the area of the engine compartment in Cremeweis. I dont believe this is correct. To my knowledge, the engine compartments were always left in the red oxide primer.
Starting in February 1944, orders were issued to begin painting the upper superstructure and the panniers in Cremeweis again. The lower hull was still to be left in red oxide.
In addition, DunkelGelb (RAL7028) was not applied as a base coat. The 3-color pattern was applied directly over the red oxide primer.
Two additional color pages provide paint schemes along with weathering suggestions.
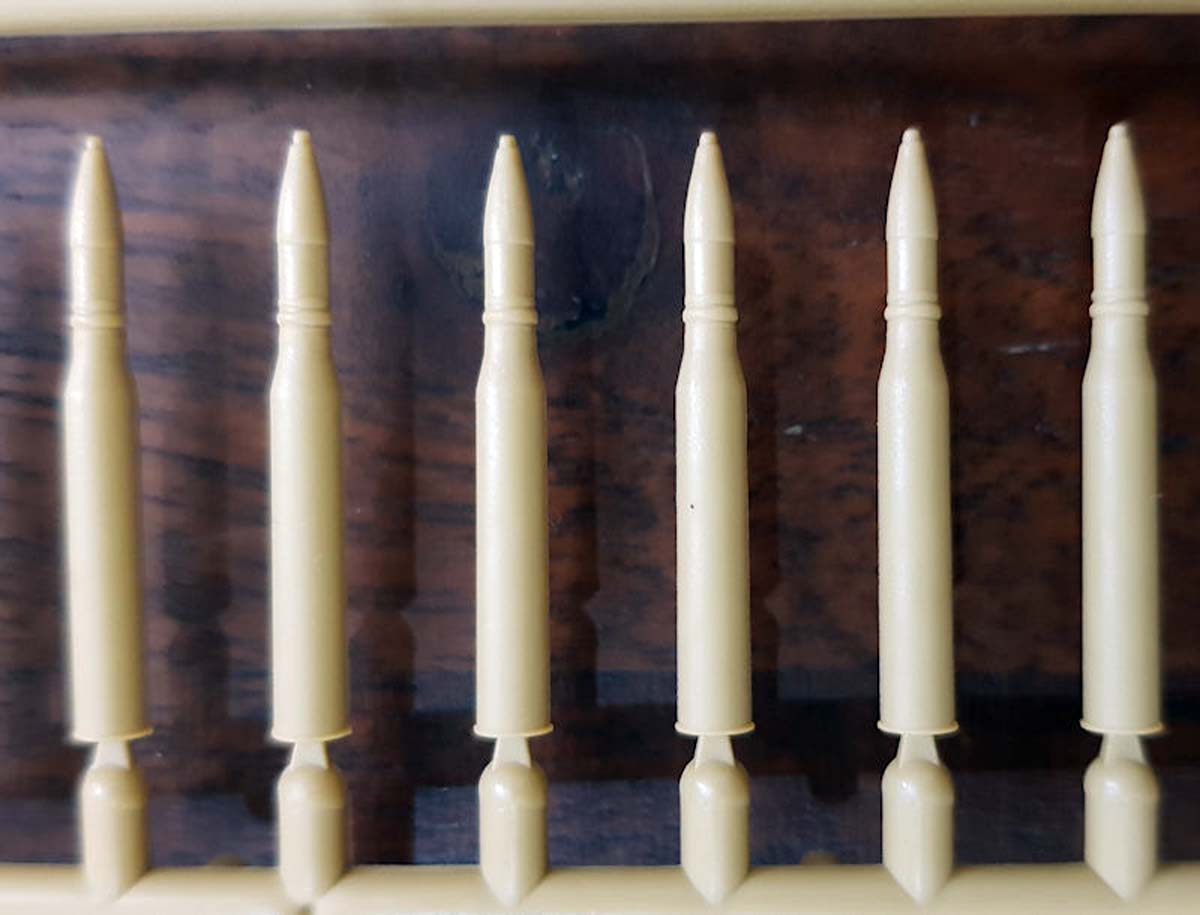
Decals These are printed in China. 95% of the decals are for the ammunition. The dials for the instrument panel are poorly rendered. They also lack the crispness, and clarity, of those you see from Cartograf. Options are only provided for two unidentified vehicles:
Reference Books
1. Panzer Tracts No.9-3: Jagdpanther - Panzerjaeger Panther (8.8 cm) (Sonderkraftfahrzeug173) Ausführung G1 and G2
2. Germany's Heavy Jagdpanzer: Development - Production - Operations
SUMMARY
Highs: A very detailed interior is represented. Clear roof part is very nicely molded. Individual shells allow the builder to display a load-out to their taste. Optional parts for diorama use. Lows: Missing the schurzen panels. More expensive than the Takom version. Little else not to love with this kit.Verdict: The kit is not for beginners. This is a beautifully detailed kit of the G2 variant.
About Mark (d111298pw) FROM: OKLAHOMA, UNITED STATES
I'm from the US, but have lived most of my adult life around the world due to my work.
I started building models when I was 6. Took a 30 break as other priorities took hold (work,family, etc..). Got back into it a number of years back building F1 kits (Ferrari only). When I got to India, the modell...
Why not do one side of each? Left Takom, right RFM or vice versa.[/quote]
What would be the point of that? [/quote]
It would juxtapose the two kits and provide an interesting display. I believe that is what we usually hope to display (a visually appealing representation of history).
Why not do one side of each? Left Takom, right RFM or vice versa.[/quote]
What would be the point of that? [/quote]
It would juxtapose the two kits and provide an interesting display. I believe that is what we usually hope to display (a visually appealing representation of history).[/quote]
That would be an expensive undertaking -both in time and in money... For a hobby-ist, I think I'll keep my sanity (Unless someone is willing to pay me full time to do it.)
Why not do one side of each? Left Takom, right RFM or vice versa.[/quote]
What would be the point of that? [/quote]
It would juxtapose the two kits and provide an interesting display. I believe that is what we usually hope to display (a visually appealing representation of history).[/quote]
That would be an expensive undertaking -both in time and in money... For a hobby-ist, I think I'll keep my sanity (Unless someone is willing to pay me full time to do it.)[/quote]
I thought that you already had bot kits?
Well, I'm also trying to decide if I want RFM or Takom's Jagdpanther G2 as each of these has it's own advantages. So far, I cam sum them up as follows:
RFM:
- has workable tracks (as opposed to Takom's link and length)
- has clear parts for hull roof and engine deck (if someone wants to better display the interior)
- a resin figure (only if you get the initial limited edition)
Takom:
- has the optional air defense screens for the engine deck which I guess makes it more accurate for a very late war Jagdpanther (these are missing on RFM); you can also find them in one of Takom's kits of Panther G (kit number 2121)
- schurtzen (missing completely in RFM kit)
Why not do one side of each? Left Takom, right RFM or vice versa.[/quote]
What would be the point of that? [/quote]
It would juxtapose the two kits and provide an interesting display. I believe that is what we usually hope to display (a visually appealing representation of history).[/quote]
That would be an expensive undertaking -both in time and in money... For a hobby-ist, I think I'll keep my sanity (Unless someone is willing to pay me full time to do it.)[/quote]
I thought that you already had bot kits?[/quote]
Sorry for not being clear: I have the Panthers.
Thanks Dan for the quick listing on both AFVs pros and cons. The rest of the discussion went sort of sideways there as they're obviously both based on their respective company's Panther kits. I'd still urge everyone to put their built cut-aways in a sealed case for display as dusting them otherwise is nearly impossible.
Based on our discussion I've ordered the RFM model for while the Takom is a great kit I got a sweetheart deal for the RFM which normally costs 25 or so percent more. Looking forward to it getting here. Maybe I'll build the Takom Panther 'A" in the mean time...
I just purchased the RFM kit and already have the Takom. I hope to see the strengths and weaknesses of each kit as I build them.
I will take my time and do it right.
Chris


Comments