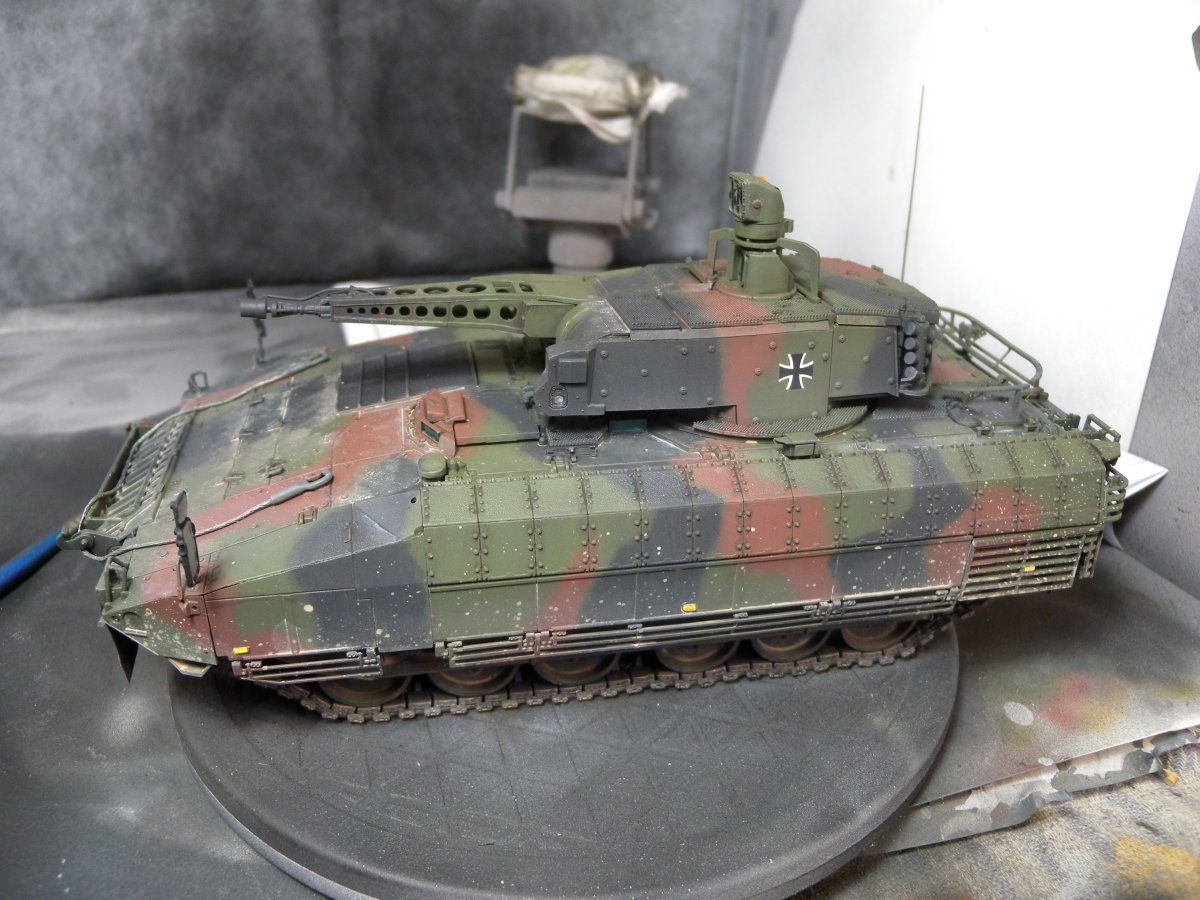
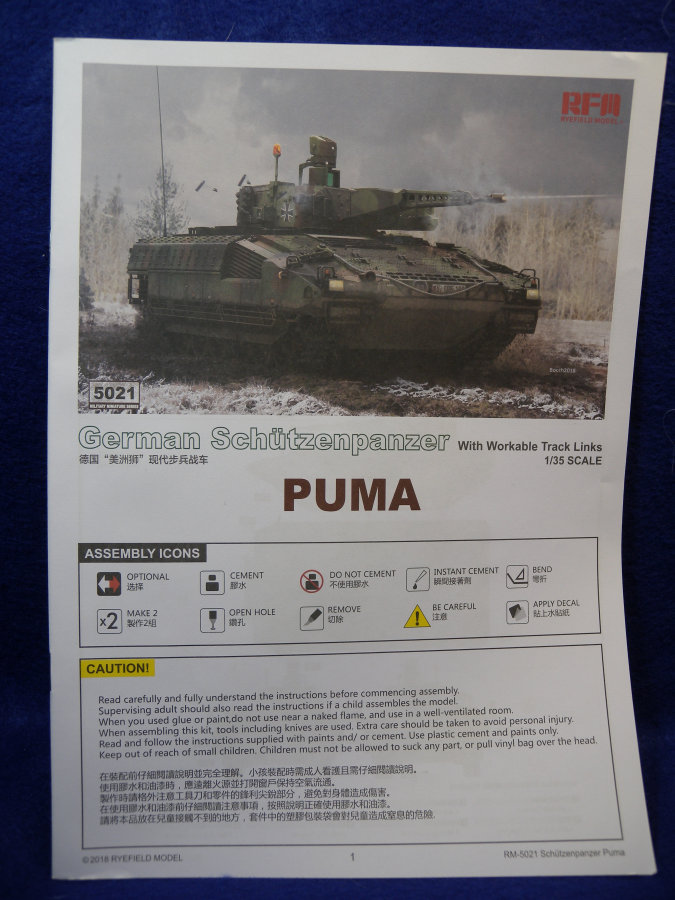
The newest Puma IFV is being put into service in the German Army to replace the aging Marder IFV's. The development started in 1996, with the replacement program starting in 2010 and completion expected in 2020. The vehicle was designed with new state of the art designs, to include better crew protection and interaction and is armed with a Rhienmental 30mm Mk.30-2 Air Burst Munitions autocannon. The IFV has a crew of three and designed to carry six soldiers.
A new model from relatively new comer Rye Field Model looks to be a decent representation of this new Puma serving in the German Army,
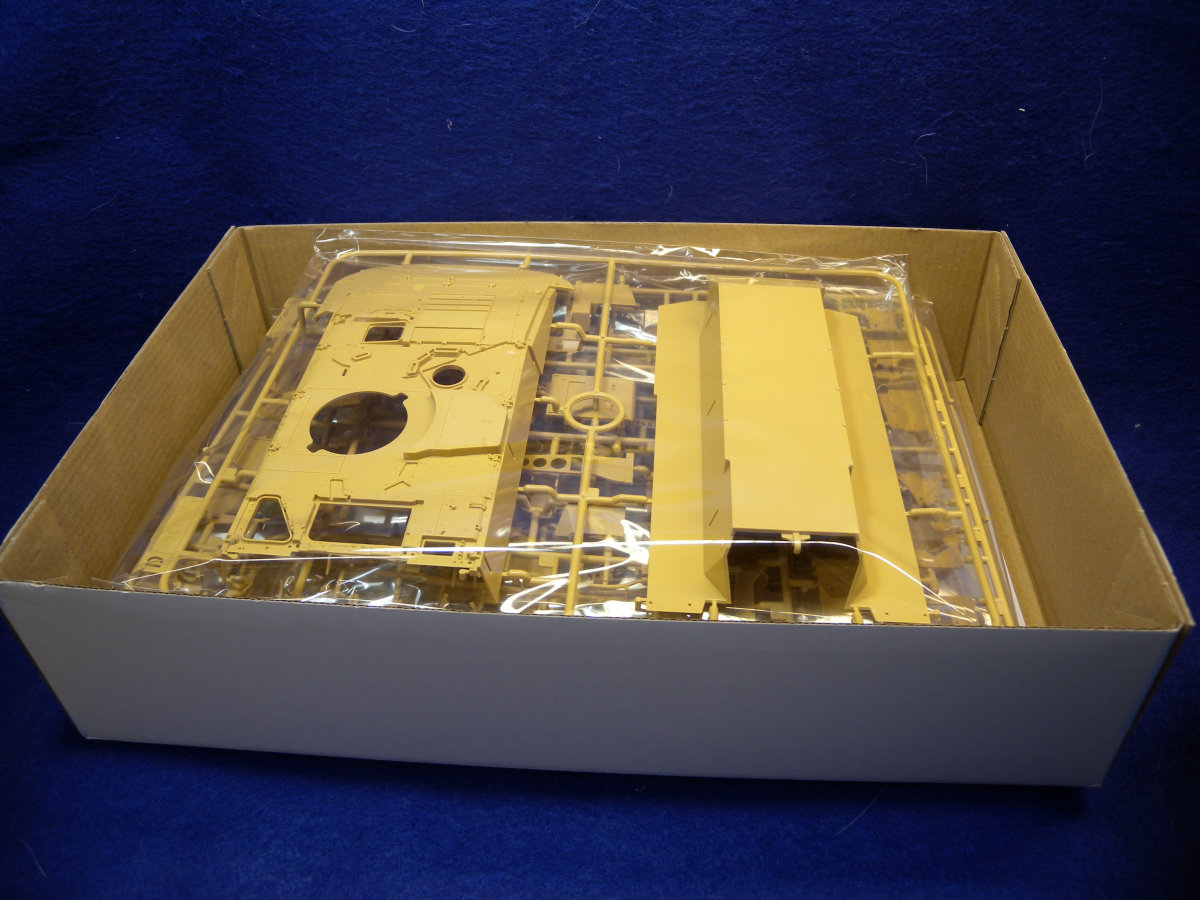
Contents
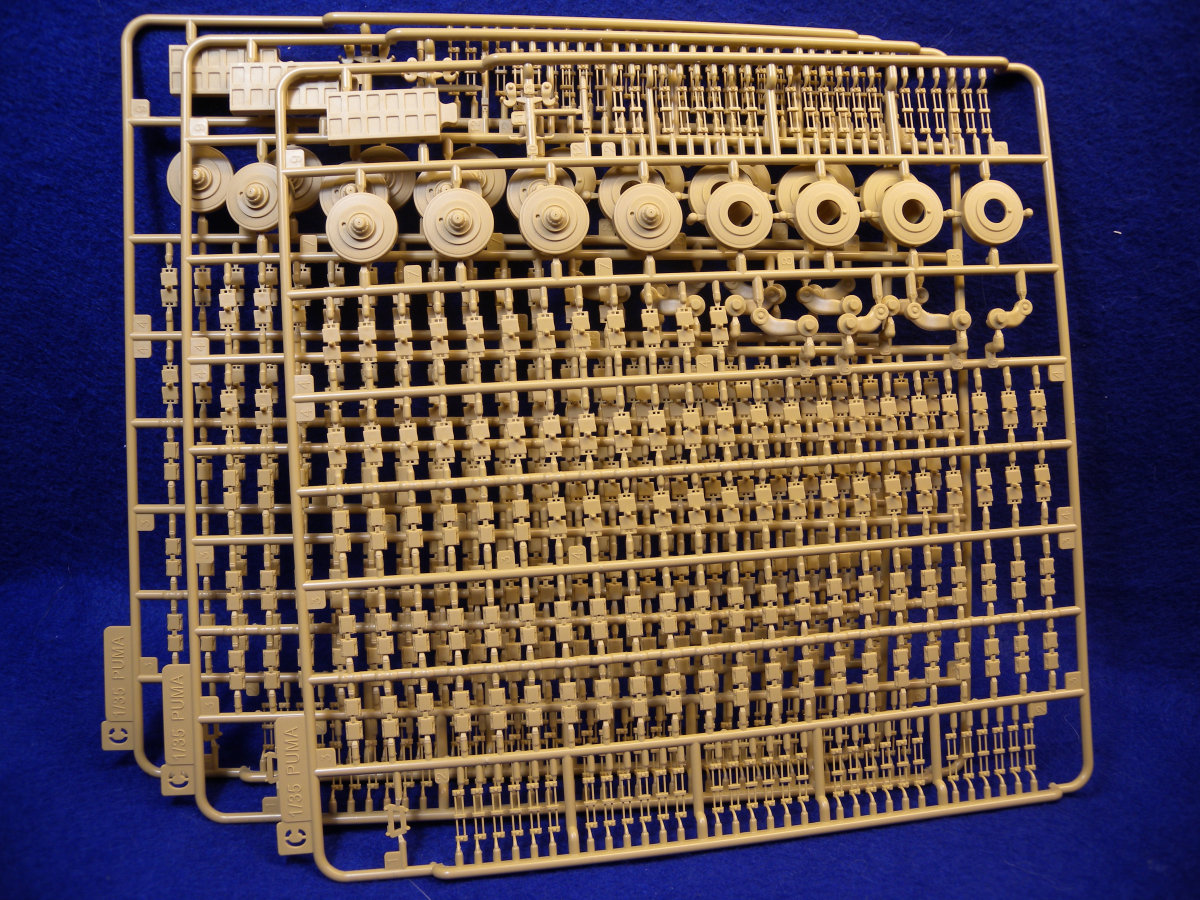
10 Plastic Sprues
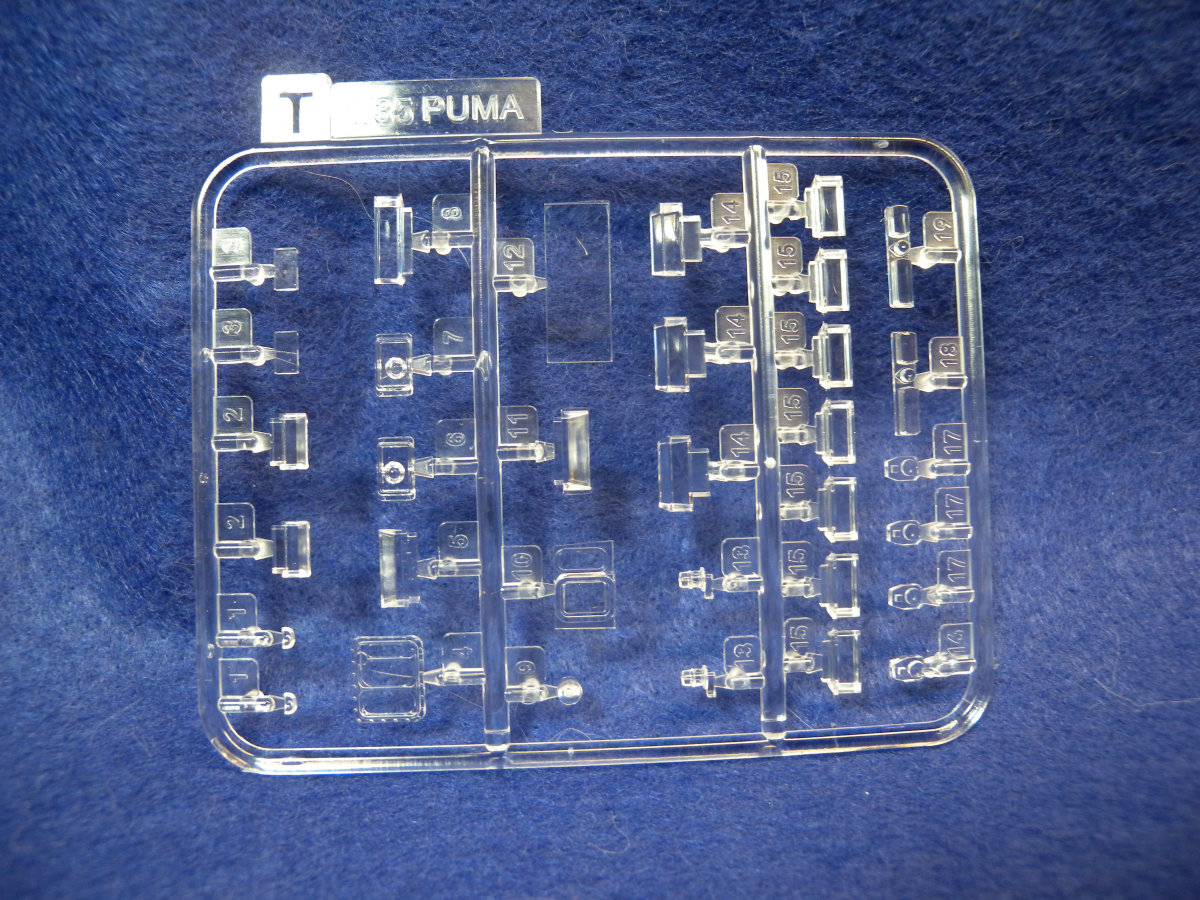
1 Clear Plastic Sprue
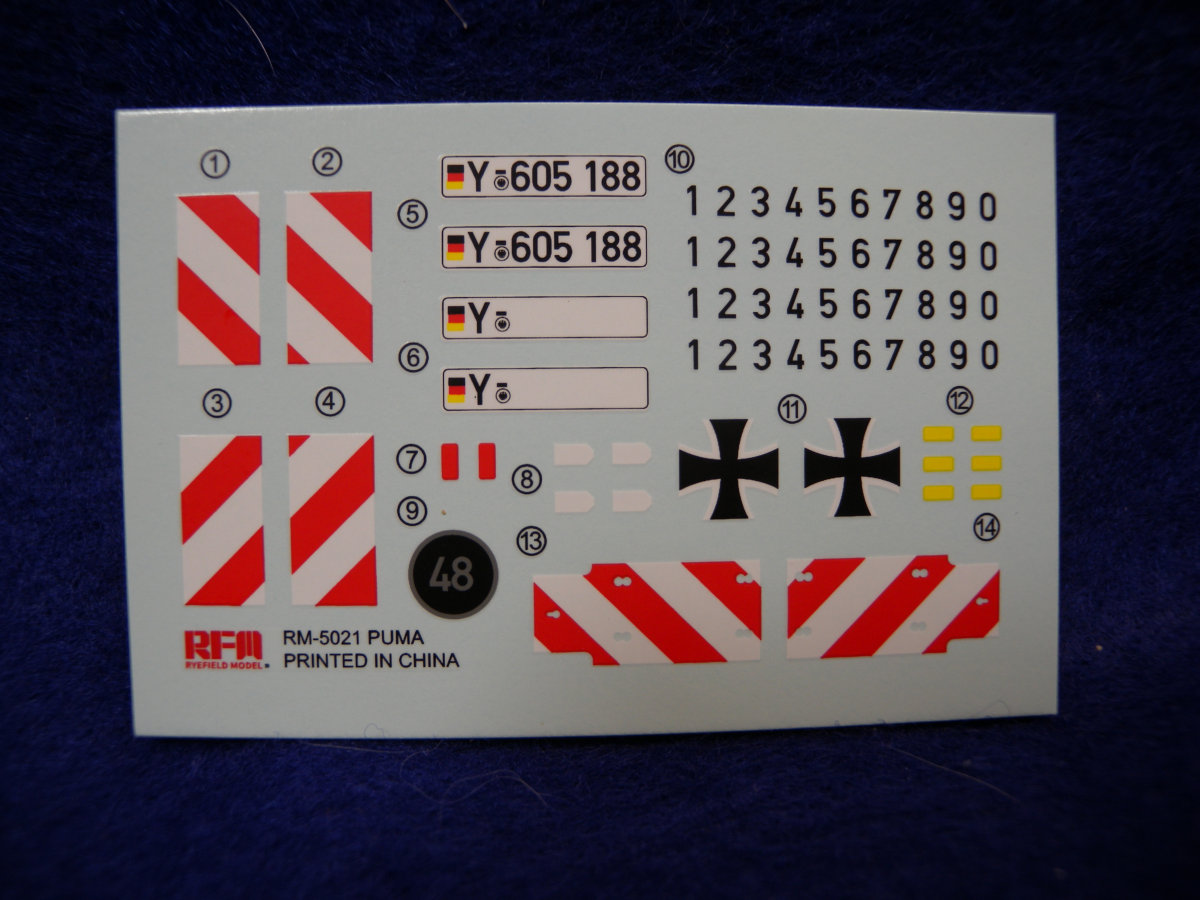
1 Sheet of Decals
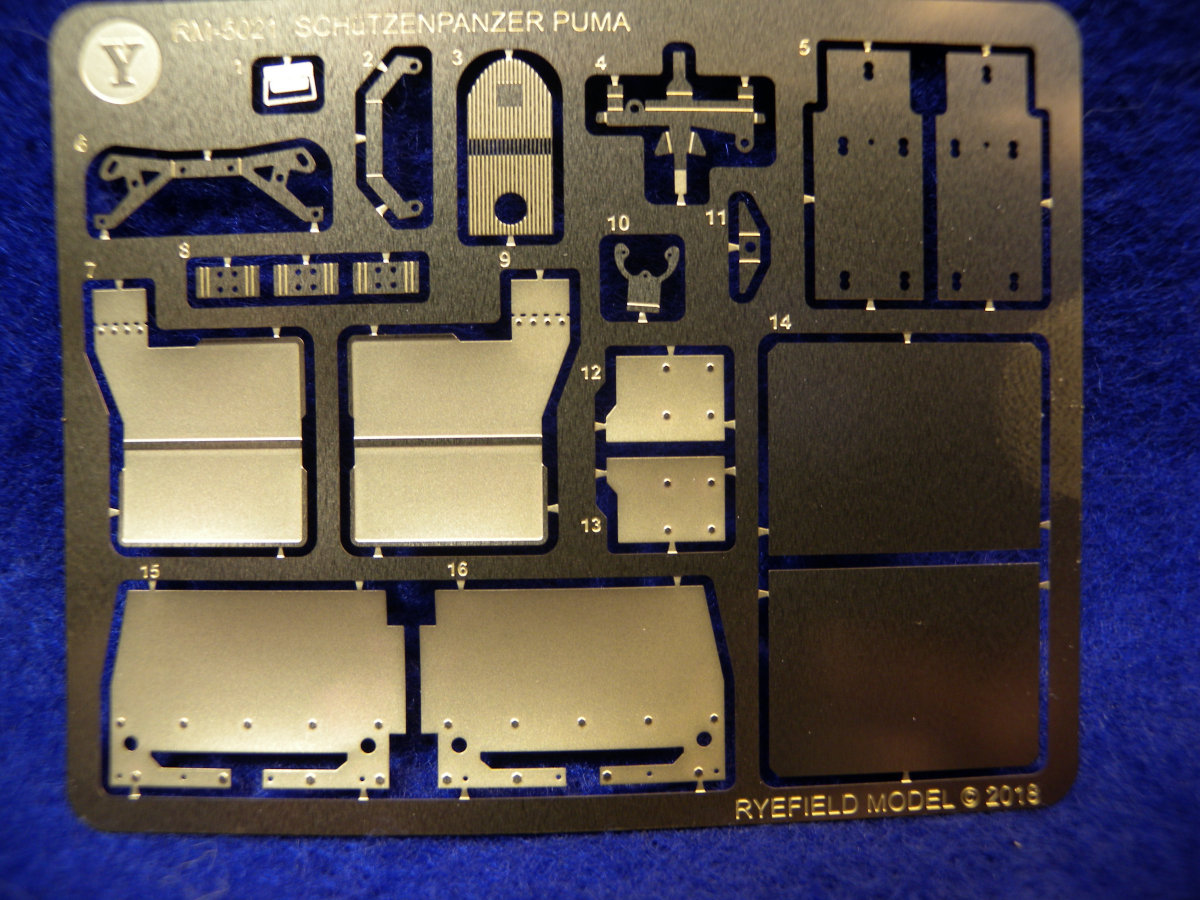
1 Fret of Photoetched
1 Instruction and painting sheet
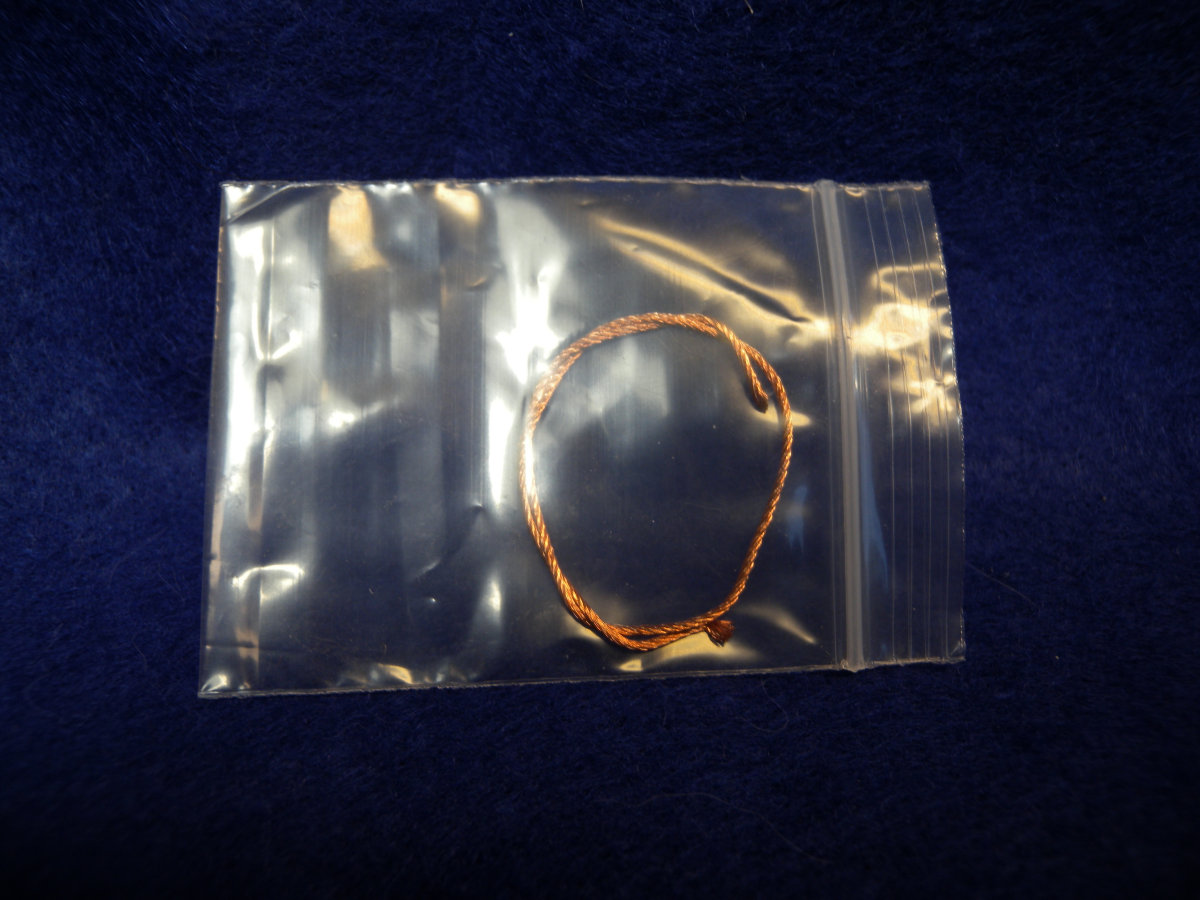
1 Length of Wire (tow cable)
Review
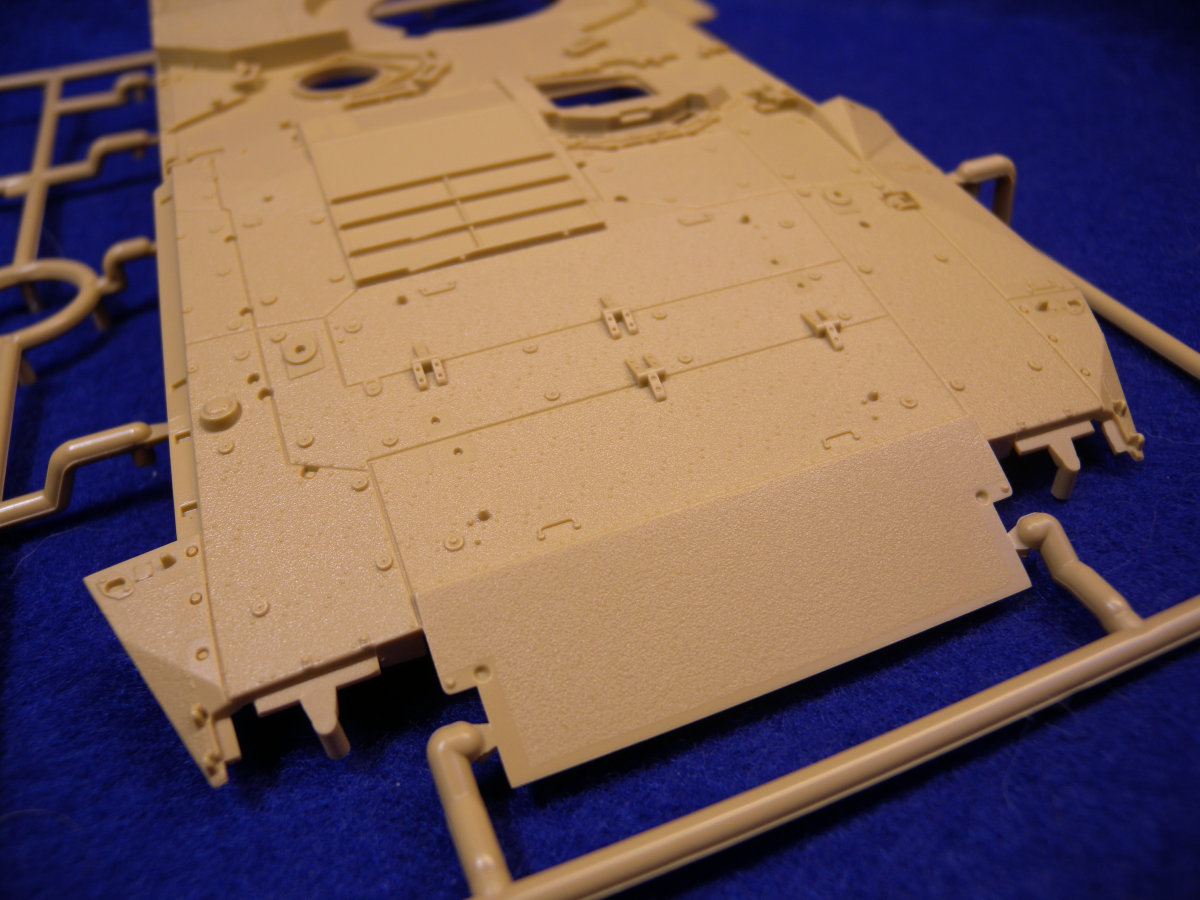
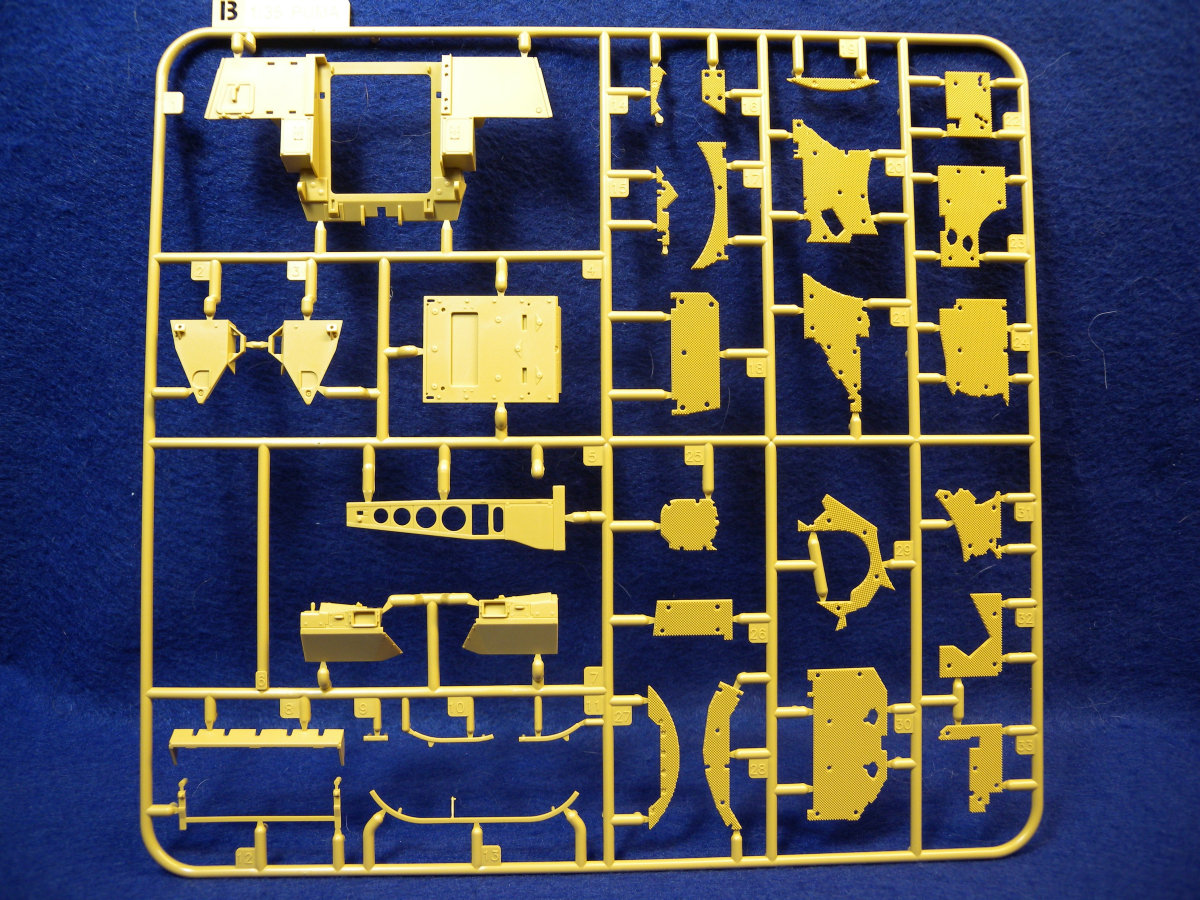
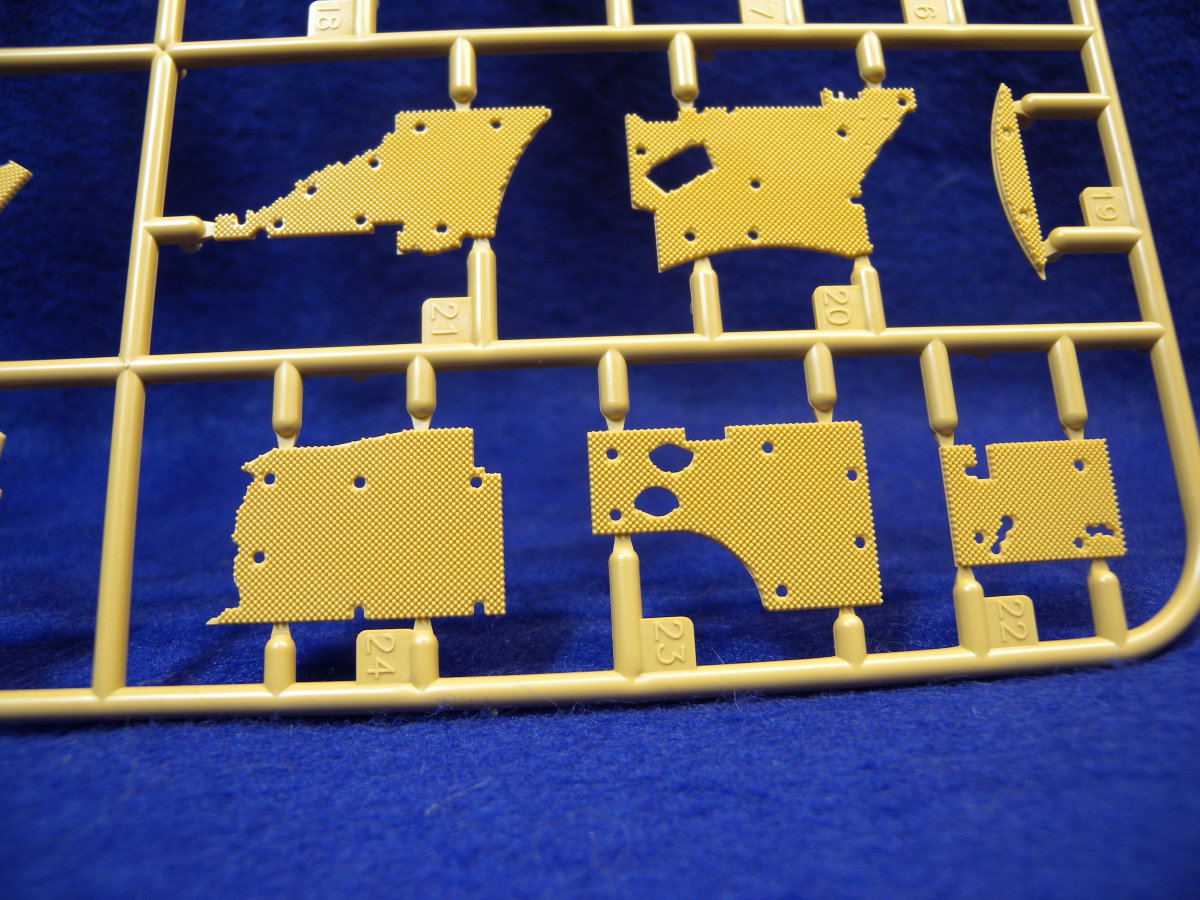
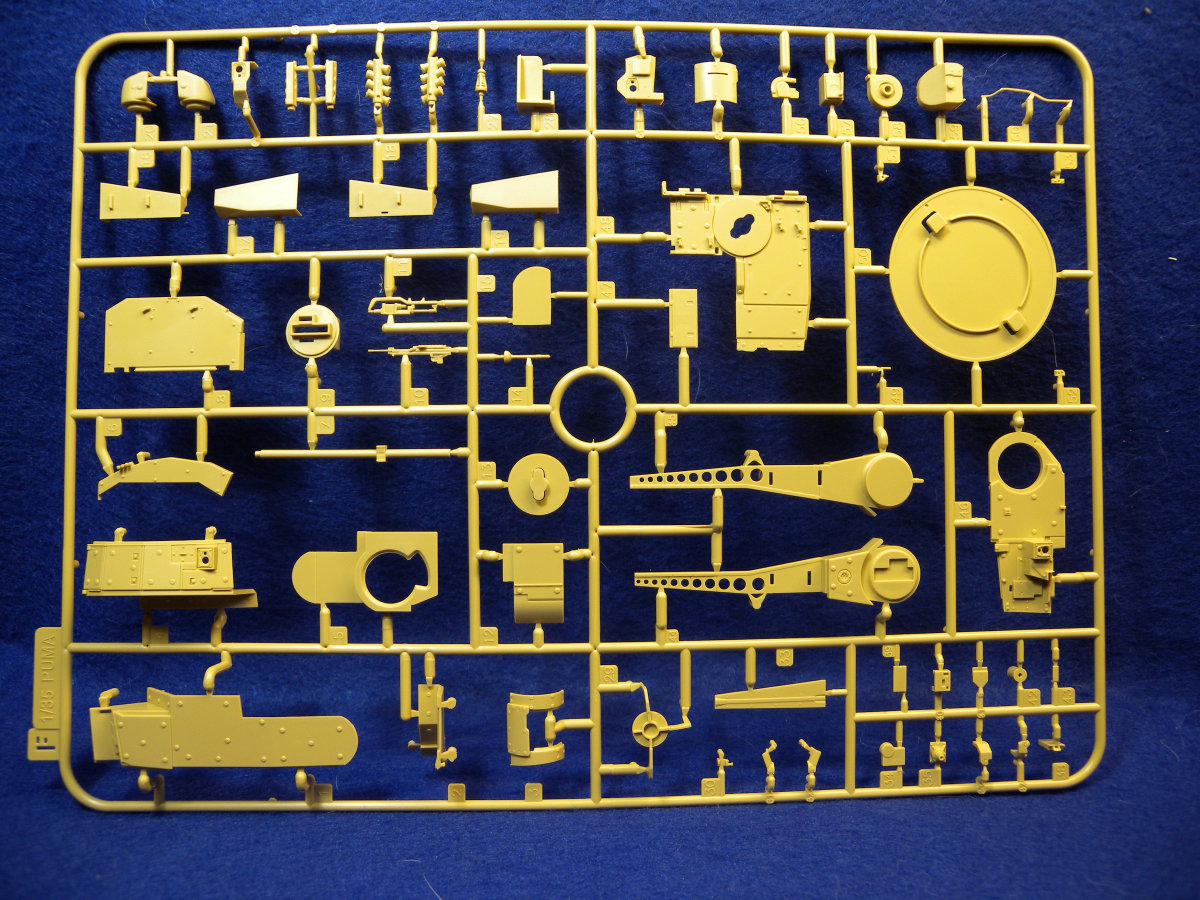
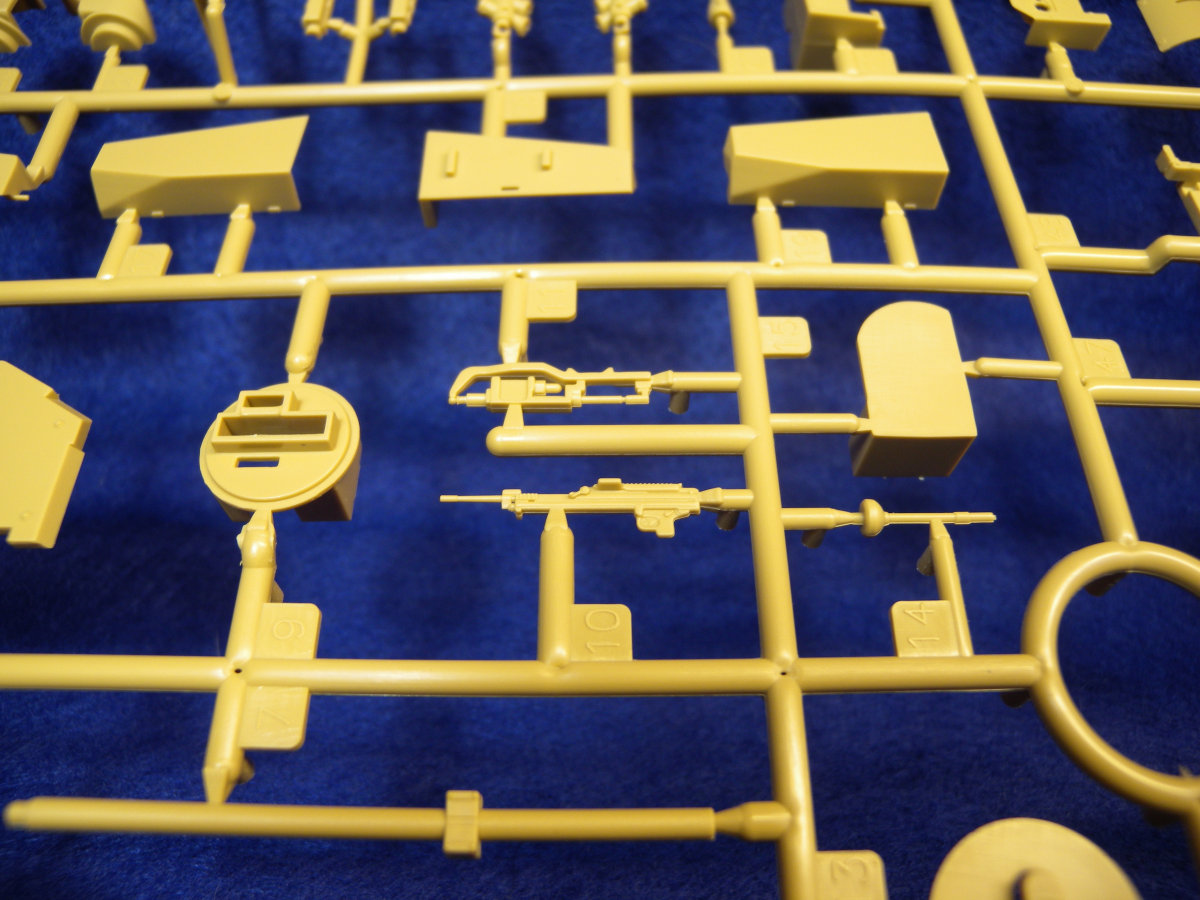
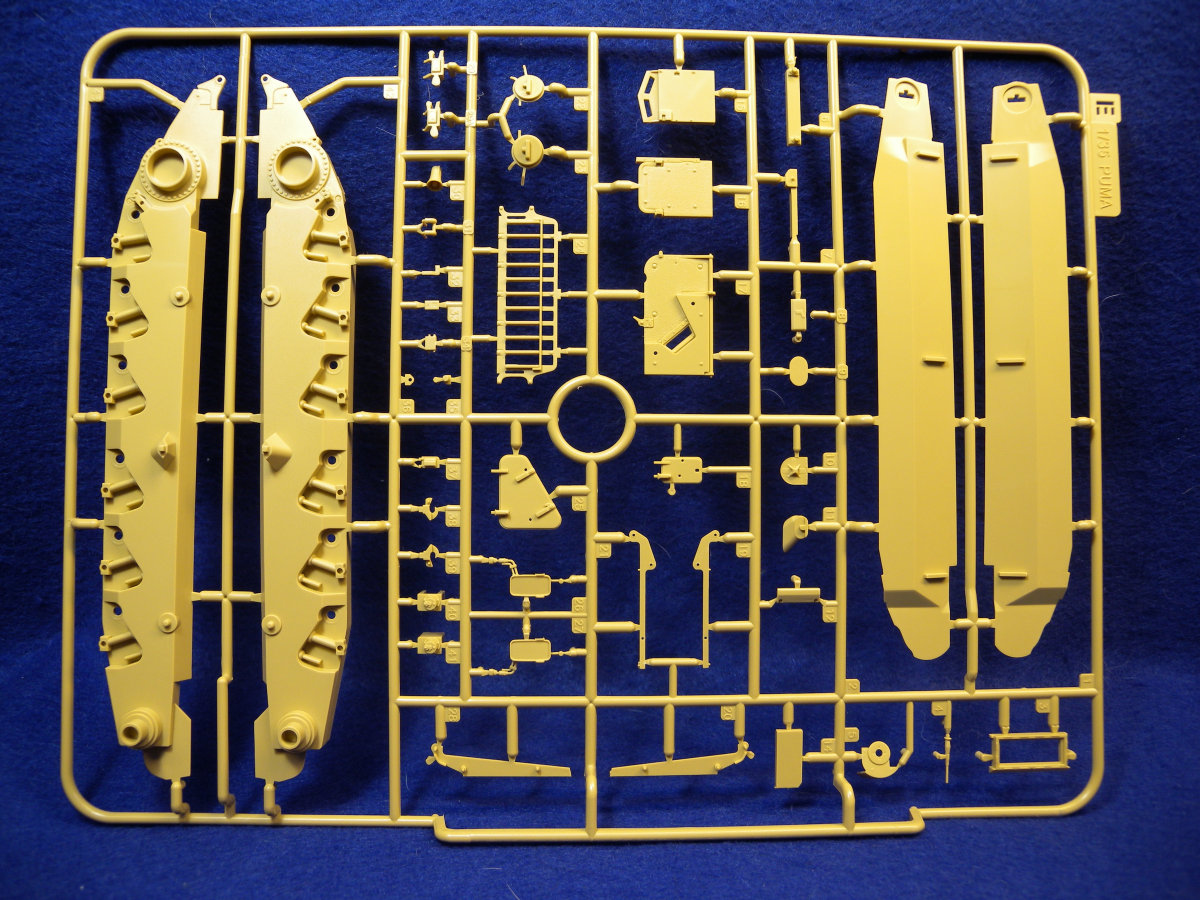
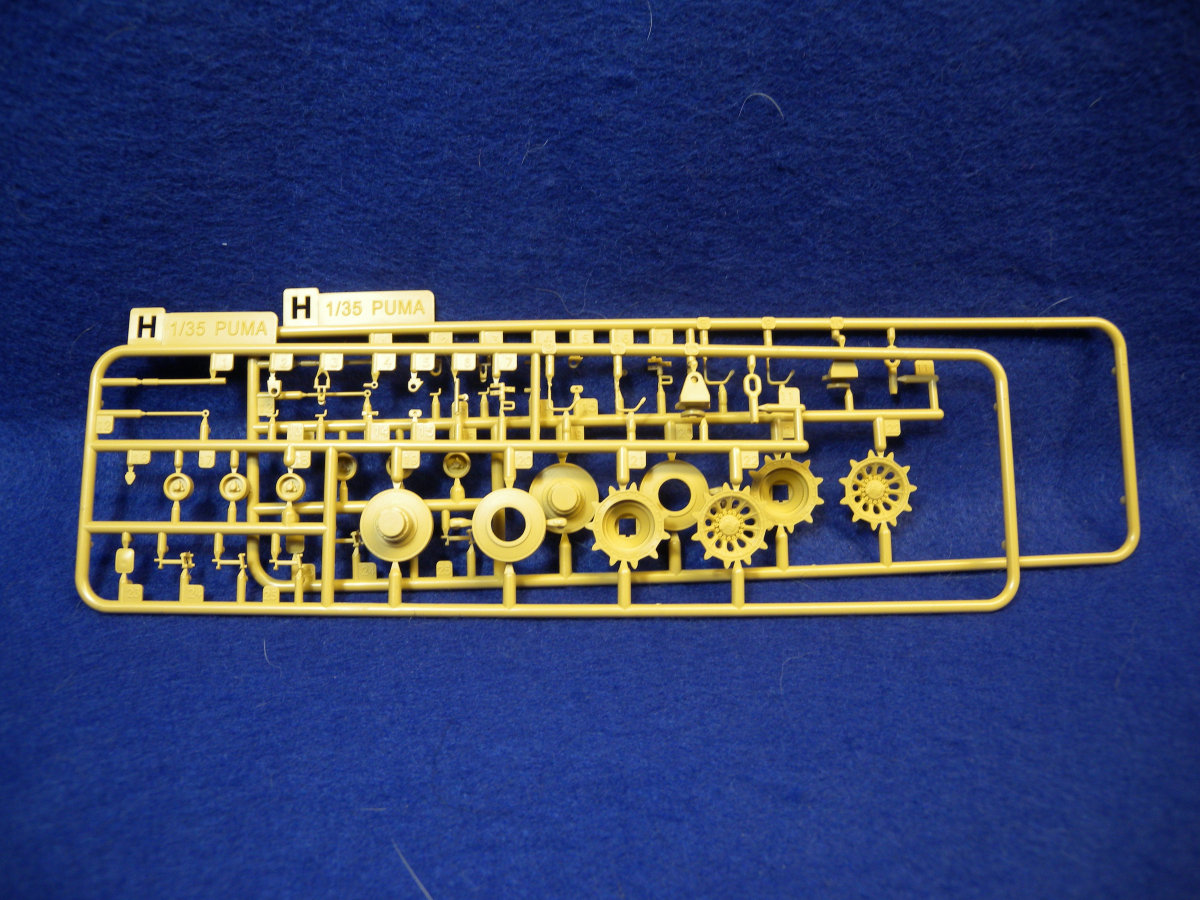
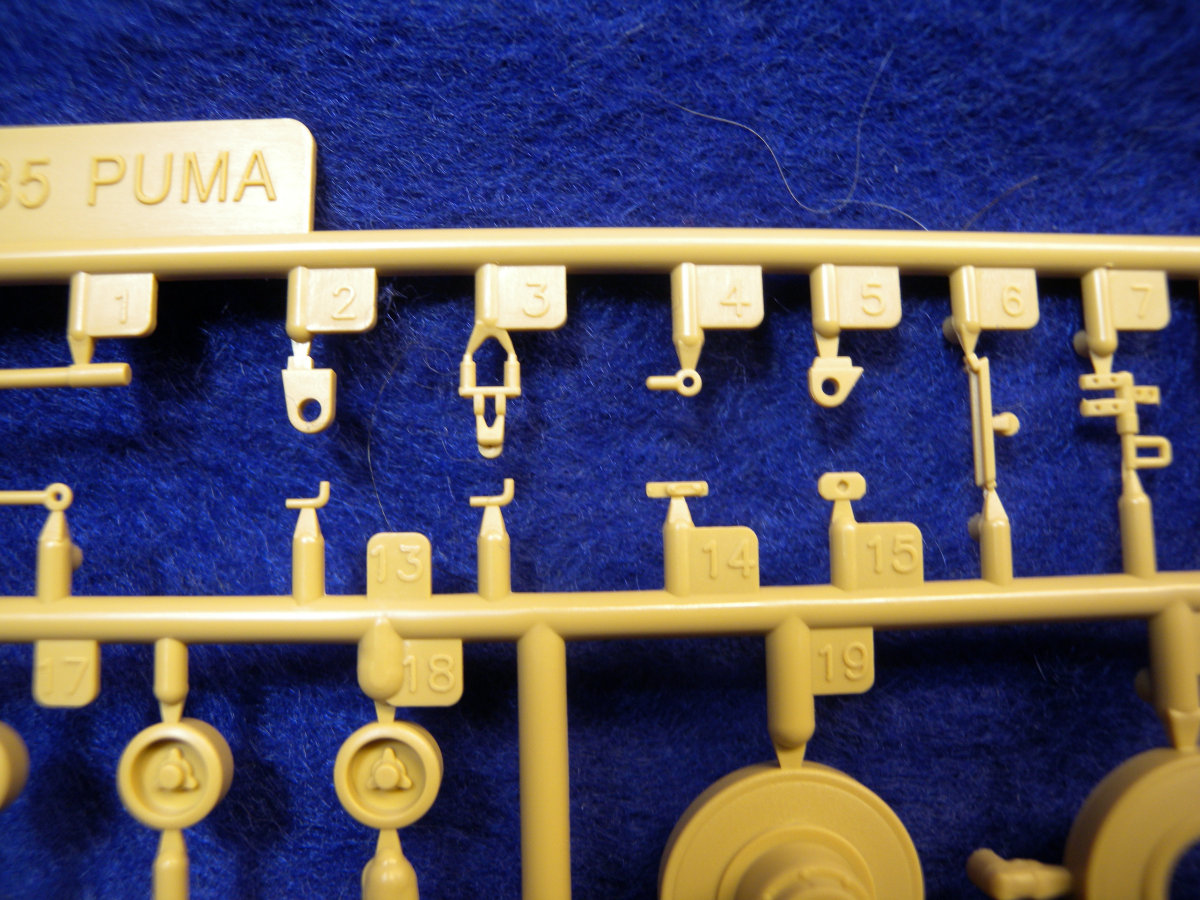
Looking into the box I was pleasantly surprised by lots of nice-looking parts and surface detail. The kit is molded in a tan colored plastic and is flash free. An initial scan of the major parts show no sink marks and it does look like all ejector marks will be hidden when built. Across the sprues it looks like Rye Field Model has done a very nice job. On the surface there is very well-done anti-skid and the top armour parts are done nicely. There are also many finely molded details parts.
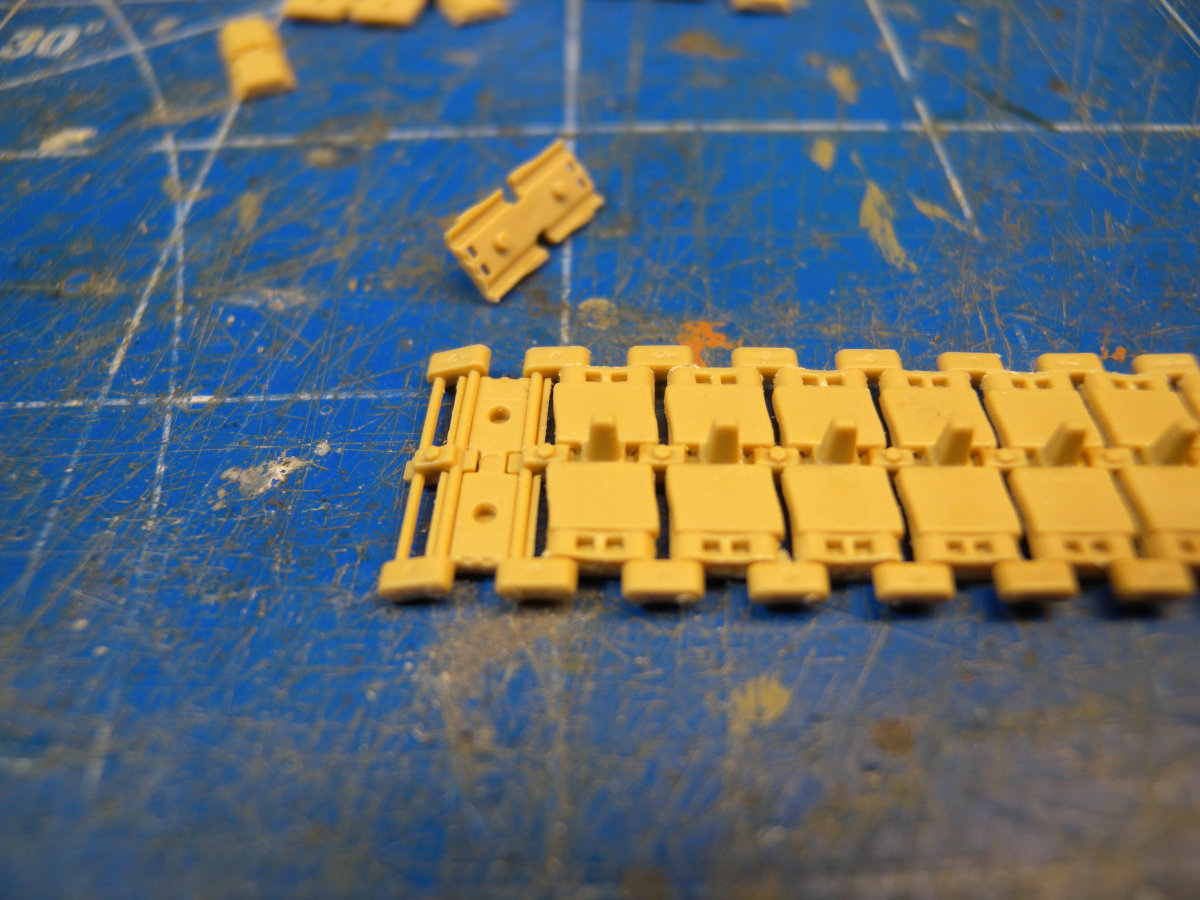
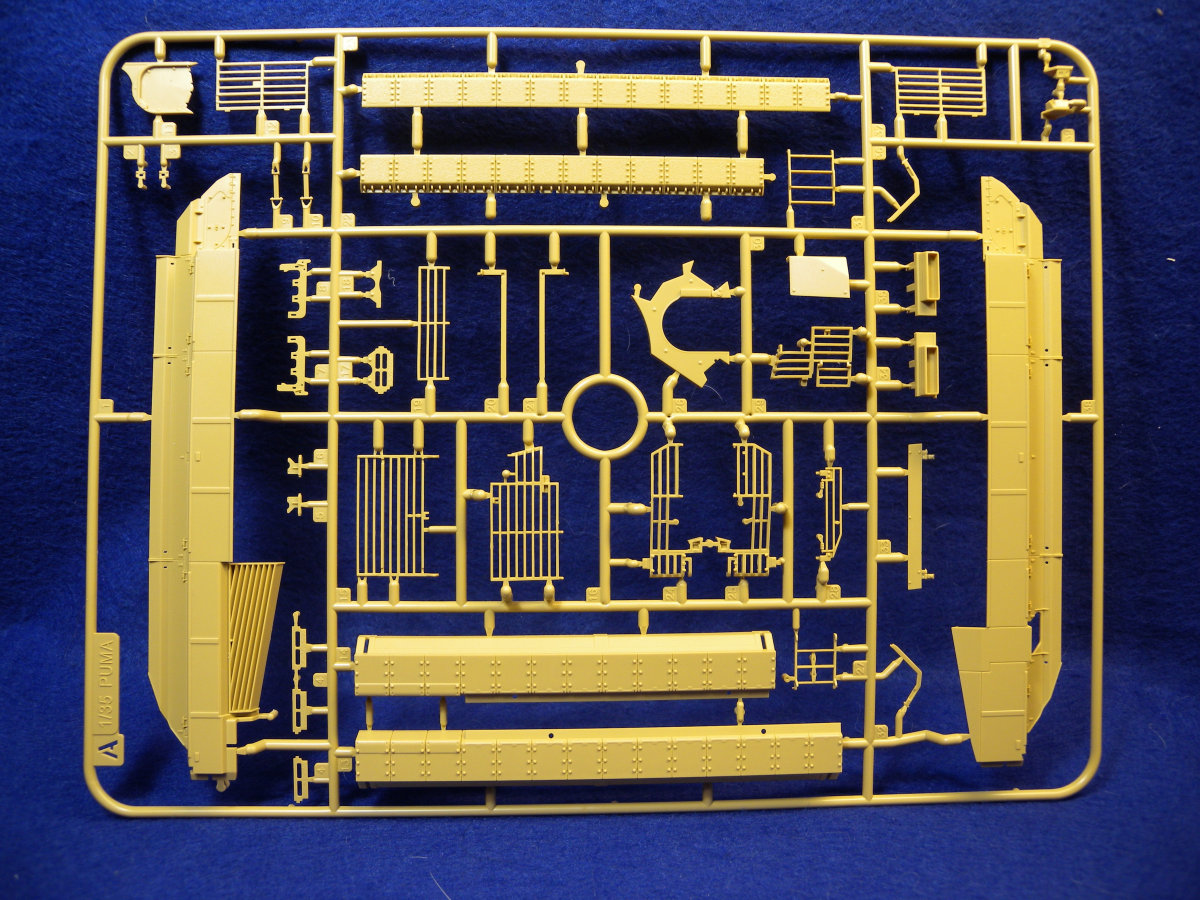
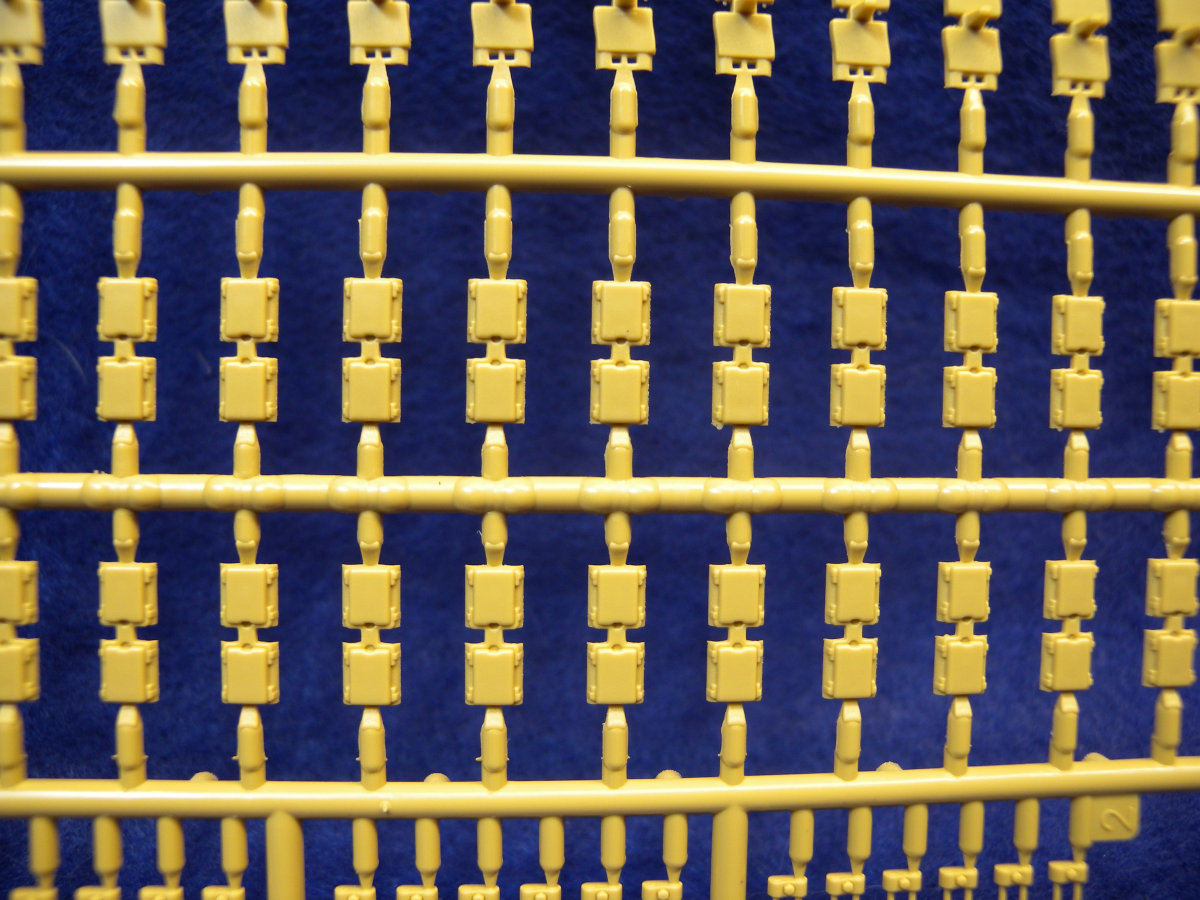
The kit is molded and broke down like a typical tank kit with a lower and upper tub for the hull as well as the turret. The kit does include individual track links that are molded with a top, bottom and connection rods molded as separate pieces.
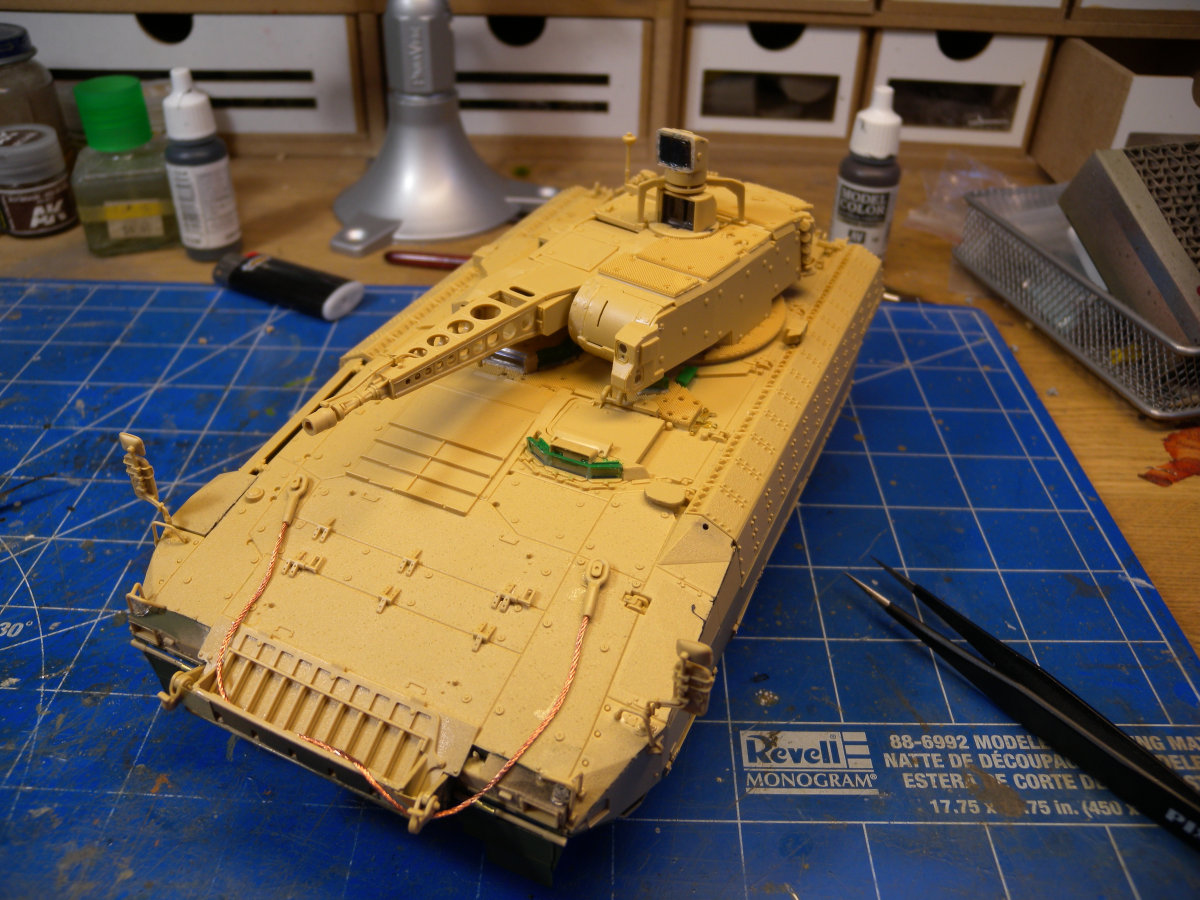
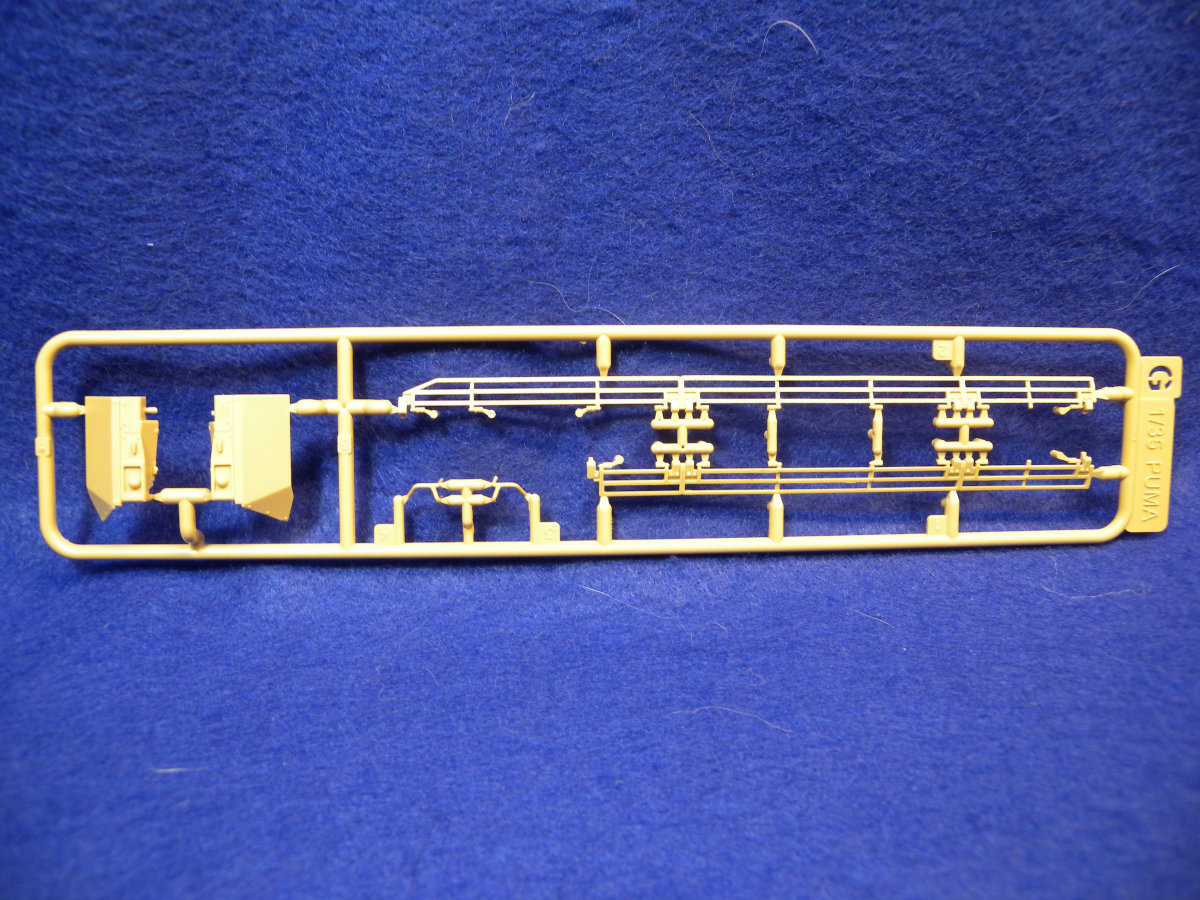
The view ports are provided as clear plastic, including the lens for the headlights and camera type sensors. As well a length of twisted wire is provided for the tow cable. There is also a small fret of photo-etched parts included. Other then a couple of smaller details, the photo-etched parts are mostly the mud flaps for the front and back.
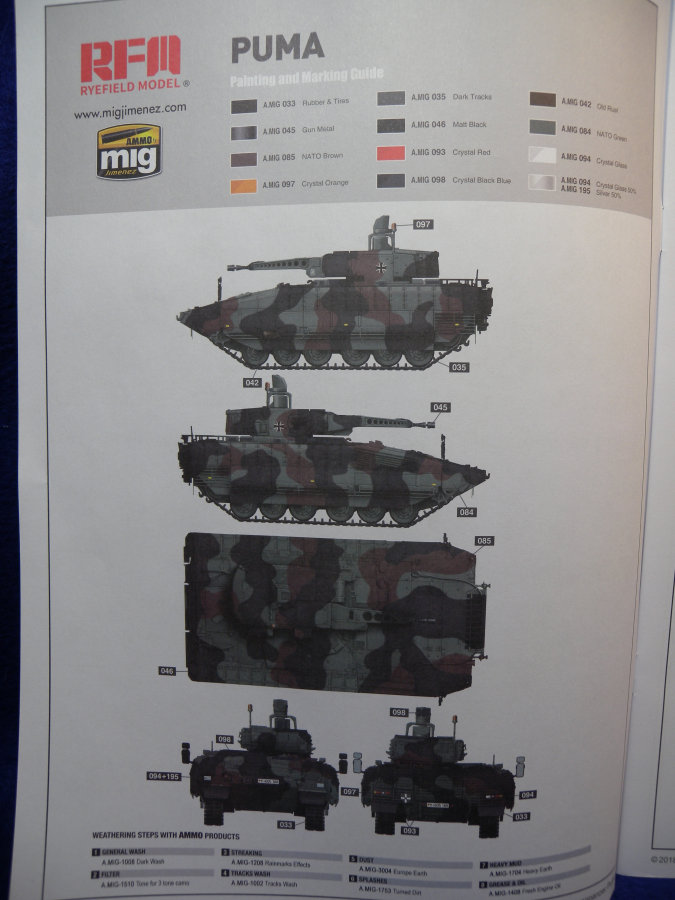
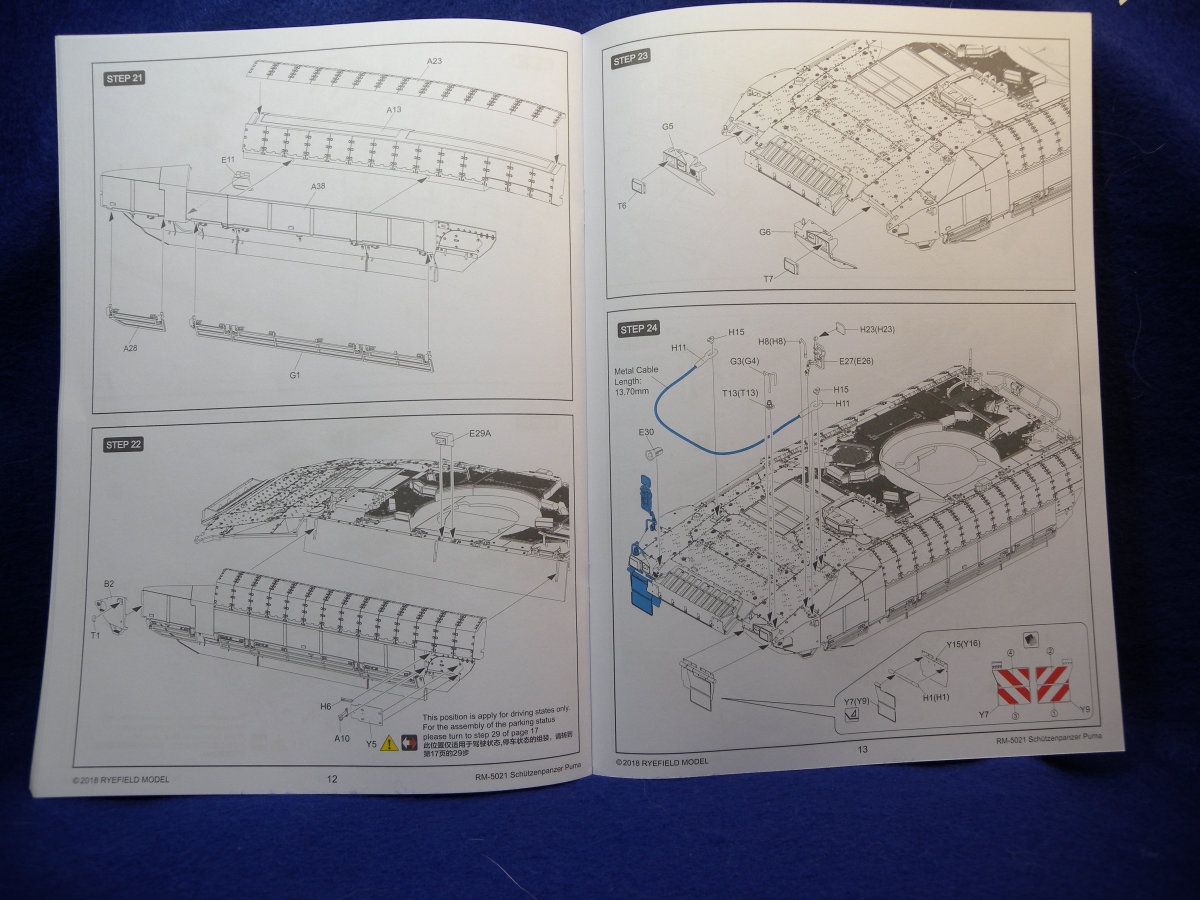
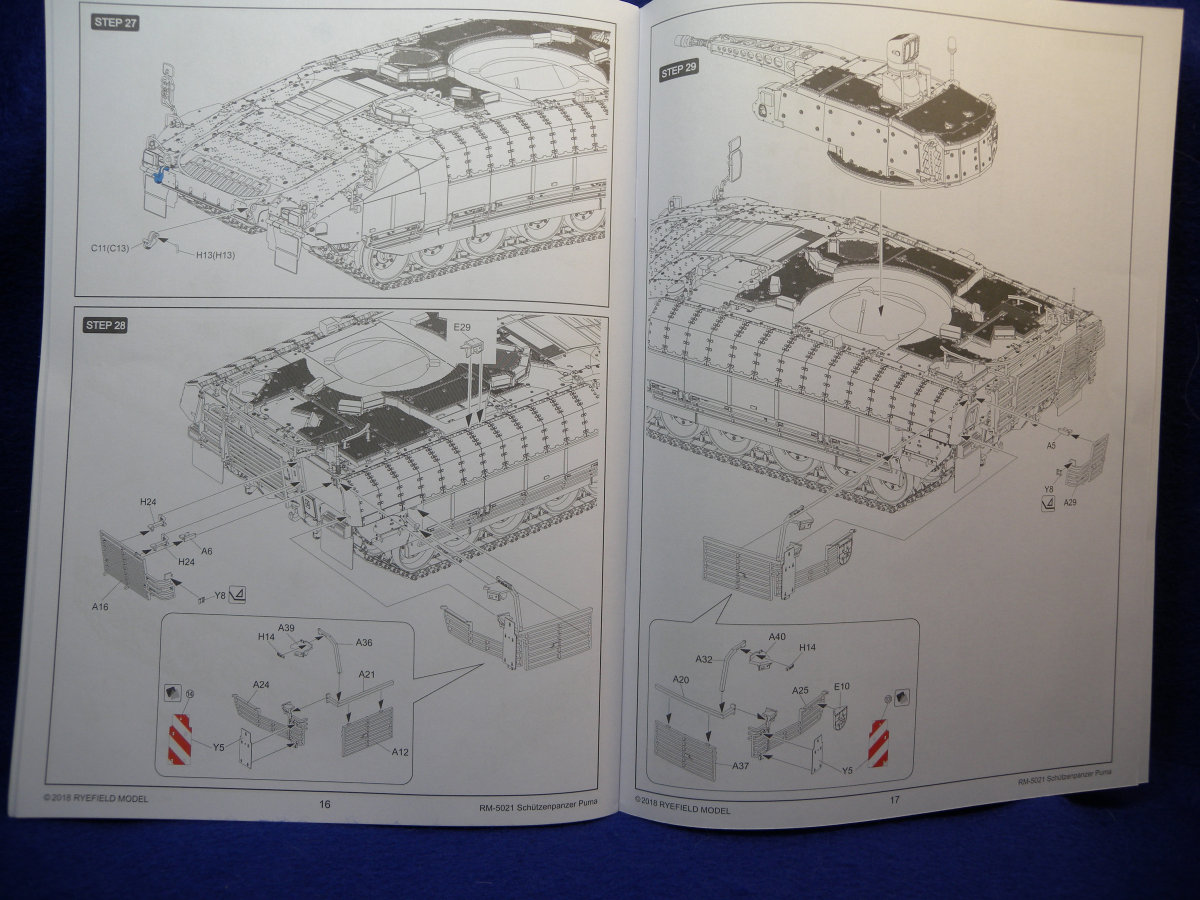
The instructions do look to be well laid out, and should be relatively easy to follow. There are 29 steps spread out over 17 pages, with a painting and marking reference for a single vehicle belonging to the German Army with no unit specified.
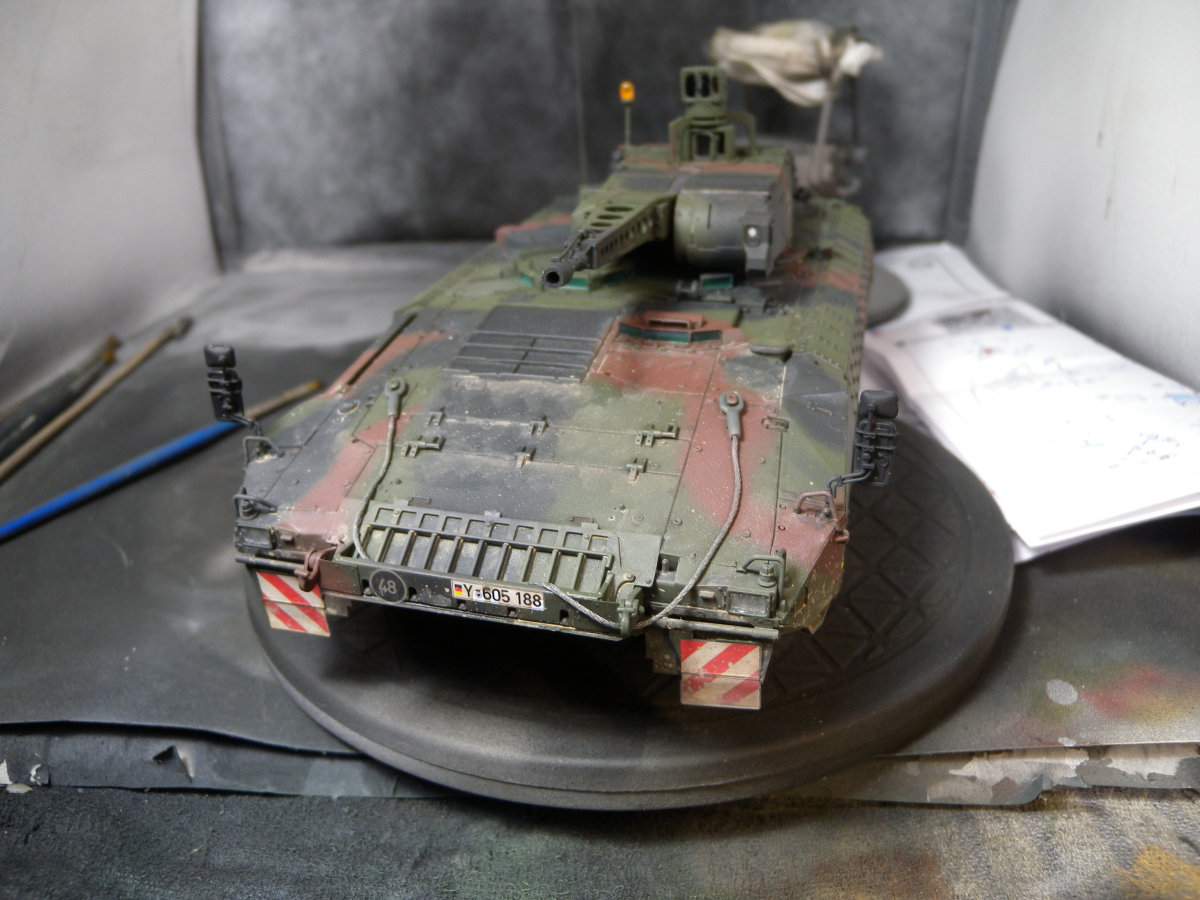
The decal sheet looks nice, with good color and all in register. Included on the decal sheet are the striped yellow markings for the front and rear road warning placards. As well RFM has included a blank registration number plate and numbers for the builder to be able to apply their own number if desired.
Build
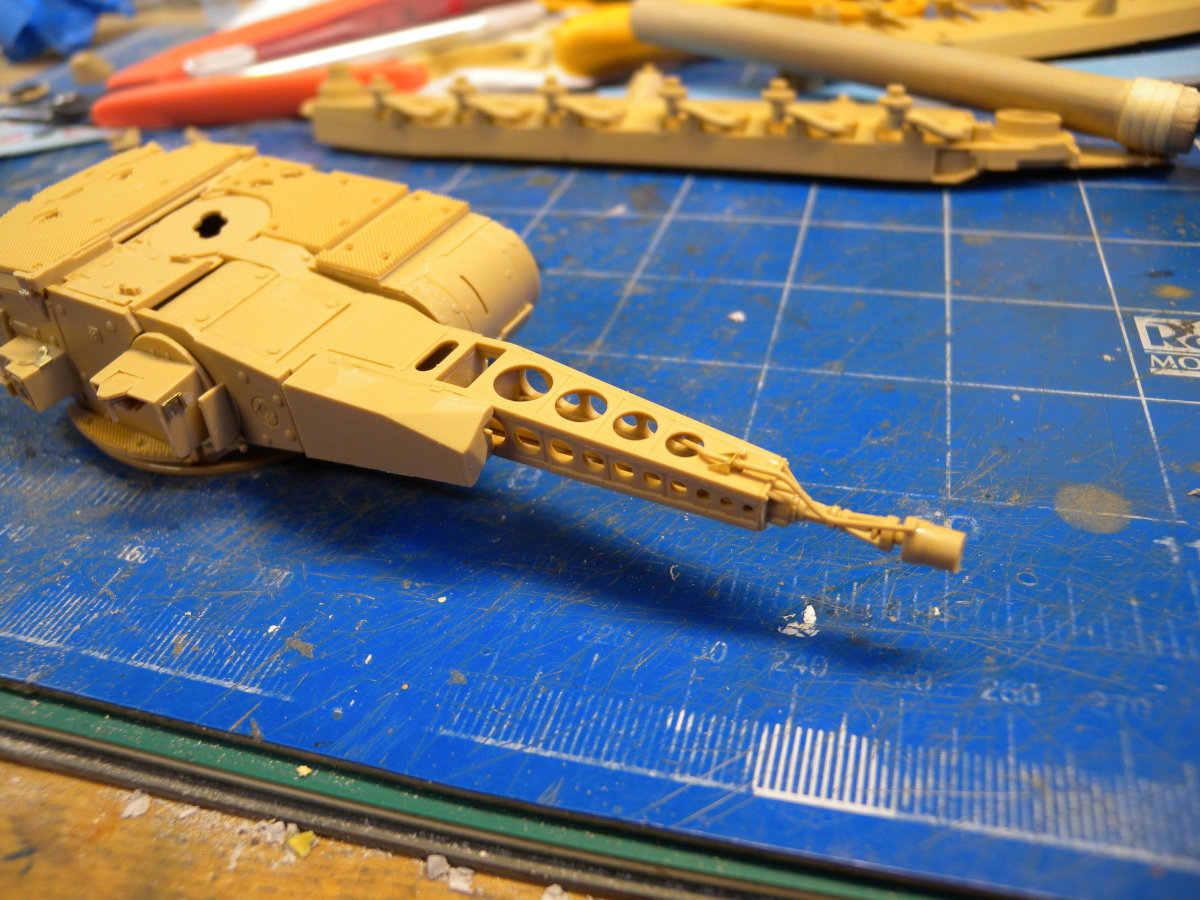
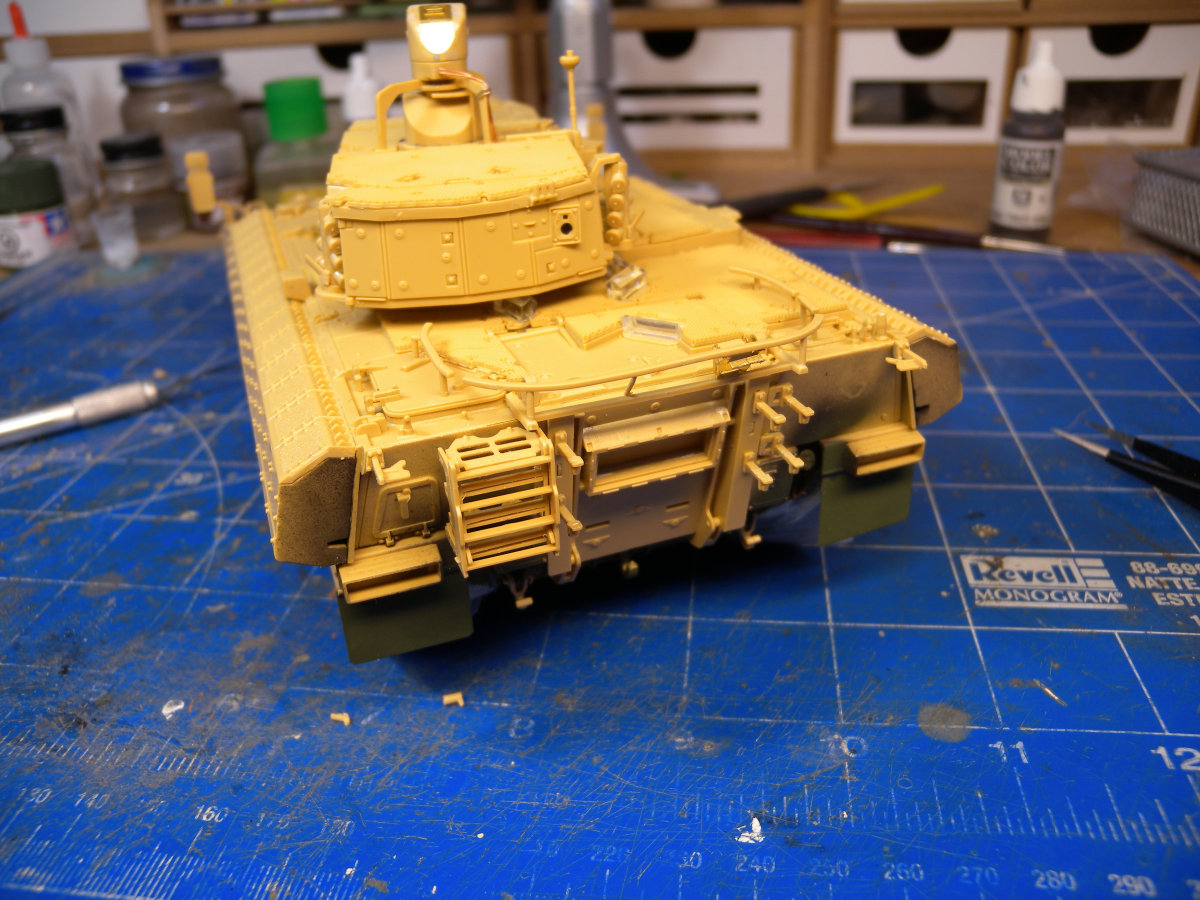
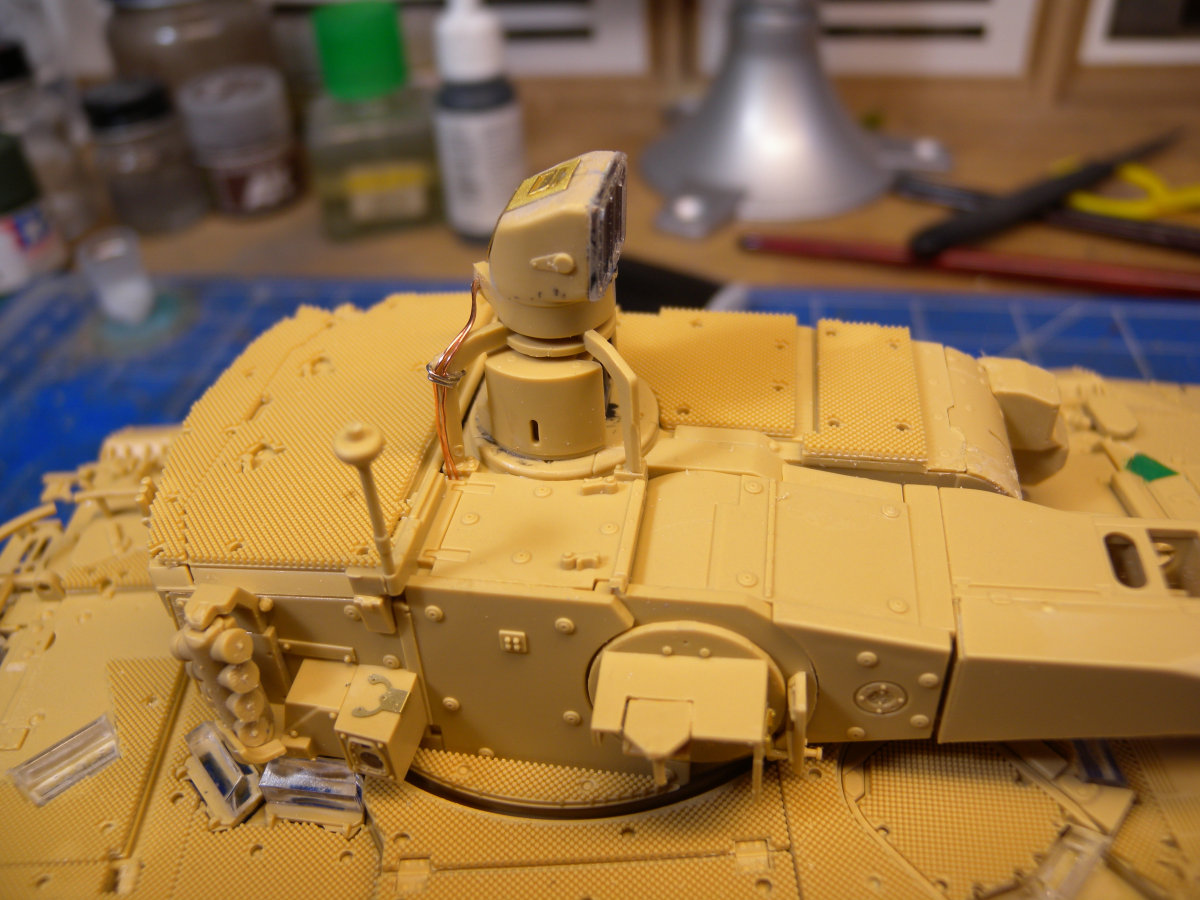
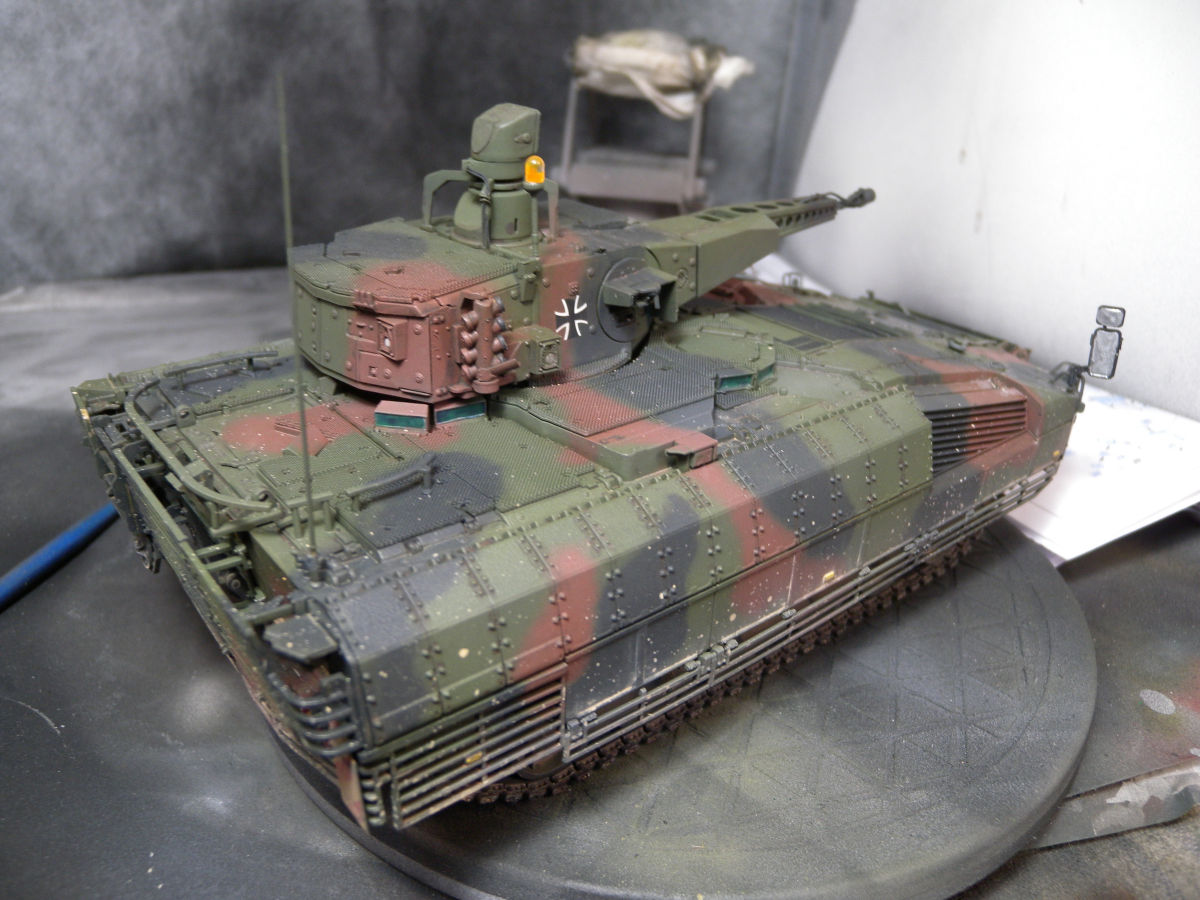
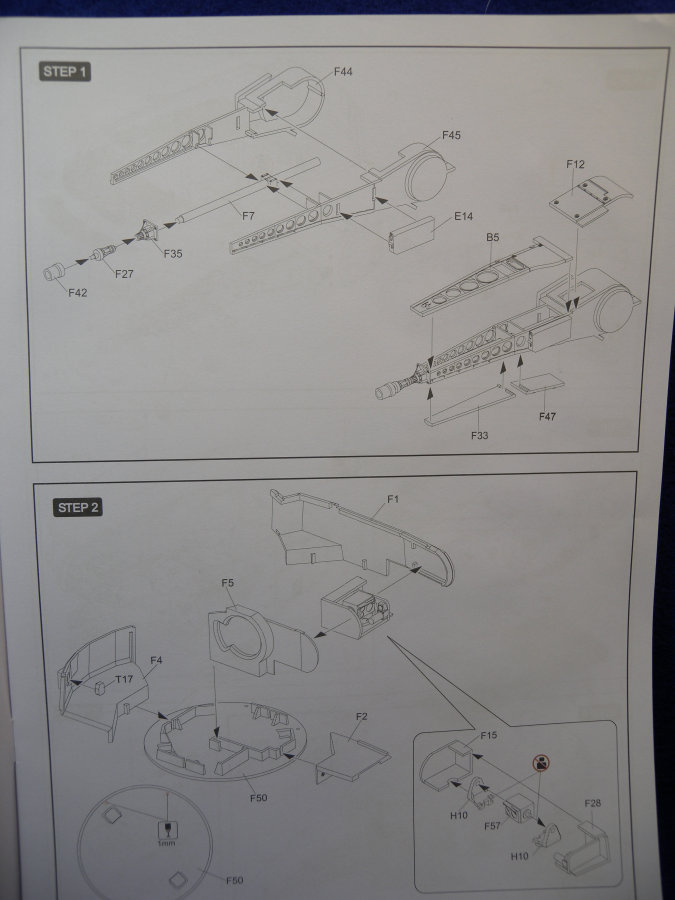
A little unusual was the instructions, they start with the turret build, with the first step covering the assembly of the 30mm auto-canon. This does go together relatively well, with the exception that you have be careful with lining up the three parts that lead to the muzzle. A quick note here, is it may be easier to apply a coat of primer and paint on the interior surface, as I found once assembled it was a little difficult to get the paint and primer on some of the inside surfaces.
The rest of the turret assembly goes well, including options to leave the front turret sensor bay open. I also noticed RFM does provide the option to leave the upper hatch moveable, but without an interior I am not sure why you would want to do this. Also noted is that RFM does provide parts to show the coaxial machine gun compartment open.
As there are few clear parts for the camera sensor assembly, painting and masking will need to be considered. I applied a few coats of blue and red clear on the interior and then masked with liquid mask.
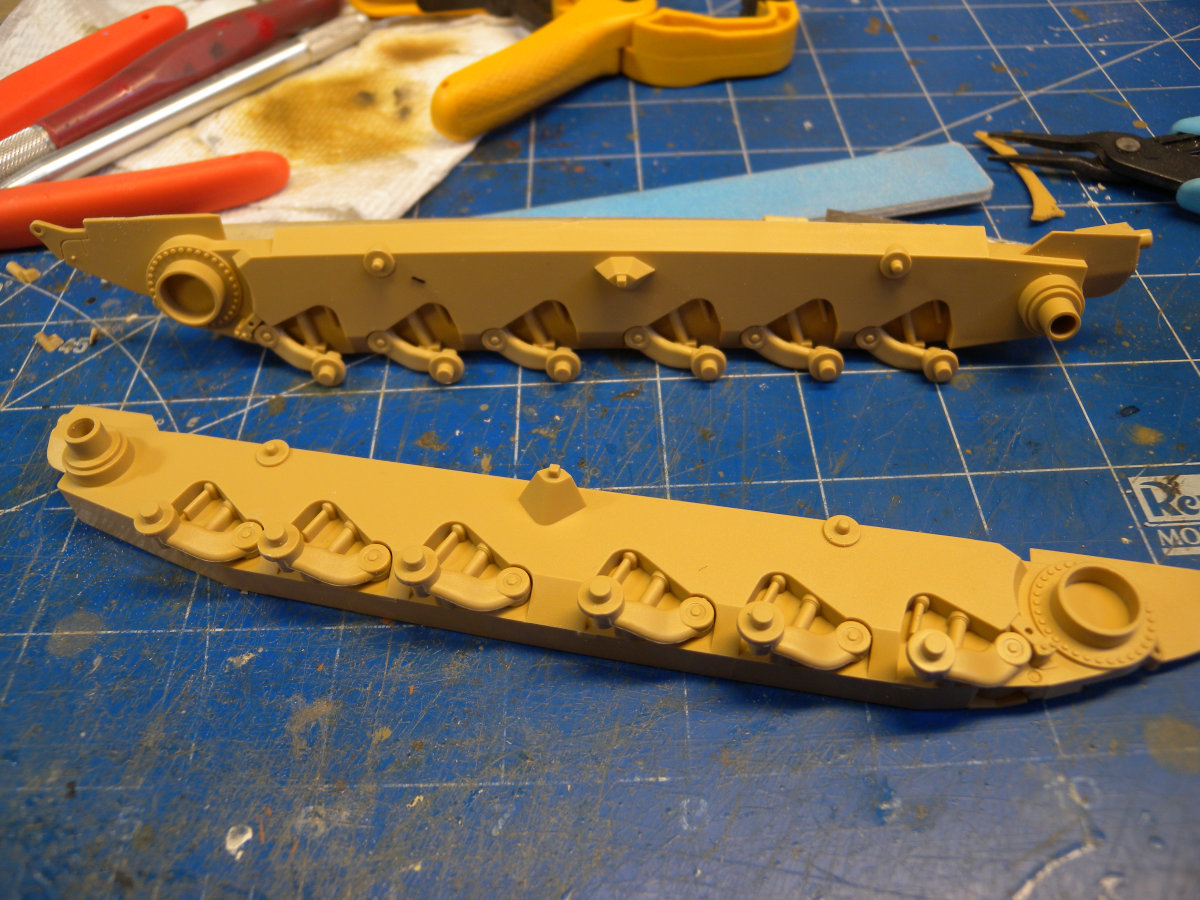
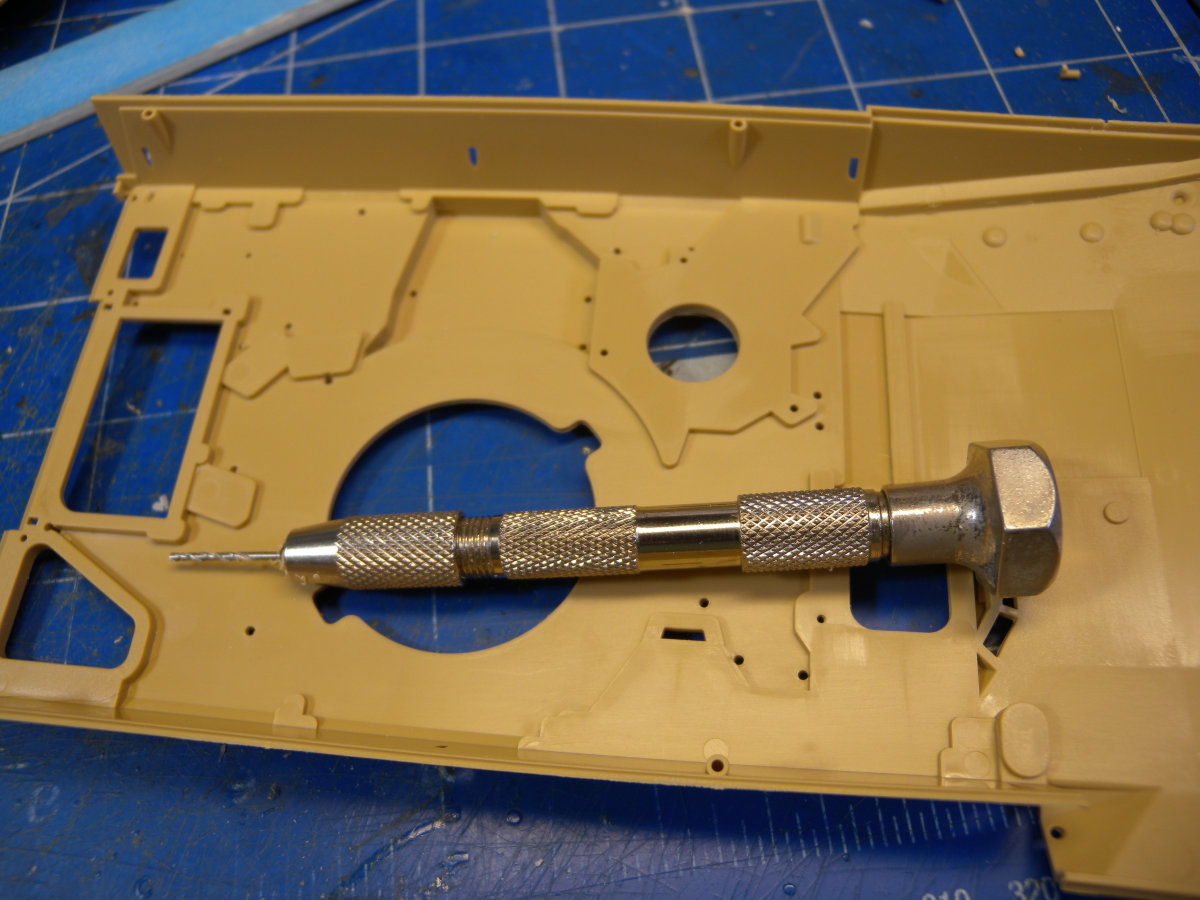
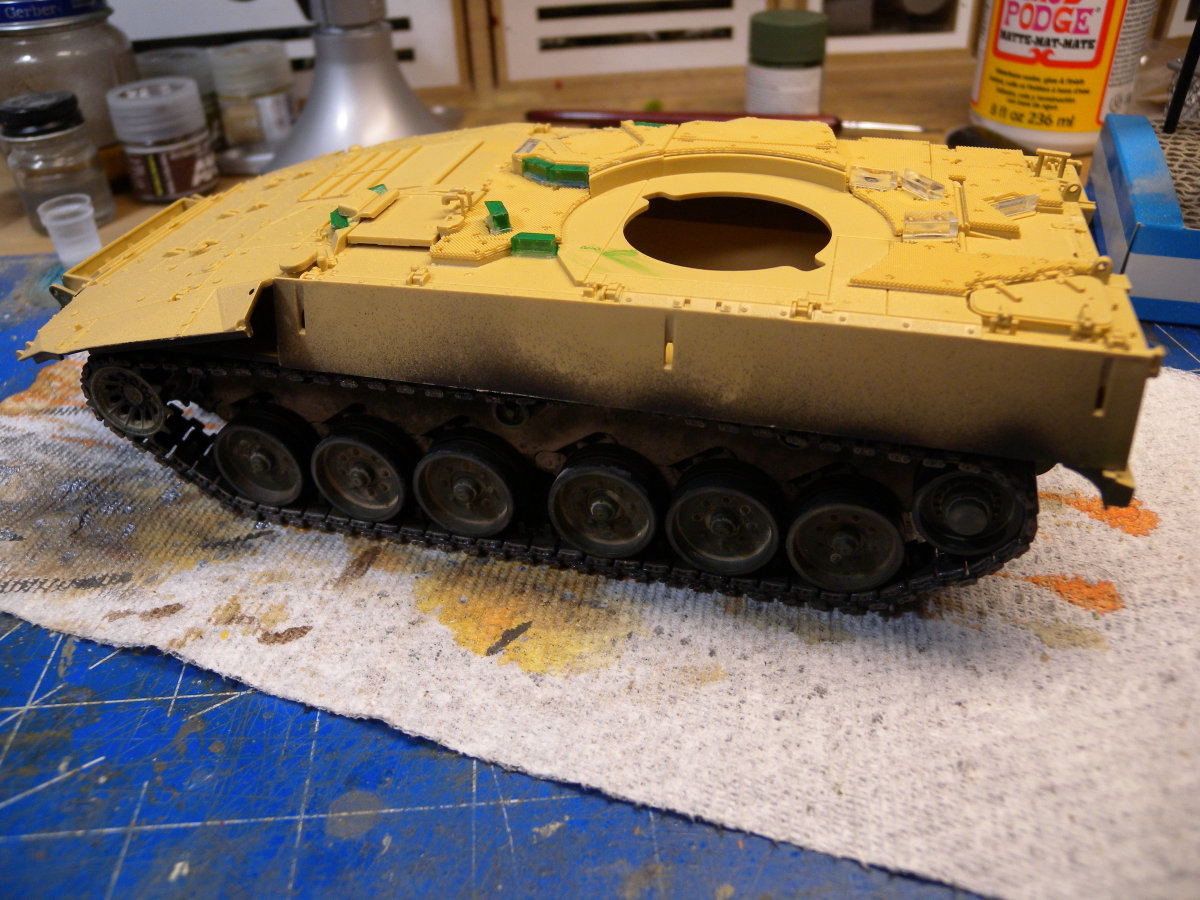
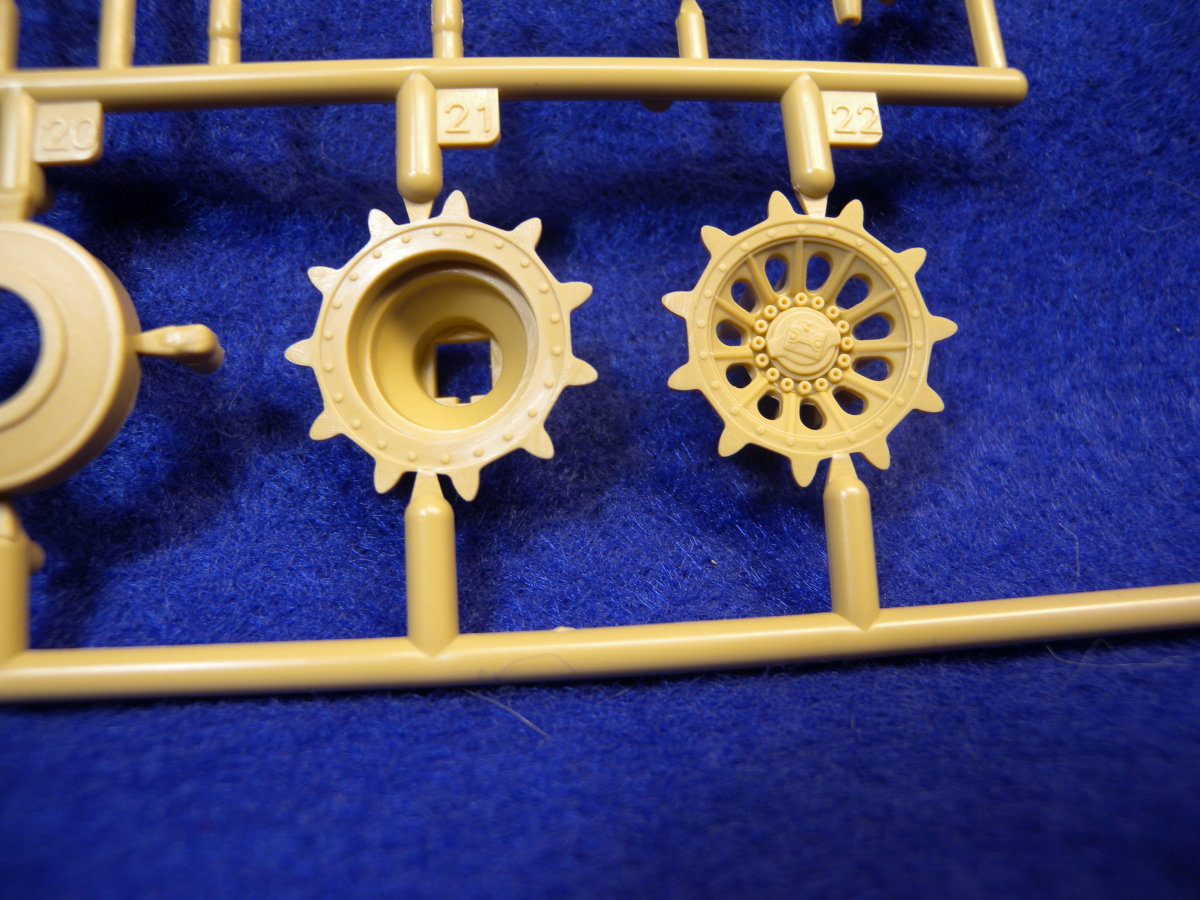
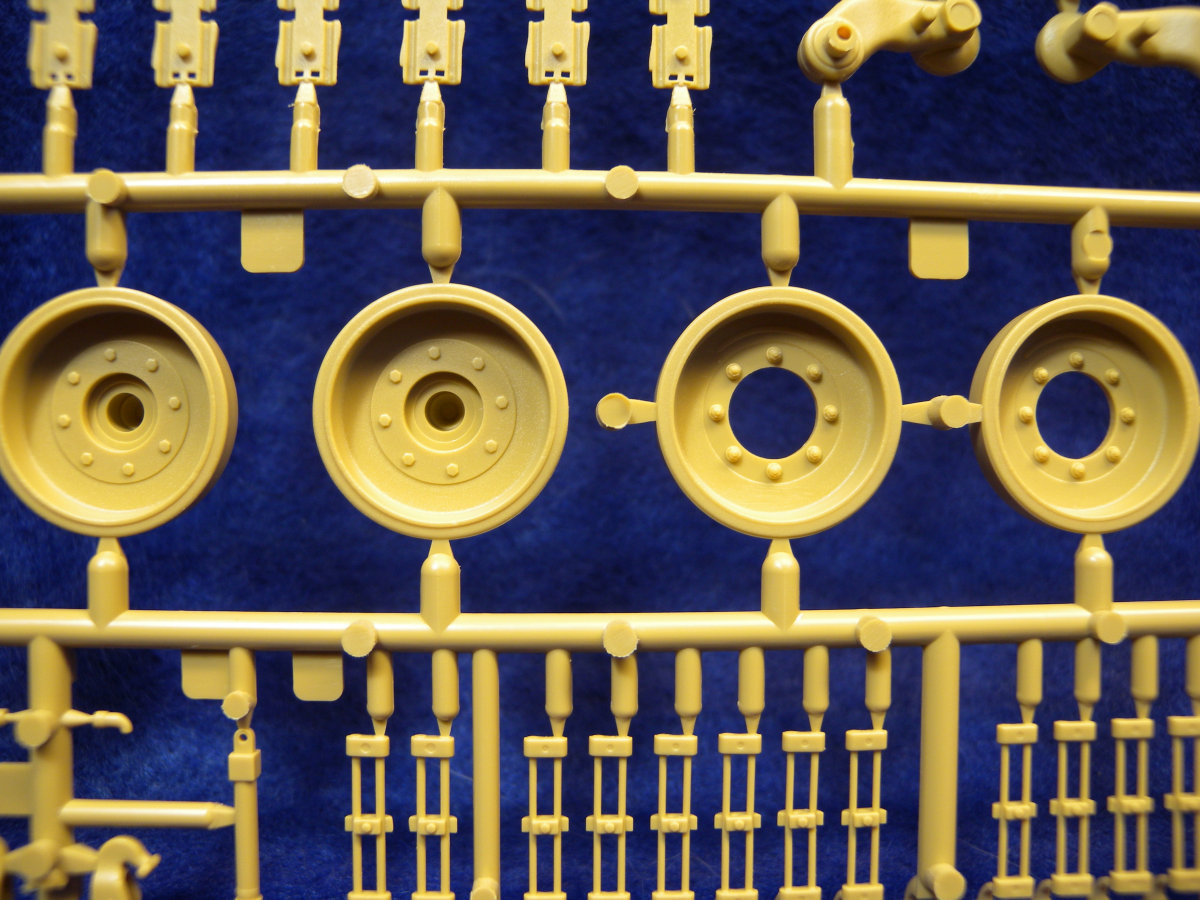
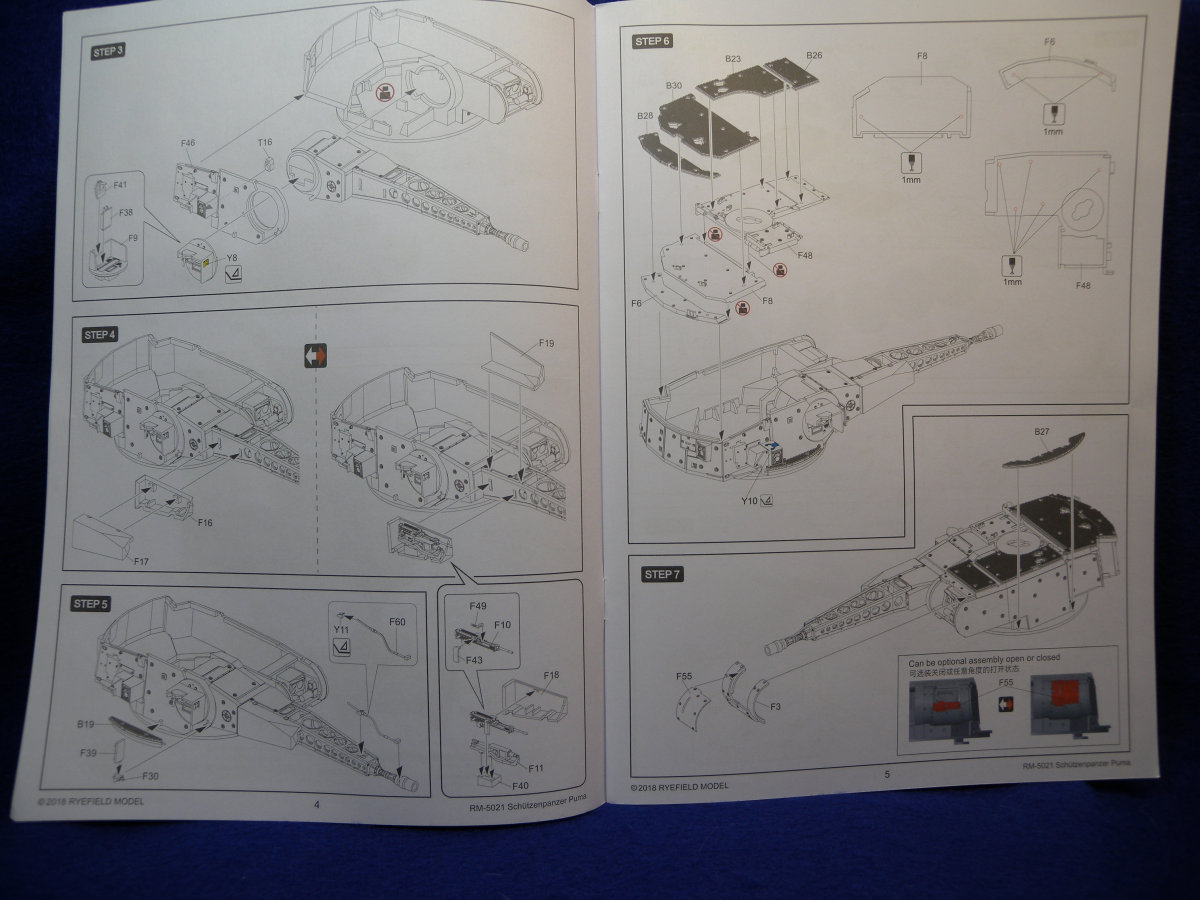
Moving onto the lower hull, the road wheels and suspension swing arms are assembled for both the right and left prior to attaching the to lower tub. Here is a did find a little lack of detail, while most of this is covered by the road wheels and skirt armour when assembled, the actual shock absorbers are molded on, and rather bland. When attaching these sides it should be noted that there is a gap between the tub and this should be there. Just make sure the sides are level up and down.
The individual track, while a little time consuming, does assemble nicely. A small three part jig is included, but I found it did not fit well together, and I found it easier to assemble the track without them.
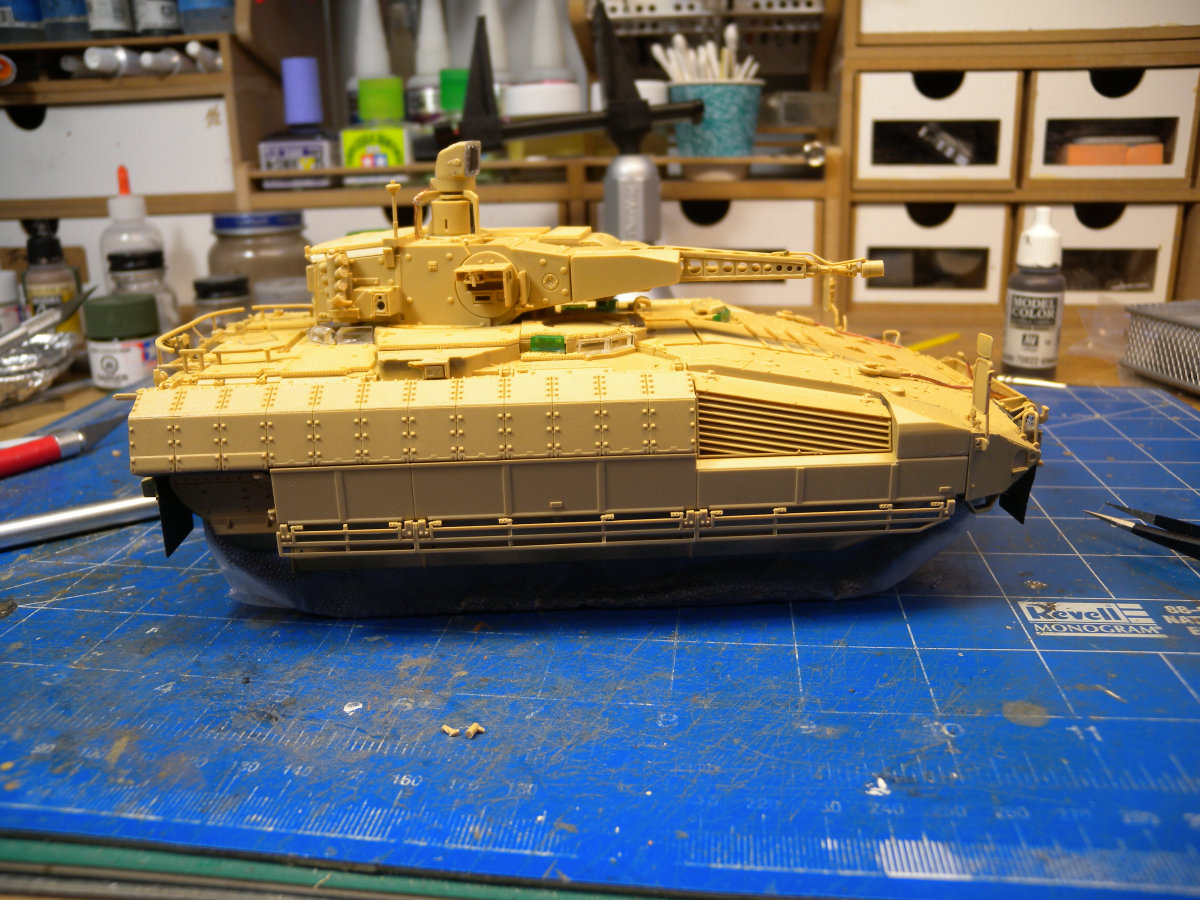
Construction now starts on detailing the upper hull. There are a lot of clear view ports, so you will have to decide how to work with these. I had planned on initially leaving them clear, but as I progress I noticed that after attaching them, some are tight to the hull at the rear and I should have masked and painted prior to adding them.
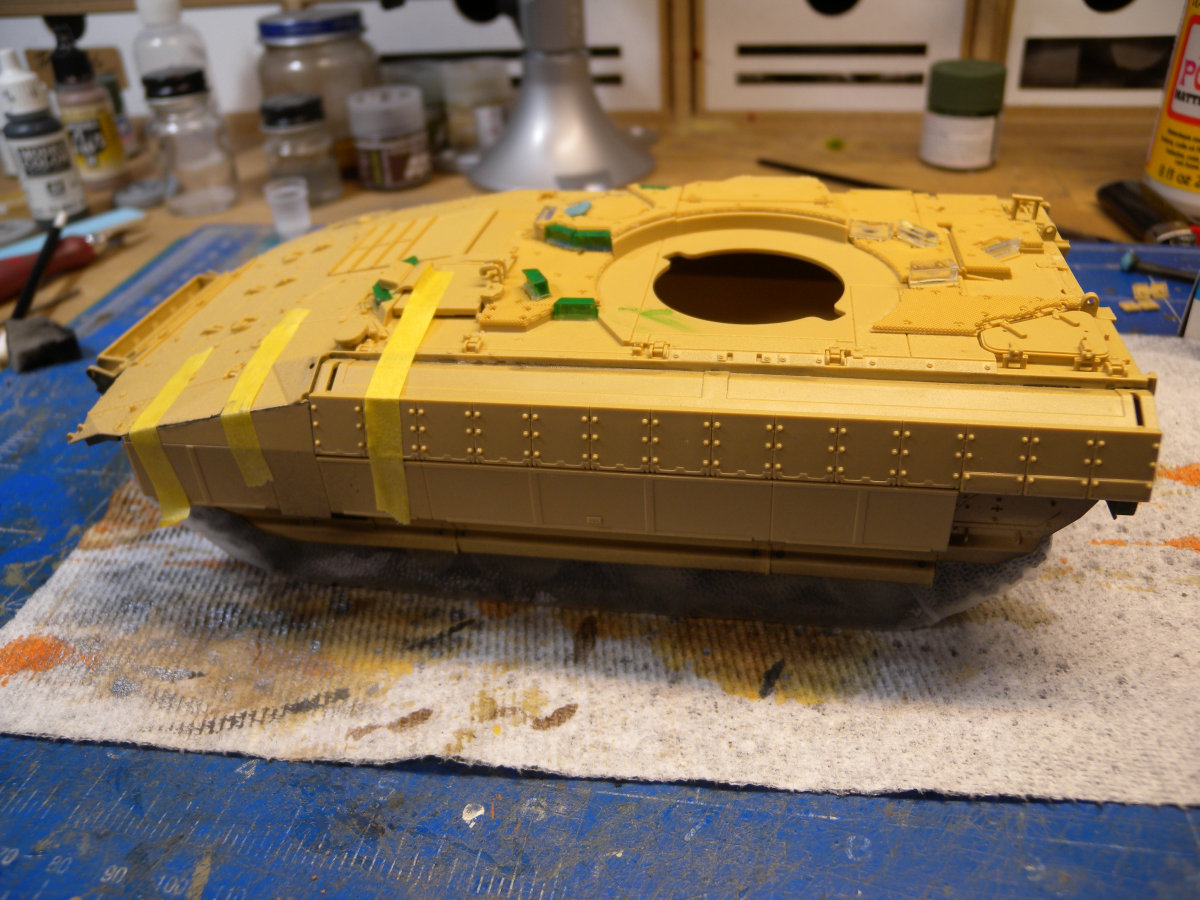
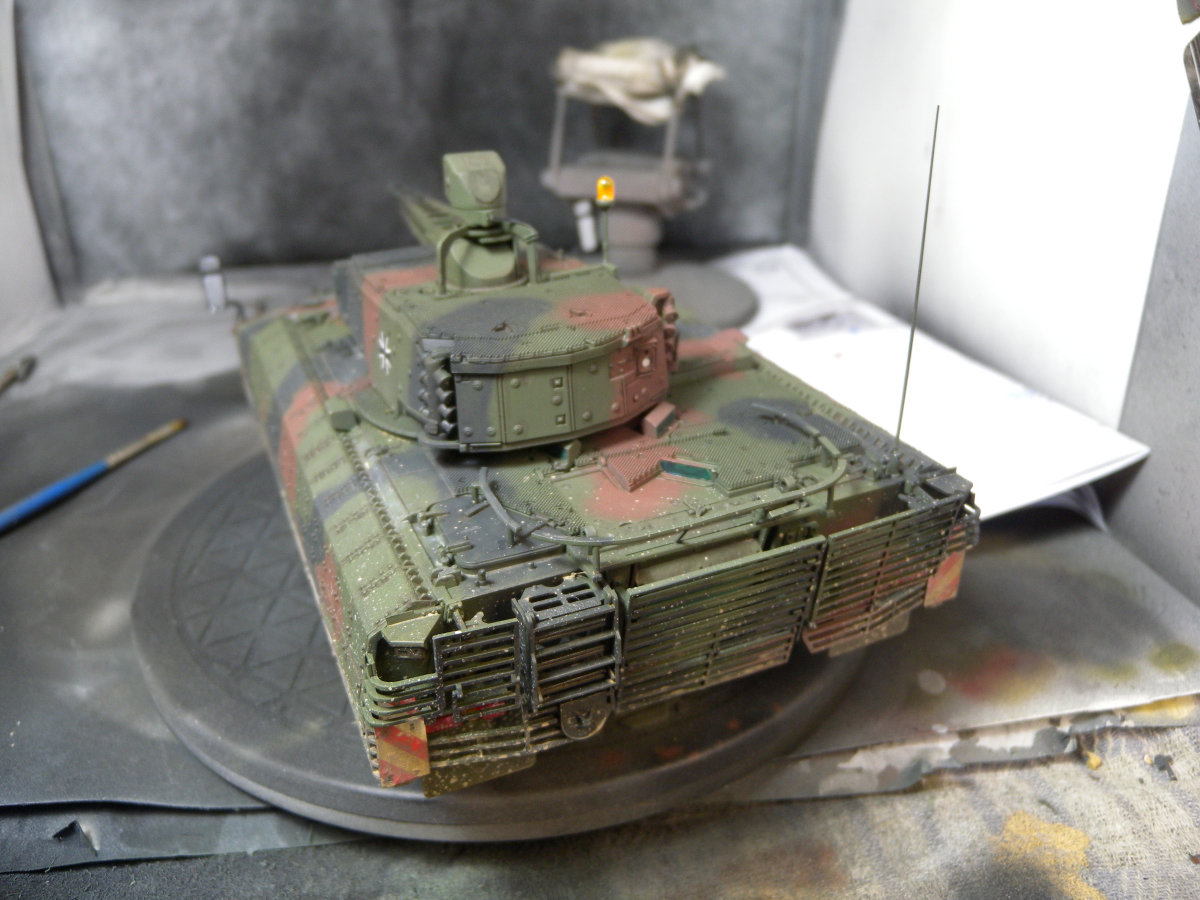
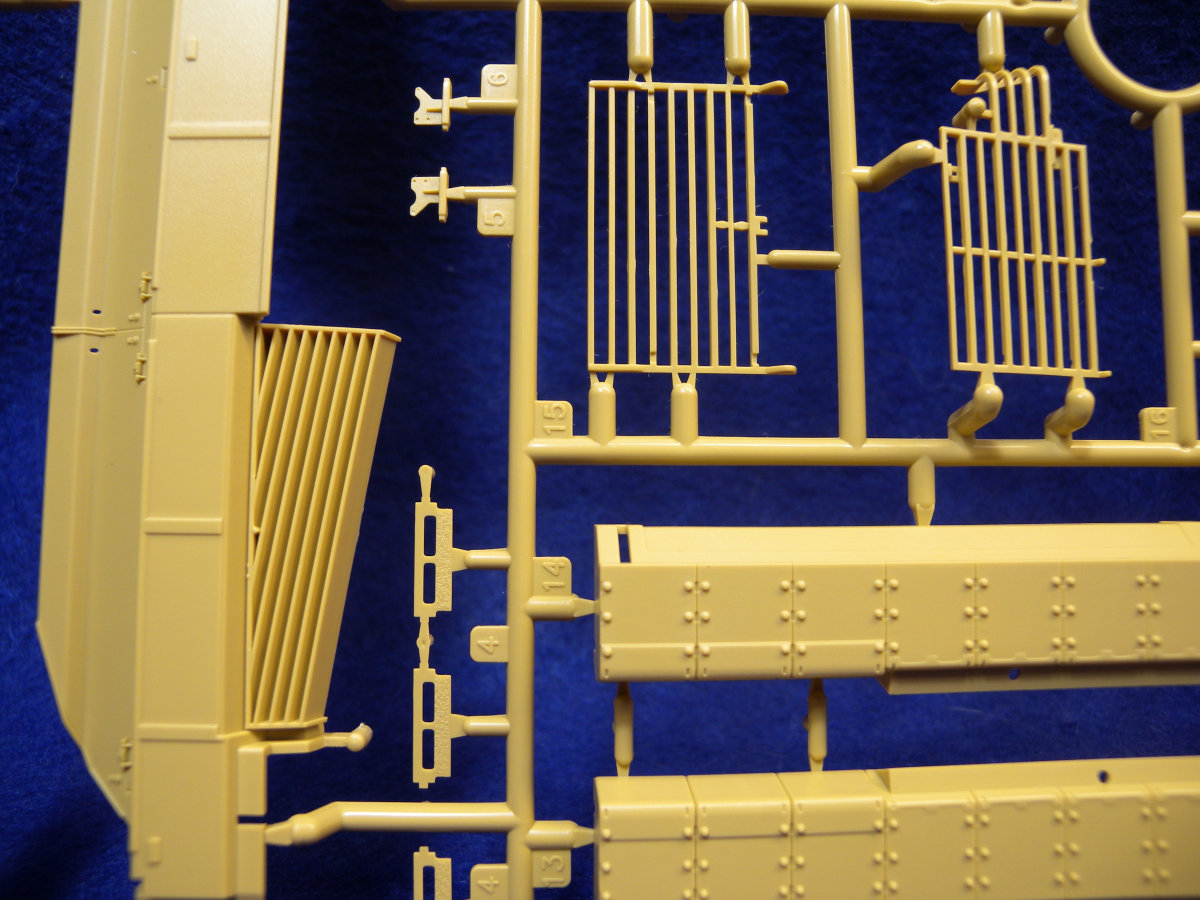
When it comes to adding the skirt armour, this is where a little planning is required for painting. I assembled the side and skirt armour for both side and left them off the upper hull for painting. I also left the bar armour off the rear for ease of painting.
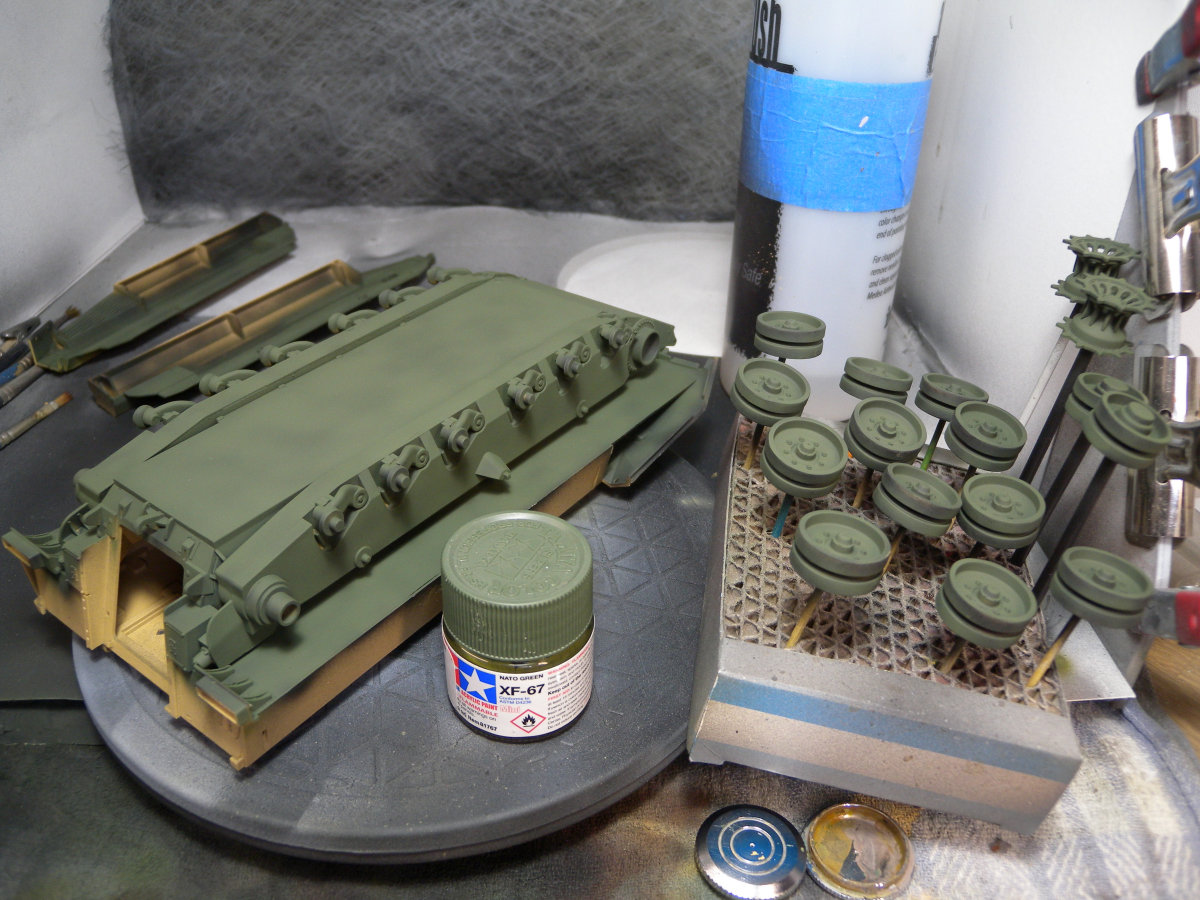
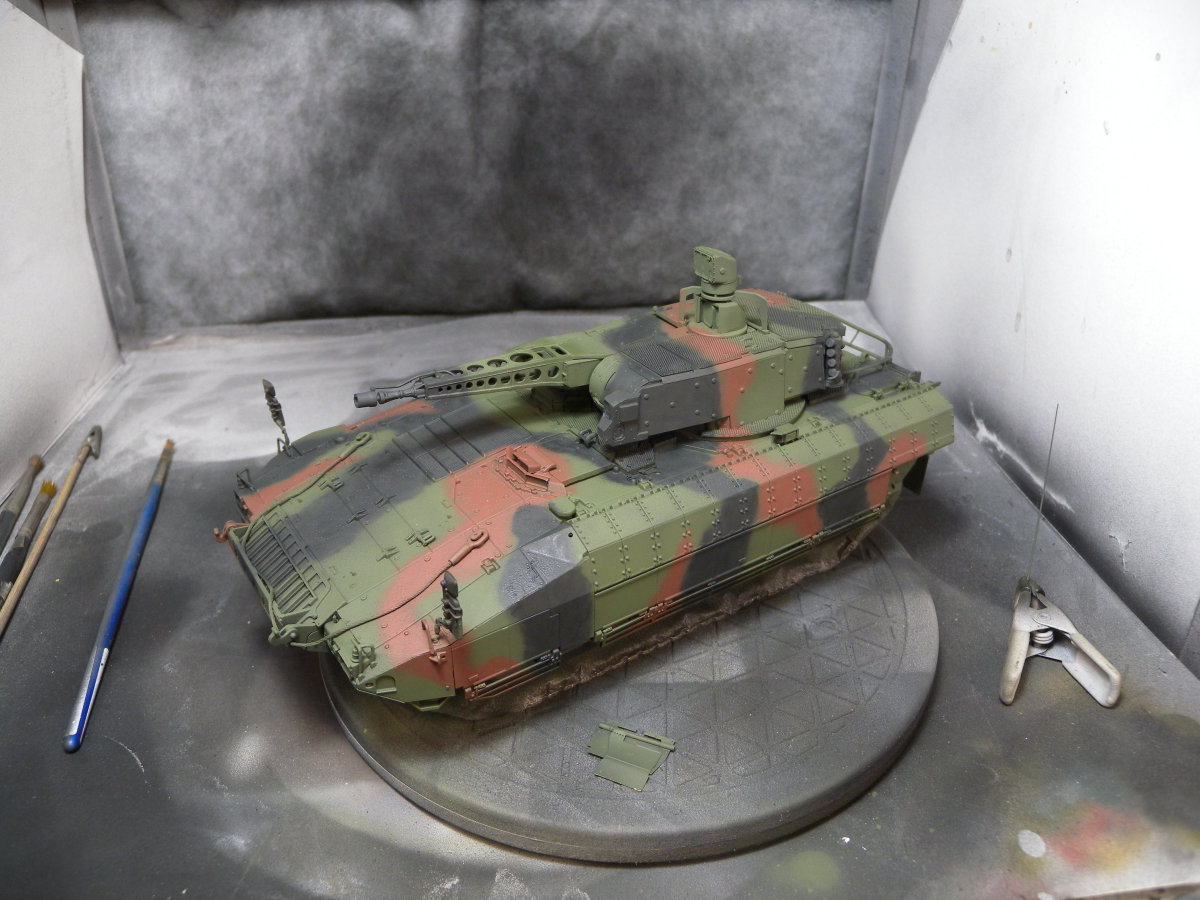
The kit was painted using Tamiya NATO colors and camouflaged free hand. After a coat of Future, the decals went on very well, including the road warning markers.
Summary
Overall this kit of the Puma IFV from Rye Field Model is very nice. The parts are well molded and assemble very well. The only real draw back I found was the lack of detail of the suspension, but then again it is mostly covered after assembly. I would definitely recommend this kit, Rye Field Model has done a very nice job on this kit.
SUMMARY
Highs: Nice details both fine and surface including well done anti-skid detailsLows: Suspension lacks any decent detailVerdict: A very nice kit and assembles very well.
Our Thanks to Rye Field Model! This item was provided by them for the purpose of having it reviewed on this KitMaker Network site. If you would like your kit, book, or product reviewed, please contact us.
I am an IT Consultant and father, with a passion for plastic models. I mostly prefer 1/35 Armor and 1/48 Aircraft. My main interests are anything Canadian, as well as WW2 German and British Armor and Aircraft. I have been building models since I was a young kid, got away from it for awhile, but r...
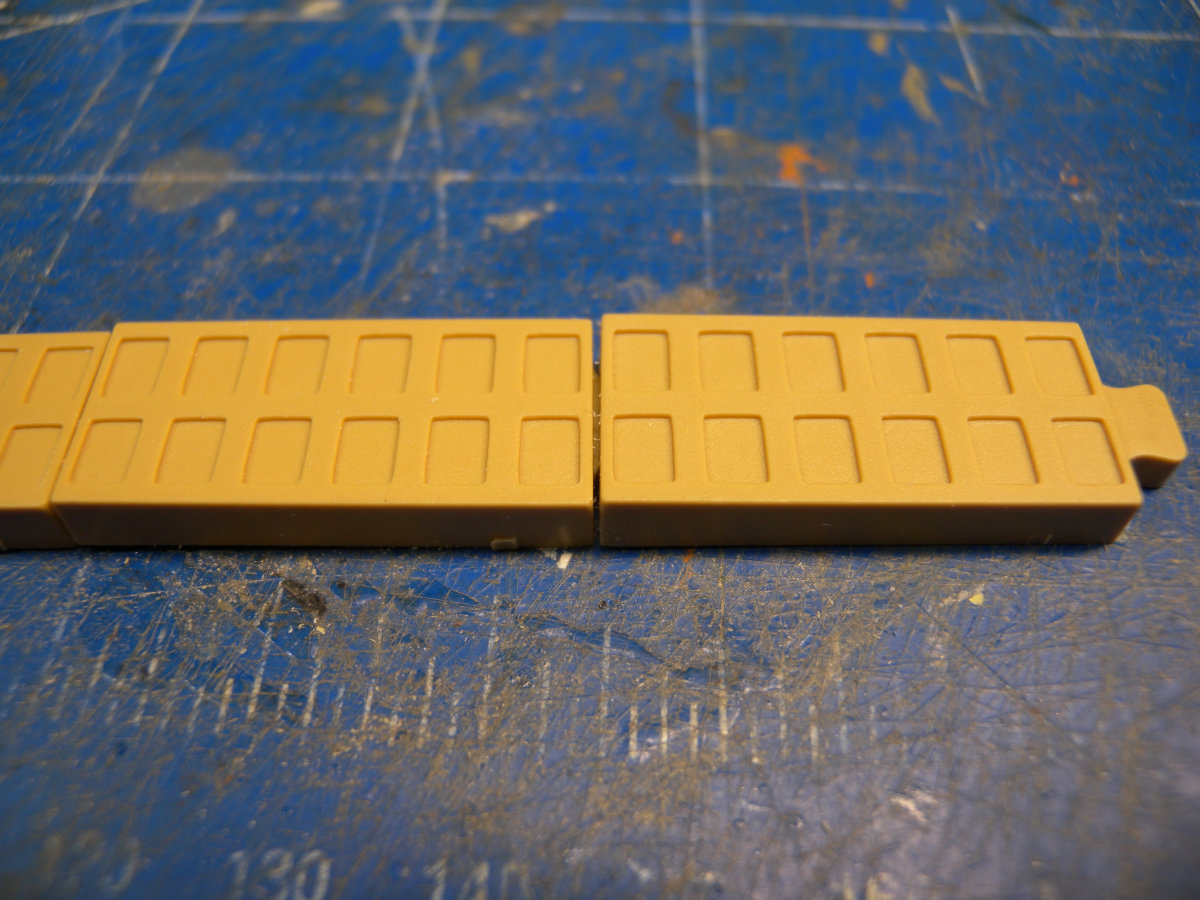
A word about painting. The camo pattern provided is not entirely correct, but that can be neglected. More important is the painting of the bomblet "armor". In 1/1 scale the surfaces of the vehicle are covered with mats with the "hairs" attached to it. This means that the overall surface is flat black. Since RFM provided the mats as individual parts, its easy to paint them black and then glue it to the surface. I noticed that the painting instructions provided by Ammo of MIG are sadly flawed.
Hans-Hermann, Could you please tell us what's flawed with Mig's painting instructions ? This kit is a leading candidate for me in the Bundeswehr build campaign and I want to get it right.
Thanks Kevin for the review!
There some minor differnces in the pattern. Given the fact that only few people were close enough to the track, its all right. I suggest checking available pics.
http://www.panzer-modell.de/referenz/in_detail/puma/003g.jpg
I saw the Bundeswehr camo pattern plan, but it only for military personnel. (Which I am not.)


Comments