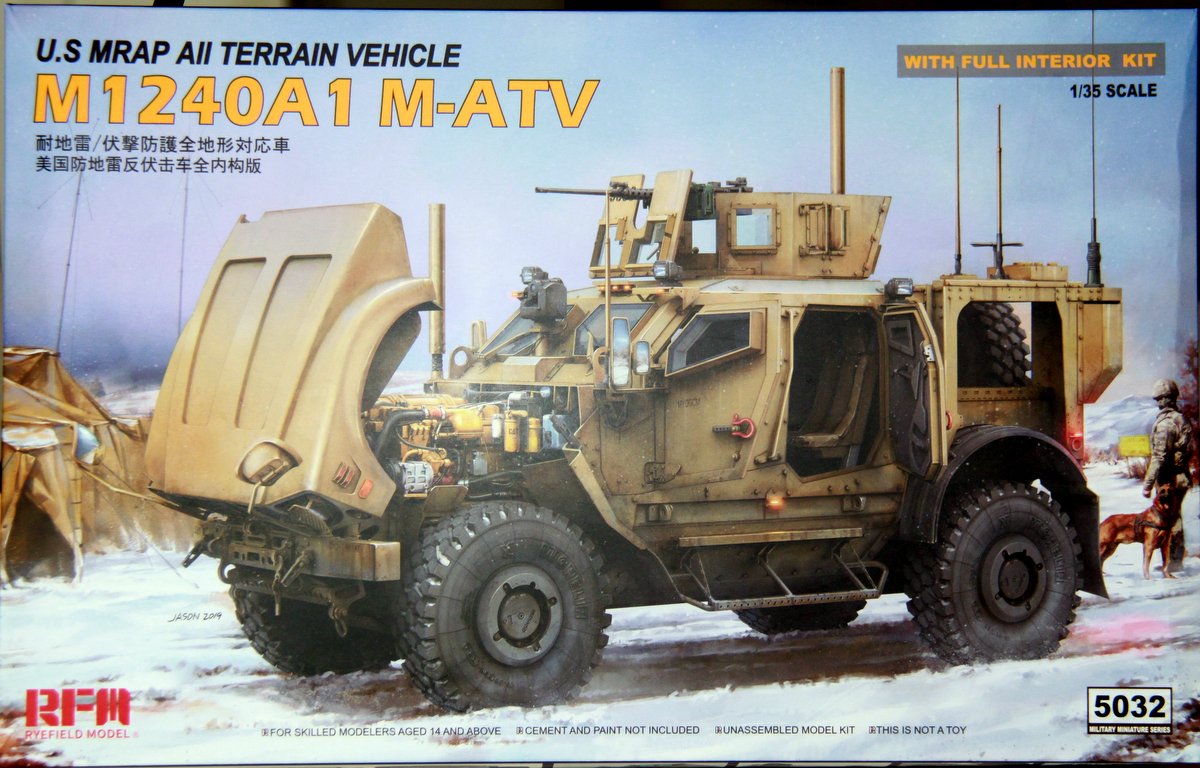
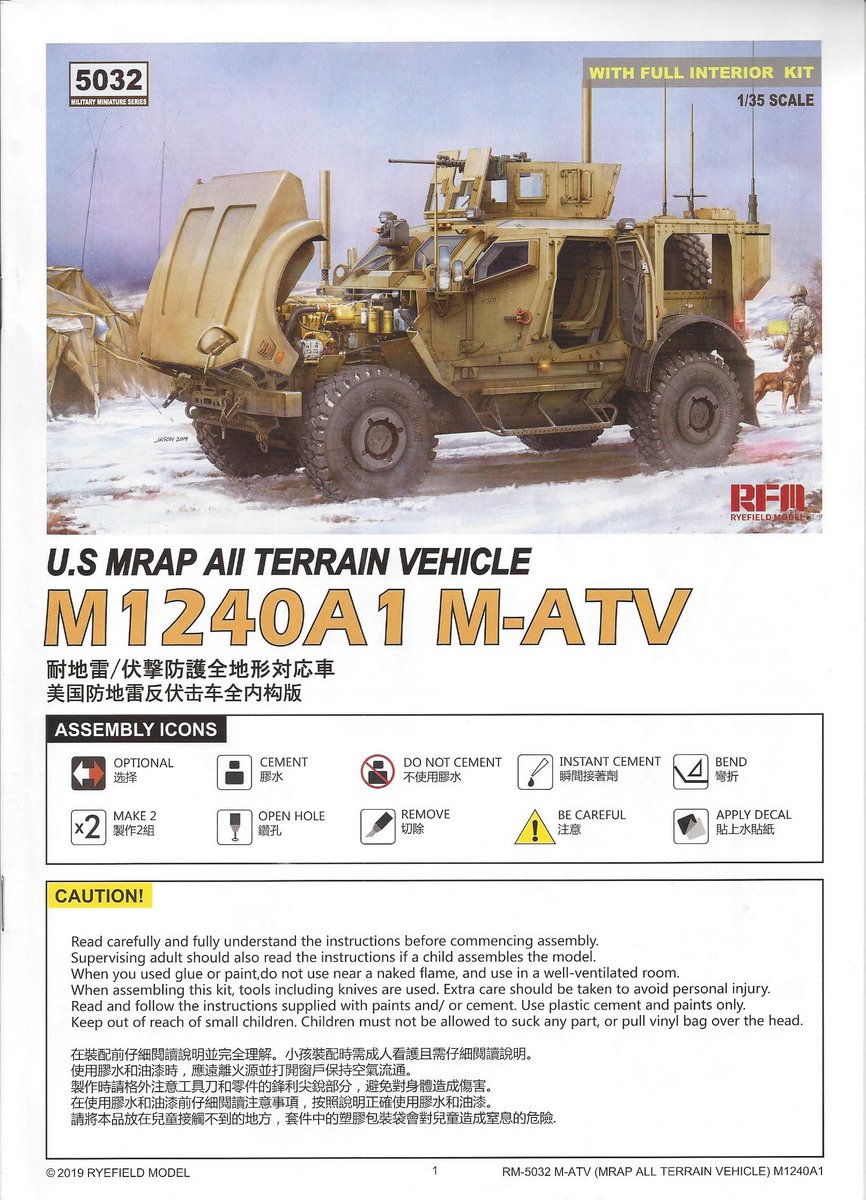
As the HMMWV (Humvee) which had been in service since 1984 began to show its age, and was proving vulnerable to IEDs and other battlefield circumstance in Iraq an Afghanistan the DoD sought a replacement. The Oshkosh M-ATV was chosen as that vehicle, and went into production in 2009.
M-ATV is short for MRAP-ATV, which is an acronym for: Mine Resistant Ambush Protected All Terrain Vehicle.
Some characteristics of this vehicle are:
TAK-4 double wishbone, fully independent suspension, with 16 inches of ground clearance
Plasan armored, V shaped undercarriage to deflect IED blasts
Central tire inflation system, with run-flat tires which allow 30 miles of travel at 30 MPH even if two tires are deflated
Can operate in temperatures from -26 to 130 degrees Fahrenheit
Can ascend a 60 percent grade and traverse a 30 percent side slope
Powered by a 7.2 liter inline-6 Caterpillar C7 turbodiesel
8.8 feet tall, 8.2 feet wide and 20 feet long
Creature comforts include: heavy duty HVAC, mobile device charging ports, reasonably comfortable but blast resistant seats. No mention of cup holders.
Cost: $470,000 (depending on options chosen). Really, there are at least five variants, each with multiple weapons configurations, etc.
Weight 27,500 lbs.
Crew of four, plus a gunner in the models configuration
Content
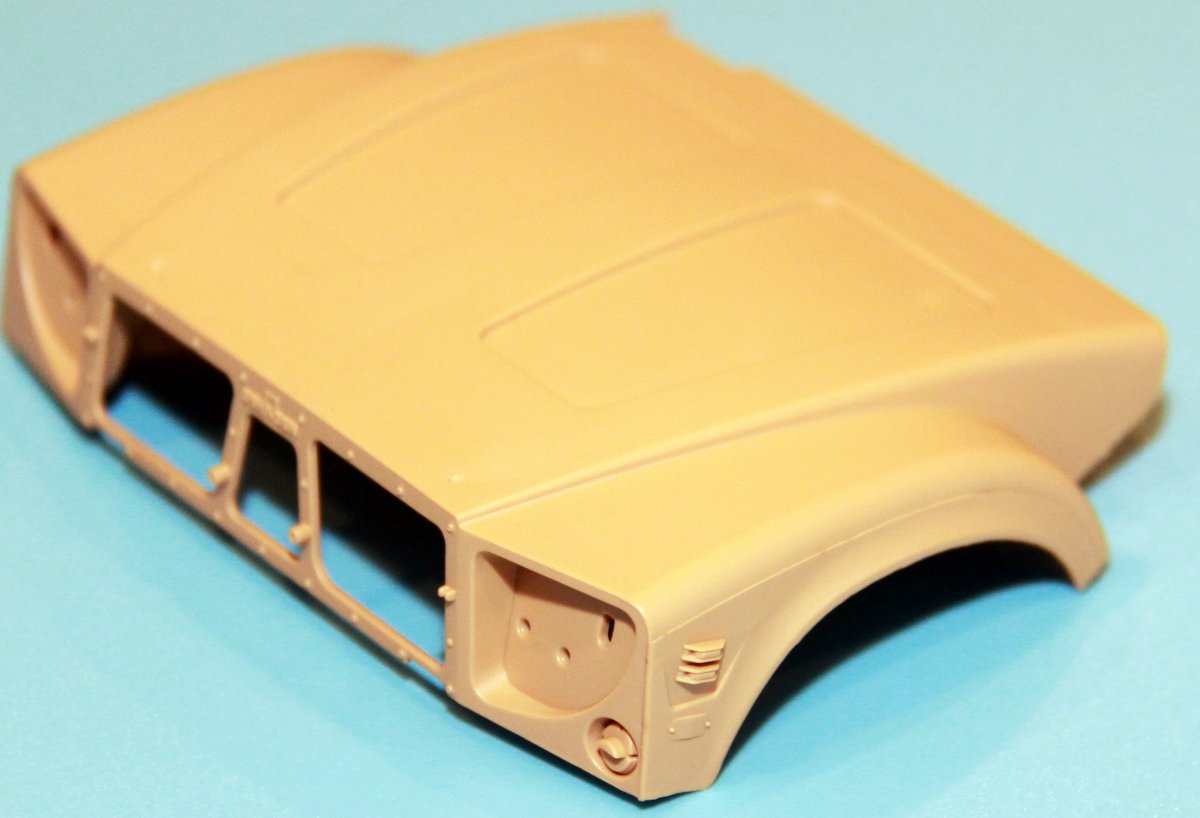
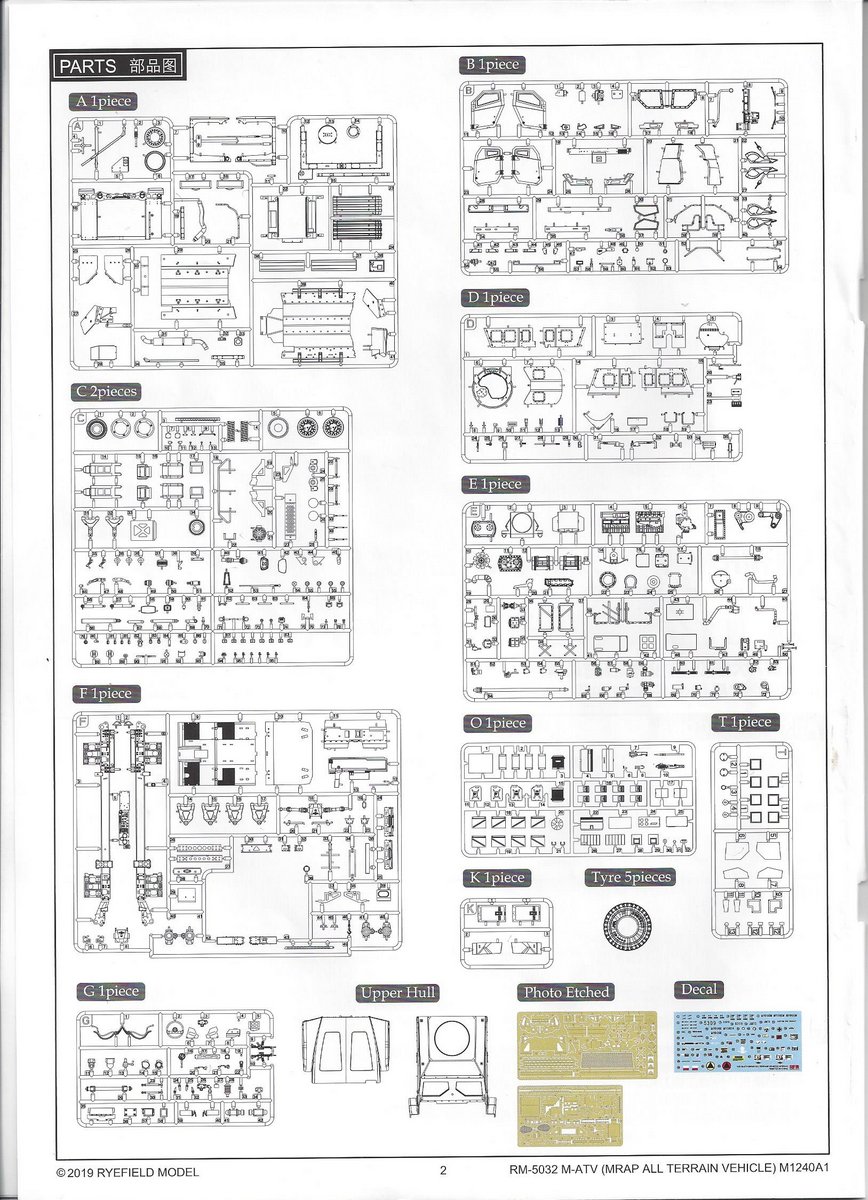
The kit comes in a standard size cardboard box with unique sprues in individual bags. The cabin shell and hood are not on a sprue, and each is in its own bag. The clear parts, photo etch, tires and decals are bagged separately.
Review
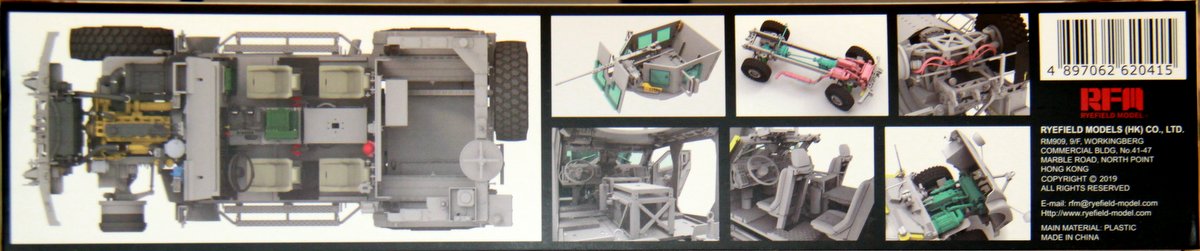
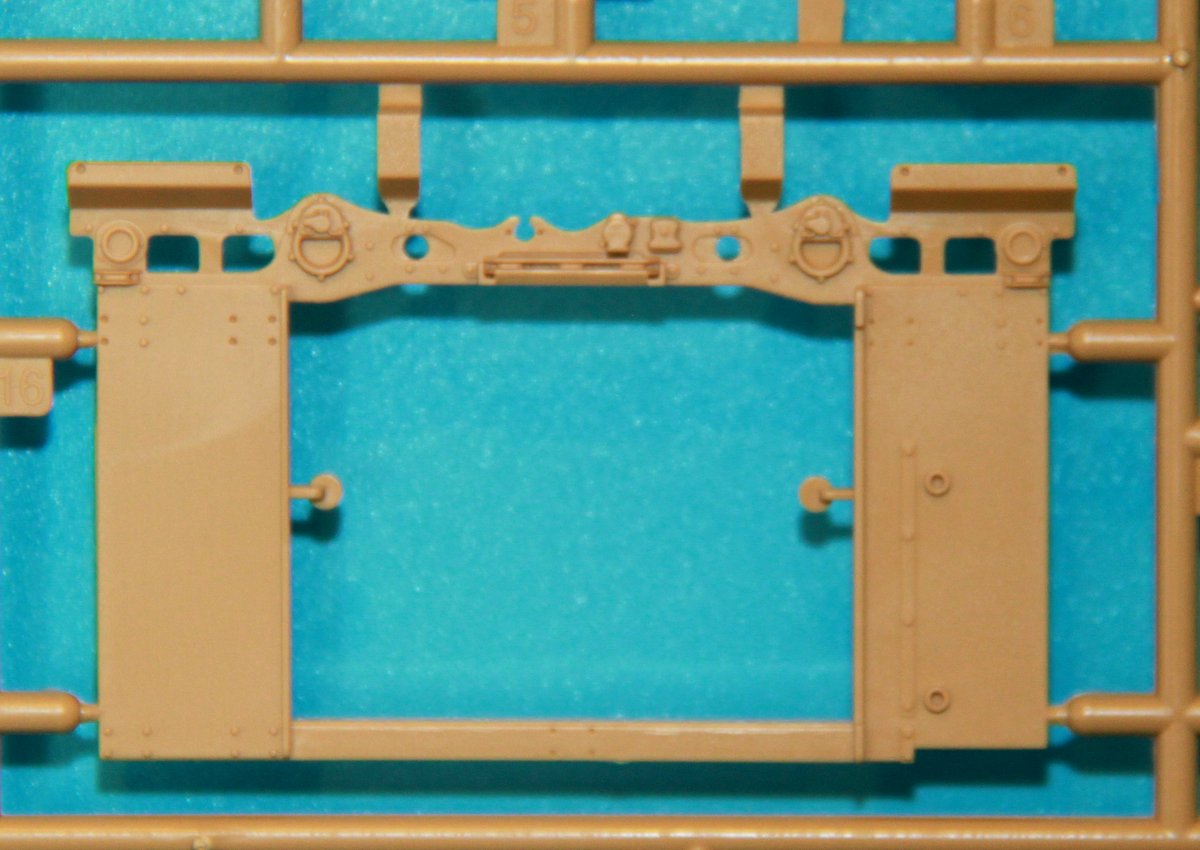
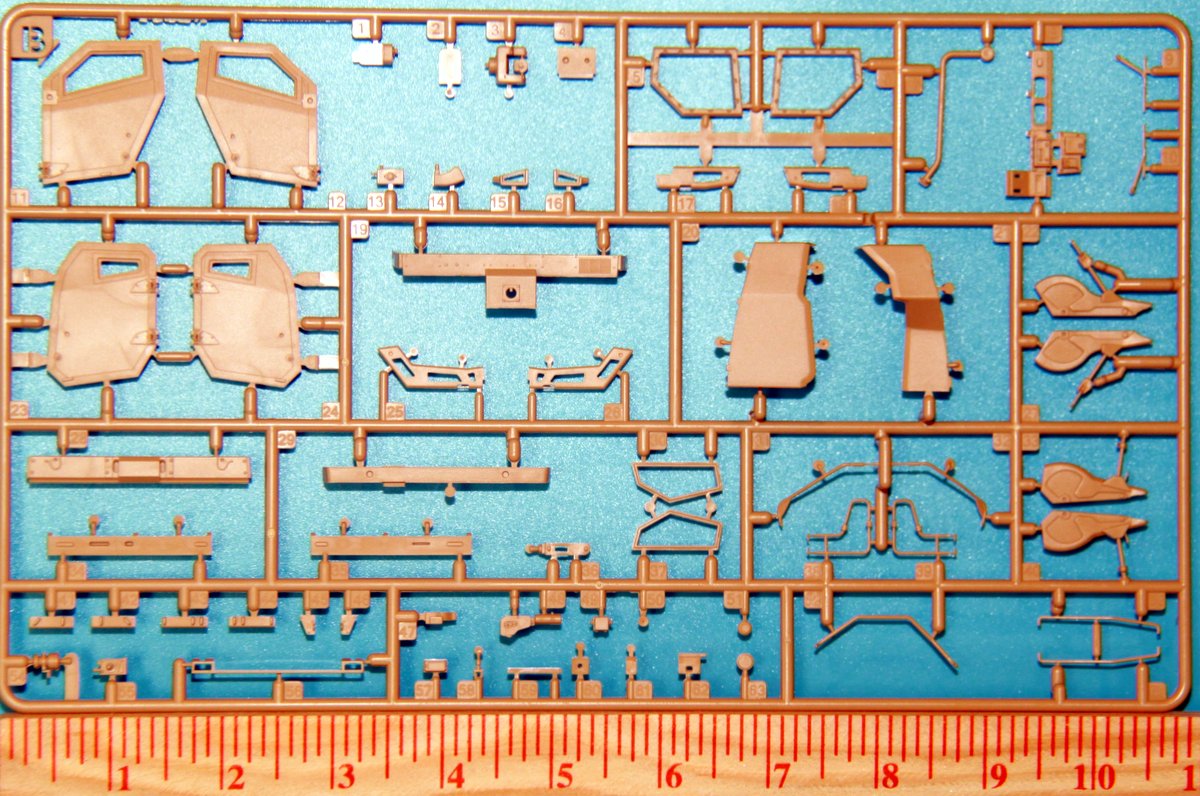
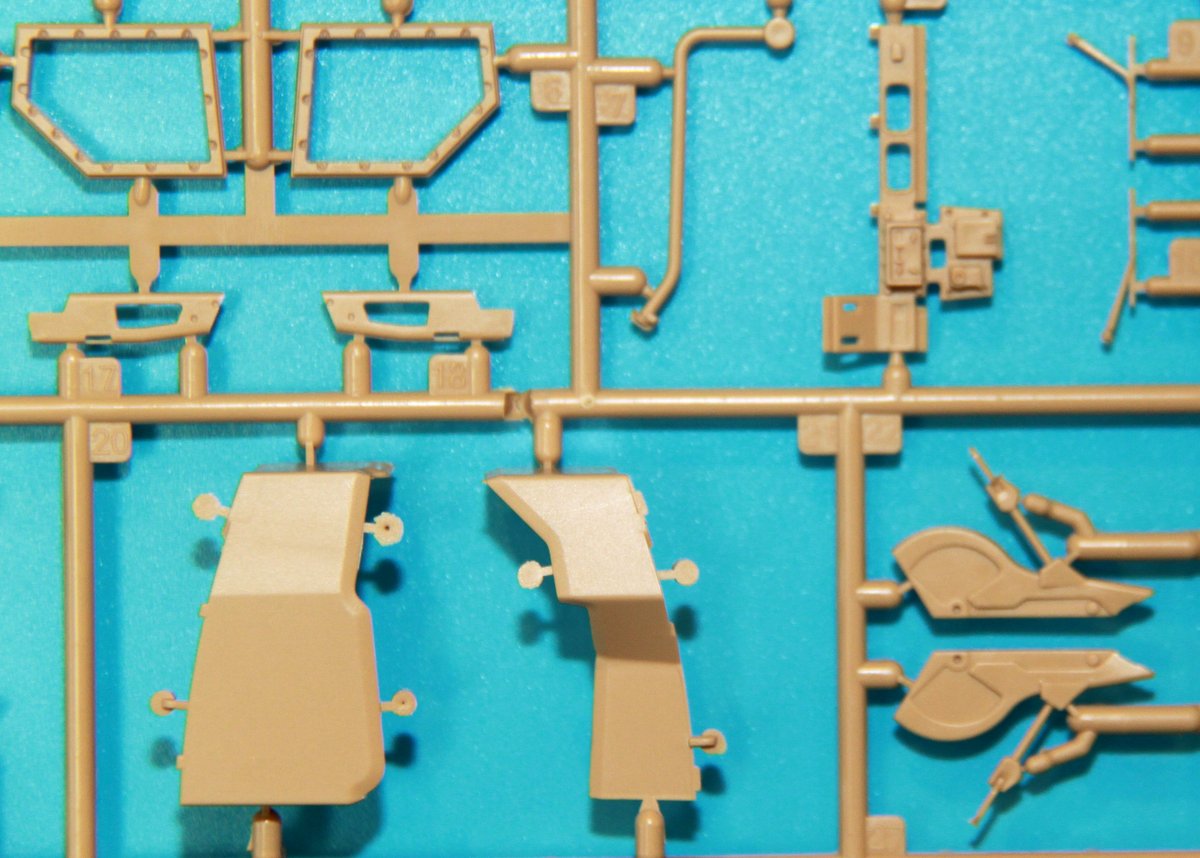
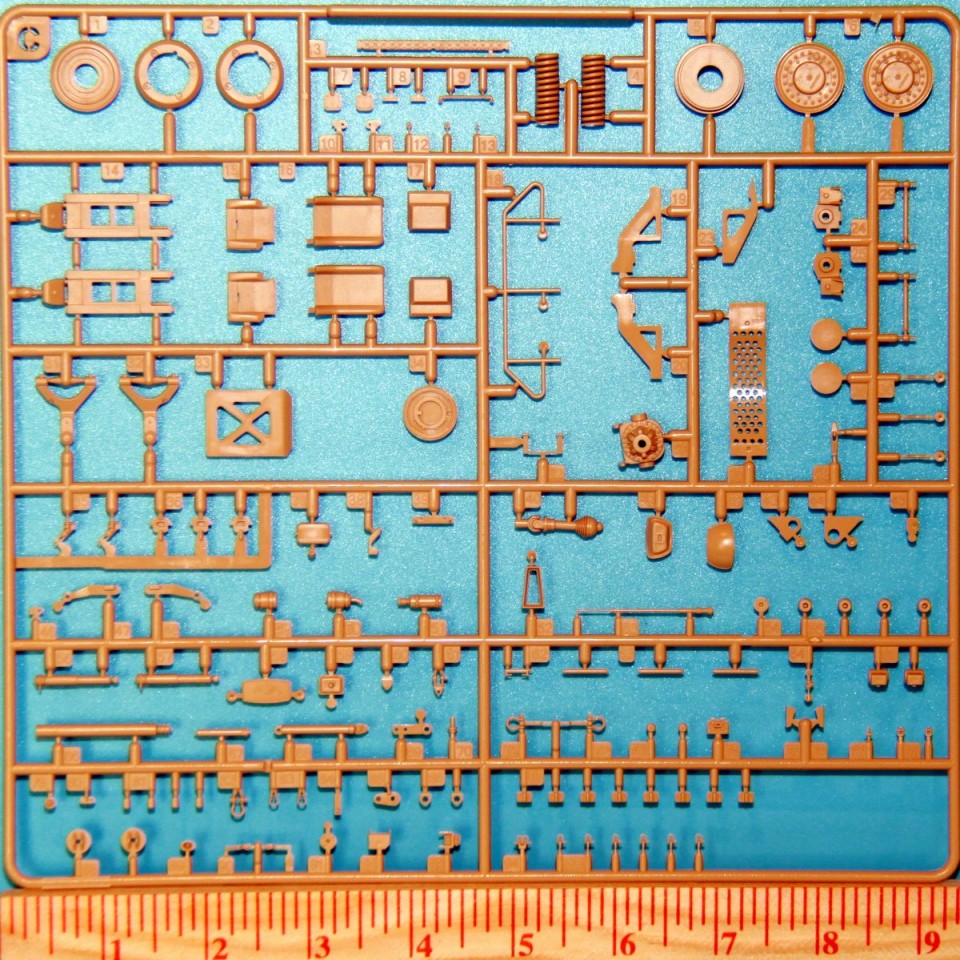
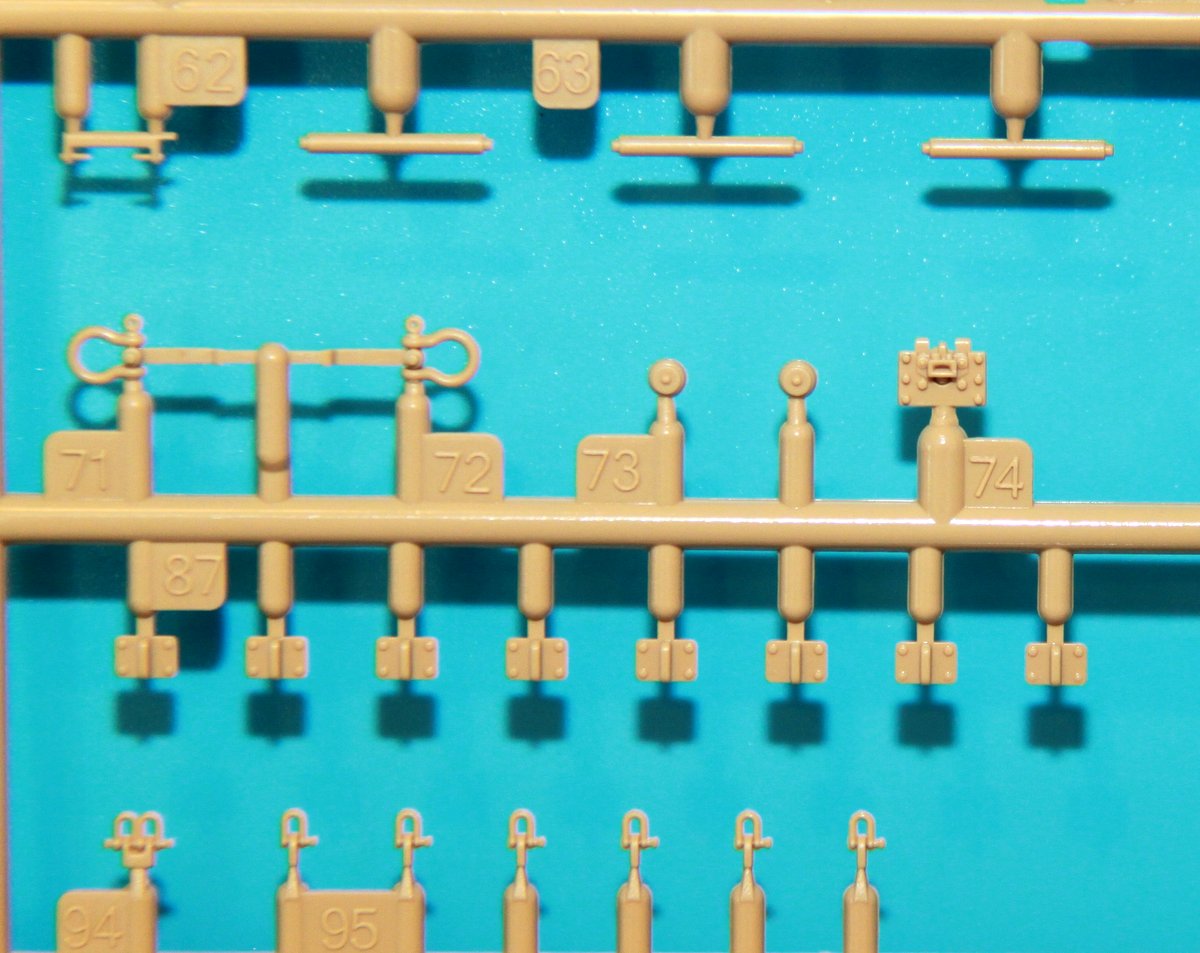
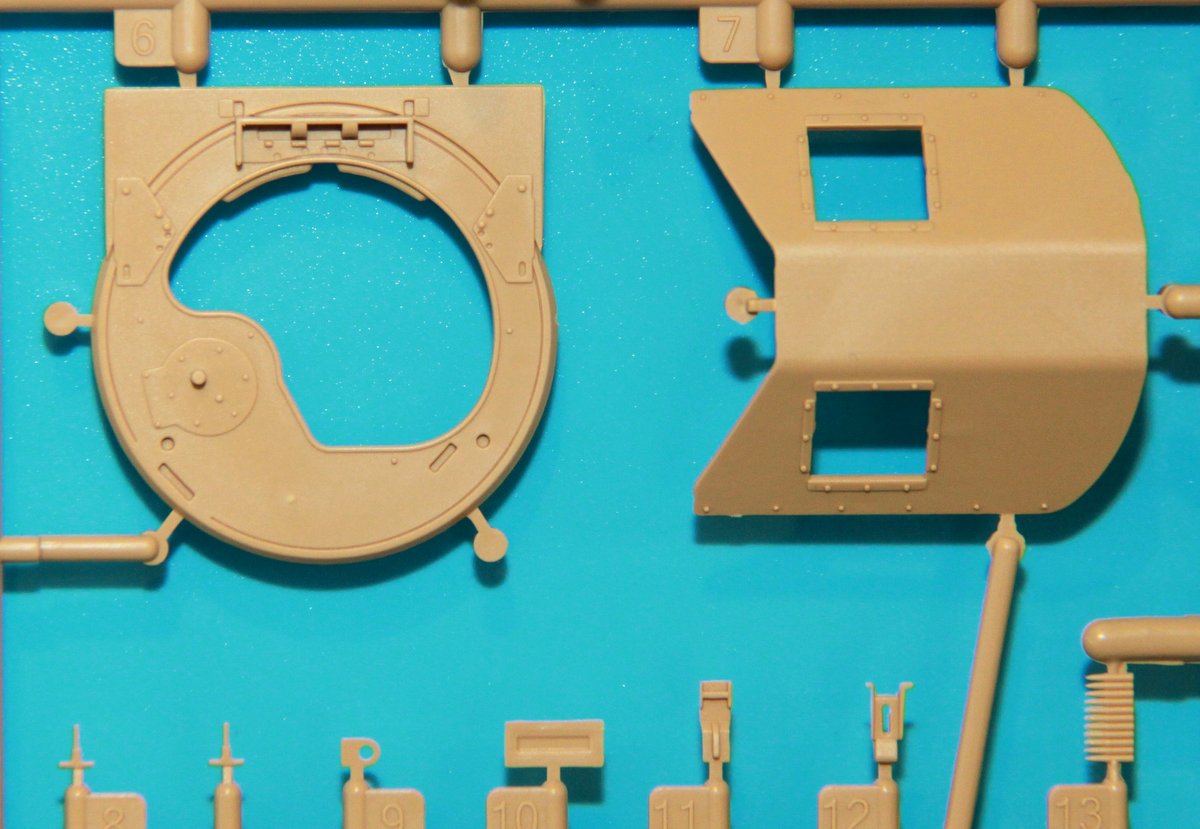
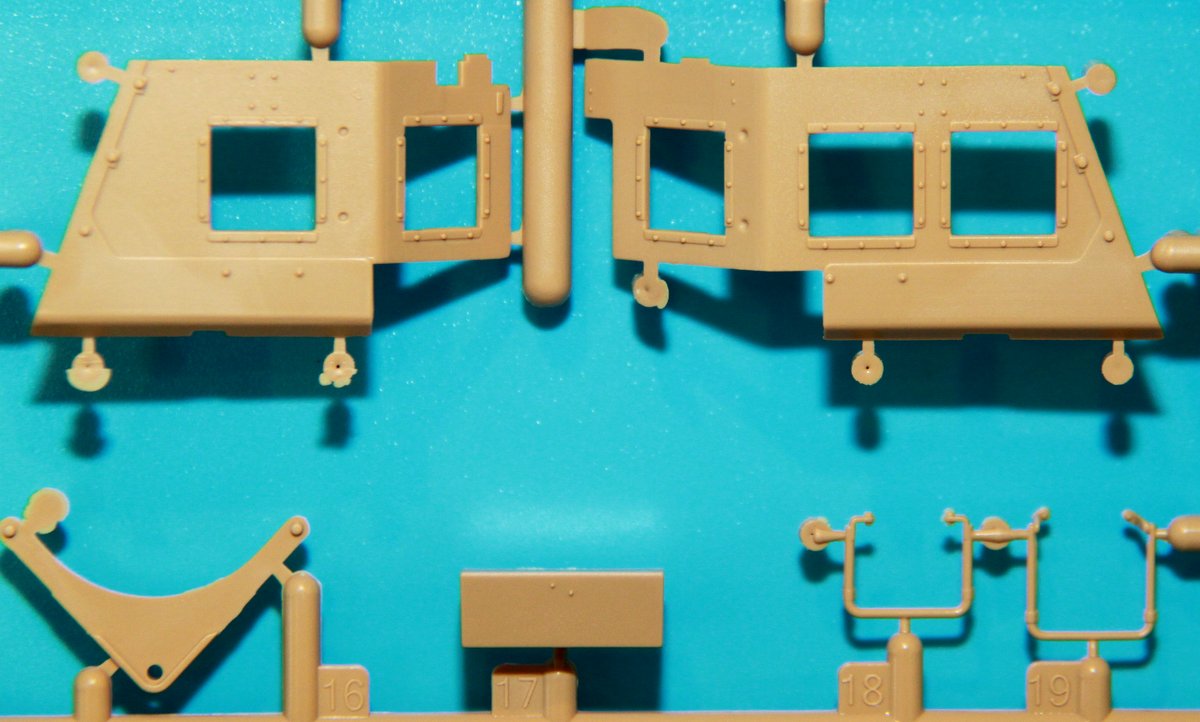
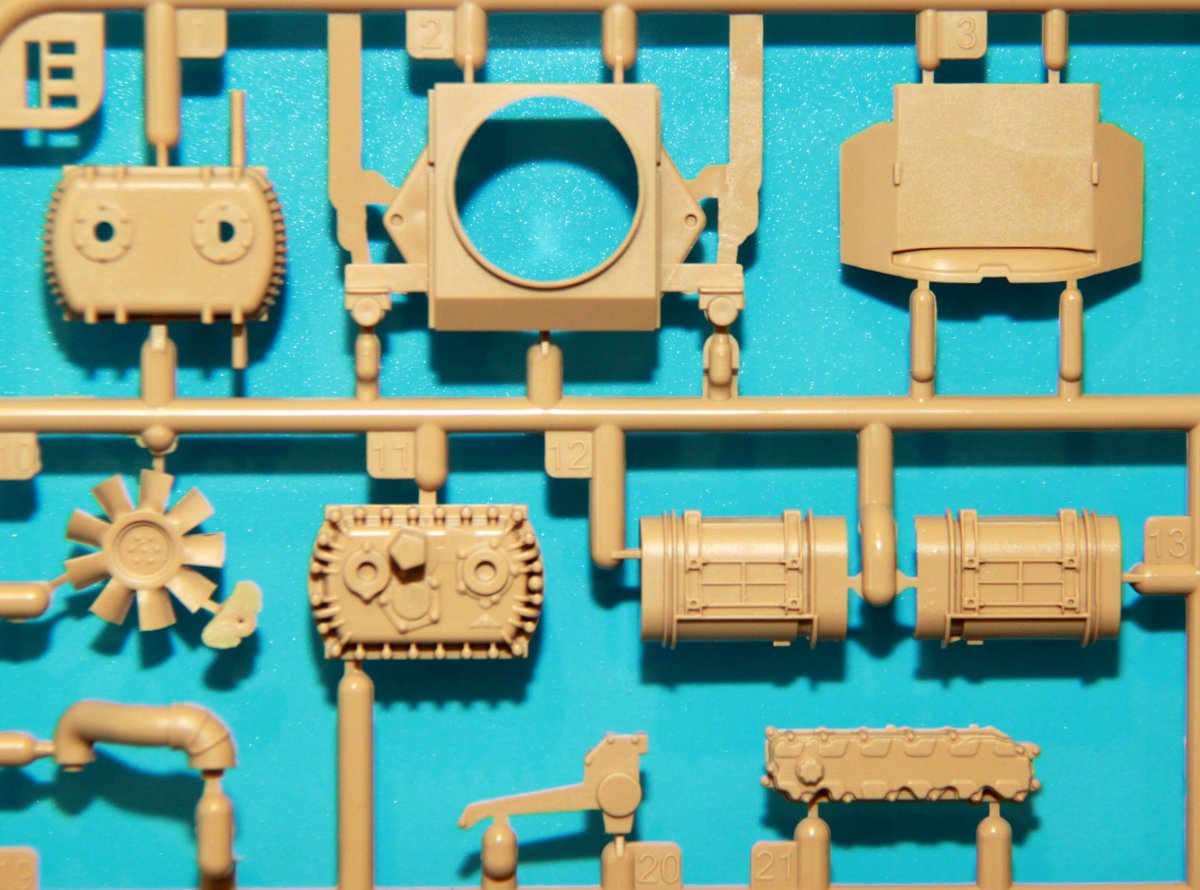
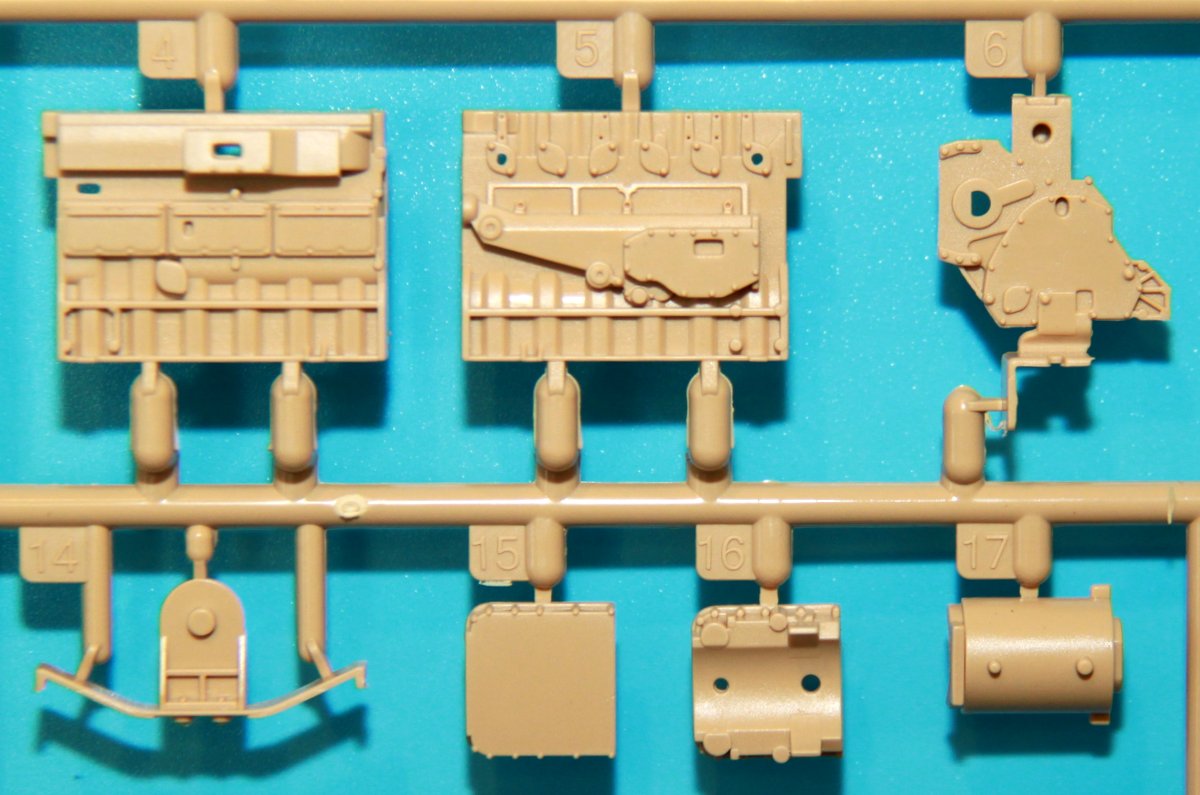
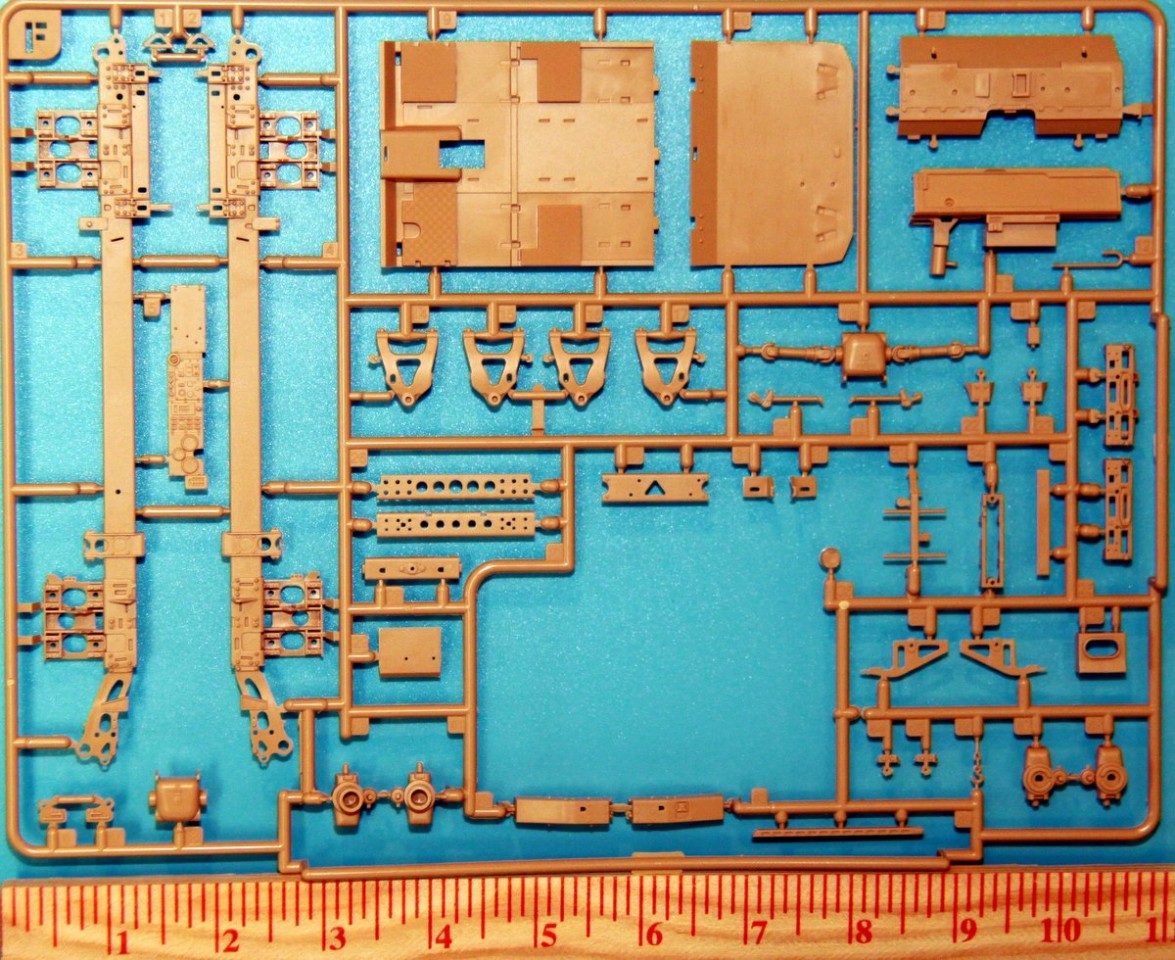
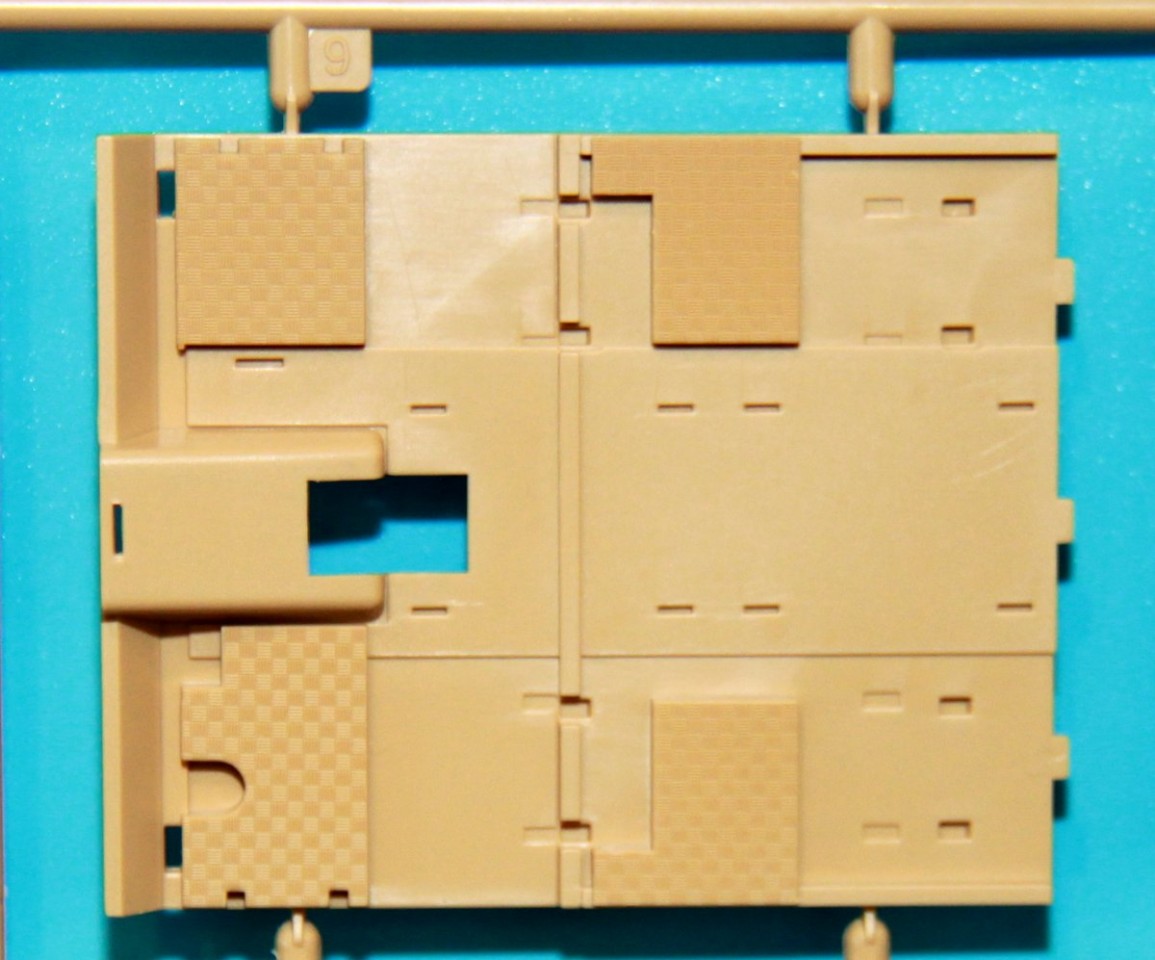
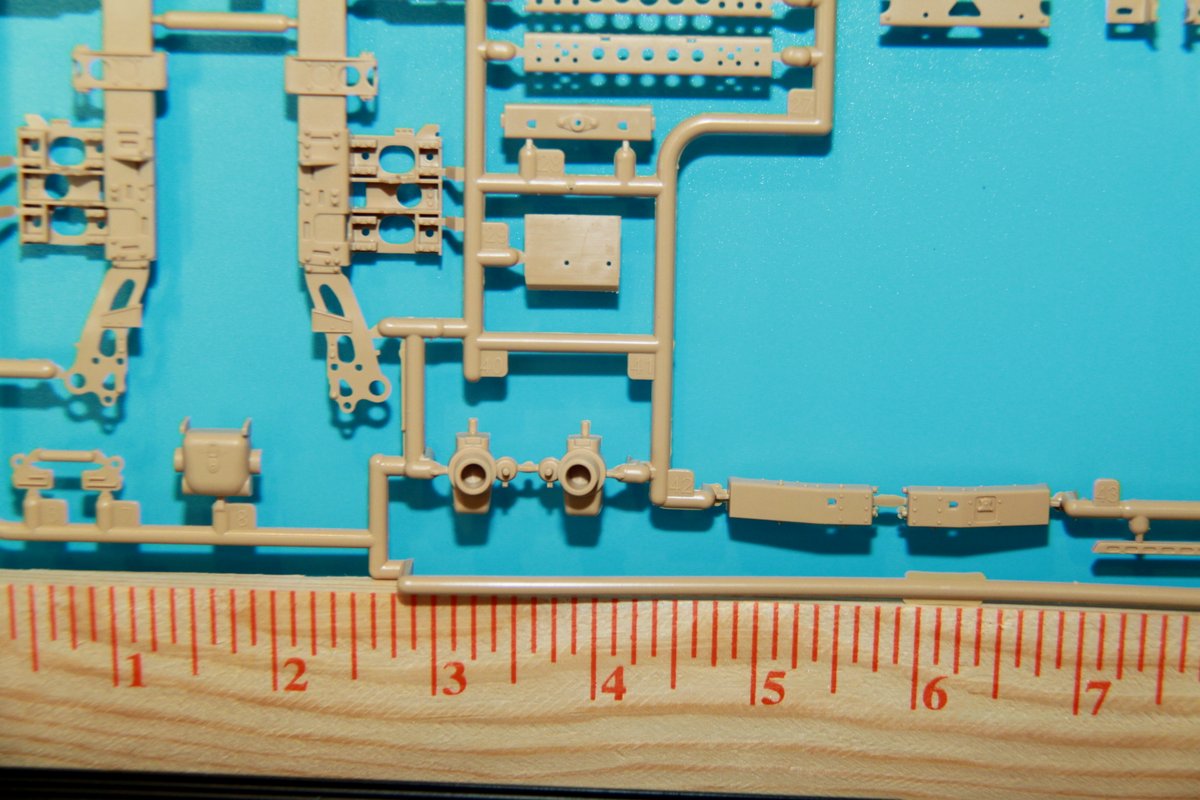
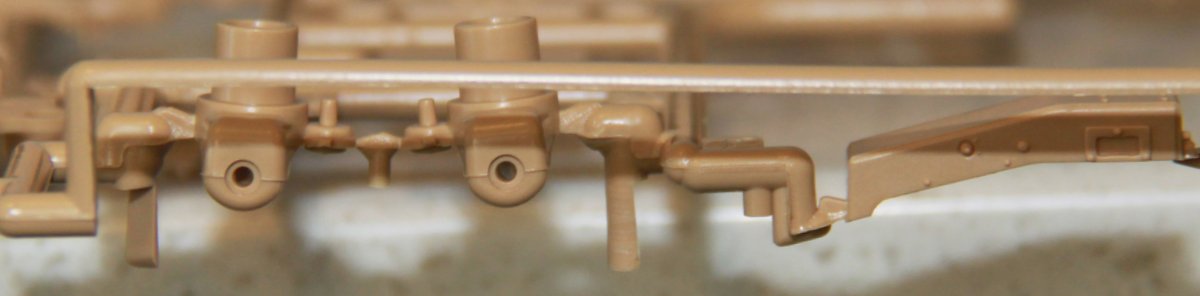
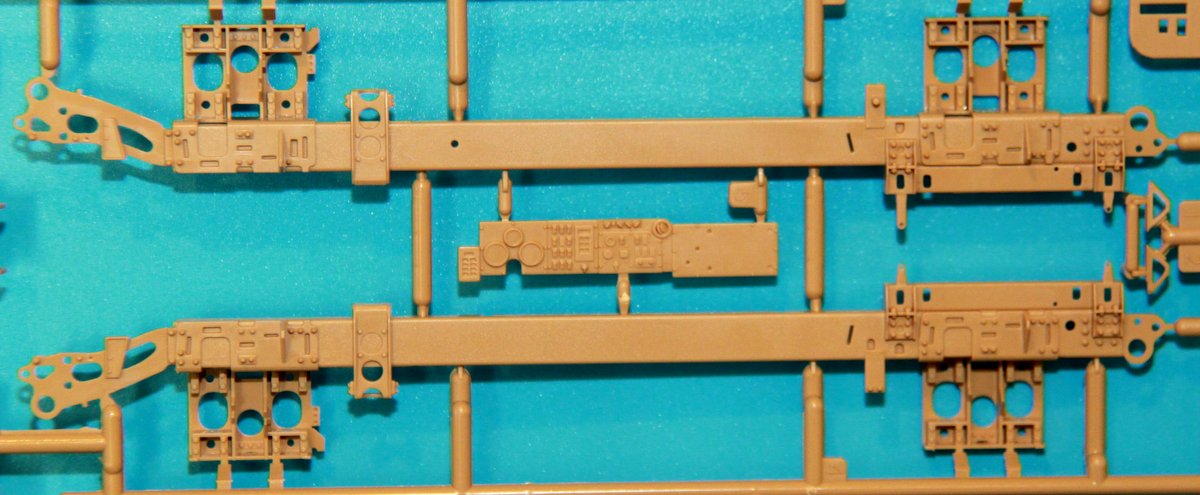
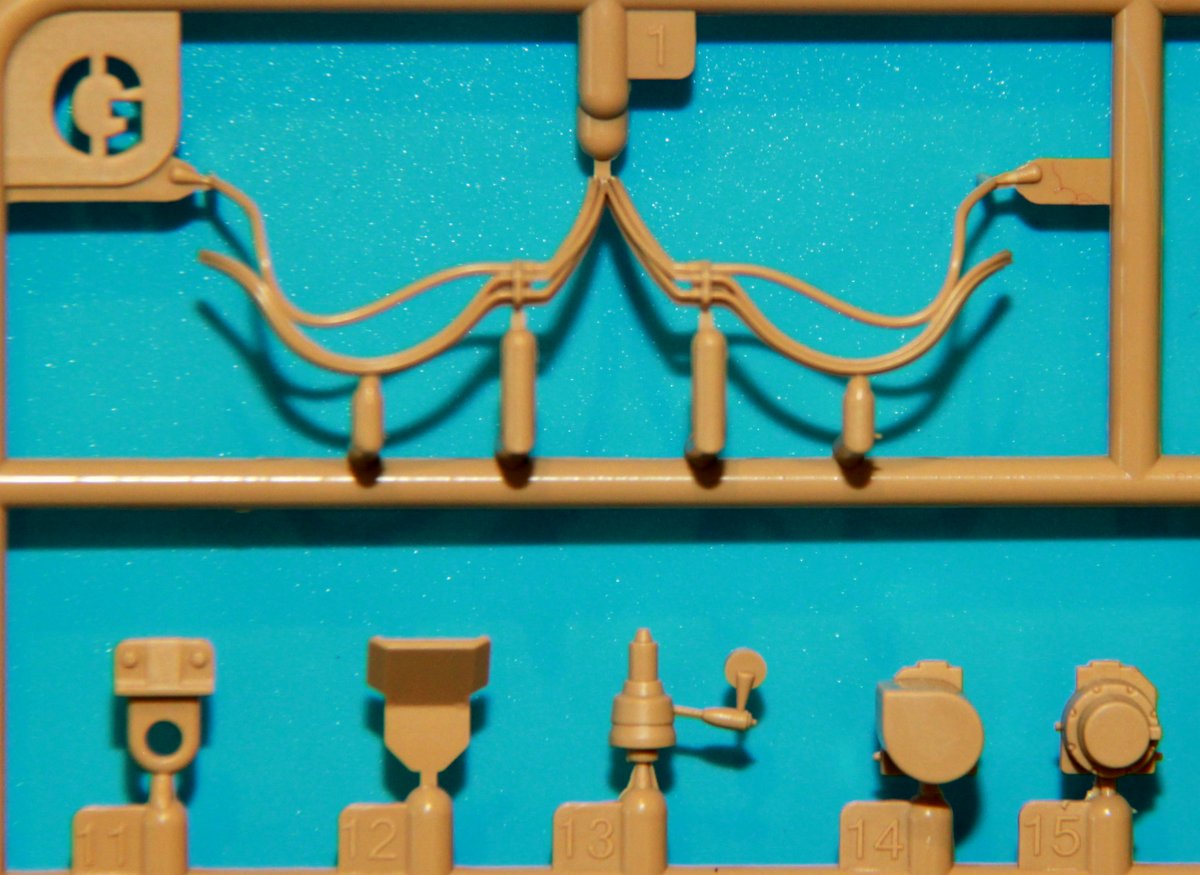
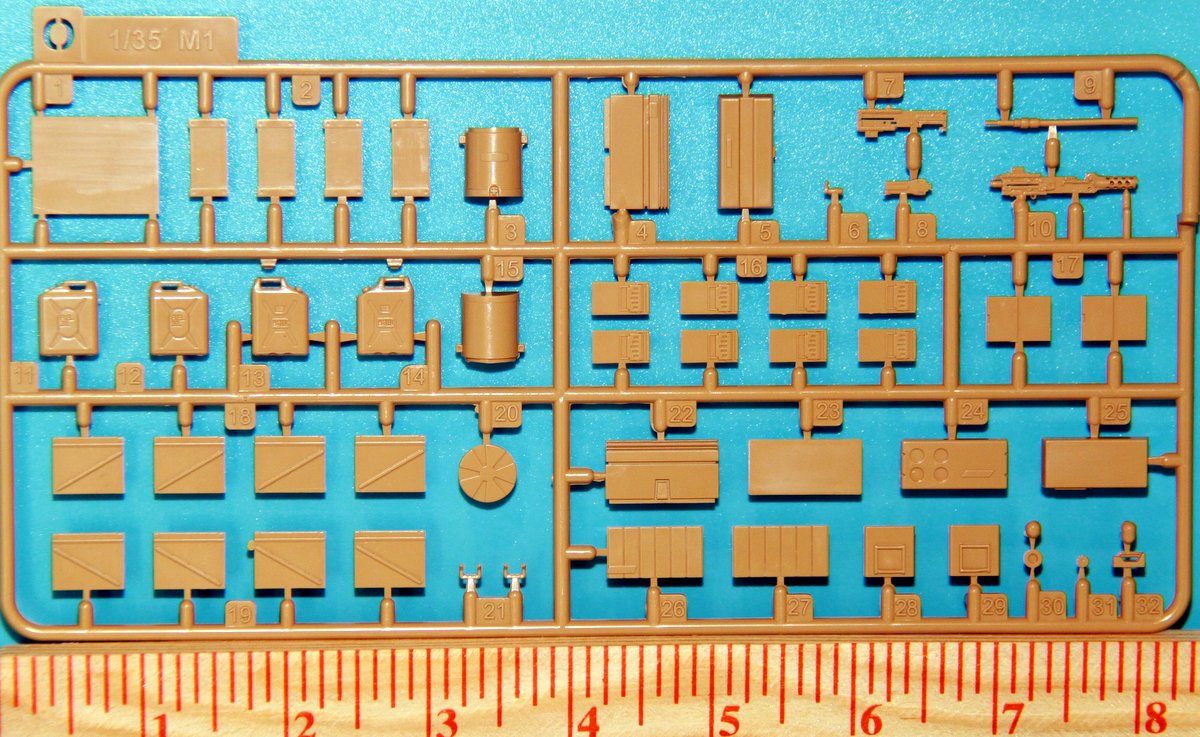
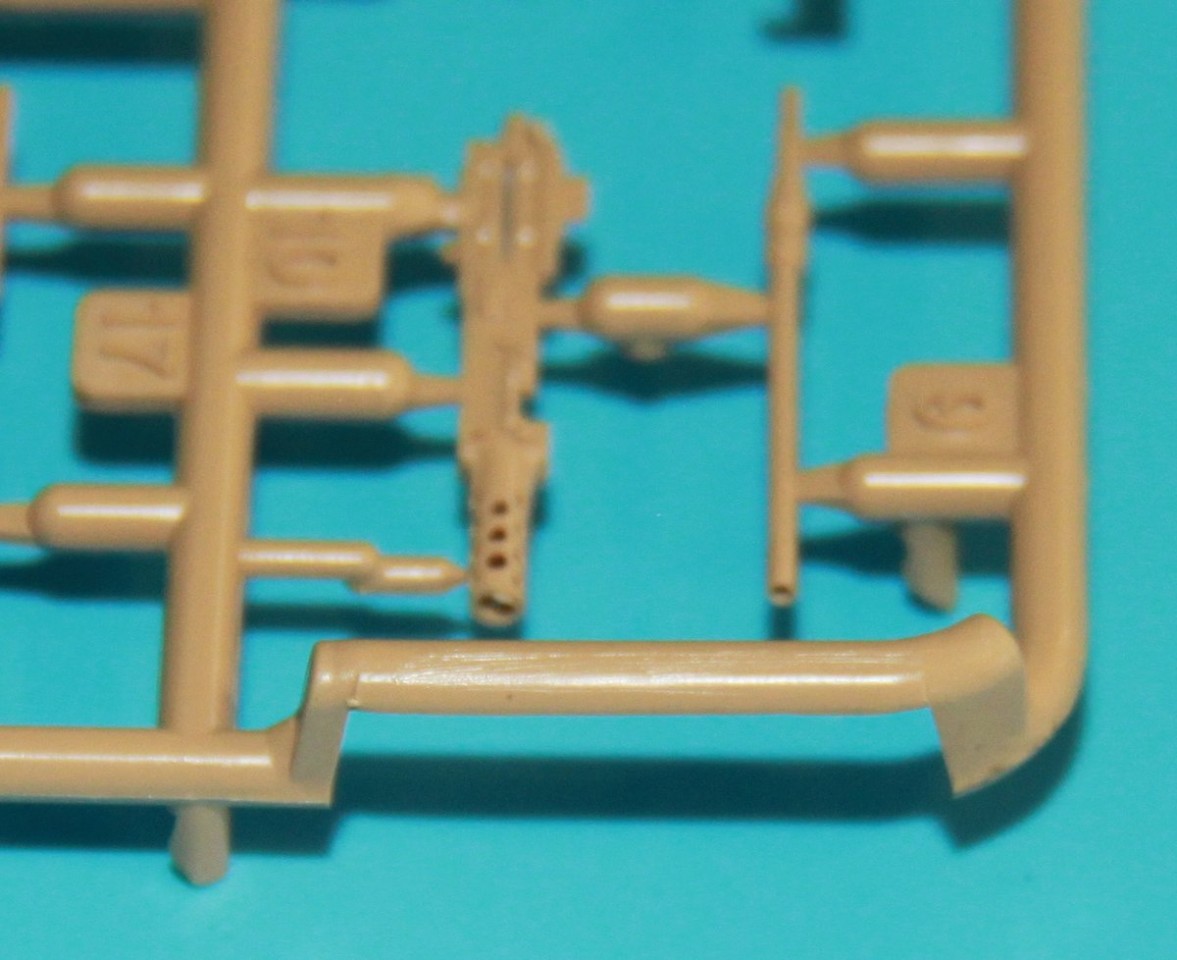
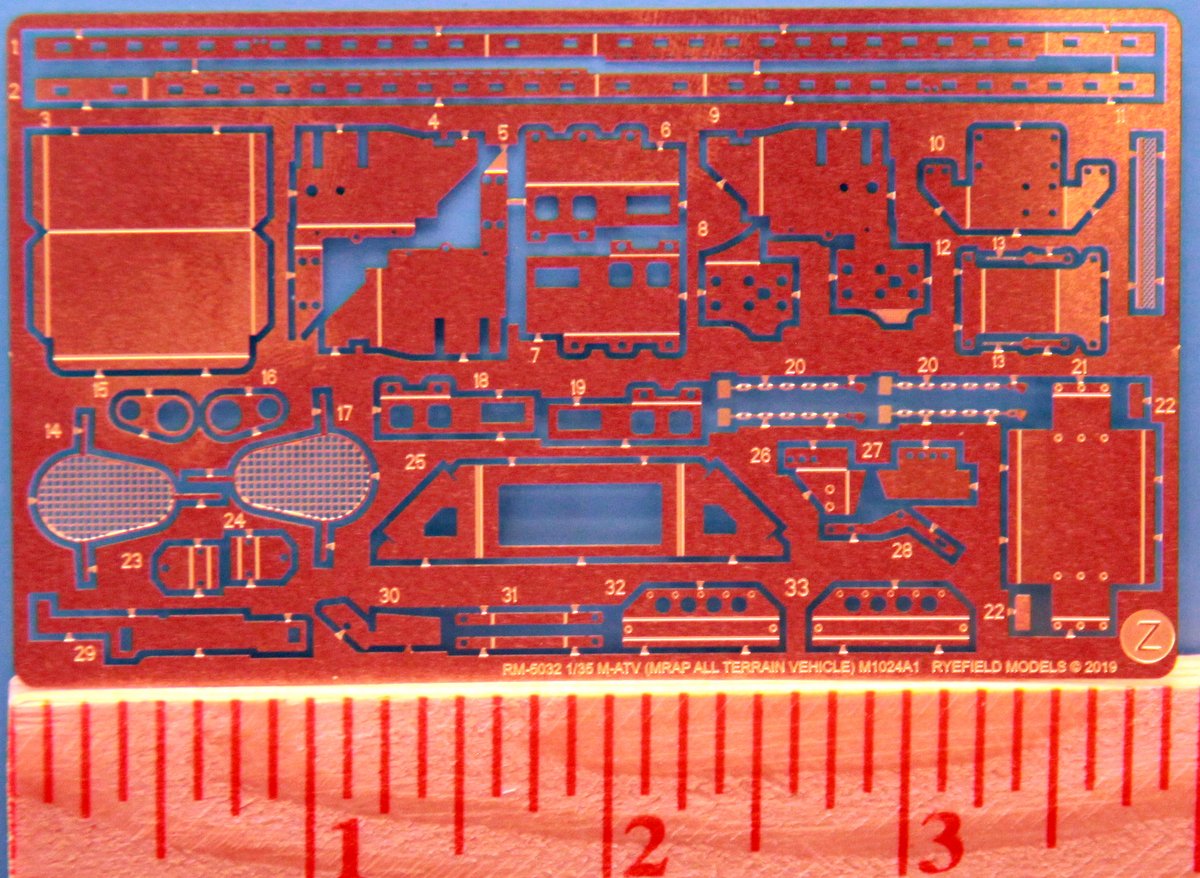
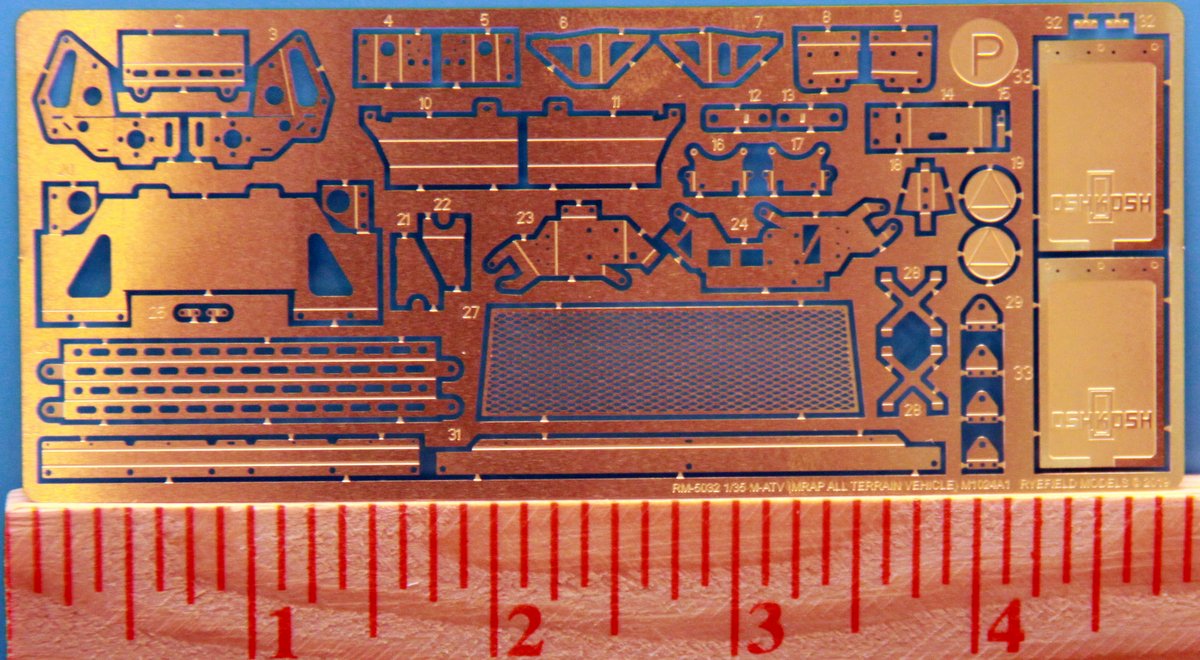
The kit consists of ten unique sprues with one duplicate (B), and as mentioned above, the hood, hull, tires photo etch (2) and decals. I will not describe each sprue here, I think the pictures speak for themselves.
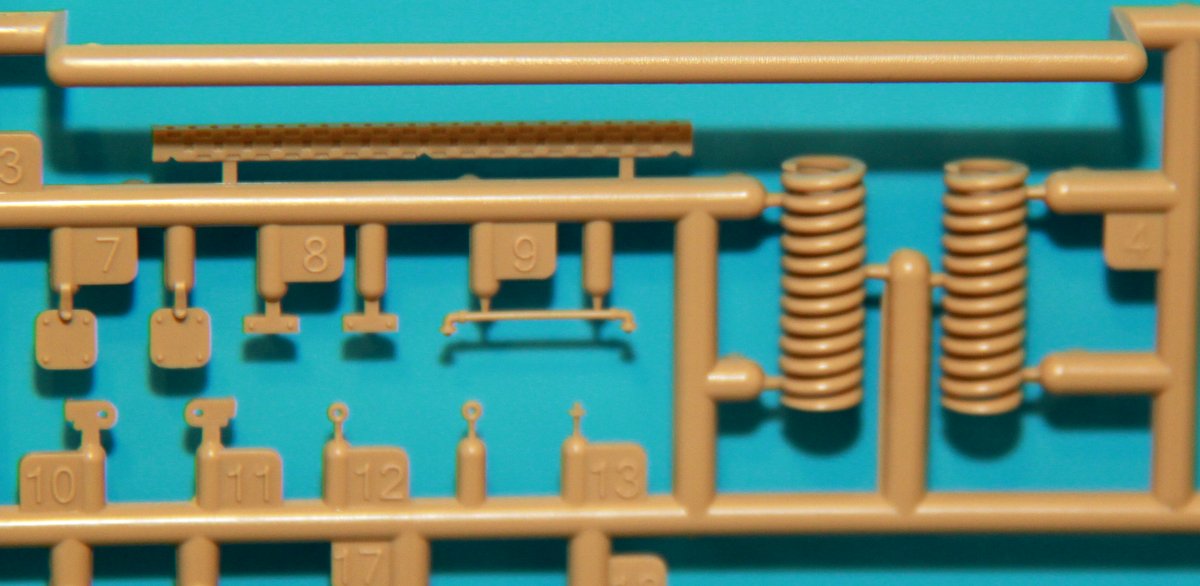
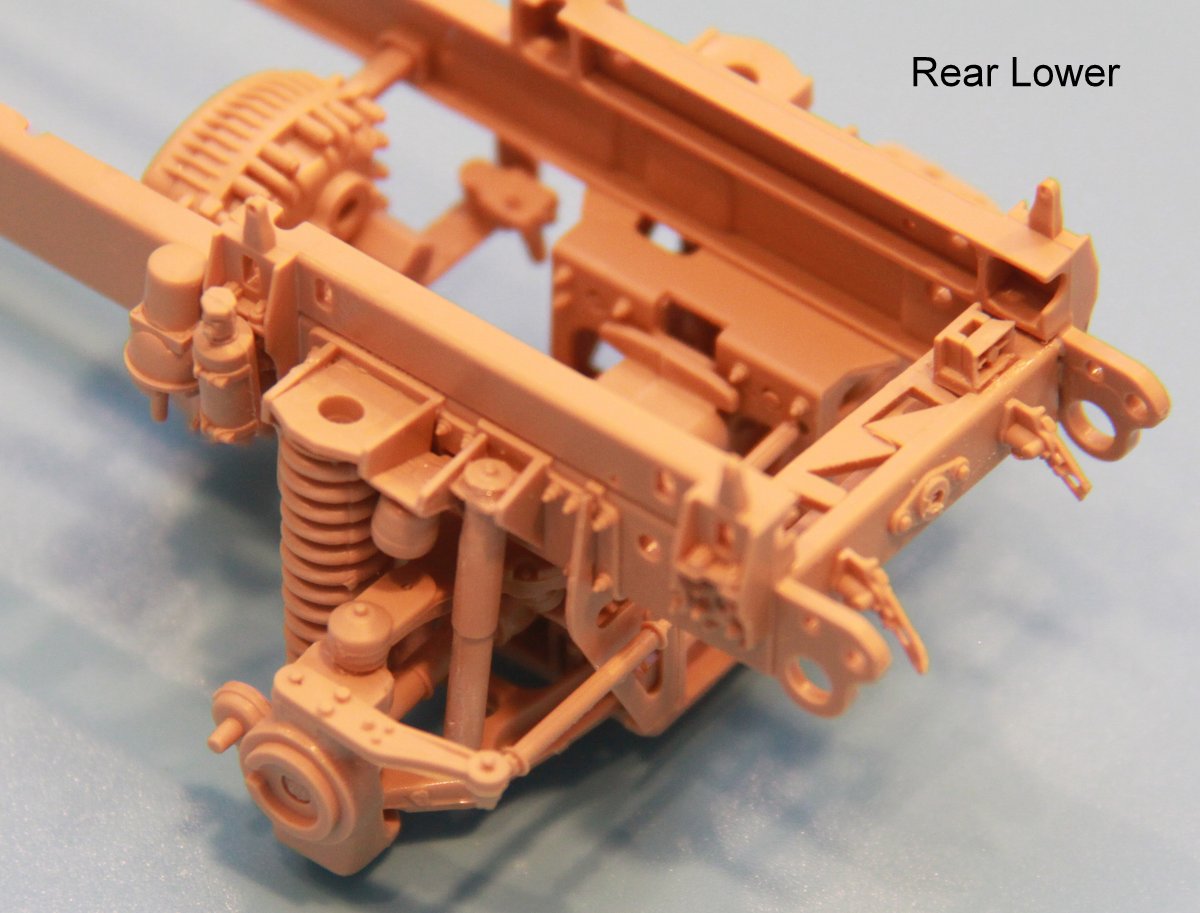
The plastic is very well cast, and I see no flash, and no sink holes that appear in visible places. Pieces have appropriately small attachment points, and are removed with very little clean up needed using Tamiyas new fine sprue cutter. There is a generous use of slide molding for things like the coil springs.
The photo etch has excellent detail
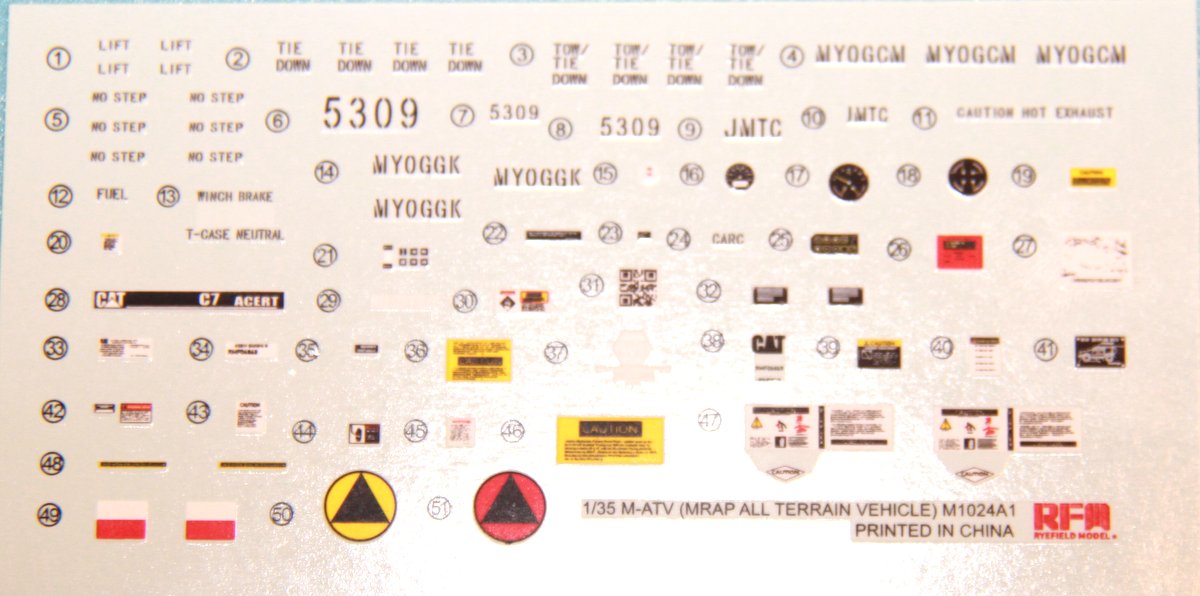
The decals are all small signs and such, but are quite readable, and should enhance to finished model. The only issue is that some of these will be in hidden places after assembly and painting, but then who would know if it were missing.
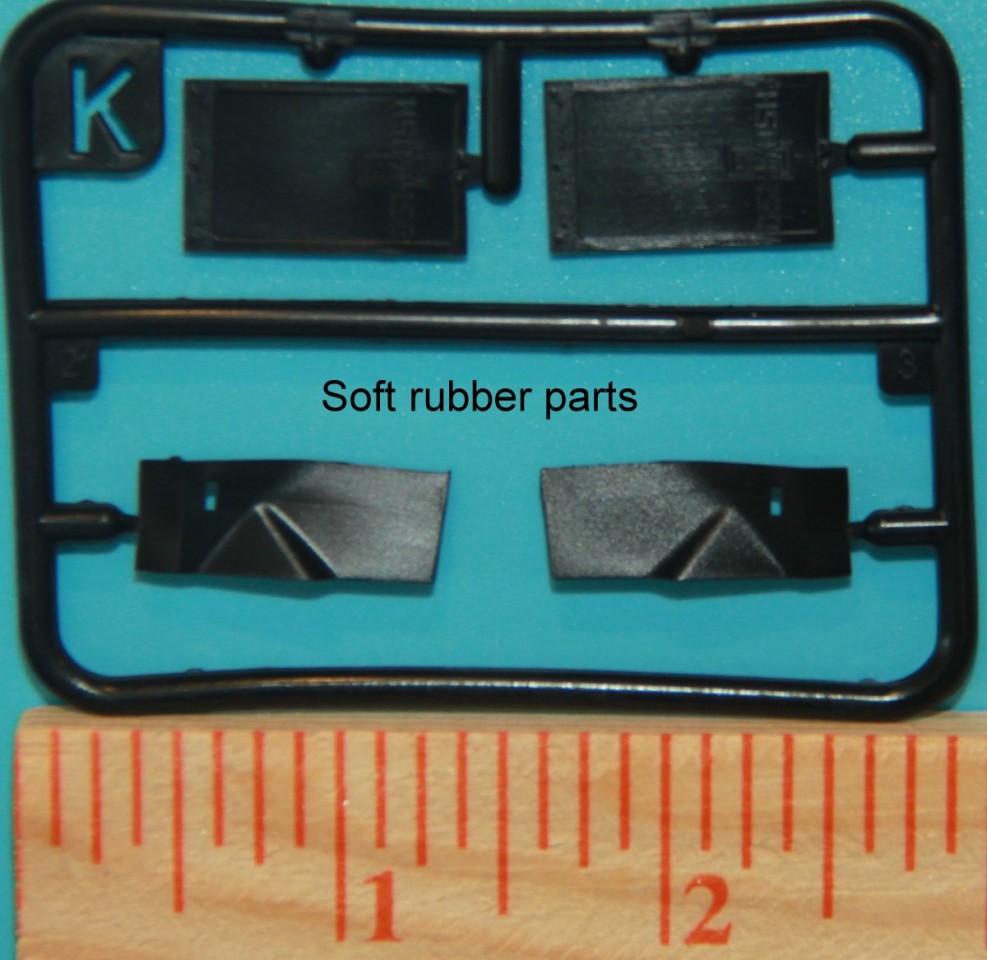
The tires are rubber, and seem to be a very good replica of the real thing based on reference photos, and videos. There is no weighted appearance to them. RFM sells their own aftermarket tire set, which will be reviewed separately.
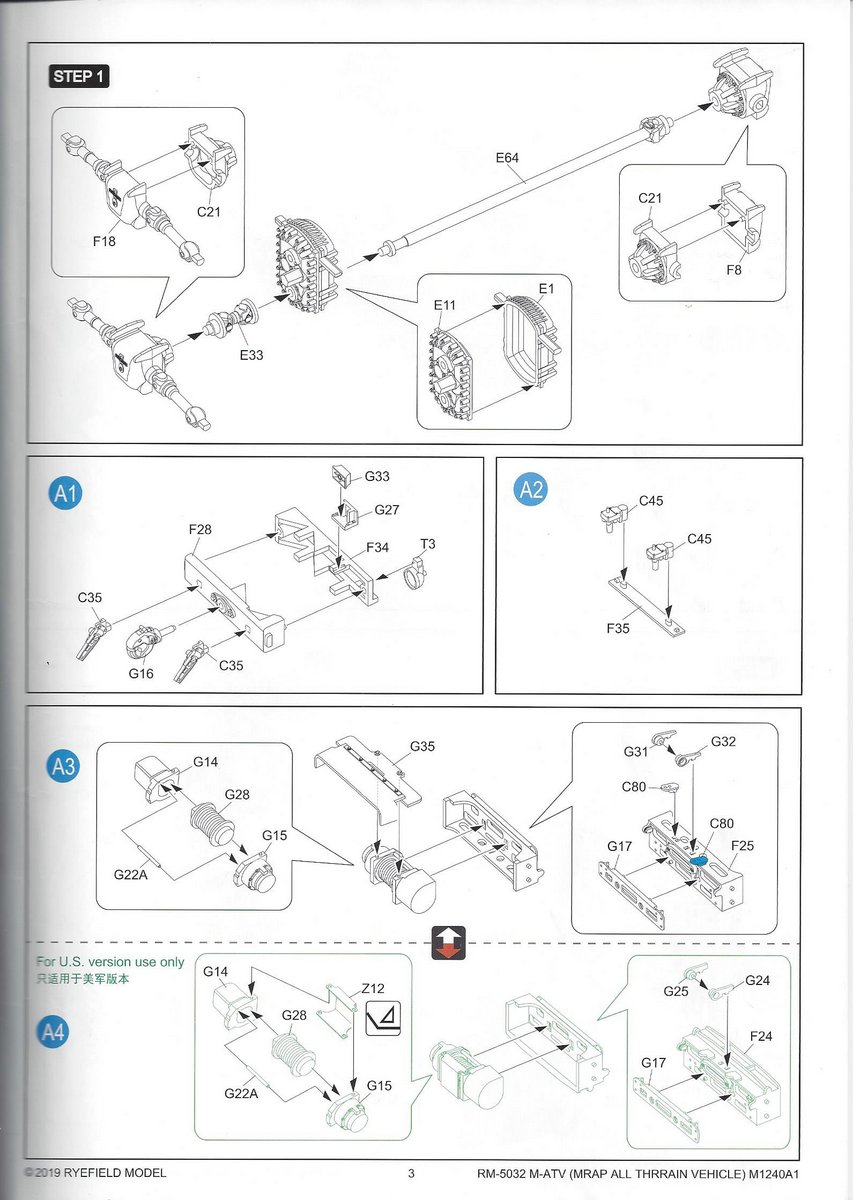
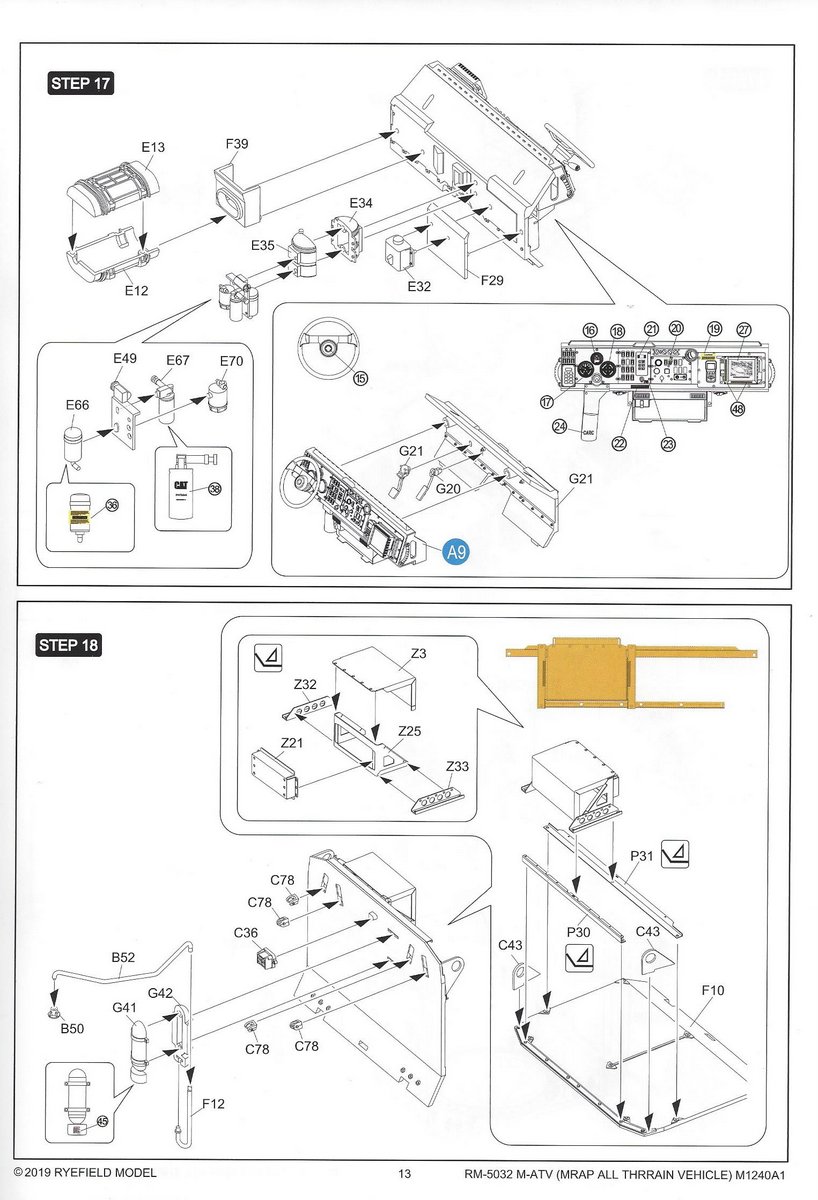
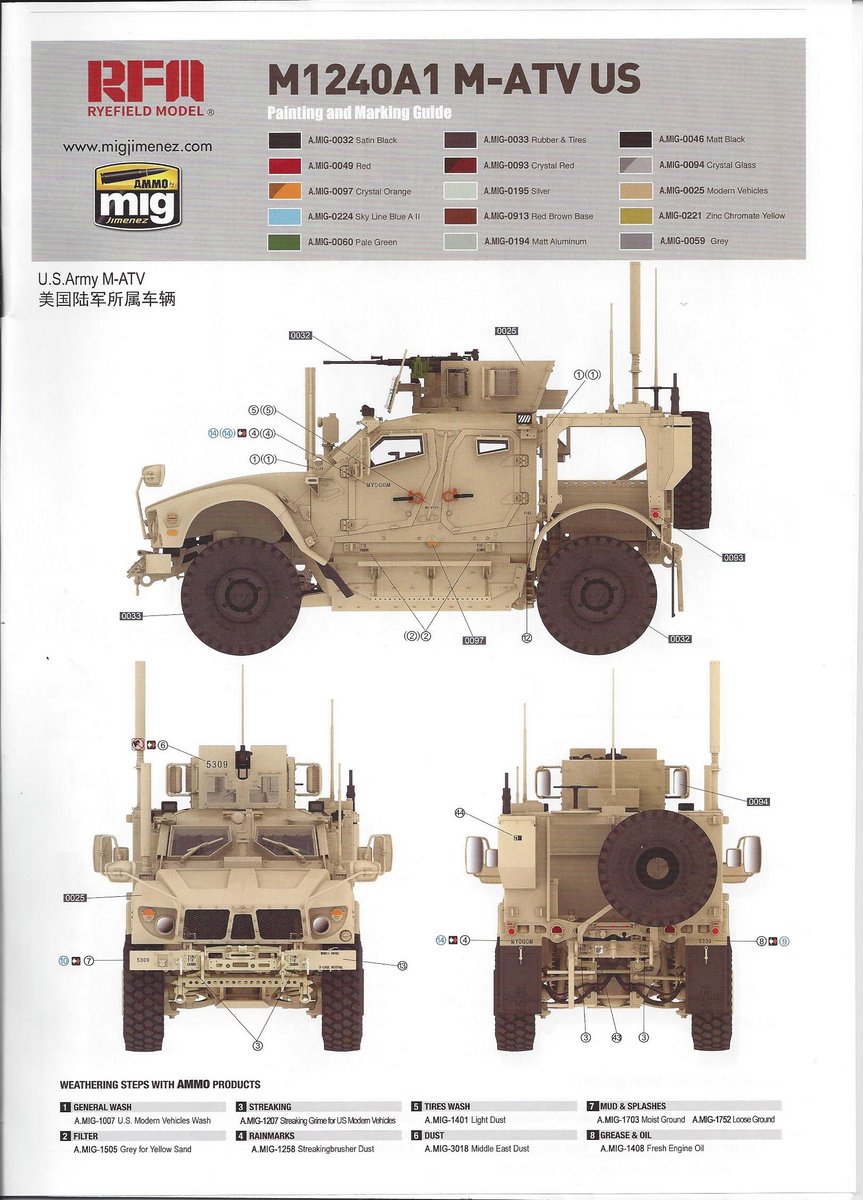
The instructions are a 32 page booklet printed on heavy paper, and use color to enhance understanding. There are often unique steps for US vs. export versions, so be careful. There is one page of errata.
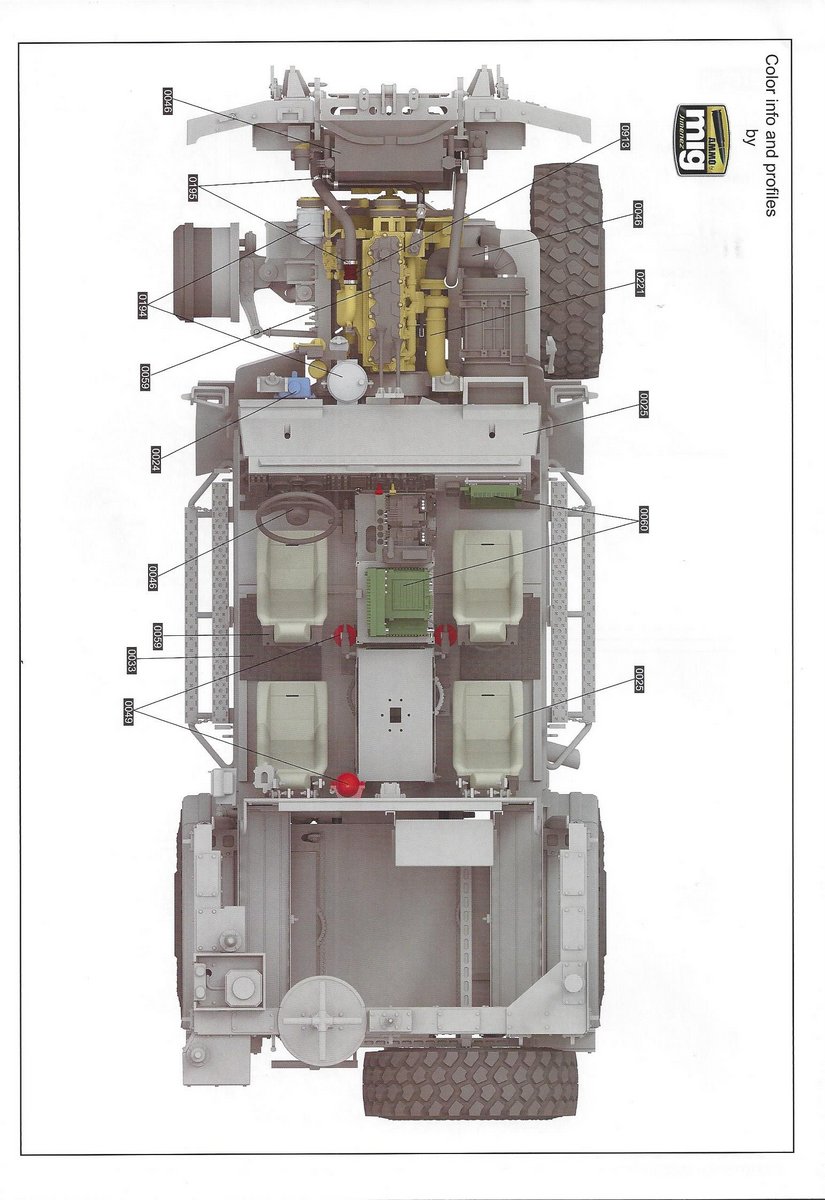
There is one interior, and two exterior painting guides. The colors are specified in MIG paint products. I think there are some issues with this. For example, A.MIG-0025 is specified for the main body color (correct) but also for the seats (wrong).
The interior color callout shows the radio equipment on the racks between seats. However, that equipment is not part of the kit, and is a future aftermarket kit from RFM, or is an available set from Blast Models.
Build
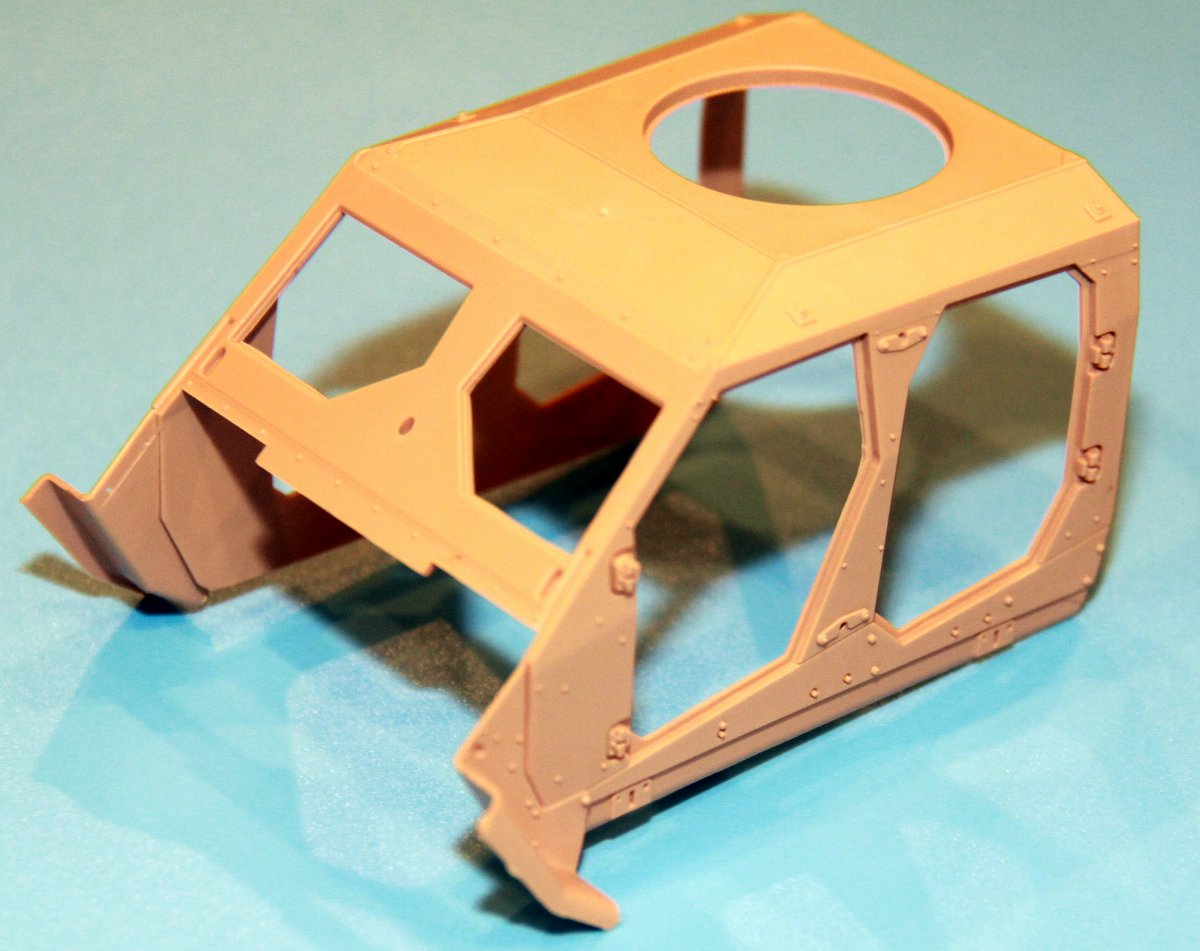
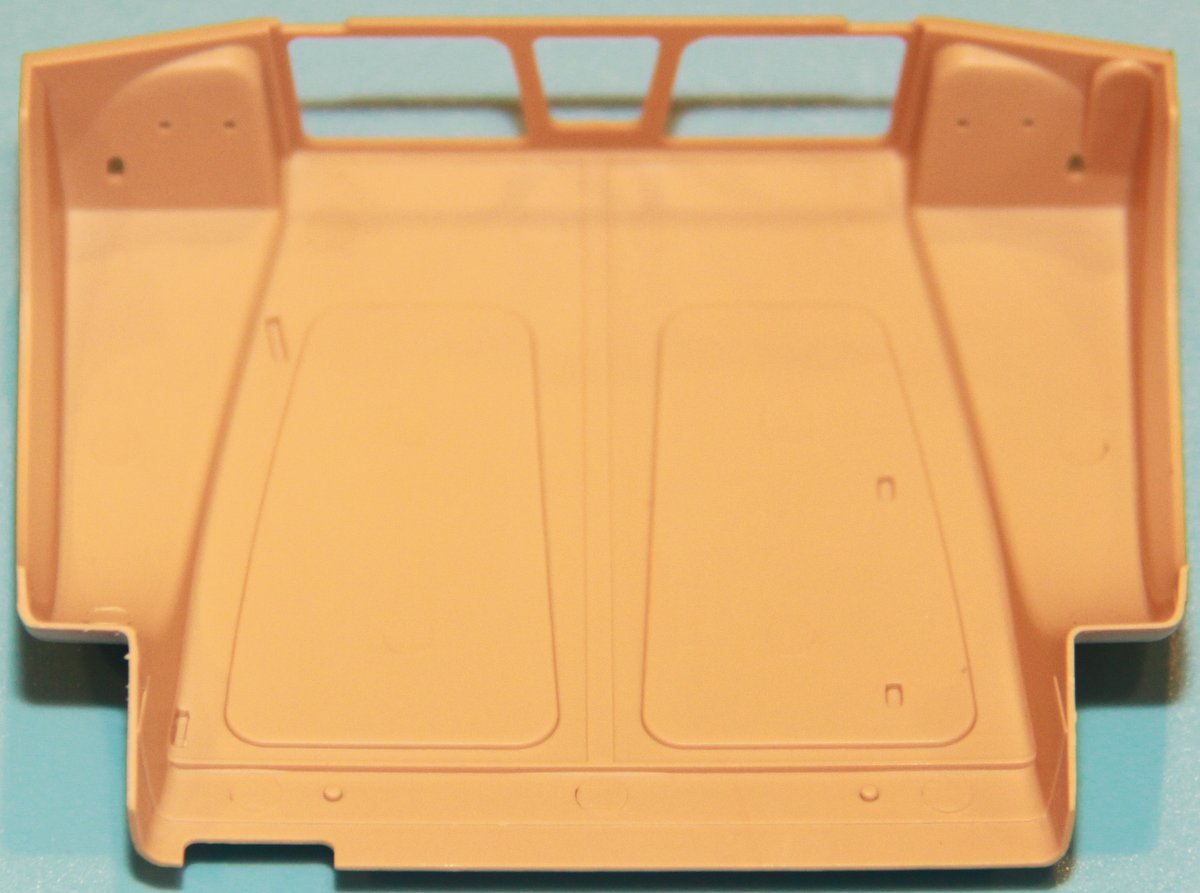
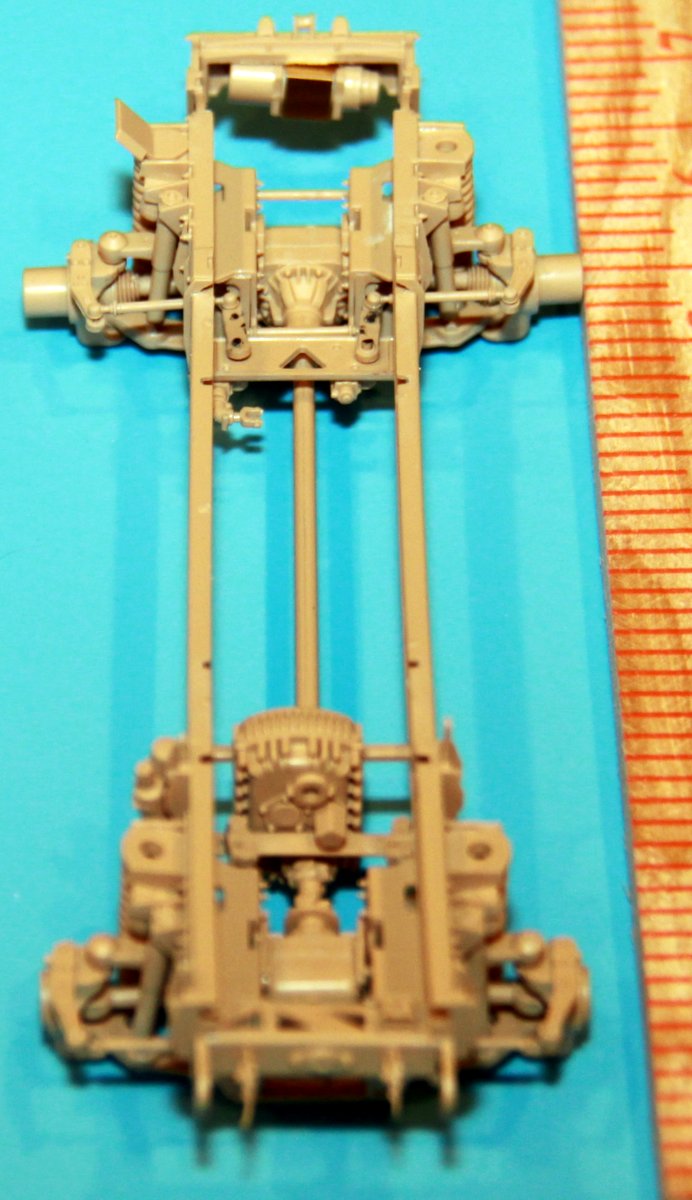
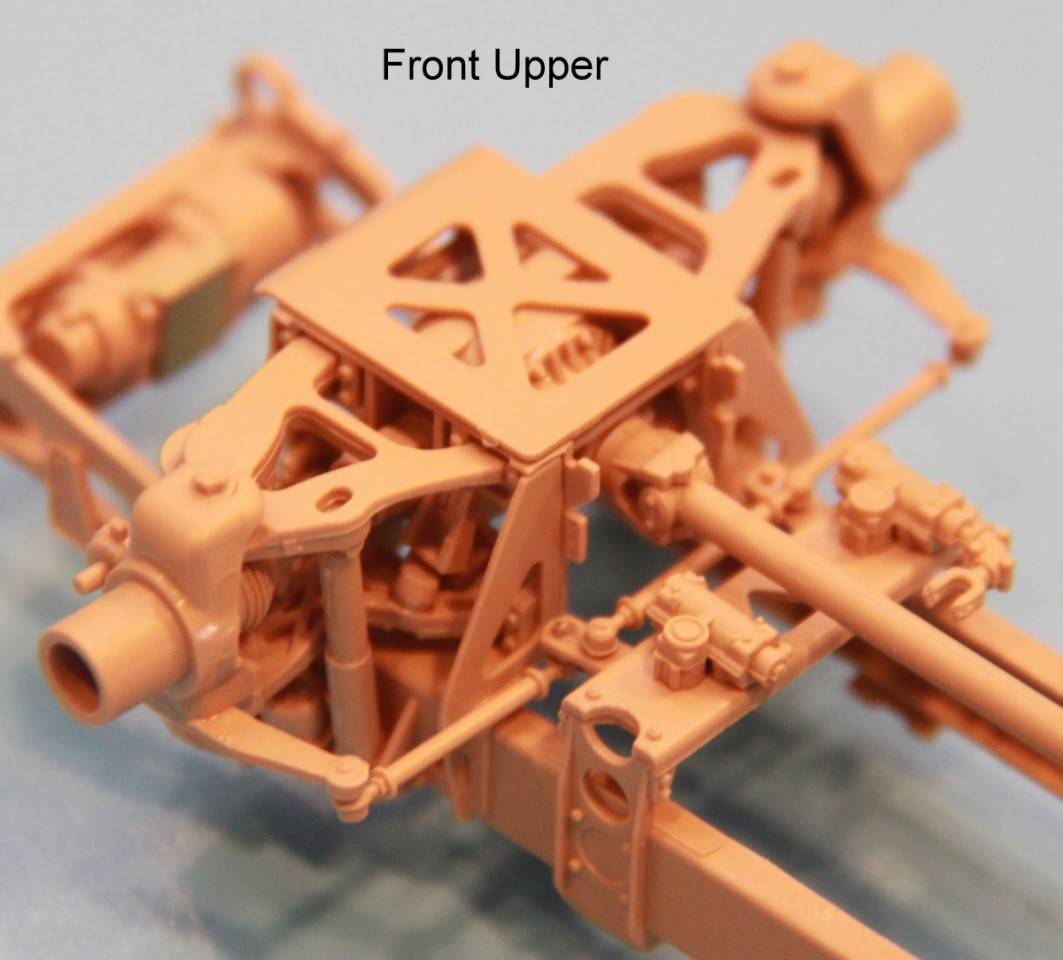
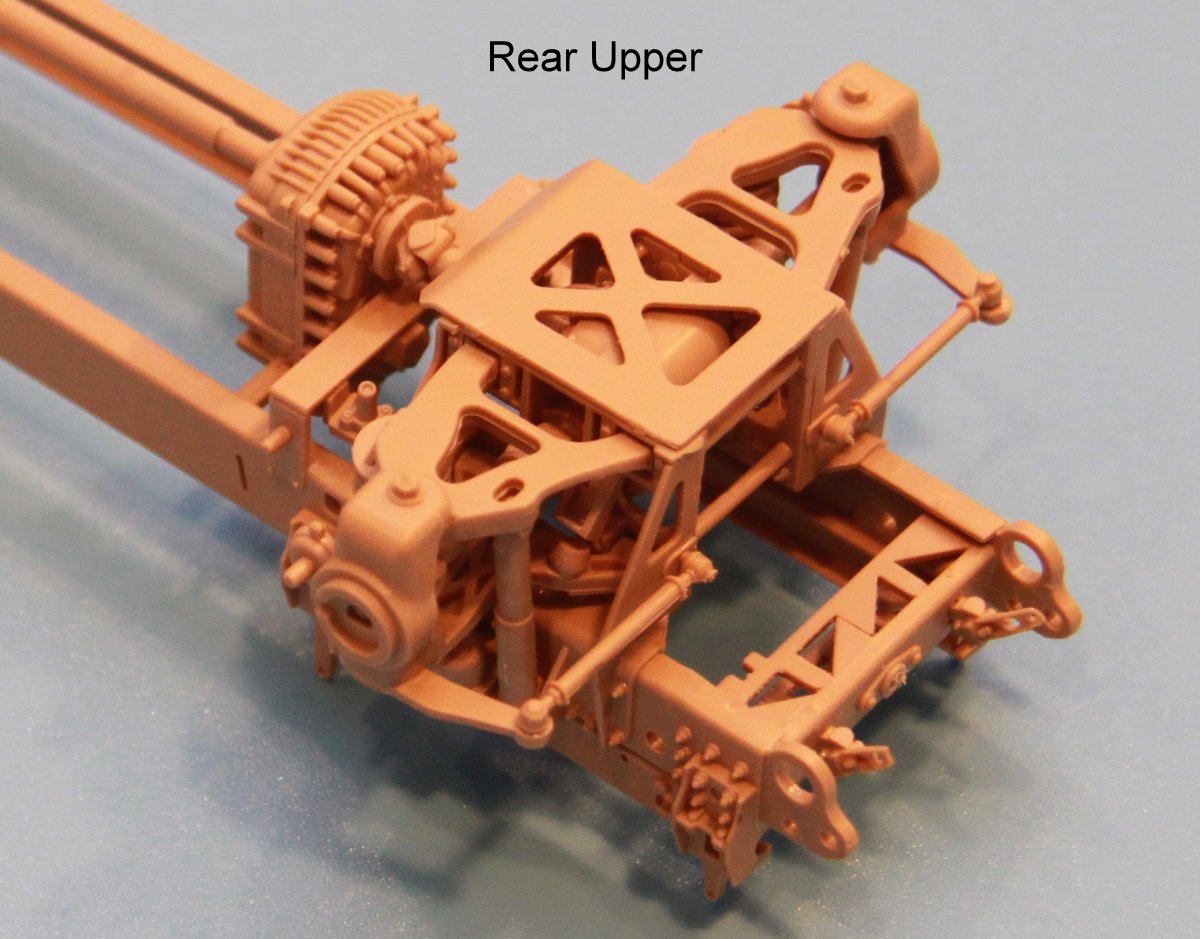
I built a small portion of the kit (steps 1-6 of 40) just to get a feel for the detail, fit, etc.
The detail is superb, as can be seen in the pictures, and I had no fit issues at all.
The tow hook in step A1 is shown as attaching on a stalk. Reference pictures show no such stalk, and I kept knocking it off, so I just drilled out a hole and glued it in, no more problem.
There is an effort made to make the front wheels steerable. However, that only means they would move together, not that the steering wheel would move them. You are supposed to use the old melt the plastic trick to make this happen. I suspect this sacrifices actual details of the real vehicle. I eventually chose to glue this into its straight forward position.
Another reason not to bother with the steering is that the rest of the suspension is static. The wishbone arms are glued into position, and the coil springs dont function, even though they are molded as real springs, what a shame.
Conclusion
I think this will finish into an excellent model, despite some of the issues mentioned above.
References
Do a Google search for M-ATV, and there are tons of available references, the Wikipedia one is quite long, and extensive, and has a huge bibliography
Interview with an Oshkosh representative, which provides an excellent view of the exterior, but no interior. Note at the end, that theres a sign which says No Photography Allowed
https://www.youtube.com/watch?v=32iSuTtlM8w
An excellent overview in a military magazine
https://www.dieselarmy.com/features/car-features/monthly-military-oshkosh-m-atv/
A walk around by a guy who apparently bought one
https://www.youtube.com/watch?v=Qi_Vf1kW4Do
One participating in the Baja 1000
https://www.youtube.com/watch?v=NagPvk1Hlak
Another YouTube
https://www.youtube.com/watch?v=9MnKIMp3p8g
And another
https://www.youtube.com/watch?v=32iSuTtlM8w
SUMMARY
Highs: Highly detailed model, with interior, of an interesting and currently active vehicleLows: Static suspension componentsVerdict: Highly recommended
I'm in the middle of building this one with a second in the on-deck circle. So far the only real problem I've encountered is with the instructions - do yourself a favor, decide what variant you're making and go through them CAREFULLY to line/blot out anything to do with the variant you're not doing... when you get to the bumper step you'll see why . All in all it's a great kit, even with all the PE (I strongly dislike PE) and the issues with the directions!


Comments