Introduction
Perhaps we are being overly-optimistic here, but 2007 may (at last) be the year when the light-armored vehicle finally comes out from behind the 'resin' curtain. No less than FOUR British Armored or Scout Cars are being scheduled for release in injection-moulded plastic. This, from a relatively new manufacturer -
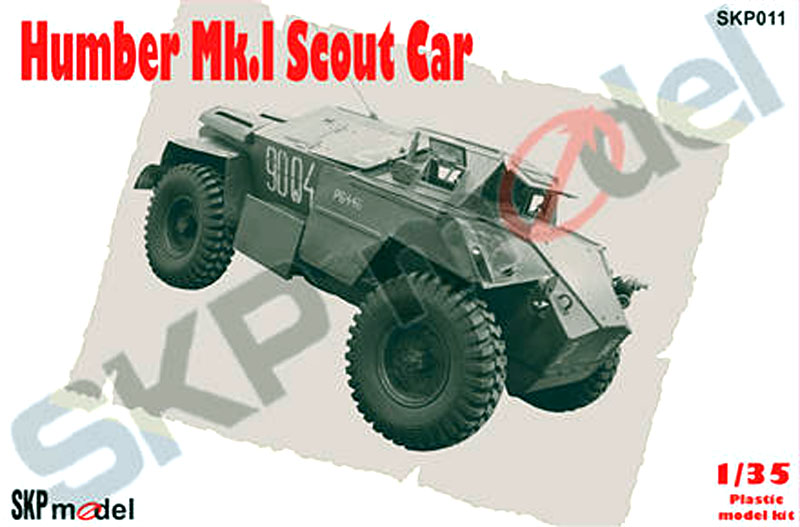
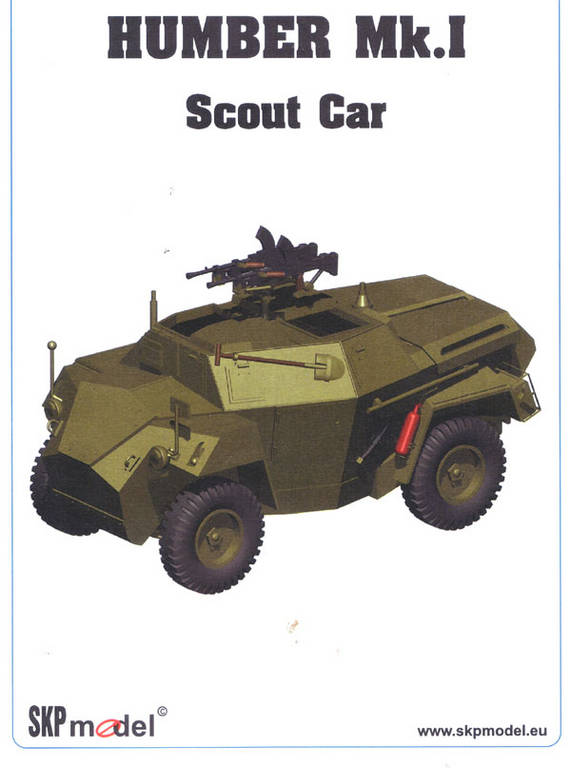
SKP Model is the first this year to release the Humber in 1/35th scale.
It's also worth speculating that if there is success with these new releases, then perhaps, (just perhaps) some of the bigger manufacturers may well continue the process. We can but live in hope...
The Kit - in the box
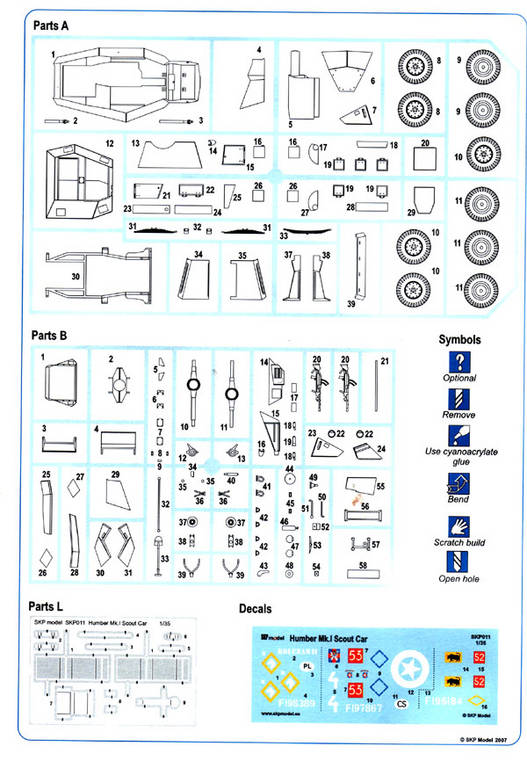
The model consists of two large sprues, a sheet of photo-etch produced by
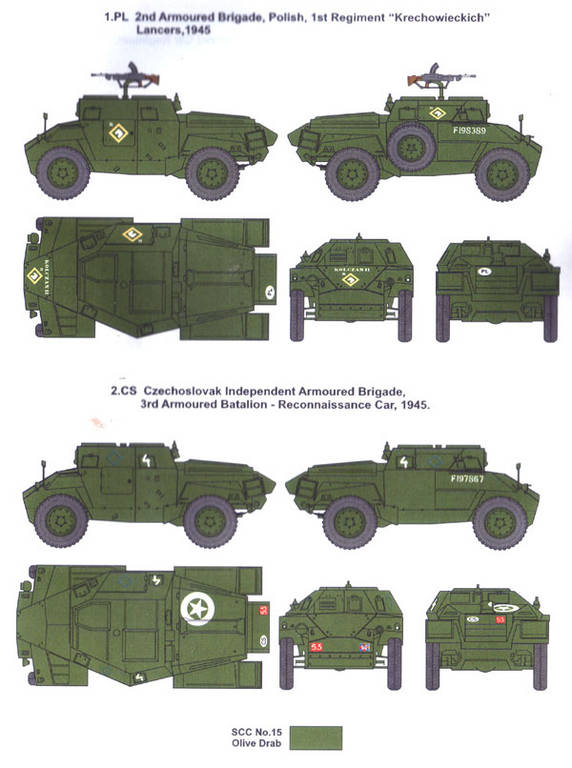
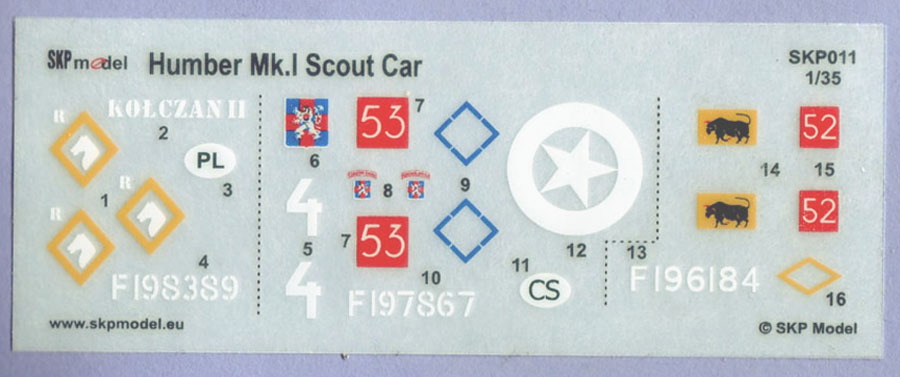
Eduard, a small sheet of (Rub-down) decals which feature three vehicles:
1) - 2nd Armored Brigade, Polish 1st Regiment 'Krechowieckich' Lancers 1945
2) - Czechoslovak Independent Armored Brigade, 3rd Armored Battalion - Reconnaissance Car, 1945
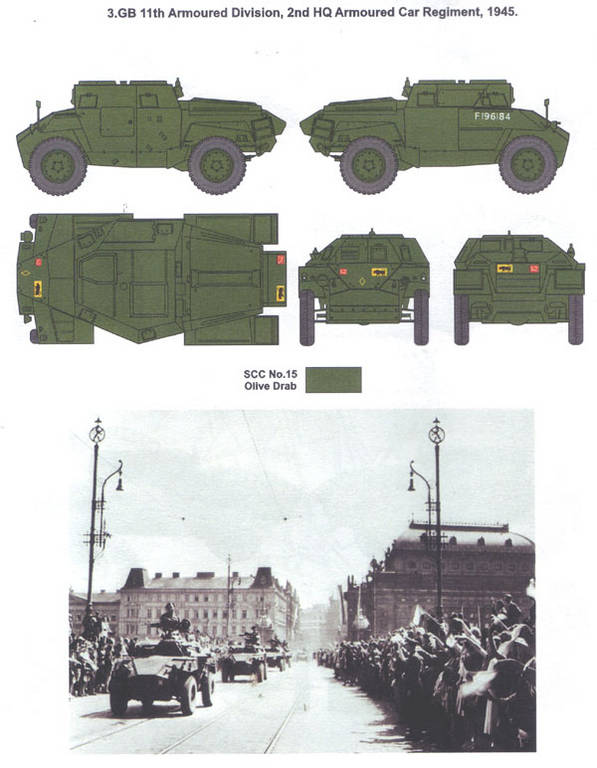
3)- British 11th Armored Division, 2nd HQ Armored Car Regiment 1945.
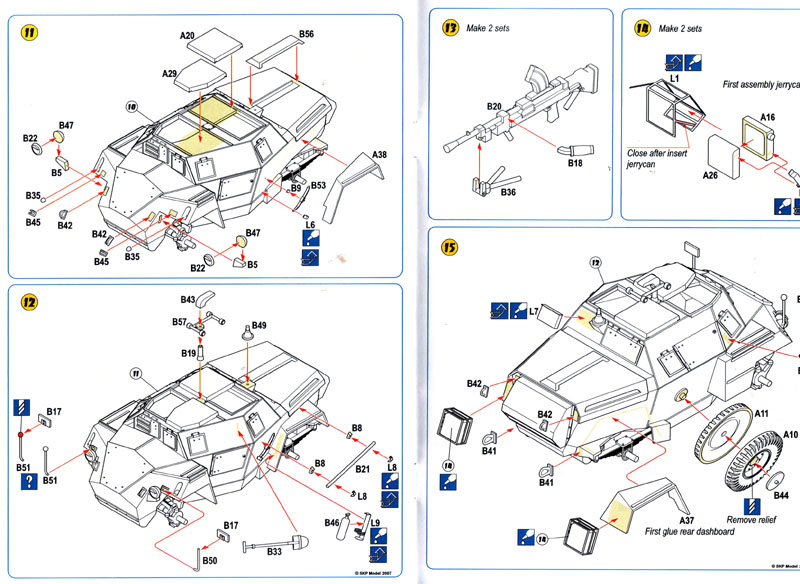
The instructions consist of a 10 page booklet which clearly explain the instruction steps of the model. The inside front page is vital as this explains the location of the parts on the sprues - part numbers are not moulded into the sprues.
Initial Impressions; Due to the nature of this kind of kit (more limited production than the 'mass-market' most are used to) there is a certain amount of flash present on the parts along with some pretty obtrusive mould plugs. The fact that these are INSIDE the parts make them less of a problem although they have to be removed - particilarly in the case of the wheel halves.The plastic is pretty soft which means it's easy to remove any excess although it's sufficiently soft to allow it to 'tear' when removing parts from the sprue. There are a very few sink-marks and none at all in the areas which matter.. Initial impression is of good organization although constant reference to the 'Parts Map' is necessary during construction.
About this review
As it's a small vehicle by any standards, I felt, to do justice to the model, it was only fair to actually build it. Also, once again related to the simple 'form' of the vehicle, I felt that it could be built pretty quickly and through this, give a better overall impression of
SKP Model' first venture into an injection-moulded subject. In the build part of this article, i'll be going through the principal stages of the construction, adding comments where necessary.
The Build.
:
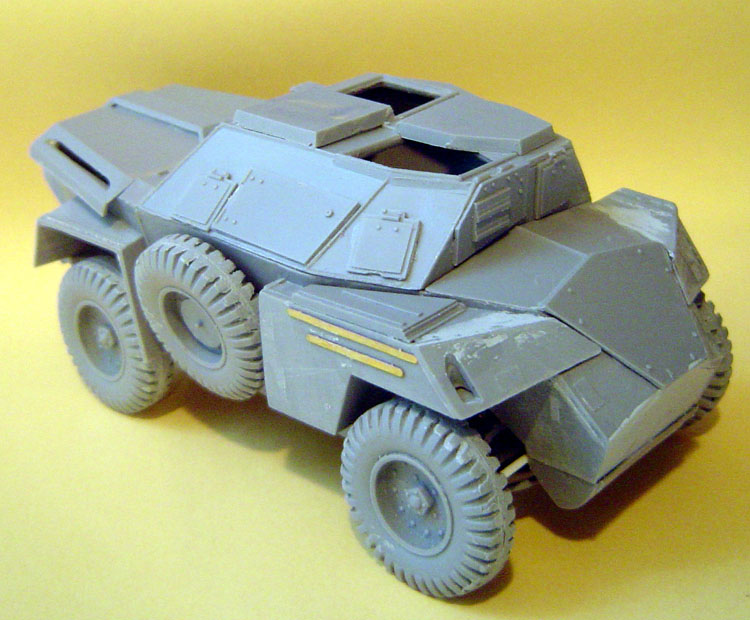
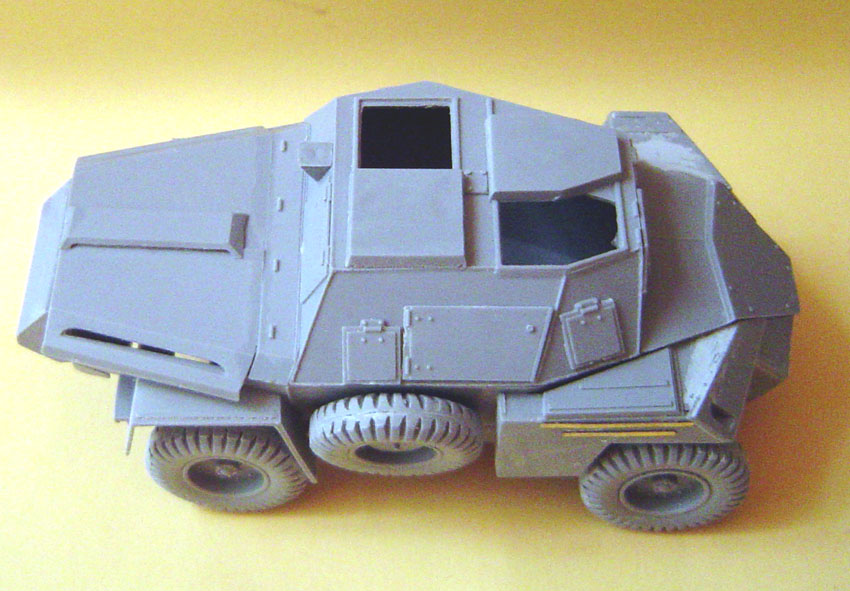
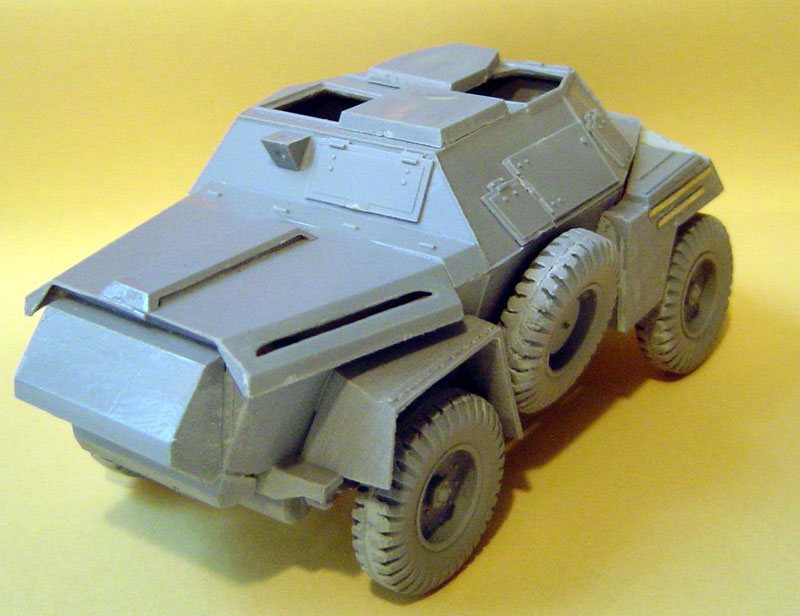
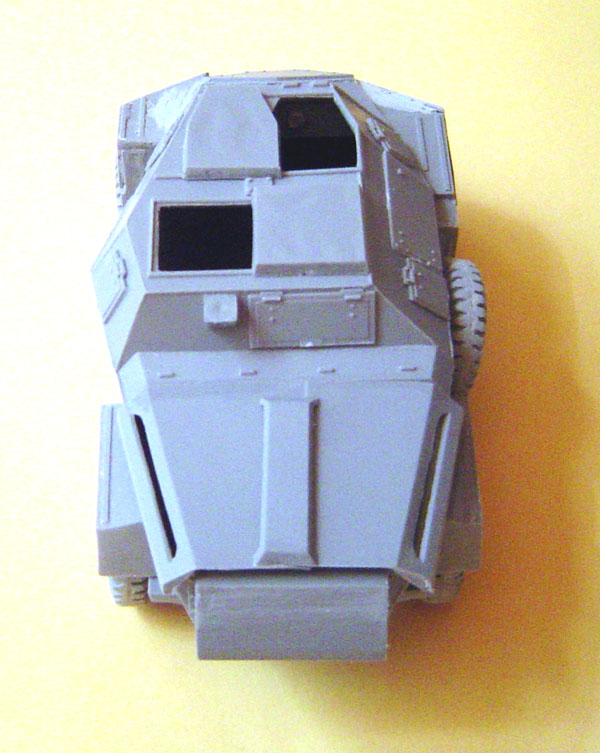
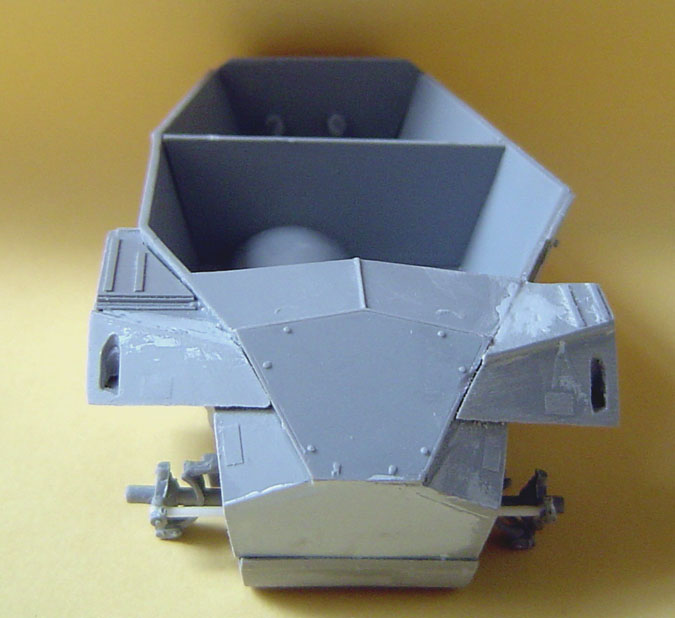
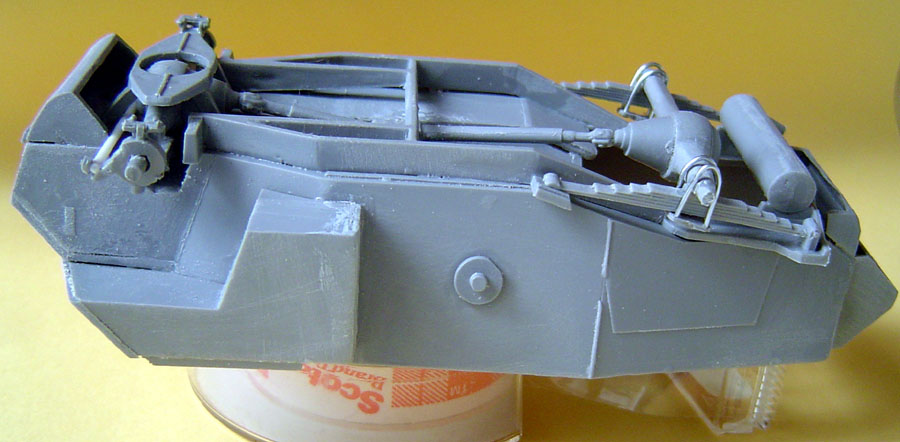
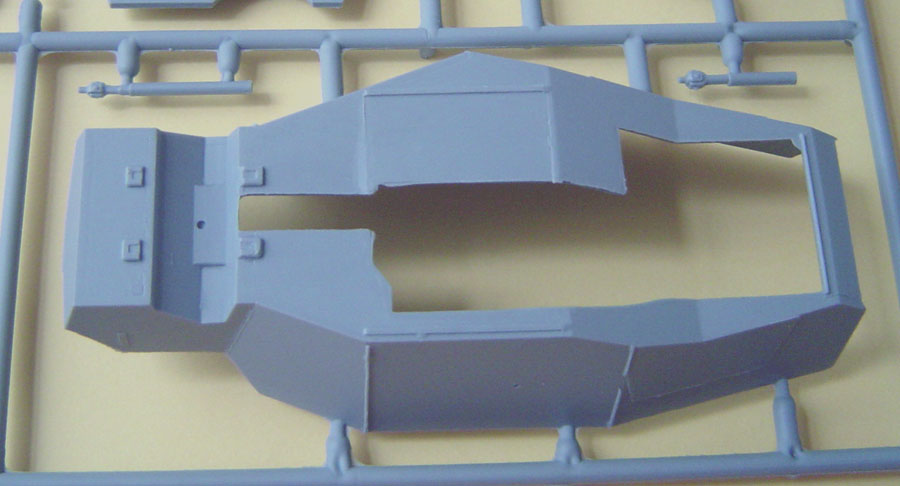
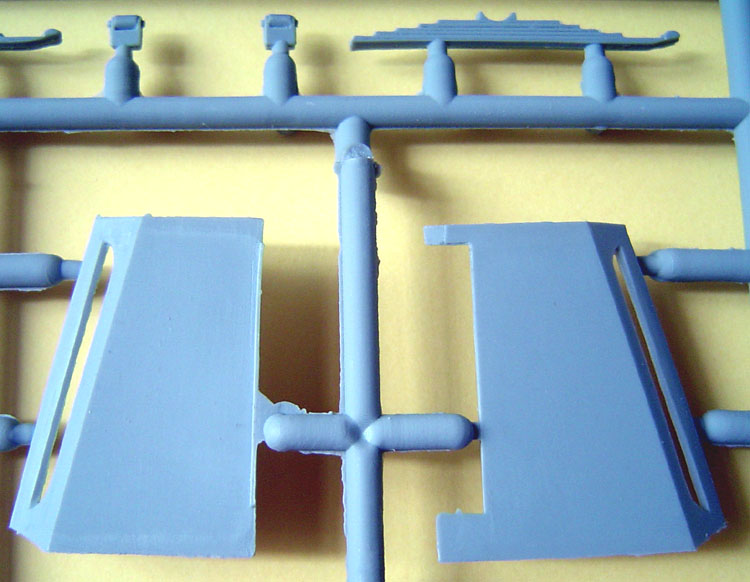
Basic Structure (Lower Hull) The lower hull consists of just eight parts. The only problems I encountered were the removal of the parts from the sprue. This came about as many of the parts have a 'blob' attching the part to the sprue requiring VERY delicate removal as it flows both above and below the part. Unfortunately in the thinner parts it tends to break off damaging their edges. No major problems were encountered although care is required with every component. On the front mudguards it's necessary to construct angled 'boxes' which are mounted on top of the mudguards. Constant dry-fitting and constant sanding are necessary to get these to fit snugly although some putty was used to close up the gap. The front mudguards need some thinnning-down or, simply using the kit parts as a template, it would be simple enough to scratchbuild replacemnts out of brass sheet or plastic card.
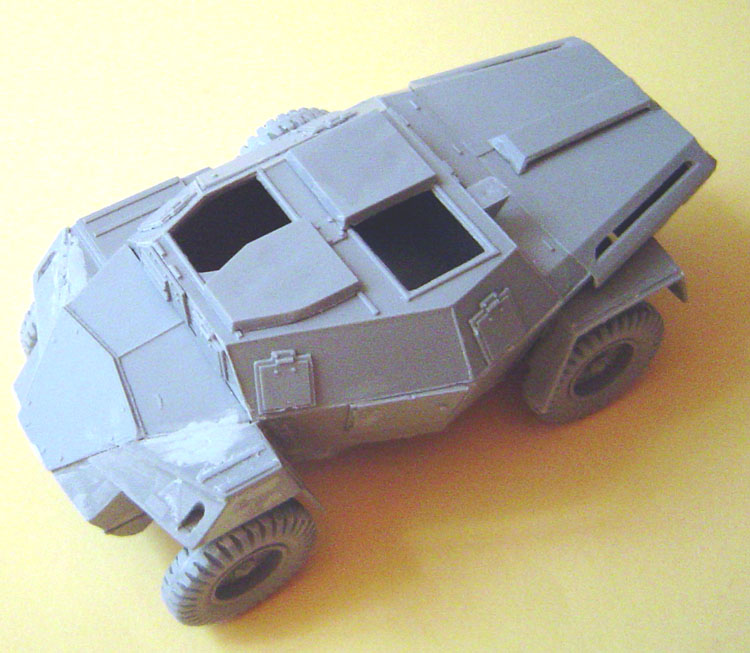
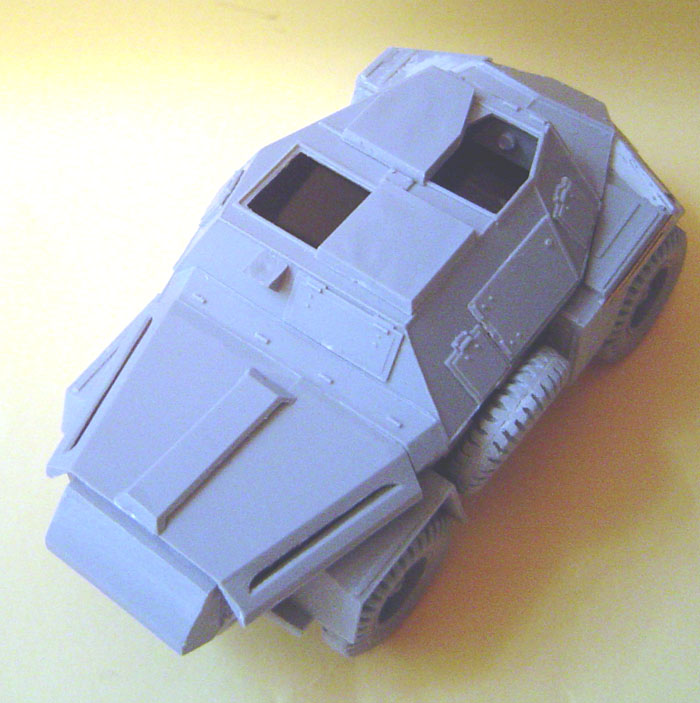
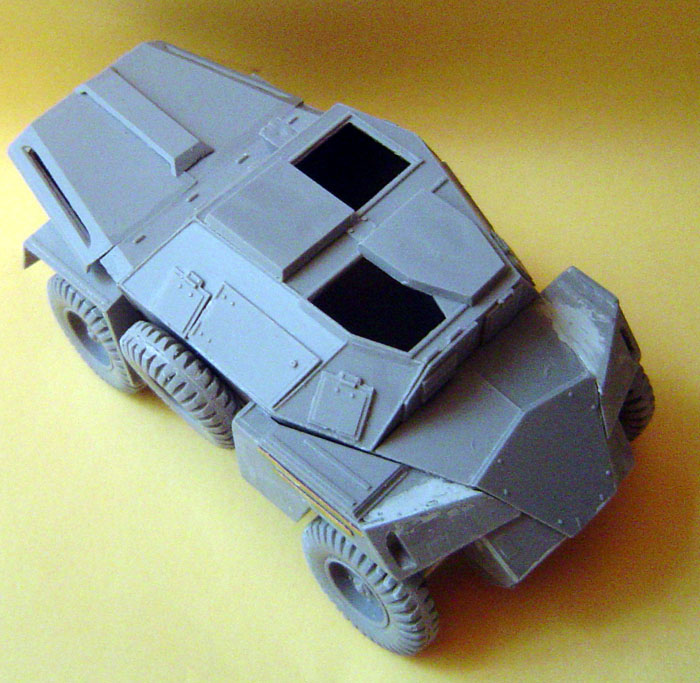
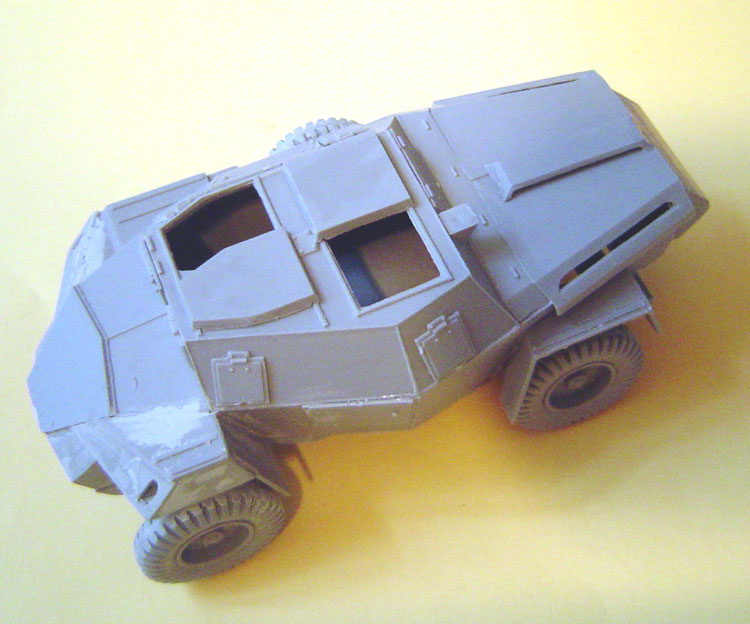
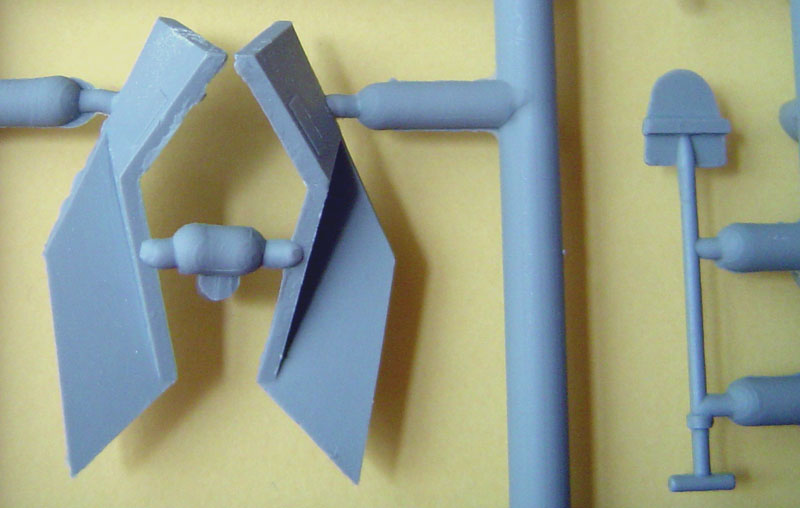
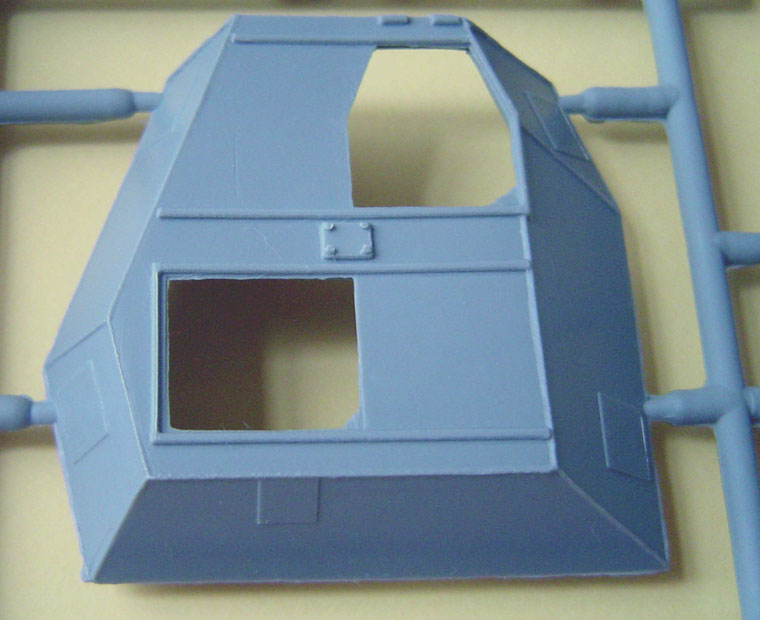
Superstructure (Crew Compartment) Fortunately, due to the angles involved, this comes as a one piece moulding with the small vision ports added onto it. Here I encountered the first real problems with the moulding process. No matter how delicate a touch you have, it is virtually impossible to remove the vision ports without damaging the lower edge. One aspect of the design I DID like, was the fact that the hinges overhang and when mounted carefully on the location panels, they do give a nice 'seperate' look to them. The hatches need some careful cleaning as there is a slight quantity of excess plastic on them. Care really has to be taken to keep them square. For those who wish to model the ports open, a considerable amount of work is ahead. The aerial mount will have to be replaced as it's pretty rudimentary.
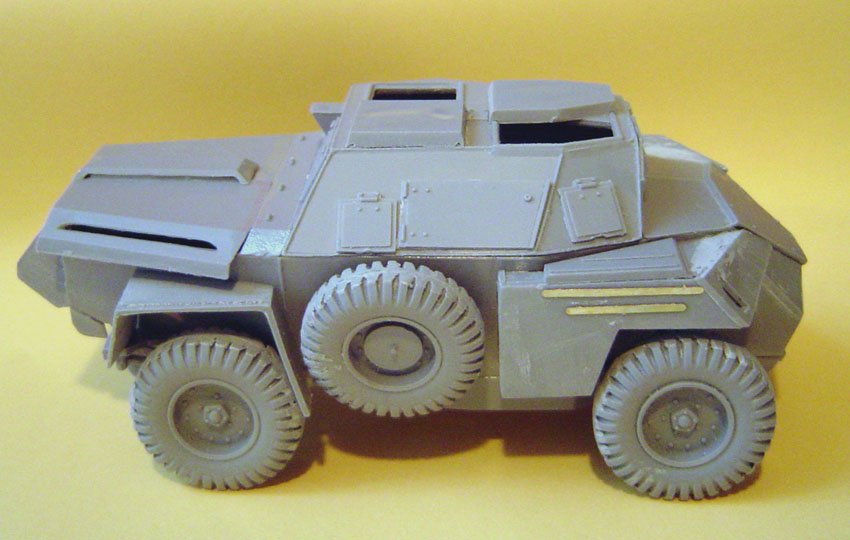
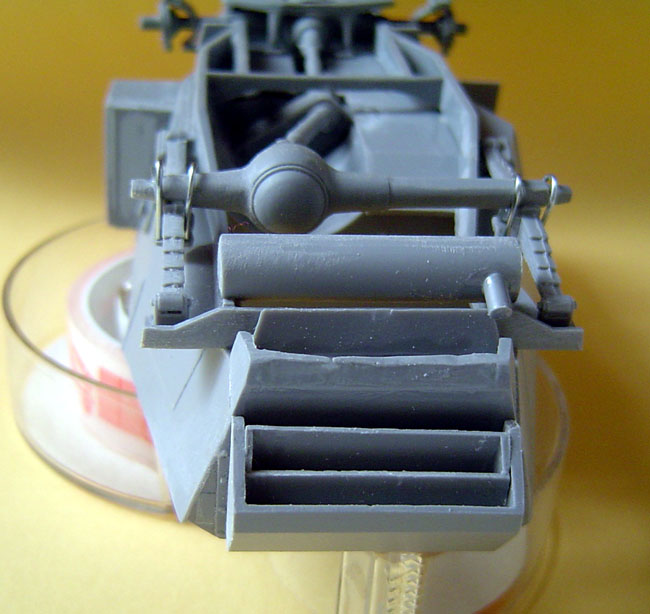
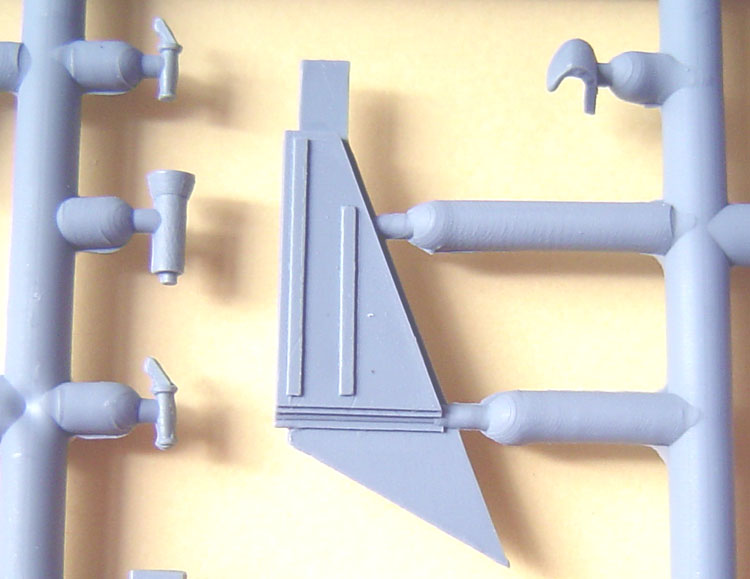
Lower Hull Detailing: The next stage involves fitting the engine louvre hood and the slats. This, is NOT the easiest part of the assembly process as the instructions are very unclear on this part. Fortunately, Terry Ashley at
P.M.M.S. encountered similar difficulties and with this (along with some images) helped considerably. The slats themselves are too thick and, as Terry mentioned, there is an oval panel which should be added to the lower one... The crankcase fis also added at this stage and requires some sanding and filling to get it to the correct shape. Also requiring some careful fitting is the front hood which requires more sanding to fit correctly.
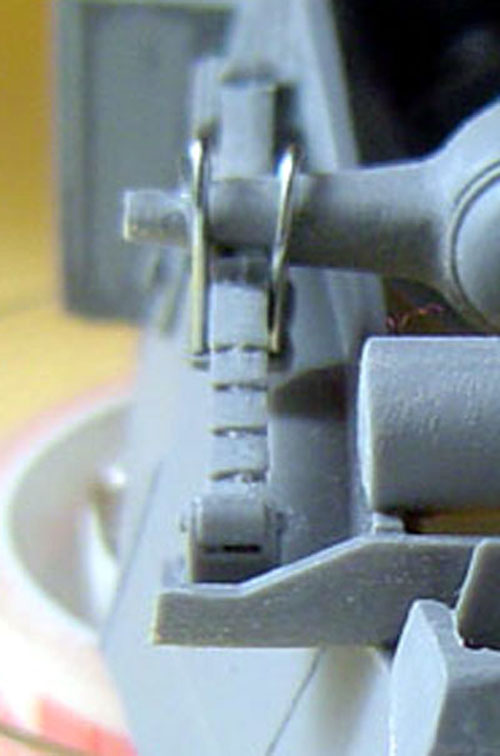
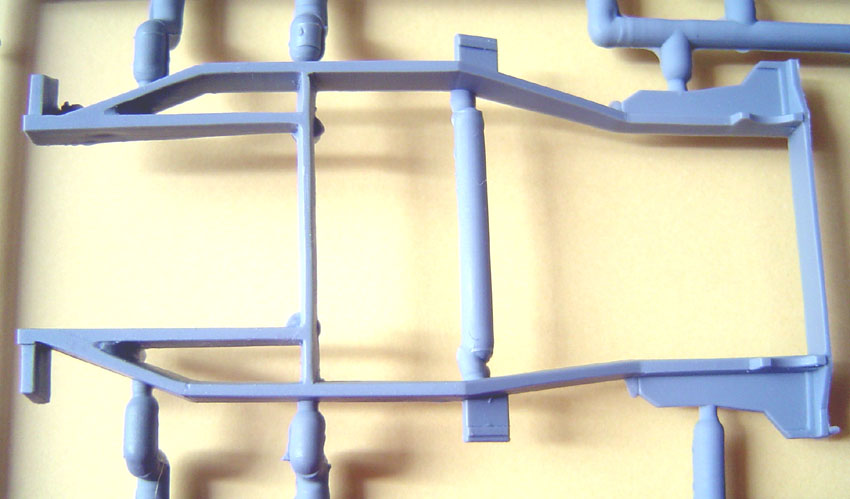
Suspension: The core of the suspension is one-piece subframe which requires a fair amount of (careful cleaning up. This locates to the underside of the hull. However, it doesn't fit too well and I found it necessary to 'weld' it in one end (using superglue) and then, when it was set, gently stick down the other. Even with this, there is still a slight gap. The rear-axle is a fairly complex construction with four 'staples' having to be cut from thin wire and bent over the axle. These are then attached through two small plates which are then looped over the axle and the leaf-springs. This is really a fairly frustrating exercise as unless you constantly keep sanding the axles to size otherwise you get hoops rather than U-shapes... The exhaust is also added at this point - a small piece of tubing would be recommended to improve the look of the otherwise solid pipe. On the rear axle, the attachment points for the wheels are more or less the right length although they have to be thinned-down considerably to fit on the wheels. The front axle is also a fiddly construction. As much of this depends on slots fitting onto the brake drums, some careful work is needed to open them up so the parts actually fit - no mean task when these are very small parts indeed.... Detail on the chassis goes from basic to adequate although when everything is in place, it does sit well.
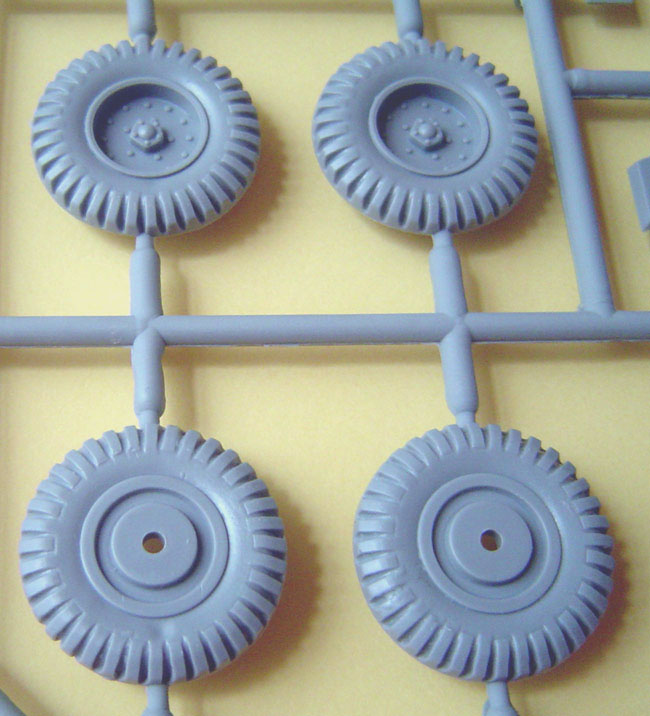
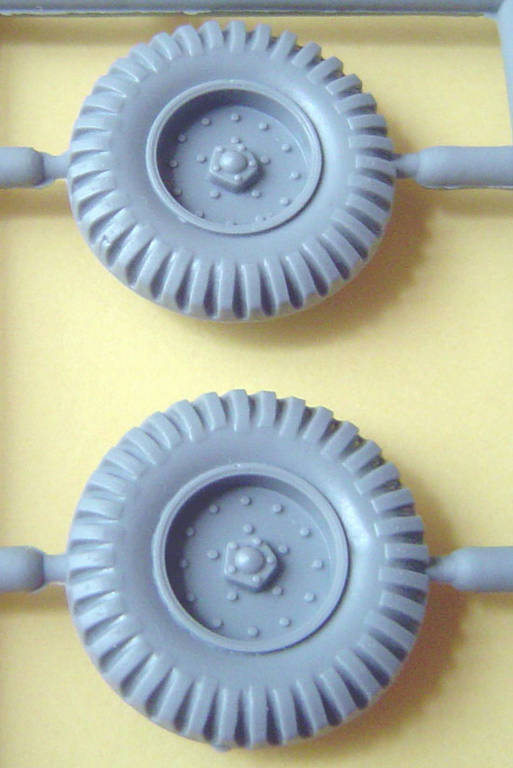
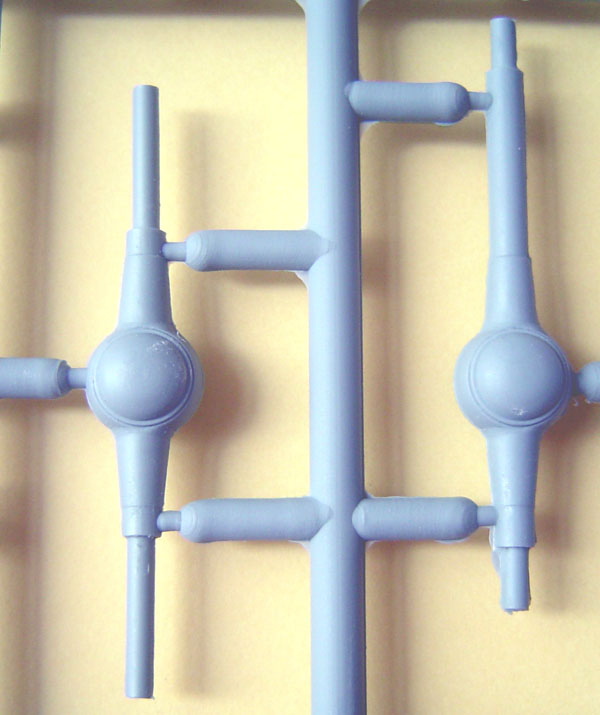
Wheels: The pattern on the tyres, as far as I can ascertain, correct. Each wheel half has two large injection stubs which have to be removed. As there are no location points for the halves, they have to be carefully matched up and glued together. This still leaves a gap which requires filling and (careful) sanding-down. I used a thin bead of Revell cement round the circumference of the wheel allowing it to dry and then sanded level.
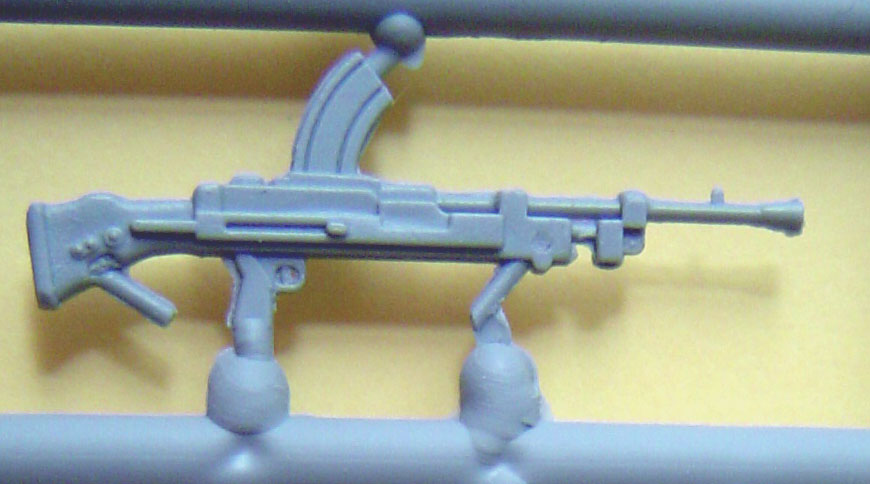
Bren Guns and Mounting: The double mounting of the .303 Brens was incredibly complex shape and the very simplified form of the kit parts does not even come close to representing it. The more exacting modeller will replace this and either scratch a new mounting or go for a single weapon or the (frequently) seen double Vickers 'K' mounting. The guns themselves look, in my opinion, too 'heavy' to be entirely convincing and should be replaced.
Additional Detailing: There are some parts which require some thinning down or replacement. The headlights are a case in point as is the fire extinguisher, aerial mount and tools. The tow rings are not too bad although some careful cleaning up is needed. The two fuel cans provided in the kit and substitutes can be found from
Accurate Armour who do a wide range of British 'flimsies'.
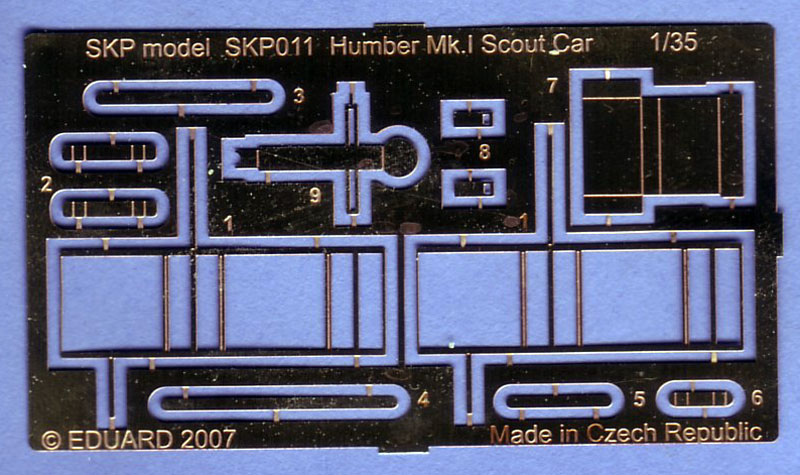
The Photo-Etch: The PE is, as I mentioned earlier produced by
Eduard. This covers the two jerrycan racks, the fire extinguisher mounting bracket and the box (battery) on the rear of the superstructure are the parts provided. Quality, as one would expect, is excellent.
Decals: These are very nicely done indeed - good register and good solid color.
Conclusions
For those who expect a kit of the Shake 'n Bake variety, frankly, you'll be disappointed. Although I have encountered some problem areas, at the end of the day it's a good kit. It's a little like going back to the basics of modelling - you get a basically correct model and it's up to you to improve it. It's very much along the lines of the 'limited-run' Aviation kits which are so popular, it's up to the modeller to get as much as they can out of it.
SKP Model should be encouraged to improve on what they've done as a first release - it isn't at the level of carefully-tuned detail we've come to expect from the 'majors' but there again, none of them has seen fit to produce a Humber Mk. 1 in plastic either... It's not particularly challenging, anyone with basic skills should be able to build a nice model out this. What it is is an interesting experience. It isn't there for the absolute novice although someone with a few kits under their belt should find it approachable. As the only other (at the moment at least) model of the Humber is in resin and as Allied modellers don't exactly have the shelves of their LHS' bulging with Allied vehicles then I would suggest getting one or two. After all, as I said before, it's been thirty years between British Scout Cars in injected plastic although 2007 may well be memorable in this respect!
Further Details & References
For another point of view on this release, Terry Ashley reviewed this at
P.M.M.S.. Terry's very informative review can be seen:
HERE
Also published within his review, were two useful sites with a lot of good WalkRounds of the vehicle. These can be seen here:
Tanxheaven (LINK)
WarWheels (LINK)


Comments