Some Background
The term 'Pack' - related to Artillery, has its origins in the 19th century. The term was coined to describe light artillery which could be dissembled and transported across difficult terrain using pack animals (Mules, Horses etc.).
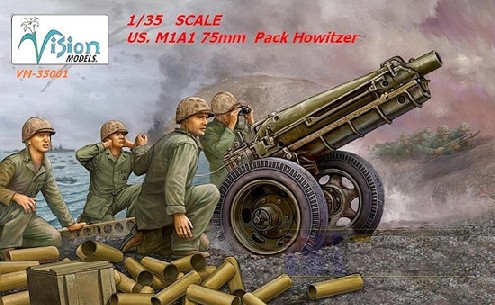
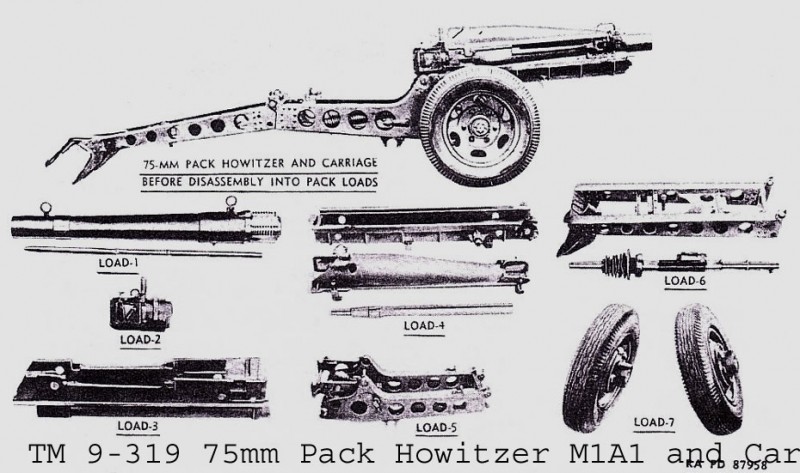
From 1920, development began to create a light, 75mm artillery piece suitable for animal transport or towing. In 1927, the weapon was designated as the M1 Pack Howitzer. Before the outbreak of WWII, the gun was equipped with the M8 (Airborne) Carriage which had neumatic wheels (rather than the wooden, spoked ones of the earlier model). The howitzer disassembled into SEVEN (Air-Droppable) loads in its Airborne role. Used by the U.S.M.C. in the Pacific and by Allied Airborne Forces in Europe, the gun had a maximum range of 9,600 yards, a rate of fire of 3 rounds per minute and was (ideally) crewed by 6 personnel.
Vision Model's Kit
Vision Models are a New manufacturer who come from Taiwan. This, their first model is
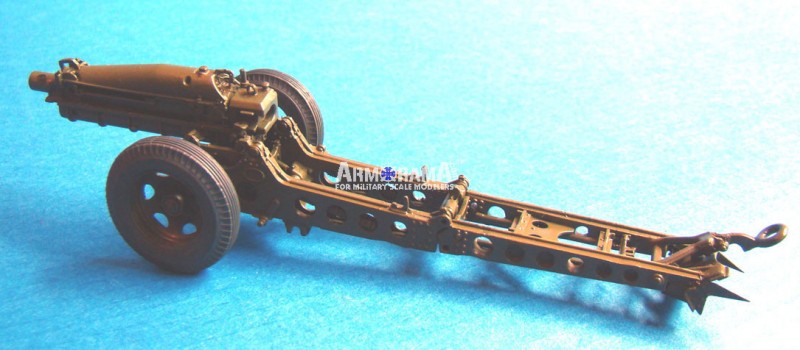
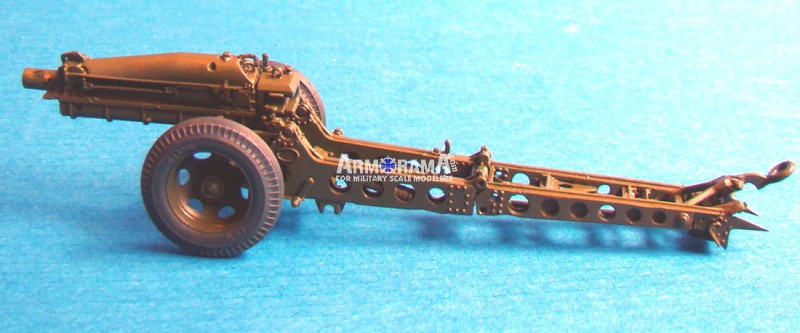
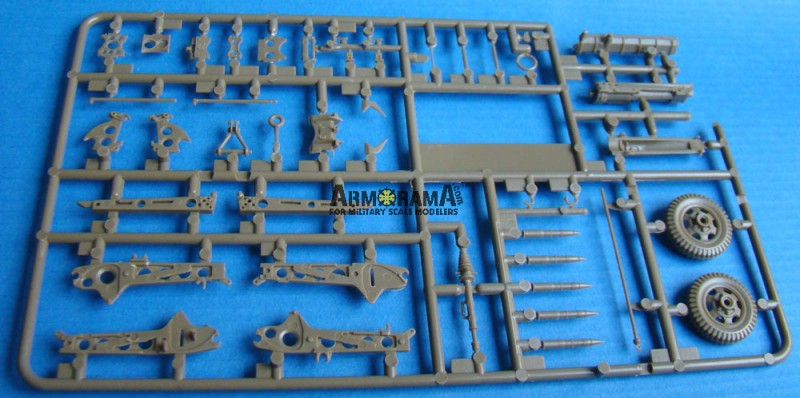
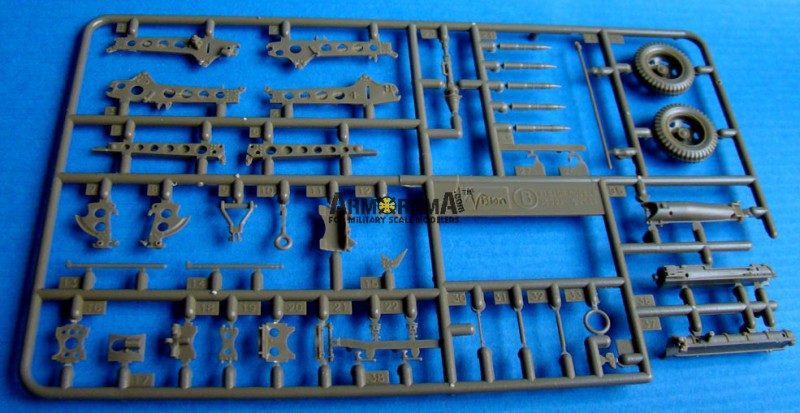
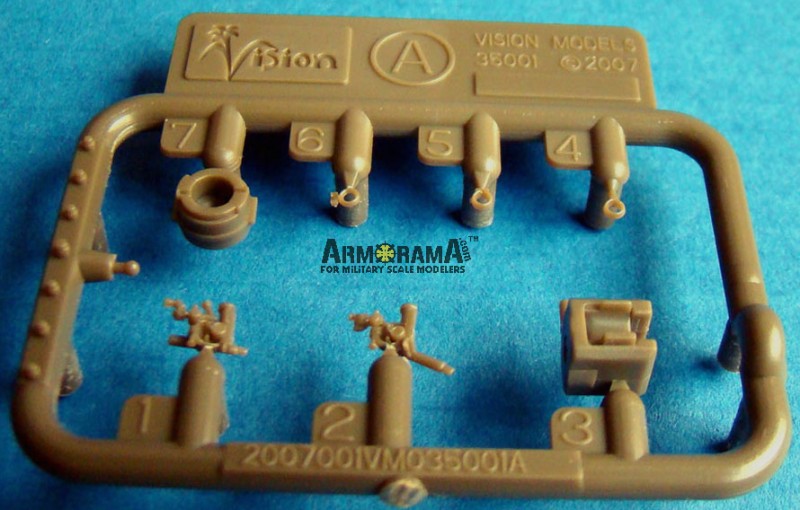
VM35001 - WWII US M1A1 75mm Pack Howitzer. Consisting of just 54 parts, on 2 sprues, the model is produced in dark-green plastic and includes just one metal part - the gun barrel.
In detail
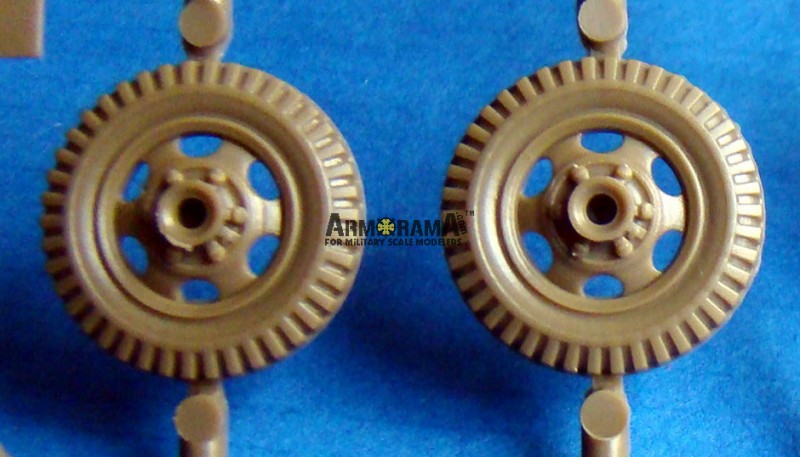
Quality is, in general good on the moulding. However, there are a number of pretty significant moulding plugs/pin-marks along with some flash which does need some pretty delicate touches to remove. The parts are also attached to the sprue-runners with (in some cases) some hefty attachment points (particularly on some of the more delicate and smaller parts). As the plastic is quite soft, a VERY delicate touch is required to avoid damaging the parts. Two different sets of wheels are included - the tires with the heavier Military Tread and the lighter Civilian model. Checking the various Walk-Rounds and the TM 9-319 Manual, there are missing rivets on the interior rim. On Sprue 'A' there are seven rivets included of which no reference is made on the instructions (see photos at the side).The wheels themselves are very nicely moulded indeed although the unattached wheels do have an pretty unsightly 'pour stub' on the central hub.The tire makers lembosiing is also present on the tire walls.
The instructions. The best adjective to use for them is 'adequate'. They aren't bad but they do, in the construction stage, require a lot of thought. Presented in an exploded-view form, and looking at the Workshop manual, they model follows very closely the construction of the original gun.
Construction
This is a case where VERY careful study of the instructions pays dividends later. Two variants are possible in the model, the Wartime version and the Post-War one.
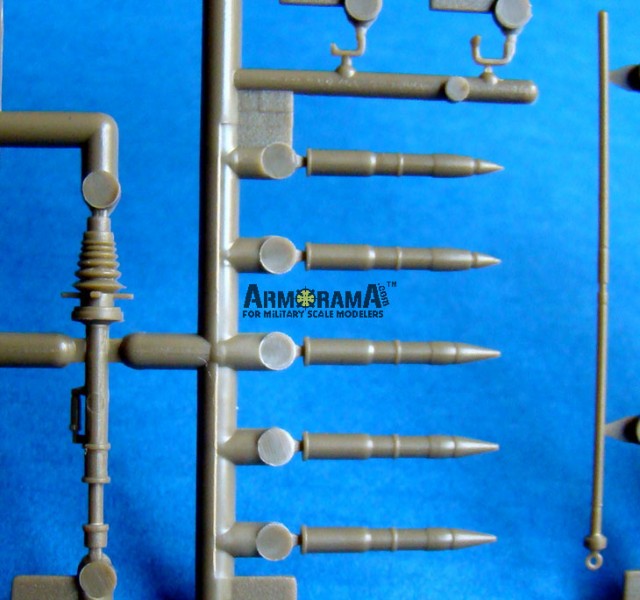
I began construction with the 75mm Gun itself. This consists of just 10 plastic parts along with a hollow brass tube for the gun muzzle. This section is pretty straightforward but contains a couple of tiny lifting rings which are the Devil's own to remove from the sprue and are perfect as a sacrifice to the Carpet God. Fortunately some extras are included. Part # 35 requires some (minor) surgery to create the L-Shaped hooks on the top Sleigh. I found a narrow file used horizontally was sufficient to create enough space.
Moving onto the front cradle, which consists of 12 parts, construction was, once again straightforward although a couple of very annoying stubs were present. Again some cleaning up was necessary - particularly on those parts which lay flat against another - lots of annoying little additional pin marks. At this point, it's a good idea to decide whether you want the gun to be in an elevated position or, as I did, more or less horizontal (yep, it's firing over open sights!). Some careful adjustment of parts B8 & B7 will provide the elevation you require.
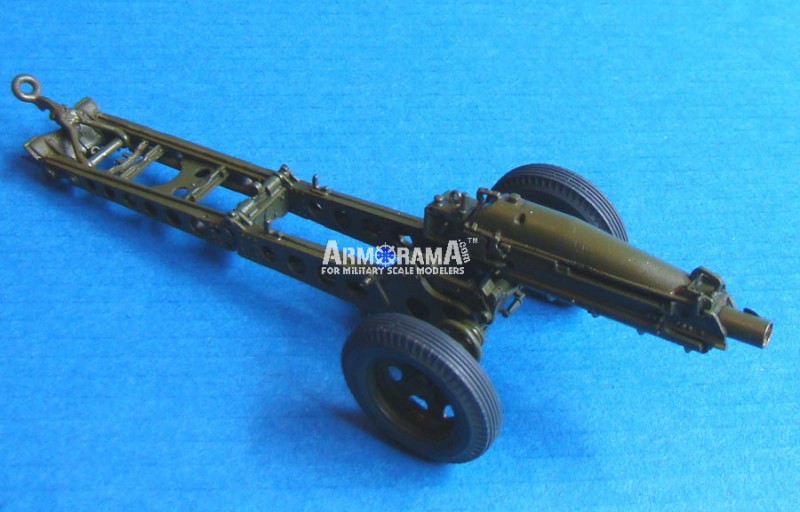
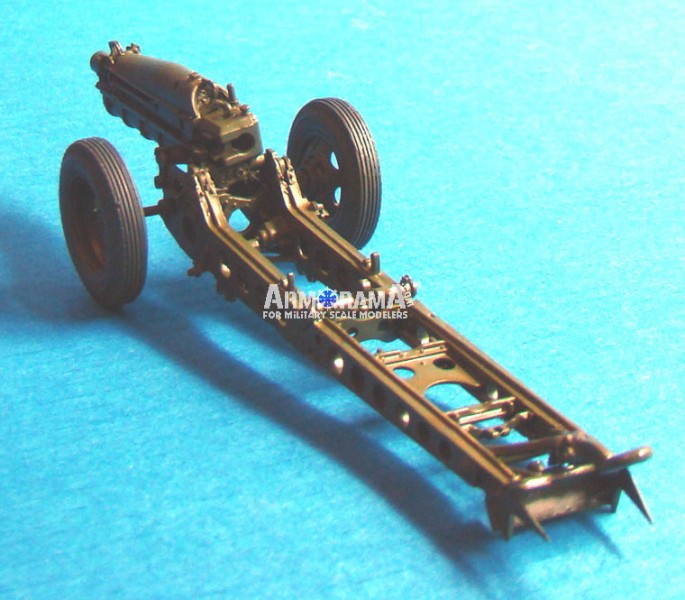
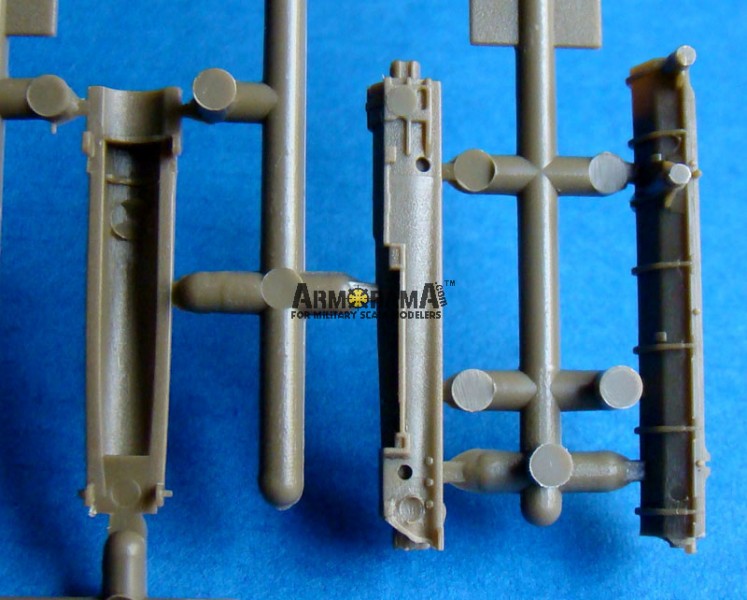
The Rear Trail, consisting of 12 parts, once again, requires some careful cleaning up. The rear 'Spade' is in three parts - this allows for a good scale effect but is a little fiddly to construct - lots of dry-fitting, lots of adjustments to get the angles right. The towing ring is nicely done, but constant reference to actual photos is strongly recommended - it's NOT clear in the instructions. I cut off the locating stubs on this part to get the fit I wanted and glued it in place - after fitting the spade. The rear trail, is a little problematic. I can understand WHY they designed it the way they did, but looking at photos of the original, the structure is hollow - almost like a pierced-box. It's a small detail and, IMO, it's adequate solution for the absolute perfectionists, they may want to think about improving it? The rear trail clips onto the front carriage using a couple of moulded pins. These require some adjustment to get them to fit correctly and, perhaps, as I did, it's better to slice them off and glue the rear trail directly onto the front carriage. It would certainly be worth the effort to get this part 'working' as it would allow adjustment of the gun's 'Sit'. Also missing and easy to add, is a small lifting ring on the central hinge.
The penultimate stage is assembling the axle/wheels (just 4 parts) and clipping it into the space on the front carriage. This DOES require a bit of adjustment and again, opening up the attachment holes will be necessary.
One VERY important point (highlighted in detail on Terry Ashley's Review) is that the front and rear trails have a weld-line running from the rear to the hinge and from the hinge to the cradle. Terry's solution to that was to use
Archer Fine Transfers Arc Weld Beads (set #AR8806) which gave an excellent and convincing result. Not having this set to hand I used very fine Evergreen Rod - which will be sanded-down later. The joins between the trail-halves are VERY noticeable and the weld-bead solution is perfect way of concealing them.
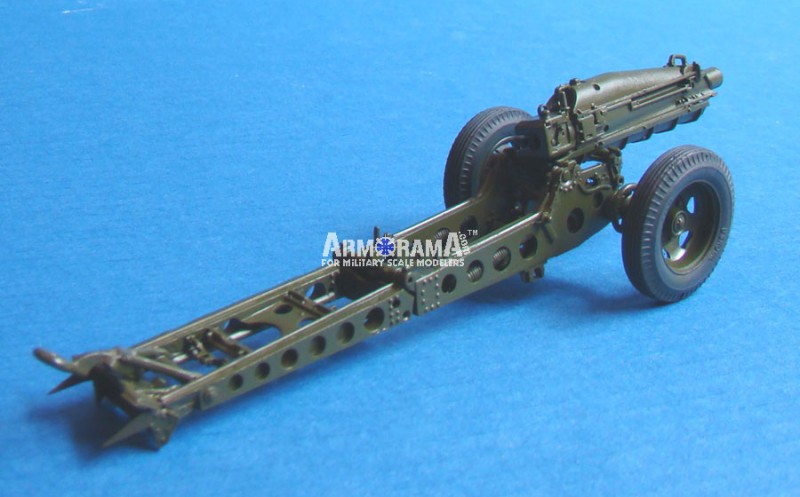
The final part of the process is clipping the gun onto the lower trail using the L-Shaped hook I mentioned before. Once again, refer to the instructions as the option is also available to build the Howitzer in its traveling position - this would look excellent behind a suitable prime-mover.
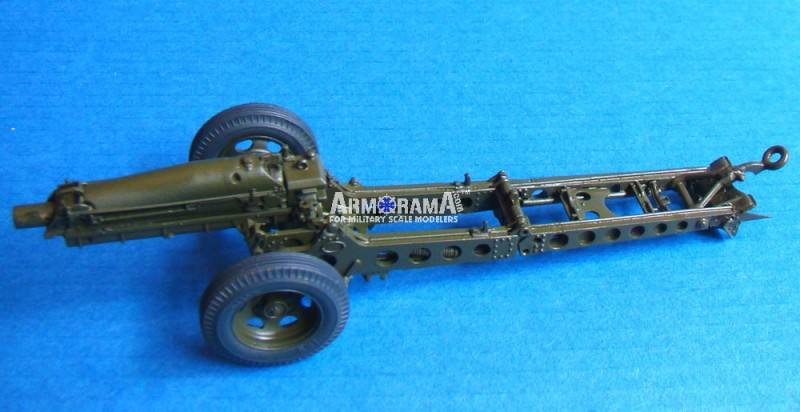
Construction is straightforward but has a few pitfalls. Not at all in the Shake 'n Bake category but uncomplicated. Most of the construction time is taken up with dry-fitting and cleaning-up but nothing beyond the capability of the average modeler.
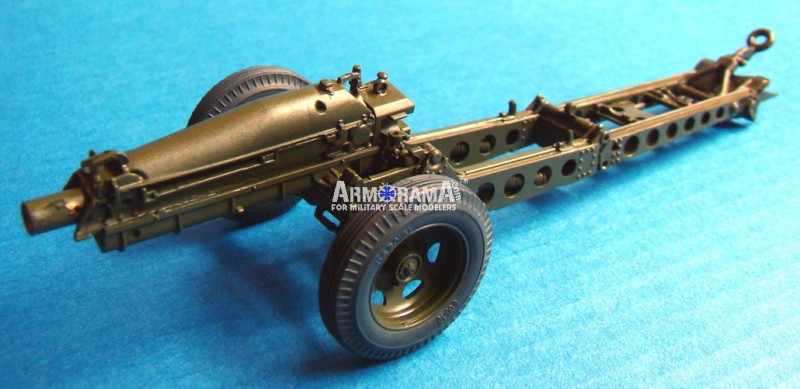
Painting. Breaking 'Review Protocol' I gave the model a quick blast of OD and painted the wheels with
Vallejo 862 Black-Grey which is a superb shade for rubber tires.
Final Thoughts/conclusions
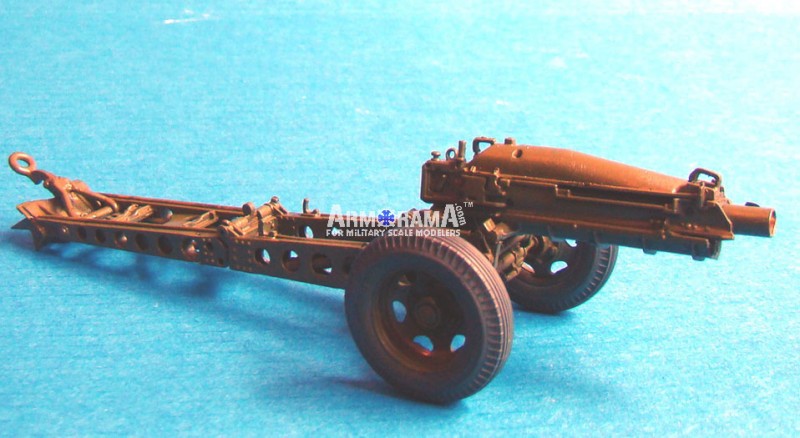
The U.S. 75mm Pack Howitzer was to be seen in every theater of war during WWII and for decades beyond that. Why therefore, considering just how many were built and deployed has it taken so long for one to be produced in Styrene? In this,
Vision Models, as a New company (this being their first release), have REALLY hit the ground running. It's a great choice for a first model and deserves to sell by the container-load.
One thing that really captured my attention, was the designers having followed exactly the breakdown of the original gun. This will make for some potentially interesting dioramas..
The model ISN'T without its faults, but, balancing out the pros and the cons it's a VERY good model indeed. The potential, for dioramas, or modeling it towed behind a Jeep or a Beep are enormous. There will be a need for a suitable crew - fortunately we're getting some good figures of U.S. Marines, British Paras and suitable U.S. Airborne coming 'on-line' as we speak, so there will be some good possibilities.
Some Good References
Although dealing with the M8 (Airborne version) this article, by Kurt Laughlin. has some great material:
U.S. Army Models (LINK)
For CONVERSION to the British Version:
Pegasus Archive (LINK)
For the USMC Version:
WW2 Gyrene (LINK)
Anticipating
Masterbox Ltd's C-47 in 1/35th, how about the air-transportable carriers?
M18 Paracaisson (LINK)


Comments